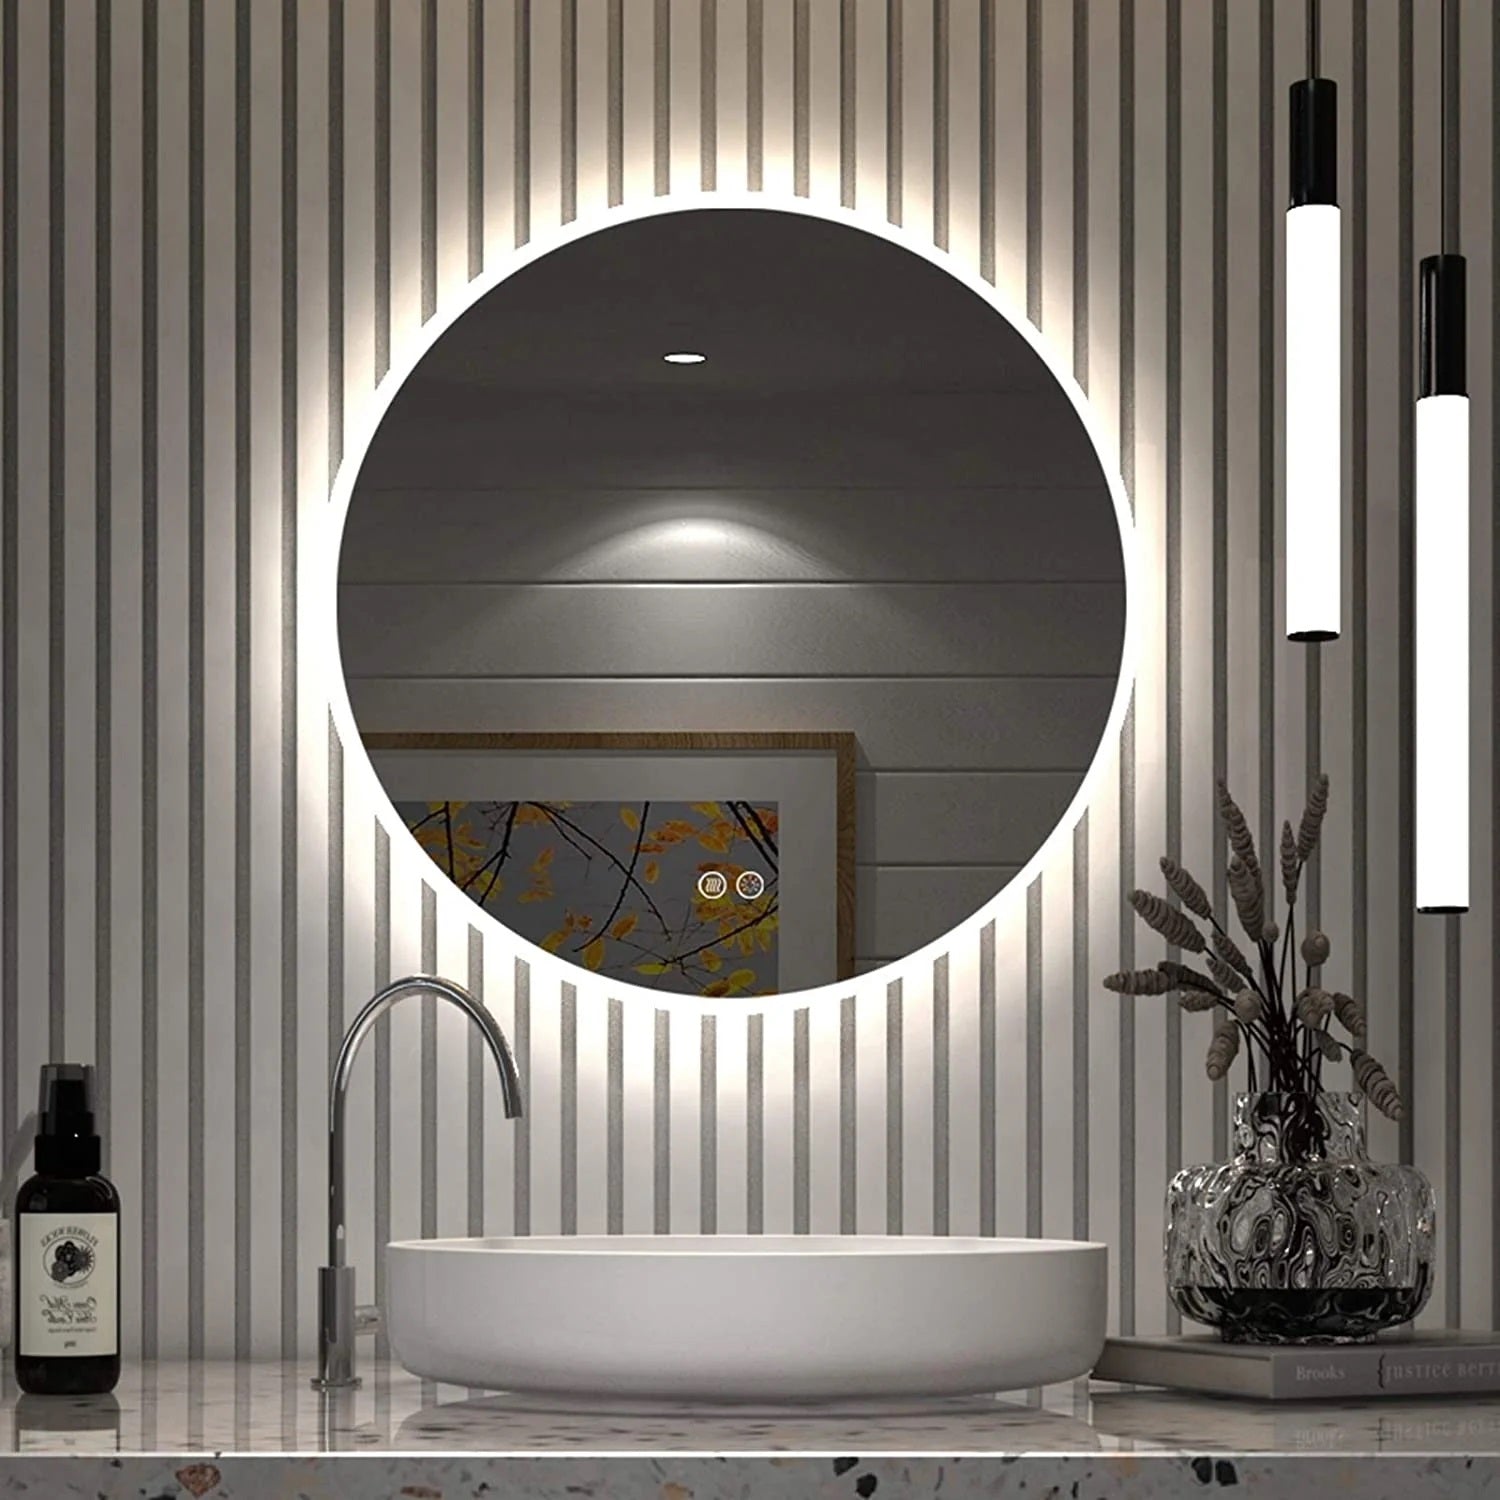
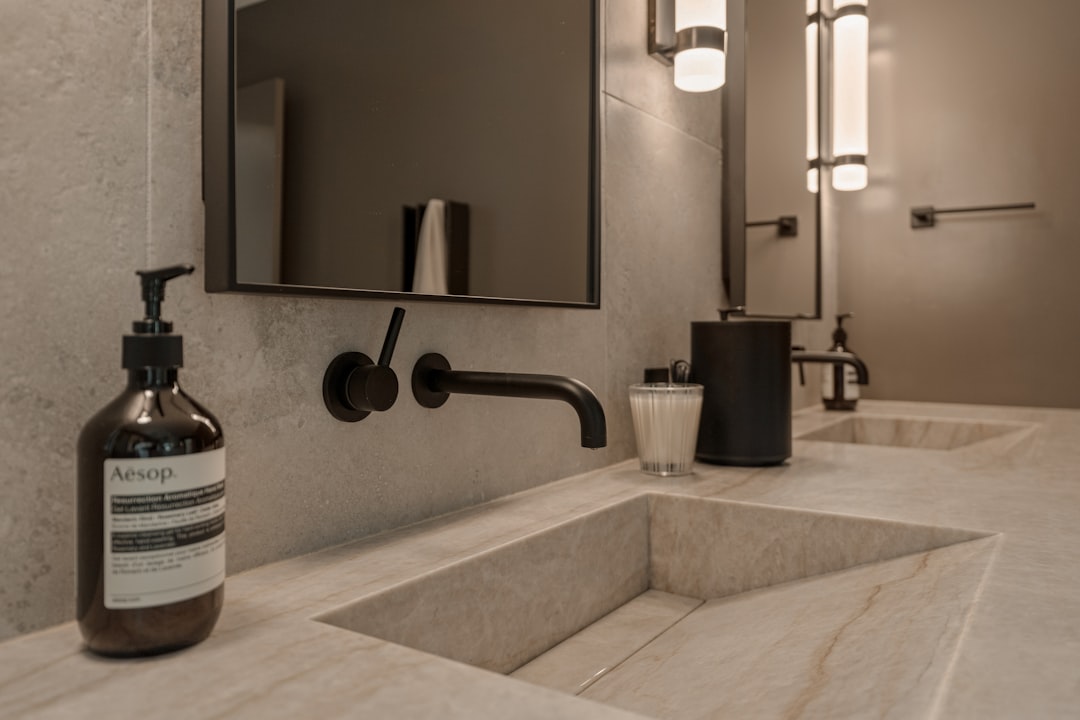
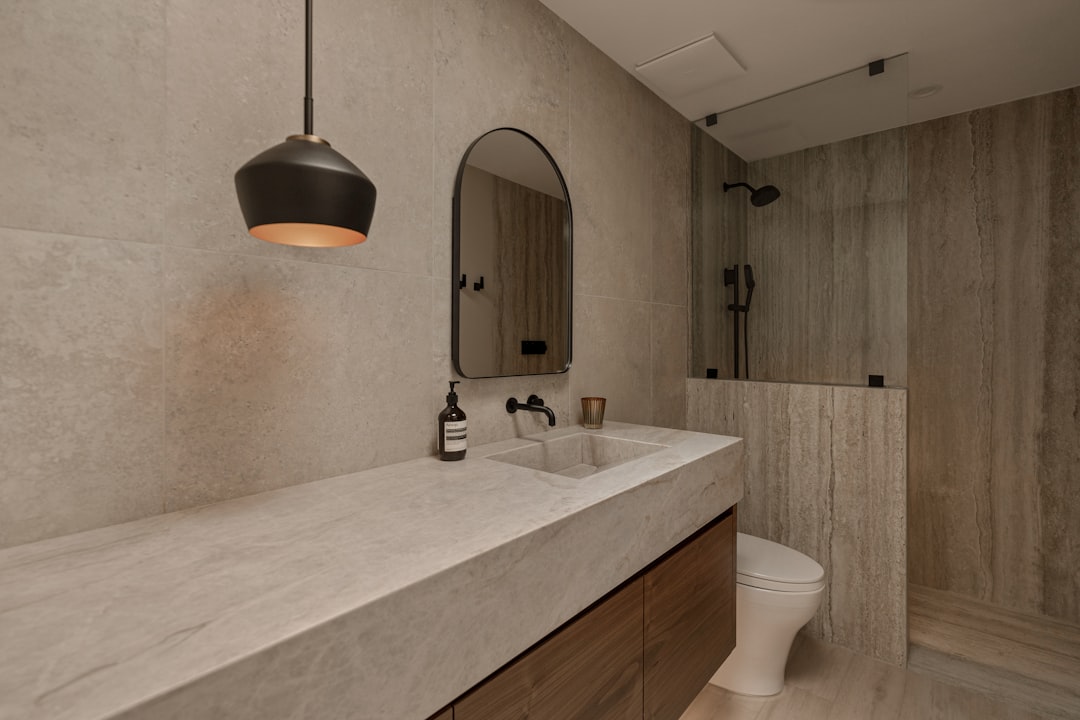
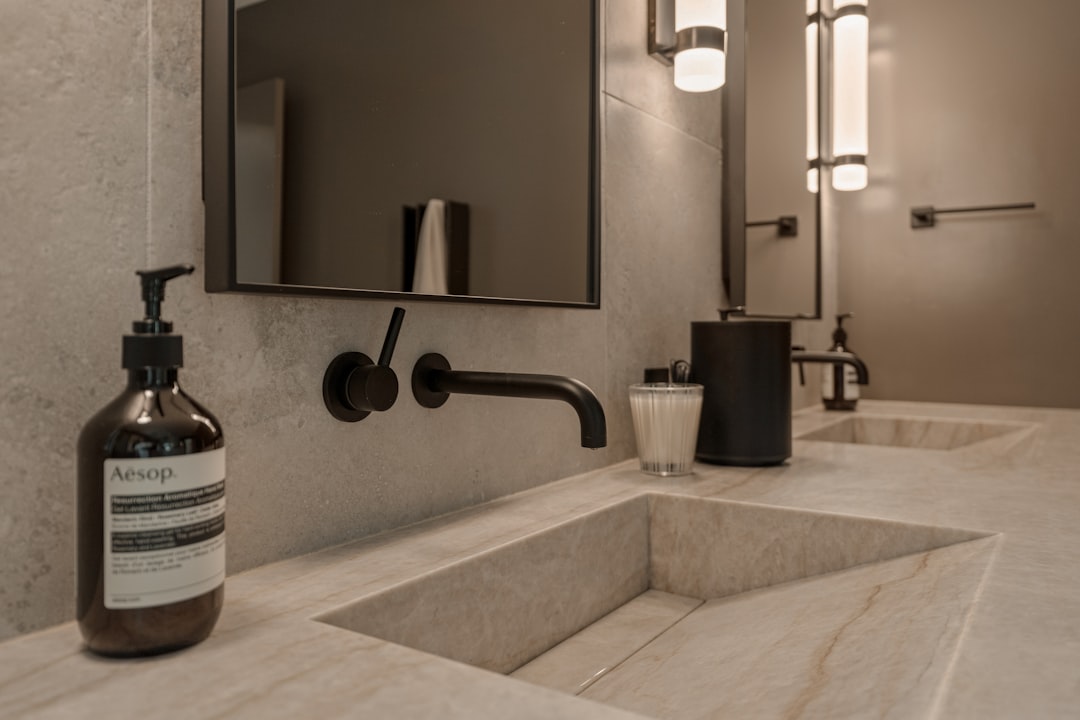
Tiles have been the default choice for kitchen and bathroom walls for over a century — and for good reason. They’re waterproof, durable, easy to clean, and available in an almost unlimited range of colours and patterns. But wall panels have made significant inroads in recent years, and in many applications they now offer a compelling alternative with less effort and often a better visual result.
Tiles offer enormous design variety — from classic subway tiles to large-format marble looks, the tile market covers every style and budget.
Wall panels offer a cleaner, more seamless finish. Without grout lines, the surface reads as continuous — a quality that makes rooms feel larger and finishes look more contemporary.
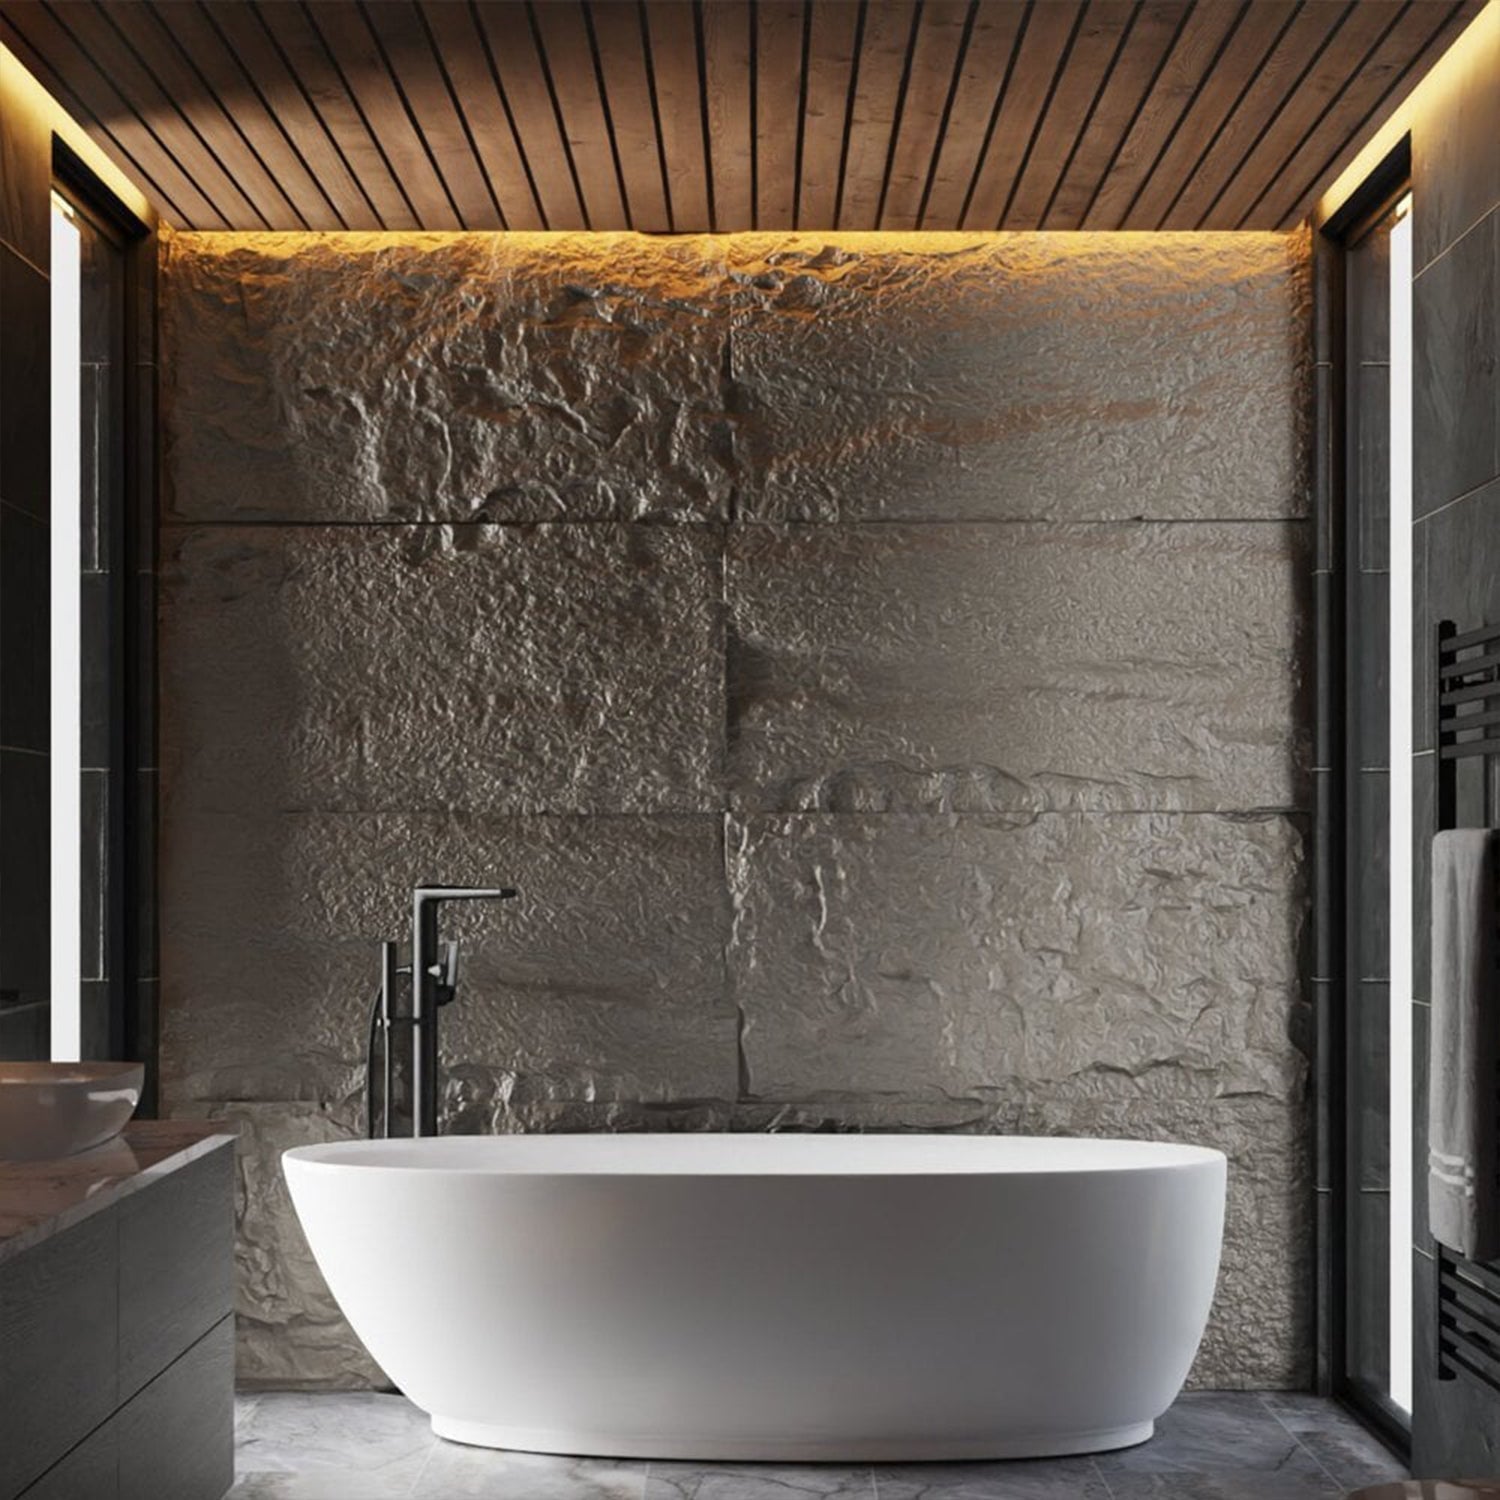
Stone-effect panels like RockSurface® provide three-dimensional texture that large-format flat tiles cannot replicate.
Wood slat and fluted panels bring a warmth to kitchens and bathrooms that tiles rarely achieve.
Waterproofing: Where Tiles Still Win
Properly installed tiles with fully waterproofed grout are the gold standard for wet environments — shower floors and surfaces in direct contact with water. Most standard wall panels are not suitable for areas of direct water contact.
However, for kitchen splashbacks, bathroom feature walls behind sanitary ware, and any wall that sees splash rather than continuous water exposure, panels rated for humid environments perform adequately and look superior.
Installation: Which Is Easier?
Wall panels have a significant installation advantage. The process is straightforward: prepare the substrate, apply adhesive, fix panels, seal edges. No specialist skills, no grouting, and a much faster timeline — a kitchen splashback wall can be panelled in an afternoon.
Tile installation requires planning, setting out, cutting tiles, laying in adhesive, grouting, sealing, and cleaning. In a bathroom, this process typically takes 2–3 days for a competent tiler.
Cost: What’s the True Comparison?
Tile costs vary enormously — from £5/m² for basic ceramic to £200+/m² for premium marble-look tiles. Installation adds £30–£60/m² for professional tiling.
Quality wall panels typically cost £30–£80/m² for materials and £15–£30/m² for professional installation — often lower than equivalent quality tiles when installation is factored in.
Maintenance: The Grout Problem
Grout is the weakest link in any tiled installation. It stains, cracks, grows mould, and eventually needs re-grouting — a messy, time-consuming process. Wall panels have no grout. A wipe-down with a damp cloth is the extent of routine panel maintenance in most applications.
The Verdict
Choose tiles for wet rooms, shower floors, and any surface in continuous water contact. Also choose tiles if you want large-format patterned or marble finishes.
Choose panels for kitchen splashbacks, bathroom feature walls, any application where grout maintenance is a concern, or where you want a textured 3D finish that tiles can’t provide.
Yes — with the right panel selection and correct placement. Stone panels, including faux stone wall panels, can be used safely in bathrooms to create striking accent walls, feature walls behind freestanding baths, and statement walls behind vanity units. The critical factor is understanding the difference between dry zones, splash zones, and wet zones in a bathroom — and specifying the right panel type for each area.
Building regulations and good practice divide bathrooms into moisture zones based on proximity to water sources:
Zone 0 — Inside the Bath or Shower Enclosure
Directly inside the bath or shower — the surfaces in direct contact with water. This zone requires fully waterproof, IP67-rated materials. Stone panels are not appropriate in Zone 0.
Zone 1 — Above the Bath or Shower, Up to 2.25m
The area directly above the bath or within the shower enclosure to a height of 2.25m. This zone receives regular direct water contact — splashing, steam condensation, and spray. Only fully waterproof panels rated for wet area use are appropriate here. Our waterproof bathroom wall panel guide covers Zone 1 options.
Zone 2 — 600mm Around the Bath or Shower
The area 600mm horizontally from the bath rim or shower enclosure, and up to 2.25m high. This zone receives occasional splashing and regular steam exposure. Water-resistant (not necessarily fully waterproof) panels are appropriate here with correct installation and sealing.
Outside the Zones — Dry Areas
Any bathroom surface more than 600mm from a water source — the wall behind a door, the wall facing the window, walls beyond the immediate bath/shower area — is considered a dry area. Standard interior wall panels, including faux stone panels like RockSurface®, are appropriate in dry bathroom areas with standard installation.
The wall behind a freestanding bath — not the surround (which is Zone 1), but the feature wall visible behind the bath from across the room — is typically a dry or Zone 2 area. A full-height stone panel wall here creates a luxurious spa-like quality that defines the bathroom. This is the highest-impact stone panel application in a bathroom context.
Vanity Feature Wall
The wall behind the vanity unit and basin — above the backsplash height — is a dry zone in most bathroom layouts. Stone panels here create a striking backdrop for the vanity mirror and lighting, giving the bathroom a hotel-quality finish. Ensure the panel does not extend into the Zone 2 area around the basin without appropriate sealing.
Main Bathroom Wall
The largest wall in the bathroom — often the wall opposite the door, or the wall facing the window — is a dry zone in most layouts. Stone accent wall panels on this surface create the room’s visual focal point and set the material character for the entire bathroom.
Behind the Toilet
The wall behind the toilet is a dry zone. Stone panels here add visual weight and character to an otherwise overlooked surface. In smaller bathrooms, this is often the only full wall available for an accent treatment.
Installation in Bathroom Environments
Prepare for Humidity
Even in dry zones, bathrooms experience elevated humidity levels compared to other rooms in the home. Before installing stone panels, ensure the bathroom has adequate ventilation — an extractor fan rated for the room volume, running during and after showering. Poor ventilation leads to moisture accumulation behind panels that can cause adhesive failure over time.
Use a Waterproof Adhesive
In all bathroom panel installations, use a moisture-resistant or waterproof construction adhesive rather than a standard interior adhesive. MS polymer or polyurethane adhesives are appropriate choices — they maintain bond strength in elevated humidity environments.
Seal Panel Edges and Joints
At all panel edges, joins, and any interface with wet surfaces (bath rim, shower screen base), apply a colour-matched silicone sealant. This prevents moisture from tracking behind the panels through edge gaps. Silicone sealant remains flexible with temperature and humidity changes, which adhesive or filler does not.
Allow Panels to Acclimatise
Bring panels into the bathroom 24–48 hours before installation and leave them in the room to adjust to the ambient temperature and humidity. This reduces the risk of dimensional changes after installation. Our panel acclimatisation guide explains why this step matters.
Sealing Faux Stone Panels in Bathrooms
Apply a stone-effect sealer or water-resistant topcoat to RockSurface® faux stone panels used in Zone 2 or high-humidity bathroom environments. Use a breathable, water-resistant sealant — not a fully waterproof coating — which allows minor moisture vapour movement while preventing liquid water ingress. Apply two coats following the manufacturer’s instructions and allow full cure before the bathroom is used.
What to Avoid
Do not use standard interior faux stone panels in Zone 1 (direct water contact areas) — use a fully waterproof tile or waterproof panel system instead
Do not install panels without adequate ventilation in the room — poor air circulation causes moisture problems behind any wall treatment
Do not use water-based adhesives in bathroom panel installations — use moisture-resistant adhesives throughout
Do not skip edge sealing — unsealed panel edges in bathroom environments are the most common cause of adhesive failure and panel delamination
Styling Stone Wall Panels in a Bathroom: Four Approaches
Stone wall panels in a bathroom work best when the installation is intentional — a considered design choice rather than a surface covering. These four approaches consistently deliver strong results.
1. Full feature wall behind a freestanding bath: A freestanding bath is already a statement piece; a full stone panel wall behind it elevates the entire room to a spa-quality finish. Choose a warm-toned profile — Highland Rock in grey or brown tones — and keep the remaining walls white or light plaster. The contrast between the stone texture and smooth surfaces is what makes both elements read as deliberate.
2. Shower enclosure feature wall: One panelled wall inside the shower — typically the head end or the wall opposite the door — transforms the shower experience. This requires panels rated for wet zone use with all joints properly sealed. The result feels significantly more luxurious than standard tiling at a similar or lower cost per m².
3. Vanity backsplash behind basin: Stone panels behind the basin and mirror area add texture and character to the most-viewed part of the bathroom without requiring full-wall coverage. A 600mm height backsplash treatment behind twin basins in an en-suite bathroom delivers high visual impact with relatively small material cost.
4. Half-wall below a dado level: A stone panel treatment from floor to approximately 1,100mm, with the upper wall in white paint or complementary tile, gives a bathroom a period bathroom aesthetic. Works particularly well in larger bathrooms where the scale of a half-wall treatment is proportionate to the room size.
FAQs: Stone Wall Panels for Bathrooms
What type of faux stone panel is best for a bathroom? For wet zone applications (within 600mm of a shower or bath), specify polyurethane (PU) faux stone panels — not polystyrene or paper-backed products. PU panels are non-porous, moisture-resistant, and won’t degrade in a humid environment. Confirm the product rating with the supplier before purchasing for bathroom use.
Can faux stone panels go behind a radiator in a bathroom? Yes. Faux stone panels are not affected by the radiant heat from standard bathroom radiators. Maintain a standard installation gap between the radiator and the wall surface for airflow. For heated towel rails surface-mounted through the panel, use a core drill to create clean entry points and seal around the rail with waterproof silicone.
Do stone wall panels work in a small bathroom? Yes, with careful profile selection. In a small bathroom, fine-textured or lower-relief profiles (like Highland Rock) read better proportionally than heavily dimensional profiles. One panelled feature wall in a small bathroom creates a strong design moment without making the space feel smaller — full four-wall stone panelling in a small bathroom would feel overwhelming.
How do I maintain stone panel appearances in a bathroom long-term? Regular wiping with a damp cloth prevents soap scum and limescale build-up in the panel’s textured surface. In hard water areas, a weekly wipe with diluted white vinegar solution removes mineral deposits before they harden. Reseal all panel joints with fresh silicone if existing seals show cracking or discolouration — this is typically needed every 5–7 years.
Browse RockSurface® Stone Panels for Bathrooms
The Panel Hub RockSurface® collection includes stone panel profiles suitable for dry and Zone 2 bathroom applications. Each panel is backed by a 5-year warranty, free US delivery, and 24/7 support if you need guidance on placement and installation. Order a sample to see how the stone texture looks in your bathroom space before committing to a full wall installation.