Tag: feature wall ideas

  • How to Create a Geometric Feature Wall: Planning, Patterns & Installation Guide

    How to Create a Geometric Feature Wall: Planning, Patterns & Installation Guide

    Why a Geometric Feature Wall Works

    Why a Geometric Feature Wall Works
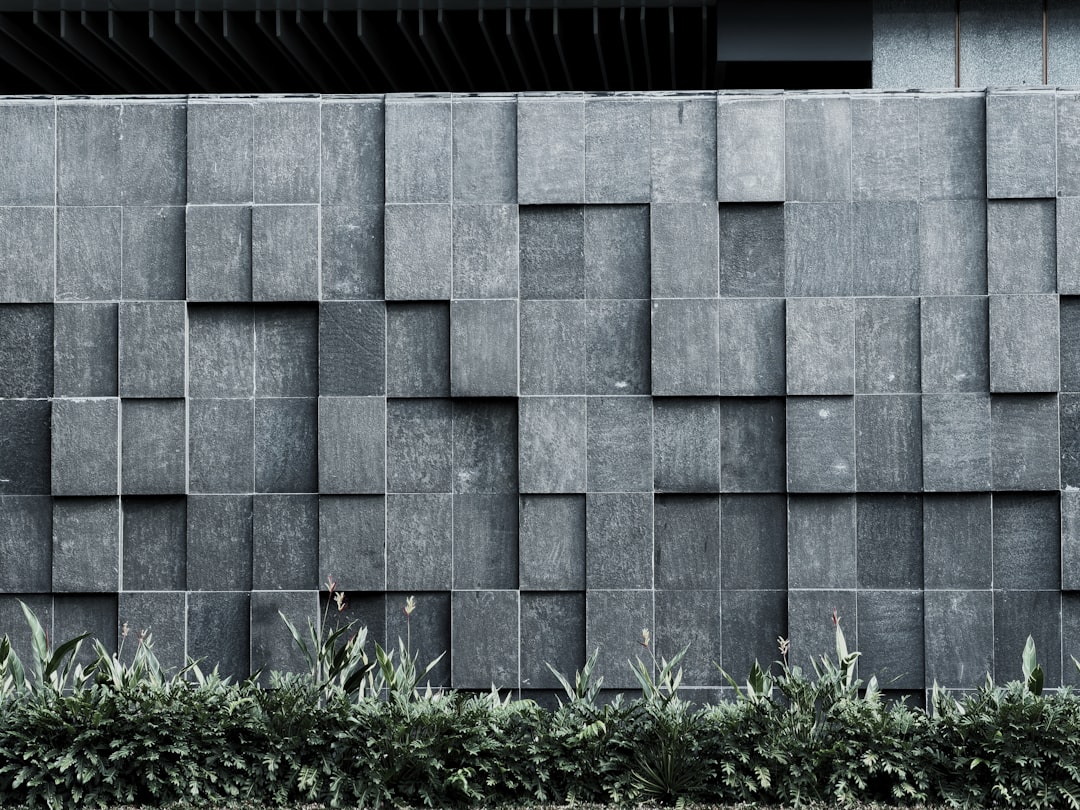
    Photo by Hoang Dang Khoa on Unsplash

    A feature wall — a single wall treated differently from the others in a room — is one of the most powerful tools in interior design. It creates a focal point, defines the room’s visual hierarchy, and gives furniture a designed backdrop to sit in front of rather than floating in an undefined space.

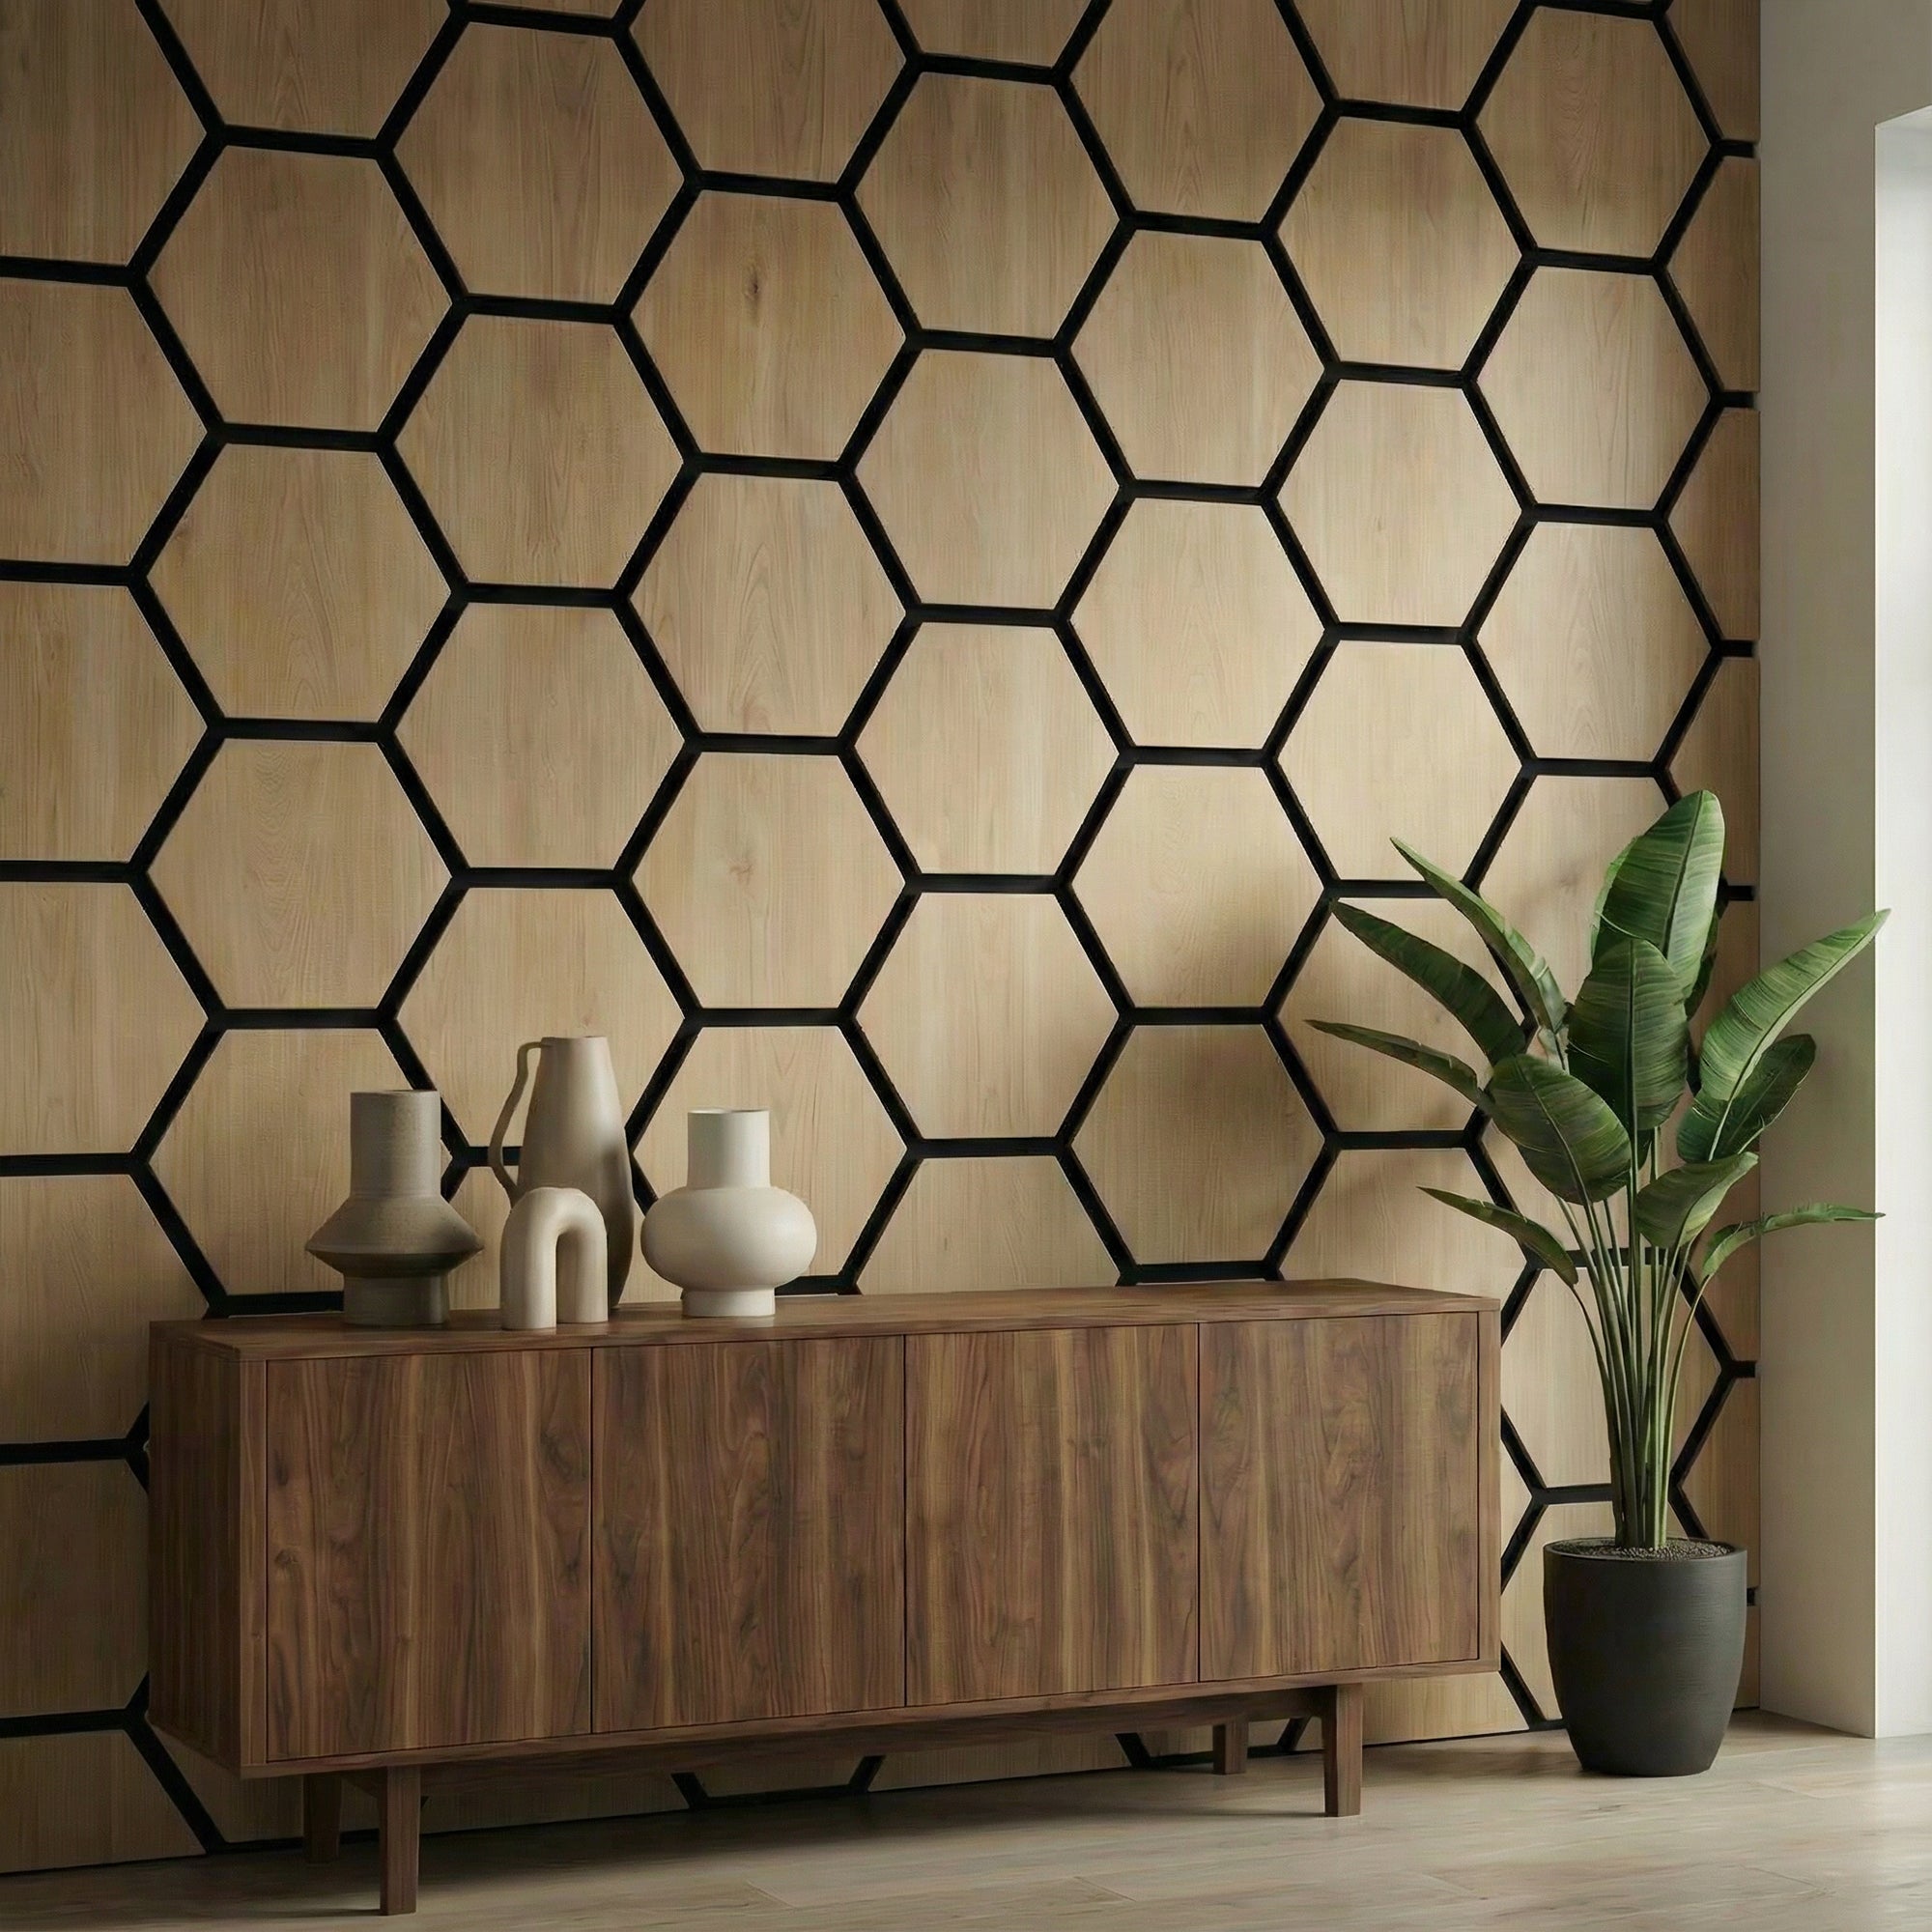
    A geometric feature wall does this with particular effectiveness because geometric patterns create structure and precision — a sense that the wall has been designed rather than merely finished. The precision of a geometric pattern in solid wood, like the panels in the GroovePanel® collection, adds a layer of material quality that painted geometry and wallpaper patterns cannot match.

    This guide covers every decision in the process: choosing which wall to feature, selecting the right geometric pattern, planning the installation, and executing it correctly.

    Step 1: Choose the Right Wall
    Step 1: Choose the Right Wall
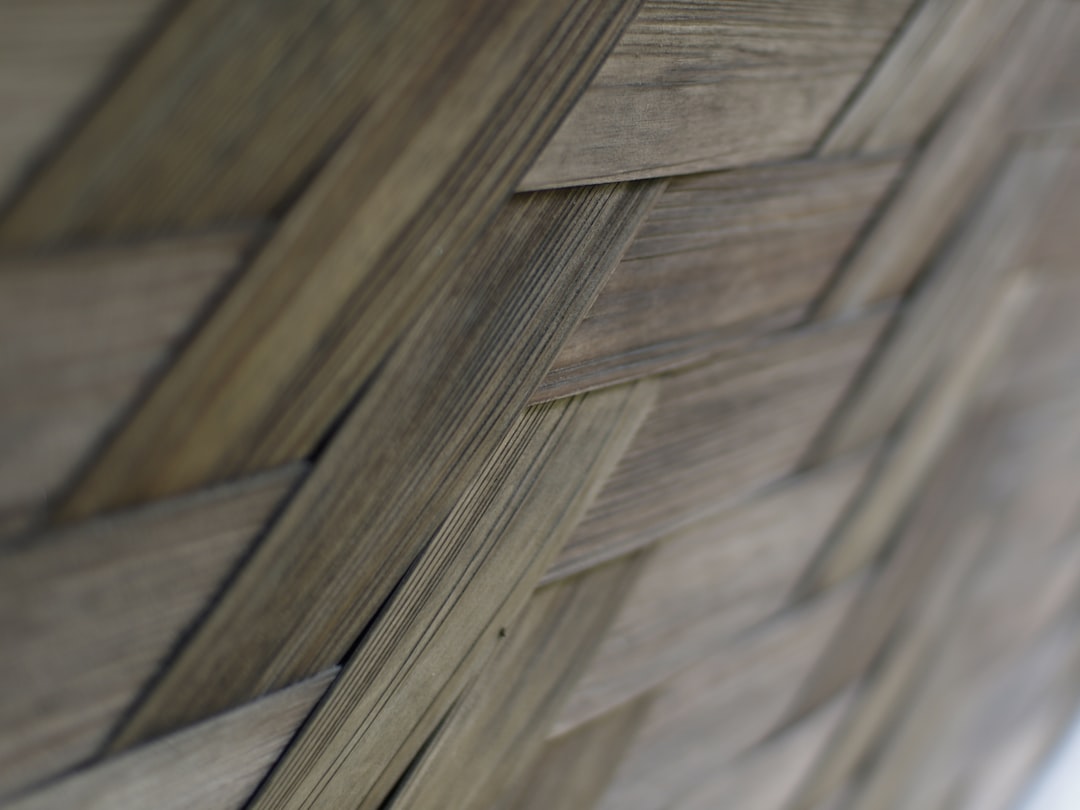
    Photo by Darren Ee on Unsplash

    Not every wall in a room works equally well as a feature wall. The right choice depends on architecture, furniture arrangement, and how the room is used.

    The Wall You Face Most

    The single most reliable rule: feature the wall you spend the most time facing. In a living room, this is usually the sofa wall (the wall the sofa is placed against) because the main seating faces it. In a bedroom, it is the headboard wall. In a dining room, it is the wall at the end of the table. This wall receives the most visual attention, so it benefits most from design investment.

    The Architectural Focal Point

    If a room has a natural architectural focal point — a chimney breast, an alcove, a bay — consider featuring that element. Panelling a chimney breast emphasises the fireplace as the room’s organisational centre. Panelling a deep alcove transforms a recessed void into a designed feature.

    Walls to Avoid

    Walls with many interruptions — multiple doors, windows, or radiators — are harder to feature successfully because the panel installation is fragmented by the interruptions. Walls with problematic structural issues (significant unevenness, recurring damp) should be addressed before panelling. Our uneven wall preparation guide covers remediation approaches.

    Step 2: Select the Geometric Pattern
    Step 2: Select the Geometric Pattern
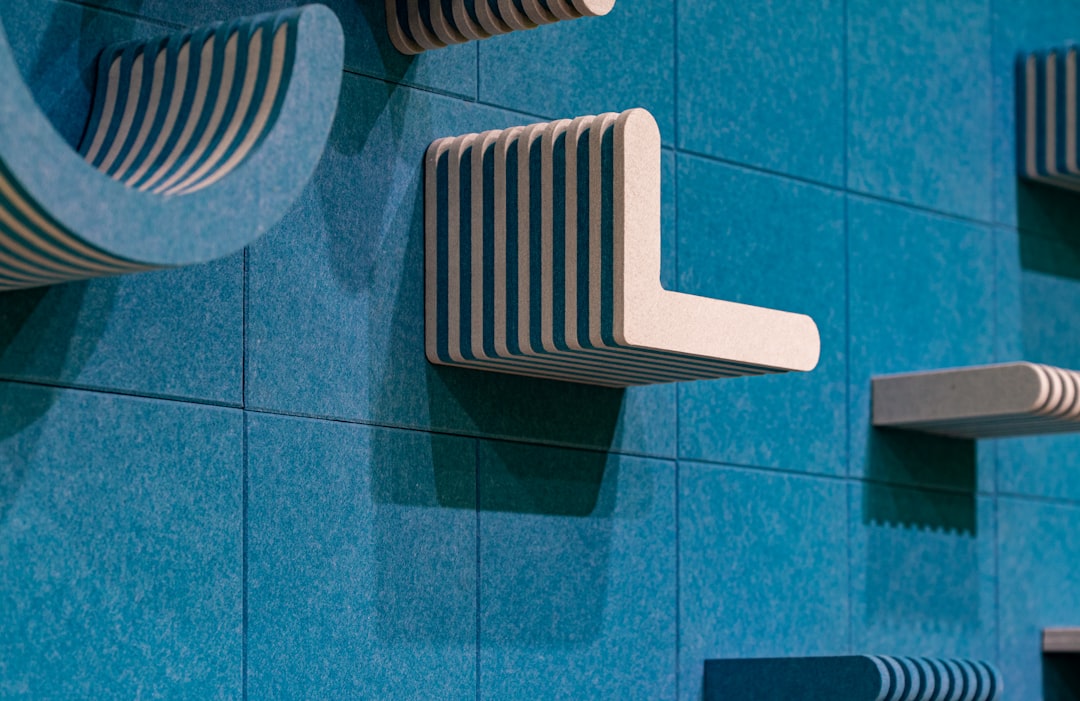
    Photo by Declan Sun on Unsplash

    Crossing Lines (Grid Panels)

    Intersecting horizontal and vertical grooves create an even, all-over texture with no directional emphasis. Best for: rooms where you want textural warmth without a specific focal point pattern; Japandi and minimalist interiors; rooms where the furniture is the main visual event and the wall should be a composed backdrop. See our full Crossing Lines guide.

    Concentric Squares (Radiating Panels)

    Nested squares create a focal-point pattern that draws the eye to the panel centre and radiates outward. Best for: bedroom headboard walls, living room sofa walls, and anywhere a strong visual anchor is the goal. See our full Concentric Squares guide.

    3D Relief Panels

    Stepped and faceted profiles that project from the wall plane. Best for: rooms with strong directional lighting where the shadow-play of physical relief can be exploited. These panels require more considered lighting design than groove-only configurations.

    How to Decide

    Consider three questions: What is the room’s overall design style? What level of visual drama is appropriate? What is the lighting situation? A Japandi bedroom with soft diffuse light calls for fine crossing lines. A contemporary living room with directional downlights could carry 3D relief. A mid-century influenced dining room suits concentric squares. Our geometric panel pattern guide maps patterns to design styles and lighting conditions systematically.

    Step 3: Plan the Layout

    Full Height vs Partial Height

    Full floor-to-ceiling panelling creates maximum impact and reads as fully architectural. Partial panelling — from floor to dado height, or as a framed section within a larger wall — is more restrained and suits rooms where a full-height treatment might feel overwhelming. Both approaches are valid; the choice depends on ceiling height, room volume, and the desired level of drama.

    Full Width vs Panel-Width Section

    Panelling the full width of the wall creates a cohesive, room-defining treatment. A narrower section of panels — centred on the wall, or positioned behind a specific piece of furniture — creates a more focused statement. In a bedroom, a section of panels matching the width of the bed plus some margin creates a perfect headboard-wall effect without requiring the full wall width.

    Pattern Alignment

    On geometric panels with repeating patterns — particularly crossing lines and concentric squares — plan how the pattern will align at wall edges and between panels before installation. Decide in advance whether the pattern should be symmetrical (centred on the wall, with matching cut panels on each side) or whether to start from one edge and run to the other. Symmetrical layouts require careful calculation but read as more deliberate and designed.

    Step 4: Calculate Quantities

    Measure the height and width of the intended panel area. Multiply to get total square footage. Add 10–15% for cuts and waste — more for complex layouts with many obstacles. Use our panel quantity calculator guide to confirm your order before purchasing.

    Step 5: Prepare the Wall Surface

    The wall behind geometric panels must be flat. Surface irregularities that would be invisible behind paint are amplified under a geometric panel system — an uneven wall causes visible gaps at panel edges and prevents the grid pattern from appearing straight. Fill, sand, and skim as required. Allow all remediation work to dry fully before beginning the panel installation.

    Bring panels into the room 24 hours before installation for acclimatisation, particularly in rooms with heating systems that create humidity fluctuations.

    Step 6: Install the Panels

    For GroovePanel® geometric panels:

    1. Mark a precise horizontal reference line at your starting height using a spirit level
    2. Mark a vertical plumb line at your starting side edge — do not rely on the room corner being plumb
    3. Cut panels to size where needed using a fine-tooth saw (cut on the face side)
    4. Apply MS polymer adhesive in a serpentine bead pattern to the panel back, keeping 25mm from edges
    5. Press firmly to the wall, align to reference lines, and secure with finishing nails at panel edges while adhesive cures
    6. Check alignment every two panels and correct before the adhesive sets

    Full detailed instructions are in our step-by-step wood panel installation guide.

    Step 7: Light the Feature Wall

    The finished installation is only as good as the lighting that illuminates it. Plan at least one directional light source aimed at the panel wall — a recessed downlight 300–400mm from the wall face, a wall-wash fixture at ceiling level, or a floor uplight at the panel base. Without directional lighting, the groove depth and shadow-play that define geometric panels is significantly diminished.

    Start Your Geometric Feature Wall

    Browse the GroovePanel® geometric collection at The Panel Hub — including the 3D Geometric Pattern Wooden Panel, Crossing Lines, Concentric Squares, and mosaic formats, all in 100% solid wood. Order a sample to see the pattern, grain, and shadow-play in your own room before committing to a full installation.
  • What Is a Feature Wall? Definition, Purpose, and How to Get It Right

    What Is a Feature Wall? Definition, Purpose, and How to Get It Right

    The Definition

    A feature wall — also called an accent wall or statement wall — is a single wall within a room that’s treated differently from the other three, using a different colour, material, texture, or finish to create a deliberate focal point. The term is used interchangeably with “accent wall” in most contexts, though “feature wall” is more commonly used in British and Australian interiors, and “accent wall” in American design.

    The purpose is always the same: to give a room a visual anchor, add depth, and create intentional design character in a space that might otherwise feel generic.

    Why Feature Walls Work

    Rooms without a focal point feel unresolved — the eye doesn’t know where to land and the space lacks a sense of intention. A feature wall solves this by giving the eye a destination. It:

    • Creates hierarchy in the room — one wall reads as primary, the others as secondary
    • Frames furniture and objects placed in front of it
    • Adds depth and dimension without changing the room’s footprint
    • Allows a design statement without committing every surface in the room to that aesthetic

    Which Wall Should Be the Feature Wall?

    Almost always, the feature wall is the one your eye falls on first when entering the room. In practice, this is usually:

    • Living room: The wall behind the main sofa, or the wall the TV sits on
    • Bedroom: The headboard wall — behind the bed
    • Dining room: The wall at the head of the table, or the wall a mirror or artwork hangs on
    • Hallway: The wall at the end of the corridor — the one you walk toward
    • Home office: The wall behind the desk — the one visible on video calls

    Avoid choosing a feature wall that has multiple doors or windows — the interruptions fragment the treatment and reduce its impact.

    Feature Wall Materials

    The material choice determines both the aesthetic character and the practical performance of the feature wall. Options include:

    • Paint: Lowest cost, most reversible, zero texture
    • Wallpaper: Pattern and print, no inherent texture
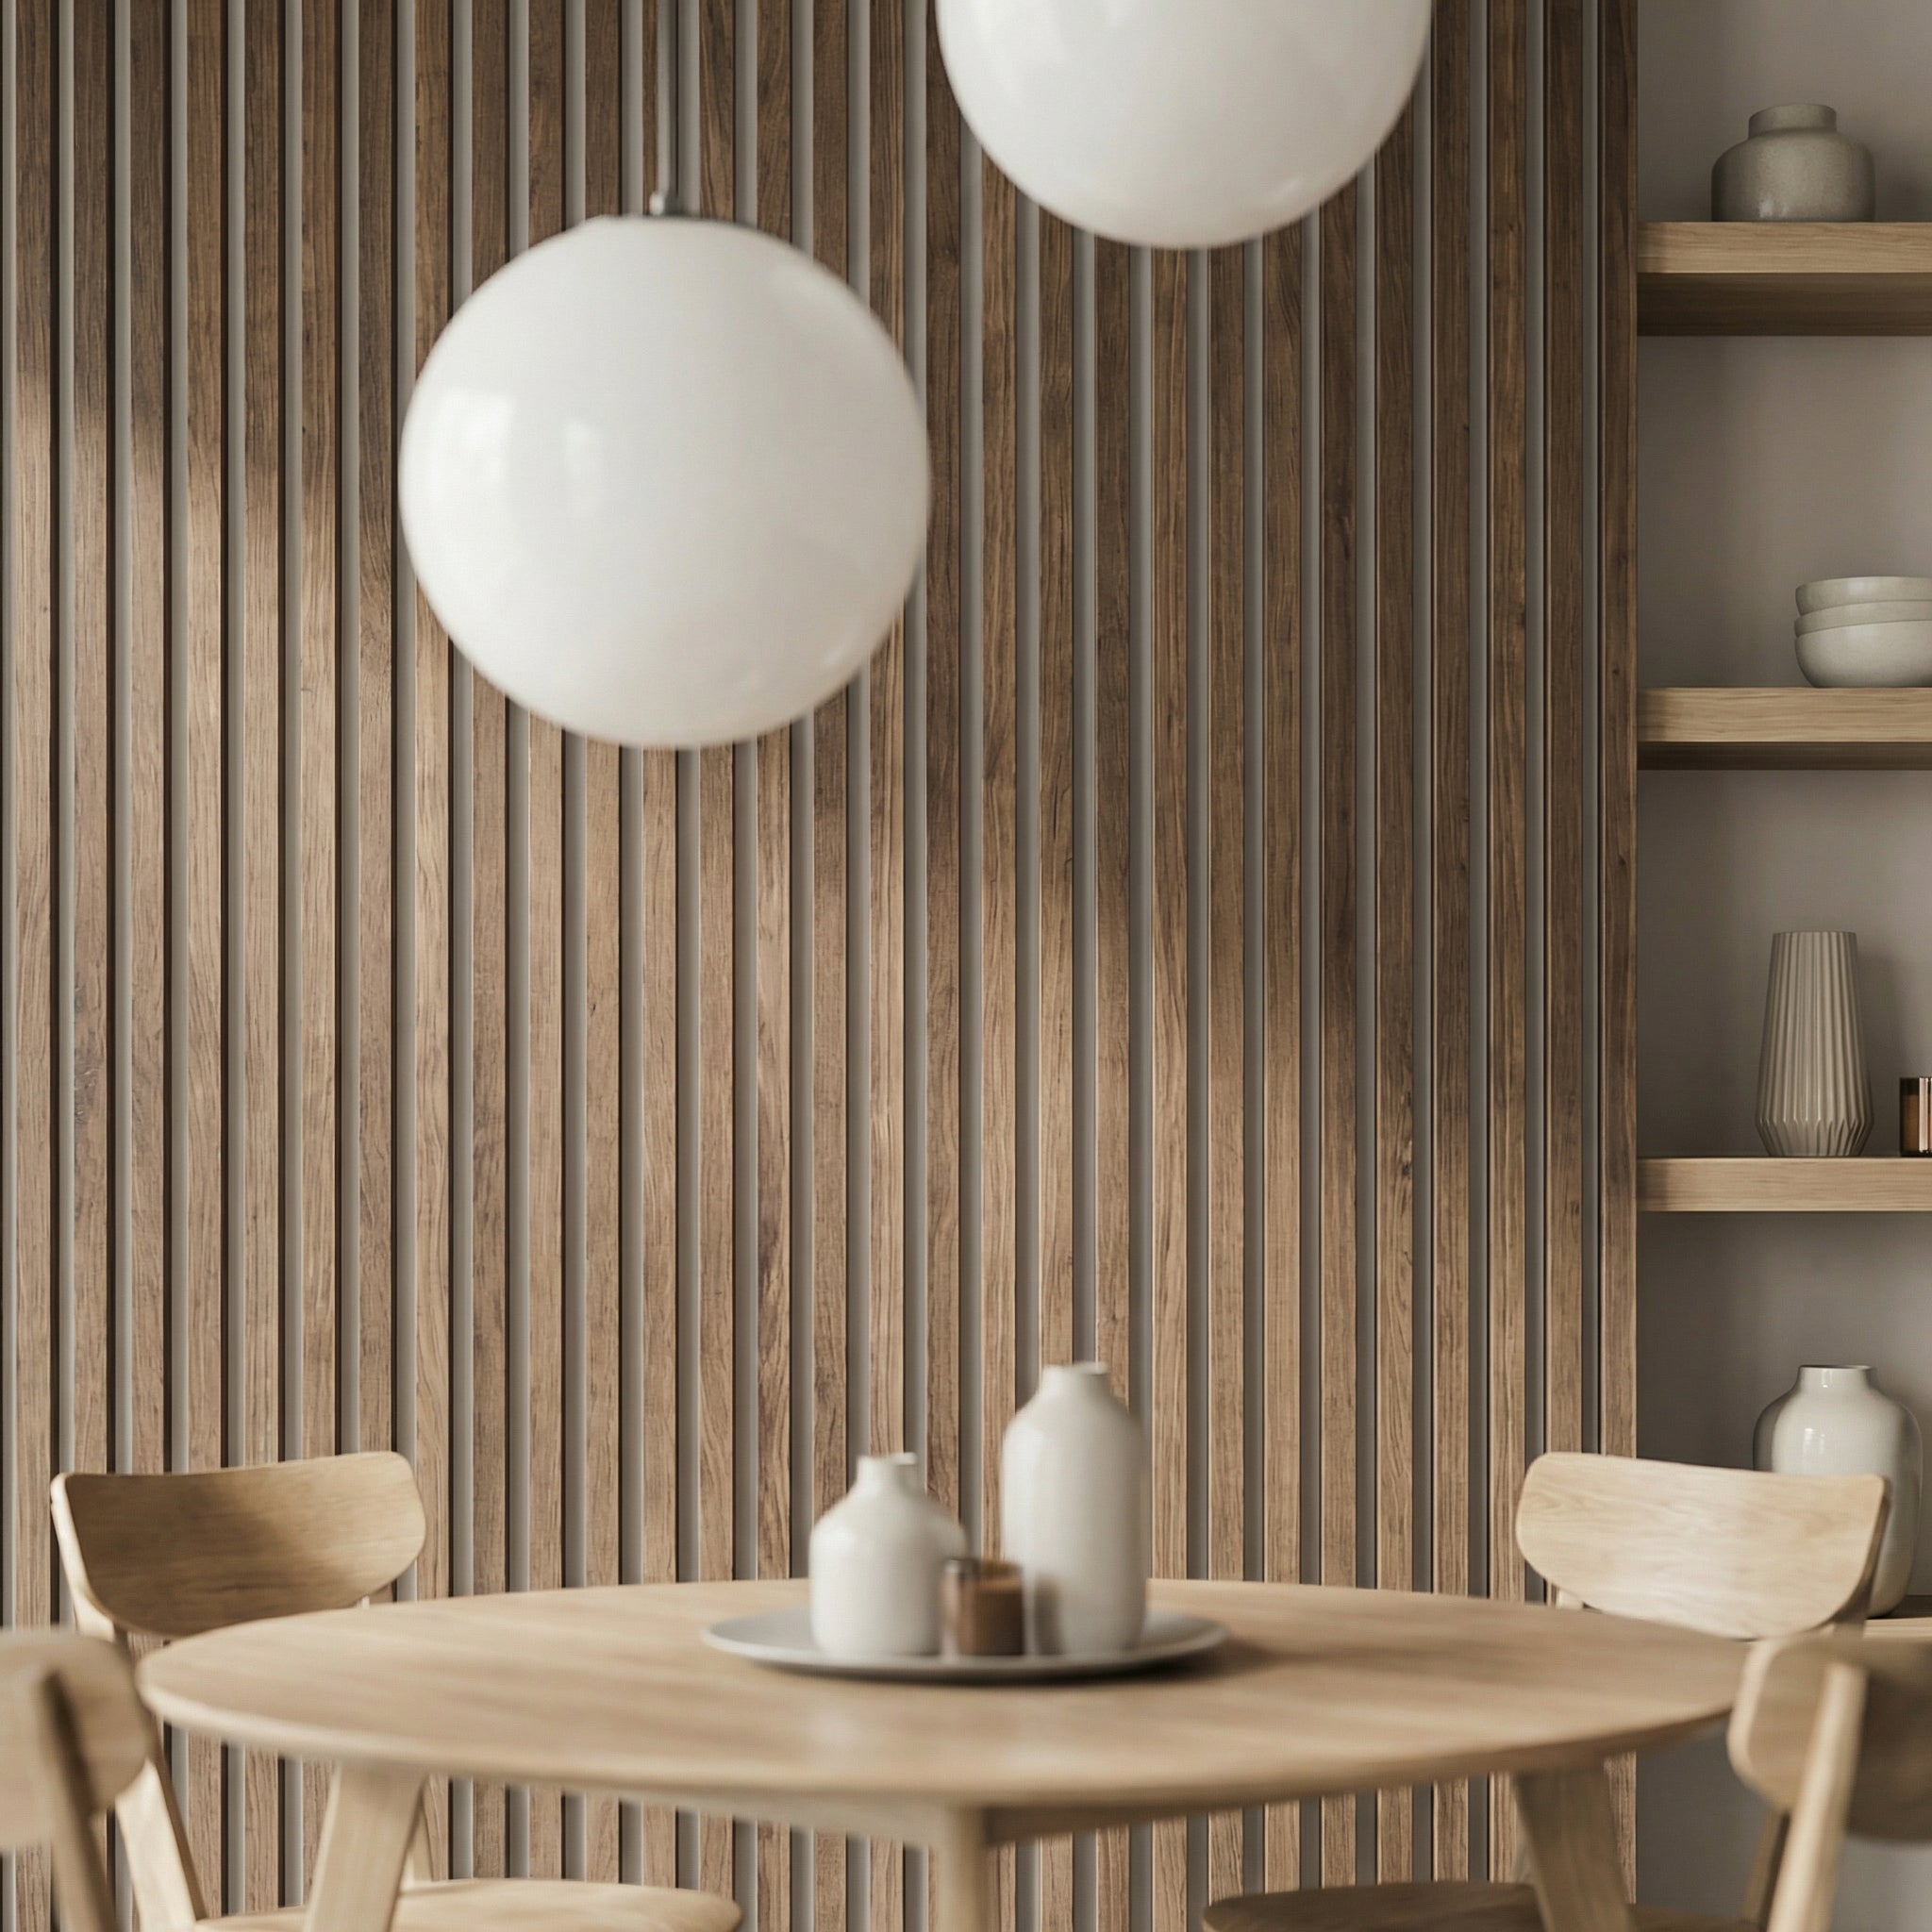
    • Wood slat panels: Real texture, warmth, acoustic performance — the highest-impact material option
    • Stone or brick effect panels: Weight and character without structural requirements
    • Wainscoting and mouldings: Traditional architectural detail

    For specific material ideas across different rooms, see our guides on feature wall ideas for living rooms and bedroom accent wall ideas — both cover the full range of options with design guidance.

    What Makes a Feature Wall Unsuccessful

    Not all feature walls work. Common mistakes:

    • Wrong wall choice: Treating a wall that isn’t the natural focal point confuses the room’s hierarchy rather than clarifying it.
    • Competing with the furniture: A bold, busy feature wall behind equally bold furniture creates visual noise rather than focus.
    • Scale mismatch: A small accent treatment (a narrow panel, a single small artwork cluster) on a large wall looks tentative rather than deliberate. Go floor-to-ceiling or not at all.
    • Ignoring the other walls: Feature walls work because of the contrast with adjacent walls. If the other walls are also busy or strongly coloured, the feature wall loses its authority.

    The One-Rule Test

    Before committing to any feature wall treatment, stand in the doorway of the room. Look at the wall you’re planning to treat. Ask: does this wall already draw my eye, or am I forcing it? If you’re forcing it, reconsider the wall choice. If your eye naturally goes there, you’ve found the right wall. The treatment you choose for it will amplify what’s already there — it won’t create a focal point where one doesn’t exist naturally.

    For the full inspiration range, our 15 accent wall ideas guide covers materials, styles, and room types from paint to premium wood panels.

    How to Get a Feature Wall Right: Practical Principles

    The difference between a feature wall that looks intentional and one that looks like an afterthought comes down to three things: scale, contrast, and restraint.

    Scale means the feature treatment should be appropriately sized to the wall. A small framed print on a large wall reads as timid. A bold material — panels, stone cladding, or a full-wall mural — needs to fill enough of the surface to command attention. As a benchmark, the feature element should occupy at least 60–75% of the wall’s total area.

    Contrast means the feature wall must visually differ from the surrounding walls. This difference can be material (wood against plaster), tone (dark against light), or texture (three-dimensional surface against flat paint). Without sufficient contrast, the feature wall blends in and the effect is lost.

    Restraint means the remaining three walls should recede. Keep them in neutral, non-competing tones and avoid adding competing visual interest. A feature wall only becomes a feature when everything else is calm around it.

    On a practical level: always ensure the chosen wall is structurally sound and moisture-free before applying any material. A beautiful panel installation that develops damp patches or adhesive failure within twelve months has cost more than a properly prepared wall.

    Feature Wall FAQs

    Does every room need a feature wall?
    No. Feature walls work best in rooms where a single, clear focal point is beneficial — living rooms, bedrooms, dining rooms, home offices. In busy rooms like kitchens, or rooms with complex layouts and multiple focal points, a feature wall can add to visual noise rather than resolving it.

    Is a feature wall the same as a focal point?
    A focal point is the element a room is designed around — a fireplace, a large window, a piece of art. A feature wall is a focal point created through surface treatment. All feature walls are focal points, but not all focal points are feature walls.

    What is the difference between a feature wall and an accent wall?
    The terms are used interchangeably in practice. Some designers use “accent wall” for simple paint treatments and “feature wall” for more involved material or panel installations, but there is no strict industry distinction.

    Can feature walls go out of style?
    Feature walls in natural materials — wood, stone, tile — have very long design lifespans and do not date quickly. Feature walls in trend-specific colours or novelty finishes can feel dated faster. The more the material is a natural or neutral one, the longer it stays relevant.

    Shop Feature Wall Panels

    Browse the complete wood wall panel collection at The Panel Hub — including the SoundPanel™ acoustic slat range and GroovePanel® mosaic tiles, the most popular feature wall panel systems. For 50+ real-room feature wall applications showing how panels look in finished interiors across every style, our interior slat wall ideas guide is the most comprehensive reference available. The acoustic panel buyer’s guide explains the performance dimension that sets acoustic panel feature walls apart from purely decorative alternatives.