Table of Contents
What Are Geometric Wood Wall Panels?
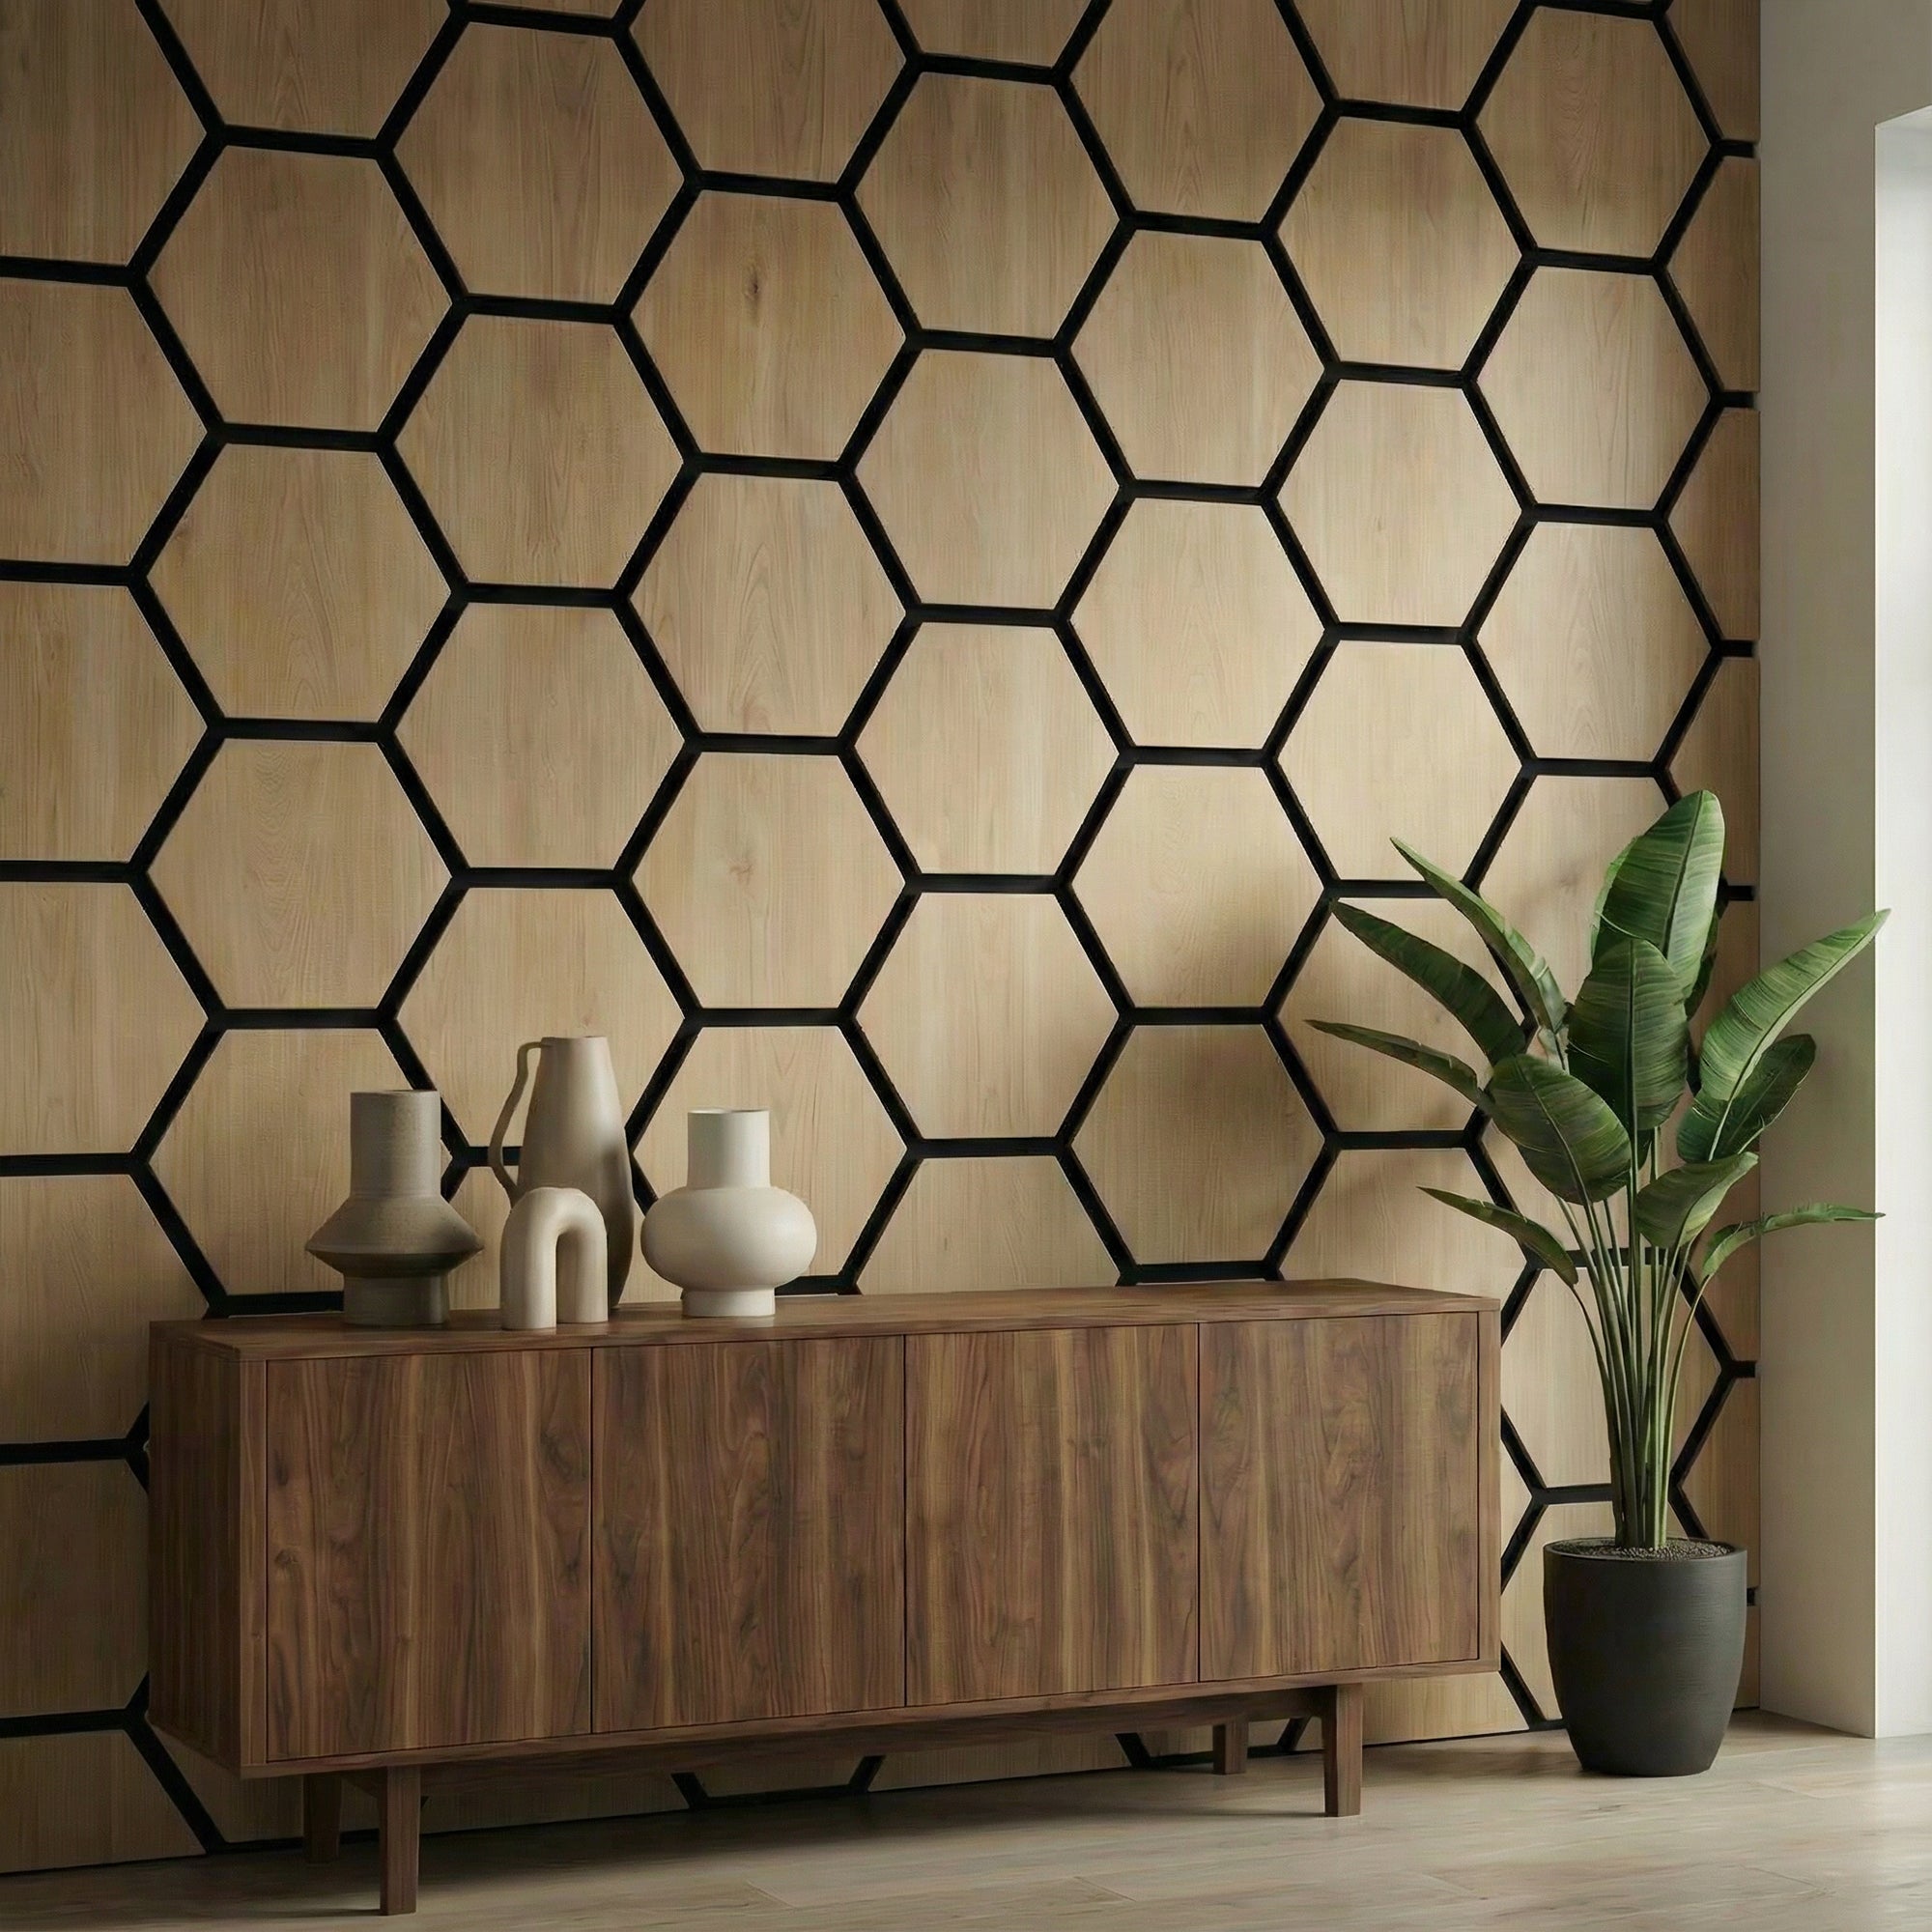
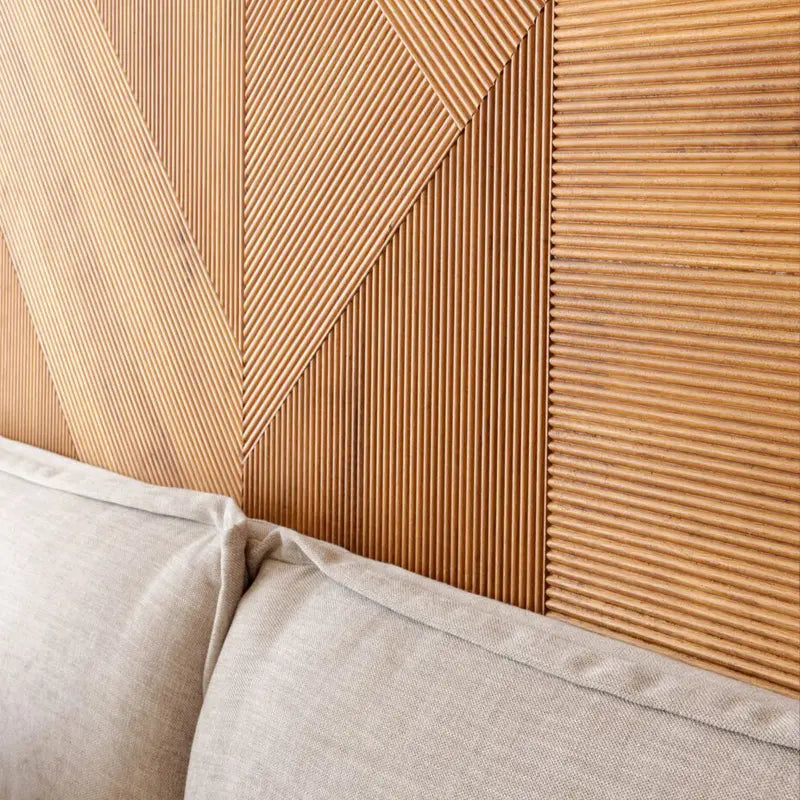
Geometric wood wall panels are solid or engineered wood panels with precision-cut patterns — grid lines, concentric shapes, 3D relief, or interlocking angular forms — that create visual depth and rhythm on a flat wall surface. Unlike plain slat panels that rely on linear spacing for texture, geometric panels use the panel face itself as a design canvas, with grooves and relief work that cast shadows and shift in appearance as the light changes throughout the day.
The result is a wall that does more than fill space. At The Panel Hub, our GroovePanel® geometric wood wall panels are crafted from 100% solid wood throughout — no MDF core, no veneer face — so the same natural grain runs across the face, the cut edge, and the back of every panel.
The Main Types of Geometric Wood Panel Patterns
Crossing Lines

Horizontal and vertical grooves intersect to create a grid or lattice pattern across the panel face. The depth and width of the grooves determine how bold or subtle the effect appears. Shallow, narrow cuts read as refined texture; deeper, wider cuts produce strong shadow lines that read as deliberate pattern even from across a room. Crossing lines patterns suit modern, minimalist, and Japandi-influenced interiors where geometric precision is part of the design language.
Concentric Squares

Grooves cut in a series of nested squares — each progressively smaller, one inside the last — create a radiating, architectural motif on the panel surface. Concentric square panels carry a mid-century modern sensibility but work equally well in contemporary spaces. Installed across multiple panels, the pattern can align panel-to-panel for a continuous repeating motif, or stagger deliberately for a more relaxed, broken-grid effect.
3D Relief Panels

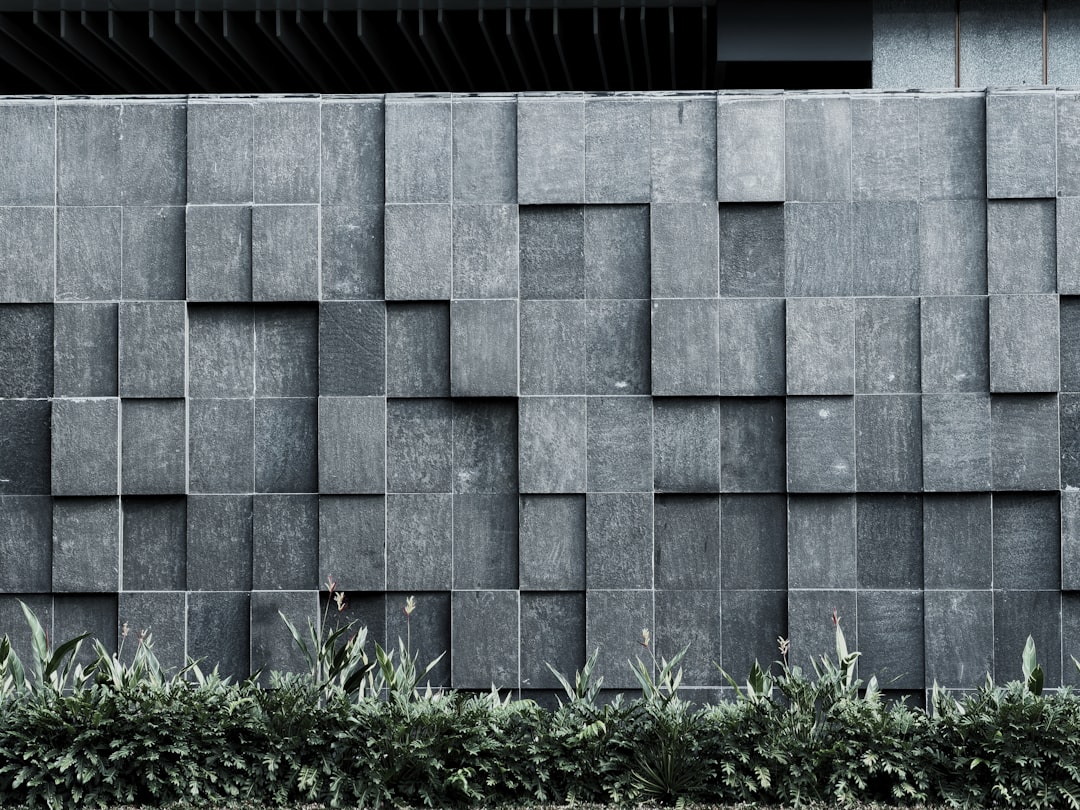
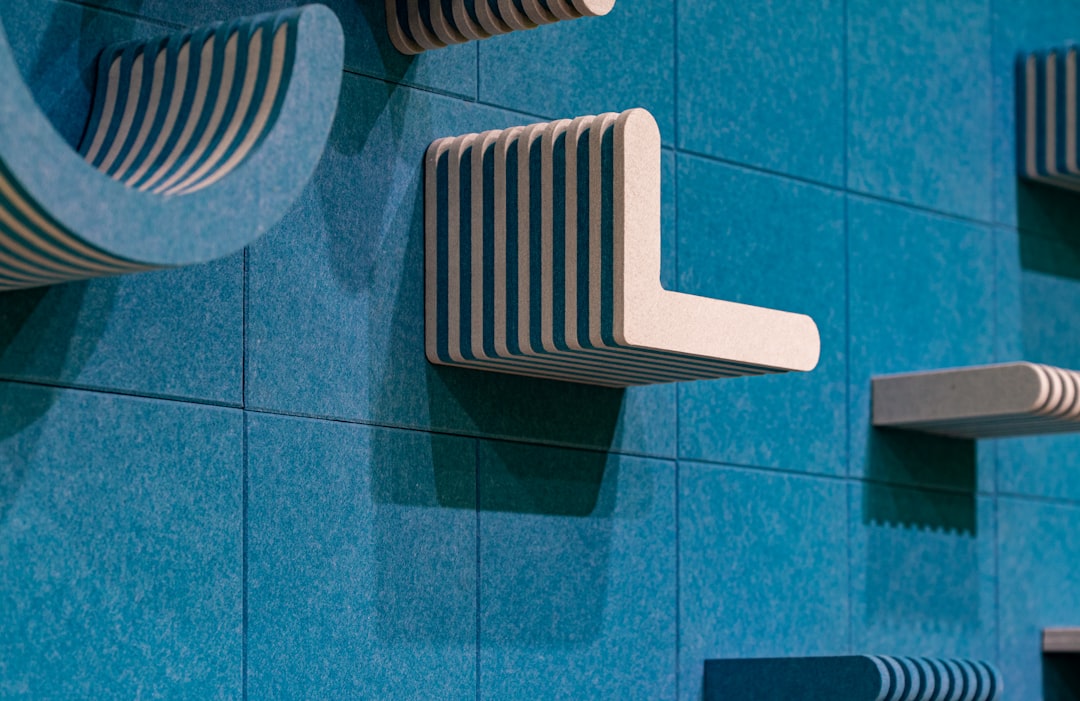
Relief panels use the panel thickness itself to create dimensional geometry — stepped profiles, angular facets, or raised elements that project from the wall surface. These panels respond dramatically to light: under directional downlights or raking wall-wash fixtures, the shadow cast by each relief element becomes part of the design. In flat or diffuse light, the same panel reads more quietly. 3D relief is the most dramatic of the geometric categories and works best as a singular feature wall rather than a room-wide application. The 3D Geometric Pattern Wooden Panel is the most versatile entry point — a solid wood relief panel that delivers strong shadow definition without requiring the precise centring of a concentric square format.
Diamond and Diagonal Patterns

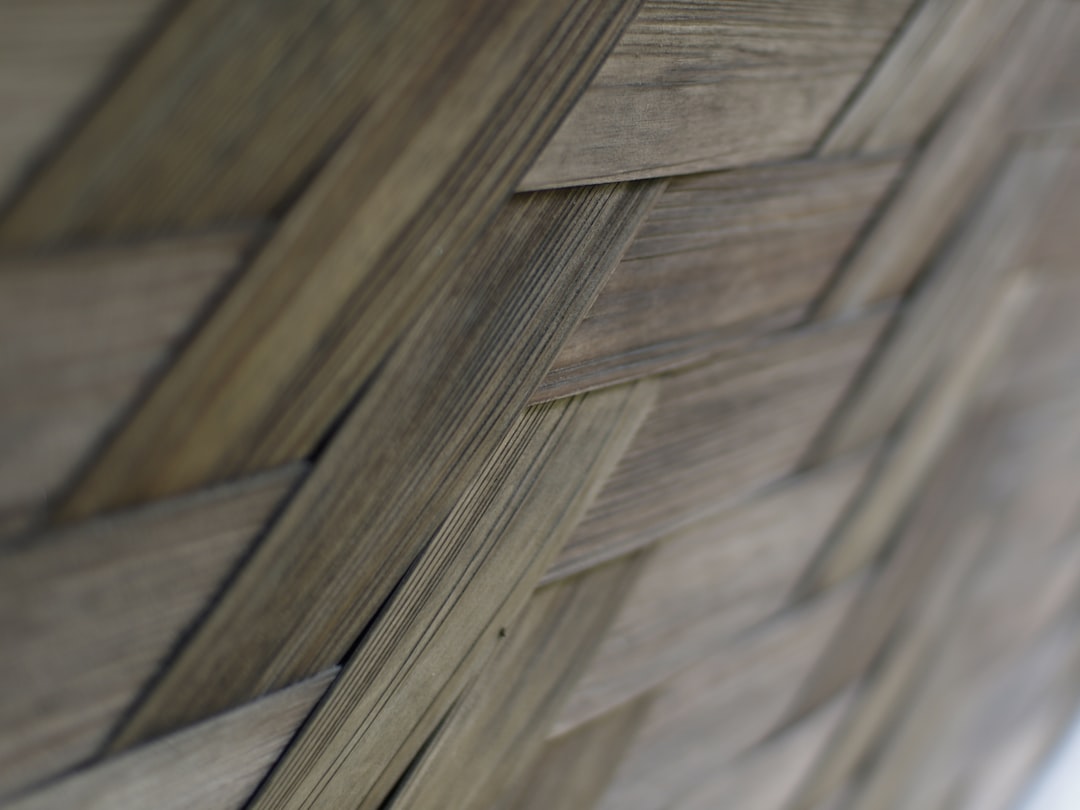
Diagonal groove lines or diamond-shaped relief elements introduce dynamic movement — the eye follows the diagonal rather than settling, which makes a room feel more energetic and less static. Diamond patterns suit statement walls in hallways, behind beds, and in commercial or hospitality environments where high visual impact is the primary goal.
Where to Use Geometric Wood Panels
Living Room Feature Wall
The most common application is a single wall behind a sofa or within an alcove. Geometric panels work well here because the room’s main seating faces the wall directly, so the pattern is viewed from a consistent distance and angle. Crossing lines or concentric square patterns suit rooms with existing geometric elements in furniture or textiles. 3D relief panels suit rooms with good directional lighting already in place — or planned.
Behind the Bed
Geometric panels behind a bed function as an architectural headboard — framing the sleeping space without requiring a separate furniture piece. For bedrooms, subtler geometric patterns (shallow crossing lines, fine grid work) suit a calm environment better than bold 3D relief. Our bedroom wood wall panel guide covers placement and pattern selection in detail.
Home Office
Geometric panels behind a desk make an immediate impression on video calls without requiring art, accessories, or additional styling. A single panelled wall in a home office reads as intentional and professional — a designed space rather than a spare room. Crossing lines and grid patterns work particularly well in office contexts because the angular precision of the geometry reinforces a sense of focus and order.
Hallway and Entrance
Narrow hallways benefit from geometric panelling because the pattern provides visual interest in a space where there is little room for furniture or art. Running geometric panels at dado height (halfway up the wall) is a classical approach updated with modern precision-cut geometry rather than traditional raised-and-fielded panels. Our hallway wood panelling guide explores this further.
Commercial and Hospitality Spaces
Hotel lobbies, restaurant feature walls, boutique retail environments, and office reception areas are natural homes for geometric wood panels. The combination of natural wood warmth and geometric precision positions a brand as high-quality and considered. GroovePanel® is FSC® and EPD certified — relevant for commercial projects requiring sustainability credentials for LEED or BREEAM compliance.
How to Choose the Right Geometric Panel for Your Room
Match the Pattern to the Room’s Existing Design Language
Geometric panels look best when the pattern language connects to something already present in the room. A space with grid-patterned textiles, rectangular furniture silhouettes, and straight architectural lines will carry crossing lines or concentric square panels naturally. A room with curved furniture and organic forms can still use geometric panels, but the panel should be the single geometric anchor rather than competing with other angular elements.
Consider Scale Relative to Room Size
Larger groove patterns and deeper relief elements suit larger rooms and taller ceilings where the scale of the pattern can breathe. In smaller rooms, fine-scale geometric patterns — tighter grid spacing, shallower groove depths — are more appropriate. An oversized geometric pattern in a small room can feel aggressive rather than designed.
Plan Your Lighting First
3D relief panels require directional light to perform properly. Before specifying them, confirm whether the wall receives raking daylight from a nearby window, or whether you can add directional downlighters or wall-wash fixtures above the panel. Crossing lines and concentric patterns are less light-dependent — they create pattern and visual interest in any light condition.
Why Solid Wood Holds Geometric Cuts Better Than MDF Veneer
For geometric panels with precision-cut grooves, core material matters significantly. MDF core panels with wood veneer faces can struggle to hold crisp groove edges over time — the MDF compresses slightly at cut edges, and thin veneer on the face can separate at groove lines with seasonal movement. 100% solid wood holds a precision cut permanently. The grain runs through the groove edge identically to the face — there is no veneer edge to separate or delaminate. Our MDF vs solid wood wall panel comparison covers this in full.
Installation
GroovePanel® geometric panels install with standard construction adhesive and finishing nails — no specialist tools required. Panel-to-panel pattern alignment is the key technique: on geometric panels with repeating patterns, how the pattern meets at panel joints determines whether the installation reads as one continuous surface or a series of segments. Full installation instructions are in our step-by-step wood panel installation guide.
Geometric Wood Wall Panel FAQs
What are geometric wall panels?
Geometric wall panels are decorative panels cut or assembled into repeating shapes such as triangles, diamonds, chevrons, or layered 3D relief. They are used on feature and accent walls to add texture, depth, and a designed look that flat paint or wallpaper cannot achieve.
Are geometric wood panels real wood?
It depends on the maker. Many are printed vinyl or a thin veneer over MDF. The Panel Hub’s GroovePanel geometric range is 100% solid wood throughout, so the grain and tone are authentic on every surface and the cut edges stay crisp over time.
Where should I use a geometric feature wall?
They work best on a single feature wall rather than a whole room. Popular spots are behind a bed, behind a living-room sofa or TV, in an entryway, or on a client-facing office or reception wall.
Are geometric panels hard to install?
No, but they take a little more care than plain panels because the pattern needs to line up at each seam. Get the first panel level and aligned, then work across the wall. Most panels fix with a panel adhesive, with screws added for heavier solid-wood options.
Shop geometric wood wall panels


Browse Geometric Wood Wall Panels
The GroovePanel® collection at The Panel Hub includes Crossing Lines, Concentric Squares, and 3D relief panels — all 100% solid wood, FSC® certified, with a 5-year warranty and factory-direct pricing. Free US shipping, 60-day returns, and 24/7 support if you need help choosing. Order a sample before committing to a full wall.