Tag: hallway

  • Dado Rail Paneling Ideas: How to Update Half-Height Wall Paneling

    Dado Rail Paneling Ideas: How to Update Half-Height Wall Paneling

    Dado rail paneling is one of the oldest wall treatments in domestic architecture, but it’s gone through a significant design evolution. What was once almost exclusively a traditional feature — painted woodwork, raised panels, deep architraves — has become a versatile format that works in everything from period properties to contemporary hallways. At The Panel Hub, we see dado rail paneling as one of the smartest ways to use wood wall panels — it adds character and depth while leaving the upper wall free to breathe.

    What Is Dado Rail Paneling

    Dado rail paneling refers to wall treatment applied to the lower portion of the wall — typically from the skirting board up to around 90–110cm, where it’s capped with a horizontal rail (the dado rail). The treatment below the rail can be flat paneling, raised or recessed panels, tongue-and-groove boarding, or — increasingly — contemporary slat or textured panels. The upper wall is usually left plain or painted in a contrasting or complementary colour.

    The dado rail itself can be a traditional wooden moulding or a simple square-edged timber batten in more contemporary schemes.

    Why Dado Rail Paneling Works in Hallways

    Hallways are high-traffic areas where lower walls take the most abuse — scuffs, marks, and wear from bags, coats, and passing contact. Dado rail paneling solves this practically while creating strong visual interest. It also helps with proportions: in hallways that feel narrow or tall, adding a horizontal break at dado height grounds the space and makes it feel more inhabitable.

    Our hallway wall panels are particularly well suited to dado rail schemes because they add texture at exactly the height where it creates the most visual impact.

    Dado Rail Panel Styles to Consider

    Modern slat panels below dado height

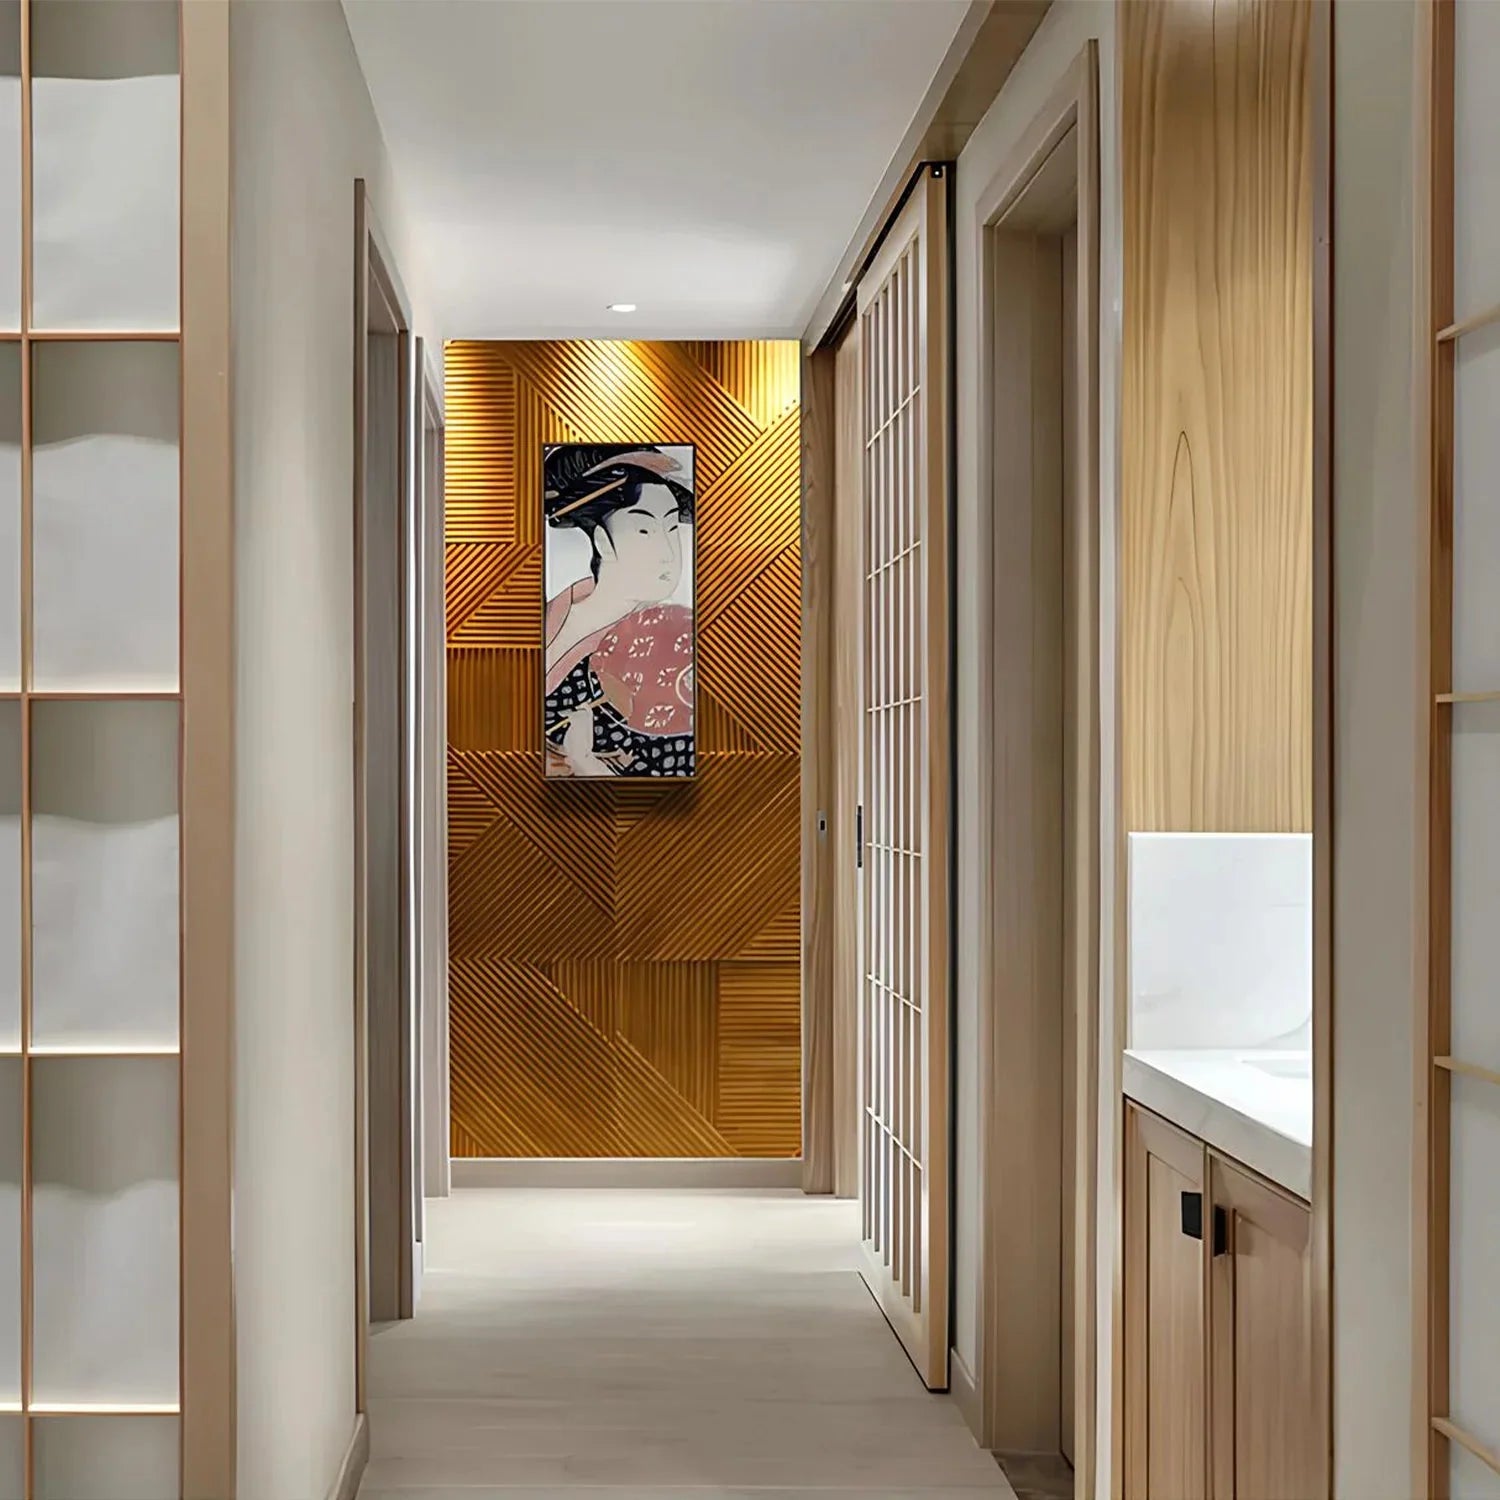
    Vertical slat panels installed from skirting to dado rail height is the most contemporary interpretation of dado paneling. The slats read as texture and warmth, the upper wall remains clean and open, and the overall effect is modern without being cold. This approach works in both period properties and new-builds. Our SoundPanel™ acoustic slat panels work well in this format — they can be cut to height and finished cleanly at the dado rail line.

    Traditional painted timber panels

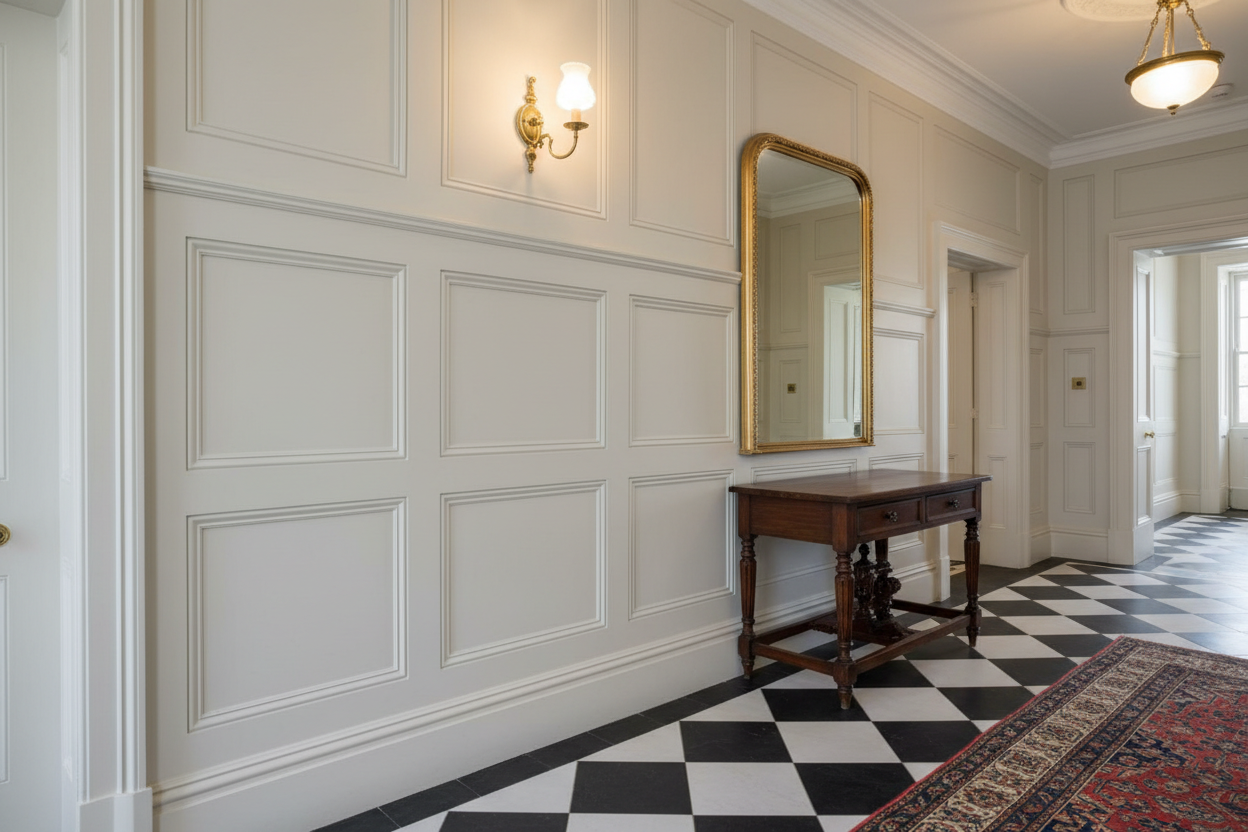
    In period properties, raised or recessed timber panels painted in a deep tone — navy, forest green, charcoal — below a white dado rail is a classic combination. The paint finish unifies the panel detail and the architectural elements without competing with the wall colour above.

    Textured lower panels

    For a contemporary interpretation, textured panels — such as our RockSurface® stone-effect panels — below a simple square dado rail create a strong material contrast with the plain plaster above. This approach works well in hallways where the brief is to make a bold first impression.

    Heights and Proportions

    The traditional dado rail height is around 90–100cm — roughly chair-back height, which is where the term originates (dado rails protected plaster from chair backs in dining rooms). In contemporary schemes, this height is usually appropriate. For rooms with higher ceilings or wider hallways, a slightly higher dado at 110–120cm can improve proportions. For very low-ceilinged spaces, keeping the dado at 80cm or below makes the ceiling feel higher.

    Colour Choices for Dado Rail Paneling

    The most effective colour combinations for dado rail schemes are those that create clear contrast between the lower panel and the upper wall. A mid-toned or dark panel colour below a light upper wall is the most common approach. If the panels are natural wood (rather than painted), allow the timber tone to be the contrast element and keep both upper wall and trim colours neutral — off-white, warm stone, or soft grey all work well.

    Getting Started With Dado Rail Panels

    Choose your dado height first — mark it with a spirit level and chalk line before any installation begins. Then select a panel style that works from skirting to that height. The dado rail itself can be fitted after the panel is installed, covering the top raw edge of the panel cleanly.

    Browse our hallway wall panels and the full wood wall panel collection to find a style that suits your space.
  • Half Wall Paneling Ideas: Styles, Heights, and How to Get the Finish Right

    Half Wall Paneling Ideas: Styles, Heights, and How to Get the Finish Right

    Half wall paneling — paneling the lower portion of a wall rather than the full height — is one of the most popular approaches to adding character to hallways, living rooms, and dining rooms. At The Panel Hub, it’s one of the most common projects our customers undertake, often because it’s more impactful than paint alone and far more manageable than a full-wall installation. The right height, the right panel, and clean finishing details make the difference between a result that looks designed and one that looks unfinished.

    What Is Half Wall Paneling

    Half wall paneling covers the lower portion of a wall — typically from the skirting board up to somewhere between 80cm and 130cm, depending on ceiling height and room proportions. It’s also called wainscoting (in traditional interpretations) or dado paneling. The panel terminates at a horizontal rail or cap, and the upper wall is left plain, painted, or treated differently.

    The term ‘half wall paneling’ is slightly loose — the panel doesn’t need to cover exactly half the wall. In most residential spaces with standard 2.4m ceilings, a panel height of 90–110cm reads as the right proportion. Going higher than 120cm starts to make the upper wall feel like a narrow strip.

    Why It Works So Well

    Half wall paneling works because it adds architectural detail at exactly the right height — the zone most visible when you’re moving through a room. It creates a horizontal line that grounds the space, makes narrow hallways feel more intentional, and gives the eye something to rest on. It also provides a practical layer of protection for the most exposed part of the wall without covering the full surface.

    Critically, it leaves the upper wall open — which preserves light and doesn’t overwhelm smaller rooms the way floor-to-ceiling paneling might.

    Style Options

    Classic wainscoting

    Traditional wainscoting uses raised or recessed timber panels in a grid arrangement, capped with a rail and finished in paint. This suits period properties, Victorian terraces, Georgian hallways, and any home where the architectural detail already leans traditional. Painted in a strong colour — deep green, navy, or warm terracotta — it reads as confident and deliberate.

    Shaker-style half panels

    Shaker panel detailing — flat central panel, simple rail and stile framing — is slightly simpler than full wainscoting and suits a wider range of property types. It works in both contemporary and period settings and is usually painted rather than left as natural timber.

    Modern slat half panels

    Contemporary slat panels installed to dado height are the most popular current interpretation of half wall paneling. Our SoundPanel™ acoustic slat panels and GroovePanel® mosaic panels work in this format — cut to the desired height and finished at the top edge with a square timber batten or a matching cap rail. This approach suits new-builds, contemporary renovations, and any space where the aim is warmth rather than period authenticity.

    Height Guide

    As a starting point: for a standard 2.4m ceiling, a panel height of 90–100cm works for most hallways and living rooms. For taller ceilings (2.7m+), 110–120cm is more proportionate. For rooms that feel particularly narrow or low, err on the lower side. The key test: the upper wall should feel like a defined zone, not an afterthought — if it’s only 30–40cm high, bring the panel down or go full height instead.

    Finishing the Top Edge

    The top edge of a half wall panel installation is where many projects fall down. Options include: a matching timber cap rail painted or stained to complement the panel; a square-edged batten flush with the face of the panel; or a traditional moulded dado rail. The goal is a clean, deliberate horizontal line that reads as a design feature rather than a cut edge.

    Colour Pairings

    For natural wood panels (rather than painted), keep the upper wall in a neutral — off-white, warm stone, or light greige — so the timber tone stands out clearly. For painted half-wall paneling, the classic approach is a darker lower panel with a lighter upper wall. The colour break at the dado line creates visual interest without needing pattern or decoration above.

    Where Half Wall Paneling Works Best

    Hallways and stairwells are the classic location — the combination of high traffic, narrow proportions, and the need for a strong first impression makes half wall paneling almost always the right answer. Living rooms, dining rooms, and bedrooms all work well too. Kitchens can work if the panel is away from moisture and cooking zones.

    Explore our hallway wall panels and the full wood wall panel range to find the right style and finish for your project.

  • How to Panel a Hallway: A Practical Guide to Hallway Wall Paneling

    How to Panel a Hallway: A Practical Guide to Hallway Wall Paneling

    A paneled hallway makes a better first impression than almost any other single change you can make to a home’s interior. At The Panel Hub, hallways are one of the most common spaces where customers install wood wall panels — and for good reason. The results are dramatic, the installation is manageable for a competent DIYer, and the improvement to both aesthetics and acoustics is immediate. This guide covers everything from choosing the right panel to getting a clean finish.

    Why Hallways Benefit From Wall Paneling

    Hallways are transition spaces — the first room you see when you enter a home and the last before you leave. They’re often narrow, poorly lit, and acoustically hard (bare plaster, hard flooring, reflective surfaces). Wall paneling addresses all of these: it adds visual depth to narrow spaces, introduces warmth that artificial lighting can pick up, and absorbs the echo and footstep noise that makes a hallway feel echoey and clinical.

    Our hallway wall panels are designed to perform in exactly these conditions.

    Choosing the Right Panel for a Hallway

    Full-height vs half-height panels

    Full-height panels (floor to ceiling) make a dramatic statement and suit wider or taller hallways. Half-height panels (to dado height) work better in narrow hallways where floor-to-ceiling paneling on both walls can feel enclosed. In very narrow hallways — under 1m wide — consider paneling just one wall, typically the longest wall or the one directly facing the front door.

    Slat panels

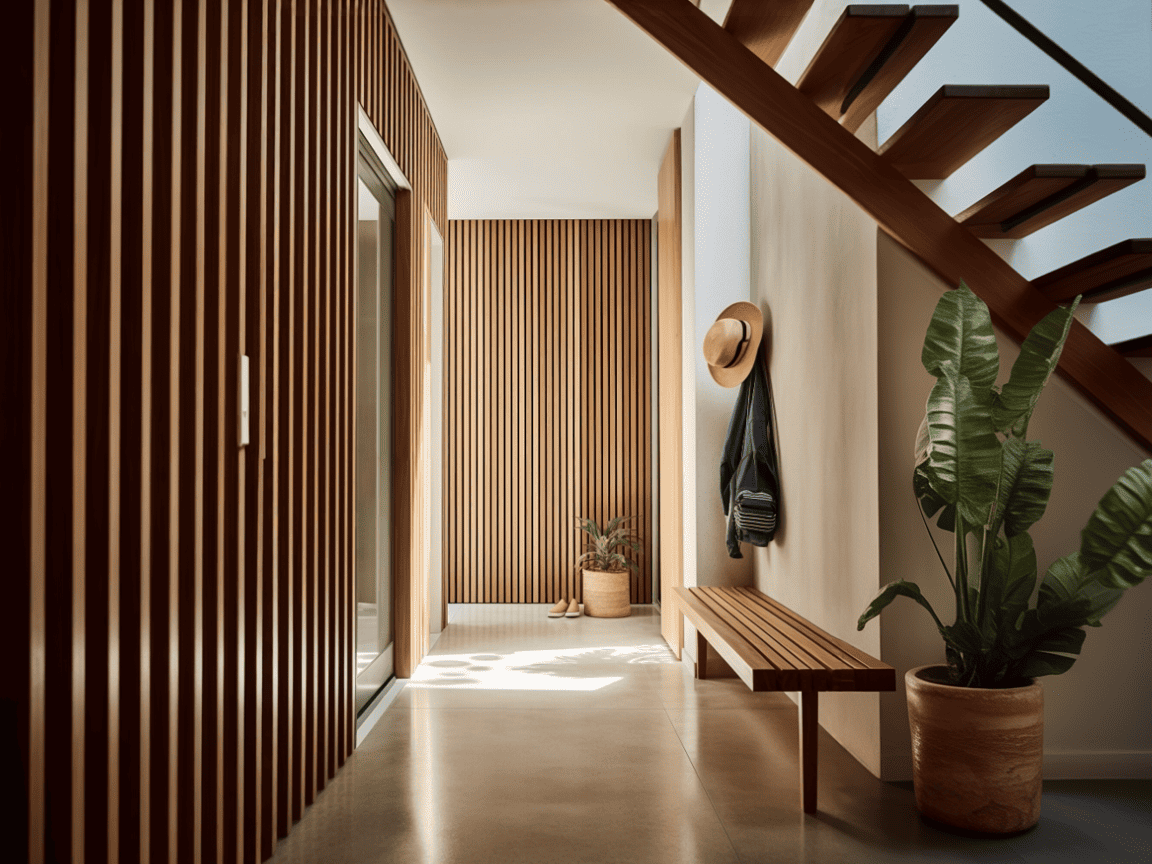
    Vertical slat panels are the most popular hallway choice. The vertical lines draw the eye upward and make the hallway feel taller. Fine-profile slats — narrow channels between the slats — add texture without visual bulk, which is important in confined spaces. Our SoundPanel™ acoustic slat panels are particularly effective in hallways because they reduce the echo and sound reflection common in bare-plaster hallways.

    Mosaic panels

    For a more textured, layered look, our GroovePanel® mosaic panels add depth and character and suit hallways where a more statement finish is desired. These work well in wider hallways or on a single feature wall (the wall facing the front door) rather than both sides.

    Preparing the Wall

    Panels need a flat, sound substrate. Fill any significant holes or cracks and allow filler to dry fully. In older properties, check that the plaster is firmly bonded — any loose or hollow sections should be repaired before installation. If the wall has significant undulation (common in older buildings), you may need to fix a timber batten framework first to create a flat surface for the panels to fix to.

    Remove skirting boards before installation if you’re installing floor-to-ceiling panels. If you’re installing half-height panels, you can often work over the skirting by cutting the panel to sit against the skirting face and then finishing with a cap rail above.

    The Installation Process

    Measure the wall height and width carefully and plan your panel layout before cutting. For slat panels, start from a plumb vertical line rather than working from the corner — corners are rarely perfectly square. Use panel adhesive and fixing pins for secure attachment. Butt panels tightly together (or with the specified gap depending on the panel type) and check for level frequently as you work across the wall.

    Finish the top edge with a cap rail or dado moulding. Fill any nail holes. Prime and seal the panels according to the manufacturer’s guidance if painting — for natural wood finishes, a clear hardwax oil is recommended.

    Common Hallway Paneling Mistakes

    The most common mistakes are: not checking for plumb on the first panel (errors compound across the wall); cutting panels too short and leaving gaps at the top or bottom; using too much adhesive and creating bleed-out between panels; and failing to finish the top edge cleanly. Take time over the first panel, use a spirit level constantly, and plan the finishing details before you start.

    Finishing Touches

    Hallway paneling benefits from complementary lighting. Picture lights, wall sconces, or downlights positioned to graze the panel surface enhance the texture and make the paneling perform far better visually. Pair with a warm-toned rug and natural-material accessories for a cohesive result.

    Browse our hallway wall panels and the full wood wall panel collection to plan your project.

  • Period Property Hallway Paneling: How to Add Character Without Overdoing It

    Period Property Hallway Paneling: How to Add Character Without Overdoing It

    Period properties — Victorian terraces, Edwardian semis, Georgian townhouses — have hallways that were designed with paneling in mind. The original architecture often included dado rails, picture rails, cornicing, and deep skirting boards: a layered approach to the wall that created depth and detail without pattern or colour. At The Panel Hub, we work with homeowners who want to respect this architectural language while making it work for contemporary living — using wood wall panels that complement rather than overwhelm a period hallway.

    The Challenge of Paneling a Period Hallway

    Period hallways are often narrow, dark, and already detailed. The challenge is adding to the architectural character without creating visual noise that makes the space feel crowded. The wrong panel choice — too busy, too contemporary, or too rustic — will clash with the existing features rather than enhance them. Getting it right means understanding which elements of the original architecture should be amplified, and which should be left to do their own work.

    What Looks Right in a Period Hallway

    Traditional dado and picture rail paneling

    The most historically accurate approach in a period hallway is to reinstate or augment the original dado rail scheme — paneling from skirting to dado height, with the upper wall treated differently. In Victorian and Edwardian properties, this often meant tongue-and-groove boarding below the dado painted in a deep, rich colour. This approach remains highly effective and is easily achieved with contemporary slat panels cut to dado height.

    Full-height wall paneling

    In wider period hallways — common in larger Victorian and Georgian properties — full-height paneling on the main wall (typically the longest wall or the wall facing the front door) creates a bold architectural statement that suits the scale of the space. Our SoundPanel™ slat panels in a natural oak or walnut finish work well here — they’re contemporary enough to feel intentional rather than reproduction, but warm enough to sit comfortably in a period setting.

    Choosing Materials That Match the Era

    Period properties benefit from natural materials — timber paneling feels appropriate in a way that PVC or heavily processed composites don’t. Real wood panels, or wood-veneered panels, read as honest and considered in a context where original materials are timber, plaster, and brick. The grain, warmth, and slight variation of natural wood are exactly what makes paneling feel right in an older property.

    Our hallway wall panels use real wood veneers and solid timber elements, making them well suited to period properties.

    Colour: Playing It Safe vs Making a Statement

    Period hallways reward confidence in colour. Deep greens, navy blues, dark terracottas, and rich plum tones all have historical precedents and work beautifully with natural wood paneling or painted paneling. The key is to treat the panel and the wall above as a deliberate two-tone scheme — a darker panel against a lighter upper wall, or vice versa — rather than defaulting to a single neutral throughout.

    For natural wood panels (rather than painted), allow the timber tone to contrast against the painted upper wall. A white or off-white upper wall above a warm oak panel creates a clean, elegant contrast that suits period and contemporary properties equally.

    Mixing Old and New

    Some of the most successful period hallway schemes mix original architectural features with contemporary paneling. Keeping the original cornice, picture rail, and deep skirting, but replacing the wall treatment with a clean slat panel, creates a thoughtful dialogue between old and new. The period features frame the contemporary material and give it context; the new panel brings freshness to what might otherwise feel like a preserved but static space.

    Listed Buildings and Conservation Areas

    If your property is listed or in a conservation area, internal alterations may require consent depending on their nature. Removable paneling fixed with adhesive rather than permanent fixings is unlikely to require consent, but it’s worth checking with your local planning authority if there’s any doubt. For listed buildings, avoid concealing or damaging original features — panels should be installed in a way that allows the original wall surface to be recovered if required.

    Explore the hallway wall panel collection and the full wood wall panel range to find styles that suit your property’s character.

  • Geometric Wall Panels for Hallway: How to Use Pattern in a Narrow Space

    Geometric Wall Panels for Hallway: How to Use Pattern in a Narrow Space

    Hallways present a genuine design challenge. They’re transitional spaces — narrow, often dark, and constrained by architecture. Most people treat them as afterthoughts: a coat hook, a mirror, and whatever paint was left over from the last room. But the hallway is the first thing guests see when they enter your home, and the last thing they notice when they leave. Getting it right matters more than it seems.

    Geometric wood wall panels are one of the most effective tools for transforming a hallway. Here’s how to use them in a way that makes the space feel considered rather than cluttered.

    The Hallway Challenge: Narrow, Dark, and Transitional

    Most hallways have three specific constraints:

    • Narrow width: Pattern that feels bold in a living room can feel overwhelming in a space you pass through in two steps
    • Limited natural light: Windowless hallways depend entirely on artificial lighting, which changes how timber tones and shadow effects read
    • No place to sit: Without furniture to anchor the eye, the wall becomes the entire design

    Geometric panels address all three constraints effectively when chosen and installed thoughtfully.

    Which Geometric Pattern Works Best in a Hallway?

    Crossing lines — the most versatile hallway choice

    The Crossing Lines Solid Wood Panel is the most hallway-appropriate pattern in the GroovePanel® range. Its grid-based geometry creates strong visual presence without the directional movement of a triangle mosaic or the focal-point demand of a concentric square. It reads well in narrow spaces and holds up under both overhead pendant lighting and wall-mounted sconces.

    Concentric squares — best at the end wall

    If your hallway terminates at a visible end wall — common in T-shaped layouts or where a hallway opens to a back room — the 3D Concentric Square Panel is highly effective at this position. Viewed from the entrance, the nested square pattern draws the eye to a vanishing point, creating a sense of depth and spatial extension in what is otherwise a short, confined corridor.

    Triangle mosaic — use sparingly in hallways

    Triangle mosaics can work well in wider hallways or on a single accent wall, but their directional energy can feel restless in very narrow spaces. If you’re drawn to the triangle format, consider limiting it to one wall rather than both sides of a corridor.

    Panel Height in a Hallway

    Full floor-to-ceiling panels make a hallway feel taller. In contrast, panels applied at dado height only — up to about 1100mm — make the space feel lower and more constrained. For most hallways, ceiling-height panels are the better choice.

    A practical option for standard-height hallways (2.4m ceiling): run geometric panels from floor to ceiling on the main feature wall (opposite the front door, or the end wall), and keep the side walls plain. This creates a strong directional experience without closing in the space.

    Lighting Geometric Panels in a Hallway

    Most hallways rely on a single central ceiling pendant. This creates flat, overhead lighting — the worst condition for showing the texture and shadow of a geometric panel. To get the best out of a textured panel in a hallway:

    • Add a wall sconce on each side of the panel wall, angled toward the surface
    • Replace the central pendant with a track light that you can angle toward the panel
    • Mount an LED strip behind a reveal at the top of the panel, pointing downward

    Even a single angled light source dramatically improves how a 3D or mosaic panel reads in a hallway.

    Colour and Timber Species in a Dark Hallway

    In hallways that receive little or no natural light, very dark timber tones (deep walnut) can absorb light and make the space feel smaller. Options:

    • Choose a lighter-toned geometric panel format in an oak or natural pine finish
    • Complement dark walnut panels with pale plaster or white-painted walls on adjacent surfaces
    • Use reflective surfaces (mirror, gloss flooring) opposite a dark panel wall to bounce light back

    Hallway Panel Ideas: Quick Reference

    • End wall of a long hallway in 3D Concentric Square — creates depth and a visual destination
    • Full-height Crossing Lines panels on both sides of an entrance vestibule — architectural and welcoming
    • Triangle mosaic on the wall opposite the front door — the first thing you see when you arrive home
    • Honey Mosaic on a single hallway wall with a console table and mirror in front — warm, tactile, inviting

    Further Reading

    For broader hallway design ideas including non-geometric panels, read our guide to hallway ideas to maximise your home’s first impression. For the full geometric range, browse GroovePanel® Geometric Wood Wall Panels.