You’ve invested in a screen, a projector or TV, a receiver, and speakers. The room is killing it. Sound bouncing off bare drywall creates flutter echo that muddies dialogue, smears surround imaging, and makes bass sound bloated in one seat and thin in another. The equipment is doing its job. The room isn’t doing its job.
This is the most common and most fixable problem in home theater. Acoustic treatment — specifically, panels that absorb rather than reflect sound — costs a fraction of what you’ve already spent on equipment, and the improvement is immediate. This guide covers what’s actually happening acoustically in an untreated room, which surfaces need treatment and why, how to find the exact placement points that matter, what panels to use, how much coverage you need, and how wood slat acoustic panels specifically change the calculation for residential rooms where the space has to look good as well as sound good.
Table of Contents
- What’s Actually Happening in an Untreated Room
- The Three Types of Treatment and What Each Does
- Where to Treat: The Five Priority Surfaces
- How Much Coverage Do You Need?
- Why Wood Slat Acoustic Panels Change the Home Theater Calculation
- The Mirror Trick: Finding Your Exact Placement Points
- Common Mistakes in Home Theater Treatment
- Sequencing Your Treatment: What to Do First
- What It Costs
- Finish Selection for Home Theaters
- Frequently Asked Questions
- Where to Start
What’s Actually Happening in an Untreated Room
Sound from your speakers travels outward in all directions. Some of it goes directly to your ears at your listening position — that’s the direct sound, and it’s the sound your speakers were designed to produce. The rest of it hits a wall, bounces, and arrives at your ears a few milliseconds later. That delayed copy of the direct sound is what creates the problems.
The technical term is RT60: the time it takes for sound to decay by 60 decibels after the source stops. In a bare drywall room with hard floors, RT60 is typically 0.5–0.8 seconds at mid frequencies. For a home theater, the target is 0.2–0.4 seconds. Every tenth of a second above that target is audible as smeared dialogue, imprecise imaging, and a general sense that the sound is in the room rather than coming from the screen.
The three specific problems that acoustic treatment solves:
- Flutter echo — the rapid, repeated bounce between two parallel hard surfaces (side walls, front and rear walls). Audible as a metallic “zing” after a sharp transient. Clap once in an untreated room and you’ll hear it immediately.
- First reflection interference — sound from your speakers bouncing off side walls, ceiling, or rear wall and arriving at your listening position 5–20 milliseconds after the direct sound. Your brain hears both versions and the result is blurred imaging and reduced clarity.
- Bass buildup in corners — low frequencies (below 250Hz) have long wavelengths that accumulate in corners and room modes, making bass response uneven across seats. This is the “boomy in one spot, thin in another” effect.
Each problem has a different treatment solution, placed in a different location.
The Three Types of Treatment and What Each Does
Absorption Panels
The primary treatment for home theaters. Panels made from porous material — acoustic felt, fiberglass, mineral wool, or a combination — that convert sound energy into a tiny amount of heat rather than reflecting it. NRC rating tells you how effective: NRC 0.85 absorbs 85% of mid-frequency sound hitting the surface. NRC 1.00 absorbs essentially all of it.
Absorption panels address flutter echo and first reflection interference. They’re placed at reflection points — the specific wall locations where sound from your speakers bounces toward your listening position. They work across mid and high frequencies (roughly 250Hz–8000Hz), which covers the critical speech intelligibility range.
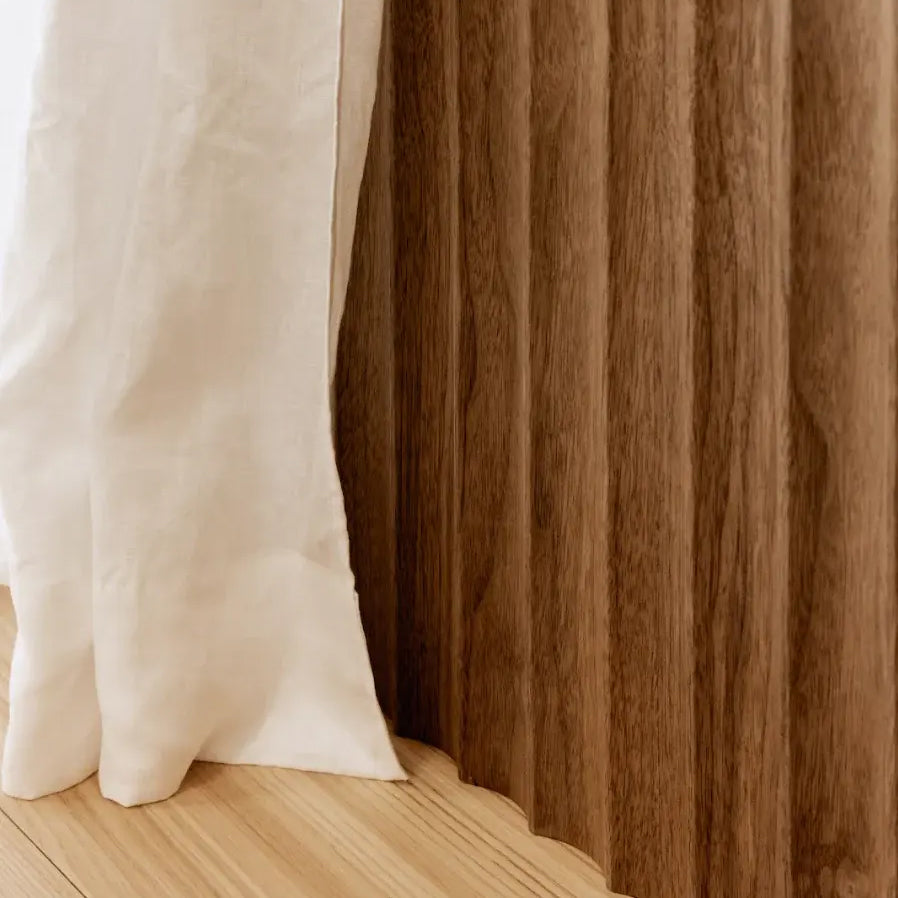
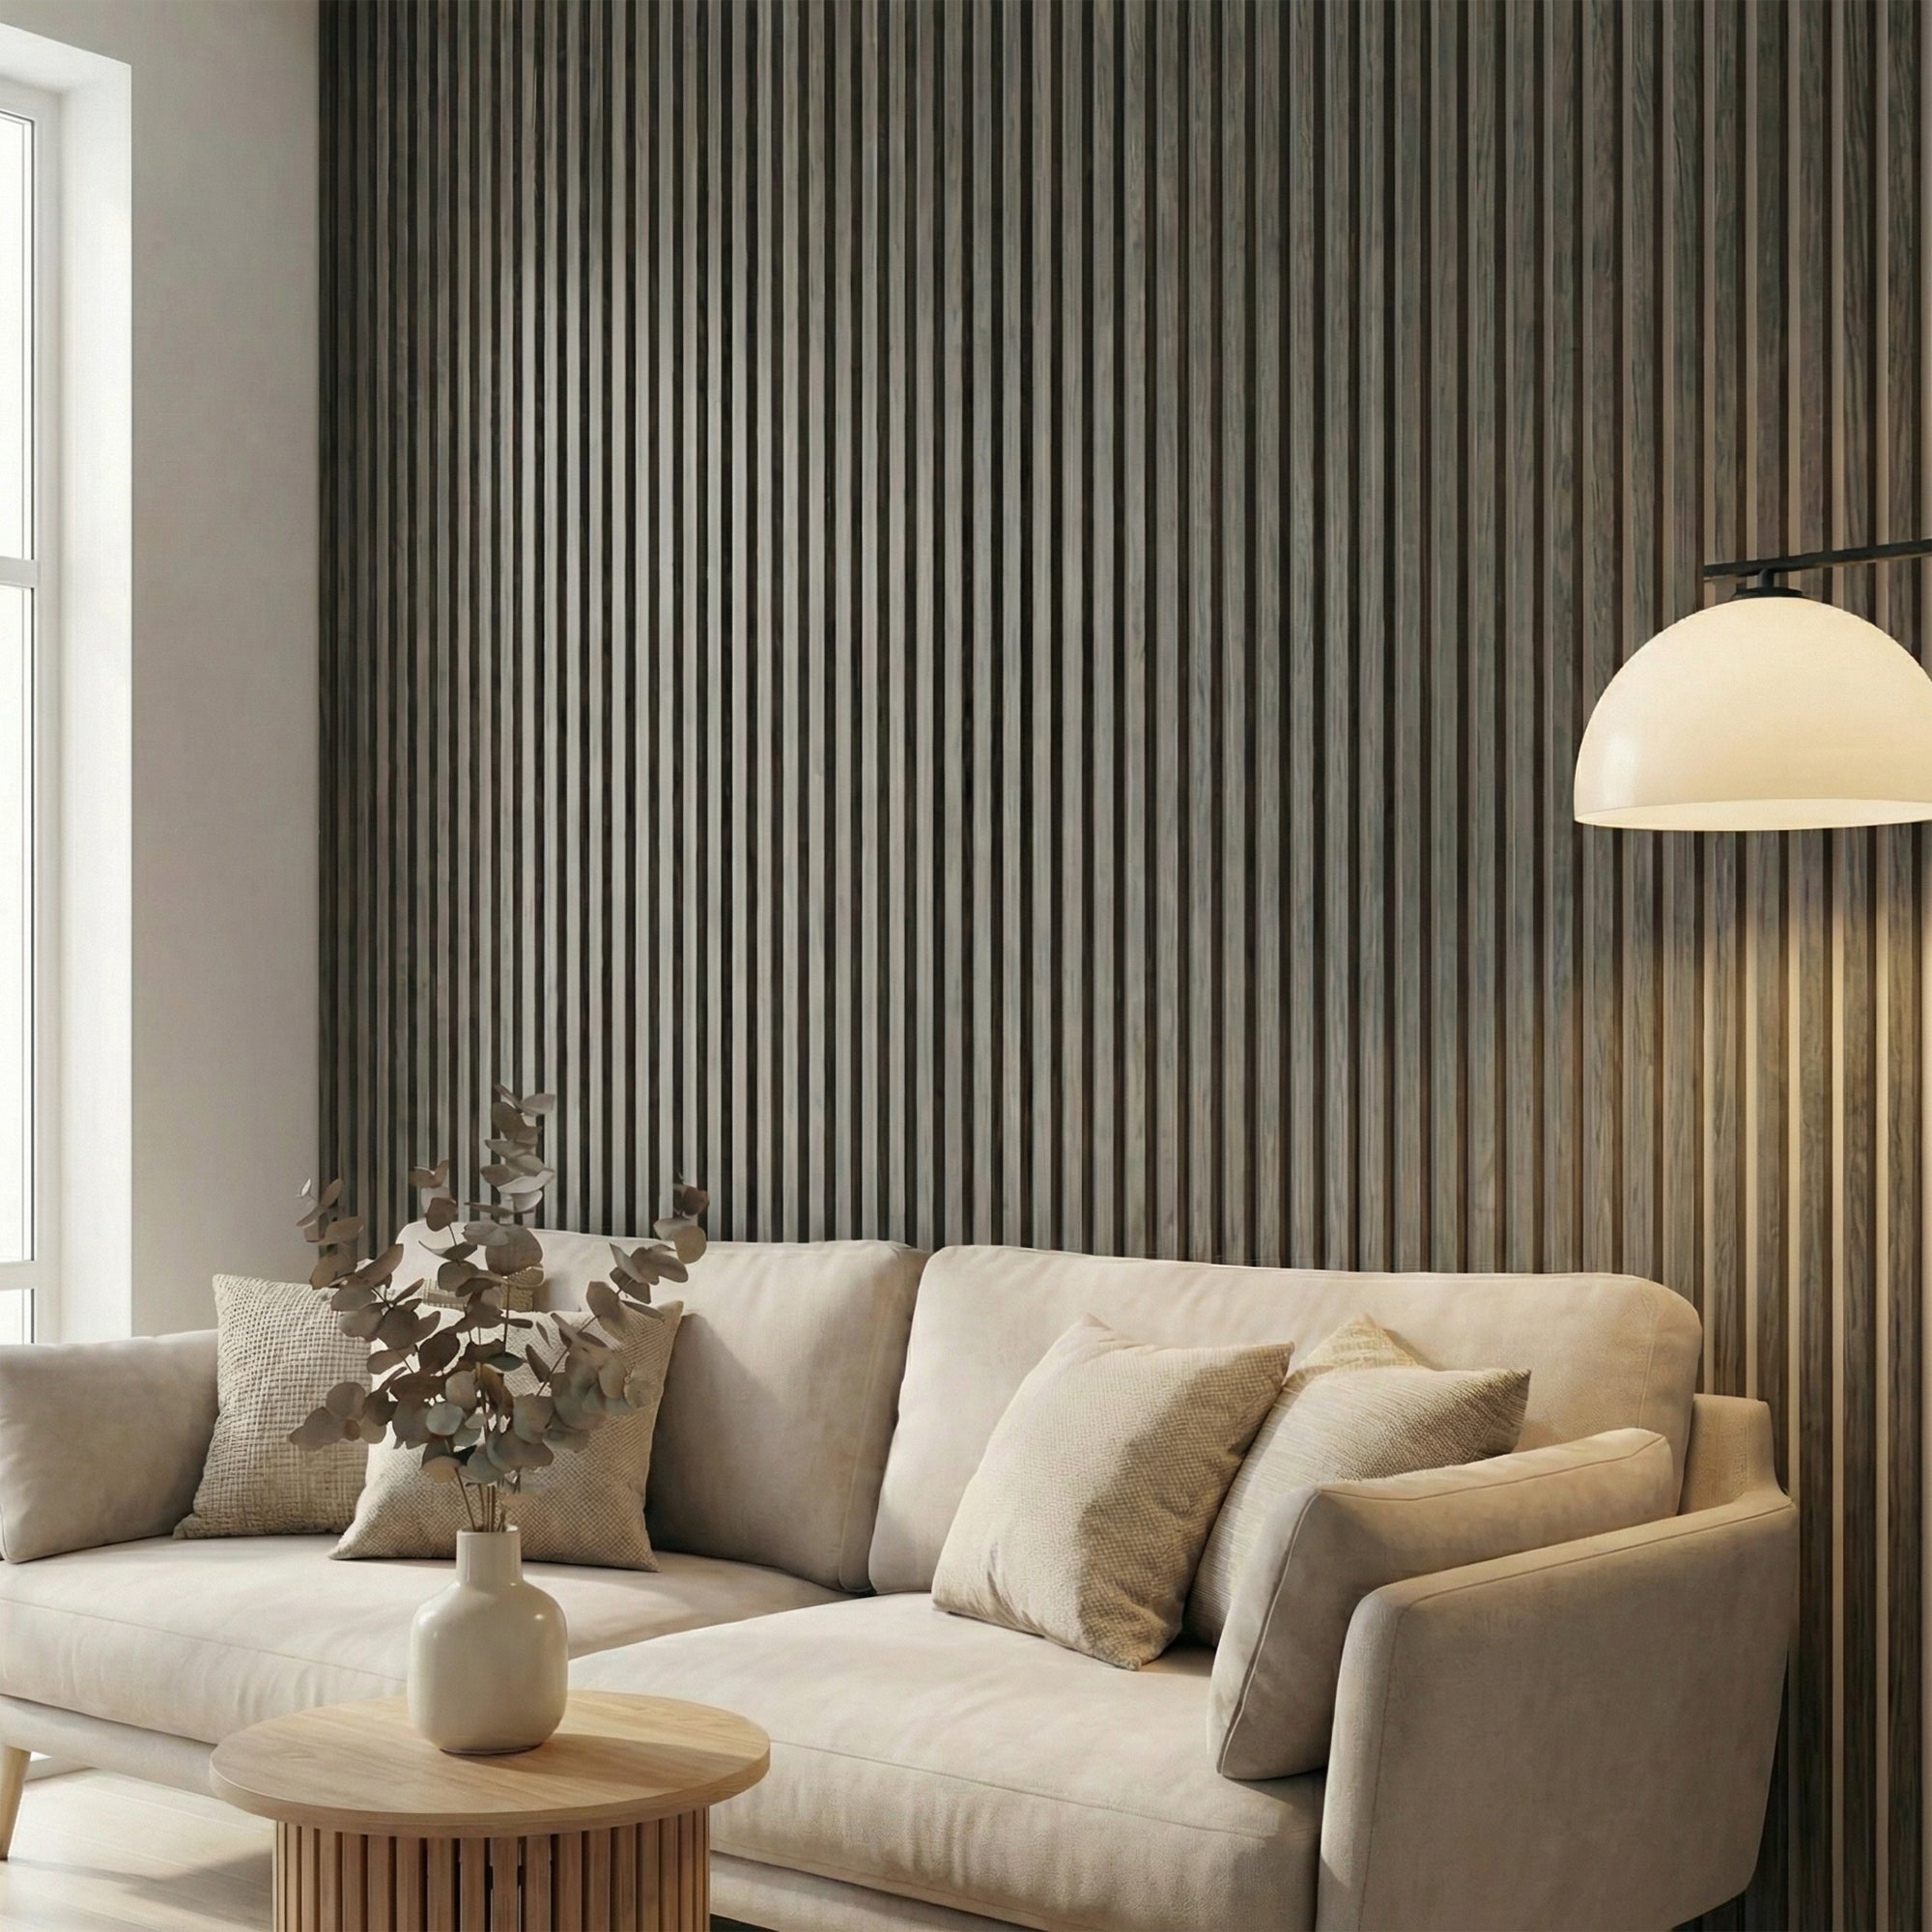
TPH’s SoundPanel is an absorption panel: real wood veneer slats over AcuFelt 1500 g/m² high-density felt backing. NRC 0.85. It achieves acoustic performance equivalent to professional fabric-wrapped panels while looking like a considered design decision rather than a sound treatment installation. Shop SoundPanel acoustic wood panels!
Diffusion Panels
Where absorption removes sound energy, diffusion scatters it. A diffuser breaks up sound waves and distributes the reflected energy evenly in multiple directions, reducing the intensity of any single reflection without deadening the room. The result is a space that sounds open and spacious rather than dampened.
Diffusion is most useful on rear walls that are far from the listening position (6 feet or more), where absorption alone would make the room feel overly dead. For most residential home theaters — especially smaller rooms — absorption is the higher priority. A fully treated room typically uses absorption at side walls and ceiling, with a combination of absorption and diffusion at the rear.
Bass Traps
Standard absorption panels don’t significantly affect frequencies below 250Hz — the wavelengths are too long. Bass traps are thicker, denser treatment designed specifically for corners, where low frequencies accumulate. They smooth out the uneven bass response that makes one seat sound boomy and another thin.
In practice, for most residential home theaters, bass traps in all four floor-to-ceiling corners plus adequate absorption at reflection points delivers the large majority of the improvement. You don’t need corner-to-corner bass treatment to hear a dramatic difference — two to four corner treatments makes the subwoofer track tighter and more consistent across the room.
Where to Treat: The Five Priority Surfaces
Not all walls are equal. Here’s how to prioritise, in order of acoustic impact.
Priority 1 — Side Walls (First Reflection Points)
The single highest-impact treatment location in any home theater. Sound from your left and right speakers bounces off the side walls and arrives at your ears a few milliseconds after the direct sound, creating a phantom image that blurs stereo and surround localisation. Treating these reflection points is the difference between “I can hear roughly where the sound is coming from” and “I can pinpoint exactly where every sound is placed in the soundstage.”
The exact location on each side wall depends on your speaker and seating positions. The mirror trick finds it precisely: sit in your listening position and have someone hold a mirror flat against the side wall, sliding it forward and back along the wall until you can see the speaker in the mirror from your seated eye position. Where you see the speaker in the mirror is exactly where the reflection arrives. That’s where the panel goes.
Treat both side walls symmetrically. Asymmetric treatment creates an asymmetric sound field that pulls the image to one side. One panel per side wall at each reflection point is a minimum — two panels per side wall (front and rear reflection points) is better.
Priority 2 — Rear Wall
The rear wall behind your seating position reflects sound from the front speakers back toward the listening position, arriving well after the direct sound. In a small or medium room, this late reflection is audible as a distinct spatial confusion — as if there’s a second version of the front speakers behind you.
Treatment strategy depends on distance from seating to rear wall. If your seating is within 4 feet of the rear wall, absorption is the right choice — reflections arrive too quickly for diffusion to work effectively. If seating is 6 feet or more from the rear wall, a combination of absorption at ear level and diffusion above creates envelopment without deadening. If you have surround speakers on the rear wall, treat the areas between and beside them rather than blocking the speakers themselves.
Priority 3 — Front Wall (Behind the Screen)
The front wall reflects sound from your main speakers — left, center, and right channels — directly back toward the listening position, reinforcing first reflections and blurring dialogue clarity. In a dedicated theater room with a full-width screen, the screen itself provides some absorption. In rooms with a TV on a bare wall, front wall treatment is more important.
Panels behind and around the screen — at screen height on either side, and between speakers if there’s exposed wall — bring the most benefit. Full-wall absorption behind the screen is ideal but rarely practical in residential rooms.
Priority 4 — Ceiling
Ceiling reflections from your front and surround speakers blur vertical imaging and reduce the precision of overhead audio in Dolby Atmos and DTS:X systems. Ceiling treatment typically takes the form of acoustic clouds — horizontal panels suspended from or mounted to the ceiling above the listening position.
This is the treatment that most residential setups skip due to installation complexity, but for rooms running Atmos height channels it makes a meaningful difference to overhead imaging. For standard 5.1 or 7.1 setups, it’s a second-phase consideration after side walls and rear wall are treated.
Priority 5 — Corners (Bass Traps)
Floor-to-ceiling corners are where bass energy accumulates. Even a single dedicated bass trap in each corner — or dense acoustic panels placed in corner positions — smooths out the low frequency unevenness that makes subwoofer response inconsistent across seats. If your bass sounds bloated or “one-note,” corner treatment is the fix before any EQ adjustment.
How Much Coverage Do You Need?
For a dedicated home theater, the target is 25–35% of total wall and ceiling surface area treated. That’s enough to bring RT60 into the 0.2–0.4 second range that delivers tight, clear, cinematic sound without over-treating and making the room feel dead.
A practical rule of thumb from Audio Advice: calculate the total surface area of your two side walls and aim for 35–40% treatment coverage across both. For a typical 9ft × 18ft side wall, that’s roughly four panels 36 inches wide by 6 feet tall per side wall.
For most home theaters, this is the coverage calculation by room size:
| Room Size | Total Wall Area (approx.) | Target Treatment (25–35%) | Approximate SoundPanel sqft |
|---|---|---|---|
| Small (10×12 ft, 8ft ceiling) | ~350 sqft | 88–123 sqft | 100–130 sqft |
| Medium (12×16 ft, 8ft ceiling) | ~450 sqft | 113–158 sqft | 120–160 sqft |
| Large (14×20 ft, 9ft ceiling) | ~612 sqft | 153–214 sqft | 160–220 sqft |
These numbers are for absorption panels only — they don’t include corner bass traps, which are additional.
Use the Box Calculator to get a precise SoundPanel count for your specific room dimensions.
Why Wood Slat Acoustic Panels Change the Home Theater Calculation
The standard acoustic treatment approach for a dedicated home theater is fabric-wrapped fiberglass panels — grey or black rectangles mounted on the walls. They work extremely well acoustically, achieving NRC 0.85–1.00. They look like a recording studio, or a commercial installation, not a room you designed.
For a dedicated basement theater where no one sees the room except during movies, that’s fine. For most residential home theaters — rooms that exist in living spaces, media rooms, or converted spare rooms — the visual result matters as much as the acoustic result. A room that looks good and sounds good is categorically better than a room that only sounds good.
Wood slat acoustic panels at NRC 0.85 achieve professional-grade absorption — identical to fabric-wrapped panels at the same rating. The difference is the surface: real wood veneer that reads as a designed wall rather than treatment. Dark finishes (Charcoal, American Walnut) absorb ambient light and improve perceived screen contrast. Lighter finishes (White Oak, Golden Oak) work in rooms with controlled lighting where you want warmth without the room going too dark.
The practical result: you can treat the side walls, rear wall, and surrounding surfaces with acoustic slat panels and the room looks like a premium media room rather than a DIY studio. Guests walking in see a walnut slat wall. You hear the difference it makes every time you watch something.
The Mirror Trick: Finding Your Exact Placement Points
Every room is different. Speaker positions, seating positions, and room dimensions all affect where reflection points land on the walls. The mirror trick finds them exactly — no guessing, no generic diagrams that may not apply to your specific layout.
What you need: a flat mirror, a marker or tape, and one other person.
For side wall reflections:
- Sit in your primary listening position with the audio system playing.
- Have your helper hold the mirror flat against the side wall, facing you.
- They slide the mirror slowly along the wall — forward, backward, up, down — until you can see the left speaker (or right speaker for the other side) in the mirror from your seated position.
- Mark that point on the wall. That’s your first reflection point for that speaker on that wall.
- Repeat for each speaker — left front, right front, center (if applicable), and any surround speakers on the side walls.
- The panel goes centred on the marked point, at ear height.
For rear wall reflections:
- Remain in your listening position but face the rear wall.
- Repeat the mirror process: your helper slides the mirror across the rear wall until you can see each front speaker in the mirror from your seated position.
- Mark and treat those points.
The mirror trick works because sound obeys the same reflection geometry as light — the angle of incidence equals the angle of reflection. Where you see the speaker in the mirror is exactly where the reflected sound comes from. One afternoon with a mirror establishes a precise treatment plan specific to your room.
Common Mistakes in Home Theater Treatment
Treating only one side wall. Asymmetric treatment creates an asymmetric sound field. The stereo image pulls toward the untreated side. Always treat both side walls with identical coverage at matching positions.
Using foam panels with NRC below 0.6. Budget acoustic foam typically achieves NRC 0.40–0.55, meaning it’s still reflecting 45–60% of the sound that hits it. At those absorption levels, you need significantly more coverage to achieve the same result as NRC 0.85 panels — and in most cases, the room still sounds inadequately treated. The NRC number on the product is the honest measure of what you’re getting.
Over-treating and killing the room. A home theater doesn’t need to be an anechoic chamber. RT60 of 0.2–0.4 seconds is the target — below 0.2 seconds feels uncomfortably dead and actually reduces the sense of envelopment that makes cinema sound cinematic. Treating 25–35% of wall area and stopping there is usually the right endpoint. Don’t cover every surface.
Skipping the bass entirely. Standard absorption panels at NRC 0.85 work above 250Hz. Bass frequencies (below 250Hz) require corner bass traps or very thick absorption material to address. If your subwoofer sounds bloated or uneven across seats, the panels alone won’t fix it — you need corner treatment and potentially subwoofer placement adjustment alongside the wall panels.
Placing panels for symmetry rather than reflection geometry. Panels spaced evenly across a wall look neat but may not align with actual reflection points. Use the mirror trick to find where treatment goes first, then arrange panels for visual balance within that constraint.
Sequencing Your Treatment: What to Do First
If you’re building up a home theater treatment plan in stages, here’s the order of diminishing returns — highest impact first.
Phase 1 — Side wall first reflection points. One to two panels per side wall at the primary reflection points identified by the mirror trick. This single step has the largest audible impact of anything you can do to the room. Dialogue clarity, imaging precision, and flutter echo all improve significantly.
Phase 2 — Rear wall treatment. Panels at ear height on the rear wall behind the seating position. Eliminates the late reflection that blurs front stage localisation.
Phase 3 — Front wall treatment. Panels flanking the screen and between front speakers. Reduces first reflection interference from the main channels.
Phase 4 — Corner bass traps. Dense treatment in floor-to-ceiling corners for low-frequency smoothing. Priority if bass sounds uneven before this phase.
Phase 5 — Ceiling treatment. Acoustic clouds above the listening position. Priority for Atmos rooms; secondary for standard surround configurations.
Most residential home theaters reach a satisfying endpoint after Phase 2 or 3. Phase 4 and 5 are incremental improvements on an already well-treated room.
What It Costs
Using TPH SoundPanel at $14–$22 per square foot of material:
| Room Size | Panels Needed | Material Cost (est.) | Pro Install | Total DIY |
|---|---|---|---|---|
| Small home theater (10×12 ft) | 100–130 sqft | $1,400–$2,860 | — | $1,400–$2,860 |
| Medium home theater (12×16 ft) | 120–160 sqft | $1,680–$3,520 | — | $1,680–$3,520 |
| Large home theater (14×20 ft) | 160–220 sqft | $2,240–$4,840 | — | $2,240–$4,840 |
For context: the improvement from proper acoustic treatment on a $3,000 equipment setup is larger than the improvement from upgrading that same setup to $6,000 equipment in an untreated room. Treatment multiplies the performance of everything already in the room. It’s the most cost-effective upgrade available to most home theaters.
Full wall panel cost breakdown: Wall panel pricing guide.
Finish Selection for Home Theaters
The finish you choose affects both the room’s visual character and how it functions during playback.
Charcoal — the preferred choice for dedicated theaters. Dark finish absorbs ambient light scatter, reduces reflections off panel surfaces, and improves perceived contrast on projection screens. Creates the enveloping, focused atmosphere of a commercial cinema. Best for rooms with controlled or blackout lighting.
American Walnut — warm, dark brown. These wood panels work in rooms that also function as media rooms or living spaces where the theater can’t look clinical. Absorbs some ambient light without the full darkness of Charcoal.
White Oak / Golden Oak — for brighter rooms or spaces where the theater needs to integrate with a living room aesthetic during the day. Lighter finishes reflect slightly more ambient light, which matters less in rooms with proper projection screen placement and no side windows.
All SoundPanel finishes deliver identical NRC 0.85 performance — the finish choice is purely visual. Browse finishes.
Frequently Asked Questions
Do I need acoustic panels if I have carpet and soft furnishings?
Carpet and soft furnishings help, but they absorb primarily at high frequencies and do very little for mid-frequency reflections in the 500–2000Hz range where speech intelligibility lives. An NRC 0.85 panel contributes roughly 17 times more absorption per square foot than bare carpet. Soft furnishings reduce the amount of treatment needed but don’t replace it.
Will acoustic panels improve my Dolby Atmos system?
Significantly. Atmos relies on precise overhead imaging — your brain localises height information based on subtle timing differences between direct and reflected sound. Treated side walls and ceiling reduce the reflections that blur height localisation, making the difference between Atmos that sounds gimmicky and Atmos that sounds immersive.
How do acoustic slat panels compare to fabric-wrapped panels acoustically?
TPH’s SoundPanel achieves NRC 0.85 — identical to 1-inch professional fabric-wrapped fiberglass panels. For a home theater, NRC 0.85 across 25–35% of wall surface area achieves RT60 targets in most residential room sizes. The performance is equivalent; the difference is visual.
Can I put acoustic panels behind my projector screen?
Yes, and it’s recommended. The wall behind the screen is a significant reflection source for front channel audio. Most projector screens are acoustically transparent enough to allow treatment behind them without affecting video performance.
How do I know if my room is overtreated?
An overtreated room sounds flat and lifeless — voices lose natural resonance and the sense of space collapses. The clap test is useful: a single hand clap should decay cleanly in under half a second without a distinct echo, but shouldn’t sound completely dead. If the room sounds anechoic — like there’s no air in the space — you’ve absorbed too much. This is uncommon in residential home theaters; most under-treat rather than over-treat.
Do I need to treat a media room differently from a dedicated theater?
A media room that also functions as a living space has more flexibility — furniture, curtains, bookshelves, and rugs all contribute absorption. One treated wall (side wall at the reflection points) often achieves most of the improvement in a dual-purpose room. A dedicated theater with bare surfaces benefits from the full treatment plan above.
Where to Start
If you know your room dimensions, the Box Calculator gives you a precise panel count. Calculate your coverage.
If you want to feel the finish and backing material before ordering, sample boxes are available. Order a sample box.
If you’re ready to browse finish options and configurations for the SoundPanel range: Shop SoundPanel.
And if this article raised questions about acoustic panels more broadly — NRC ratings, types, and how they work: Acoustic panels buyer’s guide.
The Panel Hub’s SoundPanel uses real wood veneer over HDF cores with AcuFelt 1500 g/m² high-density backing. NRC 0.85. FSC-certified. Designed in the USA, shipped from North Carolina. 3-sided furniture-grade rounded edges.