Tag: how to

  • How to Install Faux Stone Wall Panels: Step-by-Step Guide

    How to Install Faux Stone Wall Panels: Step-by-Step Guide

    One of the primary reasons homeowners and contractors choose faux stone wall panels over real stone is installation. Where natural stone cladding requires structural preparation, specialist fixings, a skilled stonemason, and days of work, faux stone panels can be installed by any competent DIYer or general contractor in a single day for most room-scale applications.

    What You’ll Need

    • Faux stone wall panels (plus 10–15% for cuts and wastage)
    • Panel adhesive compatible with your substrate
    • Notched adhesive spreader or trowel
    • Spirit level and measuring tape
    • Pencil for marking
    • Angle grinder with diamond blade, or jigsaw, for cutting
    • Safety glasses and dust mask
    • Colour-matched decorator’s caulk for perimeter joints

    Step 1: Prepare the Substrate

    The most important step in any panel installation is substrate preparation. Faux stone panels require a flat, dry, and structurally sound surface. Plasterboard, concrete, masonry, and existing tiled surfaces can all work as substrates with the right adhesive.

    • Fill and sand any holes, cracks, or unevenness
    • Ensure the wall is completely dry — fresh plaster must be fully cured
    • Prime porous surfaces (bare plaster, concrete) to improve adhesive bond
    • Check for flatness with a long spirit level — any deviation greater than 3mm over 2 metres should be addressed before installation

    Step 2: Plan Your Layout

    Before fixing any panels, dry-lay them against the wall to plan the layout. Consider:

    • Where to start — typically the centre of the wall or the most visible corner, working outward
    • How to handle corners — some panel ranges include corner pieces; others require mitring or butting at 90°
    • Where cuts will fall — avoid very thin cut pieces at visible edges
    • Panel orientation — most stone panels look best with the main coursing running horizontally

    Step 3: Apply Adhesive and Fix Panels

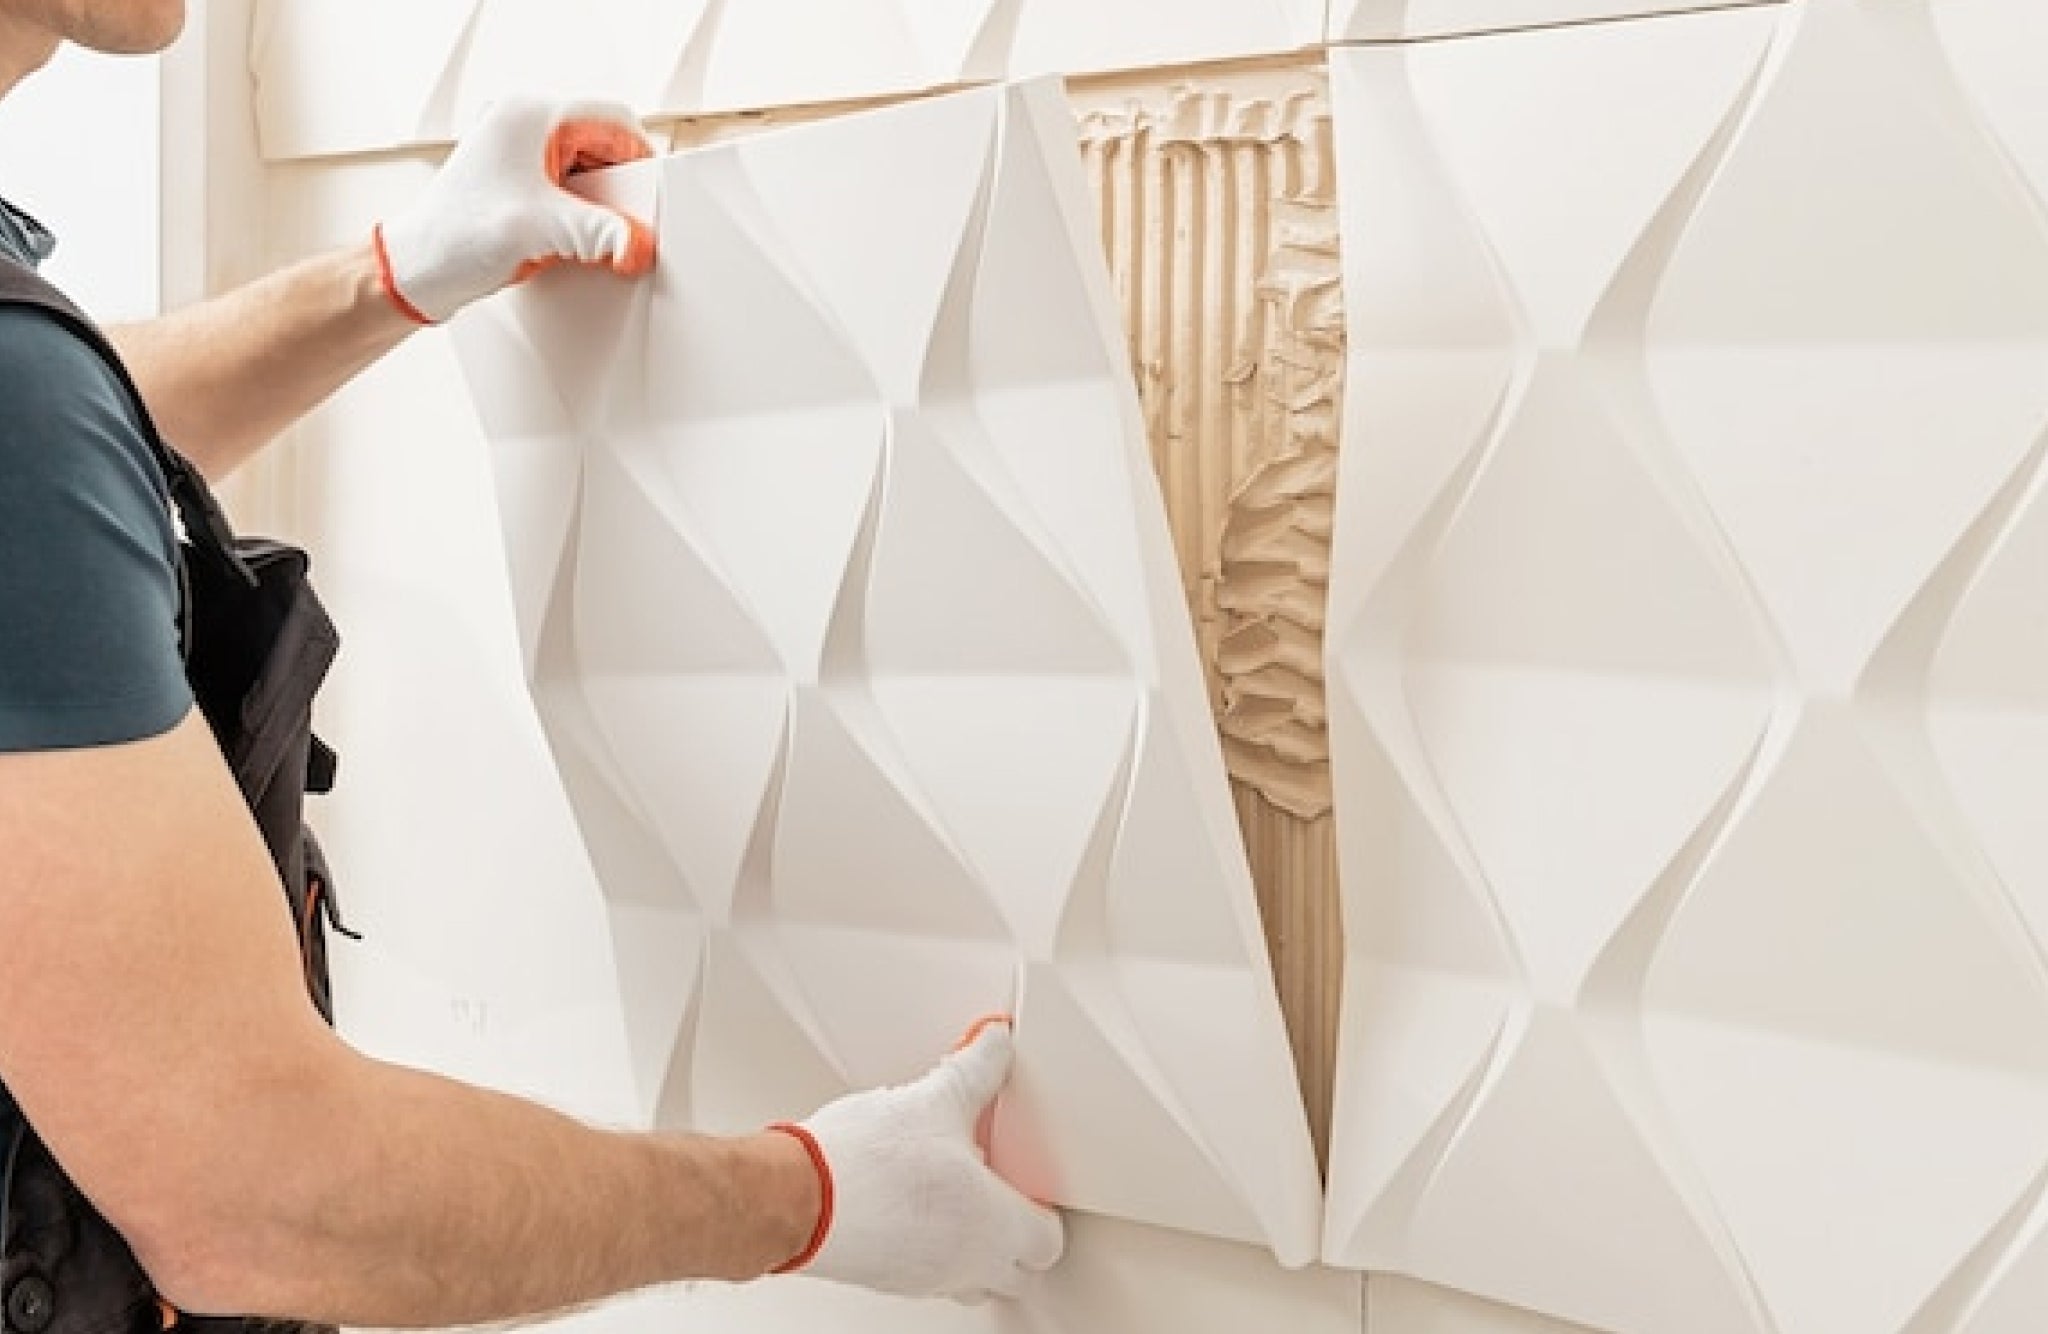
    Apply adhesive to the back of the panel using a notched spreader. For large panels, also apply adhesive to the wall surface. Press each panel firmly into position, checking level as you work. Some panel systems use interlocking edges — ensure each panel engages correctly with its neighbour before the adhesive sets. Work from the bottom up.

    Step 4: Cut Panels for Edges and Openings

    Mark cut lines with a pencil and straight edge. Cut stone-effect panels using an angle grinder with a diamond blade or a tile saw. Always wear eye protection and a dust mask when cutting. Dry-fit each cut piece before applying adhesive to confirm it fits.

    Step 5: Finishing

    Once all panels are fixed and adhesive has cured (typically 24 hours), fill any perimeter gaps with colour-matched decorator’s caulk. Smooth with a wet finger or caulk tool. Some stone-effect panels benefit from a final coat of stone sealant — check the manufacturer’s recommendation for your specific product.

    Where to Buy Faux Stone Wall Panels

    The Panel Hub stocks the RockSurface® stone effect panel collection with full technical installation data available for each product. Request a sample first to confirm the finish in your space, then order with confidence.

  • How to Panel a Hallway: A Practical Guide to Hallway Wall Paneling

    How to Panel a Hallway: A Practical Guide to Hallway Wall Paneling

    A paneled hallway makes a better first impression than almost any other single change you can make to a home’s interior. At The Panel Hub, hallways are one of the most common spaces where customers install wood wall panels — and for good reason. The results are dramatic, the installation is manageable for a competent DIYer, and the improvement to both aesthetics and acoustics is immediate. This guide covers everything from choosing the right panel to getting a clean finish.

    Why Hallways Benefit From Wall Paneling

    Hallways are transition spaces — the first room you see when you enter a home and the last before you leave. They’re often narrow, poorly lit, and acoustically hard (bare plaster, hard flooring, reflective surfaces). Wall paneling addresses all of these: it adds visual depth to narrow spaces, introduces warmth that artificial lighting can pick up, and absorbs the echo and footstep noise that makes a hallway feel echoey and clinical.

    Our hallway wall panels are designed to perform in exactly these conditions.

    Choosing the Right Panel for a Hallway

    Full-height vs half-height panels

    Full-height panels (floor to ceiling) make a dramatic statement and suit wider or taller hallways. Half-height panels (to dado height) work better in narrow hallways where floor-to-ceiling paneling on both walls can feel enclosed. In very narrow hallways — under 1m wide — consider paneling just one wall, typically the longest wall or the one directly facing the front door.

    Slat panels

    Vertical slat panels are the most popular hallway choice. The vertical lines draw the eye upward and make the hallway feel taller. Fine-profile slats — narrow channels between the slats — add texture without visual bulk, which is important in confined spaces. Our SoundPanel™ acoustic slat panels are particularly effective in hallways because they reduce the echo and sound reflection common in bare-plaster hallways.

    Mosaic panels

    For a more textured, layered look, our GroovePanel® mosaic panels add depth and character and suit hallways where a more statement finish is desired. These work well in wider hallways or on a single feature wall (the wall facing the front door) rather than both sides.

    Preparing the Wall

    Panels need a flat, sound substrate. Fill any significant holes or cracks and allow filler to dry fully. In older properties, check that the plaster is firmly bonded — any loose or hollow sections should be repaired before installation. If the wall has significant undulation (common in older buildings), you may need to fix a timber batten framework first to create a flat surface for the panels to fix to.

    Remove skirting boards before installation if you’re installing floor-to-ceiling panels. If you’re installing half-height panels, you can often work over the skirting by cutting the panel to sit against the skirting face and then finishing with a cap rail above.

    The Installation Process

    Measure the wall height and width carefully and plan your panel layout before cutting. For slat panels, start from a plumb vertical line rather than working from the corner — corners are rarely perfectly square. Use panel adhesive and fixing pins for secure attachment. Butt panels tightly together (or with the specified gap depending on the panel type) and check for level frequently as you work across the wall.

    Finish the top edge with a cap rail or dado moulding. Fill any nail holes. Prime and seal the panels according to the manufacturer’s guidance if painting — for natural wood finishes, a clear hardwax oil is recommended.

    Common Hallway Paneling Mistakes

    The most common mistakes are: not checking for plumb on the first panel (errors compound across the wall); cutting panels too short and leaving gaps at the top or bottom; using too much adhesive and creating bleed-out between panels; and failing to finish the top edge cleanly. Take time over the first panel, use a spirit level constantly, and plan the finishing details before you start.

    Finishing Touches

    Hallway paneling benefits from complementary lighting. Picture lights, wall sconces, or downlights positioned to graze the panel surface enhance the texture and make the paneling perform far better visually. Pair with a warm-toned rug and natural-material accessories for a cohesive result.

    Browse our hallway wall panels and the full wood wall panel collection to plan your project.

  • How to Clean Wall Panels Fast: 5 Types, 30-Minute Fix

    How to Clean Wall Panels Fast: 5 Types, 30-Minute Fix

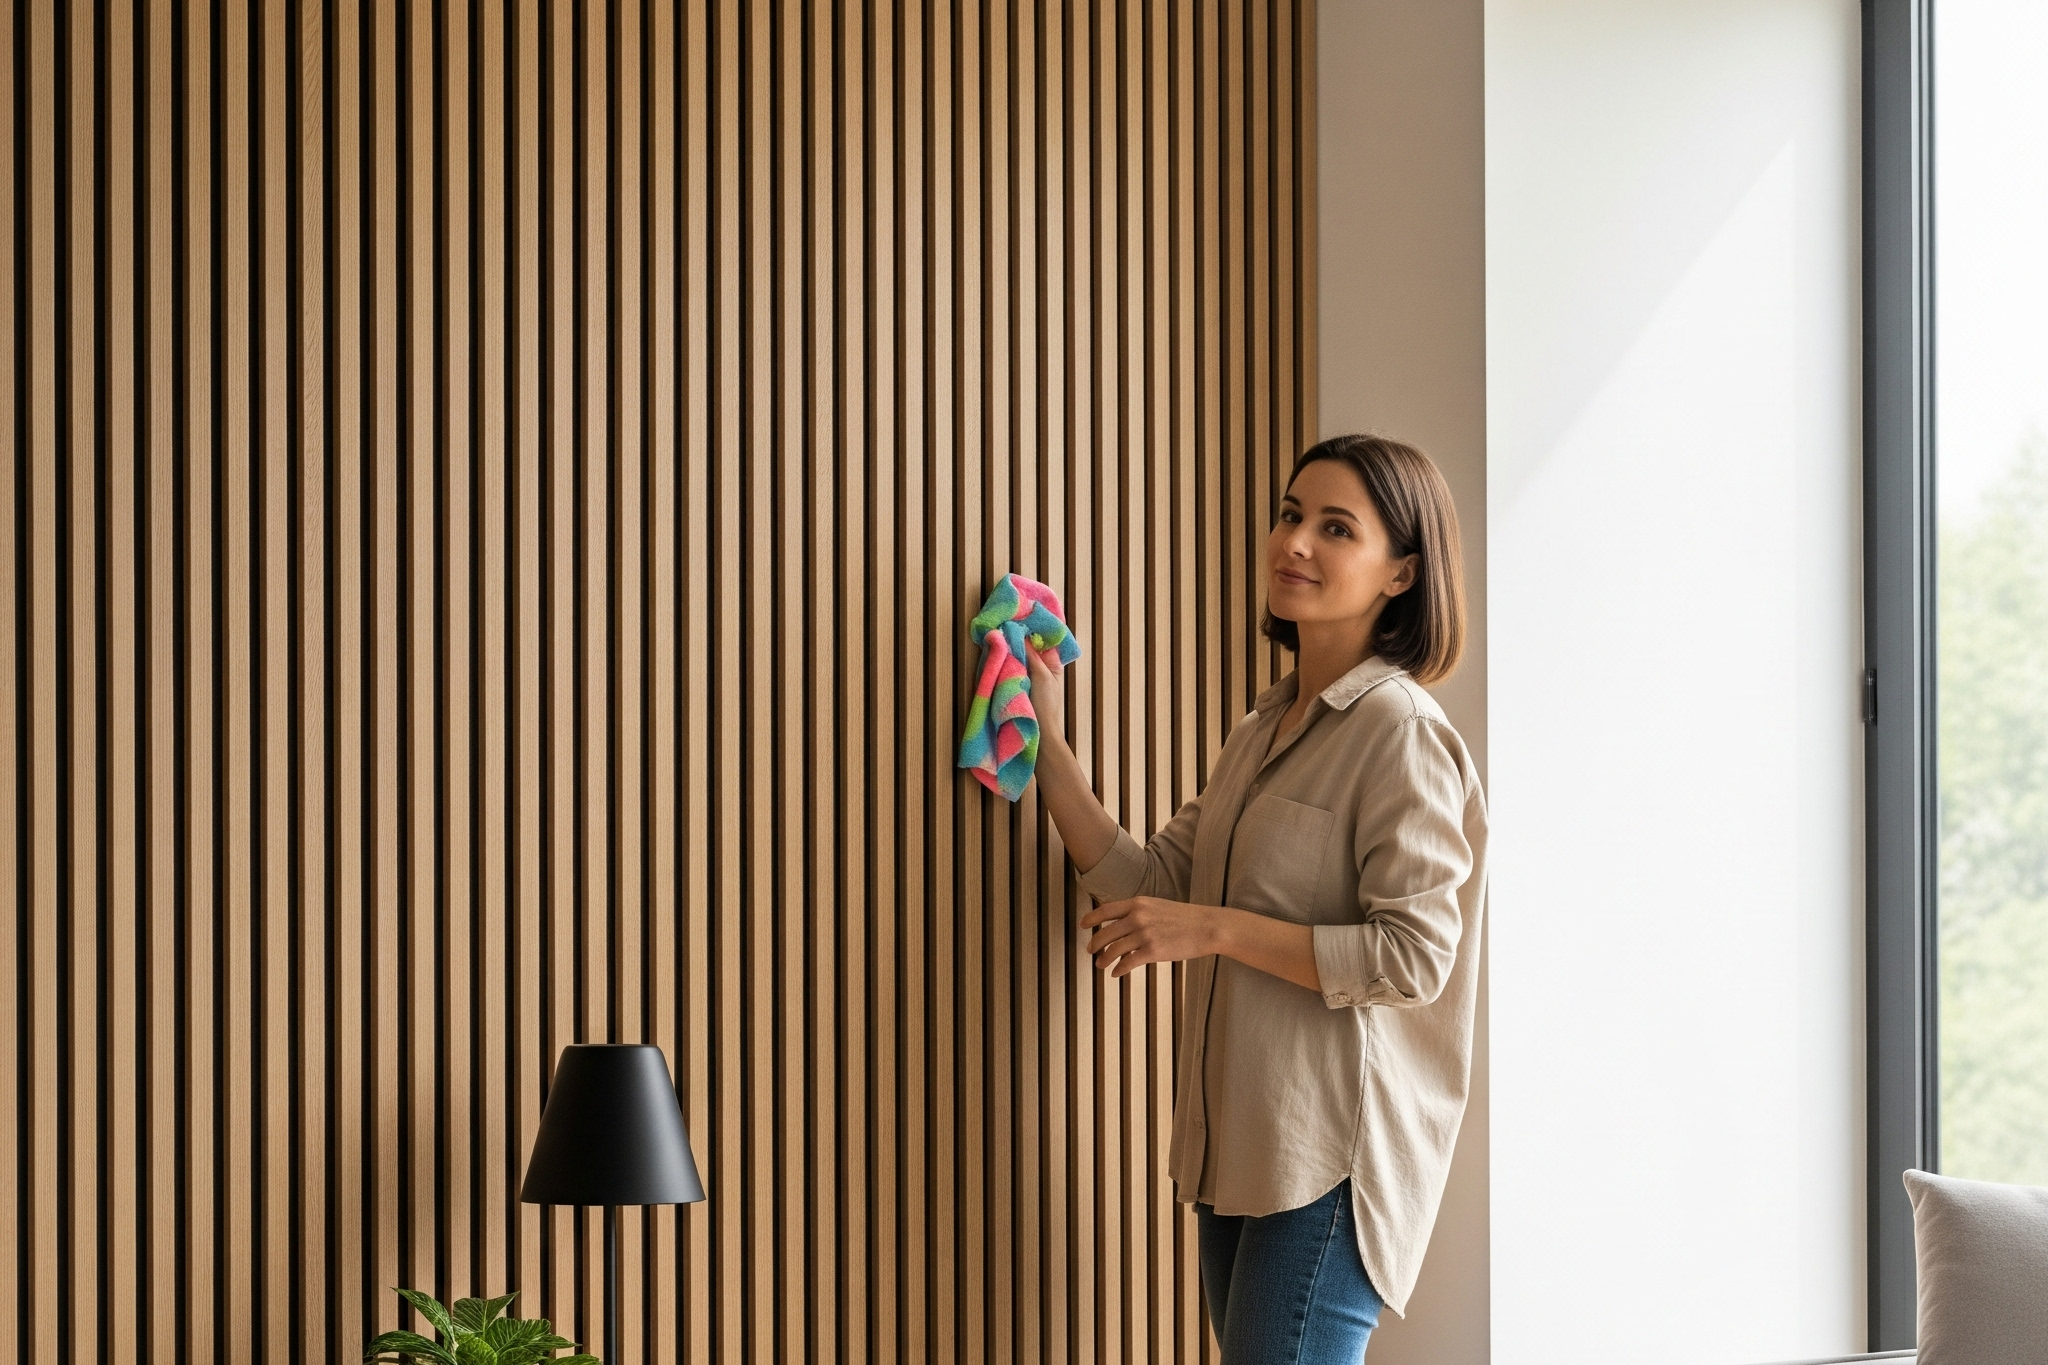
    How can you clean wall panels without damaging their finish or sacrificing your entire weekend? Yup, it’s possible! and way easier than you think. Whether your panels are covered in dust, kitchen grease, or mysterious marks (we’ve all been there), this guide breaks down everything you need to know, from tools and Amazon-approved products to step-by-step methods that actually work

    Let’s make those walls look brand new, without the stress.

    How Long Does It Take to Clean Wall Panels?

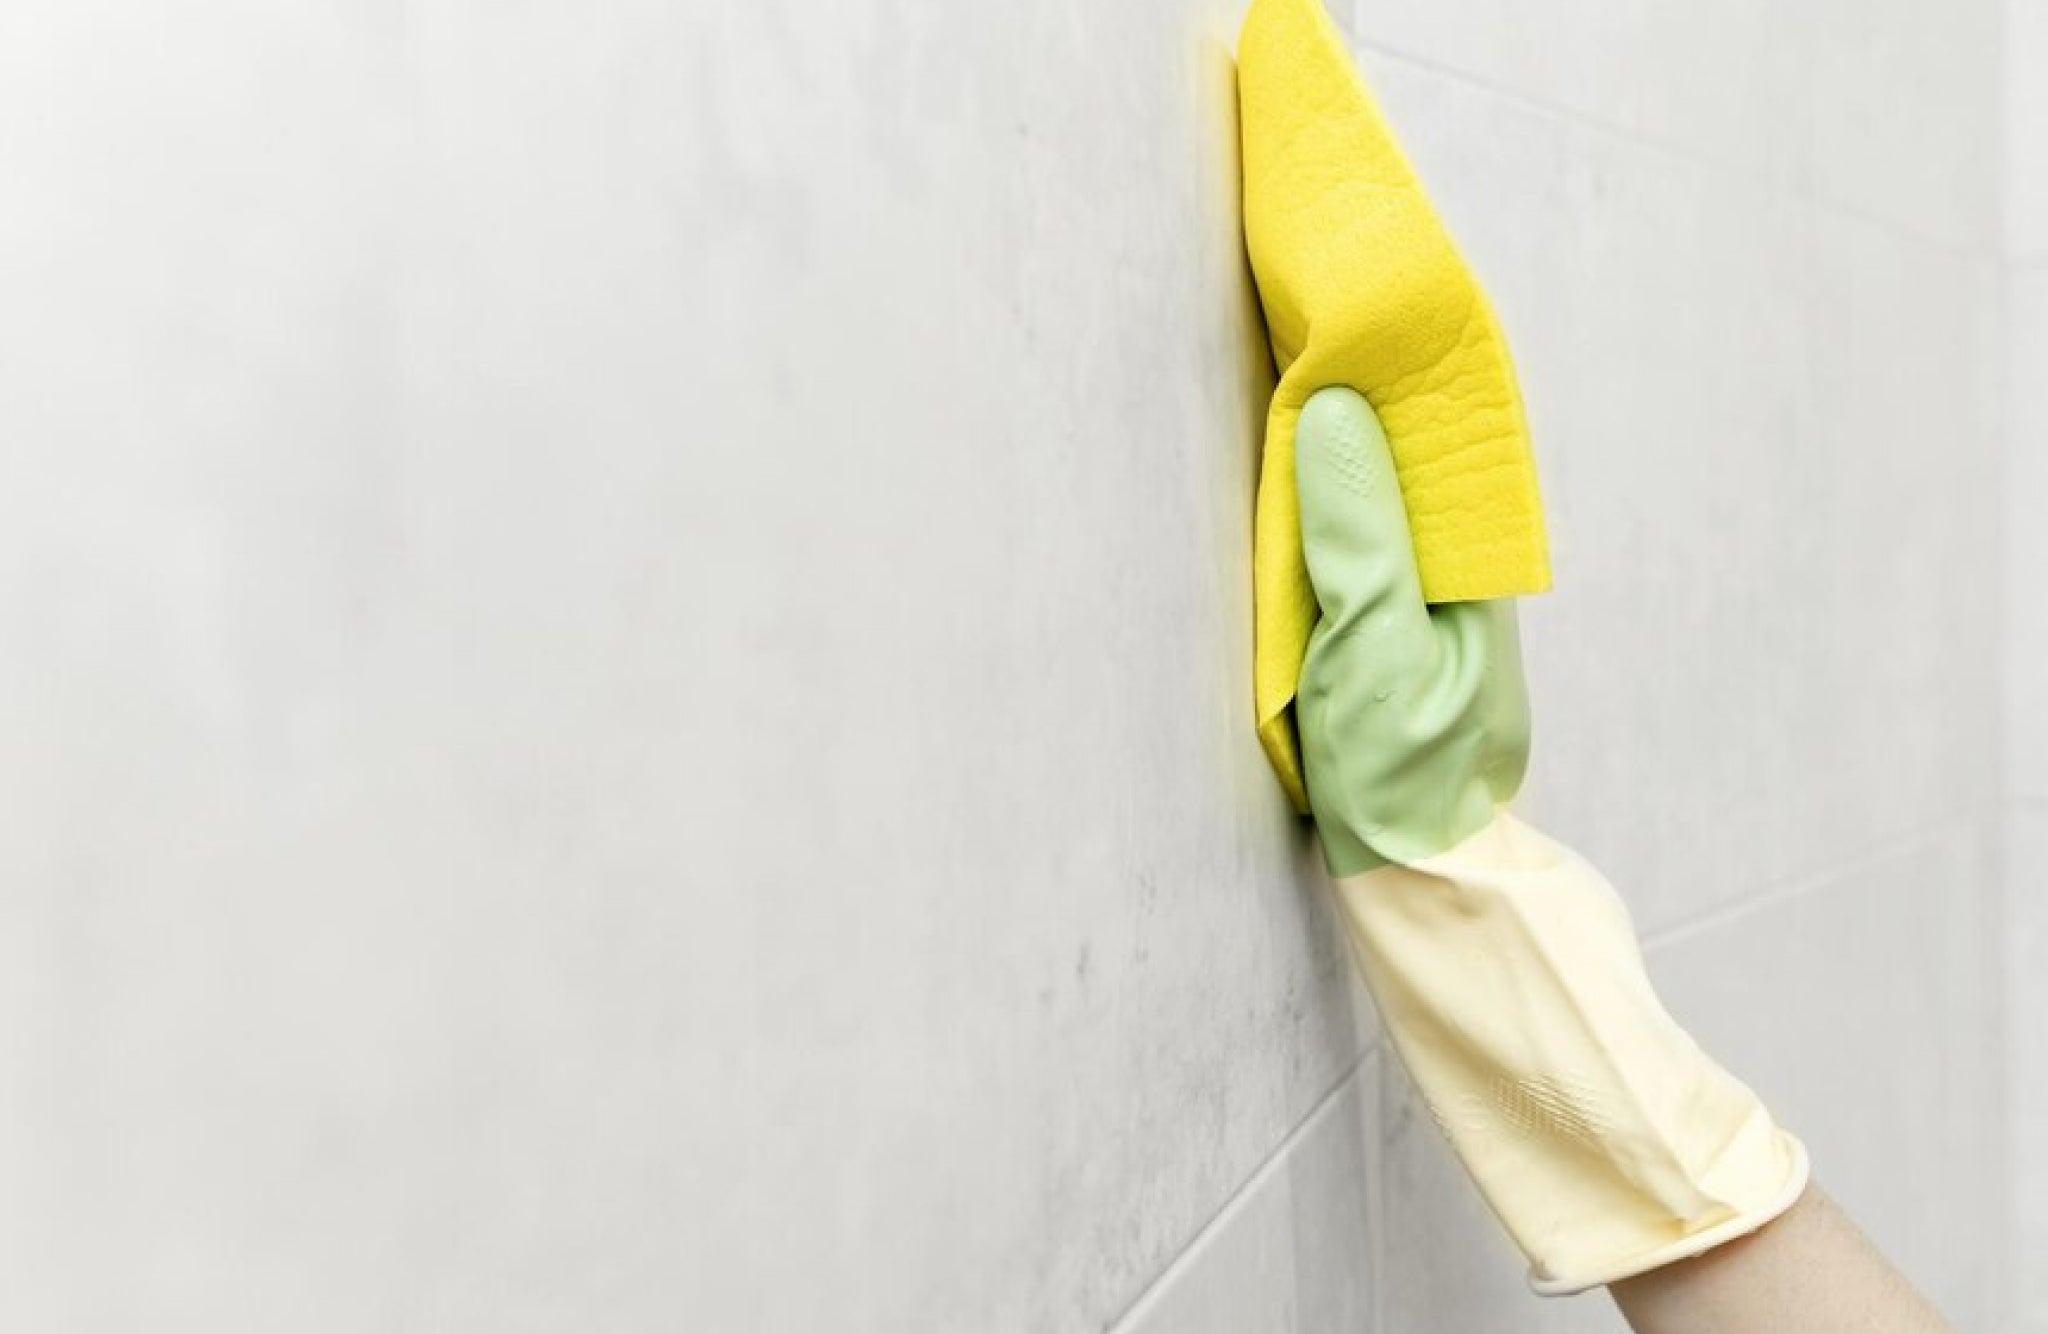
    On average, cleaning a full wall of panels takes about 10–15 minutes for a basic wipe-down and 20–30 minutes if you’re doing a deep clean. The actual time depends on the size of the wall, type of panel, and how long it’s been since your last cleaning session.

    Keeping up with light weekly cleaning can actually reduce how often you’ll need deep maintenance, saving you time and effort in the long run.

    How to Clean Different Types of Wall Panels

    Different materials have different needs. Let’s break it down by panel type so you can clean with confidence.

    1. MDF Decorative Panels

    MDF (Medium-Density Fiberboard) panels are sturdy and stylish, but they’re sensitive to moisture. Over-wetting them can cause warping or swelling, so gentle cleaning is key.

    Steps:

    1. Dust with a dry microfiber cloth or soft brush.

    2. Mix 1 tsp of mild dish soap + 2 cups warm water.

    3. Dampen (not soak!) a microfiber cloth and gently wipe the panel.

    4. Immediately dry with another clean cloth.

    Extra Tip: Use a vacuum with a soft brush attachment for grooves and slats.

    2. 3D PVC Wall Panels

    clean wall panels with dry cloth

    PVC panels are water-resistant and low-maintenance. It’s perfect for kitchens, bathrooms, or busy entryways. They handle moisture better than MDF and are ideal for frequent wipe-downs.

    Steps:

    1. Wipe off dust with a dry cloth.

    2. Spray a vinegar-water mix (1:1) or all-purpose cleaner.

    3. Wipe using a microfiber cloth in circular motions.

    4. For sticky areas, use a soft brush and soap water mix.

    DIY Hack: Add a few drops of lemon essential oil for a fresh scent.

    3. WPC Slat Panels

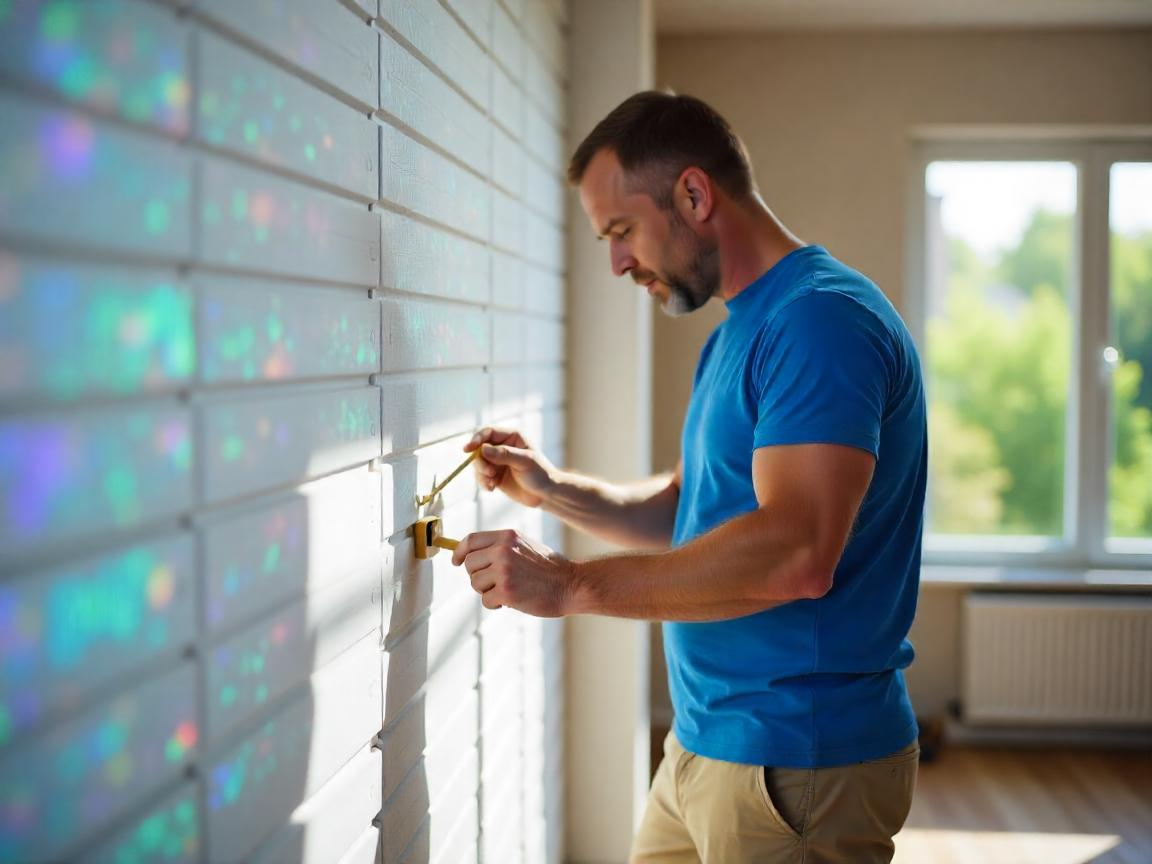
    man cleaning wpc wall panels with small brush

    WPC (Wood Plastic Composite) slats combine style and structure. Their grooved texture collects more dust, so a mix of dry and damp cleaning works best.

    Steps:

    1. Use a vacuum brush or handheld duster between slats.

    2. Mix water + a dash of mild detergent in a spray bottle.

    3. Lightly spray and wipe down with a microfiber cloth.

    4. For deep clean, use a small brush dipped in soapy water and follow with a dry wipe.

    Maintenance Tip: Wipe down once a week to prevent dust buildup in grooves.

    4. Slat Acoustic Panels

    American Acoustic Slat White Felt Wood Wall Panels - Oak - View 29

    When cleaning slat acoustic wall panels, it’s important to keep your panels looking sharp without damaging the felt backing or veneer.

    • Dust regularly
      Use a microfiber cloth or a soft duster to remove surface dust along the slats.
    • Vacuum between slats
      Use a vacuum with a brush attachment to clean inside grooves and remove trapped dust.
    • Spot clean gently
      For marks, lightly wipe with a damp (not wet) cloth and mild soap solution.
    • Dry immediately
      Use a clean dry cloth to prevent moisture from soaking into the felt backing.
    • Avoid harsh chemicals
      Stay away from abrasive cleaners, bleach, or excessive water.

    5. Solid Wood Wall Panels

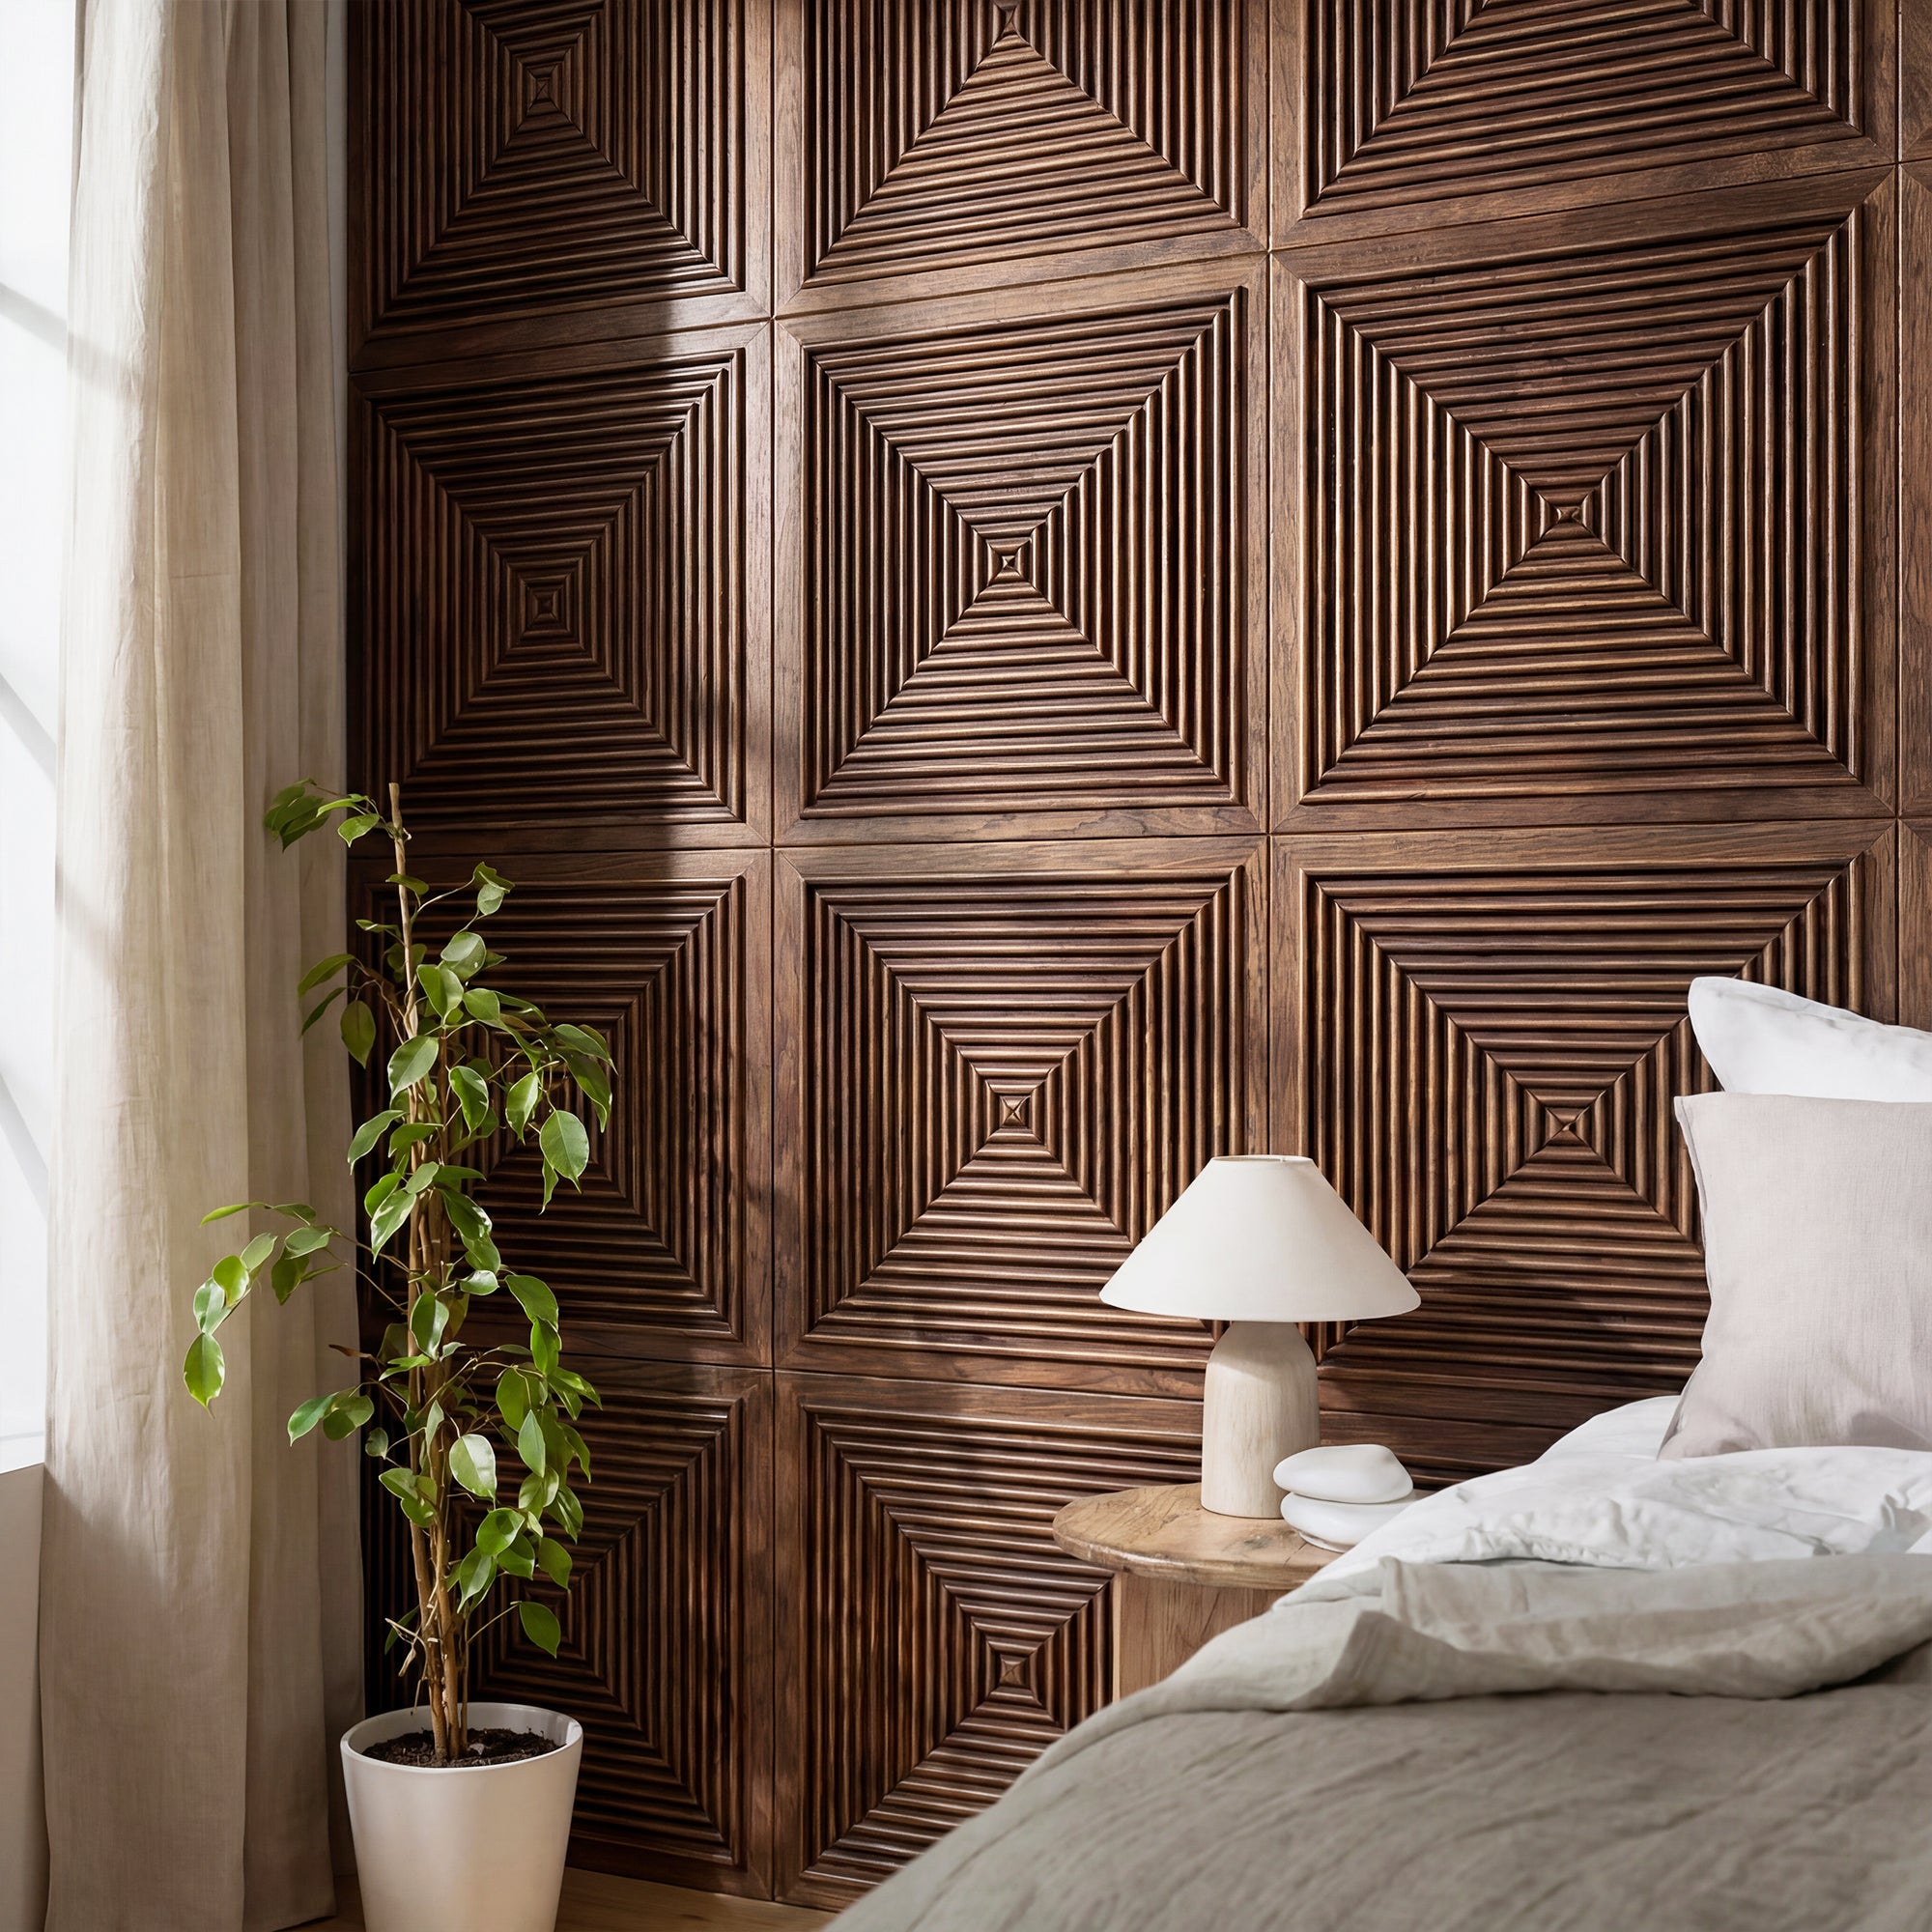
    3D Concentric Square Wood Wall Panel - Walnut - View 2Simple maintenance is key to preserve texture and finish of your solid wood wall panels.

    1. Remove loose dust
      Wipe with a dry cloth or use a soft brush for textured surfaces.
    2. Use a mild cleaning solution
      Mix water with a small amount of gentle soap.
    3. Wipe the surface
      Clean using a soft cloth or sponge, following the panel’s texture.
    4. Rinse lightly (if needed)
      Wipe again with a clean damp cloth to remove any residue.
    5. Dry thoroughly
      Prevent water spots or damage by drying with a soft towel.
    6. Avoid abrasive tools
      Do not use scrub pads or harsh chemicals that can damage the finish.

    DIY Natural Cleaning Spray (Safe for All Panel Types)

    Want a gentle, all-natural cleaner you can use anytime? Try this simple DIY mix:

    You’ll Need:

    • 1 cup warm water

    • 1 cup white vinegar

    • 1 tsp dish soap

    • (Optional) 5–6 drops of essential oil (e.g., lavender or tea tree)

    Shake well and spray lightly onto a cloth before wiping. Avoid spraying directly on the panels, especially MDF.

    Why it works: Vinegar cuts grease, soap lifts grime, and essential oils leave a fresh, clean scent.

    For wood panel surfaces, be sure to follow specific care instructions to avoid damage. Check out our How to Clean Wood Panel Walls: Eco-Friendly Guide for more detailed tips and wood-safe methods.

    How Often Should You Clean Wall Panels?

    Keeping a schedule helps extend the life of your panels and keeps your walls looking like new:

    • Light dusting: Weekly

    • Wipe-down with cleaner: Every 2–4 weeks

    • Deep clean (kitchen, bathroom, or high-touch areas): Monthly

    Pro Care Tip from The Panel Hub: Consistent light maintenance is more effective, and safer, than waiting for a full-on scrub fest.

    Tools & Products You’ll Need (All Easy to Find)

    Having the right tools makes all the difference. Gentle cleaners and soft materials help you avoid damaging the surface or finish of your wood wall panels, especially if they’re decorative or textured.

    Basic Tools for Any Wall Panel Type:

    • Microfiber Cloths (gentle on all surfaces)

    microfiber cloths

    • Soft Bristle Brush (great for grooves/textured panels)

    soft bristle brush

    • Spray Bottle (for DIY cleaning solution)

    spray bottle

    Gentle Cleaning Solutions:

    • Mild Dish Soap (like Dawn or Method)

    • White Vinegar + Water Mix (for natural cleaning)

    • Panel-safe all-purpose cleaner

    Note: Method All-Purpose Cleaner—French Lavender is one of my go-to picks for safe and effective everyday cleaning. It’s plant-based, non-toxic, and gentle enough to use on wall panels, whether they’re MDF, PVC, or WPC. What’s most appealing to me about it? It cuts through grease and dust without the harsh chemicals, and the soft lavender scent makes cleaning feel a little more calming (and way less like a chore). This product is ideal for maintaining the cleanliness, polish, and freshness of your panels, particularly in areas with heavy traffic.

    Avoid:

    • Abrasive scrubbers

    • Strong chemical cleaners (especially for MDF or PVC panels)

    • Bleach or ammonia (can discolor and damage panel surface)

    Important: Strong chemical cleaners or abrasives can strip finishes or damage sensitive surfaces. Always test a small area first.

    Eco-Friendly Way to Clean Wood Panel Walls

    Natural Cleaning Solutions

    Using the power of natural substances is a great way to get clean without leaving a chemical mark. Vinegar and water, which are both common household items, can work wonders. In a spray bottle, mix equal parts water and white vinegar. Using this solution works as a mild but effective cleaner that gets rid of dirt without bringing any chemicals that could be harmful into your home or the area around it.

    Reusable Cleaning Tools

    The tools we use to clean in an environmentally friendly way are a big part of the process.  Instead of using paper towels or wipes that you throw away, use old t-shirts or microfiber cloths that you can wash and use again.  The environment is better off because of them.  Another benefit of using these materials is that they not only work well to get rid of dirt and dust, but they can also be cleaned and used again and again, which cuts down on the amount of trash that is made.

    Mindful Water Usage

    Even though water is needed for cleaning, it is important to use it wisely because it is a valuable resource. When washing walls with wood paneling, you should dampen your cloth instead of soaking it. Too much water can hurt wood by warping it or making mold grow.

    Being aware of how much water you use goes beyond just cleaning, which is another interesting point. While you wash the cleaning supplies or cloths, don’t leave the taps running. Another great way to make sustainability a reality is to collect rinse water in a bucket and use it again for cleaning or watering plants.

    Biodegradable Soaps

    Sometimes, a little soap is needed to tackle stubborn stains or built-up grime. In such cases, it’s vital to choose soaps that are biodegradable and free from harmful chemicals. These soaps break down naturally, ensuring that they don’t pollute waterways or harm aquatic life.

    There are many eco-friendly products that clean wood and are good for the environment as well. You might be able to find a product that fits your goals for eco-friendly cleaning by reading the labels and doing some research. Remember that a little bit goes a long way, so be careful how much you take.

    The Last Sweep: Keep Your Panels Looking Fresh

    Cleaning wall panels doesn’t have to be a chore. With the right tools and gentle techniques, you can keep them looking fresh, elegant, and dust-free all year round.

    If you’re using wall panels from The Panel Hub, rest assured, our wood wall panel collections are made to be easy-care, long-lasting, and perfect for real-life messes. 

    FAQs: How to Clean Wood Panel Walls (Eco-Friendly Guide)

    What is the best natural cleaner for wood panel walls?

    A simple mix of warm water and mild soap (like castile soap) works well for everyday cleaning. For a more natural solution, you can use diluted white vinegar—but always test on a small area first to avoid affecting the finish.

    Can vinegar damage wood wall panels?

    Yes, if used improperly. Vinegar is acidic and can dull or damage certain finishes if used in high concentrations or too frequently. Always dilute it with water and avoid soaking the surface.

    How often should I clean wood panel walls?

    Light dusting can be done weekly, while deeper cleaning should only be done every few months or as needed. Over-cleaning with moisture can wear down the finish over time.

    What’s the safest way to remove stains from wood panels naturally?

    Use a damp microfiber cloth with a mild soap solution and gently wipe the affected area. For tougher stains, a paste of baking soda and water can help—but apply lightly and avoid scrubbing too hard.

    Can I use essential oils to clean wood panel walls?

    Yes, small amounts of essential oils (like lemon or tea tree) can be added to natural cleaning solutions for fragrance and mild antibacterial properties. Just be careful not to leave oily residue on the surface.

    How do I clean wood panels without damaging the finish?

    Always use a soft cloth, minimal water, and gentle cleaning solutions. Wipe in the direction of the wood grain and dry immediately after cleaning to protect the finish.

    Are eco-friendly cleaners effective for grease or kitchen buildup?

    Yes, natural solutions like diluted vinegar or a mild soap mixture can effectively cut through light grease. For heavier buildup, you may need to repeat the process or use a slightly stronger (but still gentle) natural cleaner.

    Can I use a steam cleaner on wood panel walls?

    It’s not recommended. Steam can force moisture into the wood, potentially causing warping, swelling, or damage to the finish over time.

  • Putting MDF Durability to The Test: Is It Really All That?

    Putting MDF Durability to The Test: Is It Really All That?

    Is MDF as Durable as You Think? Have you ever wondered how MDF (Medium-Density Fiberboard) stacks up in terms of durability? Often overshadowed by solid wood, MDF surprises many with its strength and resilience. But how durable is it really, and when is it the right choice for your project? Let’s dig into the details to uncover what makes MDF a durable and cost-effective material.

    What Exactly Is MDF?

    MDF Durability

    Before talking a lot more about durability, it’s important to understand what MDF is. Medium-Density Fiberboard is engineered from wood fibers, wax, and resin, creating a dense, uniform material. This manufacturing process gives MDF its consistent texture, making it easier to work with and perfect for a variety of applications such as furniture, cabinetry, and paneling.

    Why MDF Durability Matters for Your Projects

    MDF Durability

    When it comes to choosing materials for your project, durability is key. MDF may not have the reputation of hardwood, but its structural integrity is impressive. It doesn’t warp or crack like solid wood can in fluctuating temperatures or humidity levels. Its smooth surface also makes it ideal for painting and veneering, which can further enhance its longevity.

    Comparing MDF Durability to Solid Wood

    MDF Durability

    When comparing MDF to solid wood, many assume wood has the upper hand in durability. However, MDF can outperform wood in specific situations. For example, it doesn’t split, crack, or warp easily, making it a better option in environments where humidity and temperature fluctuate. It’s also less prone to termites and other pests that can weaken wood over time.

    MDF

    Pros:

    • Smooth surface: Ideal for painting and veneering.
    • Affordable: Cheaper than plywood, making it cost-effective for interior applications.
    • Easily customizable: Can be cut and shaped with precision.
    • Consistent: No knots or grains that could cause splintering.

    Cons:

    • Moisture-sensitive: Can swell when exposed to water unless treated.
    • Not as strong as plywood: Can sag under heavy weight.
    • Susceptible to heat damage: Warps when exposed to high temperatures.

    Plywood

    Pros:

    • Durable: Great strength, even for heavy loads.
    • Moisture-resistant: Performs better in outdoor or damp environments.
    • Lightweight: Easier to work with than MDF for large projects.

    Cons:

    • Higher cost: Typically more expensive than MDF.
    • Grain texture: May require more work to finish smoothly.
    • Less consistent surface: Can have knots and uneven grain.

    Best Uses for MDF in High-Durability Applications

    MDF Durability

    MDF can be your go-to material for projects that require both strength and cost-efficiency. Common applications where MDF shines include:

    • Cabinetry: MDF’s smooth surface and adaptability to paints and finishes make it a great fit.
    • Furniture: The uniformity of MDF allows for intricate designs, making it popular for custom pieces.
    • Wall Paneling: Its durability makes MDF perfect for decorative wall panels, providing a sleek finish that lasts.

    Enhancing MDF Durability with Proper Care

    While MDF is naturally durable, taking extra care can significantly prolong its lifespan. Applying a moisture-resistant sealant or finish is one of the most effective ways to protect MDF from swelling and damage caused by water exposure. For rooms with high humidity, such as bathrooms or kitchens, consider using moisture-resistant MDF. Regularly dusting and cleaning the surface prevents buildup of dirt that may weaken the structure over time.

    Additionally, when working with MDF, ensure you use the right adhesives and screws for assembly. Opt for wood glue with strong bonding properties and use pre-drilled holes to prevent the material from splitting. Proper installation helps prevent sagging or weakening at the joints. By taking these proactive steps, you ensure that your MDF furniture or panels stay strong and visually appealing for years to come.


    Pain Points of MDF

    MDF Durability

    Moisture Sensitivity

    One of MDF’s major weaknesses is its vulnerability to moisture. Untreated MDF swells and loses structural integrity when exposed to water, making it unsuitable for damp environments without protective treatment. Moisture-resistant MDF is available and performs much better in humid or damp areas. To ensure the longevity of your MDF-based furniture or panels, it’s crucial to apply a sealant or finish if used in bathrooms or kitchens where moisture exposure is higher.

    Read more: Waterproof Wall Panels for Bathrooms: Say Bye to Blandness

    Heat Resistance

    Heat can also affect the durability of MDF. While MDF works well in most indoor environments, placing it near direct heat sources like fireplaces or ovens can cause it to warp over time. For better performance, avoid placing MDF near high-heat areas unless the material has been treated with heat-resistant coatings. Proper ventilation and care can further extend the lifespan of MDF in heat-exposed zones.

    Termite Vulnerability

    Although MDF is generally more termite-resistant than solid wood, it is not completely immune to these pests. Untreated MDF, especially in warm and humid climates, can still attract termites. Using treated MDF or applying pest-resistant coatings can protect against infestations. Implementing preventative pest control measures can also help safeguard MDF in environments where termites are prevalent.

    Mold and Fungal Growth

    When it comes to mold and fungus, MDF is susceptible in areas where moisture levels are consistently high. The material can absorb moisture, creating a breeding ground for mold and mildew, which can weaken the structure. To prevent this, ensure that moisture-resistant MDF is used in damp environments, and consider applying antifungal treatments for added protection. Ventilation and humidity control in spaces like basements can also help mitigate mold risks.

    MDF Durability FAQs

    How long do MDF wall panels last?
    In a normal interior environment (stable temperature, low humidity), quality MDF wall panels with appropriate surface treatment can last 20–30 years without significant deterioration. The limiting factors are moisture exposure (MDF absorbs water and swells if moisture is present consistently), impact damage at edges (MDF is more brittle at edges than solid wood), and the condition of the paint or surface finish over time. Well-installed, properly sealed MDF panels in a protected interior environment are a genuinely durable wall treatment.

    Can MDF wall panels be repaired if damaged?
    Yes. Surface dents and scratches can be filled with lightweight filler, sanded flush, primed, and repainted. Edge damage — chipping or delamination — is more challenging: fill the damaged area with a two-part wood filler, sand back, and prime before repainting. For significant structural damage (deep impact damage or water-swelling), the affected panel section should be replaced rather than repaired — attempting to repair severely water-damaged MDF typically produces a visible repair even with careful finishing.

    Is moisture-resistant MDF suitable for bathrooms?
    Moisture-resistant MDF (sometimes marketed as MR MDF or green-core MDF) has improved resistance to swelling in humid conditions compared to standard MDF. It is suitable for bathroom wall panels that are not in direct contact with water — panel walls in a bathroom where the panels are separated from wet zones by a good distance. For panels immediately adjacent to showers or baths, PVC or WPC panels remain the better specification — moisture-resistant MDF is not fully waterproof and will absorb water at cut edges if exposed directly to spray.

    What type of surface treatment is most durable on MDF?
    A properly applied two-pack polyurethane paint system provides the most durable surface on MDF — it is resistant to scratching, impact, and cleaning chemicals, and is used in cabinetry and shopfitting where surface durability is critical. For standard residential wall panels, a high-quality water-based eggshell applied over a proper MDF primer provides excellent durability at a much more accessible cost and with easier application. The difference between a good primer-and-eggshell system and a two-pack system is minor in most residential contexts.

    Conclusion

    While MDF offers an affordable and versatile material for many projects, understanding its durability is key to making the most of it. From moisture resistance to heat sensitivity, and susceptibility to pests and mold, MDF requires proper treatment and maintenance to ensure long-lasting performance. However, when used in the right environment and with the appropriate precautions, MDF can be an excellent choice for furniture, cabinetry, and other indoor applications.

  • Japanese Wall Art Panels: Modern and Traditional Techniques for Elegant Walls

    Japanese Wall Art Panels: Modern and Traditional Techniques for Elegant Walls

    Japanese wall art panels draw on centuries of craft tradition to bring calm, balance, and extraordinary visual depth into contemporary interior spaces.

    By focusing on minimalism, natural materials, and expert craftsmanship, Japanese design provides a pathway to creating beautiful yet functional wall art. Techniques such as Wagoya, Kumiko, and Yakisugi can inspire anyone looking to add a timeless and refined touch to their home.

    In this article, we will explore these three key traditional Japanese woodwork techniques. Then, it will show you how to create your own Japanese-inspired wall by blending tradition with

    Japanese wall art

    Traditional Japanese Wall Art: A Balance of Function and Beauty

    Traditional Japanese wall art is more than just decoration. Obviously, it is closely tied to the architectural principles of balance, harmony, and respect for nature. This aesthetic is rooted in clean lines and thoughtful design, bringing serenity into the home. Indeed, Japanese interiors emphasize simplicity and natural elements. 

    Wood plays a central role, often left untreated or given minimal finishing touches to reveal its organic beauty. Moreover, earthy colors and minimal decoration create a calm, unobtrusive atmosphere, allowing the space to breathe. Every element, from the materials to design, is carefully chosen to foster a sense of peace and simplicity. 

    Additionally, the lack of clutter in Japanese interiors direct attention to craftsmanship and the beauty of the natural world. Natural light plays an important role. It softly illuminates the textures of wood and highlights the minimalist design. These principles form the basis for creating Japanese woodworking-inspired walls that are both visually appealing and functional.Through a balanced combination of aesthetic and practical elements, Japanese wall art brings a sense of calm and timeless elegance into any home. 

    Wagoya: The Art of Traditional Japanese Joinery

    In traditional Japanese wall art, there is a technique called Wagoya. This joinery method avoids the use of nails, screws, or any modern fasteners. Instead, it relies on precisely cut wooden joints to create strong and durable structures. For example, Wagoya is often used in temples and traditional homes. This intricate craftsmanship required for Wagoya results in breathtakingly detailed patterns that showcase skill and precision.

    Inspiration for walls: Although traditionally associated with architecture, Wagoya principles can be adapted to inspired creative wall design. Imagine incorporating interlocking wooden panels or geometric patterns as a feature wall. This approach adds both texture and architectural interest to the space, creating a dynamic focal point. Moreover, the beauty of Wagoya lies in its timelessness, offering a sophisticated, natural look that will never go out of style. By introducing Wagoya-inspired elements into modern spaces, you bring a sense of balance and craftsmanship that will never go out of style. Just like the Natural Reeded Wall Panel, this Wagoya-inspired design brings a touch of structural elegance to any room, all while remaining true to the traditional technique. Additionally, using natural wood materials complements the minimalist aesthetic of Japanese design, enhancing the overall harmony of the space.

    Kumiko

    Kumiko: Delicate Lattice Woodwork

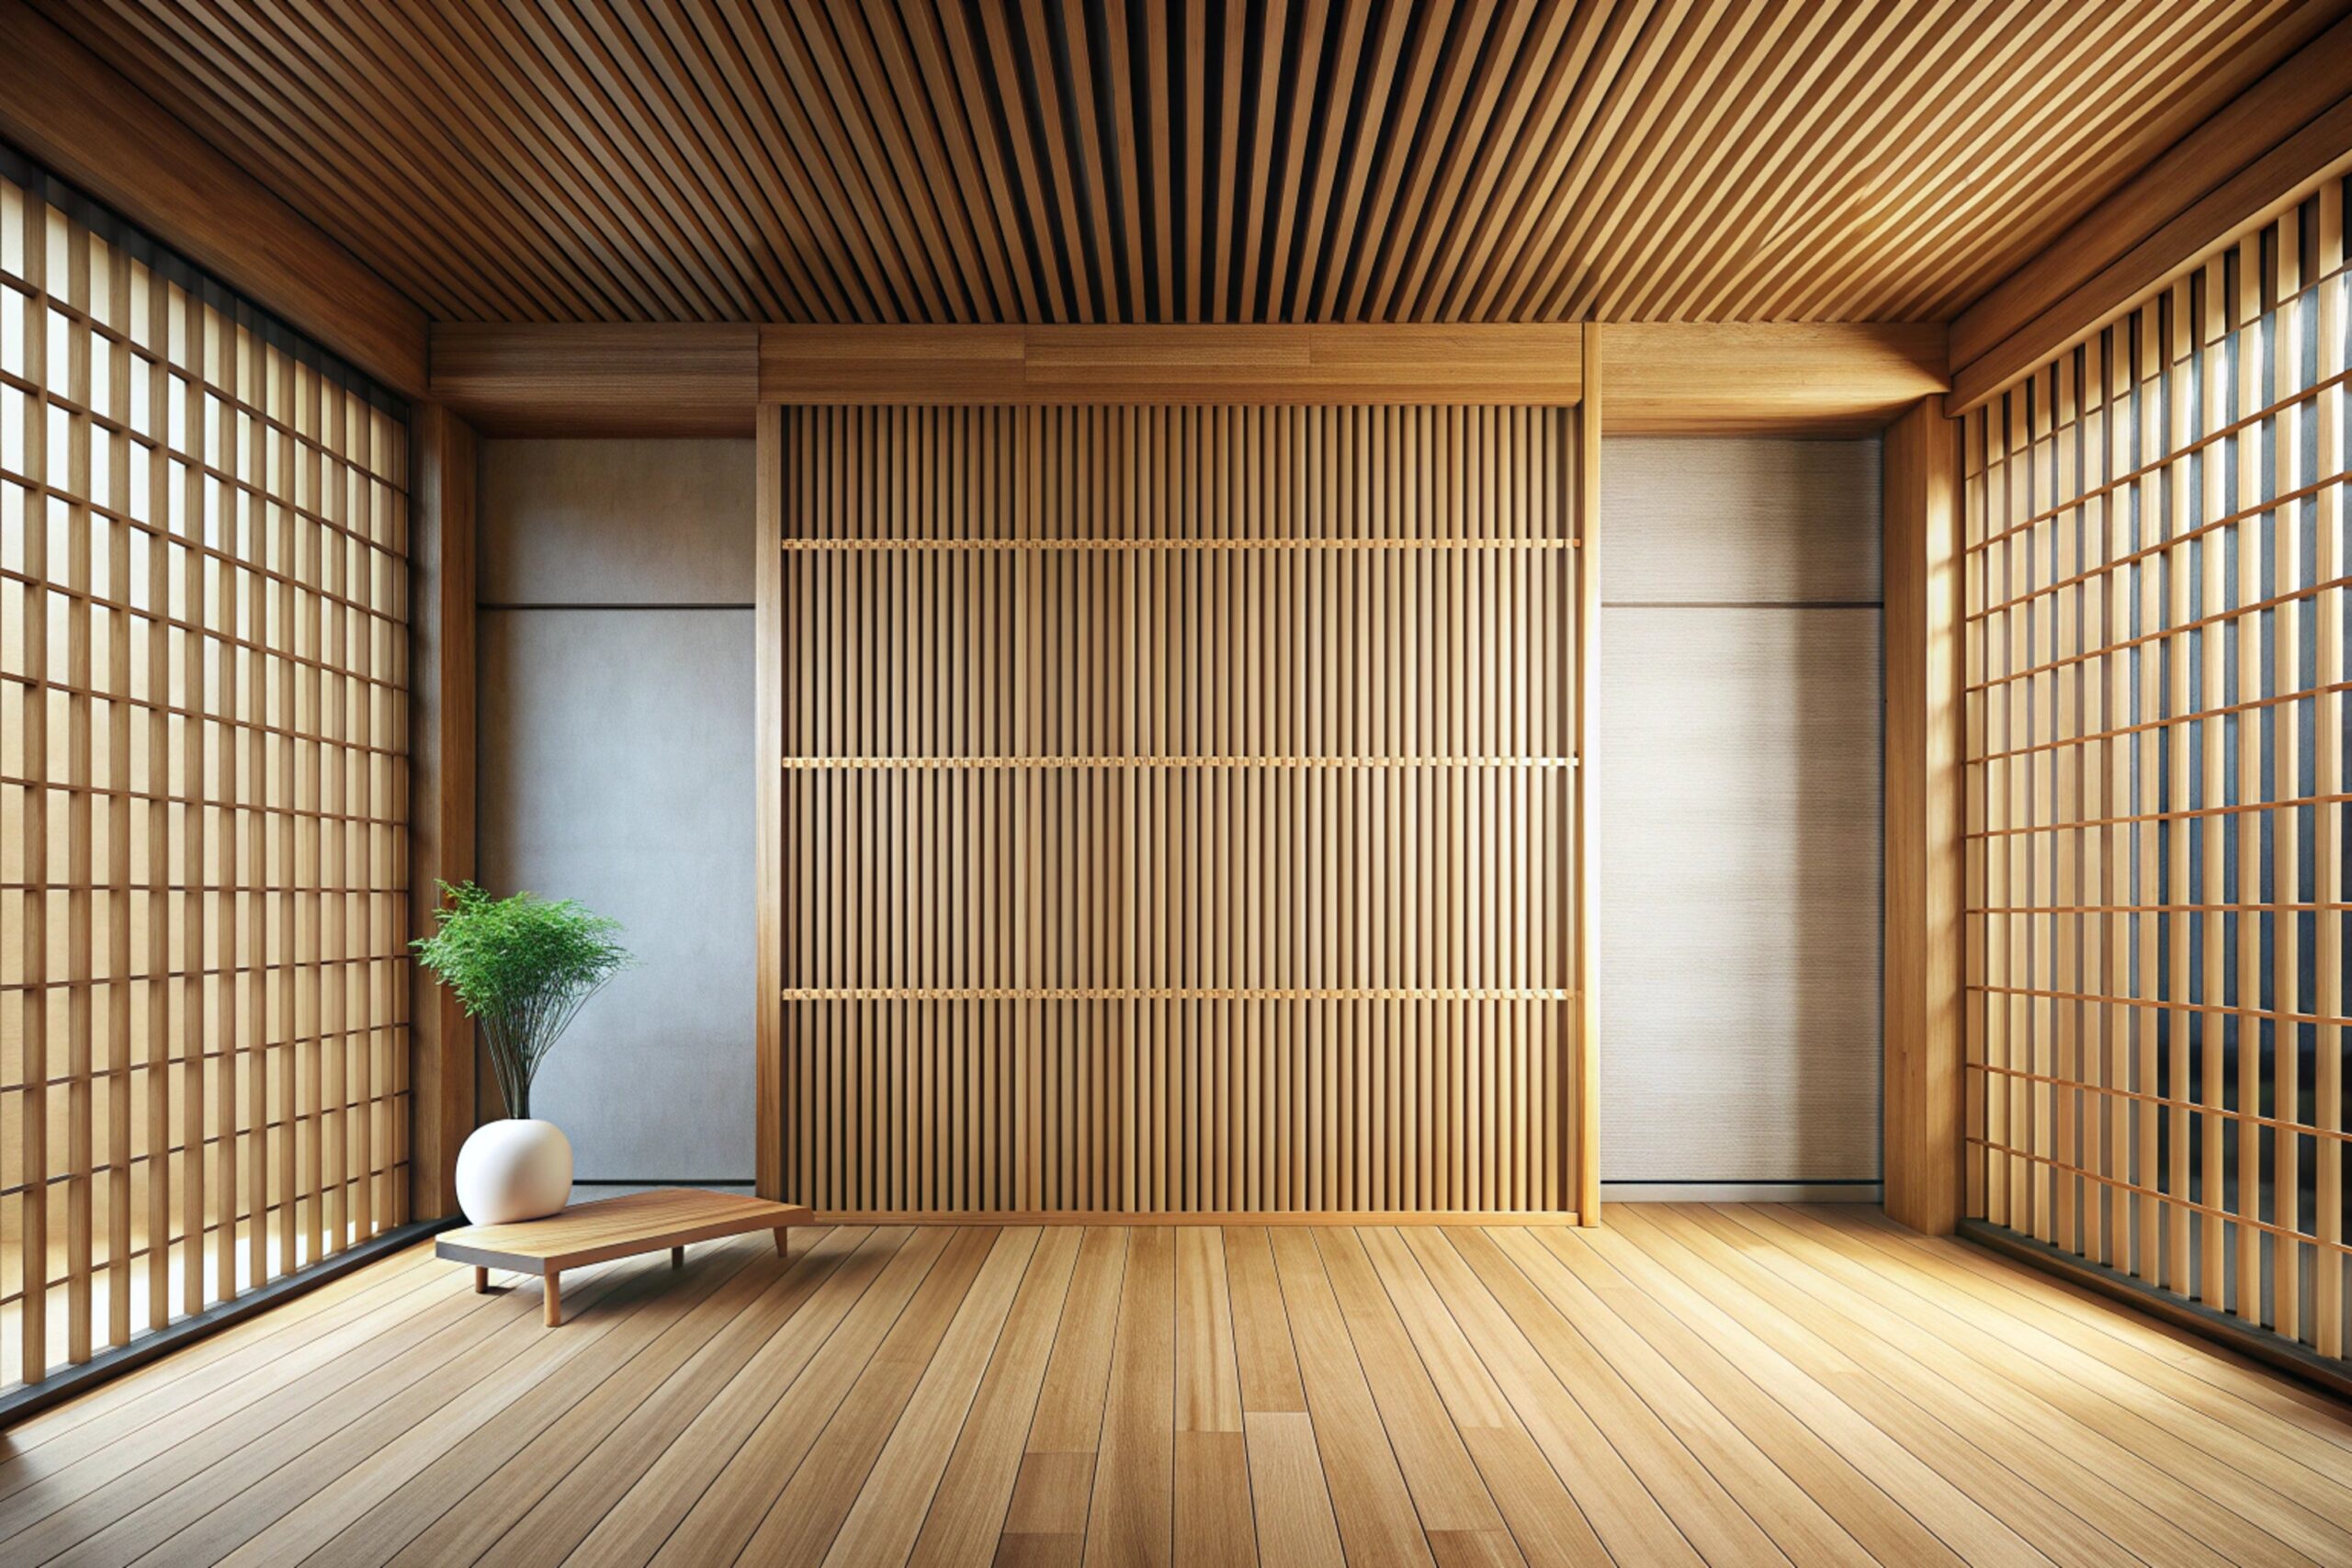
    Another technique, it’s called Kumiko, an ancient craft that involves creating intricate lattice patterns from thin wooden strips. This delicate method requires precision and patience, showcasing the remarkable skill of Japanese artisans. Traditionally, Kumiko is used in shoji screens and sliding doors, adding not only a soft and light feel but also a unique visual texture to an interior. The geometric patterns of Kumiko are designed to allow natural light to gently filter through, creating a serene, airy ambiance in any space.

    Inspiration for walls: Moreover, incorporating Kumiko into modern wall designs, it can add a refined touch of Japanese elegance. A simple Kumiko accent piece or wall panel can enhance a room’s style. For modern twist, try out Groove Panel Mosaic Panel, this product will seamlessly blend tradition with contemporary design. Whether used in partitions, wall panels, or accent pieces, Kumiko brings a sense of airiness and intricate artistry that transforms any space into a calming retreat. Additionally, its delicate patterns create an understated focal point that draws the eye without overwhelming the room.

    Yakisugi

    Yakisugi: Charred Wood with Rustic Appeal

    Last but not least, Yakisugi, or shou sugi ban, is a traditional technique where wood is charred to increase durability. This ancient method not only preserves the wood but also enhances its resistance to the elements, making it ideal for both indoor and outdoor use. The charring process creates striking textures and a bold, rustic aesthetic that cannot be replicated with other methods.

    Inspiration for walls: Particularly, Yakisugi walls make a bold statement, especially in minimalist spaces where simplicity is key. The deep, rich texture and dark tones of charred wood contrast beautifully with neutral or light-colored surroundings, adding a dramatic yet natural touch to modern interiors. This technique can be applied to accent walls, headboards, or even entire feature walls to create a strong visual impact. For those looking to achieve this look more easily, Acoustic Hexagonal Wall Panel or Acoustic Slat panels offers a pre-finished charred wood option that brings the rustic beauty of Yakisugi into homes without the need for complex treatment. Whether you’re aiming for a traditional feel or a contemporary twist, this product helps you introduce a unique, natural texture into any living space.

    Conclusion

    To sum up, from the timeless joinery of Wagoya to the intricate latticework of Kumiko and the rustic appeal of Yakisugi, traditional Japanese woodwork offers a wealth of inspiration for modern wall design. Each technique reflects the core values of Japanese art: simplicity, craftsmanship, and harmony with nature.

    After delving into these traditional techniques, it’s clear that they blend seamlessly with modern sensibilities. By combining the minimalism of traditional woodwork with contemporary design elements, you can create a unique space that reflects both tradition and modernity. For instance, pairing Kumiko-inspired lattice panels with bold, modern colors, or integrating Yakisugi wood into a minimalist room, creates an exciting fusion of old and new. The clean, geometric lines of Wagoya can also be mirrored in modern modular wall units or shelving, blending function with beauty.

    Exploring the world of Japanese wall art panels and integrating these elements into your home can transform your walls into a work of art. If you want to explore geometric wood panels that will suit Japanese-inspired interiors, explore The Panel Hub now!

  • Elevate Your Interiors: A Beginner’s Guide to Panel Moulding in 2026

    Elevate Your Interiors: A Beginner’s Guide to Panel Moulding in 2026

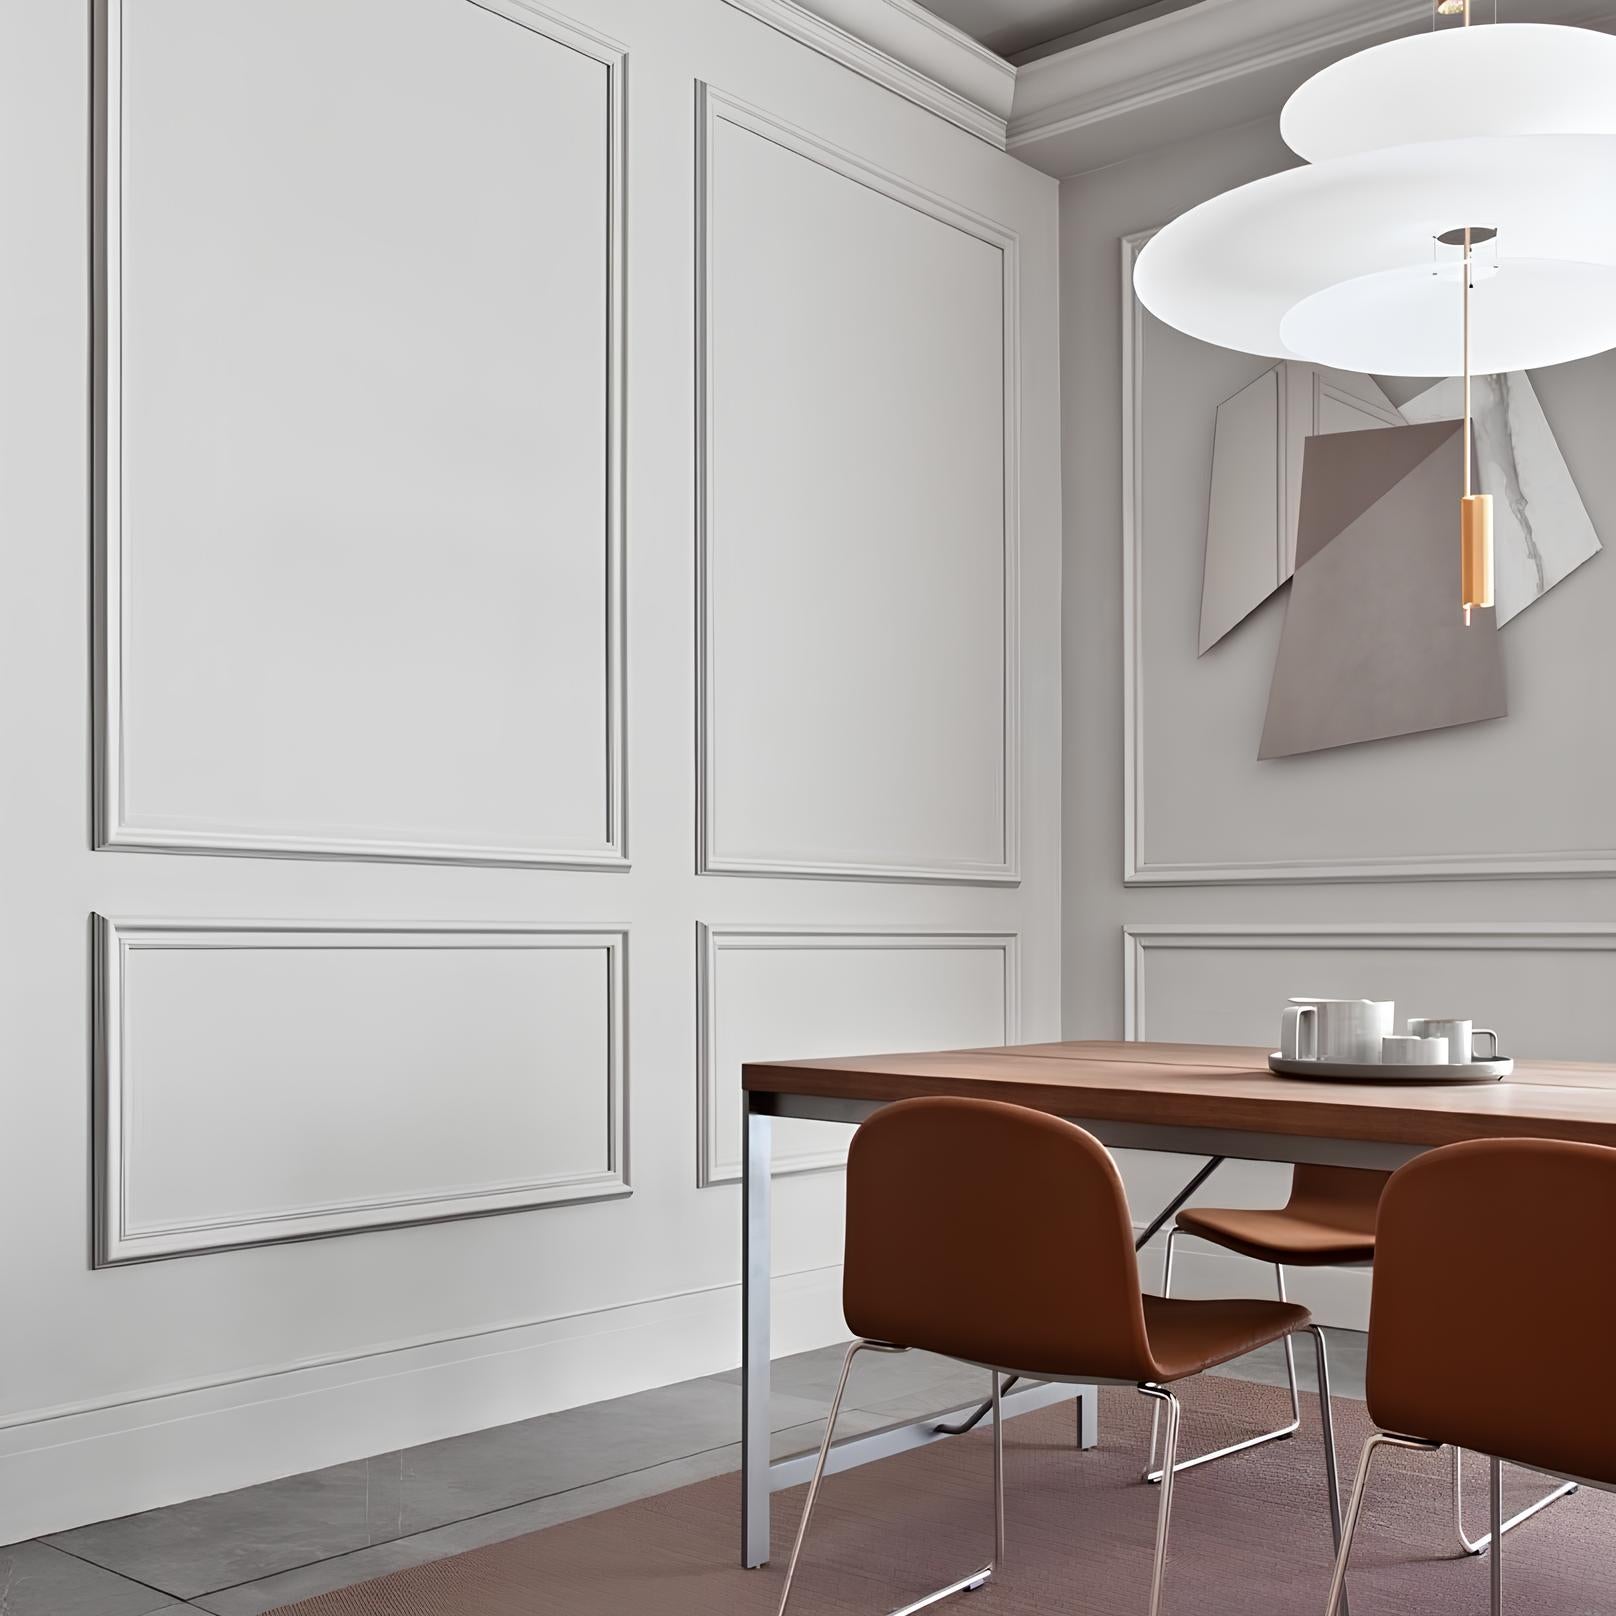
    Panel moulding is more than just a decorative feature; it’s a transformative design element that adds elegance and architectural interest to any space. Ideal for those looking to elevate their home’s style, panel moulding can complement both modern and traditional decors.

    In this guide, we will walk you through the essentials of panel moulding, including selection, installation, and styling, to help you beautifully enhance your living environment.

    Understanding Panel Moulding

    Panel moulding dates back to Georgian times and was originally used to frame wallpaper, fabric, or paint, creating distinct, decorative wall segments that added richness and depth to room interiors. Today, it serves both decorative and practical purposes, defining spaces, concealing joints, and adding sophistication to plain walls.

    When planning to incorporate panel moulding in your home, it’s crucial to understand the different types— from simple beaded designs to more elaborate, sculpted options— and how each can impact your room’s aesthetics.

    Choosing the Right Material

    Panel Moulding

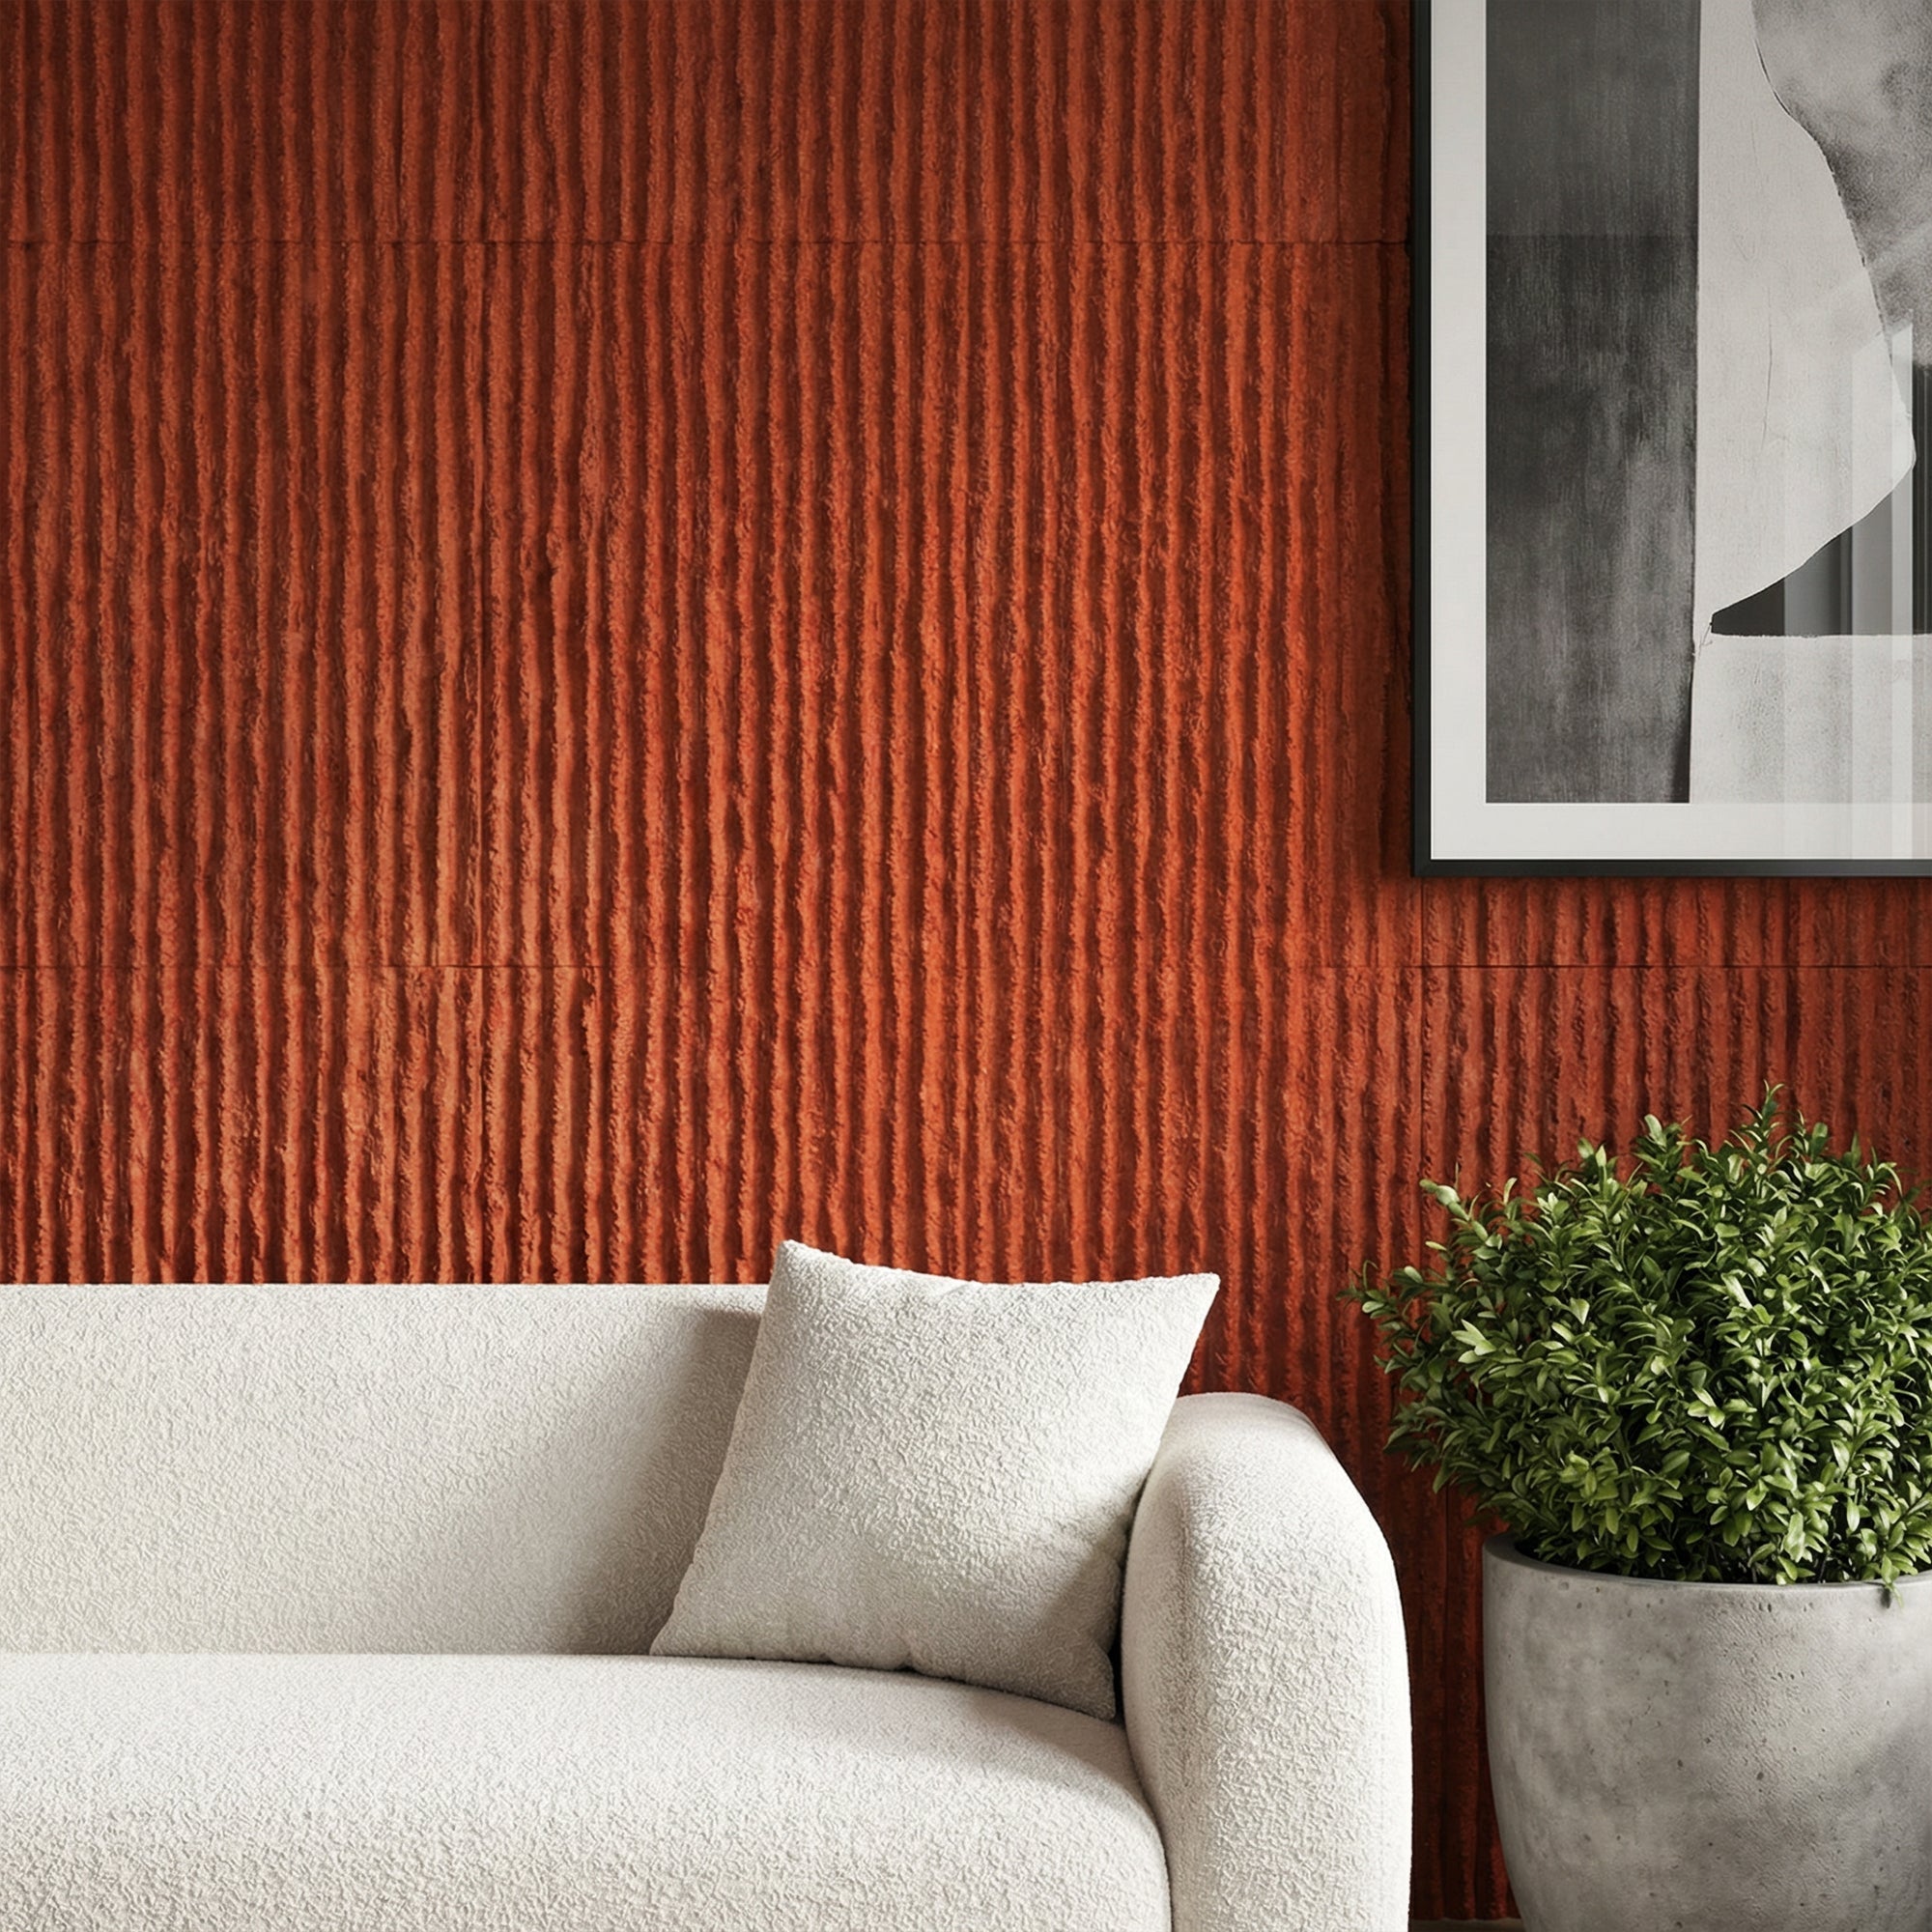
    The material of your panel moulding significantly affects both its appearance and durability. Wood mouldings bring a classic, rich feel to a space and can be customized with paint or stain. MDF is a more budget-friendly option that is easy to cut and install, ideal for painted finishes but less resistant to moisture.

    PVC or polyurethane mouldings are suitable for bathrooms or kitchens where humidity is higher. When selecting the material, consider the room’s environmental conditions and the desired finish to ensure your moulding complements the space for years to come.

    Read More: How To Install Wall Panelling In Your Home – 5 Simple Steps

    Design and Planning

    Panel Moulding

    Effective planning is vital to achieving the desired outcome with panel moulding. Begin by considering the scale of the room and the height of the ceilings. Larger, bolder moulding suit high ceilings, while subtler designs may be more appropriate for standard rooms.

    Use a sketch or digital layout to map out the placement of the mouldings, thinking about how they will frame furniture or artwork and influence the room’s flow and feel. This step helps prevent common issues like overcrowding a room or mismatching with existing decor styles.

    Tools and Materials Needed

    Before starting the installation, gathering the right tools and materials is essential to ensure a smooth process. Basic tools include a tape measure, saw, level, sandpaper, adhesive, caulk, and a nail gun or hammer.

    Also, consider any safety equipment like gloves and goggles. Preparing all necessary items beforehand can streamline your installation process and help achieve professional-looking results.

    Installation Basics

    Panel Moulding

    Installation of panel moulding can vary slightly based on the material and design but generally follows a consistent process. First, measure and mark the wall according to your design plan. Cut the moulding pieces to size, then sand the edges if necessary for a clean finish.

    Test-fit each piece on the wall before securing it with adhesive and nails, using a level to ensure straight, even placement. Proper installation is crucial for the moulding to look seamless and integrated into the space.

    Painting and Finishing Touches

    After installation, finishing touches like painting or staining will complete the look of your panel moulding. If painting, apply a primer followed by at least two coats of high-quality paint, sanding lightly between coats for the best finish.

    If staining, choose a stain that complements other woodwork in your room and apply it evenly, following up with a clear protective coat. These steps not only enhance the moulding’s beauty but also protect it from wear and damage.

    Styling with Panel Moulding

    Panel Moulding

    Panel moulding can significantly enhance your room’s character and style. It works wonderfully as a backdrop for artwork or to create visual interest behind shelving units.

    In larger rooms, moulding can help define different areas or functions, such as delineating a reading nook or dining area. Experiment with color contrasts within the panels to add depth or keep things monochrome for a sleek, unified look.

    Maintenance Tips

    Maintaining your panel moulding is straightforward but essential for preserving its appearance and longevity. Regular dusting and wiping down with a damp cloth can keep the moulding looking fresh.

    For wood or MDF, touch up any chips or scratches in the paint promptly to prevent moisture damage. Regular inspections for signs of peeling or detachment can help catch issues before they become more significant.

    Common Mistakes to Avoid

    Common pitfalls in panel moulding projects include poor planning, inadequate preparation of surfaces, and using inappropriate materials for the room conditions.

    Avoid these by taking the time to plan thoroughly, prepare walls by cleaning and smoothing them before installation, and choosing materials suited to the environmental conditions of your space.

    Read More: 3 Creative Wall Panel Ideas: Transform Your Space!

    Wood Wall Paneling: A Great Alternative to Panel Moulding
    American Acoustic Slat White Felt Wood Wall Panels - Oak - View 29

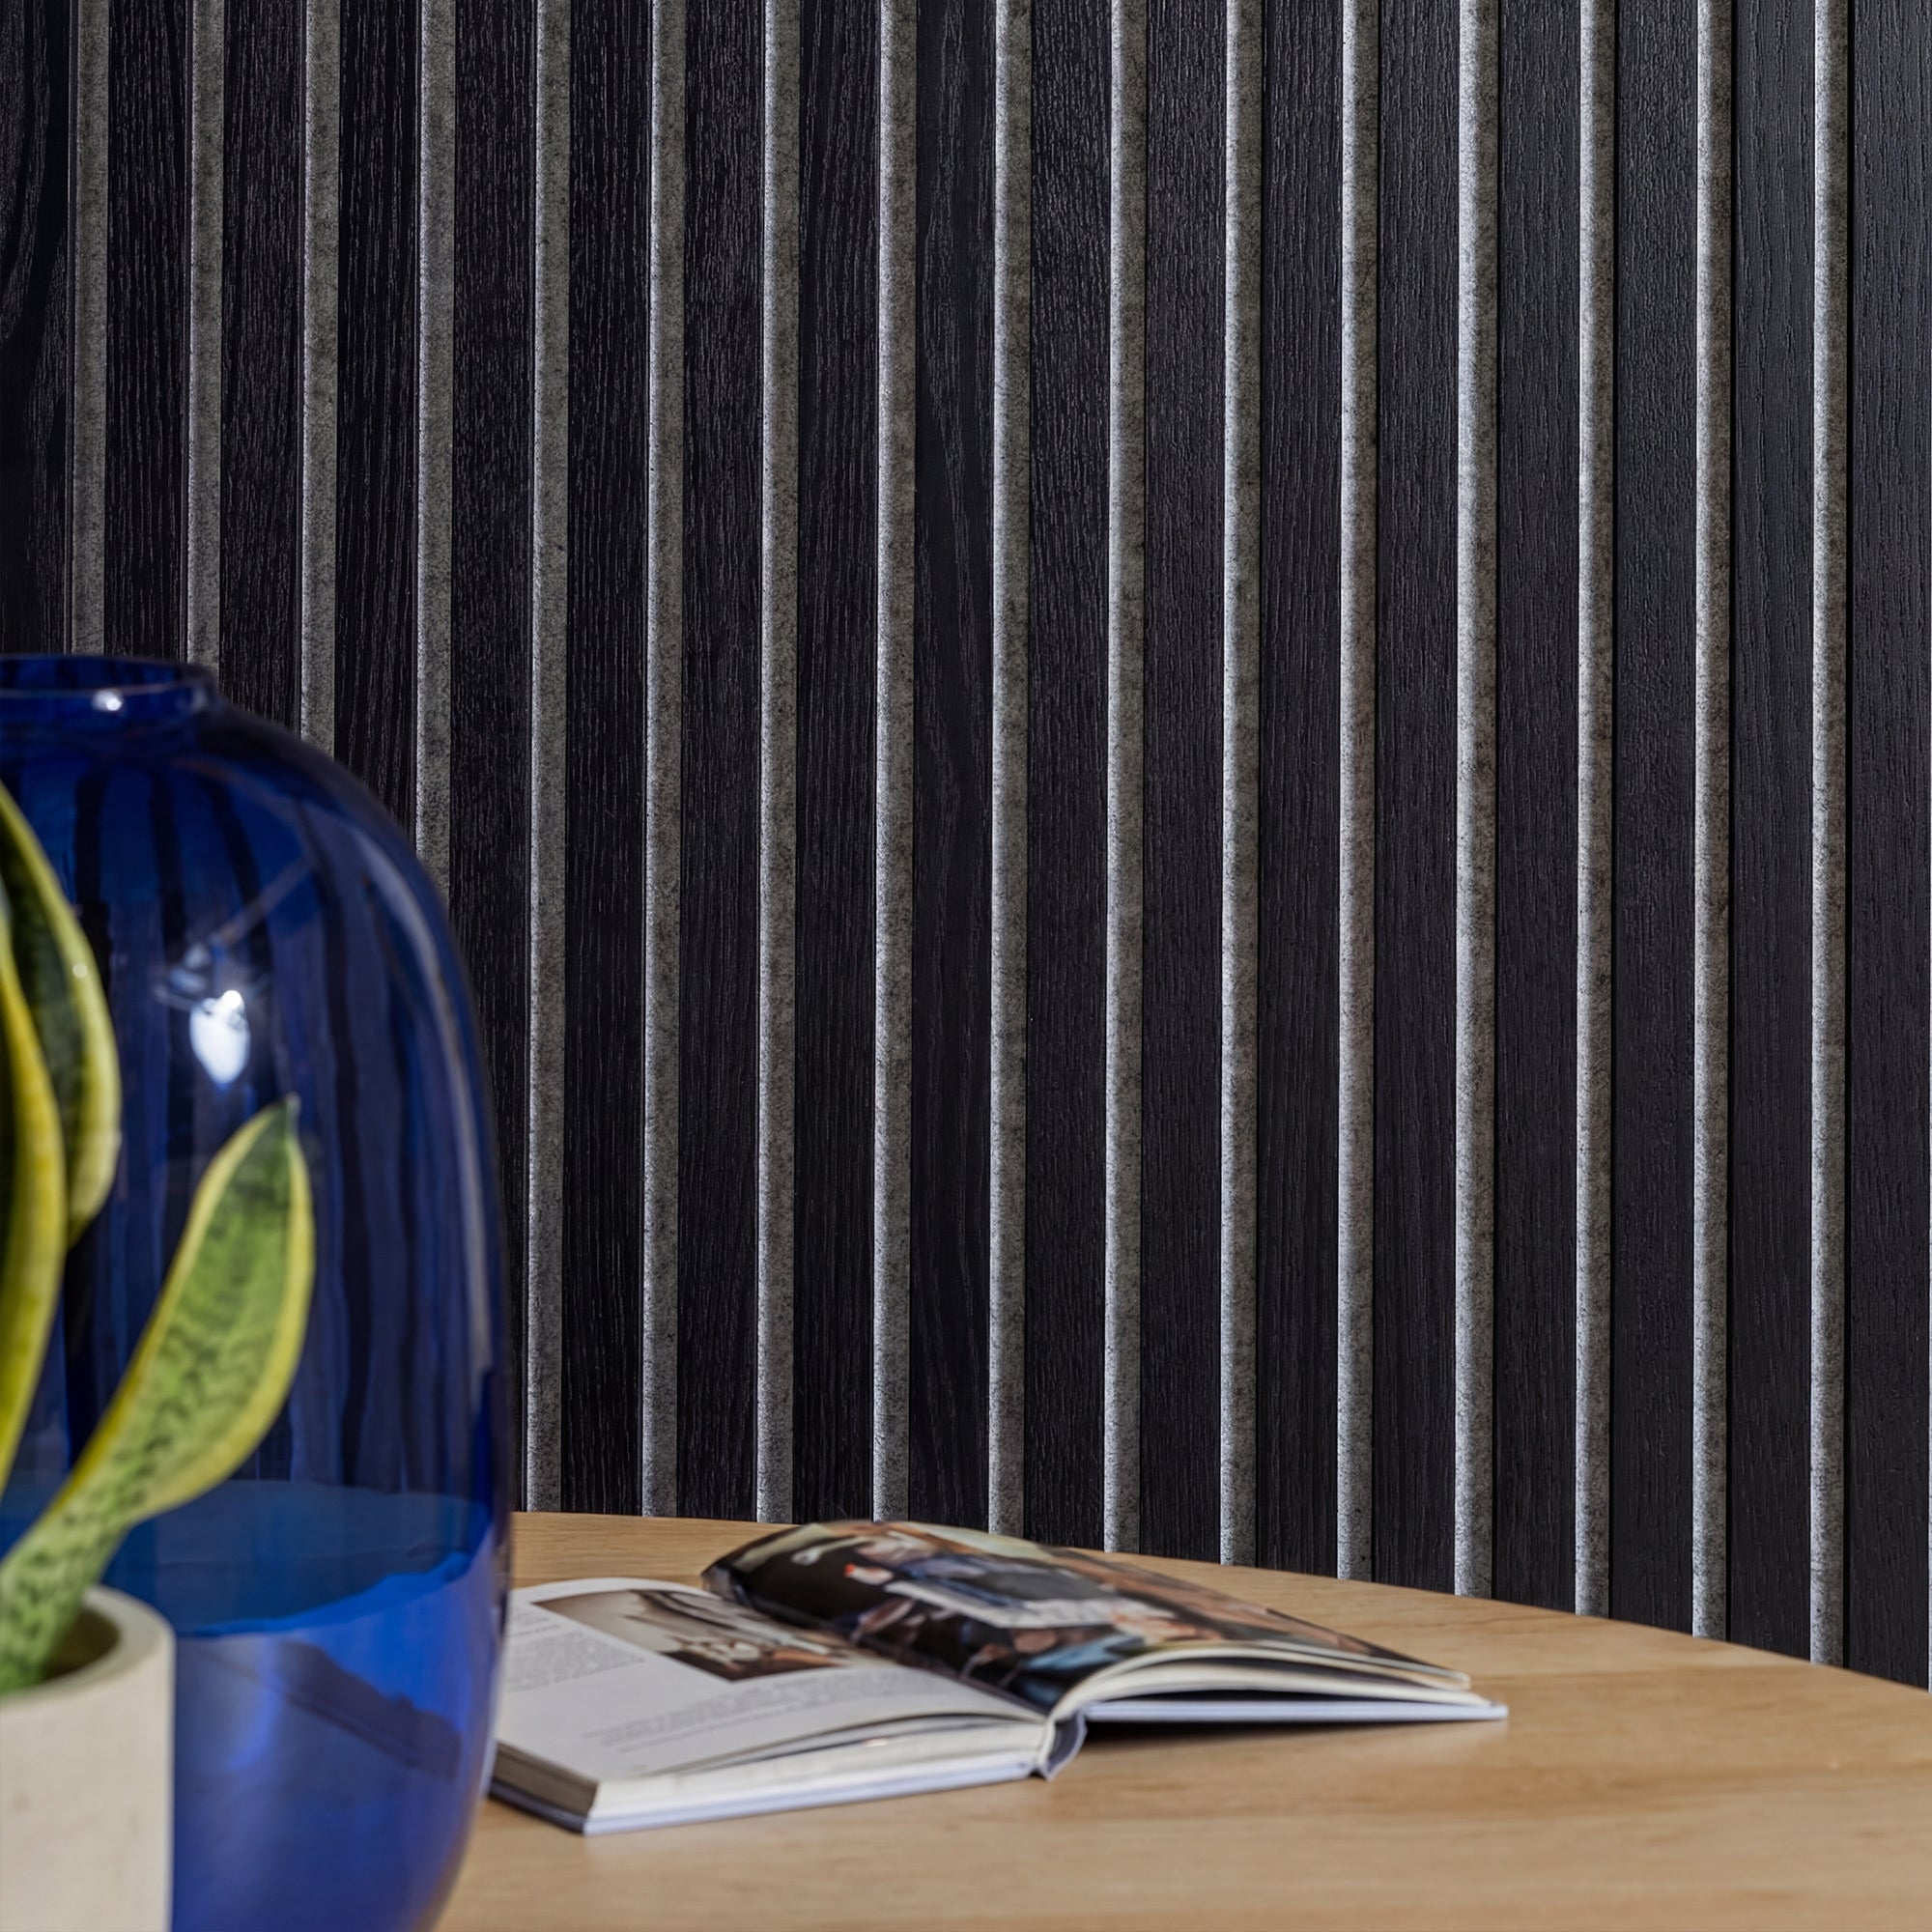
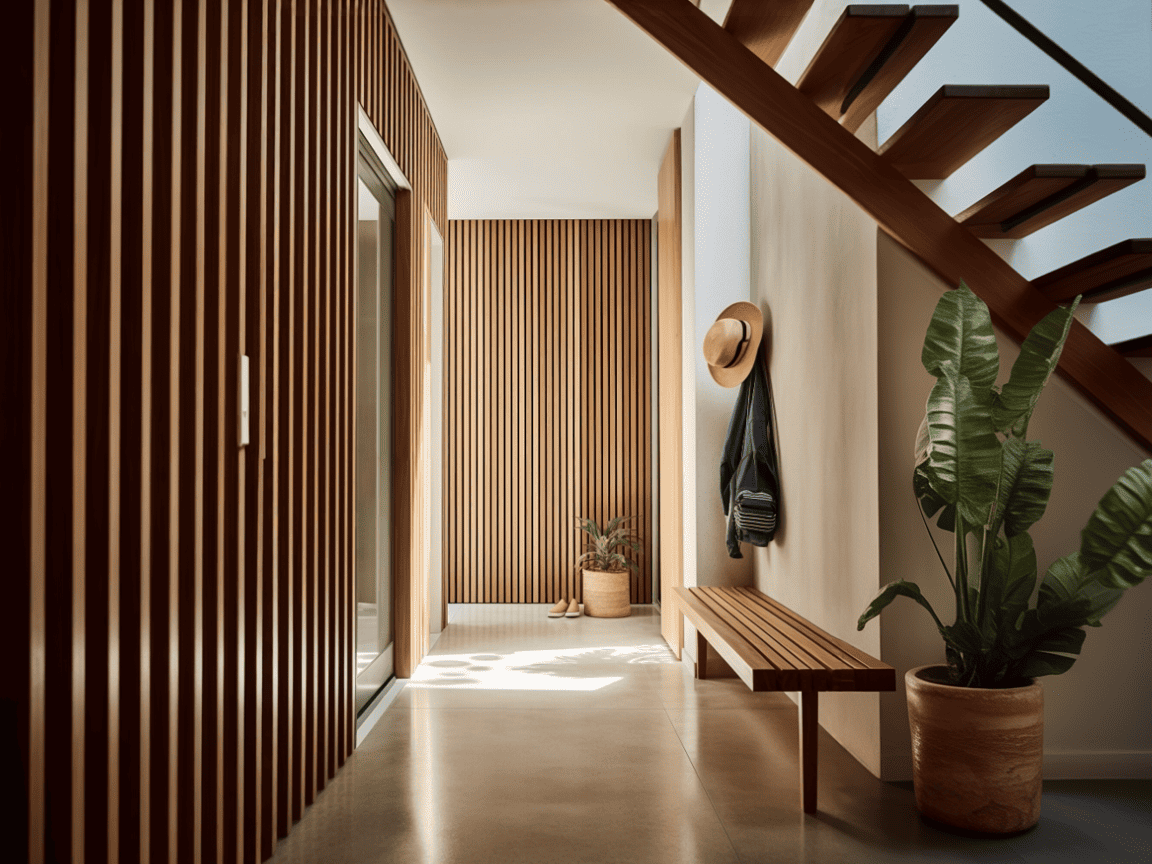
    Wood wall paneling offers a more modern and versatile alternative to traditional panel moulding, especially for homeowners looking to add texture and depth without intricate trim work. While panel moulding relies on creating visual frames using thin strips, wood paneling introduces full-surface coverage that instantly transforms a wall into a design feature. It provides a cleaner, more contemporary look and often requires less precision compared to measuring and aligning multiple moulding pieces. In addition, wood panels can offer functional benefits such as improved acoustics and durability, making them a practical upgrade beyond just aesthetics.

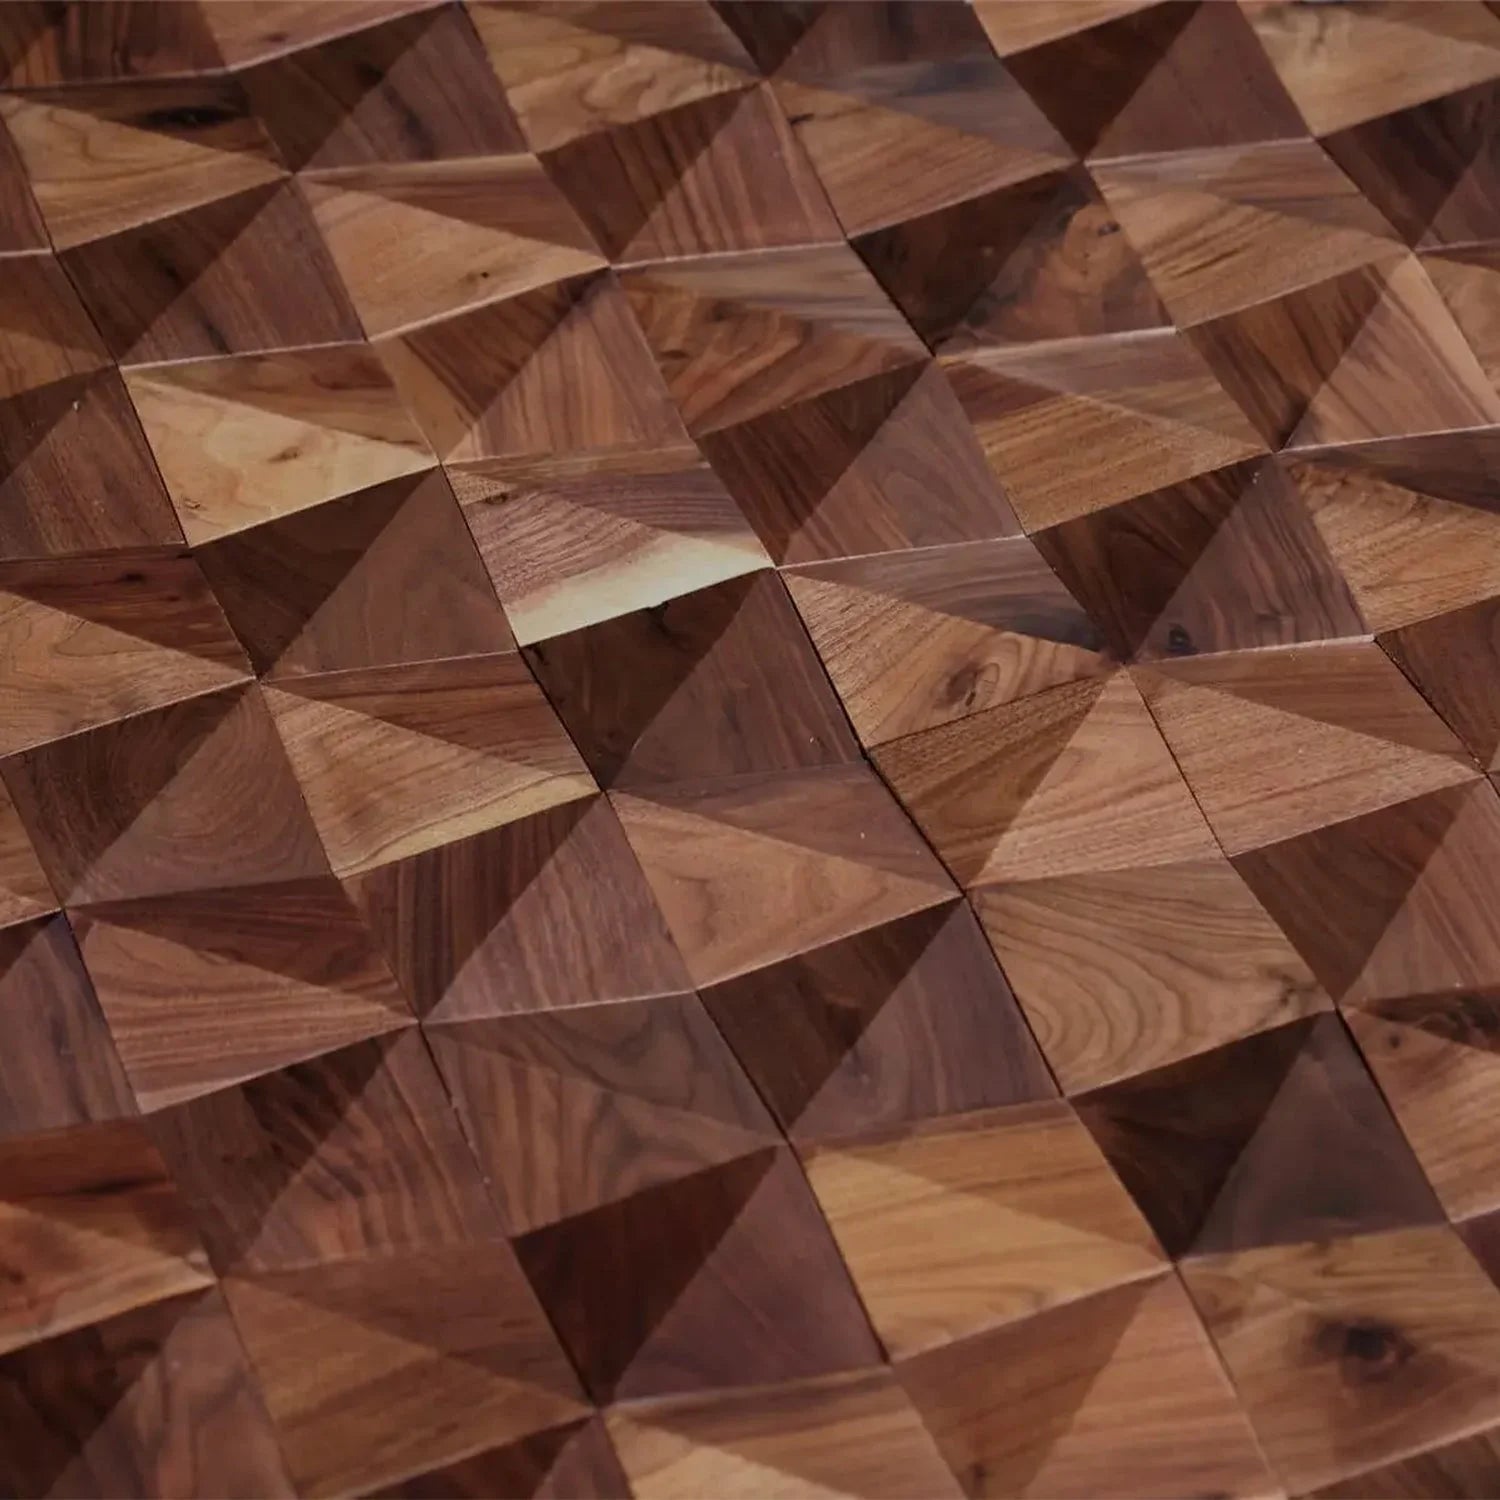
    If you are exploring wood wall paneling options, check out our best-selling acoustic wood wall panels and geometric wall panels to transform your space!
    Walnut Triangle Solid Wood Wall Panels | GroovePanel®.

    Tips for Using Wood Wall Paneling as an Alternative

    Choose the Right Style for Your Space

    Select a panel design that complements your interior. Slat panels work well for modern and minimalist spaces, while flat or textured panels can suit more classic or transitional designs.

    Use Paneling as a Feature Wall

    Instead of covering every wall, apply wood paneling to one focal area—such as behind a sofa or bed—to achieve a balanced and visually appealing result.

    Play with Orientation and Layout

    Vertical panels can make ceilings appear higher, while horizontal layouts can make a room feel wider. Choosing the right orientation helps enhance the proportions of your space.

    Combine with Paint or Other Finishes

    Pair wood panels with painted sections to create contrast and avoid overwhelming the room. This approach mimics the look of panel moulding while offering more depth and texture.

    Consider Functionality, Not Just Aesthetics

    If possible, opt for panels that offer additional benefits, such as acoustic performance or moisture resistance, depending on where they will be installed.

    Keep Installation Simple

    Many modern wood panels are designed for easy installation using adhesive or screws, making them a more beginner-friendly option compared to traditional moulding setups.

    FAQs

    What is panel moulding?
    Panel moulding is a decorative wall treatment created by applying thin strips of trim to form shapes such as squares or rectangles on a flat wall. It adds depth and architectural detail without requiring full wall panel installation.

    Is panel moulding suitable for beginners?
    Yes, panel moulding is beginner-friendly compared to more complex wall treatments. With proper measuring, basic tools, and careful planning, many homeowners can complete a panel moulding project as a DIY upgrade.

    What materials are used for panel moulding?
    Panel moulding is typically made from MDF, wood, or polyurethane. MDF is the most popular choice due to its affordability, smooth surface, and ease of painting.

    What tools do I need for panel moulding installation?
    Basic tools include a measuring tape, level, saw (or pre-cut moulding), adhesive or nails, and caulk for finishing. A laser level can also help ensure clean, straight lines.

    How do I plan the layout for panel moulding?
    Start by measuring your wall and dividing it into evenly spaced sections. Symmetry is key, so sketch your layout beforehand or use painter’s tape to visualize the design before installation.

    What height should panel moulding be installed?
    It depends on your design, but common placements include full wall coverage or lower wall applications (similar to wainscoting). For balanced proportions, many designs follow wall height divisions such as thirds.

    Should panel moulding be painted the same color as the wall?
    It can be painted the same color for a subtle, elegant look or a contrasting color to make the design stand out. Matching colors is a popular modern approach for a seamless finish.

    Can panel moulding be installed on textured walls?
    It’s best installed on smooth surfaces for a clean result. Textured walls may require sanding or a backer board to ensure proper adhesion and alignment.

    Conclusion

    Panel moulding is an excellent way to add elegance and character to your home. With the right tools, some planning, and a bit of creativity, you can successfully install and enjoy the beauty of panel moulding in any room.

    Remember, the key to a successful installation is preparation and patience. Take your time to measure, cut, and align everything correctly, and you’ll be rewarded with a stunning result that can dramatically enhance your living space.
  • What is Fretwork? An Intricate Art Form Explained!

    What is Fretwork? An Intricate Art Form Explained!

    Have you ever encountered furniture or architectural elements adorned with beautiful, intricate cut-out designs? This captivating embellishment is known as fretwork. But what is fretwork, exactly? This article unveils the history, techniques, and applications of this timeless craft, inspiring you to incorporate its charm into your own space.

    The History of Fretwork

    Fretwork dates back to ancient civilizations, including the Egyptians, Greeks, and Romans, who used it to embellish buildings and furniture. The technique became particularly popular during the Gothic and Renaissance periods in Europe, where it was employed in cathedrals and palaces. Over the centuries, fretwork has evolved, incorporating new materials and technologies while maintaining its traditional charm.

    Techniques Used in Fretwork

    what is fretwork?

    Fretwork involves creating intricate patterns by cutting through a thin sheet of material. Here are some common techniques used to achieve these decorative designs:

    Hand Carving

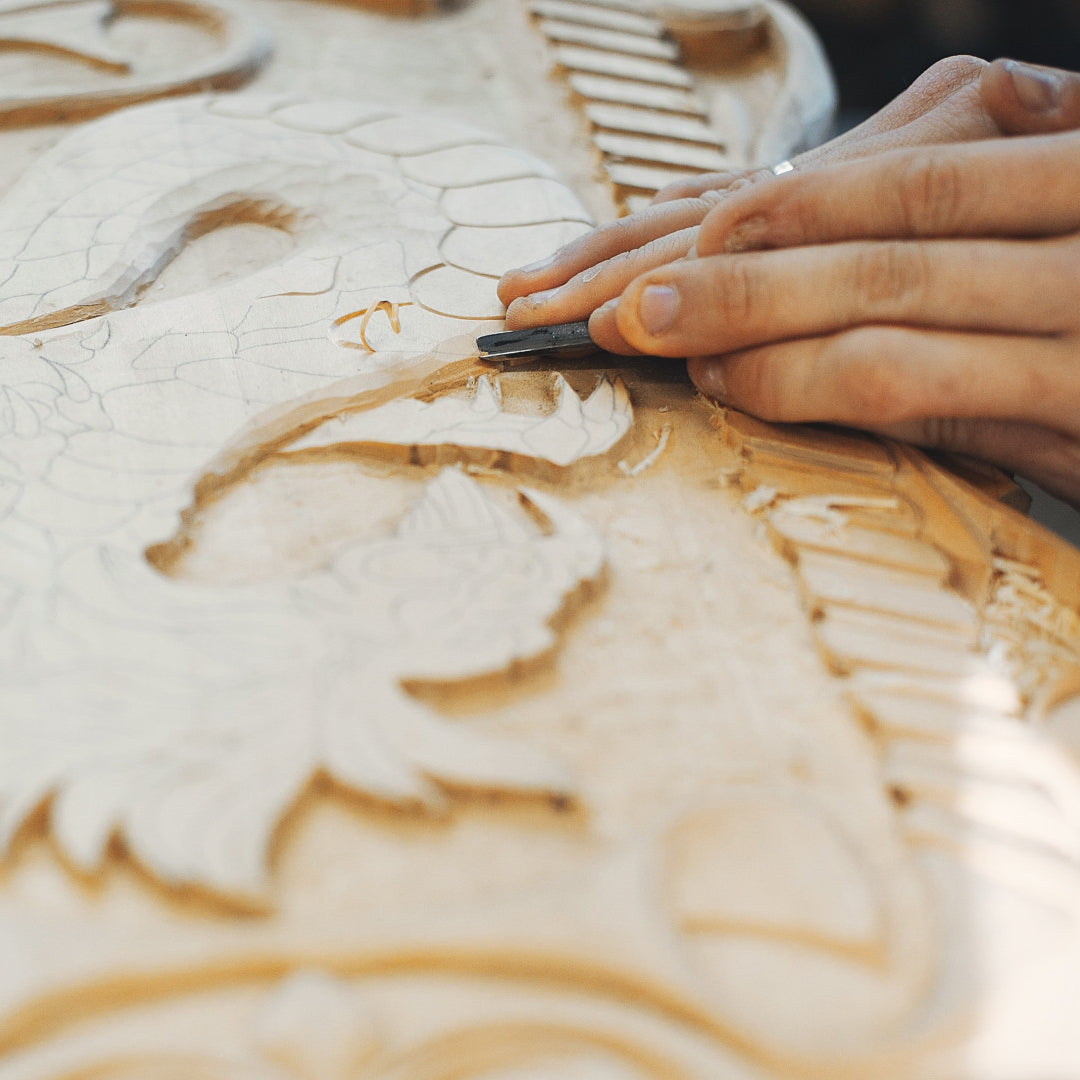
    This traditional method represents the pinnacle of fretwork craftsmanship. Skilled artisans meticulously chip away at wood or metal using chisels and gouges, bringing their artistic vision to life. Hand-carved fretwork is a true labor of love, resulting in unique, one-of-a-kind pieces that boast a depth and character unmatched by other techniques.

    Fretsawing

    This method offers a balance between tradition and efficiency. A fretsaw, a fine-toothed handheld saw, allows for precise cuts along even the most intricate design lines. While requiring patience and a steady hand, fretsawing enables detailed fretwork on a smaller scale, making it a popular choice for hobbyists and smaller projects.

    Coping Saw

    Similar to a fretsaw, a coping saw is a handheld tool ideal for creating tighter curves and navigating intricate corners. Its smaller blade size allows for sharper turns and finer details compared to a fretsaw. Coping saws are well-suited for fretwork designs with swirling patterns, flowers, or other elements that demand precise cuts on curved lines.

    Jigsaw

    Electric jigsaws offer a faster and more versatile approach to fretwork, particularly for larger projects. The electric motor provides greater cutting power, allowing for quicker completion times on intricate designs. Jigsaws can also handle thicker materials compared to traditional hand saws, making them suitable for fretwork on plywood or thicker wood panels.

    Laser Cutting

    Modern technology has entered the world of fretwork with laser cutting. This method utilizes a computer-controlled laser to precisely burn intricate patterns onto the material. Laser cutting offers unmatched precision and the ability to create highly complex designs. While ideal for mass production or achieving extremely detailed patterns, laser cutting lacks the personal touch and artistry of traditional hand-crafted fretwork techniques and tools.

    Fretwork Wall Panels: Adding Elegance to Your Space

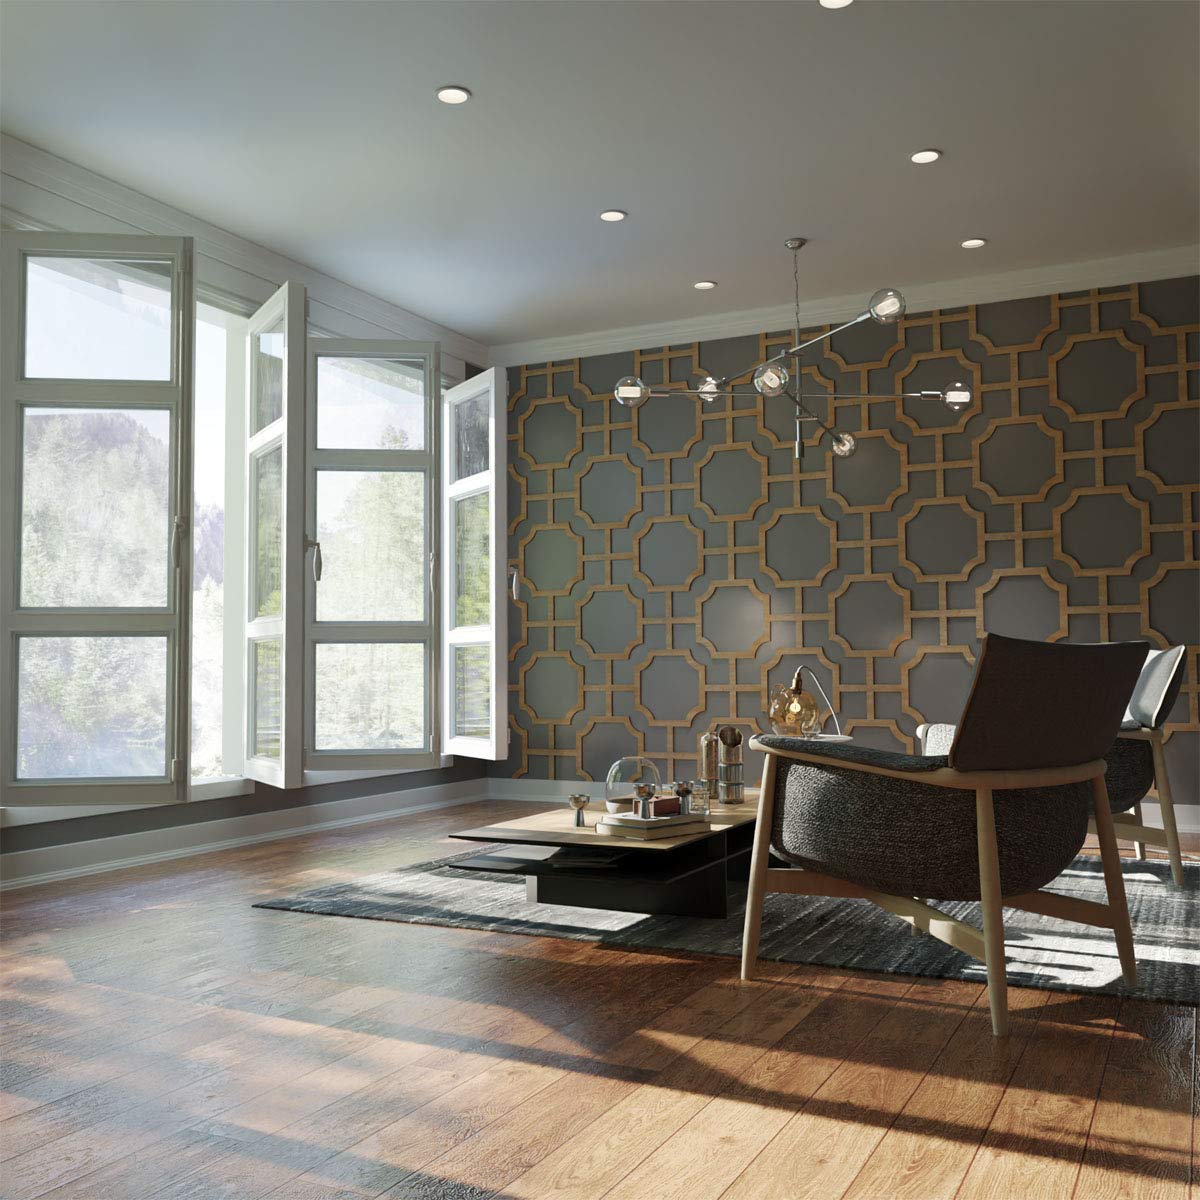
    Fretwork wall panels are a stylish way to incorporate this ancient art form into modern interiors. These panels feature intricate designs that add depth and texture to walls, creating a focal point in any room. Available in various materials and finishes, fretwork wall panels can complement different decor styles, from traditional to contemporary.

    Related to: What Floors Look Best with Wood Paneling? 6 Ways to Decide!

    Benefits of Using Fretwork Wall Panels

    Aesthetic Appeal: Fretwork wall panels enhance the visual appeal of any space with their intricate designs and patterns. They can transform a plain wall into a stunning work of art, adding a touch of sophistication and visual intrigue.

    Versatility: These panels are available in various materials, including wood, metal, and MDF, allowing them to fit seamlessly into any design scheme. With a wide range of design options from classic to modern and geometric, fretwork panels cater to diverse aesthetic preferences. They can also be painted or stained to match your existing decor, ensuring a cohesive look.

    Easy Installation: Modern fretwork wall panels are designed for easy installation. They can be mounted on walls using adhesive or screws, making them a convenient option for DIY enthusiasts. Many pre-finished panels simply require attaching them to the wall, allowing for a quick and mess-free installation process.

    Promote Airflow: Open fretwork designs, with their beautiful cut-out patterns, can subtly improve air circulation within a room. This gentle air movement can enhance comfort and create a more breathable atmosphere, especially in rooms that tend to get stuffy.

    Read more: Beware of Style: Accent Wall Panel Ideas and Why You Should Shun Them 

    Fretwork vs. Other Decorative Techniques

    Amazon.com: Ekena Millwork WALW16X16X0250BRDWA Bradley Decorative Fretwork  Wall Panels, 26 7/8"W x 15 3/8"H x 1/4"T, Walnut : Everything Else

    Fretwork vs. Carving
    While both fretwork and carving involve intricate designs, fretwork is typically more delicate and involves cutting patterns into thin materials. Carving, on the other hand, often involves sculpting three-dimensional shapes out of thicker materials.

    Fretwork vs. Engraving
    Engraving involves incising a design into a surface, while fretwork involves cutting out portions of the material to create a pattern. Fretwork tends to be more elaborate and visually striking due to its openwork design.

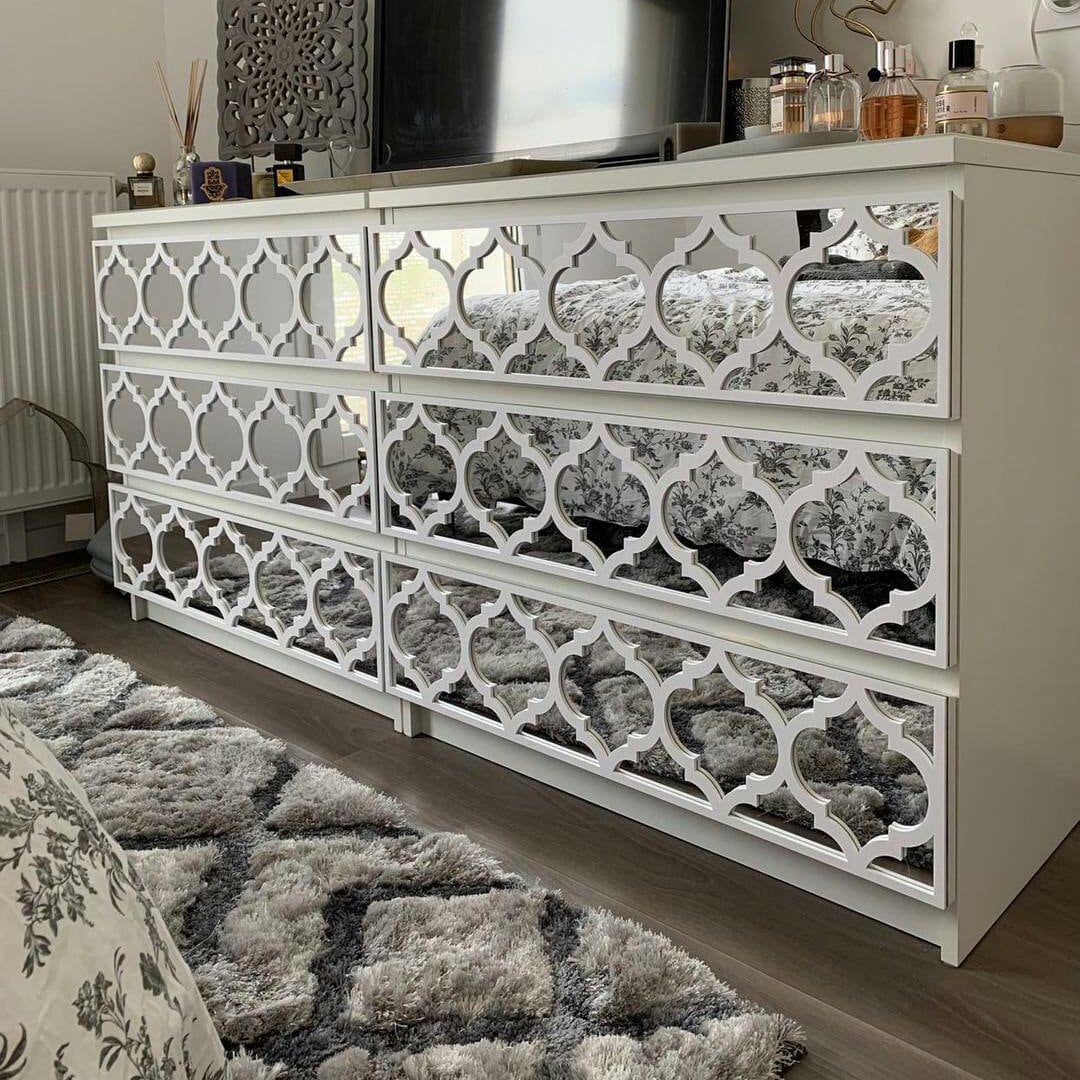
    Fretwork, Trellis, Overlays, Furniture Appliques, Malm Kits, Mirror,  Lattice, Refurbish, Sku:trellismi - EtsyFurniture

    Fretwork is commonly used to embellish furniture, adding a touch of elegance to cabinets, tables, and chairs.

    Architectural Elements

    In architecture, fretwork can be found in balustrades, window screens, and decorative ceilings, adding a sophisticated touch to buildings.

    Decorative Accessorie

    From picture frames to mirror surrounds, fretwork is used in various decorative accessories, enhancing their aesthetic appeal.

      How to Incorporate Fretwork into Your Home


      Fretwork wall
      1. Statement Walls
        Create a stunning focal point in your living room or bedroom with a fretwork wall panel. Choose a design that complements your decor and watch your space transform.
      2. Room Dividers
        Use fretwork panels as stylish room dividers. They provide privacy while allowing light and air to flow through, maintaining an open feel in your home.
      3. Furniture Accents
        Incorporate fretwork into your furniture by adding panels to cabinet doors or drawer fronts. This subtle touch can elevate the overall design of your pieces.

      Relate to: 3D Wall Panels: A Guide to Choosing the Perfect Design

      Conclusion

      Fretwork is a timeless art form that continues to inspire and beautify spaces with its intricate designs. Whether you choose to incorporate fretwork wall panels or other decorative elements, this technique adds elegance and charm to any interior. Explore the possibilities of fretwork and transform your space into a sophisticated haven.

    1. Decorate a Living Room with Wood Paneling: 10 Hacks You Never Heard

      Decorate a Living Room with Wood Paneling: 10 Hacks You Never Heard

      If you have wood flooring in your living room, you might feel like you’re in the past. But hear us out! If you do it right, wood paneling can give your room warmth, structure, and a touch of cool retro vibes. How can I arrange a living room with wood paneling so that it doesn’t look old? That’s the main question.

      Don’t worry anymore! Here are 10 great ways on how to decorate a living room with wood paneling and make your wood-paneled living room feel more modern and comfortable. Get your throw pillows ready and let your inner designer loose!

      10 Hacks on How to Decorate a Living Room with Wood Paneling

      If you have wood paneling in your living room, you might feel like you’re stuck in a time warp. But don’t rip out those panels just yet! Wood paneling can actually be a design asset, adding warmth, structure, and a touch of cool retro style to your space. The key is knowing how to decorate with it effectively.

      Here’s the good news: We’ve got 10 hacks to help you transform your wood-paneled living room into a modern and inviting space. So, ditch the worries, grab your throw pillows, and unleash your inner designer! It’s time to embrace the wood and create a living room you love.
      Embrace the Rustic Look

      how to decorate a living room with wood paneling

      Rustic décor is all about simplicity and connecting with nature. This style typically incorporates raw and organic materials that are either untouched or minimally processed.

      Key Elements:

      • Natural Materials: Choose furniture pieces that showcase their natural beauty without too much paint or stain. Materials like leather, wool, unfinished wood, or faux stone wall panels.
      • Simple and Clean Lines: Opt for furniture with simple, clean lines. Avoid ornate details which can detract from the rustic feel. Think solid, sturdy tables, benches, and chairs that speak to farmhouse or traditional styles.
      • Textural Contrast: Incorporate a variety of textures to add depth and interest. A chunky knit throw blanket, a woolen rug, or linen curtains add tactile contrasts that feel cozy and welcoming.
      • Decorative Accents: Use accents like woven baskets, vintage farm tools hung as art, antlers, or pottery to reinforce the rustic theme. Decorative elements made from natural materials help anchor the style.

      Tips for Enhancement:

      • Flooring: Consider warm-toned wood floors with textured rugs to complement the paneling.
      • Lighting: Soft, warm lighting helps enhance the cozy feel; opt for lamps with natural material shades or candles.
      • Plants: Include greenery like succulents, ferns, or potted herbs to bring a touch of nature indoors.

      Go Modern

      how to decorate a living room with wood paneling

      Modern décor focuses on minimalism and often embraces a monochrome color palette punctuated by sleek, functional furniture. Painting wood paneling can modernize a space and give it a fresh, updated look.

      Key Elements:

      • Paint Choices: Light neutrals like white, off-white, or soft gray can brighten a room and make it appear larger. For a dramatic, bold effect, consider black or navy blue, which can turn the paneling into a standout feature.
      • Sleek Furniture: Choose furniture with clean, sharp lines and a minimalist design. Materials like metal, glass, and polished wood complement the sleekness of painted paneling.
      • Minimalist Decor: Keep decor sparse and choose pieces that serve a purpose. Avoid clutter. Use one or two statement pieces, like a large piece of modern art or a geometric light fixture.

      Tips for Enhancement:

      • Contrast Flooring: If the paneling is dark, use light-colored flooring to create contrast, and vice versa.
      • Accent Features: Add a mirror with a minimalist frame or use metal shelves to display monochrome pottery.
      • Textiles: Opt for solid-color throw pillows, sheer curtains, and a plain, plush area rug to maintain the minimalist theme.

      Play with Color

      how to decorate a living room with wood paneling

      Colorful décor can transform the mood of a room by incorporating lively and vibrant tones. This approach works well with wood paneling by either complementing the natural wood tones or contrasting boldly against painted paneling.

      Key Elements:

      • Accent Walls: Choose one wall to paint in a bold color that contrasts with the natural wood or a neutral palette. This creates a focal point and adds a lot of personalities.
      • Colorful Textiles: Use throw pillows, blankets, and rugs in vibrant colors and playful patterns. These can easily be swapped out according to the season or trend.
      • Artwork: Large, colorful artwork can serve as a great conversation piece and color inspiration for smaller accents.

      Tips for Enhancement:

      • Balance: Keep the flooring neutral if the paneling and furniture introduce a lot of colors.
      • Lighting: Use bright white light or strategically placed spotlights to enhance the vibrancy of the colors.
      • Natural Elements: Include natural elements like wood or stone to balance out the bright colors for a grounded, cohesive look.

      Read More: Tile vs Wood Flooring: Which Is Best for Your Home?

      Highlight the Texture

      How to Decorate a Living Room with Wood Paneling

      Wood paneling itself is a strong textural element in any room. Emphasizing this texture can add depth and warmth to the space.

      Key Elements:

      • Complementary Textures: Introduce various textural elements that resonate with the rustic vibe of wood. Consider a chunky rug that can add softness underfoot, woven baskets that offer storage and style, and macramé wall hangings that bring a touch of bohemian flair.
      • Fabric Choices: Use fabrics like burlap, knitted wool, or coarse linen for throw pillows, curtains, and upholstery to complement the wood’s texture.
      • Wood Varieties: Mixing different types of wood and finishes can highlight the paneling by setting it against contrasting textures and colors.

      Tips for Enhancement:

      • Lighting: Use directional lighting such as track lights or adjustable wall sconces to cast shadows and highlight the paneling’s texture.
      • Metal Elements: Incorporate metal accents through fixtures or furniture details which can add a sleek contrast to the rough texture of wood. 
      How to Decorate a Living Room with Wood Paneling

      A gallery wall can transform the wood-paneled wall into a vibrant canvas that showcases your personal style through artwork. For more ways to anchor a living room around a single statement wall, explore these feature wall ideas for living rooms.

      Key Elements:

      • Variety in Artwork: Mix different styles of art—abstract paintings, black and white photos, graphic prints—to capture the eye and engage viewers.
      • Eclectic Frames: Use frames of varying sizes, colors, and textures. This variation can make the display more dynamic and visually interesting.
      • Layout: Plan the layout on the floor before mounting frames on the wall. Aim for balance and coherence, with the wood paneling serving as a unifying backdrop.

      Tips for Enhancement:

      • Symmetry vs. Asymmetry: Depending on the rest of the room’s decor, decide whether a symmetrical or an asymmetrical arrangement works better to create harmony or contrast.
      • Thematic Consistency: Keep some elements consistent, like color tones or frame styles, which can help the gallery wall look cohesive despite varied artworks. 

      Bring in the Greenery

      How to Decorate a Living Room with Wood Paneling

      Incorporating plants into your living room not only adds color and life but also complements the natural, earthy tones of wood paneling.

      Key Elements:

      • Strategic Placement: Use plants as natural decor elements. Position them in corners, on end tables, or in clusters to create a visual impact.
      • Variety of Plants: Include a mix of high and low plants, ferns, flowering plants, and large leaves to diversify the texture and heights in the room.
      • Planters: Opt for planters made from natural materials like clay, stone, or wood that harmonize with the rustic theme.

      Tips for Enhancement:

      • Purposeful Arrangements: Place taller plants near furniture to integrate them into the layout seamlessly. Use hanging plants for vertical decoration and to draw the eye upward.
      • Care and Selection: Choose indoor plants that thrive in your living room’s specific light and humidity conditions to keep maintenance minimal.

      Read More: What’s The Best Interior Timber Wall Cladding?

      Layer in Rugs

      How to Decorate a Living Room with Wood Paneling

      Rugs are essential for adding texture, color, and definition to spaces within your living room. Layering rugs can enhance this effect by adding depth and interest.

      Key Elements:

      • Combining Textures and Patterns: Start with a larger, neutral-toned rug to ground the space, then add a smaller, more vibrant, or textured rug on top. This can define a seating area or highlight the center of the room.
      • Mixing Styles: Combine different rug styles—such as a traditional Persian rug atop a modern geometric rug—to create contrast and intrigue.
      • Alignment and Placement: Align rugs thoughtfully to balance the room. They should complement the arrangement of furniture and the natural lines of the room.

      Tips for Enhancement:

      • Cohesion and Contrast: Make sure the rugs share at least one color element but differ in pattern or texture to maintain visual interest without clashing.
      • Size and Scale: Ensure the bottom rug is large enough to extend beyond the edges of the top rug by at least a few inches on all sides.

      Mix Metals

      How to Decorate a Living Room with Wood Paneling

      Metals add a luxurious shimmer that can modernize the look of traditional wood paneling, creating a balance between rustic and contemporary styles.

      Key Elements:

      • Metallic Accents: Introduce metal through decorative accents such as brass lamps, stainless steel picture frames, copper sculptures, or chrome vases. These pieces provide a contrast in materials and add a sophisticated touch.
      • Consistent Metal Finishes: Stick to one or two metal finishes to maintain a cohesive look. For example, brushed nickel and matte black can work well together and suit a variety of color palettes.
      • Functional Pieces: Incorporate metal through functional items like curtain rods, table legs, or hardware for cabinets. This ensures the metals are not just decorative but also part of the living space’s functionality.

      Tips for Enhancement:

      • Focus Areas: Place metallic items in focal areas where they can catch light, such as near windows or under overhead lighting.
      • Balance and Proportion: Use metals sparingly to avoid overwhelming the natural look of the paneling. Small, reflective pieces can have a big impact without dominating the room.

      Don’t Forget the Lighting

      How to Decorate a Living Room with Wood Paneling

      Lighting is crucial in defining the atmosphere of any room, especially one with wood paneling which can darken a space if not properly illuminated.

      Key Elements:

      • Layered Lighting: Employ a mix of lighting types—ambient (general overhead), task (specific, directed), and accent (decorative) lighting. This approach allows you to control the mood and functionality of the room.
      • Overhead Lighting: Chandeliers or flush mounts can add elegance, while exposed bulbs or track lighting can give a more industrial look.
      • Lamps and Sconces: Table and floor lamps provide direct, warm light and can highlight specific areas or features, including reading spots and artwork. Wall sconces can add symmetry and visual interest, particularly on or near wood-paneled walls.

      Tips for Enhancement:

      • Dimmers: Install dimmers to control light intensity. This can instantly change the room’s atmosphere and is ideal for transitioning from daytime brightness to evening coziness.
      • Light Color Temperature: Choose bulbs with a warm white temperature (2700K to 3000K) to enhance the wood’s natural hues and create a welcoming environment.

      Read More: PVC Wall Panels: Waterproof Solutions for Every Room in 2024 Trends!

      Accessorize with Vintage Finds

      How to Decorate a Living Room with Wood Paneling

      Vintage elements can add unparalleled character and nostalgia to a living room, making the space feel unique and lived-in.

      Key Elements:

      • Vintage Furniture: Look for pieces that can act as a statement, such as an antique wooden coffee table, a mid-century modern chair, or a vintage rug. These items often feature craftsmanship and details not found in contemporary pieces.
      • Complementary Artwork: Vintage artwork or mirrors with ornate frames can enhance the room’s historic feel while still blending seamlessly with the modern touches.
      • Decor Pieces: Smaller vintage items like old clocks, classic books, or retro lamps can serve as accent pieces that highlight the room’s theme without cluttering the space.

      Tips for Enhancement:

      • Restoration: If necessary, restore vintage furniture to preserve its beauty and structural integrity without stripping away its historical essence.
      • Integration: Strategically place vintage pieces to bridge the gap between old and new—allowing them to stand out yet integrate with the overall design.

      Keep Exploring: Living Room Design with Panels

      FAQs: How to Decorate a Living Room with Wood Paneling

      Is wood paneling still in style for living rooms?
      Yes, wood paneling is very much in style, especially in modern and contemporary interiors. Today’s designs focus on clean lines, natural tones, and textured finishes like slat panels, making wood paneling a popular choice for creating warm, sophisticated living spaces.

      What type of wood paneling is best for a living room?
      The best type depends on your design goal. Slat wood panels are ideal for modern, minimalist interiors, while flat or veneer panels work well for a clean, seamless look. If you want added functionality, acoustic wood panels are a great option for improving sound quality while enhancing aesthetics.

      Can wood paneling make a living room look smaller?
      It can if used incorrectly. Dark tones or full-wall coverage may make a space feel enclosed. To avoid this, use lighter wood finishes, apply paneling to a feature wall, or install vertical slats to create the illusion of height and openness.

      How do I match wood paneling with existing furniture?
      Start by considering undertones. Warm wood panels pair well with beige, cream, and earthy colors, while cooler tones match gray, black, or modern furniture. You don’t need an exact match—contrast can create a more dynamic and visually appealing space.
      Is wood paneling expensive to install?
      Costs vary depending on the material and installation method. Solid wood panels are more expensive, while veneer or MDF-based panels like slat acoustic wall panels offer a more budget-friendly option. DIY-friendly panels can also help reduce installation costs significantly.

    2. How to Remove Panel from Wall: A 6 Simple Step-by-Step Guide

      How to Remove Panel from Wall: A 6 Simple Step-by-Step Guide

      Knowing how to remove panel from wall surfaces correctly is essential whether you are upgrading a room, repairing a damaged section, or preparing for a new wall finish. They give people a unique way to show off their style, and they also protect the walls. People liked the panels for a while, but it’s important to change every design element on a regular basis. It’s time for something new. No matter if you want to change the look of your room or just fix some damage, you need to know how to take panels off of walls.

      Why Wall Panels Are Making Waves

       how to remove panel from wall

      Wall panels have become a popular choice in the world of interior design, which is always changing. They are a popular choice among both interior designers and homeowners because they can add depth, texture, and personality to a room. They also offer a quick and cheap way to bring a room back to life without having to do a full restoration.

      Wall panels are attractive because they can be used in many different ways. Their presence can turn the ordinary into a work of art. But how do you get rid of something without hurting it in the process? We’re going to go on this adventure of discovery so we can learn about wall panels and how to take them down.

      Know Your Enemy: Different Panel Types and Removal Strategies

      Walls are like battlefields, and knowing your enemy (the panel type) is key to victory (successful removal). Here’s a breakdown of common panel materials and their removal tactics:

      • Nail-on Wood Panels: These classic panels usually require a combination of your pry bar and hammer to coax them away from the wall. Start by prying at the edges or corners, then gently work your way across the panel, removing any nails you encounter with your hammer and pliers.

      • Glued Panels: For these sticky situations, a heat gun can be your best friend. Apply heat to loosen the adhesive, then carefully pry the panel off the wall. Be cautious not to overheat the panel or surrounding areas.

      • Click-Lock Panels: These modern panels often feature a groove system for easy installation. Look for a release mechanism or lever to disengage the panels and remove them one by one.

      Getting Started: Tools You’ll Need

      Before starting the removal process, gather the necessary tools and prepare your workspace. Here’s what you’ll need:

      • Pry bar
      • Hammer
      • Utility knife
      • Putty knife
      • Drop cloths or plastic sheets
      • Sandpaper (medium and fine grit)
      • Heat gun (if panels are glued)
      • Dust mask and safety goggles

      How to Remove Panel from Wall: The Proper Way 

      how to remove panel from wall

      Safety First

      Before starting, ensure you have protective gloves and eyewear. Turn off any nearby electrical outlets to prevent accidents. Wearing gloves will protect your hands from sharp edges, while eyewear prevents dust and debris from getting into your eyes.

      Loosen the Edges

      Using a putty knife, gently pry the edges of the panel to create an opening. Start at a corner or an inconspicuous area to minimize visible damage. Insert the putty knife between the panel and the wall, then gently work your way along the edges to loosen the panel. This step will vary according to the type of panel you have.

      how to remove panel from wall

      Detach the Panel

      Work your way around the panel, gently pulling it away from the wall. For adhesive panels, consider using a heat gun to soften the glue. Apply heat evenly to avoid scorching the panel. Once the adhesive is softened, use the putty knife or a pry bar, carefully removing panel from the wall.

      how to remove panel from wall

      Clean the Wall

      Once the panel is removed, scrape off any residual adhesive using a putty knife. Sand the surface if necessary to ensure it is smooth and ready for any subsequent treatments. Cleaning the wall thoroughly will help in the next steps, whether you’re painting or applying new panels.

      Patch Holes and Sand

      Inspect the wall for any nail holes or damage. Use joint compound to fill these holes and let it dry according to the manufacturer’s instructions. Once dry, sand the patched areas until they are smooth and even with the rest of the wall. This step is crucial for achieving a seamless finish.

      Prime and Paint

      If you plan to paint the wall, apply a primer first to ensure even coverage and adhesion. Use a roller for large areas and a brush for edges and corners. Once the primer is dry, paint the wall with your chosen color, following the paint manufacturer’s instructions for the best results. This step will give your wall a fresh, new look.

      Tips for Success

      • Always wear protective gear, such as a dust mask and safety goggles, to avoid inhaling dust and debris.
      • Work in a well-ventilated area, especially if using a heat gun to soften adhesive.
      • Take your time to avoid damaging the drywall or underlying structure.

      Conclusion

      Wall panels have become a permanent part of interior design because they offer so many benefits. Change is inevitable, just like it is with every other part of design. No matter if you want to update your space or fix some damage, this tutorial will make sure you have everything you need to remove the panels with confidence and ease.

      Taking panels off of walls can be a doable do-it-yourself project if you have the right tools and know-how. But it might look like a hard thing to do. If you follow these steps, you will be able to get a smooth, professional finish on your walls, whether you are fixing up old wood paneling or getting ready for a new design. Enjoy your newly renovated space while feeling good about a job well done.

      FAQs: How to Remove Wall Panels

      Can wall panels be removed without damaging the wall?

      Yes, in many cases. Panels, especially wood panels that are installed with nails or screws are easier to remove with minimal damage. Adhesive-mounted panels may leave residue or surface damage, but this can usually be repaired with patching and sanding.

      What tools do I need to remove wall panels?

      Basic tools include a pry bar or putty knife, hammer, screwdriver or drill, utility knife, and safety gloves. A heat gun or adhesive remover can also help loosen glued panels.

      How do I remove panels that are glued to the wall?

      Start by softening the adhesive using a heat gun or hairdryer. Then gently insert a putty knife behind the panel and work slowly to loosen it. Take your time to avoid tearing the drywall underneath.

      Will removing wall panels damage drywall?

      Some minor damage is common, especially with adhesive installations. You may notice small holes, torn paper, or leftover glue, but these can be easily fixed with joint compound and light sanding before repainting.

      How do I remove wall panel adhesive residue?

      Use a scraper or putty knife to remove excess glue, then apply a gentle adhesive remover or warm soapy water. Wipe clean and sand lightly if needed to create a smooth surface.

      Can I reuse wall panels after removing them?

      It depends on how they were installed. Panels removed from screws or clips are often reusable, while glued panels may crack or lose their shape during removal.

      How long does it take to remove wall panels?

      A small feature wall can take a few hours, while larger or heavily glued installations may take a full day or more. The time depends on the panel type and how carefully you work.

      Do I need to turn off electricity before removing panels?

      If there are outlets, switches, or wiring behind the panels, it’s best to turn off the power at the breaker for safety before starting removal.

      What should I do after removing wall panels?

      Inspect the wall for damage, remove any remaining adhesive, patch holes or uneven areas, and sand the surface smooth. Once prepped, the wall is ready for repainting or a new wall treatment.