
Tag: Installation Guide

  • How to Install Faux Stone Wall Panels: Step-by-Step Guide

    How to Install Faux Stone Wall Panels: Step-by-Step Guide

    One of the primary reasons homeowners and contractors choose faux stone wall panels over real stone is installation. Where natural stone cladding requires structural preparation, specialist fixings, a skilled stonemason, and days of work, faux stone panels can be installed by any competent DIYer or general contractor in a single day for most room-scale applications.

    What You’ll Need

    • Faux stone wall panels (plus 10–15% for cuts and wastage)
    • Panel adhesive compatible with your substrate
    • Notched adhesive spreader or trowel
    • Spirit level and measuring tape
    • Pencil for marking
    • Angle grinder with diamond blade, or jigsaw, for cutting
    • Safety glasses and dust mask
    • Colour-matched decorator’s caulk for perimeter joints

    Step 1: Prepare the Substrate

    The most important step in any panel installation is substrate preparation. Faux stone panels require a flat, dry, and structurally sound surface. Plasterboard, concrete, masonry, and existing tiled surfaces can all work as substrates with the right adhesive.

    • Fill and sand any holes, cracks, or unevenness
    • Ensure the wall is completely dry — fresh plaster must be fully cured
    • Prime porous surfaces (bare plaster, concrete) to improve adhesive bond
    • Check for flatness with a long spirit level — any deviation greater than 3mm over 2 metres should be addressed before installation

    Step 2: Plan Your Layout

    Before fixing any panels, dry-lay them against the wall to plan the layout. Consider:

    • Where to start — typically the centre of the wall or the most visible corner, working outward
    • How to handle corners — some panel ranges include corner pieces; others require mitring or butting at 90°
    • Where cuts will fall — avoid very thin cut pieces at visible edges
    • Panel orientation — most stone panels look best with the main coursing running horizontally

    Step 3: Apply Adhesive and Fix Panels

    Apply adhesive to the back of the panel using a notched spreader. For large panels, also apply adhesive to the wall surface. Press each panel firmly into position, checking level as you work. Some panel systems use interlocking edges — ensure each panel engages correctly with its neighbour before the adhesive sets. Work from the bottom up.

    Step 4: Cut Panels for Edges and Openings

    Mark cut lines with a pencil and straight edge. Cut stone-effect panels using an angle grinder with a diamond blade or a tile saw. Always wear eye protection and a dust mask when cutting. Dry-fit each cut piece before applying adhesive to confirm it fits.

    Step 5: Finishing

    Once all panels are fixed and adhesive has cured (typically 24 hours), fill any perimeter gaps with colour-matched decorator’s caulk. Smooth with a wet finger or caulk tool. Some stone-effect panels benefit from a final coat of stone sealant — check the manufacturer’s recommendation for your specific product.

    Where to Buy Faux Stone Wall Panels

    The Panel Hub stocks the RockSurface® stone effect panel collection with full technical installation data available for each product. Request a sample first to confirm the finish in your space, then order with confidence.
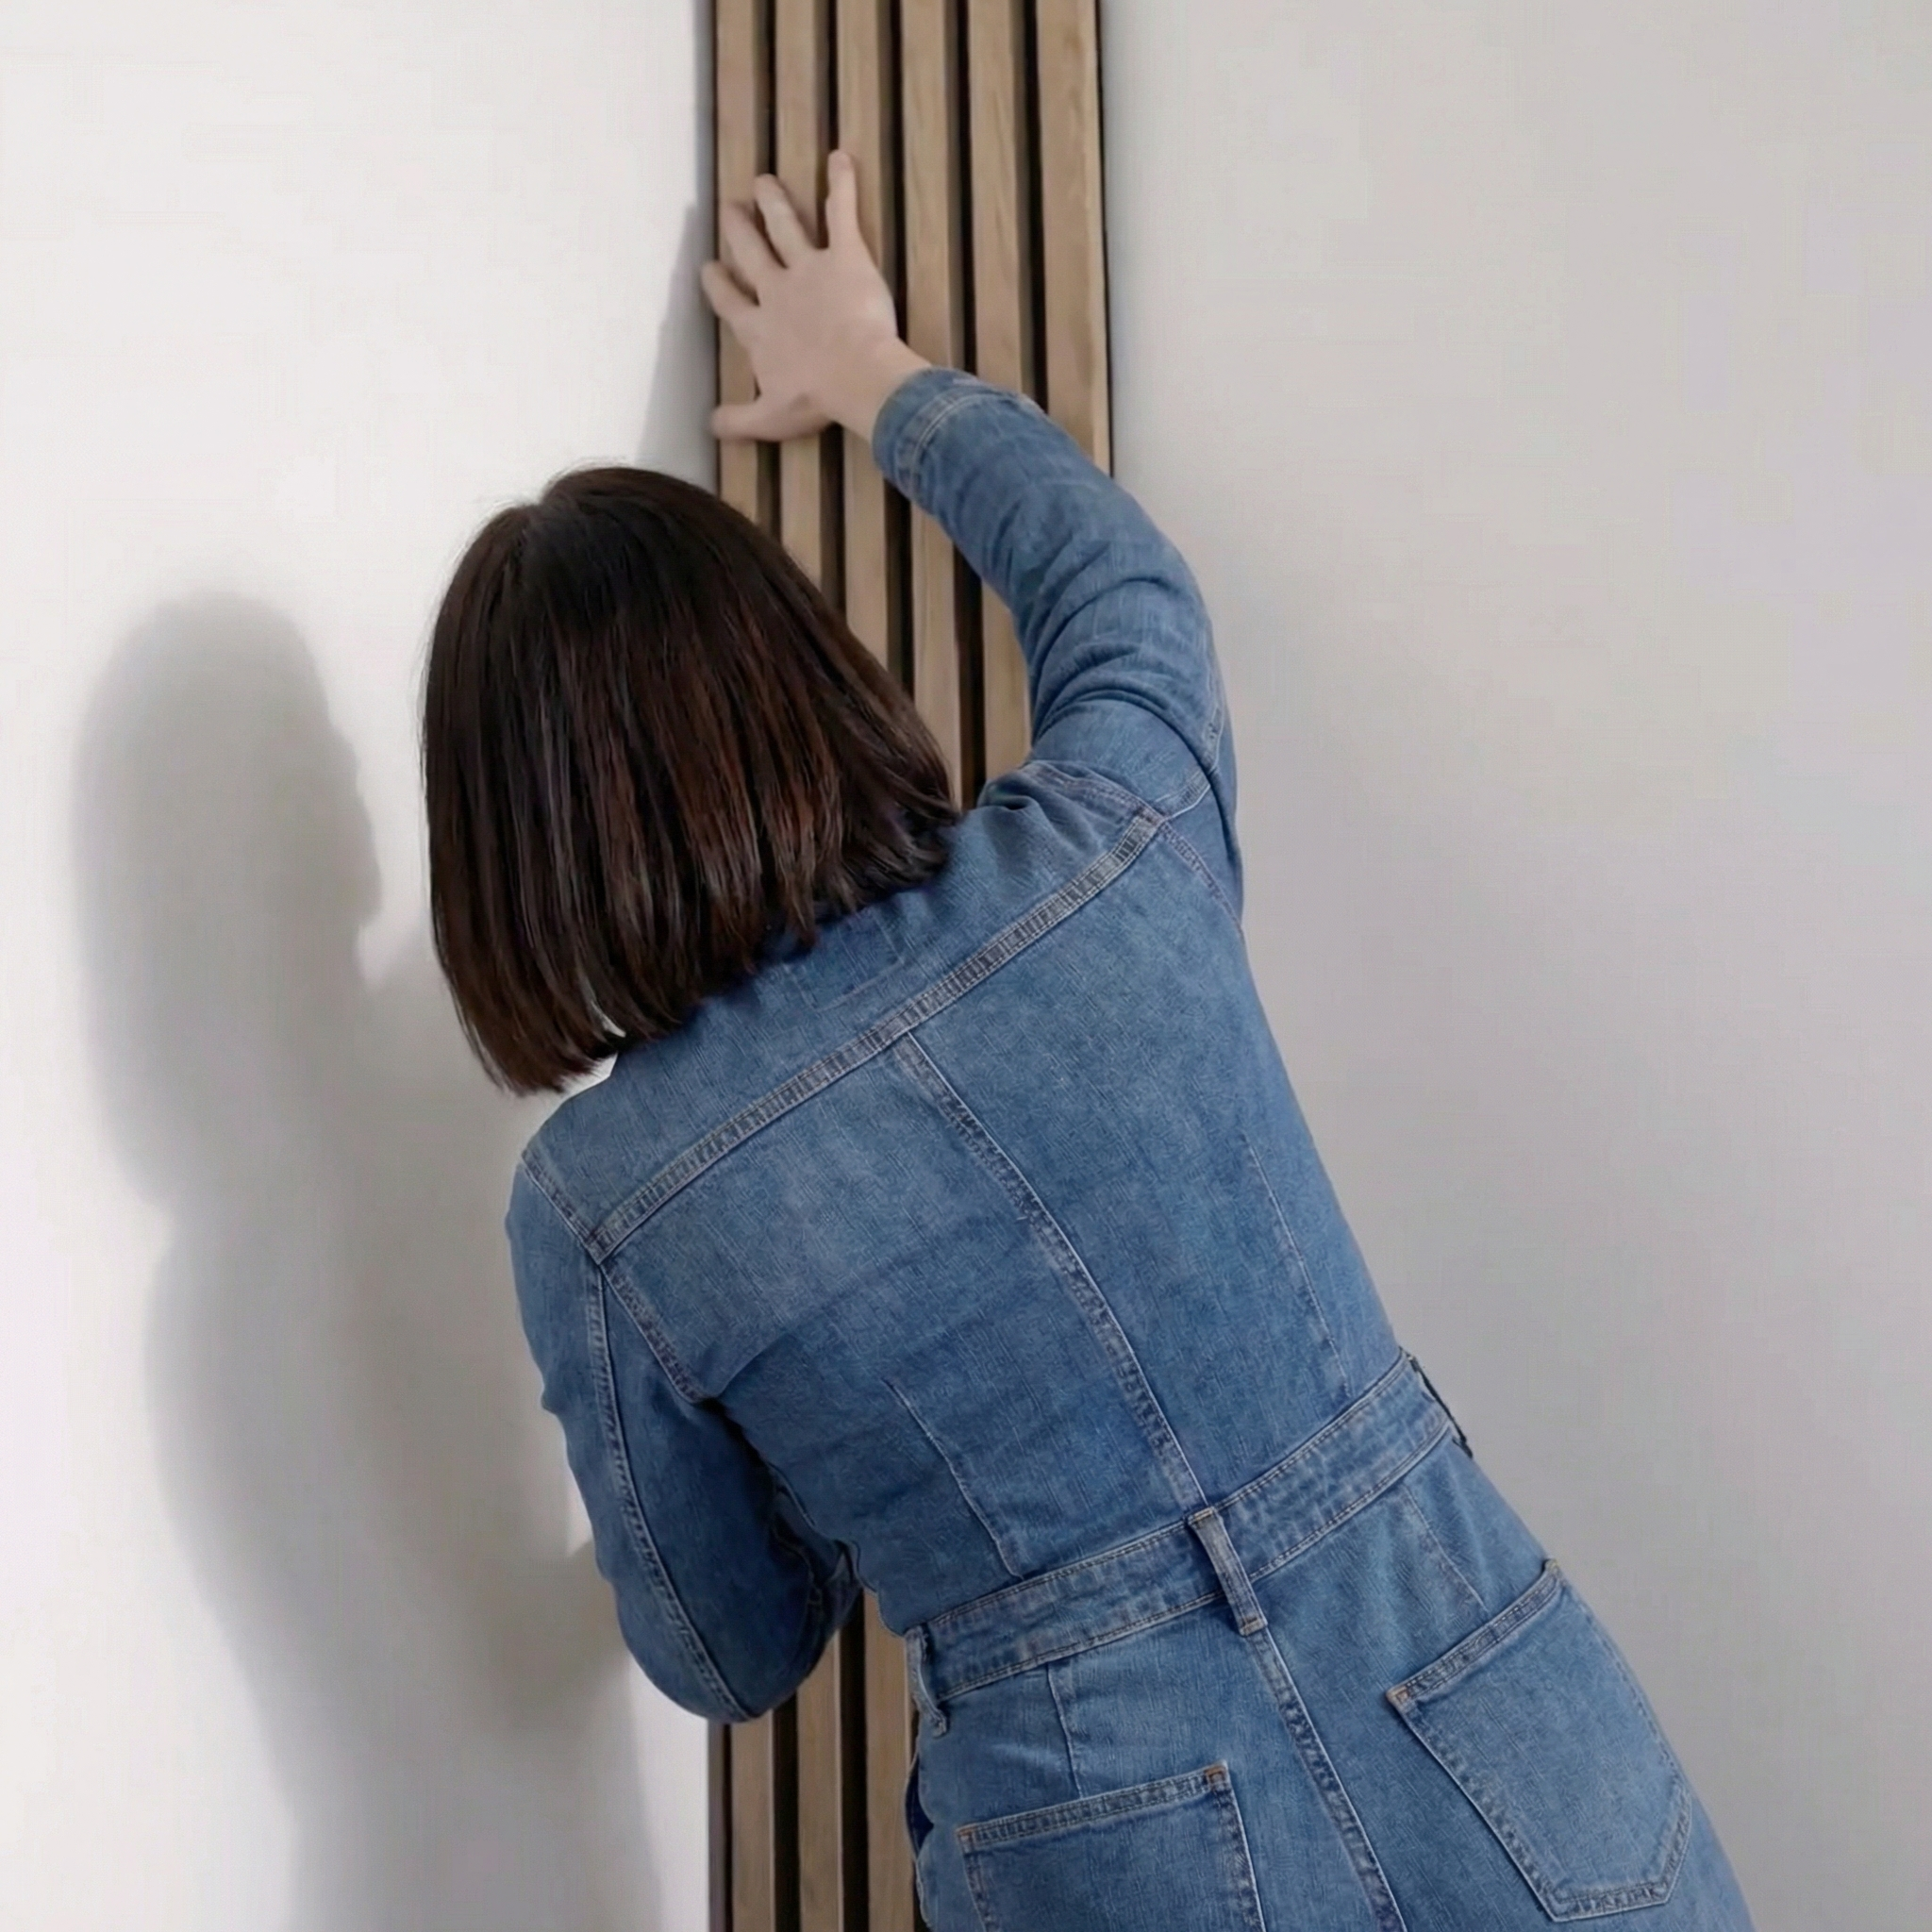
  • Wall Panel Installation for Contractors: What You Need Before You Start

    Wall Panel Installation for Contractors: What You Need Before You Start

    Wall panel installation for contractors is straightforward — but only if the pre-installation preparation is done correctly. The most common causes of panel installation problems are substrate issues (uneven, damp, or poorly prepared walls), incorrect adhesive selection, inadequate planning for cuts and edge conditions, and insufficient curing time before the space is put back into use.

    This guide is written for contractors installing wall panels in residential, commercial, and hospitality environments. It covers what needs to be confirmed before installation begins, not during it.

    Substrate Assessment: The Make-or-Break Step

    Flatness

    Wall panels require a flat substrate. Use a 2m straight edge or spirit level to check the wall for high and low spots. Any deviation greater than 3mm over 2 metres needs to be addressed before panel installation. Options include: skim coat plaster to flatten high spots, batten out the wall to create a flat fixing surface, or use a flexible adhesive with gap-filling capacity for minor variations.

    Moisture

    Panels should not be fixed to damp substrates. Check moisture content with a moisture meter — the substrate should read below 75% relative humidity before panel installation proceeds. New plaster requires a minimum of 28 days to cure before it’s dry enough for panel installation; check moisture levels rather than relying on the date.

    Structural Integrity

    The substrate must be structurally sound and bonded to the wall behind it. Loose plaster, delaminating plasterboard, and poorly bonded screeds are not suitable substrates for adhesive panel installation. Identify and remedy any structural issues before installing panels.

    Adhesive Selection

    The correct adhesive depends on the panel material and the substrate type. Key considerations:

    • Panel weight — heavier panels require stronger adhesive systems
    • Substrate type — plasterboard, concrete, masonry, and existing tiles all require specific adhesive formulations
    • Environmental conditions — temperature and humidity during installation affect adhesive cure time and initial grab
    • Open time — the working time available after applying adhesive before the panel must be positioned

    Always follow the panel manufacturer’s adhesive recommendations. Using the wrong adhesive type is one of the most common causes of panel bond failure.

    Planning Cuts and Edge Conditions

    Before fixing any panels, complete a full dry-run layout on the floor to plan the placement of every panel and every cut. Identify:

    • Where cut panels fall — avoid very thin cuts at visible edges
    • How corners are handled — internal and external corners need specific details
    • How panels terminate at skirting, architrave, door frames, and ceiling line
    • Where service penetrations (sockets, switches, data points) fall within the panel layout

    Site Conditions During Installation

    Temperature and humidity during installation affect adhesive performance. Most panel adhesives require installation temperatures above 5°C and below 35°C. In cold or damp conditions, allow longer curing times before applying any load to the panels. Keep the space ventilated during and after installation to support adhesive cure.

    Handover and Snagging

    Before handing over a panel installation, inspect the completed work for:

    • Panel alignment — check slats and joints are parallel and consistent across the wall
    • Edge condition quality — sealant beads should be smooth and colour-matched
    • Panel security — check that all panels are fully bonded with no hollow-sounding areas
    • Surface cleanliness — remove adhesive residue from panel faces before it cures

    Contact The Panel Hub for bulk order wood wall panels, or request technical installation data sheets for any product in the range before beginning installation on a new project.