Tag: make over

  • What Floors Look Best with Wood Paneling? 6 Ways to Decide!

    What Floors Look Best with Wood Paneling? 6 Ways to Decide!

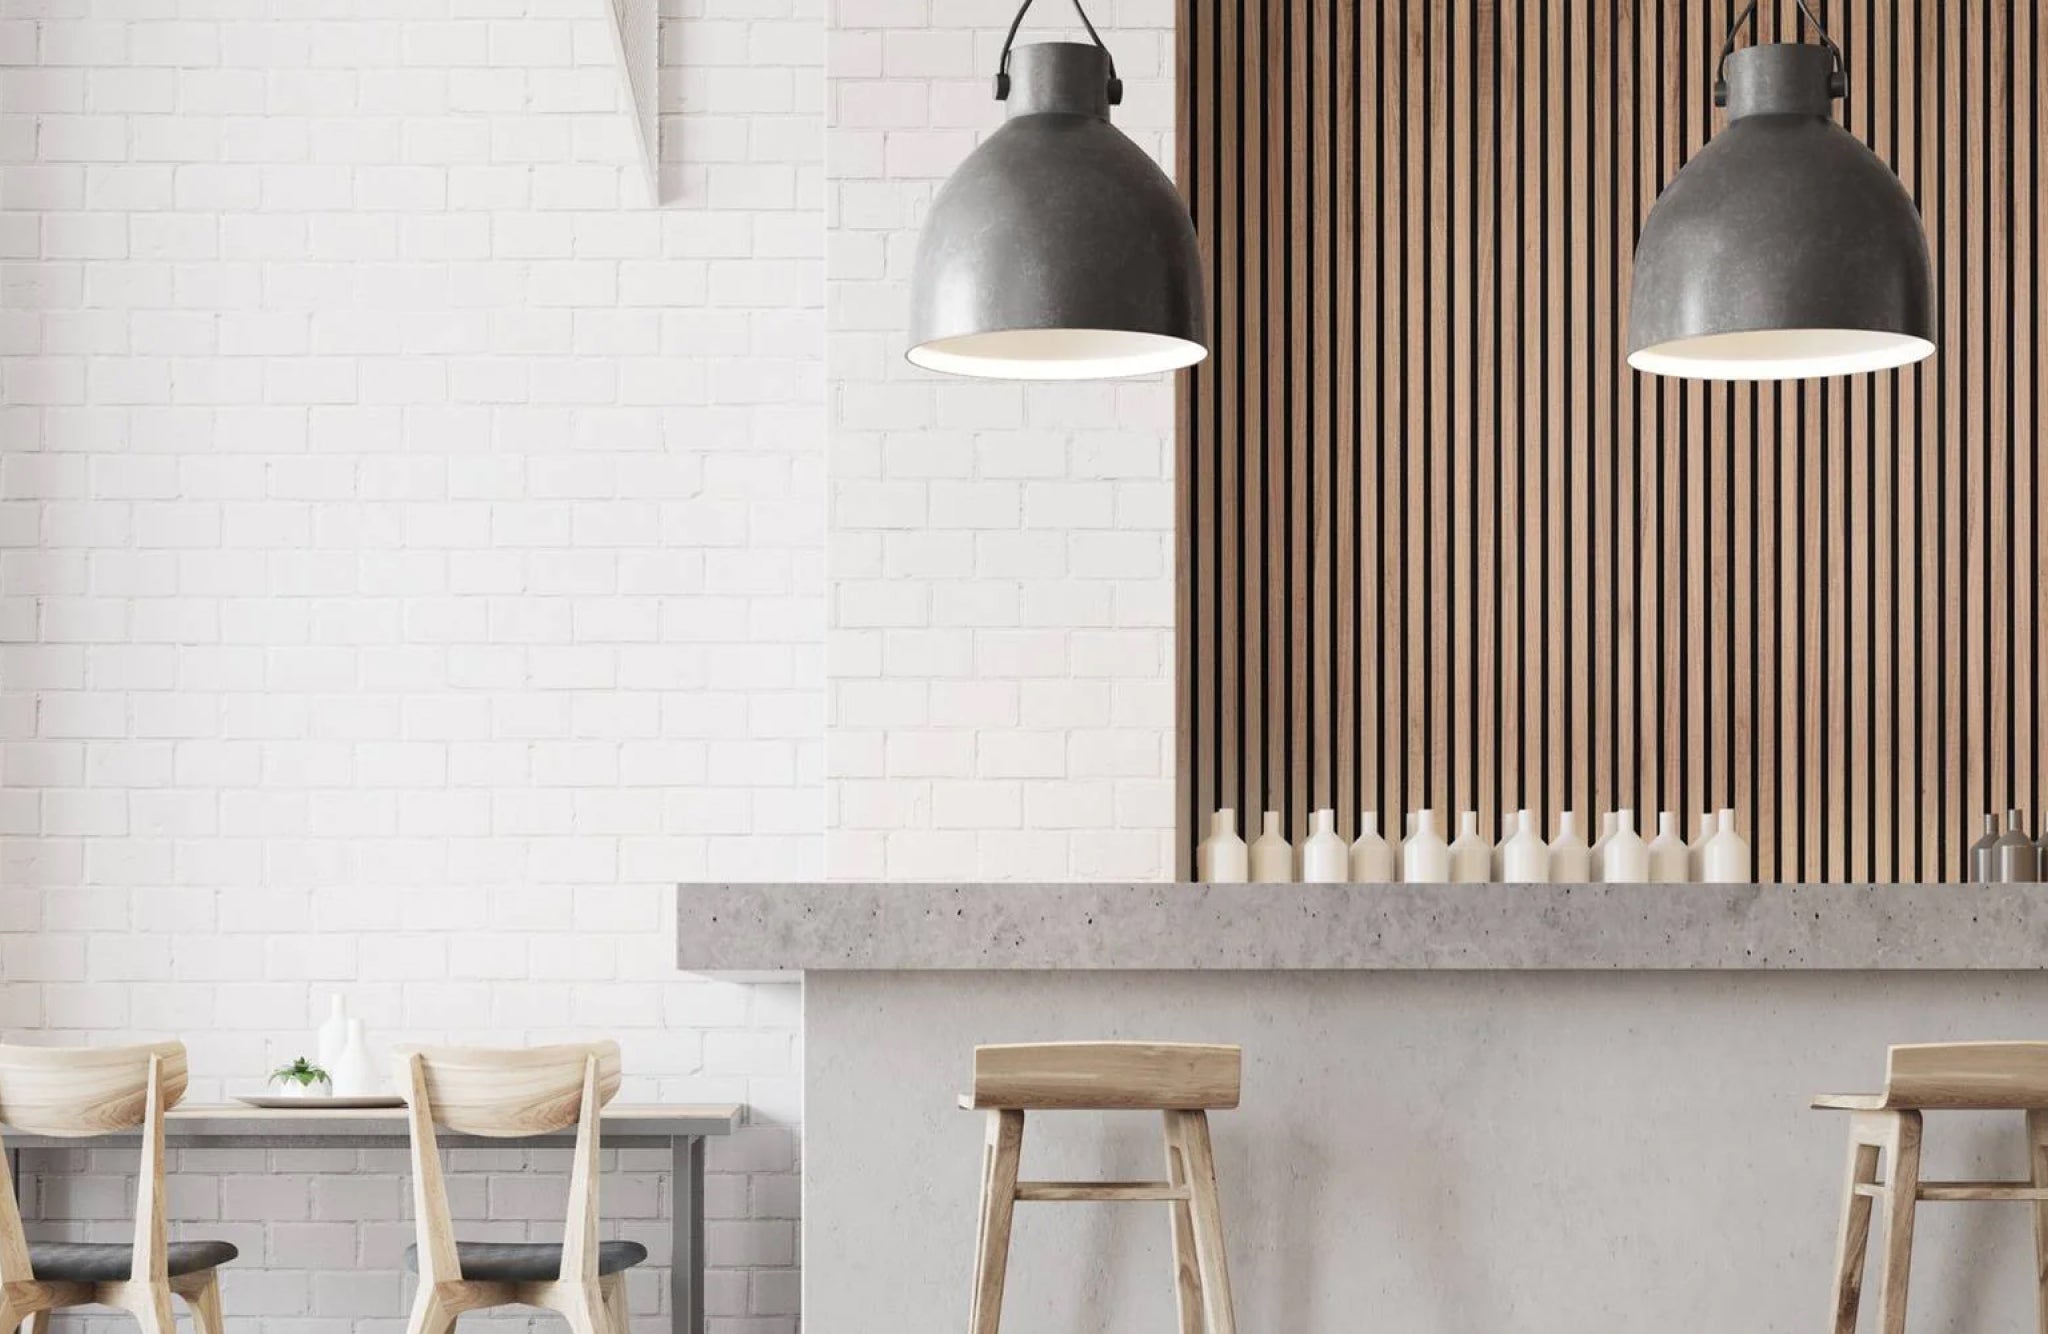
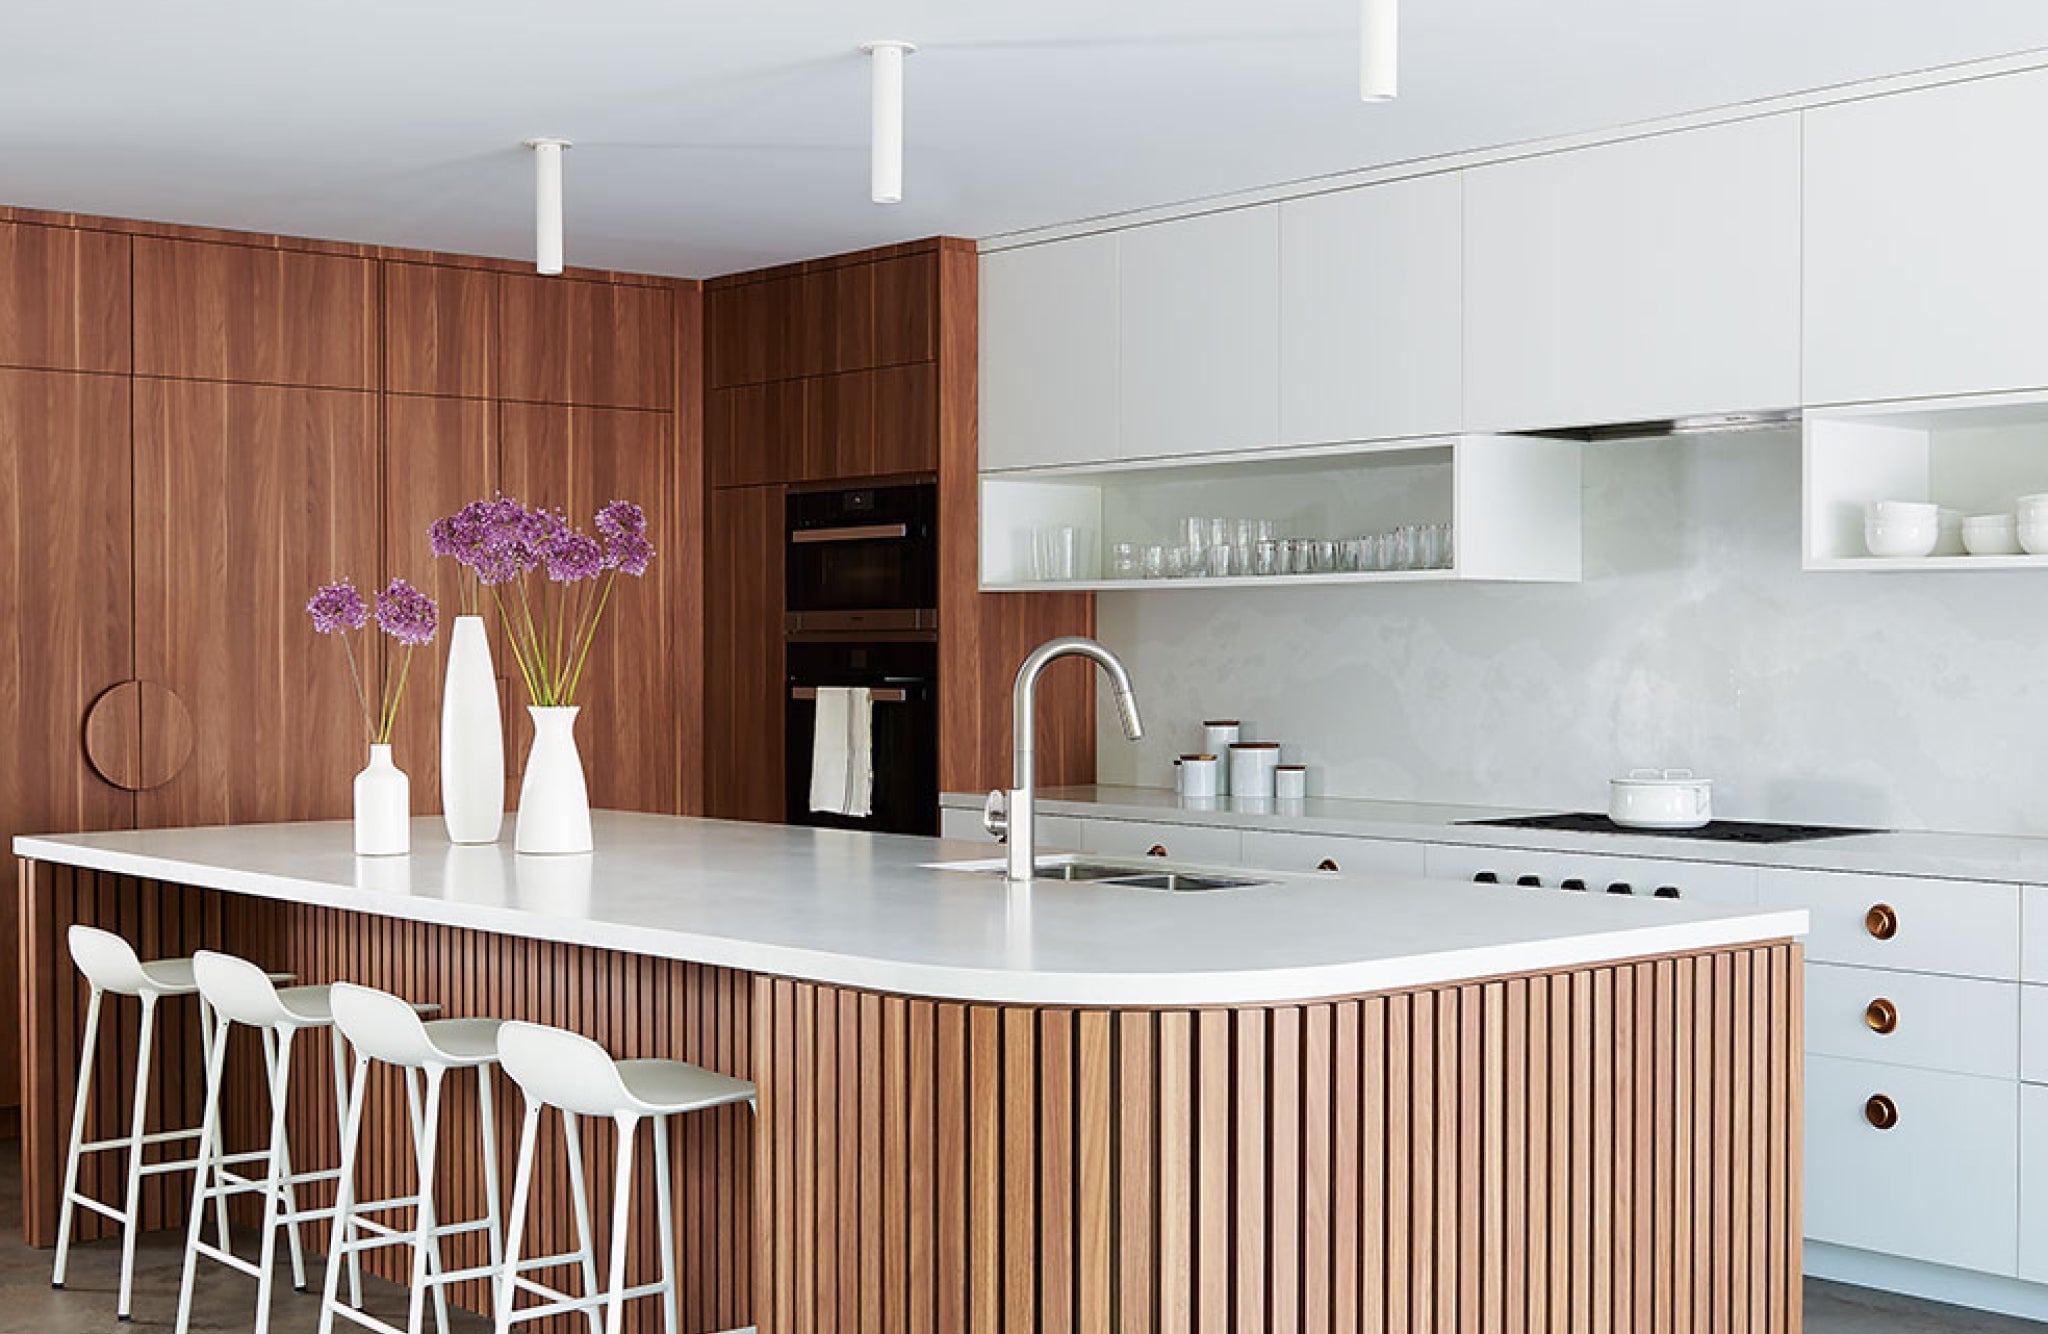
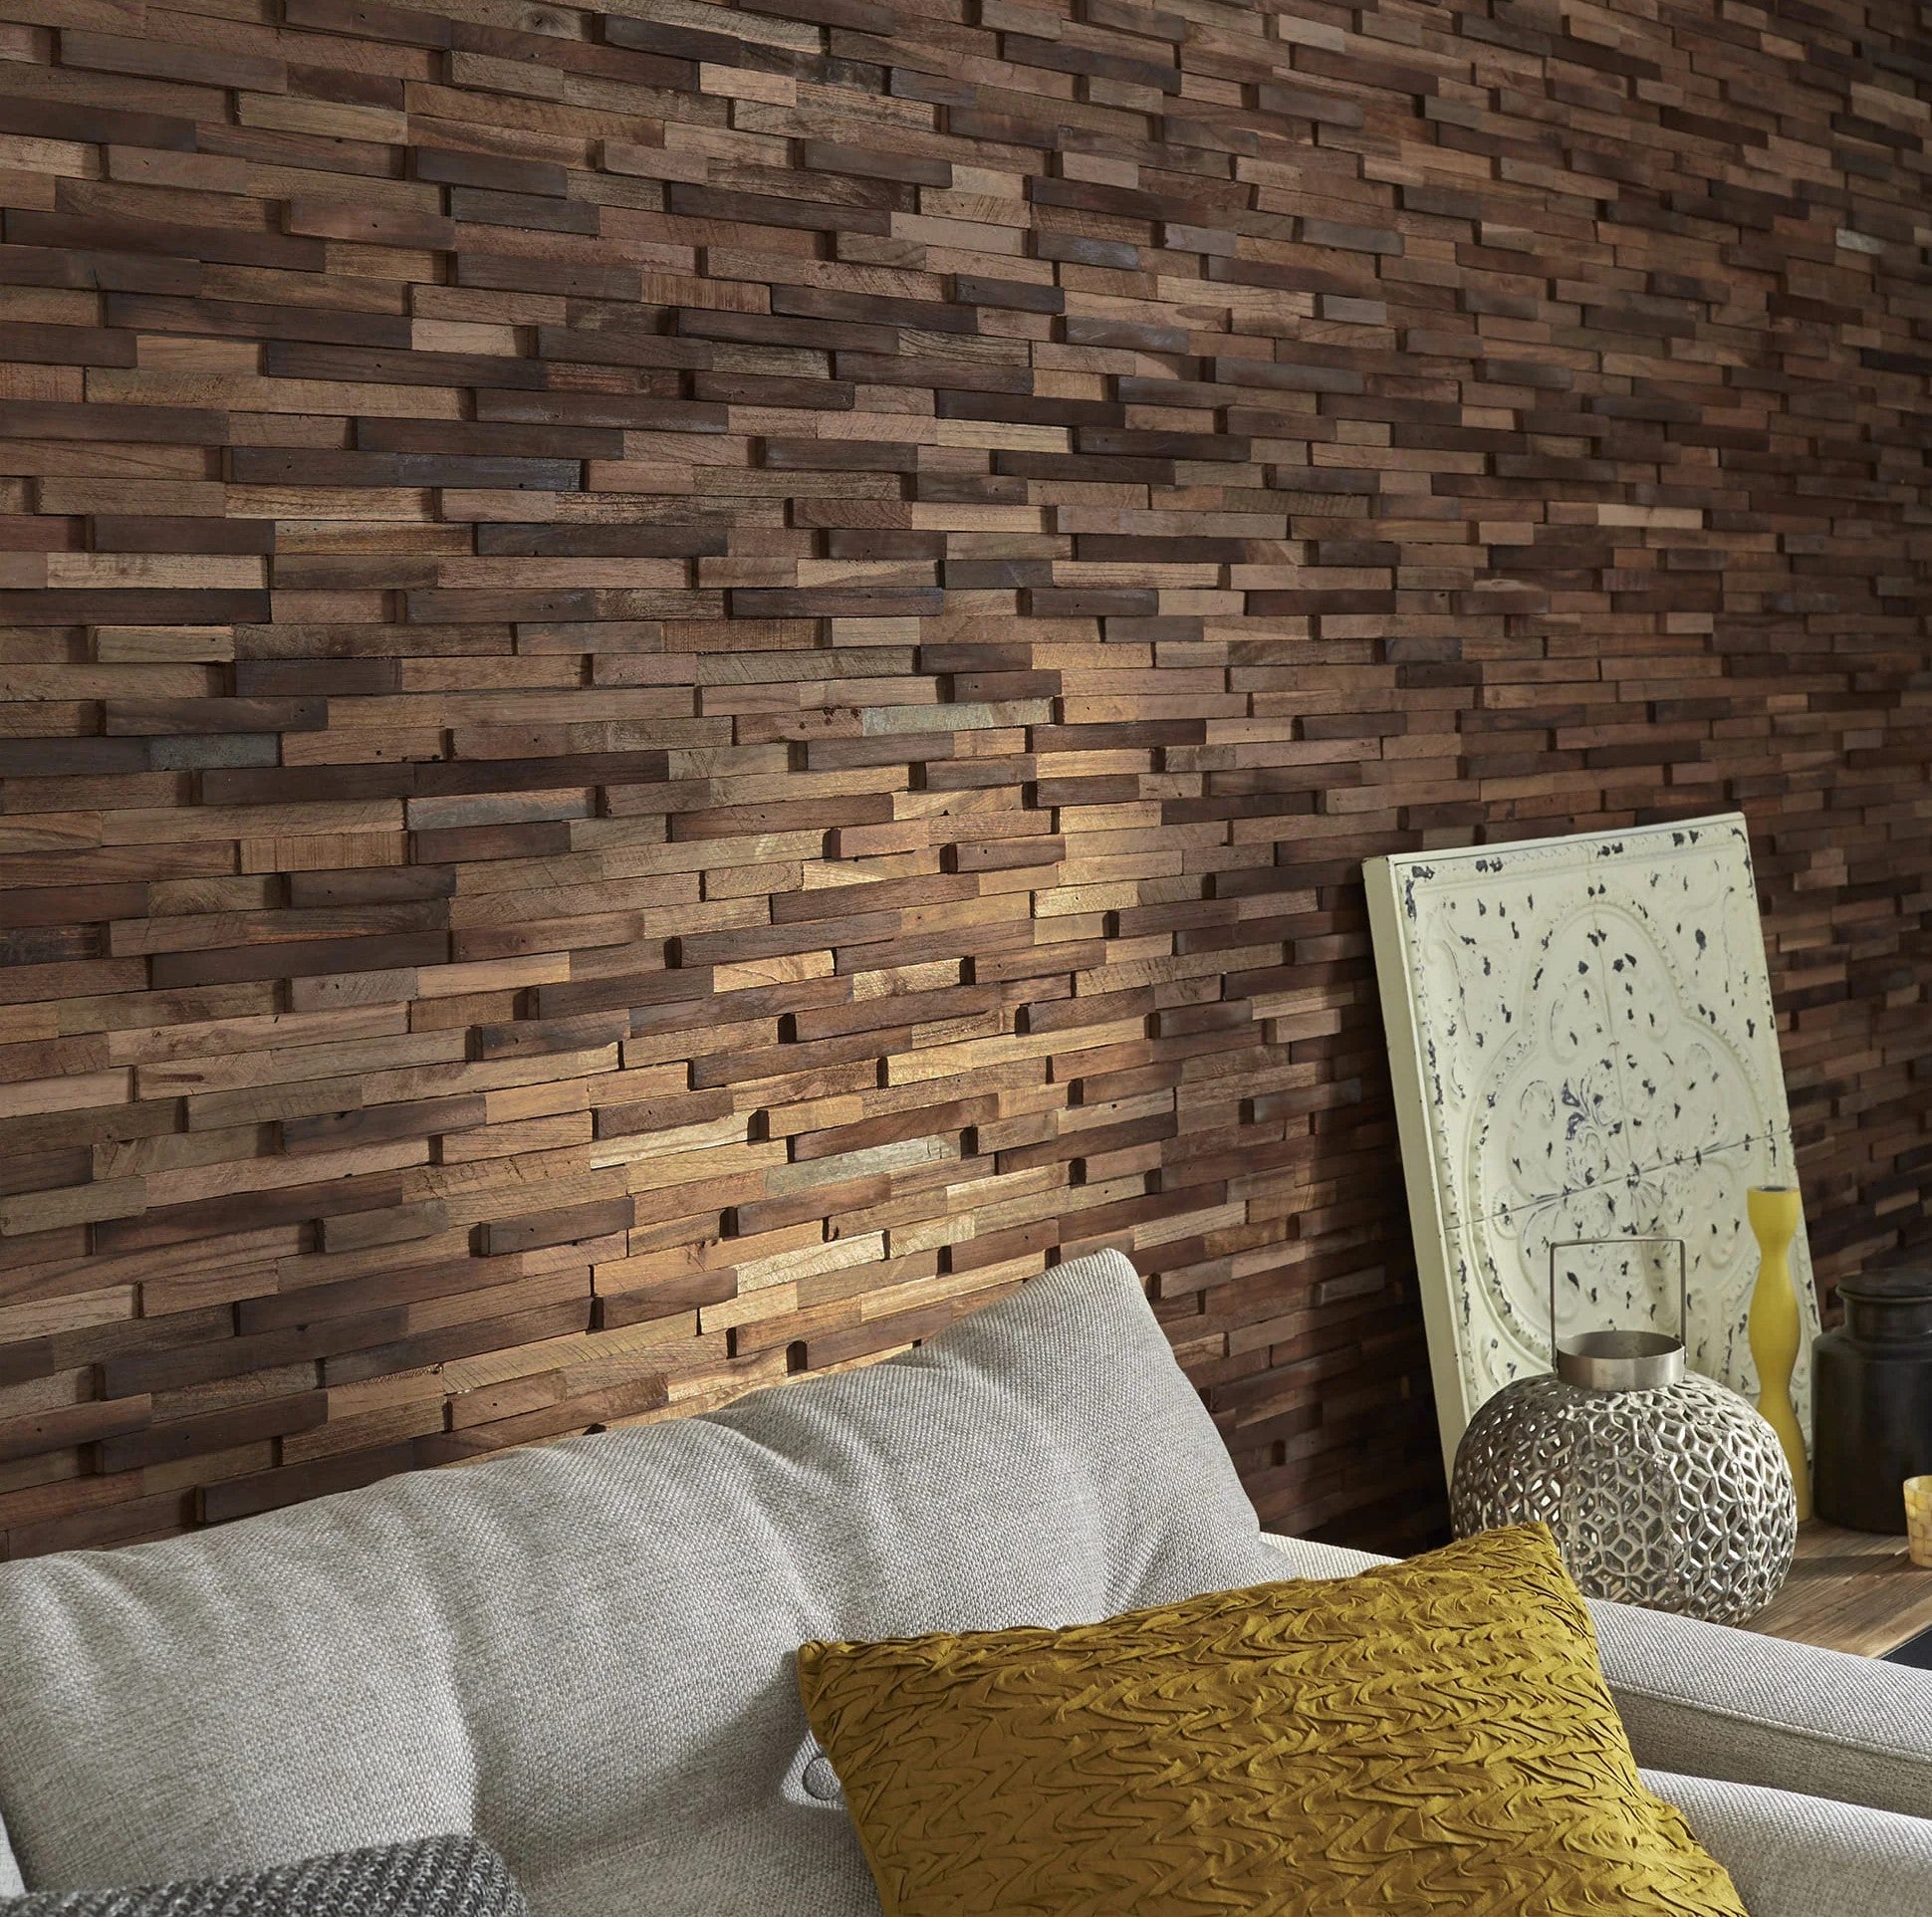
    Wood paneling is back in style, and it’s adding a touch of warmth and character to homes everywhere! But with a resurgent trend comes a design dilemma: what floors look best with wood paneling? Choosing the right flooring can make or break your wood-paneled space.

    Fear not, design enthusiasts! In this post, we’ll explore 7 stunning combinations of wood paneling and flooring that will leave you inspired. We’ll also provide expert tips to help you decide what floors look best with wood paneling in your unique space, considering factors like style, budget, and traffic.

    So, whether you’re just starting to brainstorm ideas or ready to make a decision, keep reading for all the inspiration and information you need!

    Perfect Floor Types to Match Wood Paneling

    Wood paneling shows a certain charm and elegance that can easily be enhanced with the right flooring choice. But with a lot of options available, how do you decide which floor is the perfect match?

    Hardwood Floors
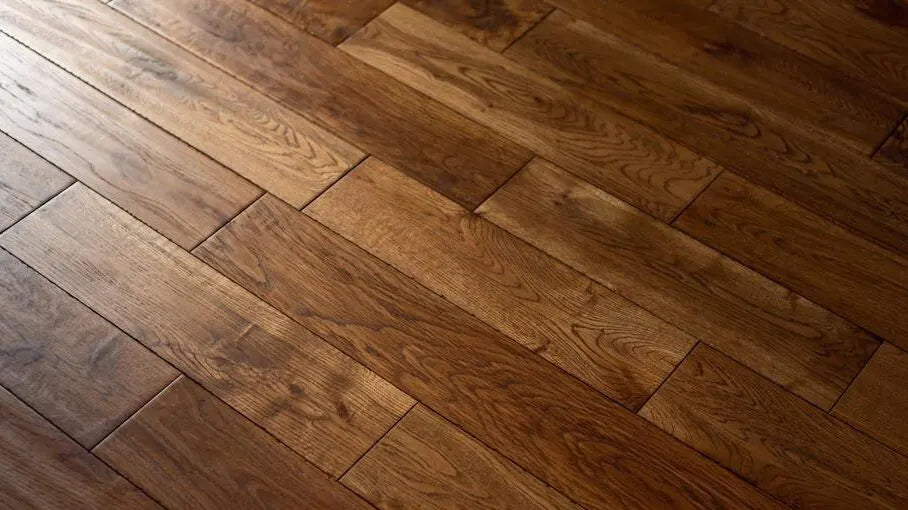
    what floors look best with wood paneling

    Choose a shade that complements or contrasts with your wood paneling, depending on the desired effect. Dark wood panels with light hardwood floors can create a striking contrast, while similar shades can produce a warm, cohesive look.

    Laminate Flooring
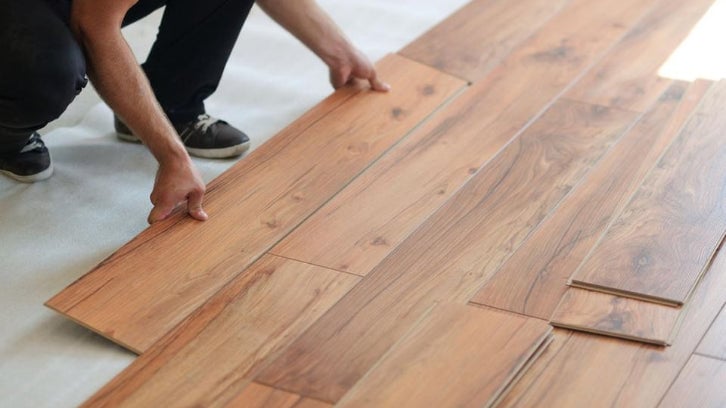
    what floors look best with wood paneling

    For those seeking a cost-effective yet stylish option, laminate flooring is a great choice. Available in a variety of colors and patterns, it can mimic the look of real wood, stone, or tile.

    Stone or Tile Flooring
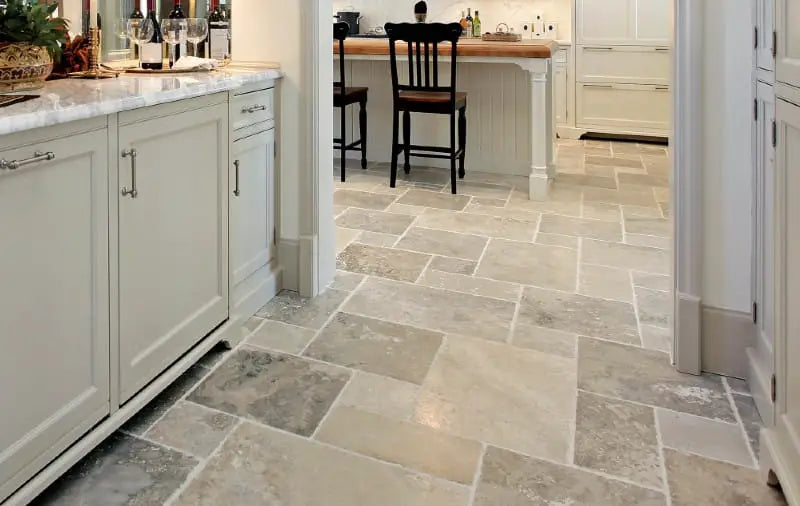
    what floors look best with wood paneling

    If you want to add a touch of luxury and sophistication, stone or tile floors are the way to go. They provide a cool, sleek contrast to the warmth of wood paneling, creating a balanced ambiance.

    Carpet
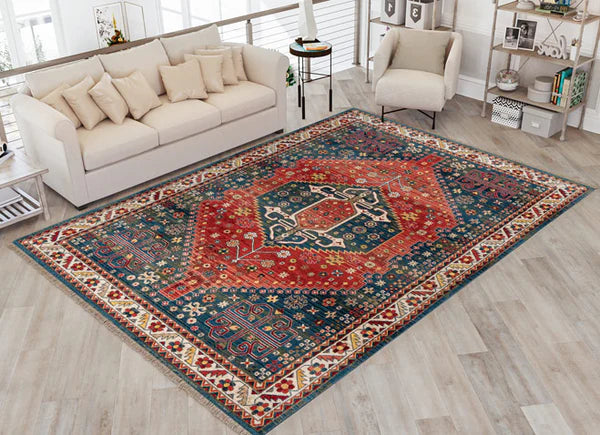
    While not the first choice for some, carpet can actually work well with wood paneling, especially in intimate spaces like bedrooms or libraries. Choose a low-pile carpet in a neutral color or a subtle pattern to complement the wood without overwhelming it.

    Read more: Wood Wall Panelling Sheets: The Secret to Stunning Interiors

    Finding the Perfect Color to Complement Wood Paneling

    The color palette of a room plays a crucial role in setting the mood and enhancing the aesthetic appeal. When paired with wood paneling, choosing the right floor color can create a harmonious and inviting space.

    • Neutral Tones: You can never go wrong with neutral tones like beige, gray, or white. They make the wood paneling shine, creating a balanced look. These tones are versatile and can adapt to various decor styles, making them a stylish choice.
    • Earthy Hues: To enhance the natural appeal of wood paneling, opt for floors in earthy hues like browns, greens, or warm yellows. They are perfect for those aiming to create a nature-inspired space.
    • Bold Contrasts: choosing a floor color that contrasts with your wood paneling can create a striking visual impact. Dark wood panels with light-colored floors or vice versa adding depth and interest to the space.
    • Soft Pastels: If you prefer soft pastels like blush pink, light lavender, or baby blue can work beautifully with wood paneling. These colors add a touch of whimsy and charm, creating a gentle contrast that is both appealing and comforting.

    What to do with Wood Paneling
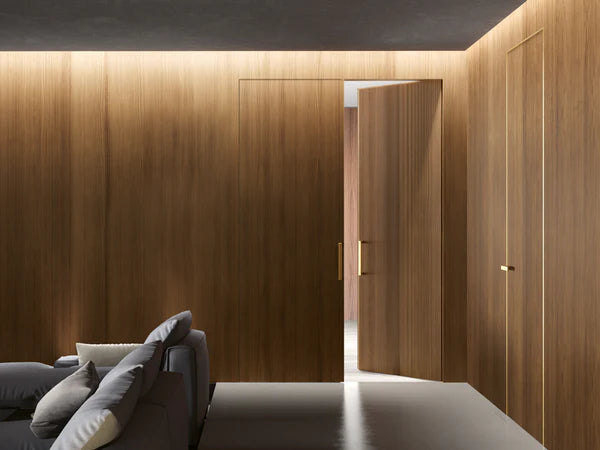
    Wood paneling is a versatile design element that can be used in various innovative ways to elevate your interior space.

    Creating Accent Walls

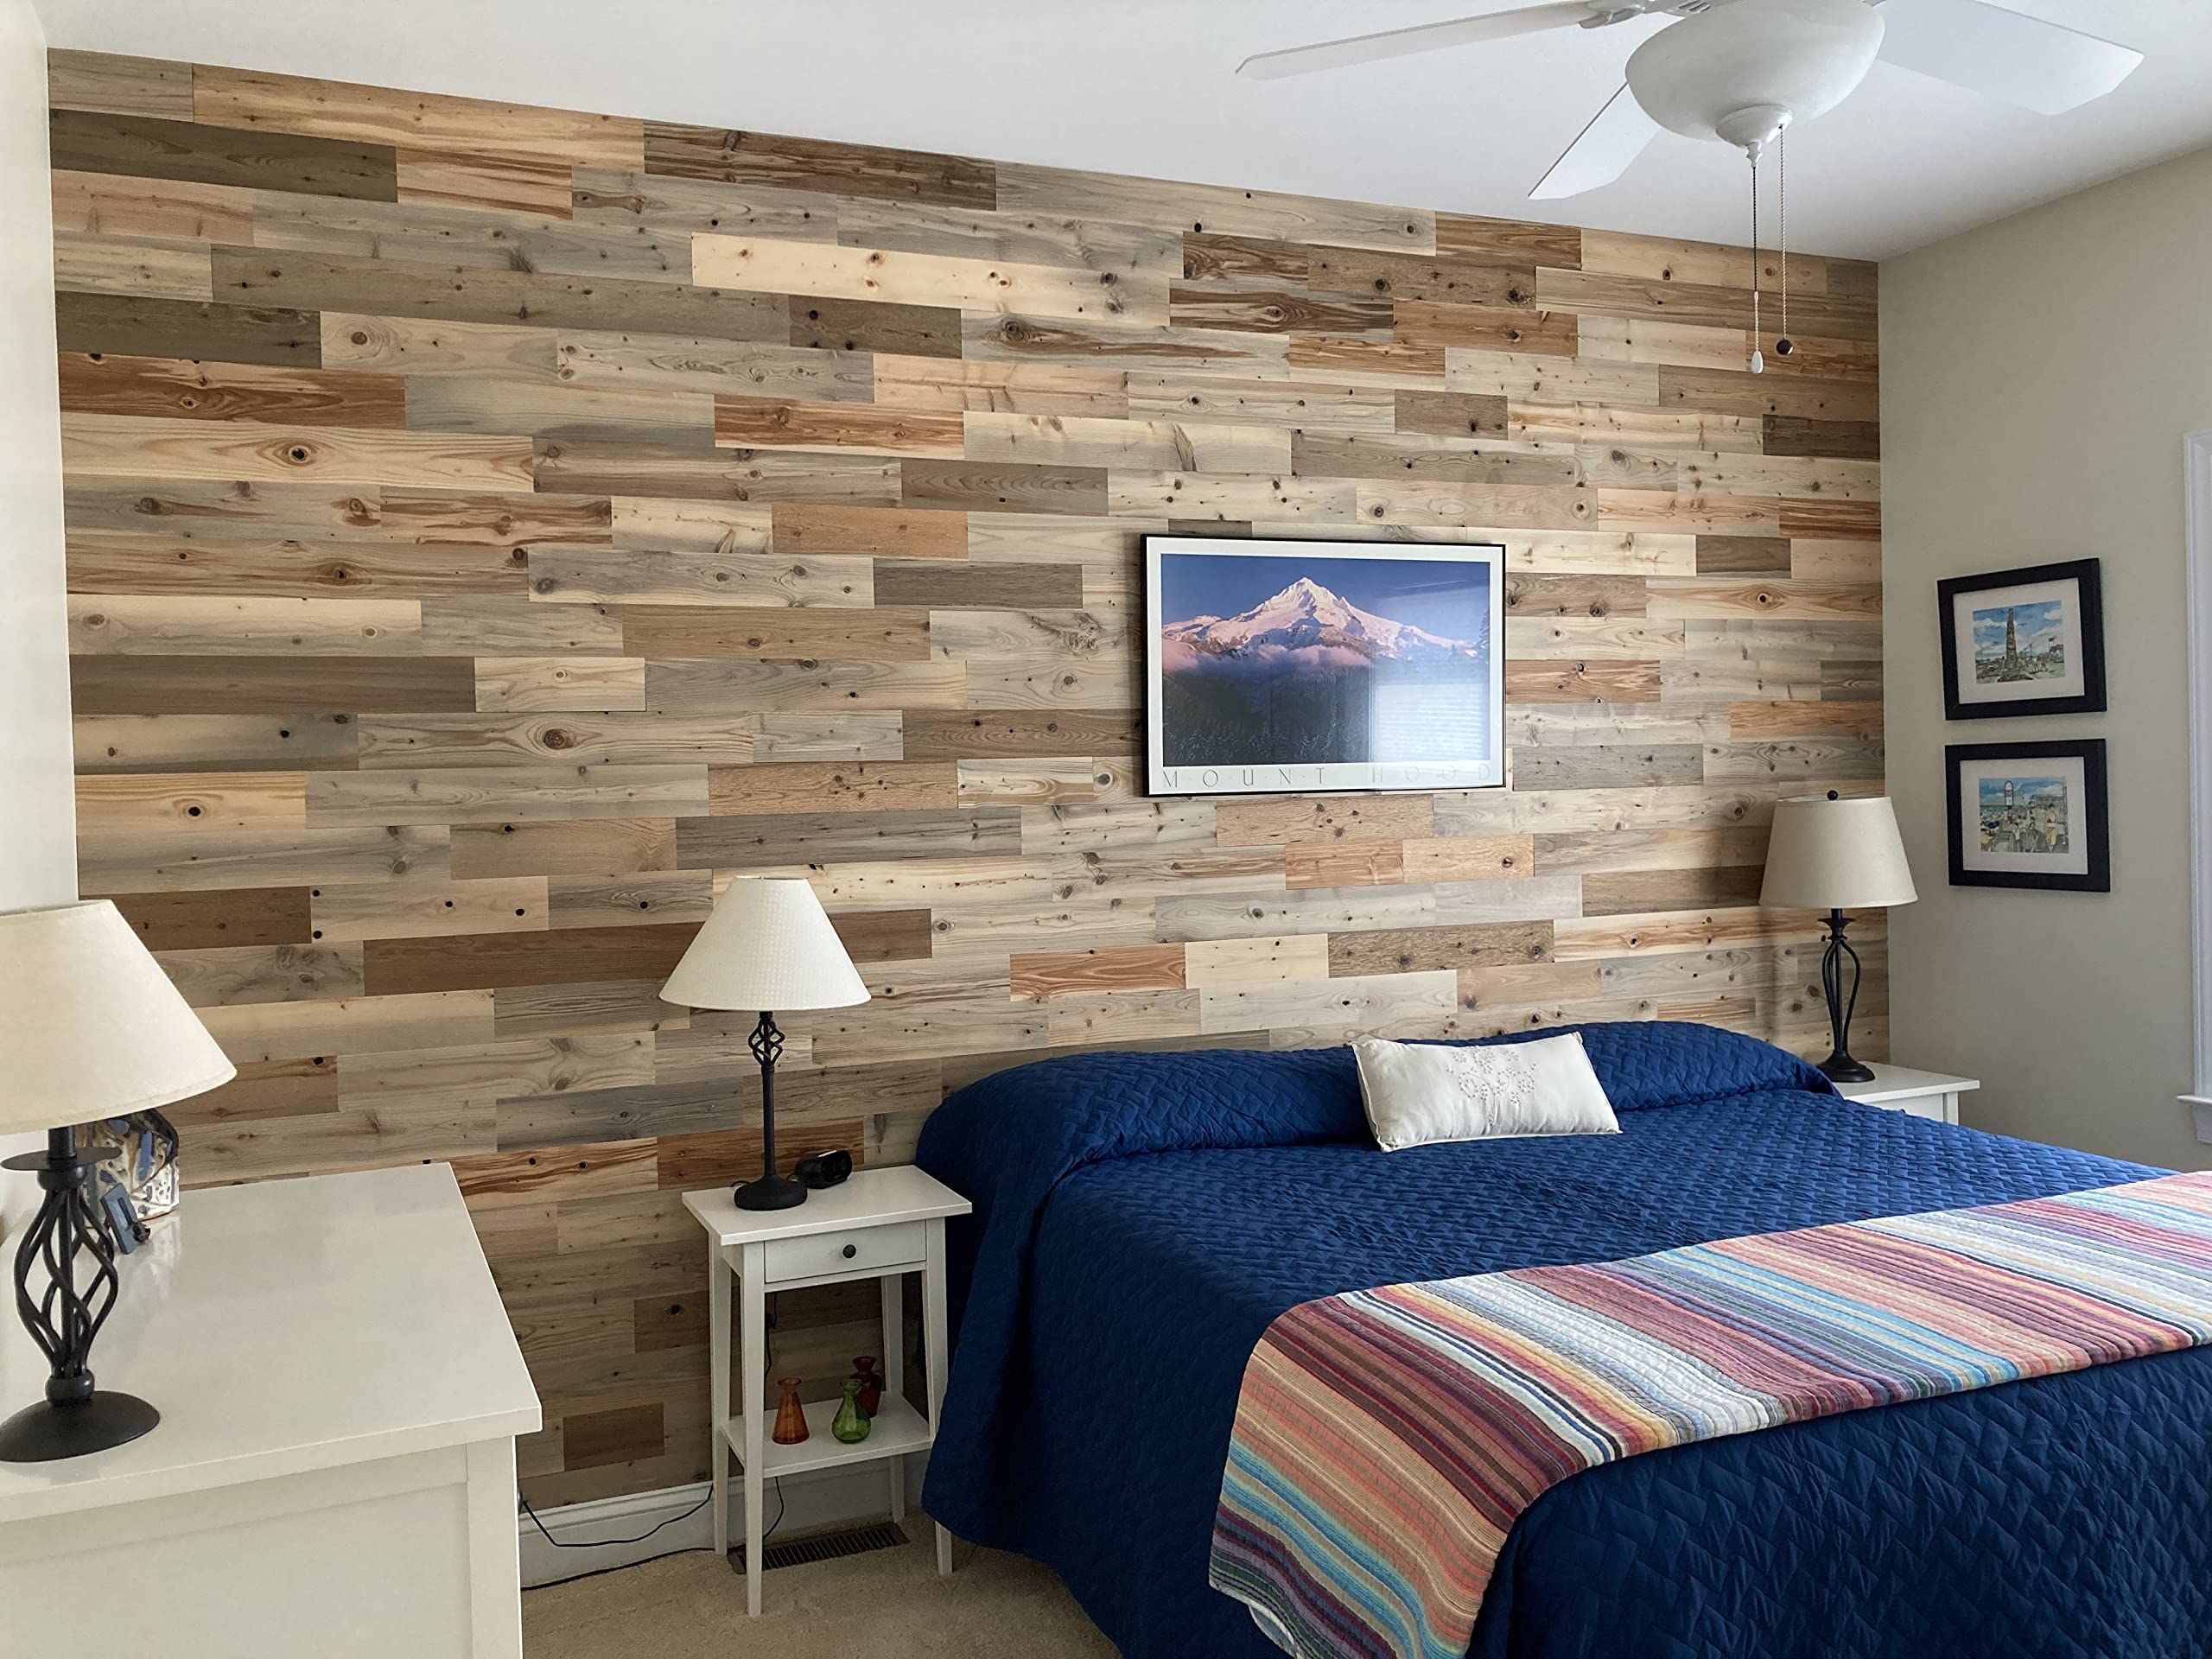
    Use wood paneling to create a stunning accent wall that adds depth and character to your space. This focal point can be enhanced with the right floor choice, ensuring a balanced and cohesive look.

    Mixing and Matching

    Don’t be afraid to mix and match different types of wood paneling and flooring for a unique and eclectic look. Ensure there is a common color or texture that ties the elements together for a harmonious result.

    Incorporating Modern Elements

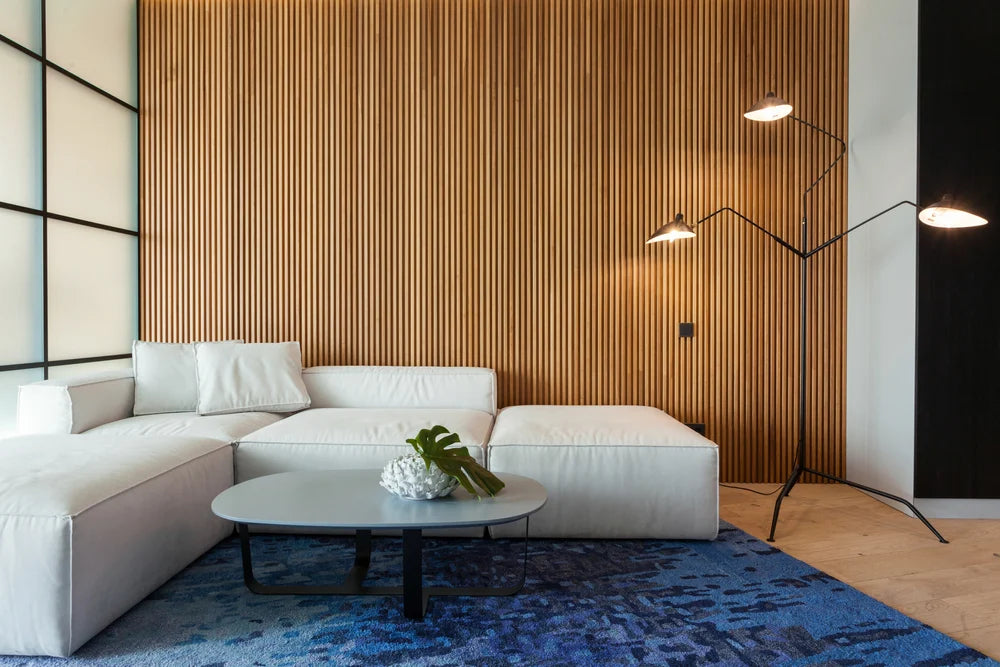
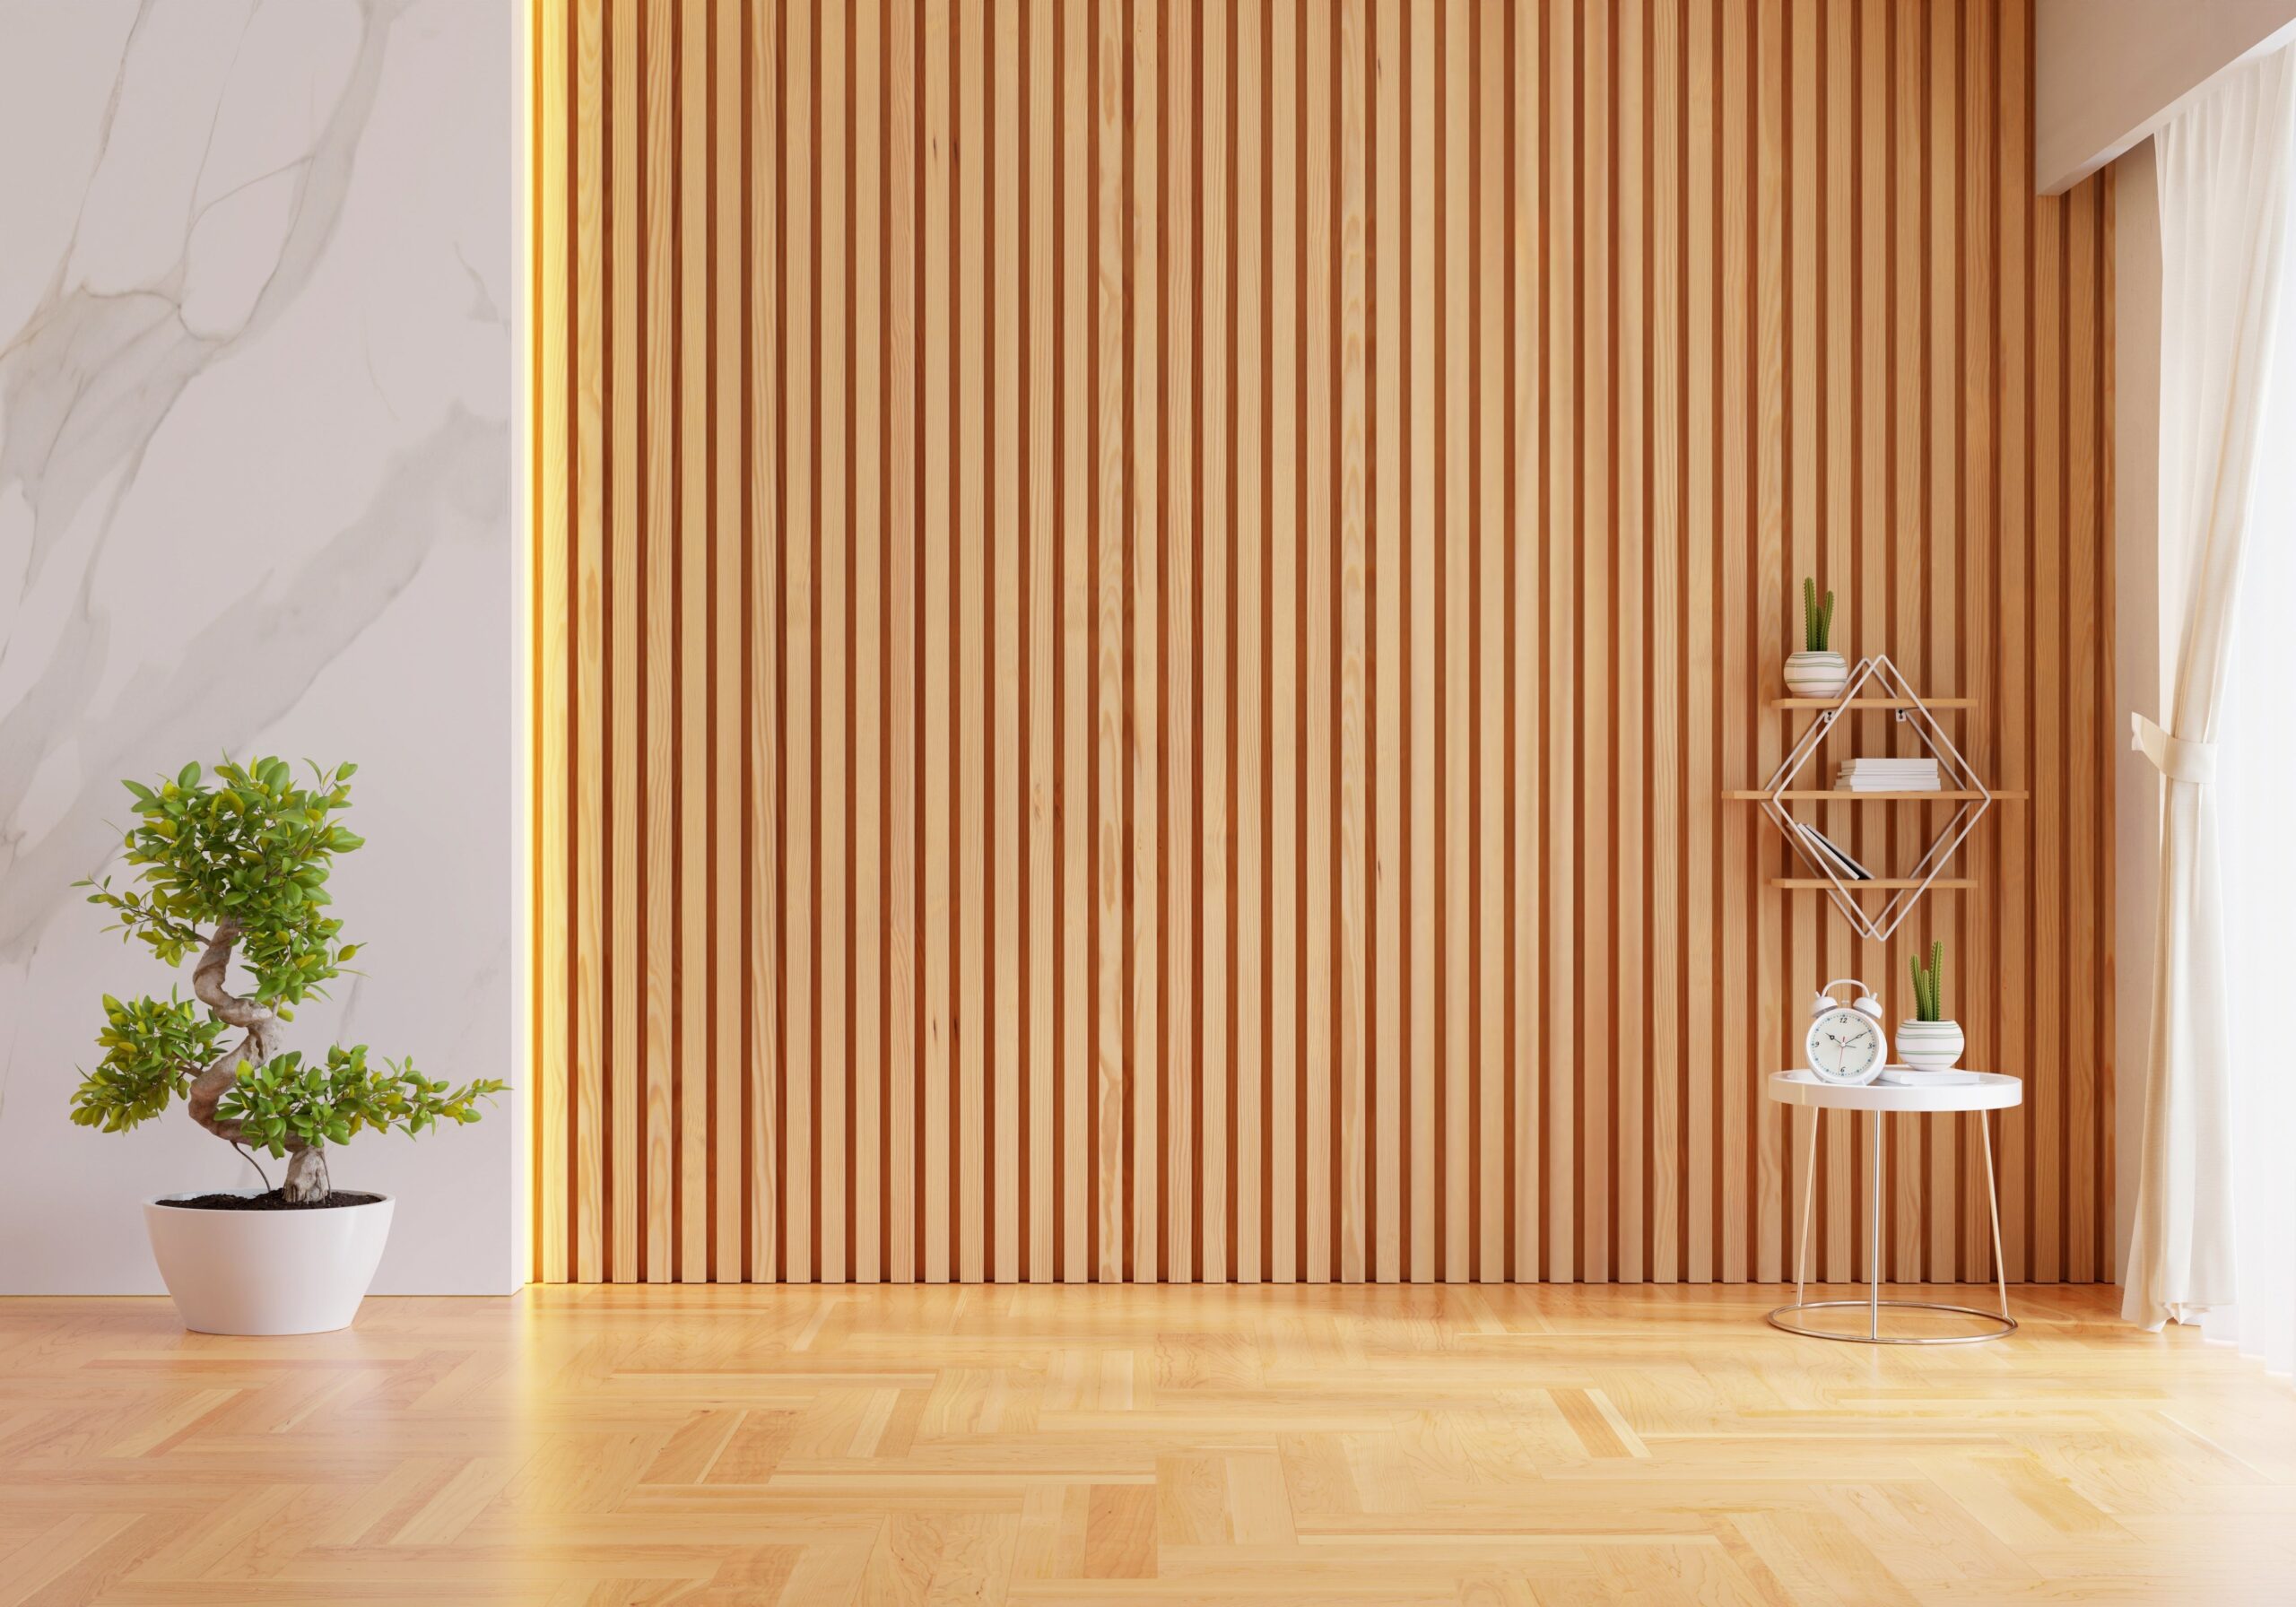
    Wood paneling can be paired with modern furniture and decor to create a chic and contemporary space. Choose sleek and minimalistic floor options to complement this look. For a cutting-edge finish, our SoundPanel acoustic slat wood wall panels deliver clean lines and a sophisticated texture that pairs beautifully with minimalist flooring.

    Playing with Patterns

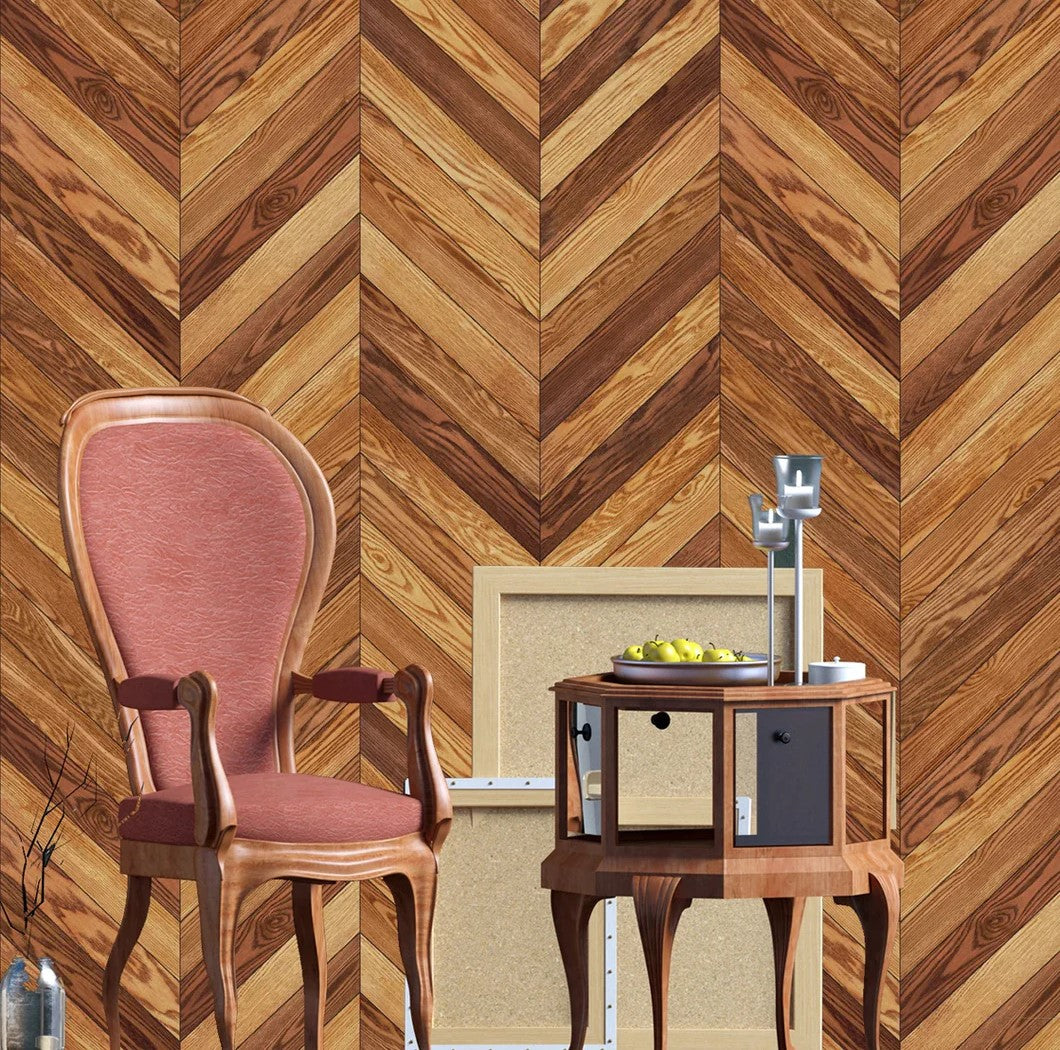
    Experiment with different paneling patterns and floor layouts to add visual interest and dynamic appeal to your space. Herringbone or chevron patterns can create a sophisticated and eye-catching look.

    Read more: How to Clean Wall Panels: Tips, Tricks, and Top 3 Recommendations

    Ensuring the Longevity of Wood Panel

    Investing in wood paneling requires commitment to maintenance and care to ensure their longevity and aesthetic appeal. These tips and tricks on how to keep your wood elements in top-notch condition, and will keep their beauty for years to come.

    • Regular Cleaning: Establish a regular cleaning routine to remove dirt, dust, and debris that can cause scratches and damage over time. Use gentle cleaning products and avoid excessive water to protect the wood.
    • Protecting from Sunlight: Prolonged exposure to sunlight can cause fading and discoloration. Use curtains or blinds to protect your wood paneling and floors from harsh UV rays.
    • Addressing Scratches and Dents: Address any scratches or dents promptly to prevent further damage.
    • Seasonal Care: Wood is sensitive to changes in humidity and temperature. Use humidifiers or dehumidifiers as needed to maintain a stable environment.

    Incorporating Patterns and Textures
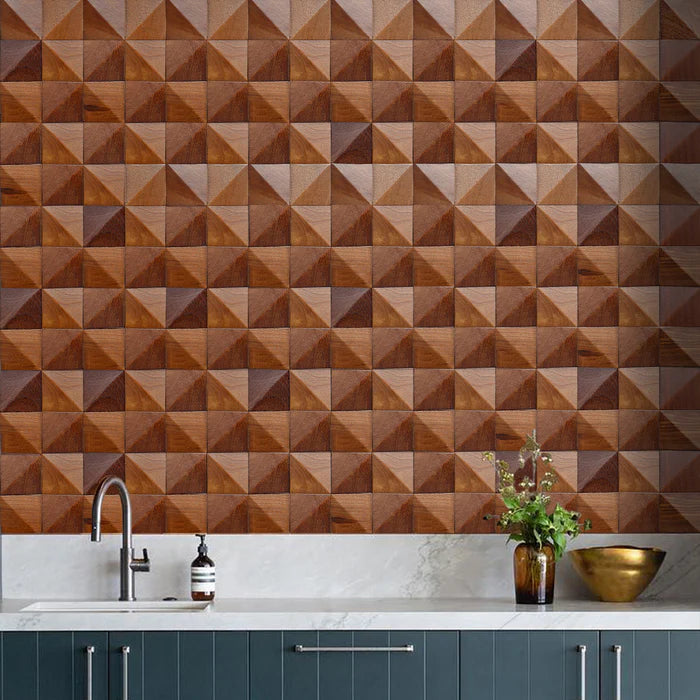
    Incorporating patterns and textures in your flooring can add depth and interest to your space. Here are some ways to do this effectively:

    Herringbone Patterns: A herringbone pattern in wood or tile can introduce a sophisticated and timeless element to your space. This pattern breaks up large wooden surfaces and adds a touch of elegance and complexity to the room, making it more visually engaging.

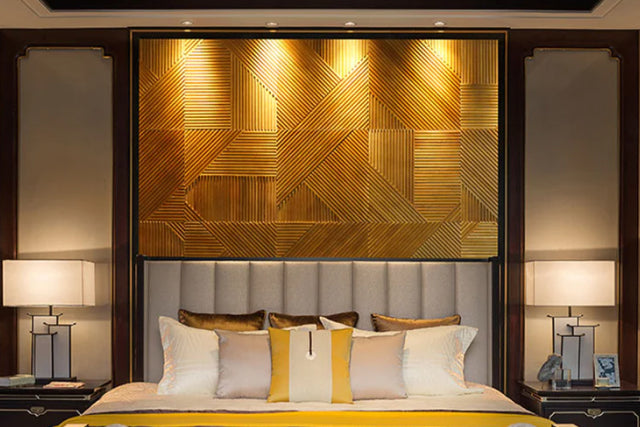
    Mosaic Tiles: Using mosaic tiles in specific areas like the kitchen or bathroom can add a playful and artistic touch. Mosaic tiles come in various colors and designs, allowing you to create intricate patterns that can serve as a focal point in the room, adding a layer of visual interest. For a wood-based mosaic alternative, our GroovePanel mosaic wood wall panels bring the same artistic appeal with the warmth of natural wood.

    Textured Finishes: Opt for textured flooring materials, such as hand-scraped wood or textured tiles, to enhance the tactile experience and visual appeal. Textured finishes add a sense of depth and richness, making the floor look more interesting and inviting. These finishes also help in hiding minor scratches and wear, maintaining a fresh look longer.

    Dark Wood Paneling with Light Wood Floors: A Timeless Contrast

    Pairing dark wood paneling with light wood floors creates a striking balance between depth and brightness in your space. The rich, moody tones of dark wood paneling bring warmth and sophistication, while light wood floors provide an airy, open feel, preventing the room from feeling too heavy or enclosed.

    Why This Combination Works

    • Contrast that Pops – The stark difference in tones makes architectural details and decor stand out.
    • Balanced Aesthetic – Light floors reflect more natural light, preventing the space from feeling too dark.
    • Versatile Styling – Works with various design themes, from rustic farmhouse to modern minimalism.

    Best Light Wood Flooring Options

    1. White Oak – A durable and neutral-toned wood that pairs beautifully with dark paneling.
    2. Maple – Offers a subtle grain and a clean, bright look.
    3. Ash Wood – Features a slightly gray undertone, perfect for a contemporary aesthetic.

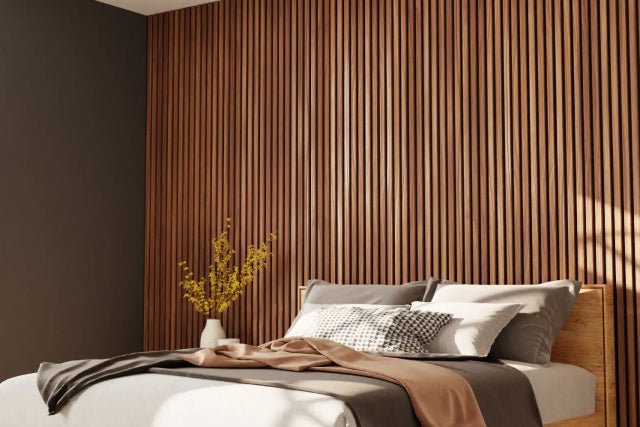
    If you’re aiming for a luxurious and inviting space, dark paneling with light floors is a foolproof design choice that stands the test of time. A standout option is the SoundPanel American Acoustic Slat Wood Wall Panel, which pairs beautifully with both light and dark floors to create a refined, textured feature wall.

    Wood Paneling for Floors: Should You Try It?

    While wood paneling is traditionally used for walls, it’s gaining traction as a unique flooring option that adds texture and character. Wood paneling for floors isn’t just about aesthetics—it also offers durability and warmth underfoot.

    Pros of Using Wood Paneling for Floors

    Distinctive Look – Creates a seamless, cozy feel when paired with matching wall panels.
    Sustainable Choice – Many wood paneling options are made from reclaimed or responsibly sourced materials.
    Varied Textures & Finishes – From glossy varnishes to matte finishes, you can customize the look.

    Things to Consider

    • Durability: Opt for high-quality sealed wood panels to prevent scratches and water damage.
    • Maintenance: Regular polishing and protective coatings are necessary for longevity.
    • Room Suitability: Best used in low-traffic areas like bedrooms, offices, or lounges.

    If you’re looking for an unconventional flooring choice, wood paneling for floors can be an elegant and eco-friendly option.

    Conclusion

    It’s pretty clear that nailing the “what floors look best with wood paneling?” question can totally transform your space. With the right wood panels, you’re not just choosing décor, you’re choosing a vibe, a statement, and a whole mood!

    So, pick panels that talk to you, and watch your space go from “just okay” to “oh, wow!” in a snap!
  • 5 Enticing Advantages of Choosing Accent Wall Panels for Your Home

    5 Enticing Advantages of Choosing Accent Wall Panels for Your Home

    The world of interior design constantly evolves, yet some trends capture the
    essence of timeless
    beauty, functionality, and style—accent
    wall panels
    are one such revelation. These panels do more than just adorn your walls; they
    narrate your home’s unique story, reflecting your taste and the character of
    your space.

    Accent Wall Panels

    From the cozy corners of a quaint bedroom to the lively expanse of a family
    living room, accent wall panels weave an element of
    surprise and sophistication. If you’re on the fence about choosing these innovative
    additions for your home, let’s explore the multitude of reasons why accent
    wall panels are a transformative solution for contemporary living.

    Read More:
    5 Best Living Room Wall Panelling Ideas: Elegant & Stylish

    Accent Wall Panels

    The journey to selecting the perfect accent wall panels for your sanctuary can
    be as intricate as it is exciting. With a cornucopia of choices, each
    decision—from material and texture to color and pattern—can greatly influence
    the ambiance of your abode.

    Consideration is key when delineating the mood of a room. A
    splash of vibrant hues against a solitary wall can ignite energy in a space, while a
    serene palette of earthy tones may instill calm and solace. The wall you
    choose to accent should not be cluttered with windows or doors; instead, it
    should be one that commands attention, perhaps showcasing architectural
    features or embodying the room’s essence.

    Material choice is another crucial consideration. Do you yearn for the rustic
    charm of wood, the sleek edge of metal, or the futuristic vibe of 3D panels?
    Each speaks a different design language and offers varied longevity and ease
    of care. Moreover, the installation can be a weekend DIY project or an
    intricate task requiring professional finesse, so choose according to your
    skills and budget.

    While the initial cost and installation may be a
    consideration, it is wise to ponder the long-term benefits and durability of your chosen
    accent wall panels. Remember, the right selection can enhance your home’s
    visual appeal and market value substantially.

    Read more: Wood Wall Panelling Sheets: The Secret to Stunning Interiors

    Unveiling the Perks of Accent Wall Panels

    Accent Wall Panels

    When it comes to interior embellishments, accent wall panels stand out for
    their aesthetic and functional perks. Here’s why they’re more than just
    another decorative fad:

    • Visual Interest: They serve as a
      captivating centerpiece, instantly drawing the eye and adding depth to the
      room.
    • Design Versatility: Whether you’re
      leaning towards minimalist chic or opulent textures, there’s a panel to
      match every design philosophy.
    • Enduring Beauty: Quality panels are
      designed to withstand the test of time, maintaining their allure without
      demanding constant upkeep.
    • Simple Installation: The modern
      interlocking systems of many panels mean that revamping your space can often
      be a straightforward DIY job.
    • Increased Property Value: A
      tastefully accentuated wall can be a striking selling point, potentially
      boosting your home’s marketability.

    The integration of accent wall panels can radically transform your living
    space, merging practicality with artistic expression to create a home
    environment that is both inviting and inspiring.

    Read more: 10 Modern Wood Panel Wall Ideas for Contemporary Homes

    The Quintessence of Accent Wall Panels

    Transitioning smoothly from the theoretical to the tangible, let’s
    illuminate
    specific products that epitomize the very best of accent wall panels.

    Mosaic Wood Wall Panel


    Crafted from reclaimed wood, these panels offer a touch of rustic elegance,
    making each wall a statement piece. With each panel featuring a unique pattern,
    your wall becomes a canvas displaying a rich mosaic of natural wood tones.


    American Walnut Wall Panel


    American walnut is renowned for its durability and distinctive grain, providing
    a backdrop of sophistication and warmth. The deep, chocolate hues of walnut can
    create a sumptuous ambiance, perfect for rooms seeking a touch of luxury.


    Triangular Mosaic Wood Wall Panel


    Triangular Mosaic Wood Wall Panel

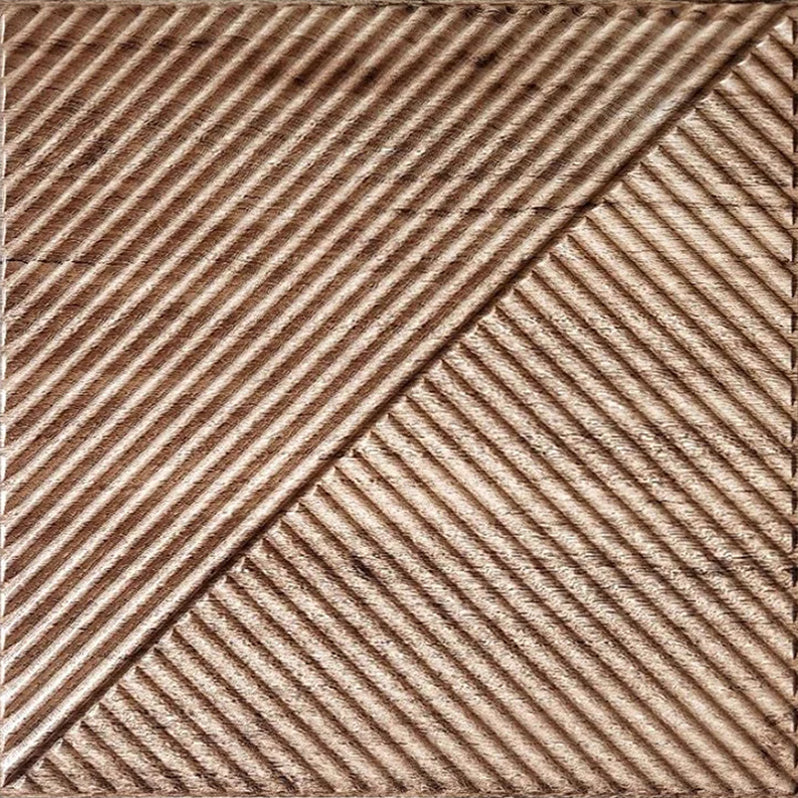
    The geometric precision of triangular patterns adds a contemporary edge to
    traditional wood paneling. This style lends dynamic visual interest,
    transforming walls into a geometrically pleasing work of art.

    Each of these products is meticulously designed to offer not just a visual
    upgrade but a durable, easy-to-install, and value-adding feature to your home.

    Read more: Eco-Friendly Guide: How to Clean Wood Panel Walls Sustainably

    Conclusion

    In the grand tapestry of home design, accent wall panels are the threads that
    add color, texture, and pattern, enlivening the narrative of your space.
    They’re an investment in beauty, an ode to sophistication, and a testament to
    thoughtful design.

    As we’ve journeyed through the myriad of reasons, from the allure of
    versatility to the promise of increased home value, it becomes clear: accent
    wall panels are more than just a trend—they’re a transformative element for
    any home. So why wait? Embark on the path to revamp your home with the style,
    grace, and durability that only accent

  • Transform Your Space: Wood Wall Treatments That Wow!

    Transform Your Space: Wood Wall Treatments That Wow!

    Hey there, home trendsetters! Ready to infuse your space with warmth, texture, and a dash of personality? Let’s talk about the game-changer in home decor – wood wall treatments. Wood walls are the way to go to make your walls speak volumes. So, buckle up as we look into the world of wood and discover how it can transform your home!

    Wood Wall Treatments

    The Timeless Appeal of Wood Wall Treatments

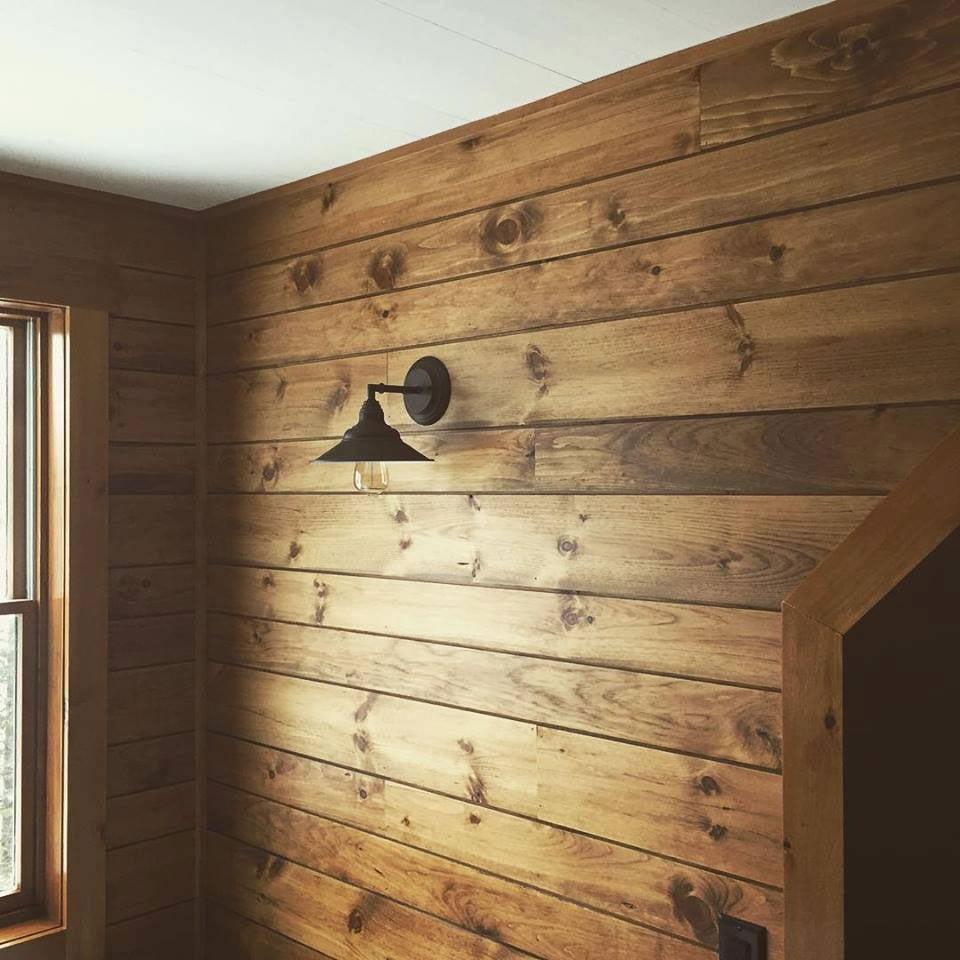
    Wood wall treatments are not just a trend; they’re a tradition that has stood the test of time. From rustic to refined, wood walls can elevate your interior like no other material. Here’s why they’re the darling of the design world:

    • Versatility Vibes: Whether it’s the sleek lines of shiplap or the textured depth of board and batten, wood wall treatments can adapt to any style, from farmhouse chic to modern minimalism.
    • Texture Talks: Wood brings an unmatched texture to your walls, adding a layer of depth and dimension that paint alone can’t achieve.
    • Color Chameleon: Stain it, paint it, leave it natural – wood wall treatments can take on any color to match your mood or theme.
    • Sustainability Story: With a nod to eco-friendliness, wood treatments can be sourced sustainably, making your design choice both stylish and responsible.

    Read more: Eco-Friendly Guide: How to Clean Wood Panel Walls Sustainably

    A Design for Every Story

    Every room tells a story, and with wood wall treatments, you’re the author. Here’s how different types of wood treatments can narrate your space:

    Beadboard

    Wood Wall Treatments

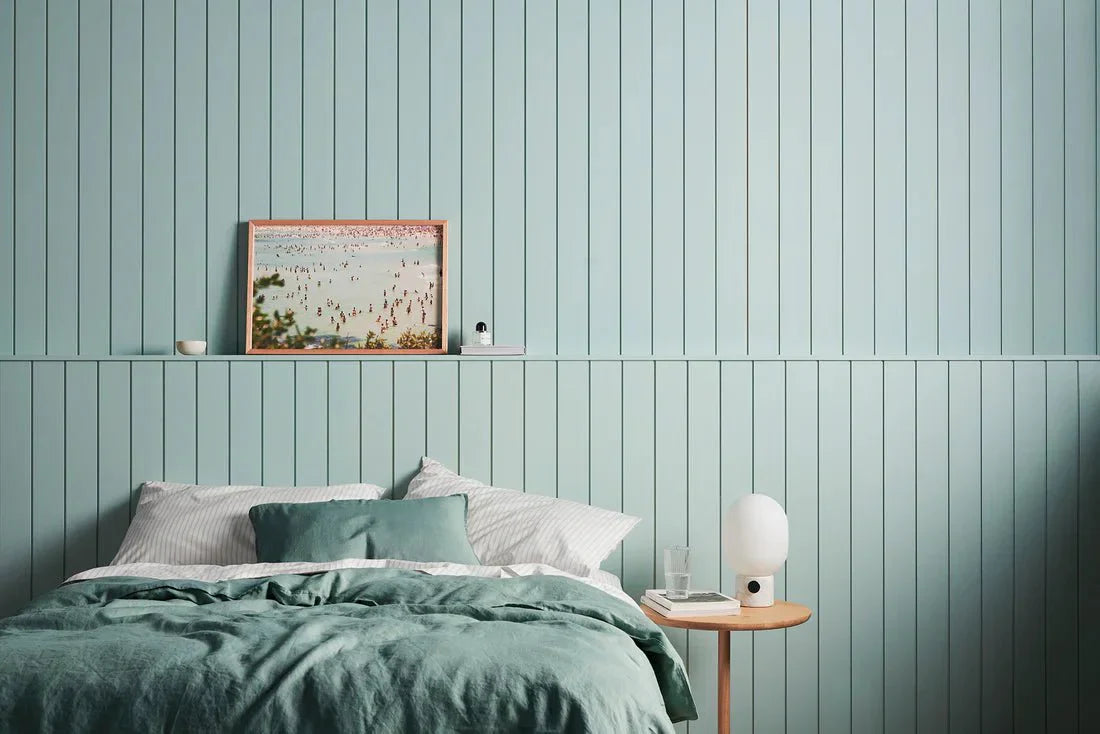
    Imagine walking into a room and feeling an instant wave of nostalgia paired with a fresh breath of contemporary air. That’s the magic of beadboard. Its vertical lines aren’t just a nod to tradition; they’re a clever design trick that makes your ceilings seem like they’re reaching for the stars, giving the illusion of a more expansive space.

    Board and Batten

    Wood Wall Treatments

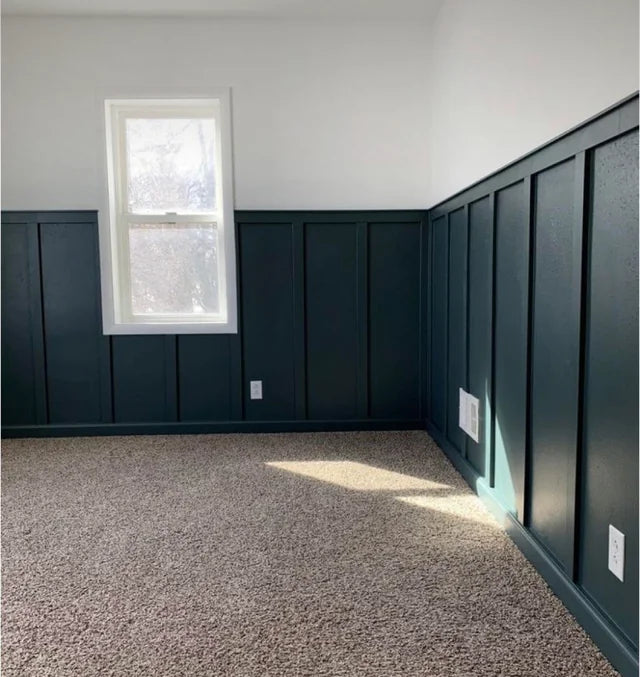
    Now, if you’re someone who appreciates the classics but lives for a modern twist, board and batten is your go-to. This style is all about making a statement without shouting. It’s the strong, silent type that brings a robust and textured presence to your walls. The alternating wide boards and narrow battens create a rhythmic pattern that’s as pleasing to the eye as it is to the touch. 

    Shiplap

    Wood Wall Treatments

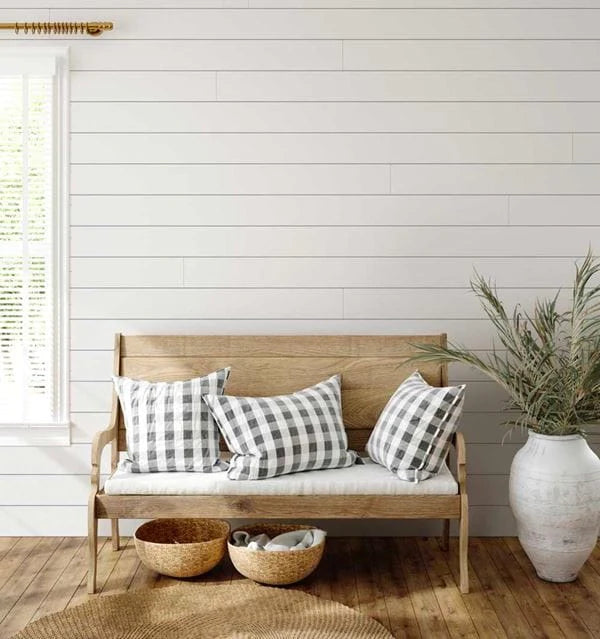
    Shiplap is the chameleon of wood wall treatments. It can transport you to a breezy beach house or anchor you in a chic urban loft. The horizontal lines of shiplap lay down a rhythm in a room that’s both calming and captivating. It’s the backdrop to your life’s moments, offering a serene canvas that complements any decor.

    Tongue and Groove

    Wood Wall Treatments

    For those who seek a sleek, seamless look, tongue and groove panels are the epitome of elegance. This style whispers luxury and finesse, with each plank fitting snugly into its partner, creating a smooth, continuous surface that’s as delightful to run your hands over as it is to gaze upon. It’s the kind of wall treatment that doesn’t just fill a space; it completes it, offering a pristine finish that’s always dressed to impress.

    Mosaic Wood Wall Panel

    Wood Wall Treatments

    Elevate your space with the Mosaic Wood Wall Panel. This meticulously crafted series showcases the natural beauty and unique textures of wood, bringing a touch of charm and timeless appeal to any room.

    Perfect for various settings, from the humidity of bathrooms to the warmth of living rooms, these panels offer both versatility and style. Maintaining the Mosaic Wood Wall Panel is as simple as a quick dust-off, ensuring they remain a stunning feature in your home with minimal effort.

    Read more: 10 Modern Wood Panel Wall Ideas for Contemporary Homes

    DIY Wood Wall Treatments: Unleash Your Inner Artisan

     Wood Wall Treatments

    Roll up your sleeves and let’s get crafty! DIY wood wall treatments are the perfect weekend project to add character to your home. Here’s how you can make a statement with your own two hands:

    • Planning Perfection: Start with a plan. Sketch out your design, choose your wood, and gather your tools. Preparation is key to DIY success.
    • Measure, Cut, Repeat: Precision is your friend. Measure twice, cut once, and watch your wood wall come to life, plank by plank.
    • Finishing Flair: Choose your finish – whether it’s a glossy stain or a matte paint, the final touch will define your space’s vibe.
    • Installation Innovation: Get creative with installation. Horizontal, vertical, chevron – the pattern is up to you. Make it unique, make it yours.

    Read more: Wood Wall Panelling Sheets: The Secret to Stunning Interiors

    So, there you have it – a world of wood wall treatments at your fingertips. Whether you’re looking to add a splash of sophistication or a touch of tradition, wood walls are the way to go. Remember, your home is your canvas, and with wood, you’re sure to create a masterpiece. Ready to take the plunge? Your walls are waiting!

  • How to Install Decorative Wall Paneling and Impress Your Guests!

    How to Install Decorative Wall Paneling and Impress Your Guests!

    Ready to give your walls a fabulous makeover? Well, buckle up because we’re about to transform your space with some dazzling decorative wall paneling!

    Don’t worry if you’ve never picked up a tool in your life; we’re here to guide you through the process with easy-to-follow steps. Let’s dive in and get those walls talking!

    Read more: A Beginner’s Guide: How to Cut Wall Paneling Like a Pro

    Kickstart Your Project: Gathering Your Tools and Materials

    how to install decorative wall paneling

    First things first, we need to gear up. Let’s take a moment to get everything in order. A well-prepared workspace is like a well-oiled machine—it just runs smoother!

    • Tool Time: Grab a measuring tape, a level, a saw, some adhesive, and of course, those gorgeous wall panels.
    • Quality Check: Ensure your panels are in tip-top shape. No dings, no scratches, just pure panel perfection.
    • Adhesive Adventures: Choose the right adhesive for your wall type. It’s the glue that holds our masterpiece together.
    • Practice Makes Perfect: Do a quick dry run by placing the panels on the floor to get a feel for the pattern.

    Wall Prep is the Key

    Now that we’ve got all our tools and materials ready, it’s time to turn our attention to the wall itself. Let’s get our hands dirty and prep that wall to perfection.

    Clean the Wall

    how to install decorative wall paneling

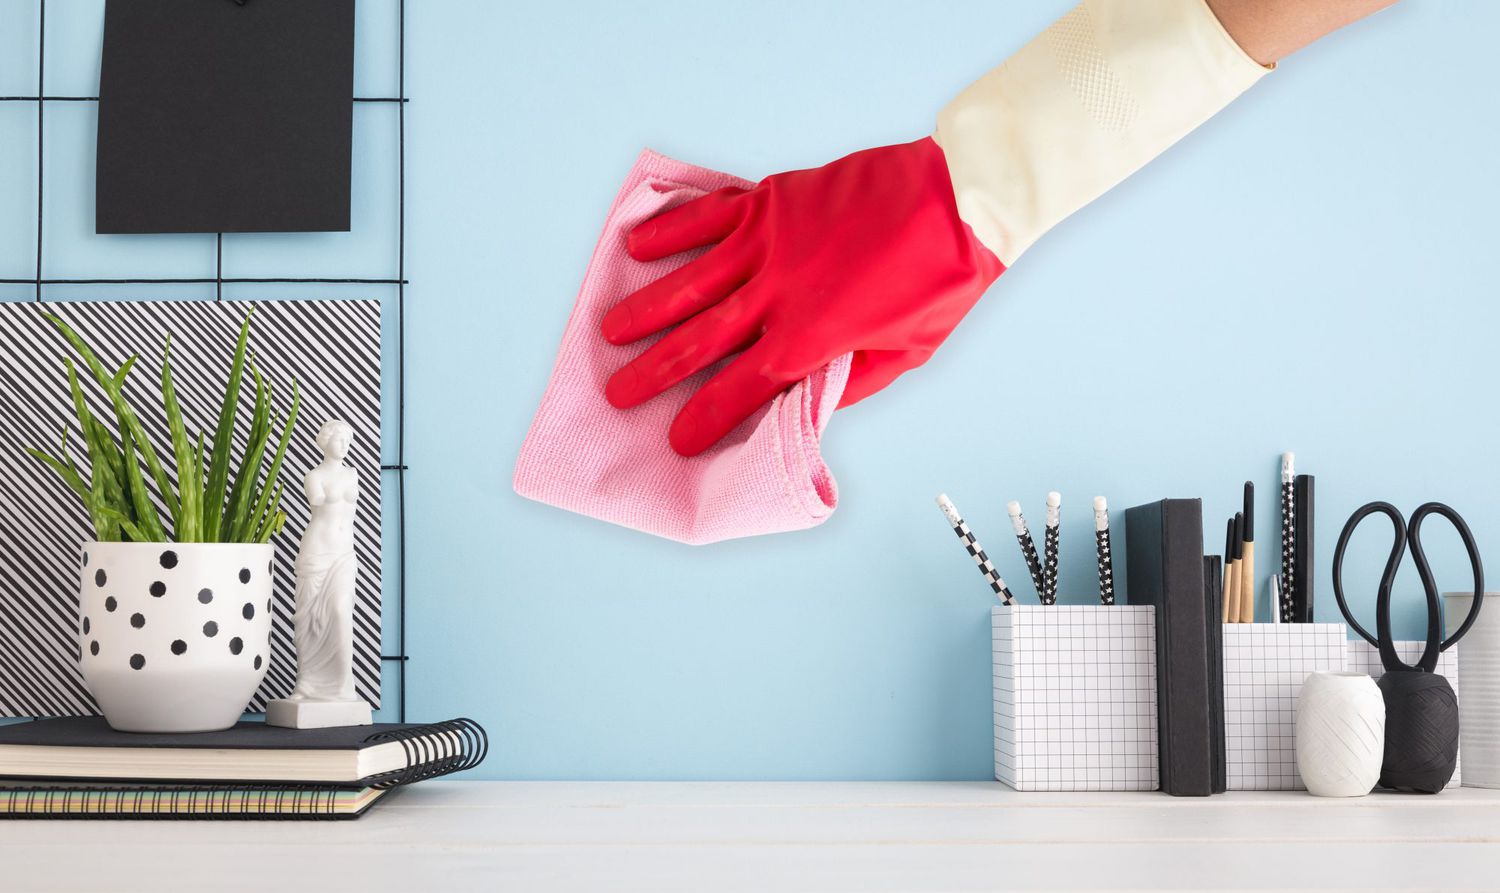
    Before anything else, you want to make sure your canvas is clean. Take a damp cloth and give the wall a wipe down from top to bottom. Pay special attention to any smudges or stains; we want them gone. If needed, use mild cleaning solution. Just make sure the wall is completely dry before you move on to the next step.

    Smooth Checking

    how to install decorative wall paneling

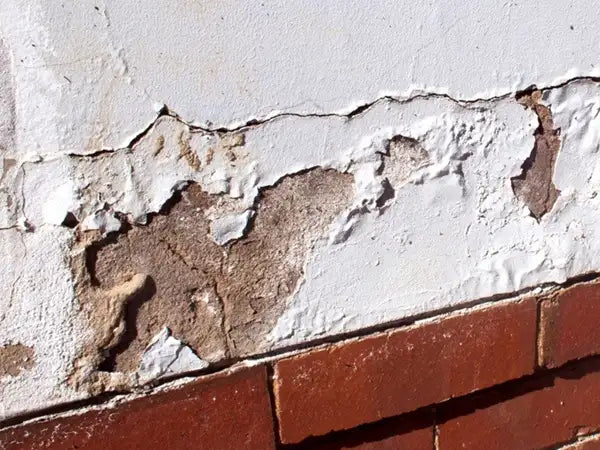
    Look for any cracks or holes and fill them in with a reliable wall filler. Use a putty knife to apply the filler and smooth it out, ensuring a flat surface. Let it dry as per the product instructions, then take a sandpaper and gently sand the area until it’s as smooth as silk. This step is crucial because any imperfections could show through your panels, and we definitely don’t want that.

    Out with the Old

    how to install decorative wall paneling

    Use a scraper to gently remove any old wallpaper. For stubborn paint, a sandpaper can do the trick. Just be gentle; we don’t want to damage the wall. A fresh, clean surface means your panels will stick better and look smoother.

    Measure and Mark

    how to install decorative wall paneling

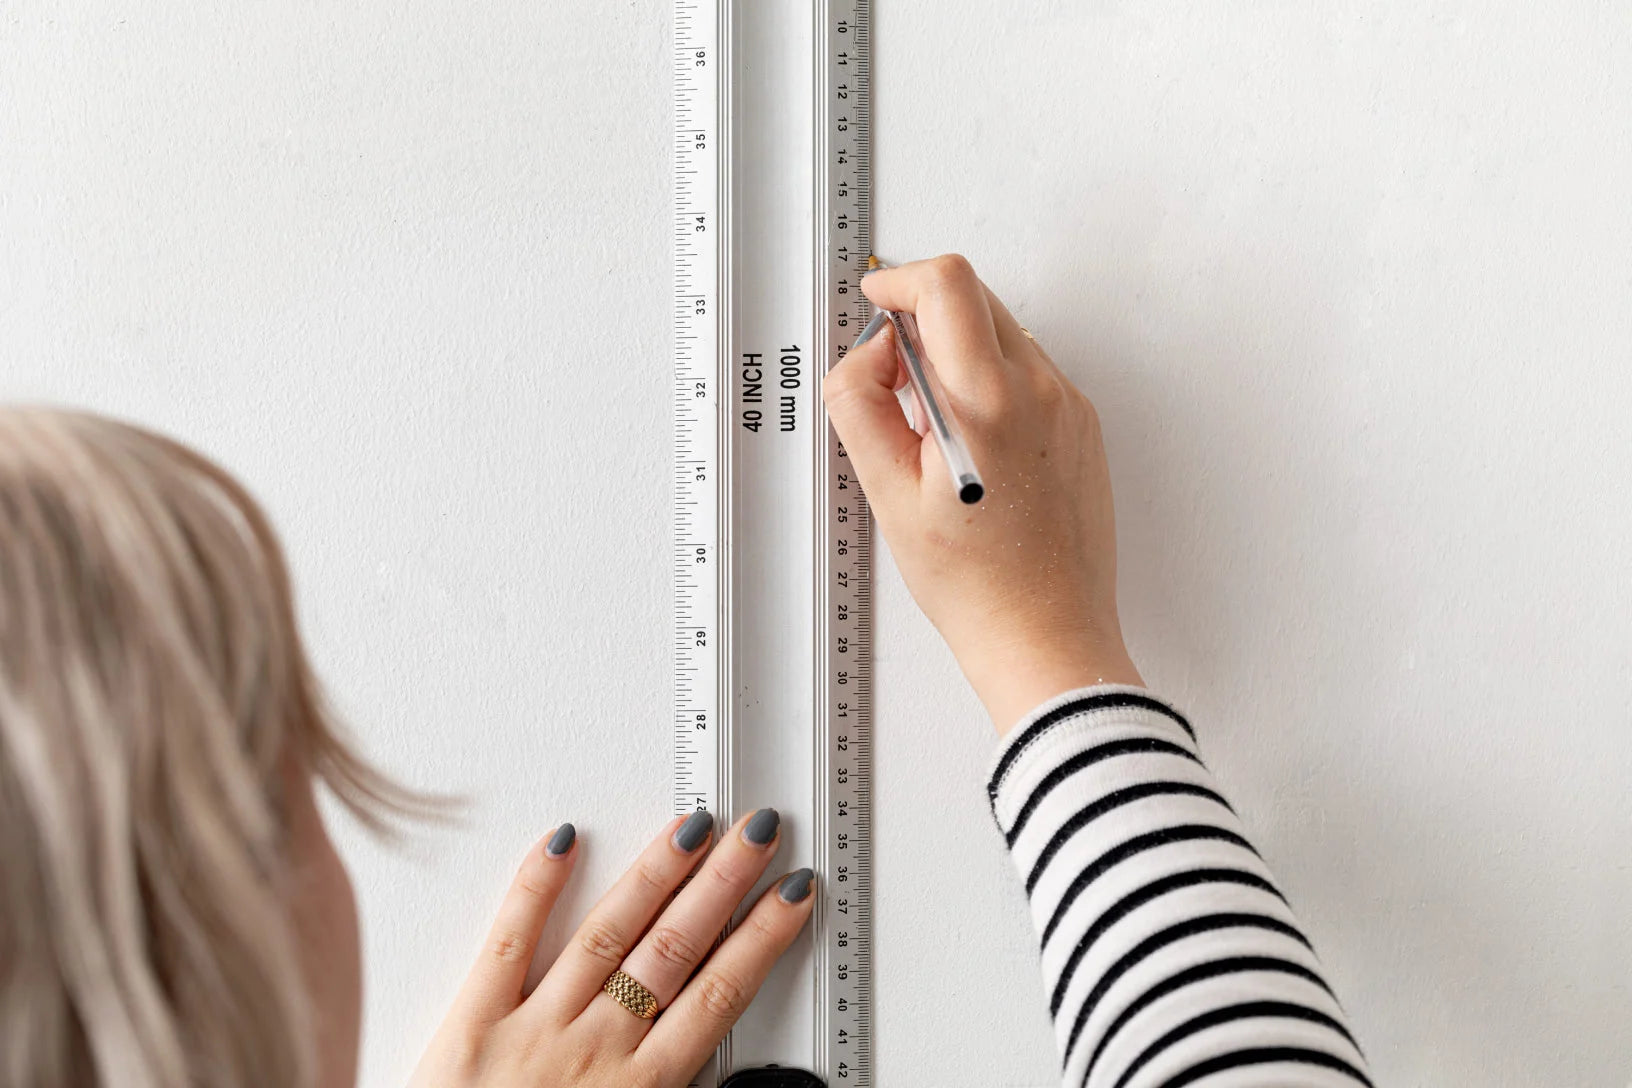
    Now, grab your measuring tape and level. Use a pencil to lightly mark the top and bottom of each panel, ensuring everything is straight and level.

    Take your time and double-check your measurements; accuracy here will save you time and trouble later on.

    How to Install Decorative Wall Paneling Like a Pro

    how to install decorative wall paneling

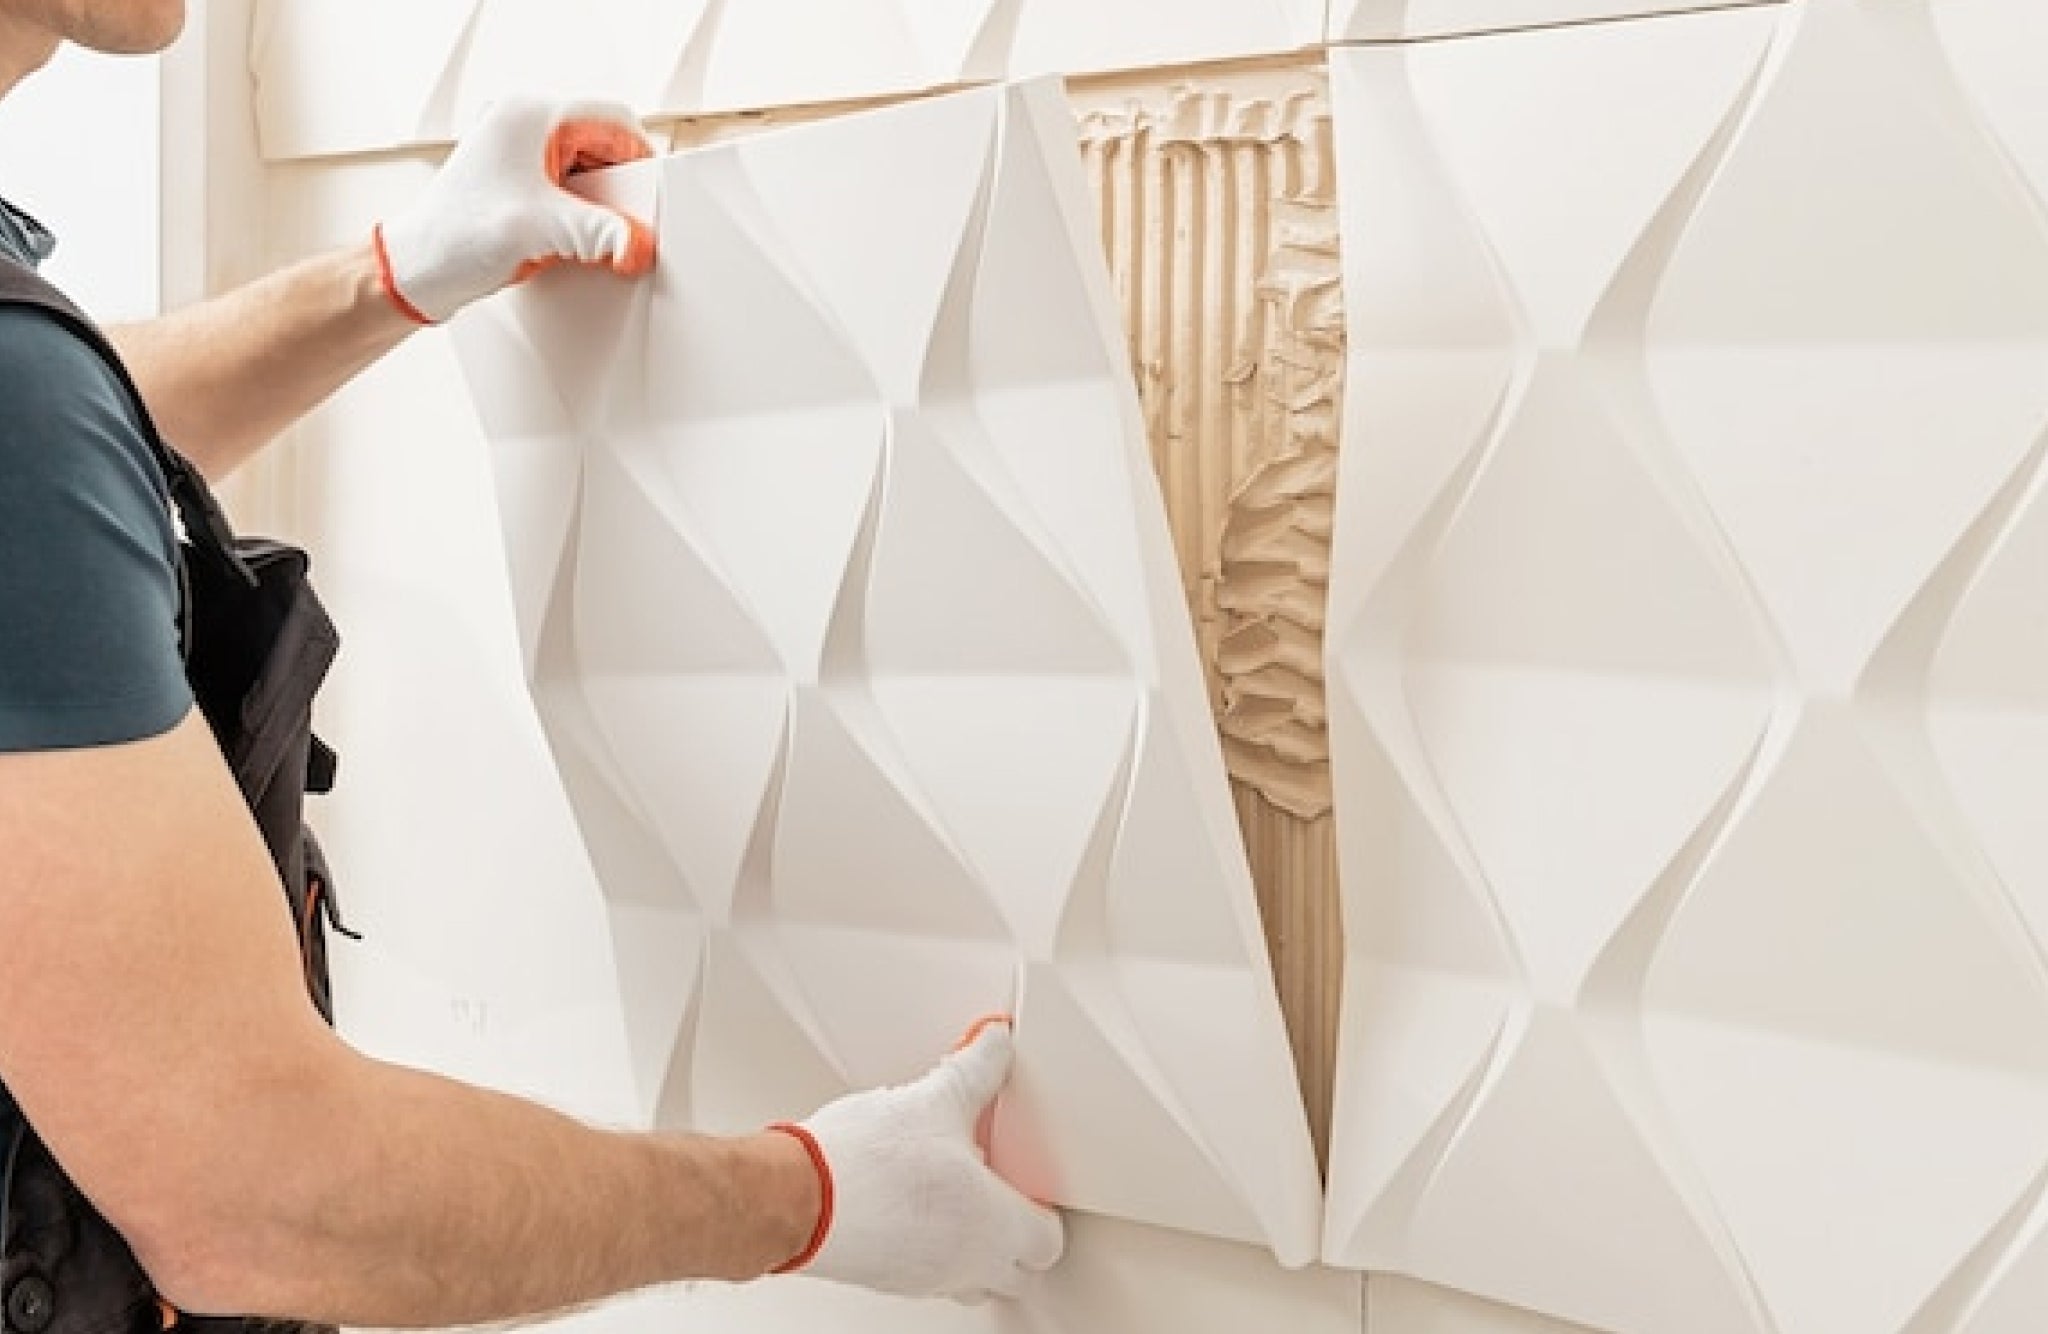
    It’s the moment we’ve all been waiting for – panel installation time! So let’s grab those panels, get our adhesive ready, and start this transformation.

    • Applying the Adhesive: Grab your adhesive and spread it across the back of the panel in a generous, even layer. It’s all about creating a strong bond here, so make sure every inch is covered.
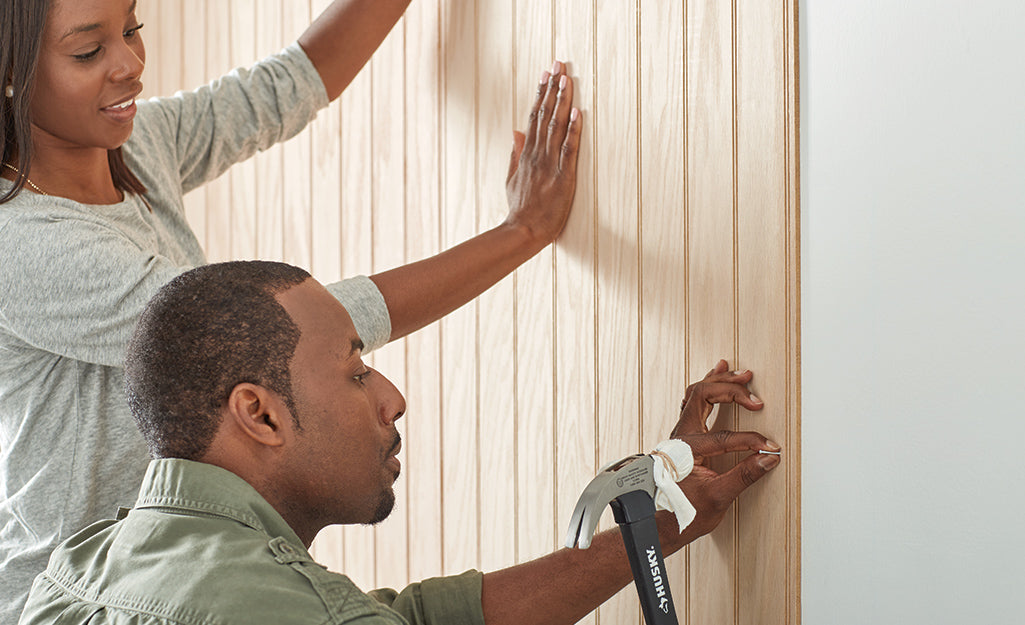
    • Positioning the First Panel: With our adhesive applied, it’s time to place the first panel onto the wall. Make sure it’s level and positioned at the correct height. Remember, patience is key here; we want everything to be just right.
    • Aligning the Panels: Continue placing each panel onto the wall, ensuring that they align perfectly with one another. Pay close attention to the edges and corners, as this is what will make or break the uniform look of your wall.
    • Securing and Cleaning Up: And for our final act, once all the panels are positioned and aligned, give them a firm press against the wall to strengthen the bond. If you notice any excess adhesive, now’s the time to wipe it away.

    Read more: How To Install Wall Paneling In Your Home: 5 Simple Steps

    Finishing Touches

    how to install decorative wall paneling

    Great job! The panels are up, and your wall is shaping up nicely. But we’re not done just yet – let’s put the finishing touches on to complete the look.

    Filling the Gaps

    Look around, do you see any gaps or seams between the panels? No worries, grab some caulk and fill in these spots. Make sure to smooth it out so everything looks seamless. It’s a quick step but it makes a huge difference, giving your wall a polished look.

    Installing Trim or Molding

    For an added touch of class, consider adding some trim or molding around the panels. This frames your panels beautifully and adds an extra layer of detail to your wall. It’s an easy addition but it really elevates the whole look.

    Painting or Staining

    If your panels aren’t finished, now’s the time to paint or stain them. Choose a color or finish that complements your room and get to work. This step really brings out the best in your panels and helps them blend seamlessly with the rest of your décor.

    Cleaning Up and Admiring Your Work

    Finally, grab a cloth and give everything a good wipe down to remove any excess material or dust. Once you’ve done that, step back and take a look at what you’ve achieved. You’ve just taken your space to the next level with some stylish wall paneling. Well done!

    Wall Panel Recommendation

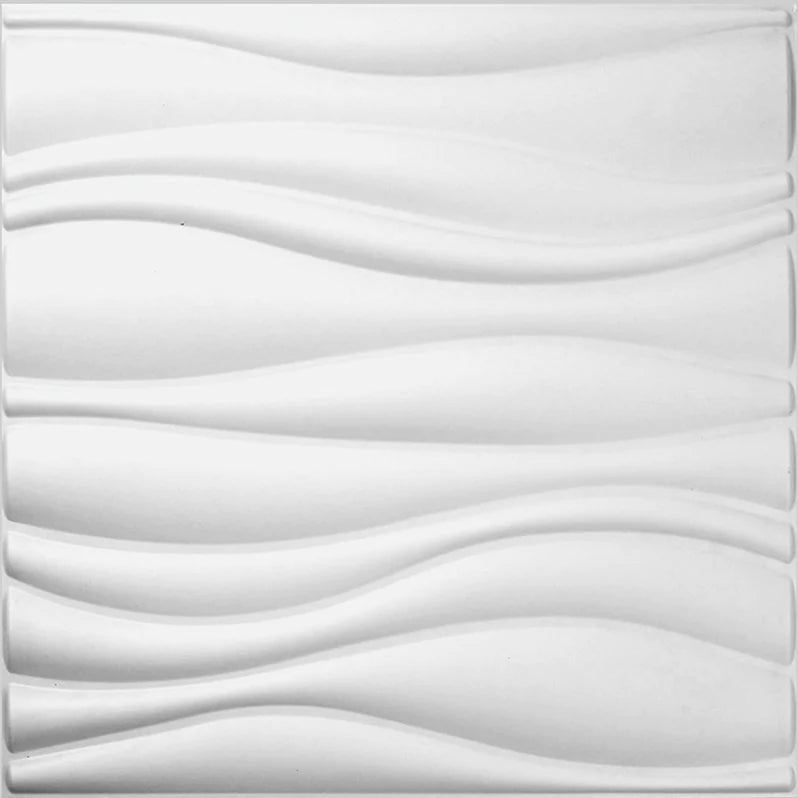
    Waves 3D PVC Wall Panel

    how to install decorative wall paneling

    3D PVC Wall Panels is durable, stylish, and perfect for any room, even kitchens and bathrooms. Plus, keeping them clean is a breeze. Upgrade your space with a touch of modern elegance today and enjoy your brand-new, beautiful walls!

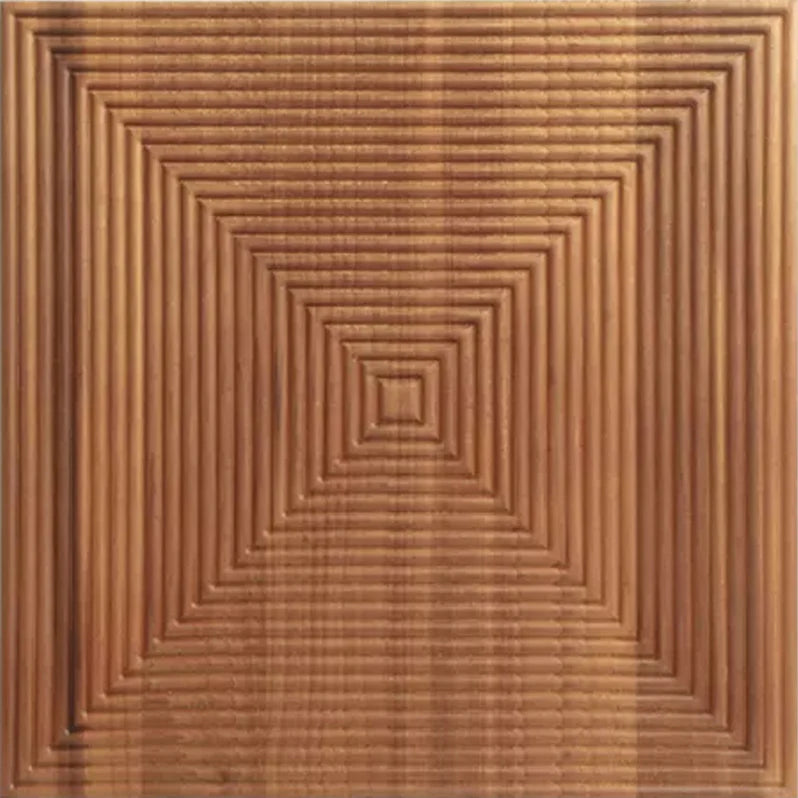
    Parallel Mosaic Wood Panels

    how to install decorative wall paneling

    Parallel Mosaic Wood Panels bring the outdoors in, adding a cozy, natural touch to any room. They’re versatile, easy to clean, and just plain gorgeous. 

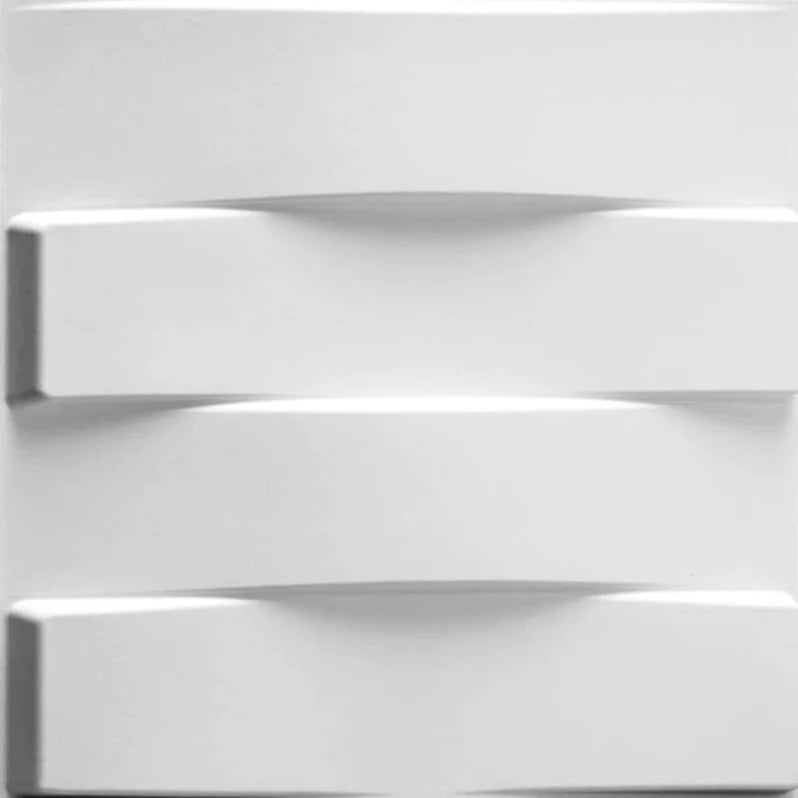
    Rectangular 3D PVC Wall Panel

    how to install decorative wall paneling

    Part of a superb PVC Wall Panel series, these rectangular panels are a perfect pick for anyone looking to add a modern touch to their space. Crafted from top-quality PVC, they’re not just durable; they’re also bringing unique textures and patterns straight to your walls.

    Read more: How Much Are Wall Panels Gonna Cost? Let’s Talk!

    Conclusion

    With a few simple steps, you’ve mastered how to install decorative wall paneling, turning your space into something truly special. Give yourself a pat on the back and enjoy the fresh new look of your room. Well done!

  • How to Cut Wall Paneling Like a Pro in 9 Easy Steps

    How to Cut Wall Paneling Like a Pro in 9 Easy Steps

    Learning how to cut wall paneling cleanly and accurately is the single skill that separates a professional-looking installation from one that needs hiding behind skirting boards.wall paneling is an essential skill for anyone looking to transform their living space.

    Whether you’re a seasoned DIY enthusiast or just starting, this beginner’s guide will teach you how to cut wall paneling like a pro. We’ll walk you through the process step by step, sharing tips, tricks, and safety precautions along the way.

    Read more: 5 Best wood wall paneling ideas: From Rustic to Ultra-Modern!

    Before the Panels Hit the Wall: Important Considerations for Installation Success

    Wall panels offer a fantastic way to transform your space, adding style, texture, and even functionality. But before you get swept away by the vast array of options and dive headfirst into installation, there are some crucial factors to consider. Here’s a quick checklist to ensure a smooth and successful wall panel installation process:

    • Measure Twice, Cut Once: This age-old adage applies perfectly to wall panels. Meticulously measure your walls, taking into account windows, doors, electrical outlets, and any other existing fixtures. Factor in any necessary cuts around these elements to ensure a seamless final look.
    • Assess Your Walls: Not all walls are created equal. Make sure your wall surface is clean, level, and free of debris. Uneven surfaces can lead to uneven paneling, so consider if any patching or sanding is needed beforehand. Additionally, identify the wall material (drywall, plaster, etc.) to choose the appropriate installation method and ensure proper adhesion.
    • Plan Your Panel Layout: Visualize the final design! Sketch out a layout plan, especially for intricate patterns or large rooms. This helps determine panel placement, minimize cutting waste, and achieve a balanced and aesthetically pleasing look.
    • Understand the Installation Process: Familiarize yourself with the specific installation instructions for your chosen wall panel system. Different materials might require different adhesives, fasteners, or techniques. Reading the instructions beforehand allows you to identify any potential challenges and plan accordingly.
    • Consider Professional Help: For complex installations or if you’re a DIY novice, don’t hesitate to consider hiring a professional. They have the expertise and experience to ensure a flawless installation and can save you time and frustration in the long run.

    The Tools You’ll Need

    Before we dive into the cutting process, let’s make sure you have the right tools for the job. To cut wall paneling like a pro, you’ll need:

    1. Measuring Tape: Accurate measurements are the foundation of any successful DIY project.
    2. Pencil: For marking your paneling and ensuring precise cuts.
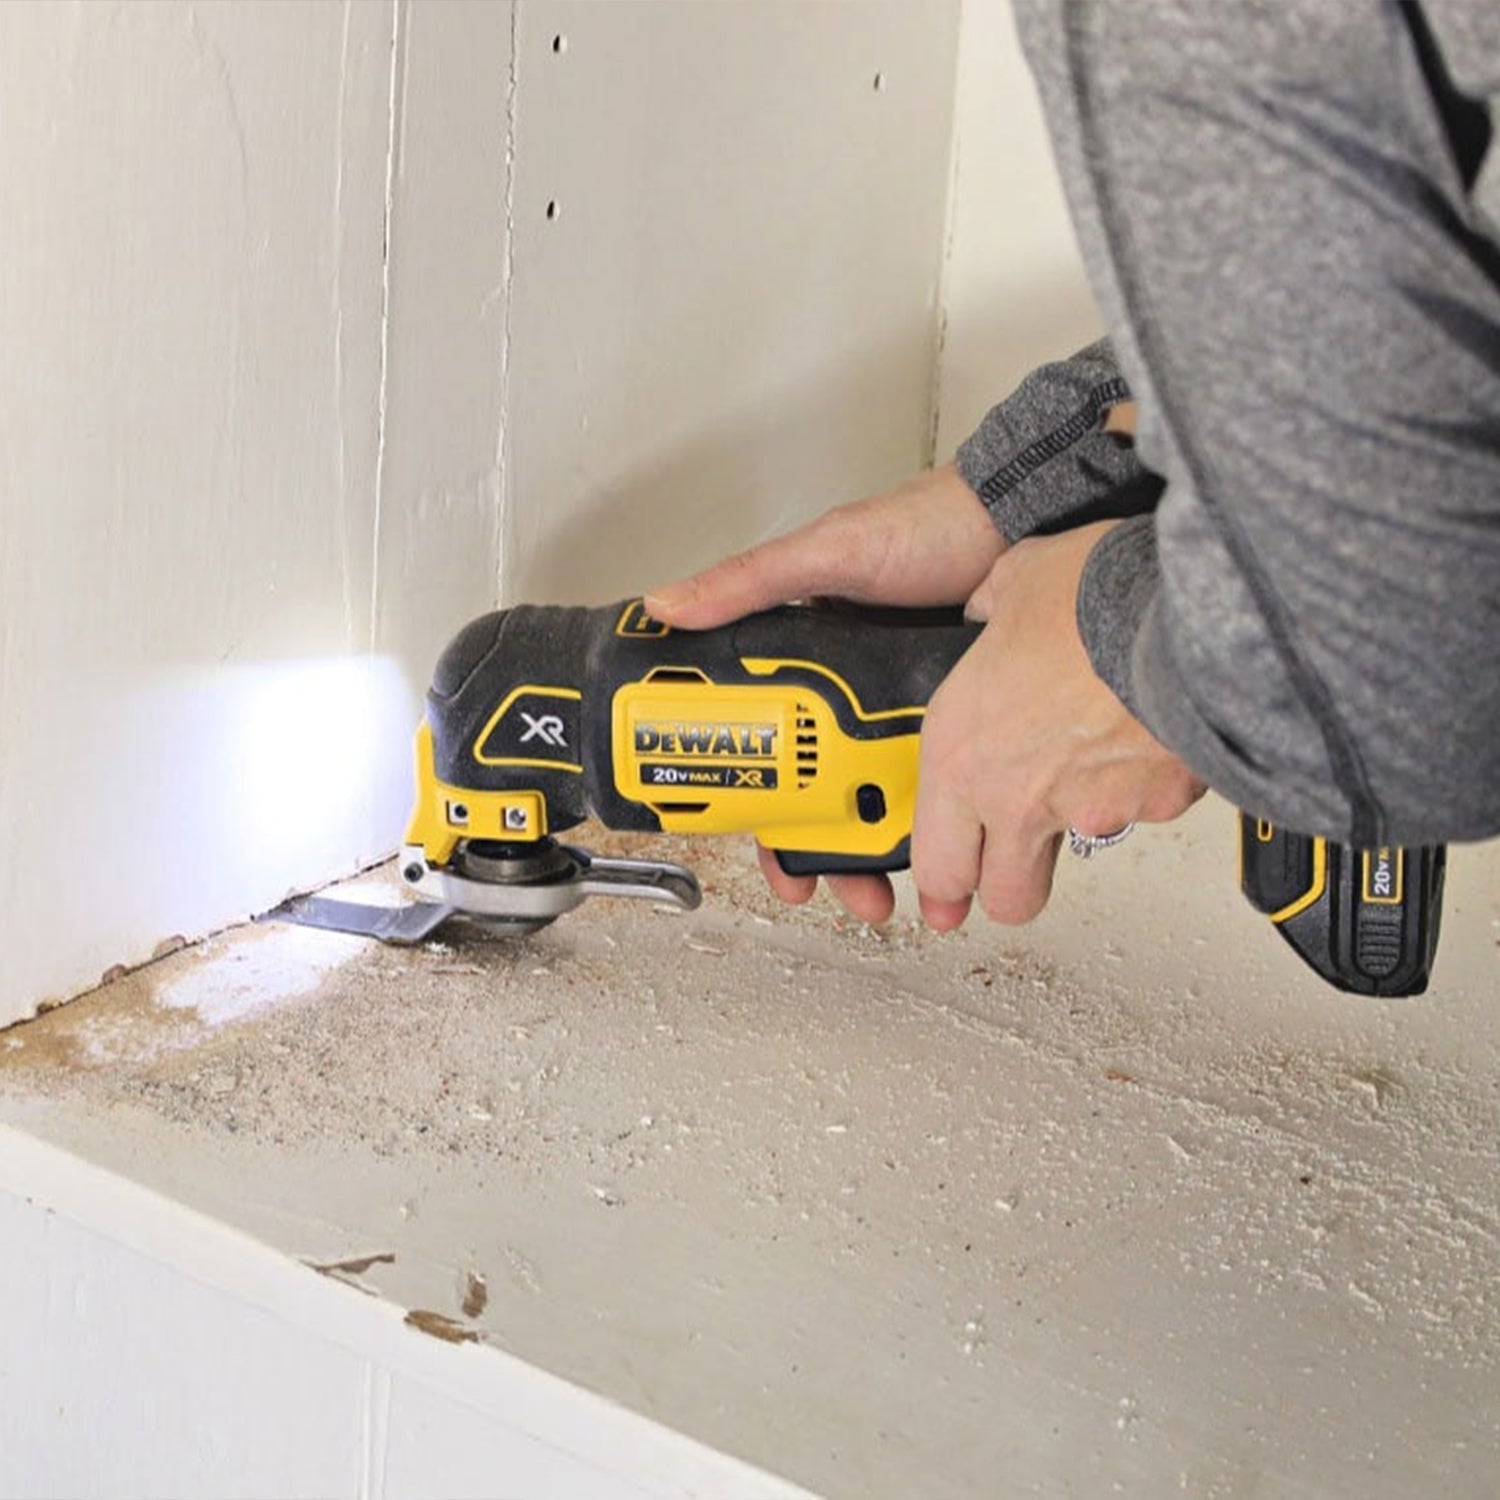
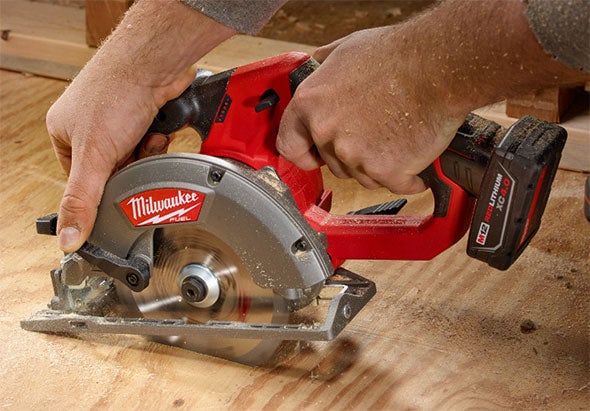
    3. Circular Saw or Jigsaw: The choice between these two depends on the type of wall paneling you’re working with.
    4. Straight Edge or T-Square: To guide your saw for straight cuts.
    5. Safety Gear: Don’t forget your safety glasses and ear protection.

    Read more: How to Remove Panel from Wall: A Step-by-Step Guide

    Step to Step Cut Wall Paneling

    Step 1: Measure Twice, Cut Once

    Start by measuring the area where you intend to install the wall paneling. Measure the length and height of the wall, and mark these dimensions on the paneling with your pencil. Remember the golden rule of DIY: “Measure twice, cut once.” Double-check your measurements to ensure accuracy.

    Step 2: Set Up Your Cutting Area

    Milwaukee-M12-Fuel-Circular-Saw-Cutting-Sheet-Goods-The Panel Hub

    Find a spacious, well-lit area to work in. Place your paneling on a stable work surface, such as sawhorses or a workbench. Ensure that the paneling is well-supported to prevent wobbling during the cut. Safety is paramount, so make sure there are no tripping hazards in your workspace.

    Step 3: Choose the Right Saw

    The choice of saw depends on the type of wall paneling you’re cutting:

    • Circular Saw: Ideal for cutting large, straight sections of paneling quickly and accurately.
    • Jigsaw: Great for cutting curves, notches, or intricate designs in the paneling.

    Select the saw that suits your specific project needs.

    Step 4: Position Your Straight Edge

    For straight cuts, use a straight edge or T-square as a guide. Position it along your marked line, ensuring it’s securely in place before making the cut. This will help you achieve clean, precise lines.

    Step 5: Safety First

    Safety should always be your top priority. Put on your safety glasses to protect your eyes from flying debris, and consider ear protection if you’re using a particularly noisy saw.

    Step 6: Make the Cut

    With your straight edge in place and safety gear on, it’s time to make the cut. If you’re using a circular saw, gently push the saw forward while keeping it aligned with the straight edge. Take your time, and let the saw do the work. If you’re using a jigsaw, follow the marked line, taking care not to force the saw through the material.

    Step 7: Practice Patience

    Once you’ve started cutting, it’s essential to maintain a steady hand and a consistent pace. Rushing through the cut can lead to mistakes or uneven edges. Take your time, and let the saw glide through the paneling smoothly.

    Step 8: Sanding and Finishing

    After making your cuts, you may notice rough edges or splinters. Use sandpaper to smooth any imperfections and ensure your paneling looks clean and professional. This step is crucial for achieving a polished final result.

    Step 9: Test Fit and Install

    Before attaching your paneling to the wall, do a test fit to ensure everything lines up correctly. If necessary, trim any edges further until you achieve a perfect fit. Finally, install your paneling following the manufacturer’s instructions or your own design plan.

    Congratulations, you’ve just learned how to cut wall paneling like a pro! With patience, the right tools, and a bit of practice, you can transform your living space and give it a fresh, modern look.

    If you are looking for wood wall panels that are easy to cut and won’t be a headache during installation, explore our slat wood panels! Most of our customers tell us that they completed the installation in under an hour.

     See TPH Wood Wall Panels

    Troubleshooting Common Issues When Cutting Wall Paneling

    Cutting wall paneling can sometimes present challenges that can hinder the installation process. Here are some common problems and solutions to ensure a smooth and professional finish.

    Splintering and Chipping

    Splintering and chipping often occur when cutting wood or MDF paneling. Use a fine-toothed saw blade or a panel saw designed for fine cuts. Cutting slowly and securing the panel firmly can also reduce splintering. Applying masking tape along the cut line can help minimize chipping.

    Inaccurate Cuts

    Inaccurate cuts can lead to panels that don’t fit properly. Double-check your measurements and use a straight edge or a T-square to mark precise cut lines. Ensure your saw is set to the correct angle and cutting depth.

    Warping and Bending

    Warping or bending of the panel can cause difficulty in cutting straight lines. Lay the panel flat on a stable surface and use clamps to hold it in place. For larger panels, consider having a helper to hold the material steady as you cut.

    Overheating of Cutting Tools

    Overheating can cause blades to dull quickly, leading to rough cuts. Ensure your tools are sharp and designed for cutting paneling. Take breaks between cuts to allow the blade to cool down, and avoid forcing the saw through the material.

    Misalignment of Seams

    Misaligned seams can ruin the visual continuity of the paneling. Dry fit the panels before cutting to ensure proper alignment. Mark any adjustments needed on the panel, and always cut slightly larger if in doubt, as you can trim down as necessary.

    Read more: How to Clean Wall Panels: Tips, Tricks, and Top 3 Recommendations

    Conclusion

    Cutting wall paneling is a skill that can open up numerous DIY opportunities, allowing you to beautify your home in creative and personalized ways. By following this beginner’s guide, you’re well on your way to mastering the art of wood wall paneling.

    Keep refining your technique, and soon you’ll be completing wall paneling projects like a pro! If you are still working on upgrading your walls, explore our acoustic wall panels and decorative panels to elevate your space to feel more natural, organic, and look elegant at the same time!

  • How Decorative Bathroom Wall Panels Became Every Couple’s Dream Decor!

    How Decorative Bathroom Wall Panels Became Every Couple’s Dream Decor!

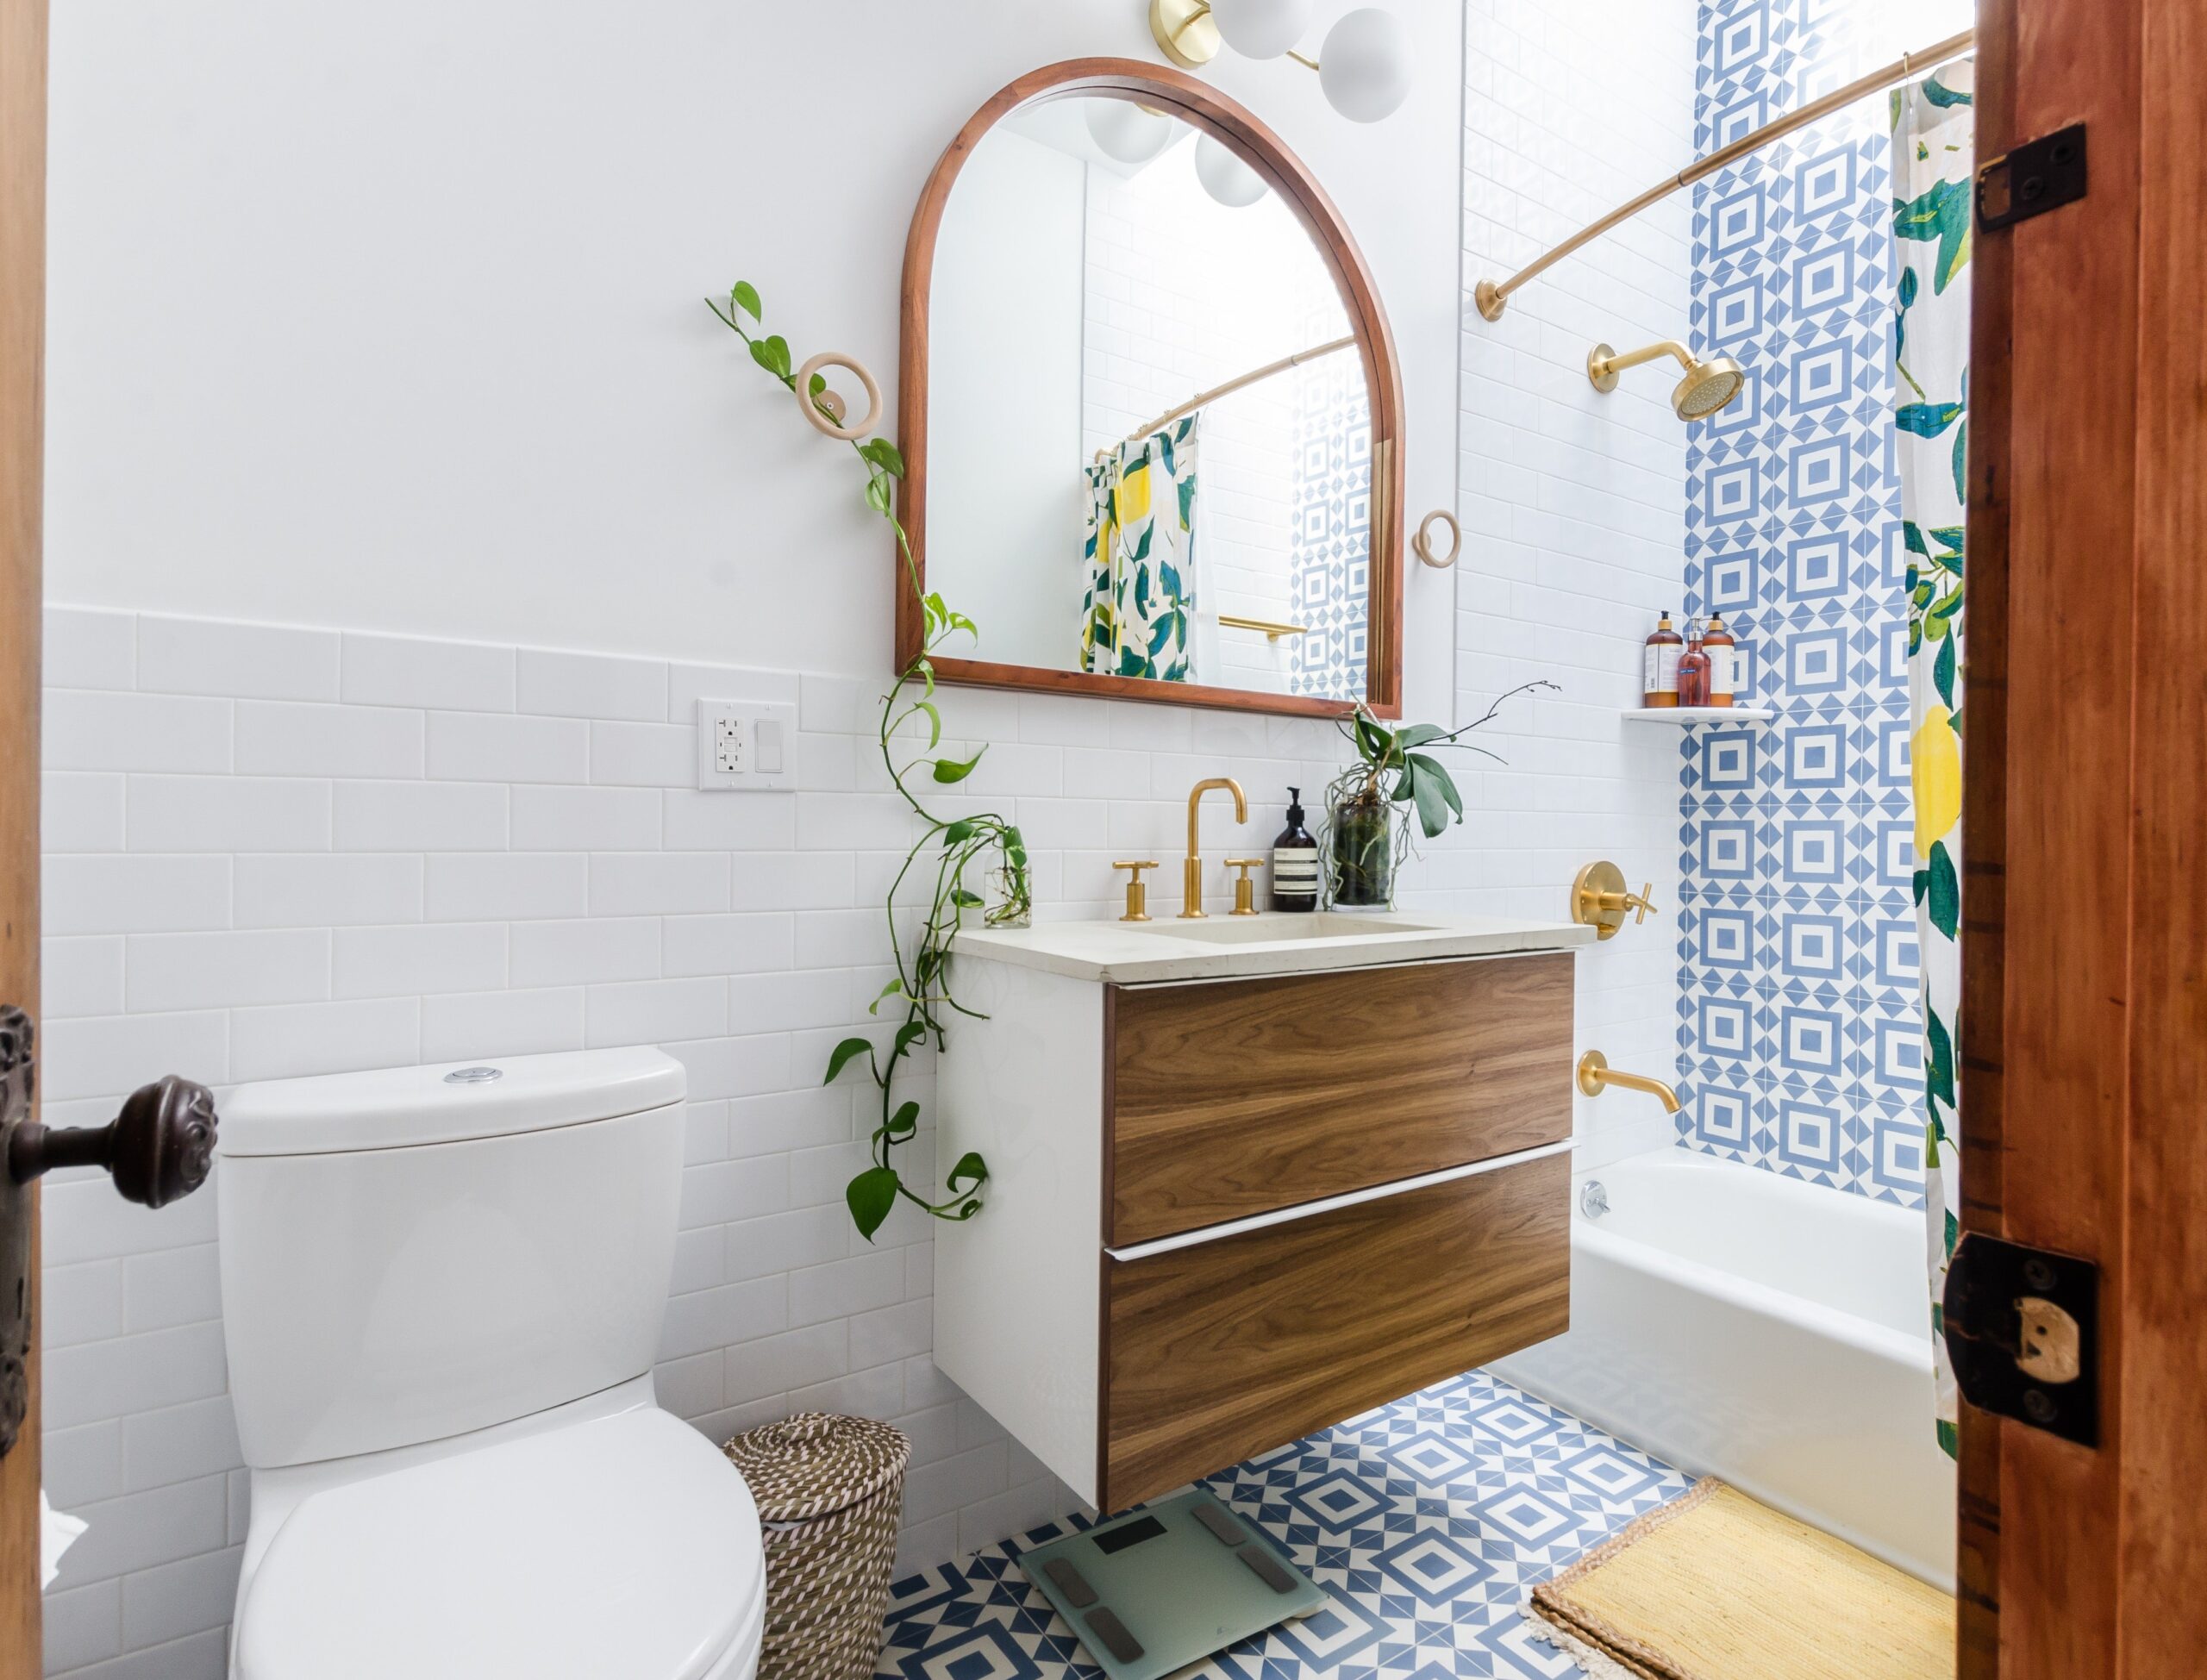
    To all the beautiful couples out there! Have you ever thought about how decorative bathroom wall panels could change the way your private space feels?Let’s really get into this tutorial and see how these panels can quickly change your room from “meh” to “wow”!

    A Touch of Elegance with Decorative Bathroom Wall Panels

    Decorative bathroom wall panels

    What do you think of the bathroom and its features?Do you agree that it is a peaceful place where you start and end each day? A lot of couples see it as more than just a functional room; it’s a way for them to show off their style and personality. How about this? You want something that will change the game, and decorative bathroom wall panels are just what you need!

    Read More: 5 Best Living Room Wall Panelling Ideas: Elegant & Stylish

    Why Choose Wall Panels?

    There are more options now than just tiles. Those days are over. Wall panels give a room a modern and sleek look without the need for grouting. They are not only easy to put up and take care of, but they also give off an air of sophistication. You can also get them in a lot of different styles, textures, and colors, so you can make your bathroom look the way you want it to.

    Sustainable and Stylish

    Don’t mind about the environment. Many decorative bathroom wall panels are made from sustainable materials, ensuring you’re making an eco-friendly choice without compromising on style. This means you can have that luxurious marble or wood look without the environmental impact. It’s a win-win!

    Installation Made Easy

    One of the biggest perks of decorative bathroom wall panels is their ease of installation. Forget about messy grout or waiting days for tiles to set. With wall panels, you can have a brand-new bathroom look in just a day. And if you’re a DIY enthusiast, you’ll be pleased to know that many wall panels are designed with easy installation in mind. So, grab your partner, and make it a fun weekend project!

    Durability Meets Design

    But it’s not all about looks. Decorative bathroom wall panels are also incredibly durable. They’re resistant to moisture, mold, and mildew, making them an excellent choice for bathrooms. Their smooth surface makes cleaning a breeze. No more scrubbing between tiles or dealing with stubborn stains. A simple wipe down is all it takes to keep your bathroom looking pristine.

    Here are the best wall panel recommendations for your bathroom!

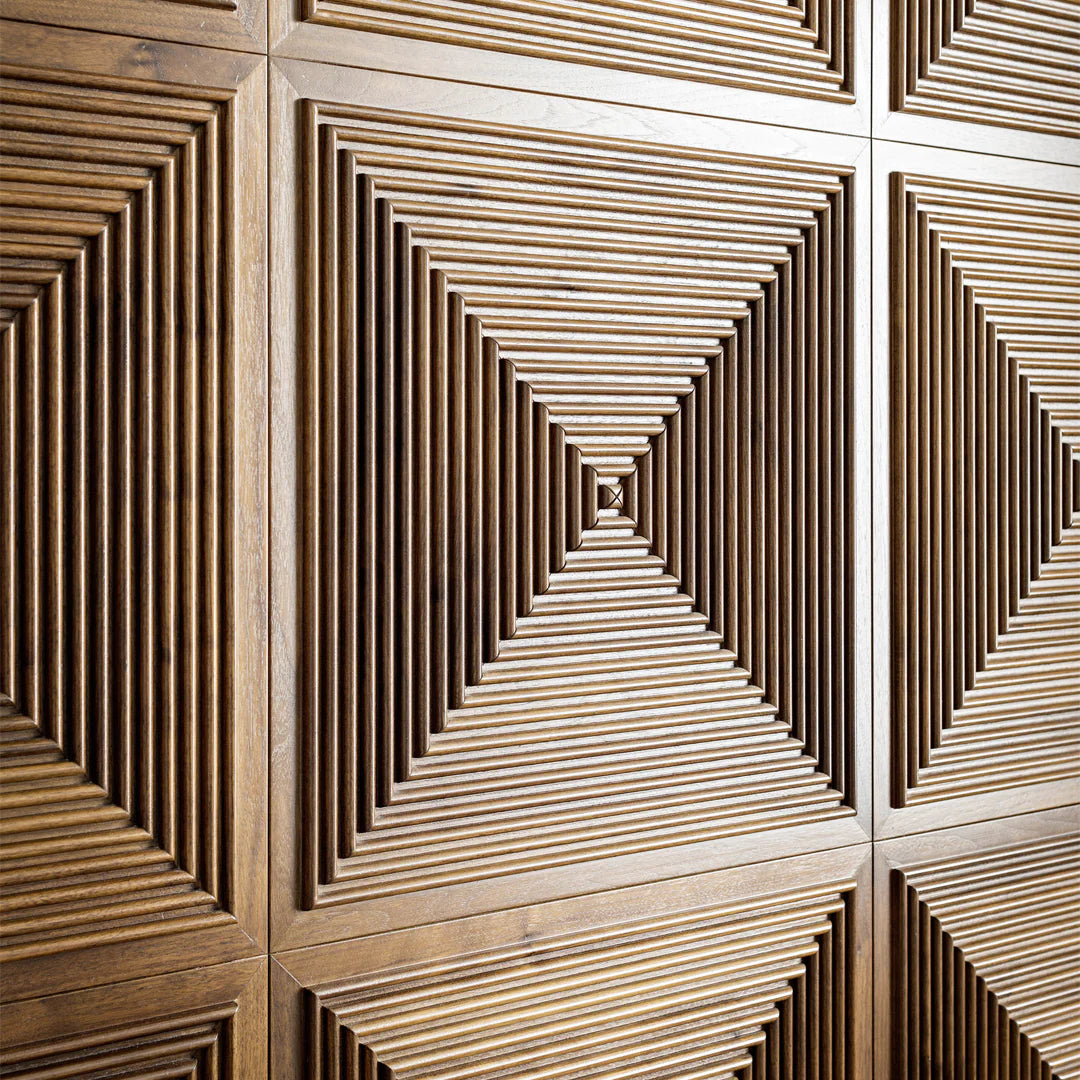
    Parallel Mosaic Wood Wall Panel

    decorative wall panels

    ORDER NOW!

    The Parallel Mosaic Wood Wall Panel is not just a piece of decor; it’s a statement. Each 19.7″ x 19.7″ panel showcases unique textures and grain patterns, effortlessly enhancing any space. Whether you’re sprucing up a moisture-prone bathroom or a cozy living room, these panels promise versatility and style. And the best part? Maintenance is a breeze. Just a quick dust-off or gentle cleaning, and they’re back to their radiant best. It’s an investment in timeless beauty.


    Puck 3D PVC Wall Panel

    Puck 3D PVC Wall Panel Decorative bathroom wall panels

    The Puck 3D PVC Wall Panel is a blend of form and function tailored for modern aesthetics. Made from premium quality PVC, these panels are the epitome of durability. Their distinctive texture adds depth and dimension to any interior, making them a favorite among contemporary design enthusiasts. And if you’re thinking about your bathroom or kitchen, these water-resistant panels are just what you need. Easy maintenance and a fresh appearance are just a wipe away.

    Braid Mosaic Wood Wall Panel


    Braid Mosaic Wood Wall Panel


    ORDER NOW!

    This panel is a testament to the timeless appeal of natural beauty. Each 19.7″ x 19.7″ panel is a masterpiece, bearing unique textures and grain patterns that breathe life into any space. Adaptable and stylish, these panels are perfect for both moisture-prone and dry areas of your home. And when it comes to maintenance, a simple dust-off is all it takes to restore their original luster. Dive into a world where functionality meets form in the most beautiful way.

    Conclusion

    So, ready to give your bathroom that much-needed facelift? You have been realizes that decorative bathroom wall panels is important and let your creativity run wild with Puck 3D PVC Wall Panel . After all, your bathroom deserves to be as beautiful as the love you share! Explore top-quality designs at The Panel Hub. Elevate your home’s ambiance with just a click. Now here!