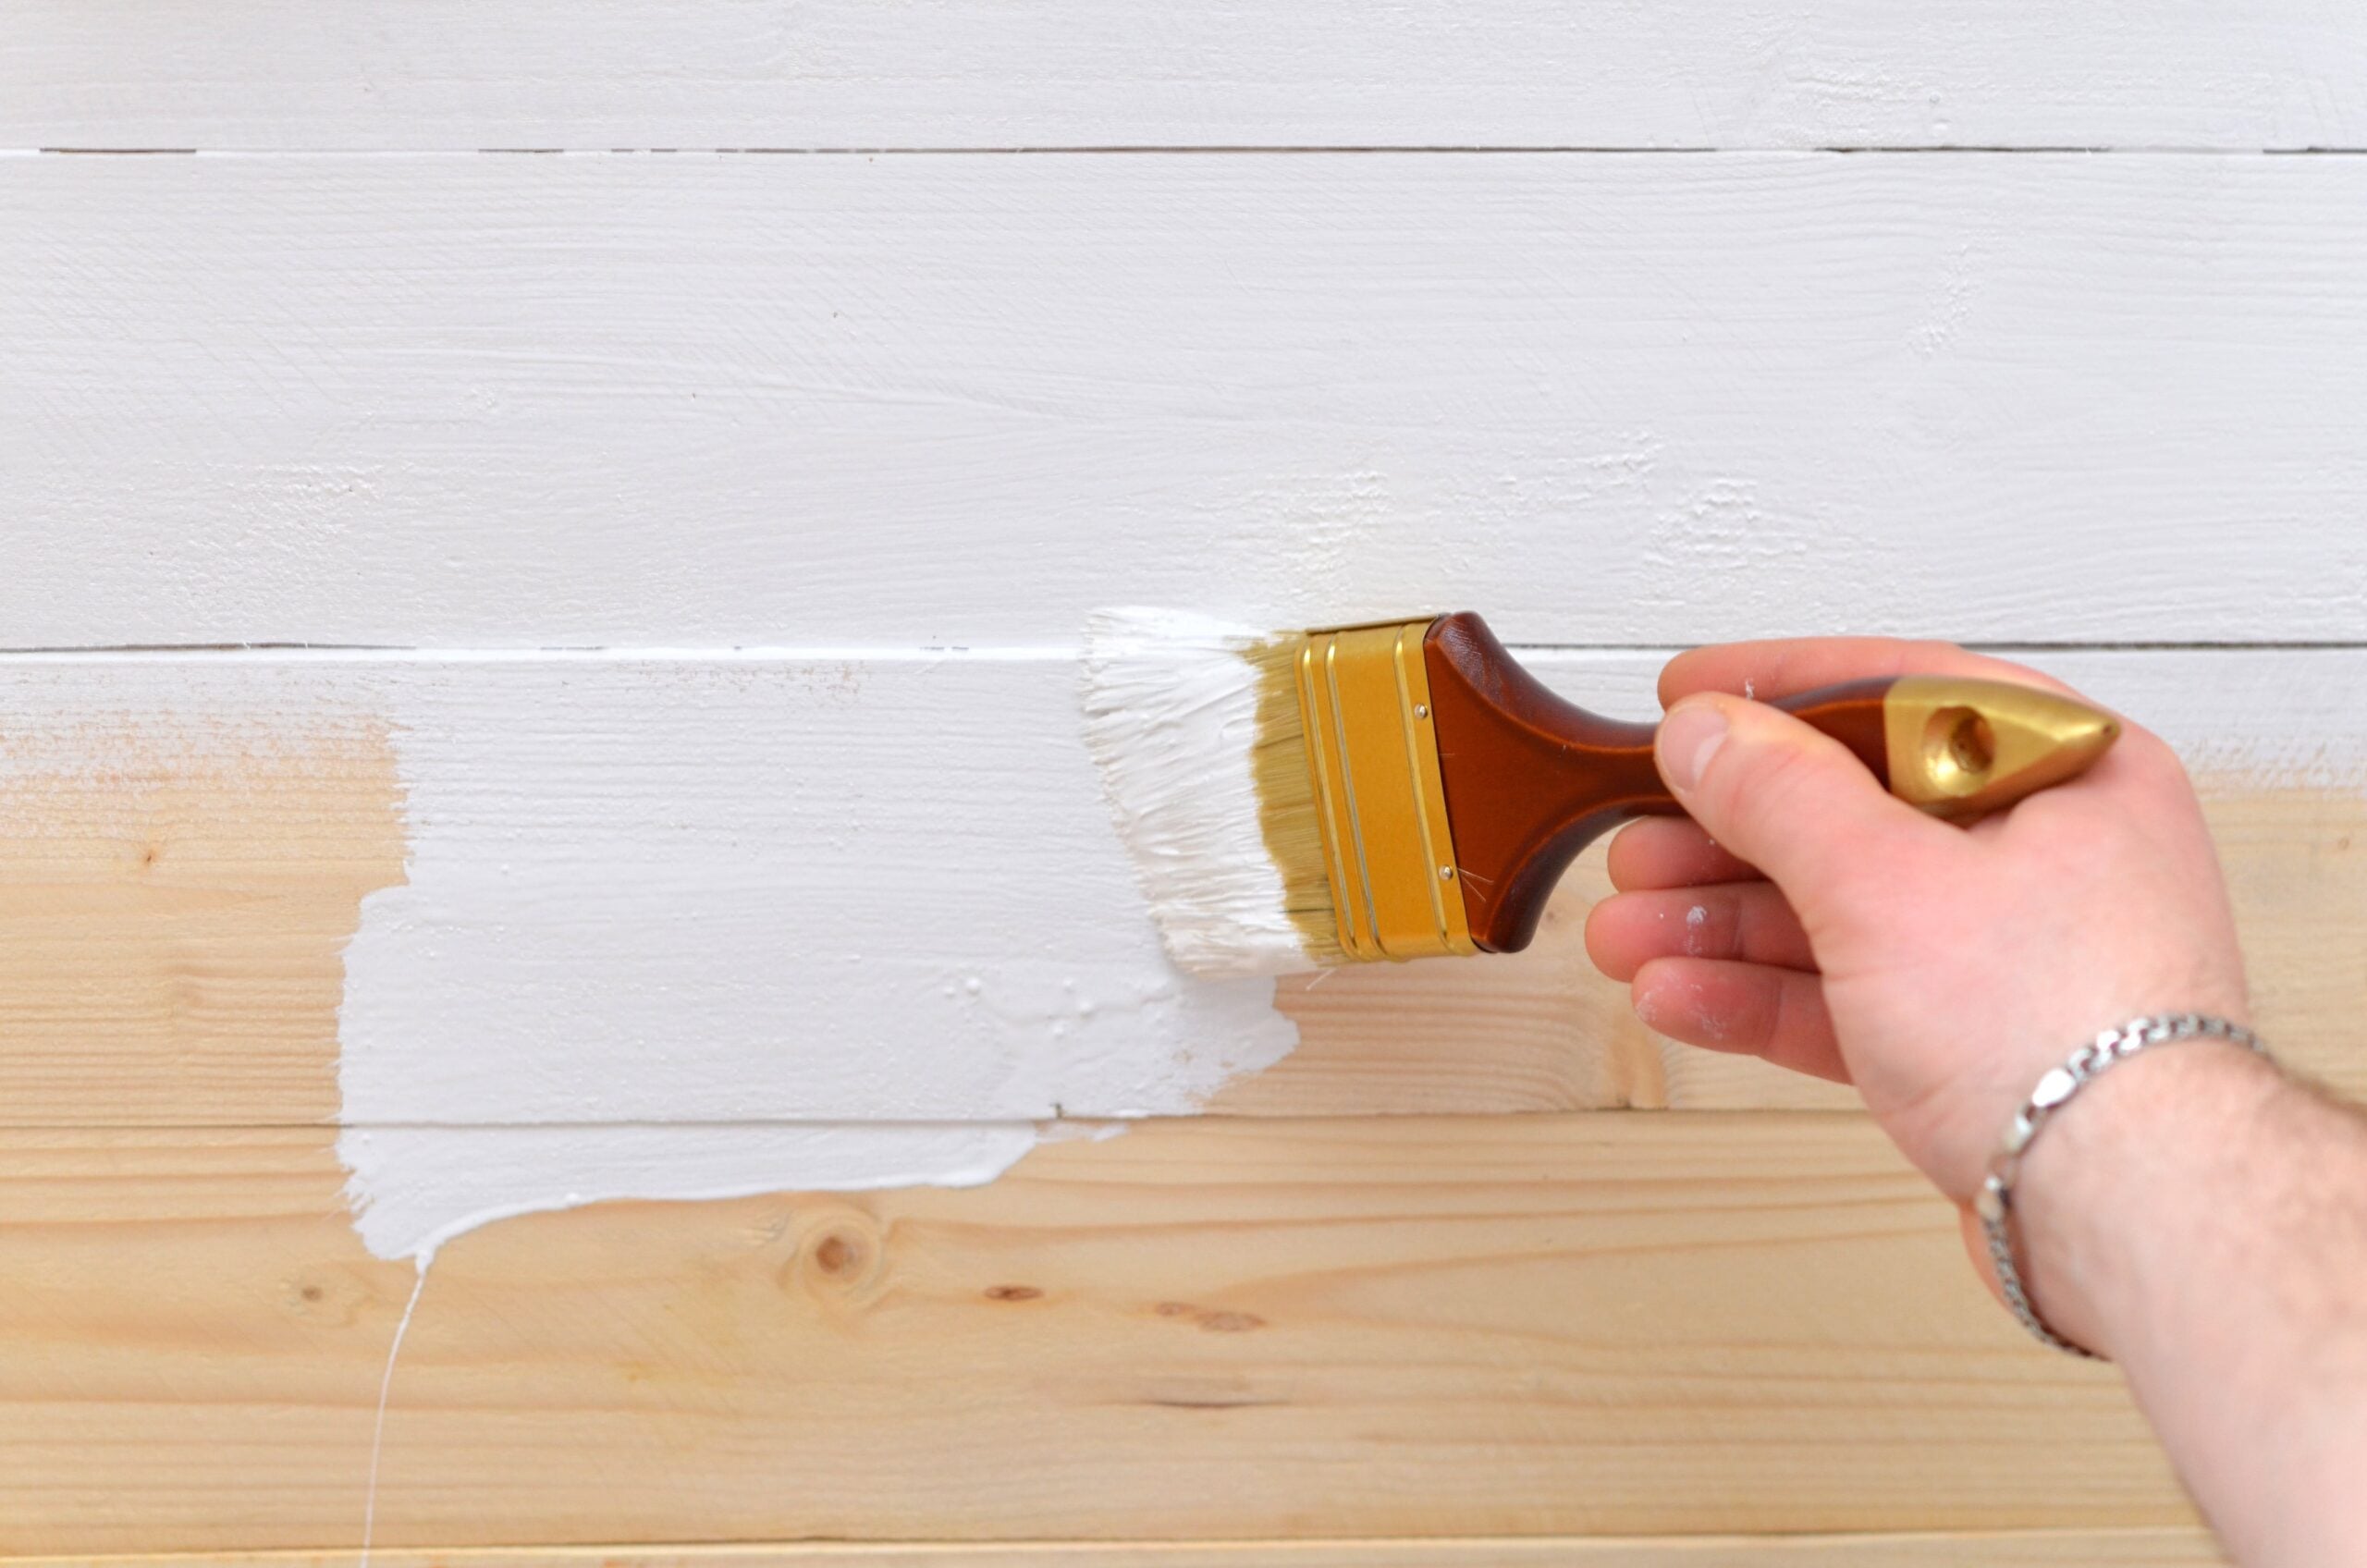
Tag: painting wall panels

  • Can Wall Panels Be Painted? Yes — Here’s How to Do It Right

    Can Wall Panels Be Painted? Yes — Here’s How to Do It Right

    Can You Paint Wall Panels?

    Yes — most wood wall panel types can be painted, and painted panels can look outstanding. The challenge is that wood-based substrates (particularly MDF) behave very differently from plaster or drywall when painted. Get the preparation right and you’ll achieve a clean, durable, professional finish. Skip the preparation steps and you’ll end up with uneven sheen, peeling paint, and raised grain — all of which are harder to fix after the fact than to prevent in the first place.

    Which Panel Types Can Be Painted

    MDF Panels (Best for Painting)

    MDF is the most paintable panel substrate — smooth, stable, and consistent. It takes paint evenly without grain show-through, and the result is as smooth and professional as painted plaster. The specific preparation requirements (primer type, edge sealing) are the critical difference from plaster.

    Real Wood Veneer Panels

    Yes, but with more preparation. The veneer surface can show grain through thin paint — a grain filler coat is often required for a smooth result. Also consider whether painting over premium real wood veneer makes sense given the investment in the material. If you want a painted result, purpose-made paintable MDF panel systems are often a more cost-effective starting point than painting natural veneer.

    Existing Stained or Lacquered Panels

    Panels with an existing stain can be painted over — but the existing finish must be properly abraded (sanded back to provide adhesion) and primed with an adhesion primer before topcoating. Panels with a thick, high-gloss lacquer finish require more significant preparation — mechanical sanding down to the substrate or application of a specialist de-glosser before painting.

    Step-by-Step: How to Paint Wall Panels

    Step 1: Clean the Panel Surface

    Wipe down all panels with a damp cloth to remove dust, grease, and any residue. Allow to dry fully. Any contamination on the surface will prevent paint adhesion.

    Step 2: Sand

    Lightly sand the panel surface with 120-grit sandpaper to provide a key (a slightly roughened surface for the primer to grip). For panels with an existing finish, more aggressive sanding (80-grit) may be required to break through the existing coat.

    Step 3: Seal MDF Edges (Critical)

    MDF panel edges are highly porous — they absorb primer and paint at a different rate from the face, producing a visible sheen and colour difference in the final result. Seal all edges with a coat of diluted PVA (3 parts PVA: 1 part water), allow to dry, then apply your primer. Two coats of primer on edges may be needed.

    Step 4: Apply MDF-Specific Primer

    Standard wall primers are too thin and are absorbed unevenly by MDF’s surface. Use a dedicated MDF primer — typically oil-based or a specialist water-based MDF sealer. Apply one full coat, allow to dry, then lightly sand with 180-grit before proceeding.

    Step 5: Apply Topcoat

    Apply two coats of your chosen paint, sanding lightly with 220-grit paper between coats. Two thin coats produce a better result than one thick coat. Allow full drying time between coats — don’t rush this step.

    Paint Selection

    • Eggshell: The standard choice for painted panel walls — low sheen, wipeable, durable
    • Satinwood: Slightly higher sheen, more durable, traditional for woodwork
    • Avoid matt emulsion: Not designed for surfaces that receive contact and cleaning — marks easily and cannot be cleaned without sheen damage

    For the full context of installation — how painting fits into the overall panel installation sequence — our step-by-step panel installation guide covers the complete process. And for maintenance of painted panels once installed, our wood panel cleaning guide covers the specific care that keeps painted surfaces looking good long-term.

    Browse Paintable Wall Panels

    Explore the full wood wall panel collection at The Panel Hub — including smooth-face MDF panel systems designed to be painted. The SoundPanel™ acoustic slat range is also available to browse if you’d prefer a natural wood finish over paint. For design inspiration once you’ve settled on your finish, our interior slat wall ideas guide covers 50+ real-room applications, and the acoustic panel buyer’s guide explains which panel types combine acoustic performance with a paintable surface.
  • Painted Wood Wall Panels: When and How to Paint Instead of Stain

    Painted Wood Wall Panels: When and How to Paint Instead of Stain

    Why You’d Choose Paint Over Natural Wood

    Natural wood veneer panels are the most premium choice — but painted panels have their own strengths. A painted panel wall can carry a stronger colour statement than natural wood, is easier to update as tastes change, and in some interiors reads as more resolved and considered than natural grain. Painted reeded or fluted panels, in particular, have become a defining feature of high-end contemporary interiors.

    The cases where painted panels make more sense than natural wood veneer:

    • When the colour, not the material, is the design statement
    • When budget constraints make natural veneer panels less practical
    • When the existing woodwork (skirting, architraves) is painted rather than natural wood, and a cohesive scheme requires the panels to match
    • When the room will be redecorated in future — painted wood panels can be repainted; stained veneer is much harder to change

    What Can Be Painted

    • MDF panels: The best substrate for painting — smooth, stable, and accepts paint evenly without grain show-through. Purpose-made MDF panel systems are commonly painted.
    • Solid wood panels (pine, poplar, finger-jointed timber): Paintable with appropriate primer and sealer over knots.
    • Real wood veneer panels: Can be painted but requires more preparation. The veneer grain may show through thin paint; a grain filler and multiple coats are needed for a smooth result. Consider whether painting over premium veneer makes sense for your budget.
    • Laminate panels: Can be painted with a specialist adhesion primer, but adhesion is less reliable than on wood-based substrates and the finish is more prone to chipping.

    Preparation: The Step Most People Get Wrong

    Step 1: Prime Correctly

    MDF panels must be primed with a dedicated MDF primer — standard wall primers are absorbed unevenly by MDF’s porous surface and produce a patchy, rough final finish. Apply one coat of MDF primer to all faces and edges, allow to dry, then sand lightly with 180-grit sandpaper before the topcoat.

    Pay particular attention to cut edges: MDF edges are especially porous and need two coats of primer (or a coat of diluted PVA before priming) to seal properly. Unsealed MDF edges absorb paint differently from the face and will show as a visible difference in sheen and colour if not treated correctly.

    Step 2: Sand Between Coats

    Each coat of paint should be lightly sanded with 220-grit paper before the next is applied. This produces a dramatically smoother final finish and improves inter-coat adhesion. Don’t skip this step — it’s the difference between a DIY result and a professional wall paneling project.

    Paint Selection for Wall Panels

    • Eggshell: The correct finish for most painted panel applications. Low-sheen, wipeable, durable — reads as premium and suits both modern and traditional interiors.
    • Satinwood: Slightly higher sheen than eggshell, more durable. The traditional choice for painted woodwork. Works well in hallways and rooms with high traffic where the panel surface takes more contact.
    • Full gloss: High impact, high maintenance. Works for a deliberately dramatic choice (gloss-black fluted panels, for example) but requires perfectly flat, flawlessly prepared surfaces — any surface irregularity shows clearly under gloss.
    • Matt emulsion: Not recommended for panels. Matt finishes are not designed for surfaces that receive regular contact and cleaning — they mark readily and cannot be cleaned without leaving sheen marks.

    Colour Choices That Work

    Painted panel walls work best in colours with enough depth to read as a design decision rather than a default. Strong colours — sage green, deep navy, warm terracotta, charcoal, mushroom grey — tend to look better on paneled walls than insipid neutrals. The three-dimensional texture of reeded or fluted panels needs colour depth to show at its best; pale tones wash out the shadow play that gives the panel wall its visual interest.

    For maintenance of painted panels over time, our wood panel cleaning guide covers the specific care that keeps painted surfaces looking good long-term.

    How to Paint Wood Wall Panels: Step-by-Step

    Painting wood wall panels correctly requires preparation that is proportional to the quality of the result you want. These are the steps that separate a paint finish that looks professional from one that peels or looks uneven within months.

    Step 1: Clean the surface. Wash the panels with a sugar soap solution to remove grease, dust, and any previous polish or wax. Allow to dry completely — 24 hours minimum in a warm room. Any residue left on the surface will prevent adhesion.

    Step 2: Sand lightly. Use 120-grit sandpaper to create a mechanical key for the paint to grip. For previously painted panels, increase to 180-grit on any areas where the existing paint is glossy. Wipe down with a tack cloth after sanding to remove all dust.

    Step 3: Apply a suitable primer. For bare MDF, use an MDF primer (shellac-based for end grain or a dedicated MDF sealer for face surfaces). For previously painted surfaces in good condition, a universal primer is adequate. For bare solid wood, use a wood primer. Allow to dry fully before painting.

    Step 4: Apply topcoat in thin layers. Two or three thin coats produce a better result than one thick coat. A thick coat sags, drips, and dries with visible texture. Use a high-quality short-pile roller for flat areas and a 25mm brush for panel edges and joints. Allow each coat to dry fully (minimum 4 hours for most water-based eggshells) before applying the next.

    Step 5: Lightly sand between coats. Use 240-grit paper to key each dried coat before the next application. This removes dust nibs and ensures the next coat bonds evenly. Wipe with a tack cloth after each sanding pass.

    Painted Wood Wall Panel FAQs

    Can I paint MDF wall panels without primer?
    Not advisably. MDF is highly absorbent, particularly at cut edges and end grain. Without primer, topcoat paint soaks into the surface unevenly, leaving a patchy, rough finish regardless of how many coats are applied. A shellac-based primer on MDF cut edges and a dedicated MDF sealer on face surfaces is non-negotiable if you want a smooth, even paint finish.

    What sheen level should I use for painted wall panels?
    Eggshell or satin finishes are the standard choice for wood wall panels. They are more durable than flat matt emulsions, wipe clean easily, and provide a subtle sheen that catches light without being reflective. High-gloss finishes are used in specific high-impact scenarios (Georgian-style raised panel rooms, lacquered furniture-grade finishes) but require perfectly smooth surfaces and are unforgiving of application imperfections. Flat matt finishes are best avoided on wall panels in trafficked areas — they show fingermarks and clean badly.

    How long does painted MDF wall panel finish last?
    In a living room or bedroom, a well-applied eggshell finish on properly prepared MDF wall panels should last 7–10 years before requiring a full repaint. In hallways or rooms with higher contact and cleaning frequency, expect 4–7 years. The key variables are surface preparation quality (panels prepared to a high standard last longer), paint quality (trade eggshell significantly outperforms DIY-grade paints in durability), and the level of daily impact the panels receive.

    Should I remove wall panels before painting, or paint in situ?
    In situ painting is almost always more practical — removing panels risks damaging the adhesive bond or mechanical fixings, and re-installation creates new problems. Paint in situ using a cutting brush at edges and a short-pile roller on flat surfaces. Mask adjacent surfaces (skirting, ceiling, adjacent walls) with painters’ tape before starting to protect areas you don’t want painted. Remove the tape before the final coat is fully dry to avoid peeling.