Tag: stone wall panels

  • Faux Stone Panels for Fireplace: How to Create a Stunning Stone Surround

    Faux Stone Panels for Fireplace: How to Create a Stunning Stone Surround

    Why Faux Stone Panels Work So Well Around Fireplaces
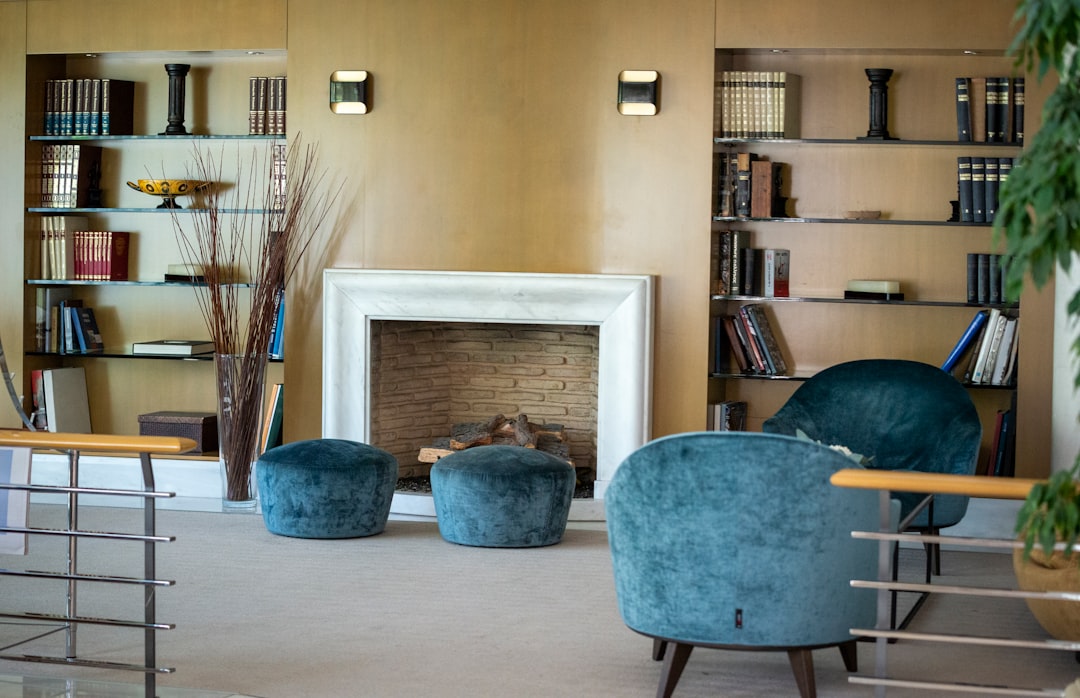
    Why Faux Stone Panels Work So Well Around Fireplaces
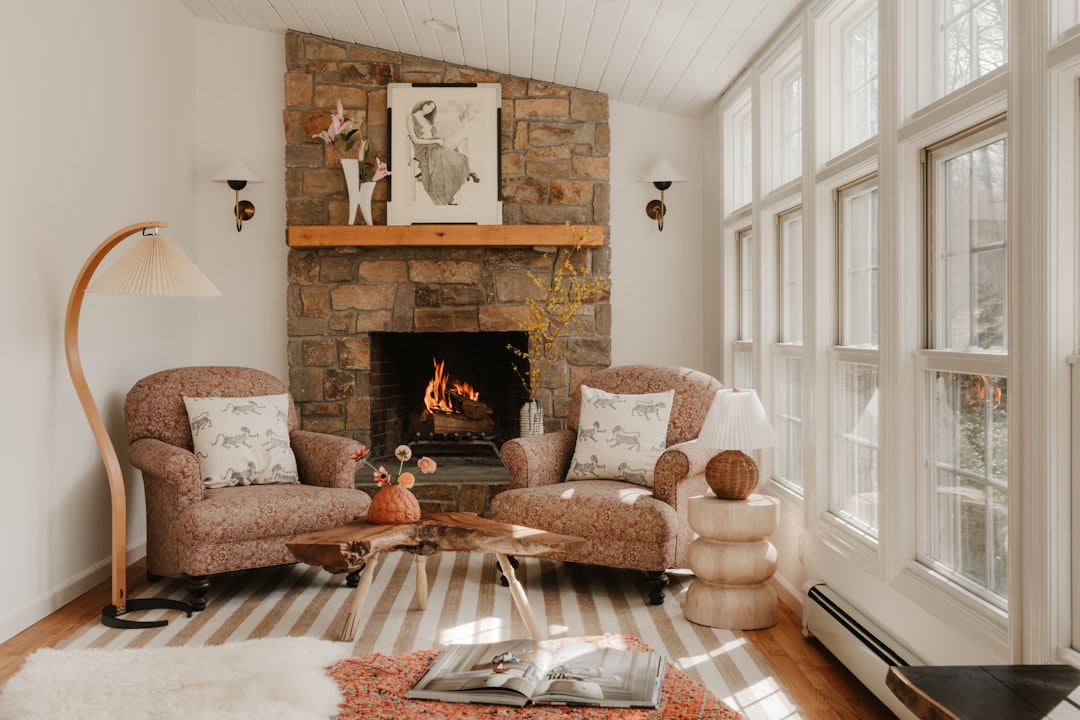
    Photo by Pete Alexopoulos on Unsplash

    Stone and fire have been paired for centuries — in architecture, in design, and in the way a room feels. A stone fireplace surround signals permanence, quality, and a connection to natural materials that few other design choices can match. The problem is that real stone fireplace surrounds are expensive, heavy, and require structural assessment and specialist installation.

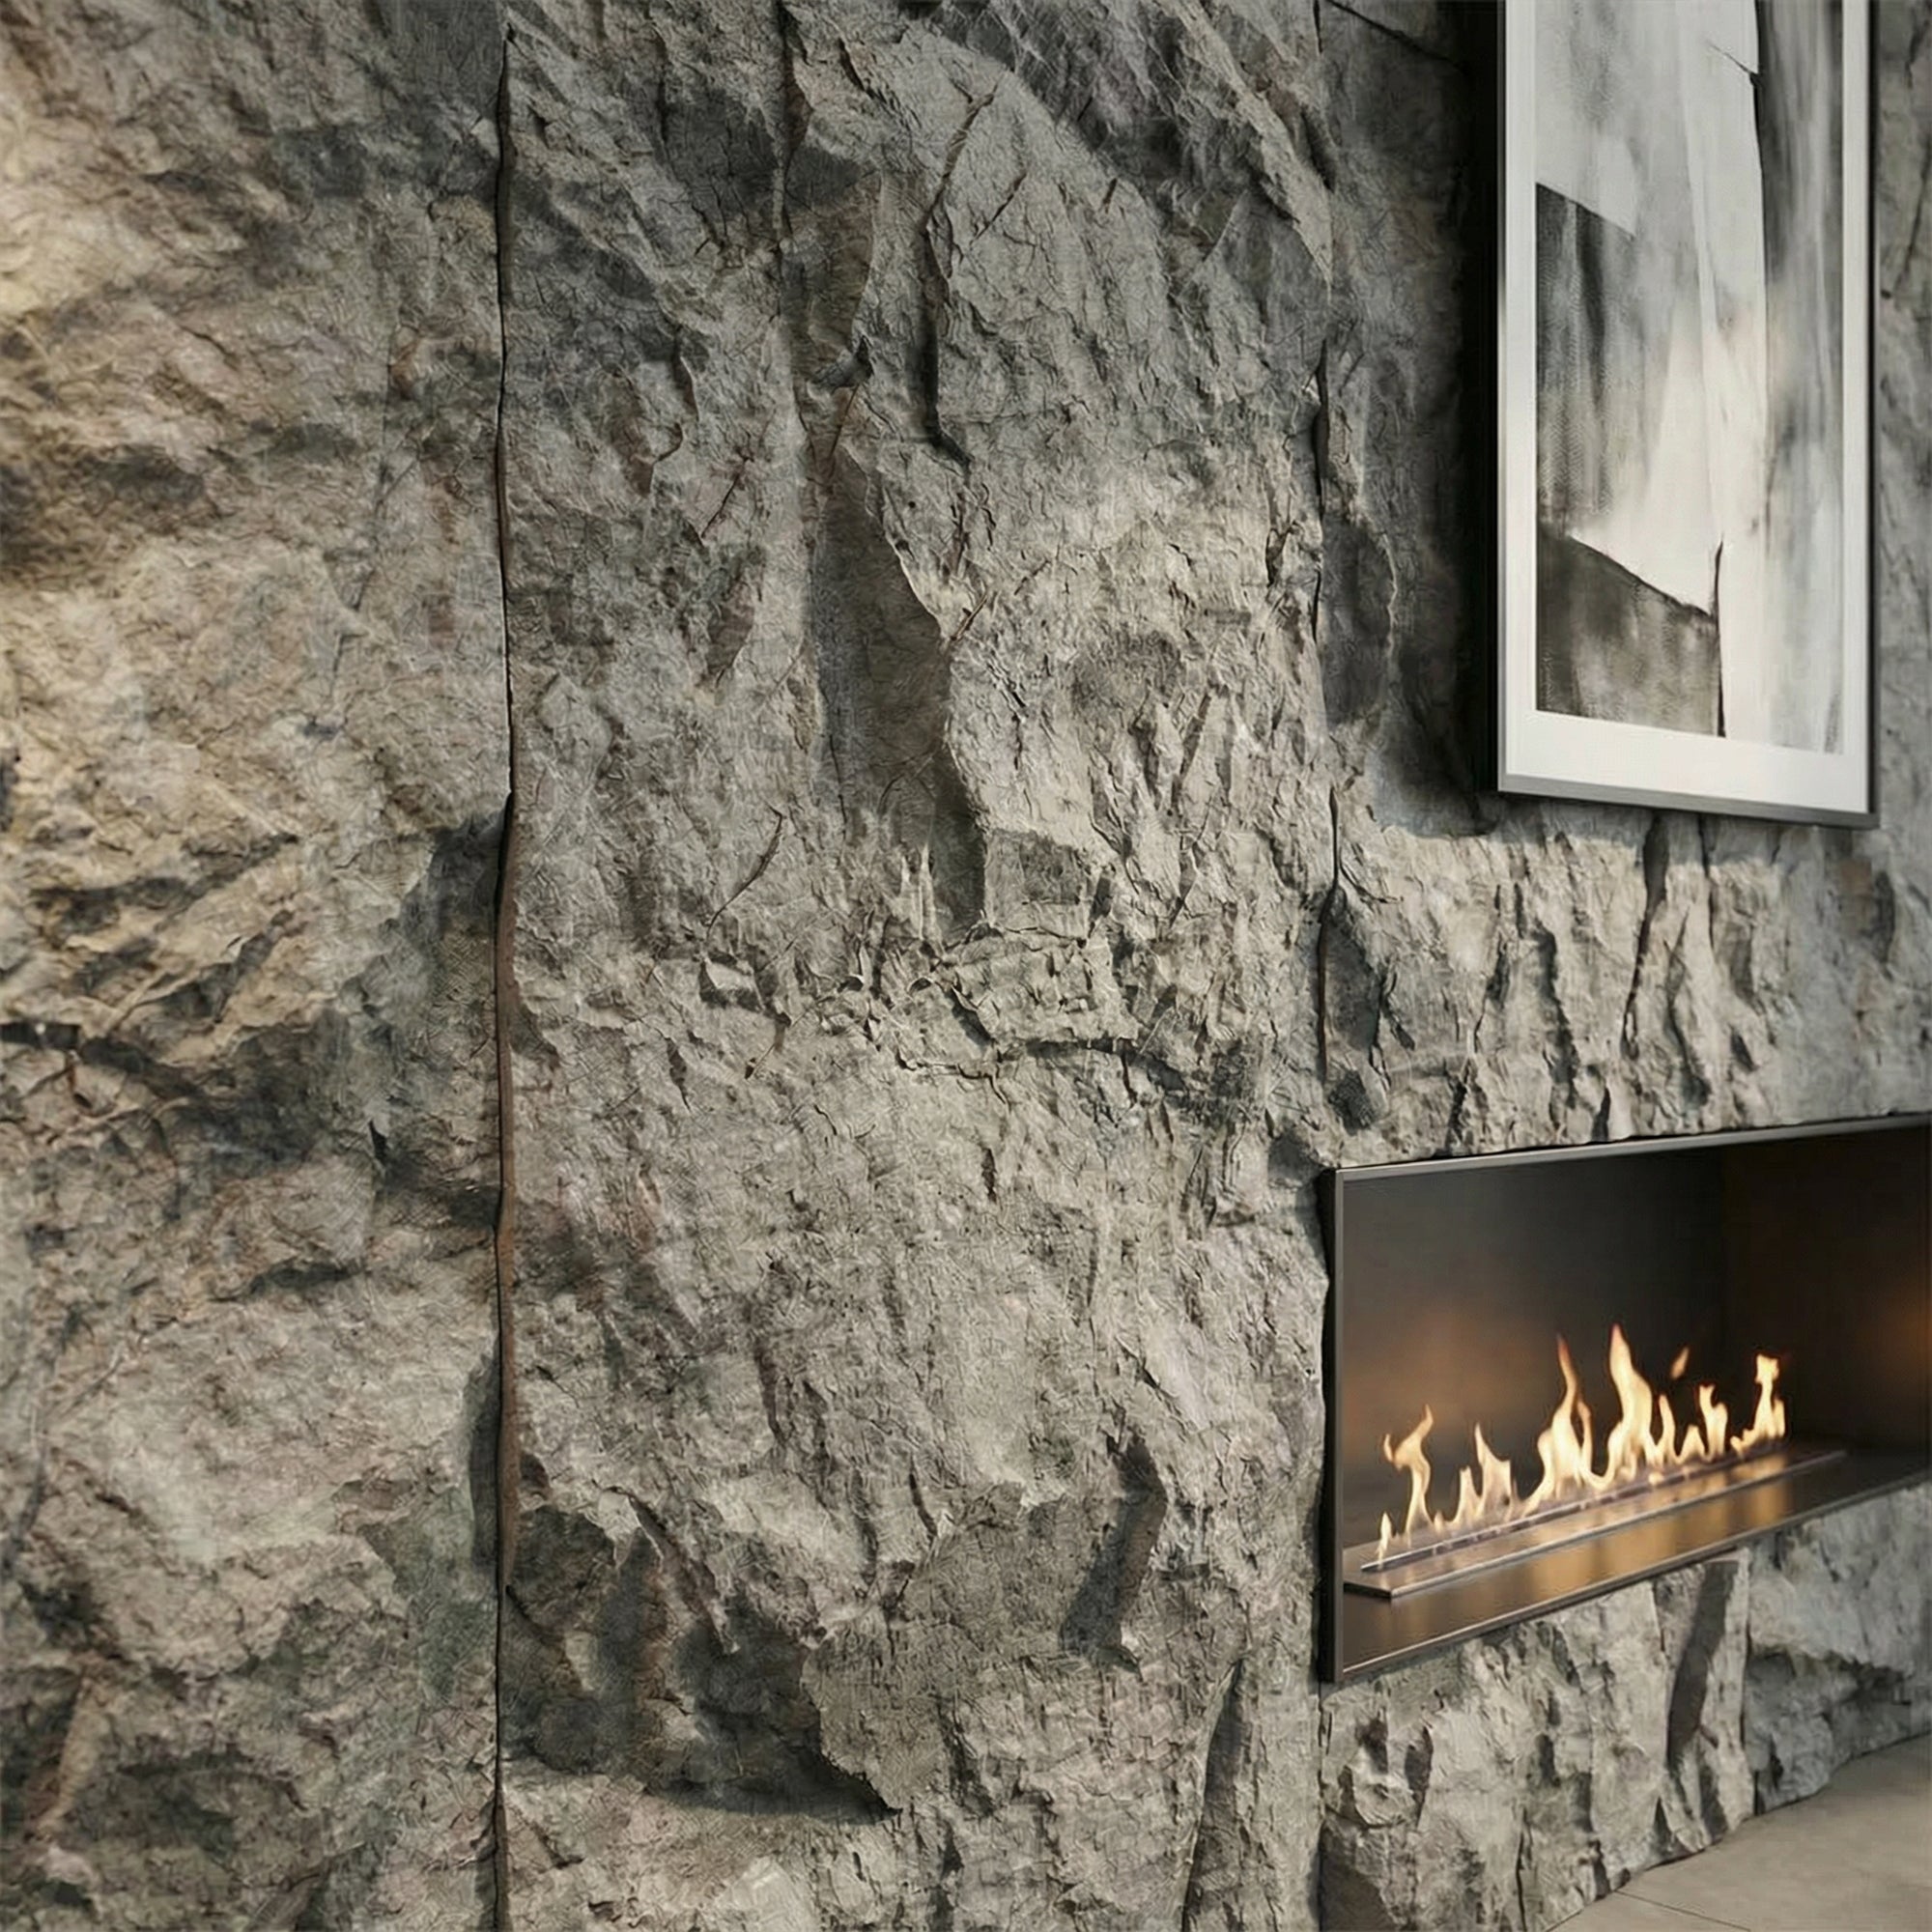
    Faux stone wall panels solve this problem directly. Panels like our RockSurface® faux stone collection are designed to replicate the dimensional texture and visual depth of real stone — at a fraction of the weight and without the need for structural support, skilled stonemasonry, or significant disruption to the room. A fireplace stone surround that would cost thousands using real stone is achievable in a weekend using faux stone panels.

    Planning Your Fireplace Stone Panel Installation
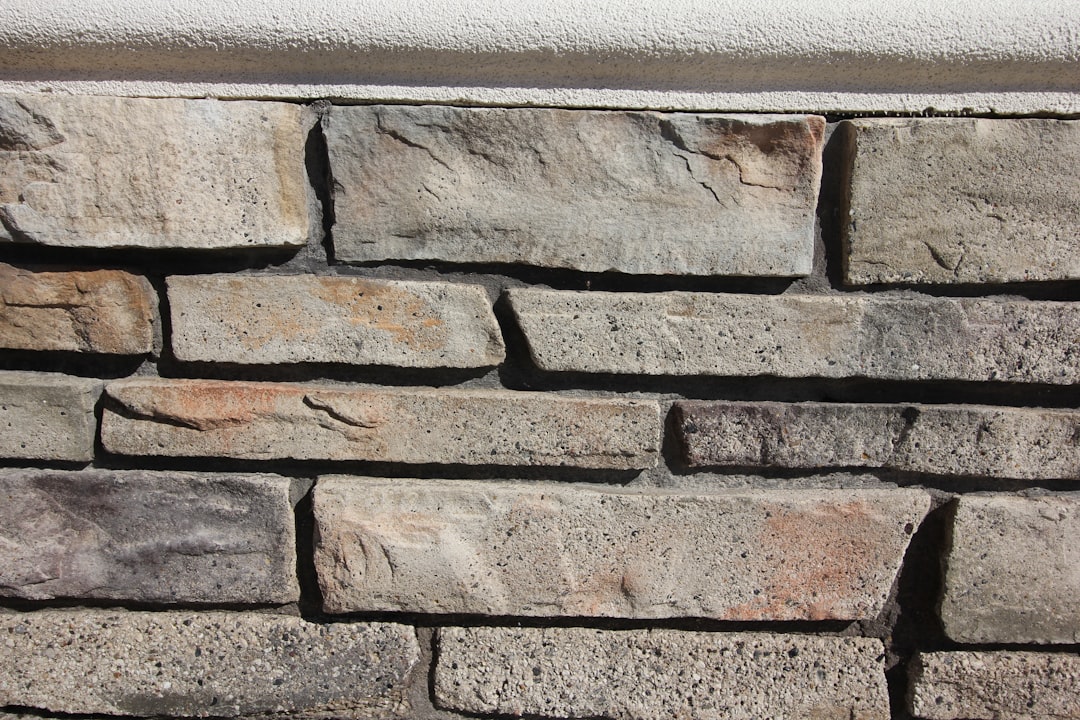
    Planning Your Fireplace Stone Panel Installation
    Photo by Judy Beth Morris on Unsplash

    Define the Coverage Area

    Before ordering panels, decide exactly which surfaces you want to cover. The most common options are:

    • Chimney breast only: The wall section containing the fireplace, from floor to ceiling or from mantel to ceiling. This creates a strong vertical stone element that frames the fireplace without extending across the full room.
    • Chimney breast and alcoves: Extending stone panels into the recessed alcoves on either side of the chimney breast creates a wider architectural composition that gives the fireplace wall a unified, designed quality.
    • Fireplace surround only: Panelling the section of wall immediately around the fireplace opening — below the mantelshelf and to either side of the opening — is a more focused treatment that suits rooms where a full chimney breast is not present.

    Measure Accurately

    Measure the height and width of each surface to be covered. Add 10–15% to your total square footage for cuts, offcuts, and pattern matching. Calculate the total area and use our panel quantity calculator guide to confirm the number of panels required before ordering.

    Choose the Right Stone Profile

    Different stone profiles suit different fireplace and room styles:

    • Highland Rock: Irregular, organic field stone texture. Best suited to rustic, farmhouse, and country interiors. The randomness of the surface pattern reads as authentically natural.
    • Ridge Rock: Horizontal layered stone with a more structured, linear profile. Best suited to contemporary, industrial, and transitional interiors where a composed stone look is preferred over a raw, organic one.
    • Stone Rock: Ashlar-style panels with consistent face dimensions and clean joints. Suits formal, traditional, and high-end contemporary interiors.

    Heat Considerations
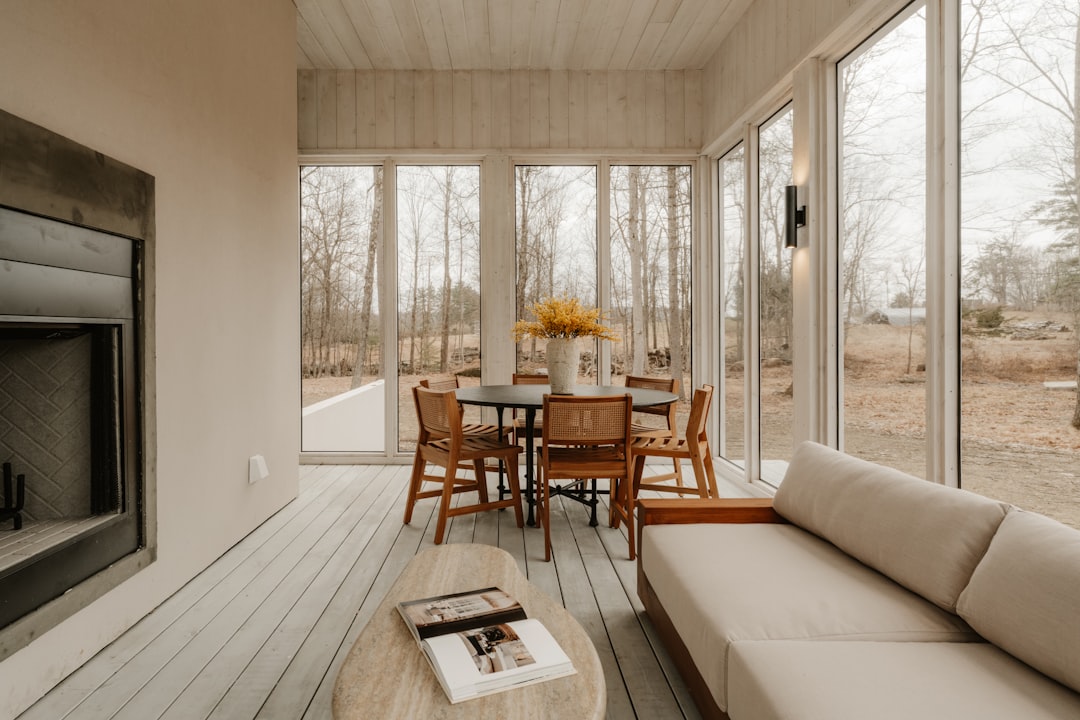
    Heat Considerations
    Photo by Clay Banks on Unsplash

    Faux stone panels for fireplace applications must be installed on the wall surfaces adjacent to and above the fireplace — not in the firebox opening or directly inside a live flue. The panels are designed for wall surfaces at ambient room temperatures. Keep a minimum clearance of 300mm from any open flame or high-heat surface. For gas fireplace surrounds, check the manufacturer’s heat emission specifications to confirm appropriate clearance distances. RockSurface® panels are not rated for direct heat exposure and should not be used as firebox linings or hearth surfaces.

    Step-by-Step: Installing Faux Stone Panels Around a Fireplace

    Step 1: Prepare the Wall Surface

    The wall behind the panels must be clean, dry, and structurally sound. Remove any loose paint, wallpaper, or existing decorative treatments. If the wall surface is uneven — common on older properties with plastered chimney breasts — use a skim coat or self-levelling compound to create a consistent surface. Our uneven wall installation guide covers preparation in detail.

    Step 2: Mark Your Reference Lines

    Use a spirit level to mark a precise vertical reference line on the wall from which to start your first panel. Starting plumb (perfectly vertical) is critical — any deviation will compound across subsequent panels. On a chimney breast, start from the centre of the wall and work outward to ensure the pattern is symmetrical on both sides of the fireplace opening.

    Step 3: Cut Panels to Size

    Measure and mark cuts for panels that need to fit around the fireplace opening, mantelshelf, or room corners. Faux stone panels cut cleanly with a standard handsaw, jigsaw, or circular saw with a fine-tooth blade. Cut on the face side to minimise chipping on the visible surface.

    Step 4: Apply Adhesive and Fix Panels

    Apply a bead of construction adhesive (MS polymer or polyurethane-based) to the back of the panel. Press firmly against the wall and use finishing nails at panel edges for additional mechanical fixing while the adhesive cures. Work from the bottom of the wall upward, ensuring each row is level before proceeding. Full installation instructions are covered in our faux stone panel installation guide.

    Step 5: Finish the Edges and Joints

    At external corners (room corners, fireplace opening edges), use corner mouldings or mitre the panels for a clean finish. Fill any remaining gaps at wall edges with a colour-matched sealant. Remove adhesive residue from panel faces with a damp cloth before it cures fully.

    Styling the Finished Fireplace

    Once the panels are installed and the adhesive has cured (typically 24 hours for full bond strength), style the fireplace surround to complement the stone texture:

    • A raw wood mantelshelf pairs well with organic stone profiles like Highland Rock
    • A painted or plastered mantelshelf suits the cleaner Ridge Rock and Stone Rock profiles
    • Recessed downlights positioned above the chimney breast will rake light across the stone surface, emphasising texture and depth
    • Flanking the fireplace with GroovePanel® geometric wood panels in the alcoves creates a strong material contrast — stone and solid wood — that anchors the fireplace wall as the room’s main focal point

    Fireplace Stone Panel Styling: Making the Most of the Surround

    Once the faux stone panels are installed around the fireplace, the styling decisions — lighting, accessories, and surrounding furniture — determine whether the fireplace reads as a considered centrepiece or a surface treatment that was simply applied.

    Upward lighting: Recessed uplighting at the base of the panel run, or adjustable spots from the ceiling aimed at the stone surface, creates raking light that emphasises the three-dimensional texture of the profile. This effect is most dramatic in rooms where other light sources are dimmed. If a new circuit isn’t practical, plug-in up-lighters placed at floor level against the chimney breast achieve a similar effect.

    Mantelpiece treatment: A timber mantelpiece shelf above the fire opening works exceptionally well against a stone-panelled chimney breast — the contrast between warm wood grain and stone texture is a classic material pairing. For a more contemporary result, a steel or concrete shelf floated directly on the stone surface without visible supports creates a minimal aesthetic.

    Proportioning the stone coverage: The stone surround doesn’t have to cover the entire chimney breast wall. Two common treatments: full floor-to-ceiling coverage on the entire chimney breast; or a partial coverage that borders just the fire opening — typically 500–600mm to each side and above. The partial treatment uses less material and keeps the stone as a focused detail rather than a dominant surface.

    Colour and adjacent walls: Dark-toned stone profiles (charcoal, deep grey, earth tones) against white or pale neutral walls create the strongest contrast. Lighter stone profiles — cream or beige tones — work better against warmer mid-tone walls. The stone and adjacent wall colours should share at least one tonal quality (both warm, or both cool) to read as part of the same design intention.

    FAQs: Faux Stone Panels for Fireplace

    Can faux stone panels go directly next to an open fire?
    Faux stone panels should not be installed closer than 300mm to the edge of an open fire opening, and never within the firebox itself. The panels are not rated for direct heat exposure. For gas and electric fires with enclosed fronts and rated clearance distances, the manufacturer’s specification will state the minimum distance from the heat source. Always follow the fireplace manufacturer’s guidelines — not just the panel manufacturer’s.

    What adhesive should I use to fix faux stone panels near a fireplace?
    Standard construction adhesive is appropriate for faux stone panel installation on the areas of the chimney breast that are at safe distances from the fire opening. For any section within the heat exclusion zone (which should be left unfaced or tiled), a heat-resistant adhesive is required. The junction between the stone panels and any heat-rated tile surface should be sealed with a heat-resistant silicone.

    Can I tile the firebox surround and use faux stone panels for the chimney breast?
    Yes — this is a common and practical approach. The firebox surround and hearth are typically finished in a heat-rated tile or natural stone (which handles direct heat), while the chimney breast above and to the sides uses faux stone panels for the aesthetic effect at a fraction of the cost. The two materials can sit adjacent to each other when the junction is cleanly detailed.

    Will faux stone panels crack near a fireplace due to heat expansion?
    At safe installation distances from the fire, the ambient temperature rise is insufficient to cause thermal expansion issues in polyurethane panels. PU panels have a higher coefficient of thermal expansion than timber but lower than thin stone tiles — in normal fireplace proximity conditions, cracking is not a practical concern.

    Browse RockSurface® Fireplace Stone Panels

    The RockSurface® collection at The Panel Hub includes Highland Rock, Ridge Rock, and Stone Rock profiles. All panels are lightweight, DIY-compatible, and backed by a 5-year warranty, 60-day returns, and 24/7 support. Order a sample to compare profiles and confirm your choice before purchasing for the full installation.
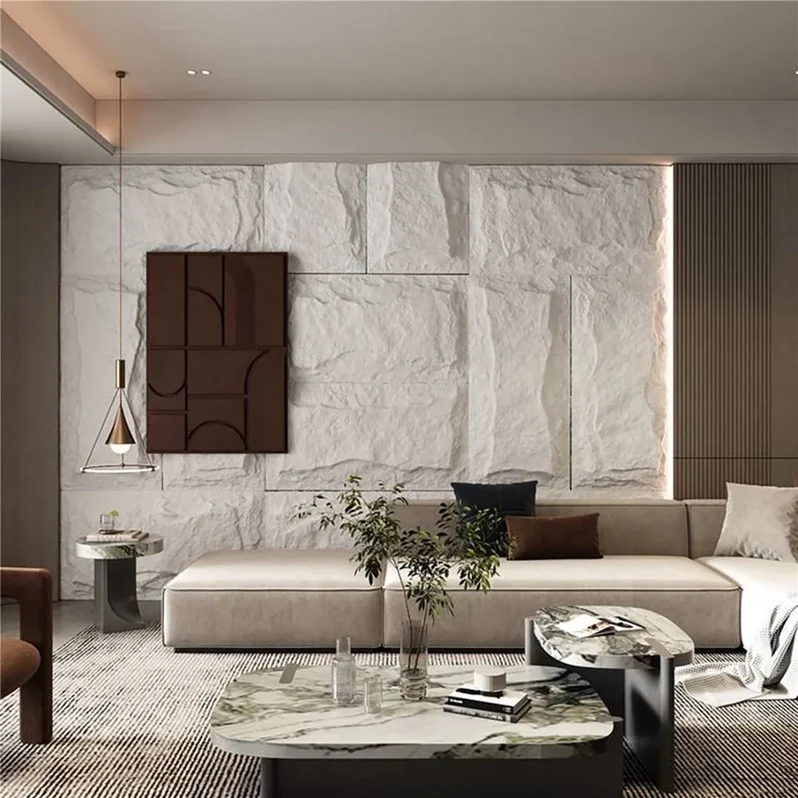
  • Stone Accent Wall Ideas: 10 Ways to Add Natural Texture to Any Room

    Stone Accent Wall Ideas: 10 Ways to Add Natural Texture to Any Room

    Why a Stone Accent Wall Works in Almost Any Room

    Why a Stone Accent Wall Works in Almost Any Room
    Photo by Clay Banks on Unsplash

    Stone has a permanence and warmth that few other materials match. In architecture and interior design, exposed stone walls signal quality, character, and a connection to natural materials that is difficult to achieve any other way. The challenge has always been practical: real stone is heavy, expensive, requires skilled installation, and is permanent once in place.

    Modern faux stone wall panels solve these problems. Products like our RockSurface® faux stone panels are designed to replicate the texture, depth, and visual character of natural stone — at a fraction of the weight, cost, and installation complexity. The result is a stone accent wall that looks authentic and lasts, without the structural requirements or budget of the real thing.

    Here are ten ways to use a stone accent wall effectively.

    1. Living Room Fireplace Wall

    1. Living Room Fireplace Wall
    Photo by Dhiemas Afif Febriyan on Unsplash

    The fireplace wall is the natural home for a stone accent treatment. Stone and fire are visually connected at a fundamental level — one reinforces the other. Faux stone panels applied to the chimney breast and the recessed alcoves on either side create a complete fireplace surround that reads as architectural and considered. The RockSurface® Highland Rock panel’s irregular surface texture is particularly effective here — it replicates the character of real field stone without the weight or the mortar work.

    2. Behind the Television

    2. Behind the Television
    Photo by Marija Zaric on Unsplash

    A panel wall of faux stone behind a mounted television frames the screen in a way that no painted surface can. The texture and depth of the stone panels make the TV wall a genuine design feature rather than a functional necessity. Use a panel with a consistent horizontal texture — like the Ridge Rock profile — for a wall that reads as composed and deliberate even with the television as the focal point.

    3. Dining Room Statement Wall

    The wall at the end of a dining table or behind a sideboard is an underused opportunity. Stone panels on a dining room accent wall create a backdrop that elevates the quality of every meal — the natural texture and depth of the stone surface makes the room feel designed at an architectural level. Warm-toned stone profiles suit both contemporary and traditional dining rooms.

    4. Bedroom Headboard Wall

    A stone panel wall behind the bed is an unexpected choice that works beautifully — particularly in contemporary or industrial-influenced bedrooms. The texture of the stone creates a tactile, organic backdrop that contrasts well with the softness of bedding and fabric. Keep the stone accent wall restrained (behind the bed only) and the remaining walls simple to let the stone surface speak without overwhelming the room.

    5. Entrance Hall and Foyer

    The entrance hall is the first room visitors experience and the last they see on departure. A stone accent wall in an entrance — even a single partial wall or a section flanking the front door — sets a material quality expectation for the rest of the home. Stone panels in a hallway also benefit from the directional light common in entrance spaces, which emphasises the texture and depth of the panel surface.

    6. Home Bar or Cellar Wall

    Stone panels behind a home bar counter or wine storage area create an immediate sense of permanence and quality. The association of stone with cellars and traditional wine storage makes this a natural pairing — the aesthetic logic is intuitive. A dark, rough-textured stone profile is particularly effective in this context.

    7. Bathroom Feature Wall

    A stone accent wall in a bathroom — particularly behind a freestanding bath or a vanity unit — adds a spa-like quality to the space. RockSurface® faux stone panels are built to withstand the humidity levels of a bathroom interior. The key consideration is avoiding direct water contact in wet zones (shower enclosures and bath surrounds); in those areas, fully waterproof panels are required. Our stone wall panels for bathroom guide covers material selection and placement in detail.

    8. Kitchen Splashback and Feature Wall

    Stone panels as a kitchen splashback or behind open shelving create a material contrast that lifts the kitchen above a standard fitted-room look. The panel surface adds visual depth behind shelf displays and creates a considered backdrop for worktop items and accessories. Seal the panel surface appropriately for kitchen use — splashback areas require a panel surface that can be wiped clean.

    9. Garden Room or Conservatory Wall

    Indoor-outdoor spaces — garden rooms, conservatories, orangeries — are natural homes for stone accent walls because the stone material bridges the interior and exterior environments. A stone panel wall visible from the garden reinforces the connection between the indoor and outdoor space. Check RockSurface® panel specifications for suitability in spaces with significant temperature and humidity variation.

    10. Commercial and Hospitality Spaces

    Hotel lobbies, restaurant walls, boutique retail environments, and office reception areas benefit enormously from stone accent walls. The material quality and permanence of stone signals investment and attention to detail. Faux stone panels deliver this visual quality at the scale required for commercial spaces — and the DIY-compatible installation means stone features can be added to commercial spaces without extensive contractor involvement. RockSurface® panels come with a 5-year warranty and 24/7 support, making them appropriate for commercial specification.

    Choosing the Right Stone Profile for Your Accent Wall

    Not all stone textures suit all spaces:

    • Irregular field stone (like Highland Rock) suits rustic, farmhouse, and eclectic interiors — the randomness of the surface texture reads as natural and organic
    • Layered ridge stone (like Ridge Rock) suits contemporary and industrial interiors — the horizontal layering creates a composed, architectural rhythm
    • Smooth ashlar stone suits formal and traditional interiors — the clean faces and consistent joints read as refined rather than rustic

    Browse RockSurface® Faux Stone Panels

    Explore the full RockSurface® faux stone panels collection at The Panel Hub — including Highland Rock, Ridge Rock, and Stone Rock profiles. Each panel is lightweight, DIY-compatible, and backed by a 5-year warranty, 60-day returns, and 24/7 support. Order a sample to see how the texture and depth look in your own space before committing to a full wall.

  • Faux Stone Wall Panels vs Real Stone: An Honest Comparison

    Faux Stone Wall Panels vs Real Stone: An Honest Comparison

    The Fundamental Question

    Real stone walls have been status symbols in architecture for thousands of years — and for good reason. But the weight, cost, and structural requirements of natural stone make it inaccessible for most residential interior and exterior applications. Faux stone panels offer the visual character of natural stone at a fraction of the weight and cost. The question is: how close is the result, and when is the real thing still worth it?

    What Are Faux Stone Panels?

    Faux stone panels — also called stone effect panels, stone cladding panels, or composite stone panels — are lightweight panels moulded from high-density polyurethane, concrete composites, or other materials to replicate the texture, pattern, and colour of natural stone. Products like RockSurface® are designed to deliver slate, limestone, or sandstone aesthetics without the structural or weight demands of the real material.

    Head-to-Head Comparison

    Weight

    • Real stone: 30–100+ kg per square meter depending on species and thickness. Requires structural support — not suitable for standard drywall without engineering assessment.
    • Faux stone panels: 2–8 kg per square meter. Can be installed on standard drywall, timber framing, and most interior wall substrates without structural modification.

    Winner: Faux stone — dramatically

    Cost

    • Real stone: $30–$150+ per square foot installed, depending on species, cut, and labour. Premium natural stones (marble, travertine, slate) considerably more.
    • Faux stone panels: $5–$30 per square foot installed. Significant savings even at the premium end.

    Winner: Faux stone

    Installation

    • Real stone: Requires structural assessment, specialist adhesive, professional installation in most cases. Tile cutting requires wet saw and experience. Days of work for a feature wall.
    • Faux stone panels: DIY-friendly adhesive installation. Panels cut with a regular saw. A feature wall typically completes in a day.

    Winner: Faux stone

    Aesthetics (Close Range)

    • Real stone: Irreplaceable. Each piece unique. Genuine texture, variation, and the quality of a material with geological history. Experienced eyes always recognise real stone.
    • Faux stone: High-quality polyurethane panels are convincing from 3–5 feet. Pattern repeat becomes visible on close inspection. The texture is real; the material is not.

    Winner: Real stone (at close range)

    Durability (Interior)

    • Real stone: Essentially permanent. Resists impact, moisture, and heat. Will outlast the building in most cases.
    • Faux stone (high-quality): 15–25 years with normal interior care. Quality polyurethane panels resist impact and moisture well. Less durable than real stone but more than adequate for most domestic applications.

    Winner: Real stone (long-term)

    When to Choose Faux Stone Panels

    • Drywall or timber stud walls that can’t support stone weight
    • Budget-constrained projects where real stone is cost-prohibitive
    • DIY installations where professional tiling is not feasible
    • Exterior accent walls where lightweight panels are essential
    • Feature walls viewed primarily from mid-range distances

    When Real Stone Is Worth It

    • Fireplace surrounds where material authenticity is the design centrepiece
    • High-end renovations where close-range inspection is expected
    • Exterior applications in high-UV, high-rainfall climates where polymer panel longevity is uncertain
    • Heritage or architecturally-specified projects requiring genuine materials

    For most homeowners looking to add stone character to a feature wall, faux stone panels deliver an outstanding result at a fraction of the real-stone investment. For context on other material options for feature walls, our wood panel wall guide covers the timber alternatives — and our outdoor wall cladding guide covers the exterior options across all material types.

    Longevity and Maintenance: A Realistic Comparison

    The longevity debate between faux and real stone is often framed as faux stone being the inferior choice — but the reality is more nuanced once you account for real-world maintenance requirements.

    Real stone can technically last centuries in the right conditions. But practical longevity depends on correct installation, proper sealing, and ongoing maintenance. Natural stone is porous — it absorbs moisture, staining agents, and in exterior applications, freeze-thaw cycles cause spalling over time. Professional resealing every 2–5 years is standard for real stone in exposed conditions. Grout lines between individual stone pieces require pointing maintenance. Efflorescence (white mineral deposits) is a common issue on exterior real stone installations.

    Faux stone panels made from high-density polyurethane are non-porous, UV-stabilised, and require no sealing. Cleaning is straightforward — a damp cloth or low-pressure hose removes most surface dirt. The main vulnerability is UV exposure over extended periods (15–20 years) affecting colour vibrancy, and physical impact from objects (panels can dent under direct impact, unlike real stone which chips). For interior applications, faux stone panels have an effectively unlimited lifespan under normal conditions.

    The maintenance cost comparison: Over a 10-year period, the ongoing maintenance cost for real stone (sealing, repointing, professional cleaning for larger areas) often exceeds the original cost difference between faux and real stone. For most residential applications, the total cost of ownership over a decade or longer favours quality faux stone panels.

    FAQs: Faux Stone Panels vs Real Stone

    Can faux stone panels really look like real stone?
    Quality polyurethane faux stone panels — particularly three-dimensional profiles like Ridge Rock and Highland Rock — closely replicate the colour variation, surface texture, and dimensional depth of real stone. From normal viewing distances (1.5m+), the distinction is minimal. Close inspection reveals smoother surfaces between texture peaks compared to natural stone’s mineral grain structure.

    Are faux stone panels safe for exterior use?
    High-quality faux stone panels designed for exterior use — specifically those with UV-stable pigments and weather-resistant polyurethane construction — are suitable for external applications. Not all faux stone products are rated for exterior use; check the manufacturer’s specification before installing outdoors. Interior-only products will fade and degrade in UV exposure and moisture cycles.

    How heavy are faux stone panels compared to real stone?
    Faux stone panels are significantly lighter — typically 2–4 kg/m² compared to 30–80 kg/m² for real stone cladding. This weight difference means faux stone panels don’t require structural reinforcement of the wall behind them, can be installed on standard plasterboard, and are manageable for single-person DIY installation.

    Do faux stone panels feel hollow when tapped?
    Solid polyurethane panels feel more hollow than real stone when tapped, which is noticeable on close contact. In practice, once installed against a wall and viewed from normal room distances, this difference is imperceptible. The three-dimensional texture and visual depth of quality faux stone panels dominate the visual experience.

    Shop Stone Effect Wall Panels

    Browse the RockSurface® faux stone panel collection at The Panel Hub — the most popular faux stone option for feature walls and exterior cladding. Explore the full wood wall panel range for the complete picture of panel types available, including wood veneer alternatives where a warmer aesthetic is preferred. For design inspiration showing how stone effect panels combine with other materials in finished interiors, our interior slat wall ideas guide covers multi-material feature wall applications. The acoustic panel buyer’s guide covers the performance differences between panel types.