Tag: Trade

  • How to Order Wall Panel Samples: A Specifier’s Checklist

    How to Order Wall Panel Samples: A Specifier’s Checklist

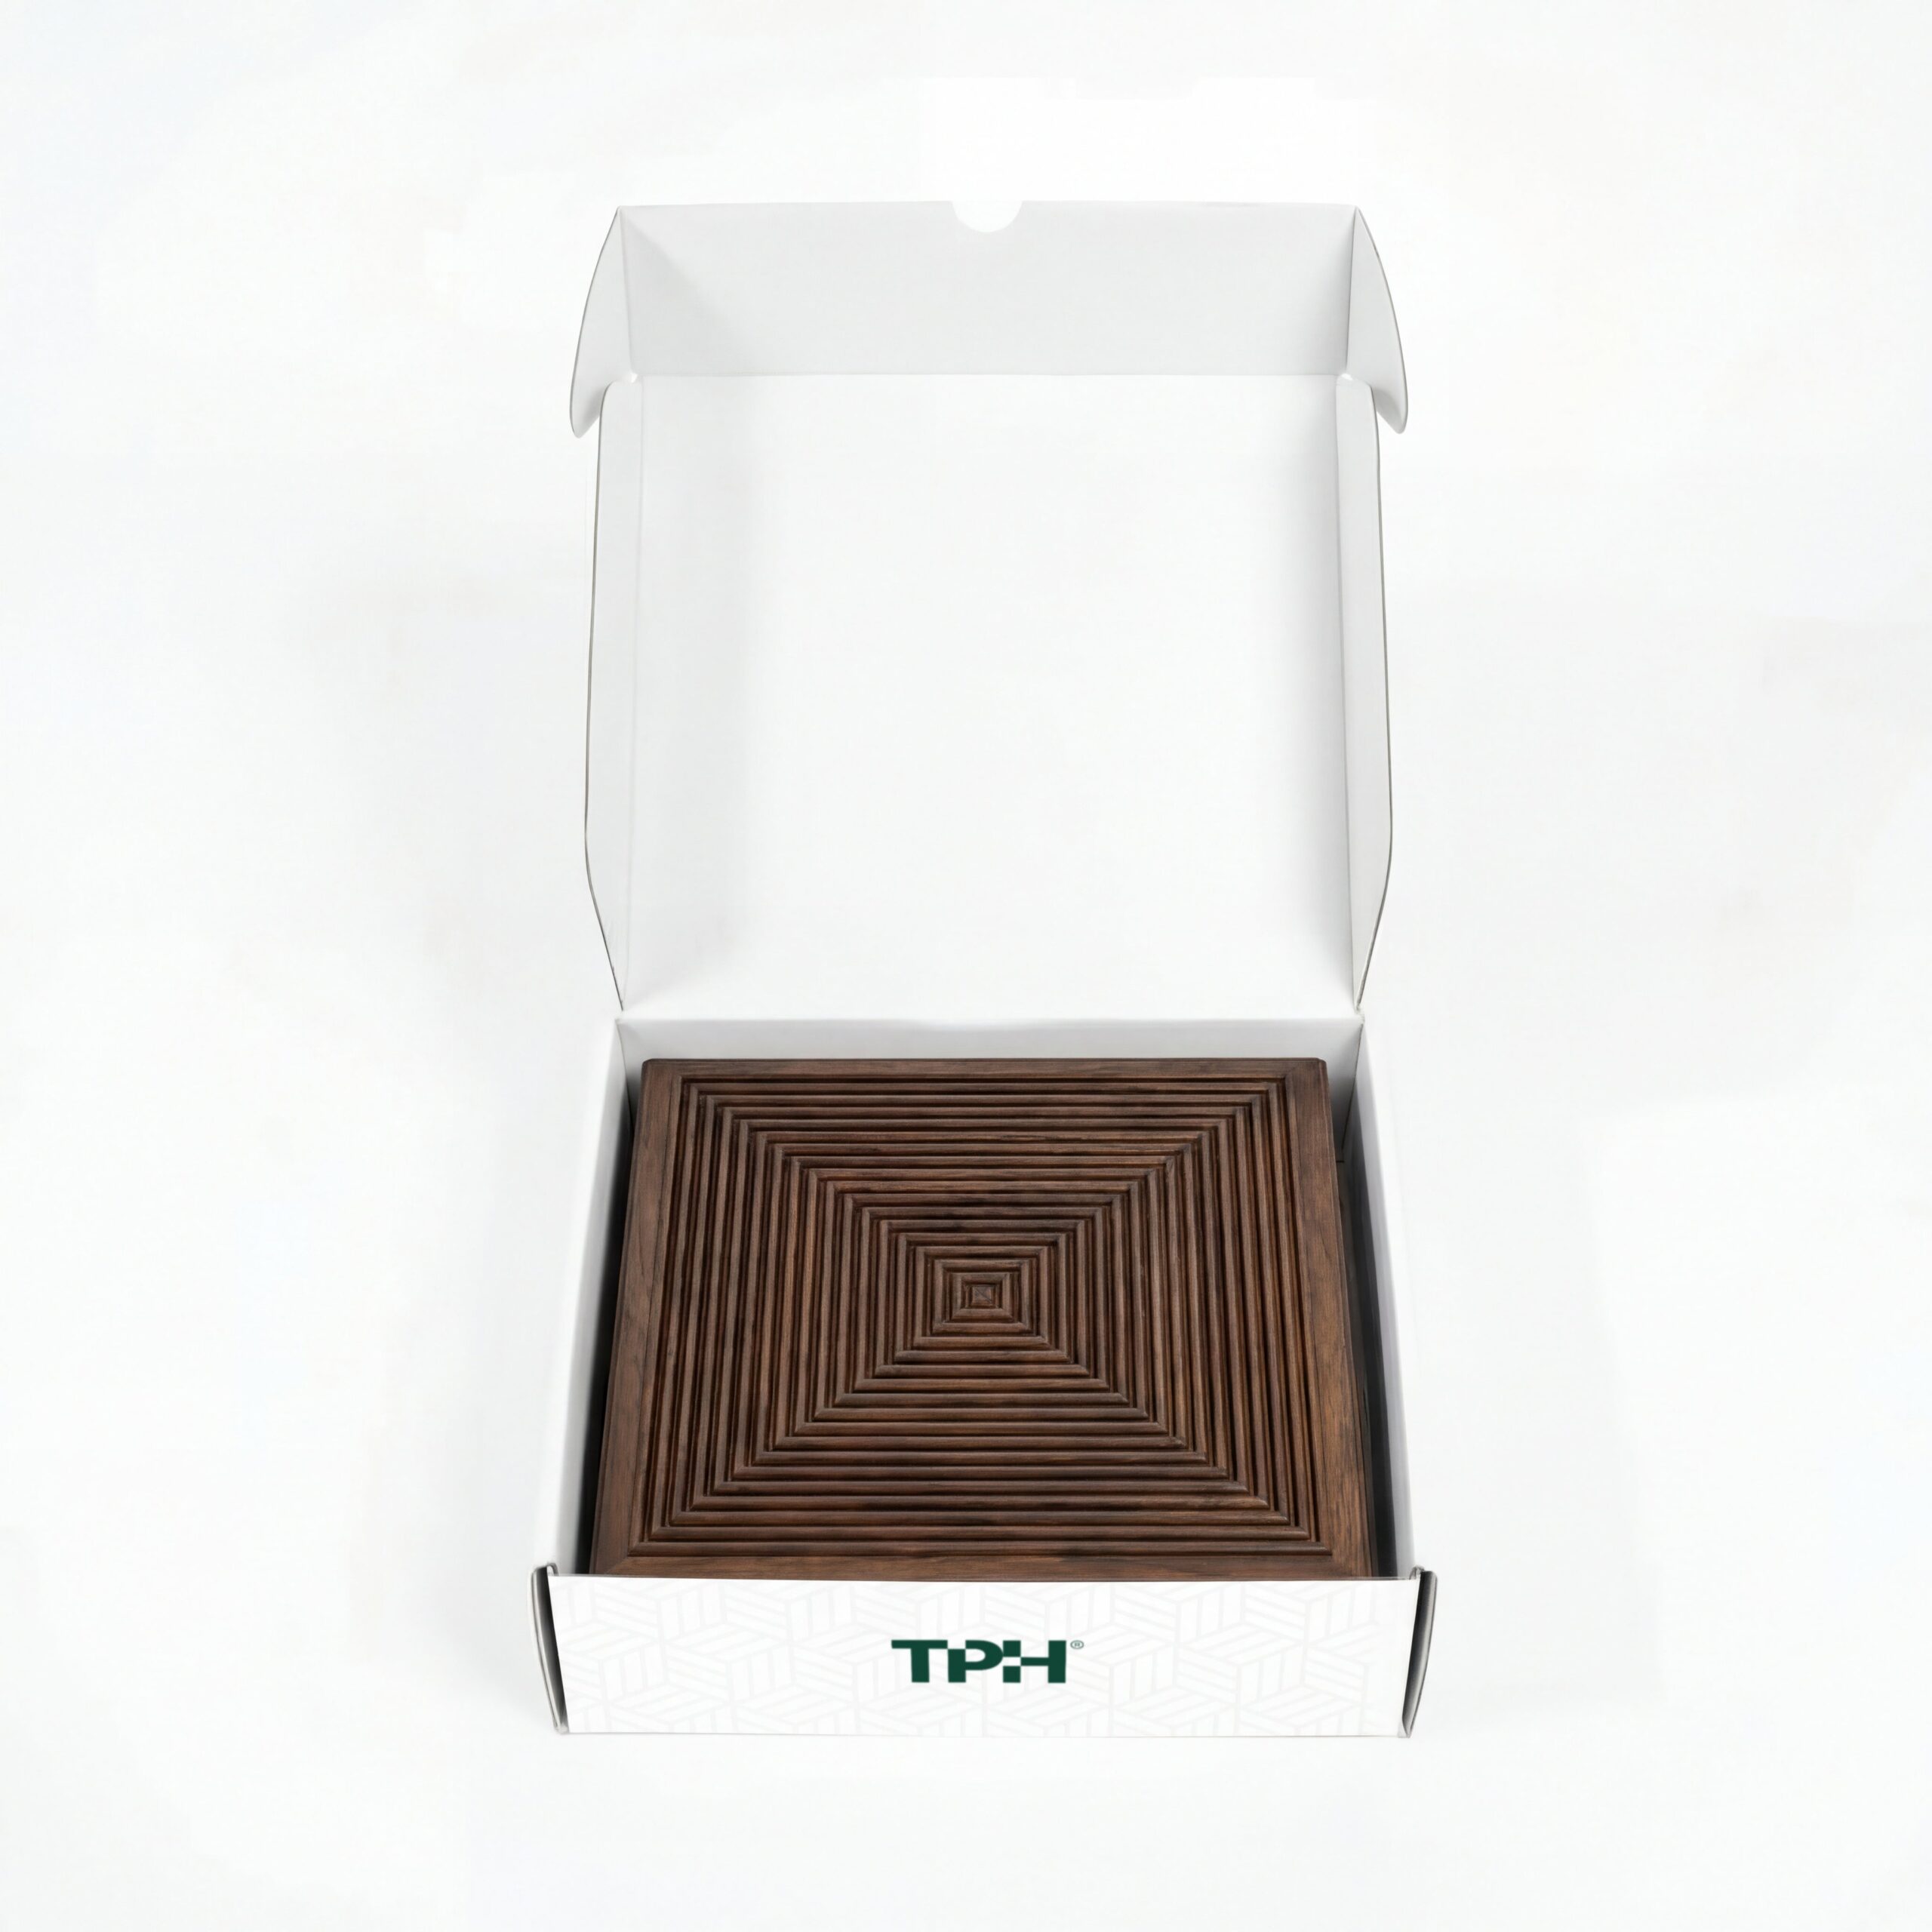
    Specifying wall panels without physical samples is one of the most common and costly mistakes in interior design and fit-out projects. Digital images, product photography, and online swatches cannot replicate the way a panel performs in your specific space — under your lighting conditions, against your floor and furniture, and at the scale it will actually appear on the wall.

    This checklist is for designers, architects, and specifiers who want to make confident panel decisions based on real material evidence rather than screen approximations.

    Why Samples Are Non-Negotiable

    Three things about wall panels cannot be reliably assessed from digital images:

    • Colour temperature: Wood panel finishes shift significantly under different light sources. A warm oak that looks golden under the photography studio’s warm lights can look grey and flat in a north-facing room. A stone effect panel that looks grey online may have warm beige undertones in your actual lighting conditions.
    • Surface texture and depth: The three-dimensional quality of fluted, slat, and stone-effect panels — the way light plays across the relief — cannot be conveyed in a photograph. The depth and character of the texture only becomes apparent when you hold the sample at different angles under your lighting conditions.
    • Scale and proportion: Individual slat widths, groove depths, and stone face sizes read very differently at the scale of a sample versus the scale of a full wall. A profile that looks fine in a hand-held sample can look very different when you visualise it at 2.4 metres high across a wall.

    What to Request When Ordering Samples

    When requesting samples from The Panel Hub, provide enough information for the team to send the most useful selection:

    • The room type (bedroom, living room, commercial reception, etc.)
    • The wall dimensions and the approximate area of panel coverage planned
    • The existing or planned floor finish and its colour/tone
    • The primary light source (natural light direction, artificial light colour temperature)
    • Any existing materials the panel needs to coordinate with (furniture finishes, flooring, other wall materials)
    • Whether aesthetic, acoustic, or stone-effect products are the primary interest

    How to Assess Samples Properly

    Assess in the Actual Space

    Take samples to the space where the panels will be installed, not your office or studio. Hold the sample against the wall and assess it at the time of day when the room is typically used. A bedroom panel should be assessed in morning and evening light; an office panel should be assessed under the planned artificial lighting.

    Assess Against Other Materials

    Hold the sample next to your flooring, furniture swatches, and other material samples. The panel needs to work with the surrounding palette, not just look good in isolation.

    Assess at Scale

    Order the largest sample available for any product you’re seriously considering. A full panel or a large section gives you a much more accurate sense of how the slat spacing, grain character, and colour variation will read at wall scale.

    From Sample to Specification: The Next Steps

    Once you’ve identified the right panel from samples, the specification process involves:

    • Confirming the product reference, finish, and dimensions
    • Calculating the area to be covered and applying a 10–15% wastage allowance
    • Confirming lead time, stock availability, and delivery requirements
    • Obtaining any required technical documentation — fire test certificates, acoustic performance data, installation data sheets

    The full wall panel range and stone effect panels from The Panel Hub are available for sampling. Contact the team to request the samples you need for your current projects.
  • Wall Panel Installation for Contractors: What You Need Before You Start

    Wall Panel Installation for Contractors: What You Need Before You Start

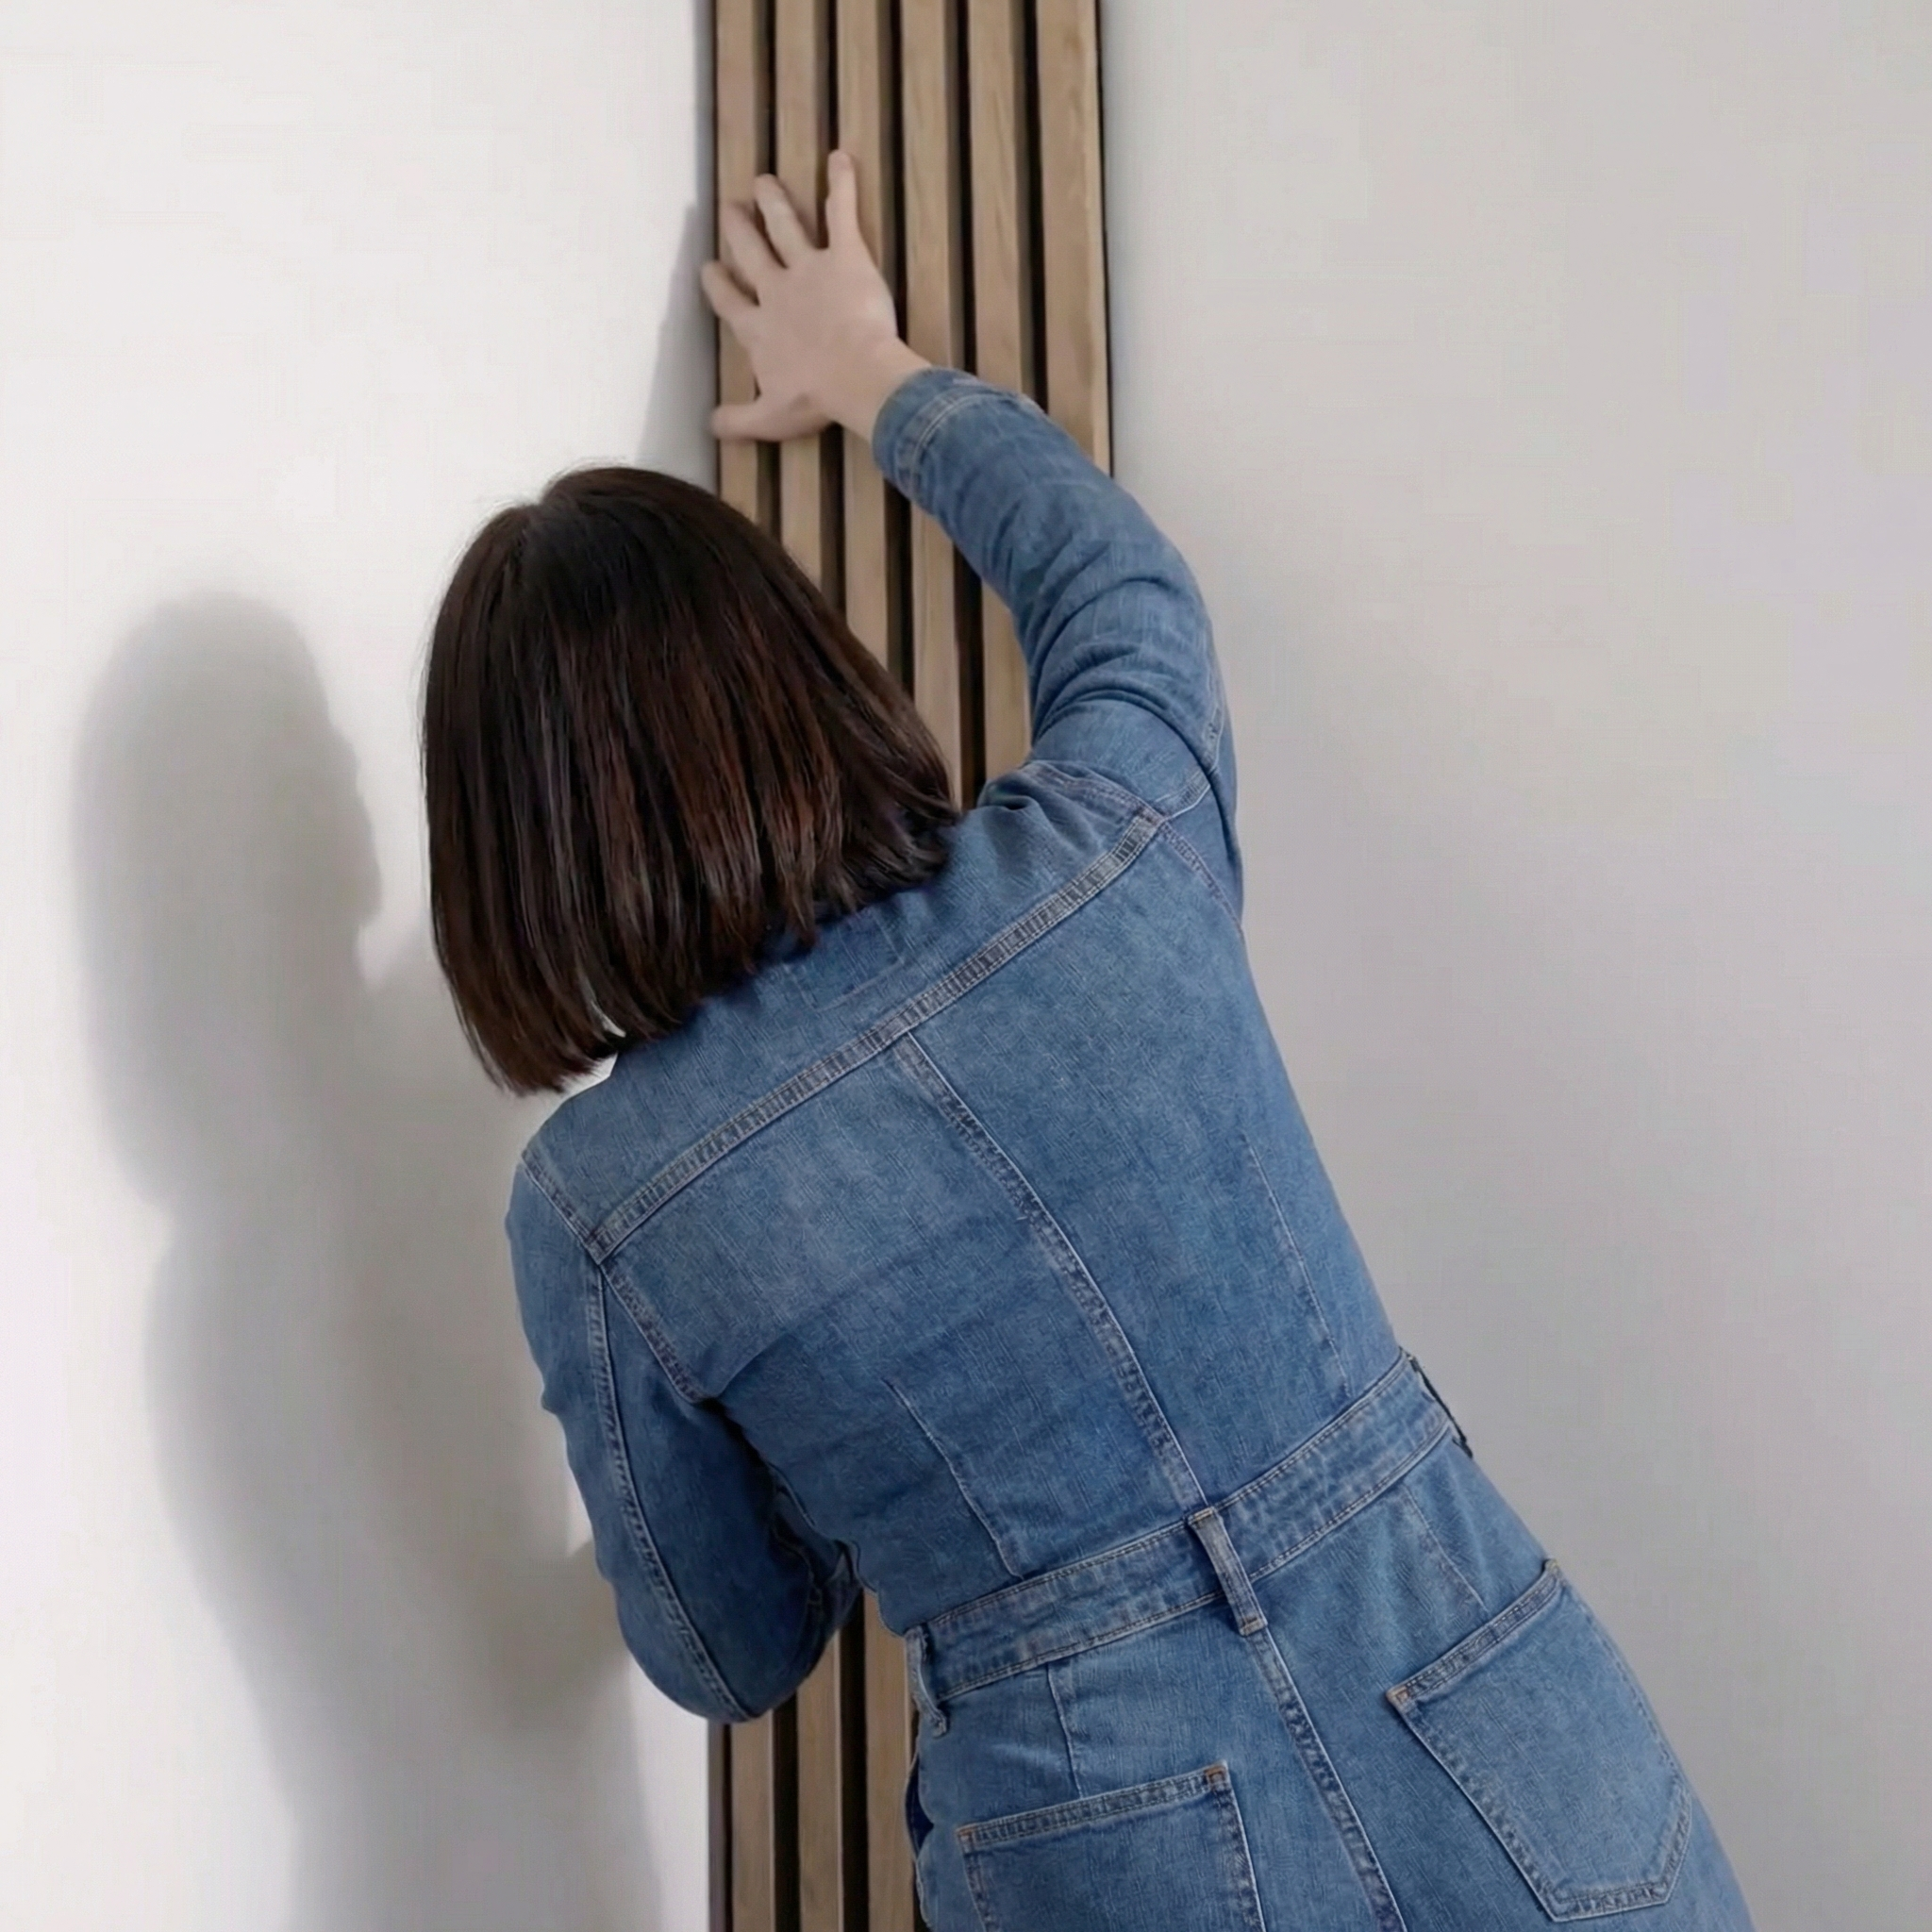
    Wall panel installation for contractors is straightforward — but only if the pre-installation preparation is done correctly. The most common causes of panel installation problems are substrate issues (uneven, damp, or poorly prepared walls), incorrect adhesive selection, inadequate planning for cuts and edge conditions, and insufficient curing time before the space is put back into use.

    This guide is written for contractors installing wall panels in residential, commercial, and hospitality environments. It covers what needs to be confirmed before installation begins, not during it.

    Substrate Assessment: The Make-or-Break Step

    Flatness

    Wall panels require a flat substrate. Use a 2m straight edge or spirit level to check the wall for high and low spots. Any deviation greater than 3mm over 2 metres needs to be addressed before panel installation. Options include: skim coat plaster to flatten high spots, batten out the wall to create a flat fixing surface, or use a flexible adhesive with gap-filling capacity for minor variations.

    Moisture

    Panels should not be fixed to damp substrates. Check moisture content with a moisture meter — the substrate should read below 75% relative humidity before panel installation proceeds. New plaster requires a minimum of 28 days to cure before it’s dry enough for panel installation; check moisture levels rather than relying on the date.

    Structural Integrity

    The substrate must be structurally sound and bonded to the wall behind it. Loose plaster, delaminating plasterboard, and poorly bonded screeds are not suitable substrates for adhesive panel installation. Identify and remedy any structural issues before installing panels.

    Adhesive Selection

    The correct adhesive depends on the panel material and the substrate type. Key considerations:

    • Panel weight — heavier panels require stronger adhesive systems
    • Substrate type — plasterboard, concrete, masonry, and existing tiles all require specific adhesive formulations
    • Environmental conditions — temperature and humidity during installation affect adhesive cure time and initial grab
    • Open time — the working time available after applying adhesive before the panel must be positioned

    Always follow the panel manufacturer’s adhesive recommendations. Using the wrong adhesive type is one of the most common causes of panel bond failure.

    Planning Cuts and Edge Conditions

    Before fixing any panels, complete a full dry-run layout on the floor to plan the placement of every panel and every cut. Identify:

    • Where cut panels fall — avoid very thin cuts at visible edges
    • How corners are handled — internal and external corners need specific details
    • How panels terminate at skirting, architrave, door frames, and ceiling line
    • Where service penetrations (sockets, switches, data points) fall within the panel layout

    Site Conditions During Installation

    Temperature and humidity during installation affect adhesive performance. Most panel adhesives require installation temperatures above 5°C and below 35°C. In cold or damp conditions, allow longer curing times before applying any load to the panels. Keep the space ventilated during and after installation to support adhesive cure.

    Handover and Snagging

    Before handing over a panel installation, inspect the completed work for:

    • Panel alignment — check slats and joints are parallel and consistent across the wall
    • Edge condition quality — sealant beads should be smooth and colour-matched
    • Panel security — check that all panels are fully bonded with no hollow-sounding areas
    • Surface cleanliness — remove adhesive residue from panel faces before it cures

    Contact The Panel Hub for bulk order wood wall panels, or request technical installation data sheets for any product in the range before beginning installation on a new project.

  • Wall Panels for Interior Designers: A Trade Specification Guide

    Wall Panels for Interior Designers: A Trade Specification Guide

    If you’re looking for wall panels for interior designers, you came to the right article. Interior designers working across residential, commercial, and hospitality sectors increasingly specify wall panels as a primary surface material. The shift reflects both client demand for tactile, high-quality wall finishes and the practical advantages of panel systems over painted plaster, traditional tiling, and applied wallcoverings.

    This guide is written for design professionals who need reliable technical information, a dependable sampling process, and a supplier capable of meeting the lead times and consistency requirements of a professional project.

    Why Wall Panels Are Increasingly Specified in Design Practices

    Wall panels have moved from an occasional feature element to a mainstream specification material across several reasons. Clients increasingly arrive at design consultations having seen panels on social media and in showrooms — the demand is there. More importantly, panels solve problems that other finishes don’t: they add acoustic performance, create three-dimensional surface interest without paint or wallpaper, and can be installed without wet trades.

    For interior designers, the practical benefit is a surface material that photographs well, holds up in client presentations, and delivers a premium result without requiring specialist contractors.

    The Three Panel Categories Designers Should Know

    Solid Wood Slat and Fluted Panels

    The GroovePanel® solid wood range covers fluted, grooved, and ribbed profiles in real timber. These are the panels specified for premium residential feature walls, high-end hospitality environments, and any project where material authenticity — visible grain, natural colour variation, solid timber construction — is part of the design brief.

    Acoustic Slat Panels

    The SoundPanel™ range combines visual quality with measurable acoustic performance. Timber slats on acoustic felt backing reduce reverberation and manage echo in open-plan spaces, home offices, media rooms, and commercial environments. For designers specifying into projects with acoustic requirements — offices, hospitality, residential open-plan — this is the category to specify.

    Stone Effect Panels

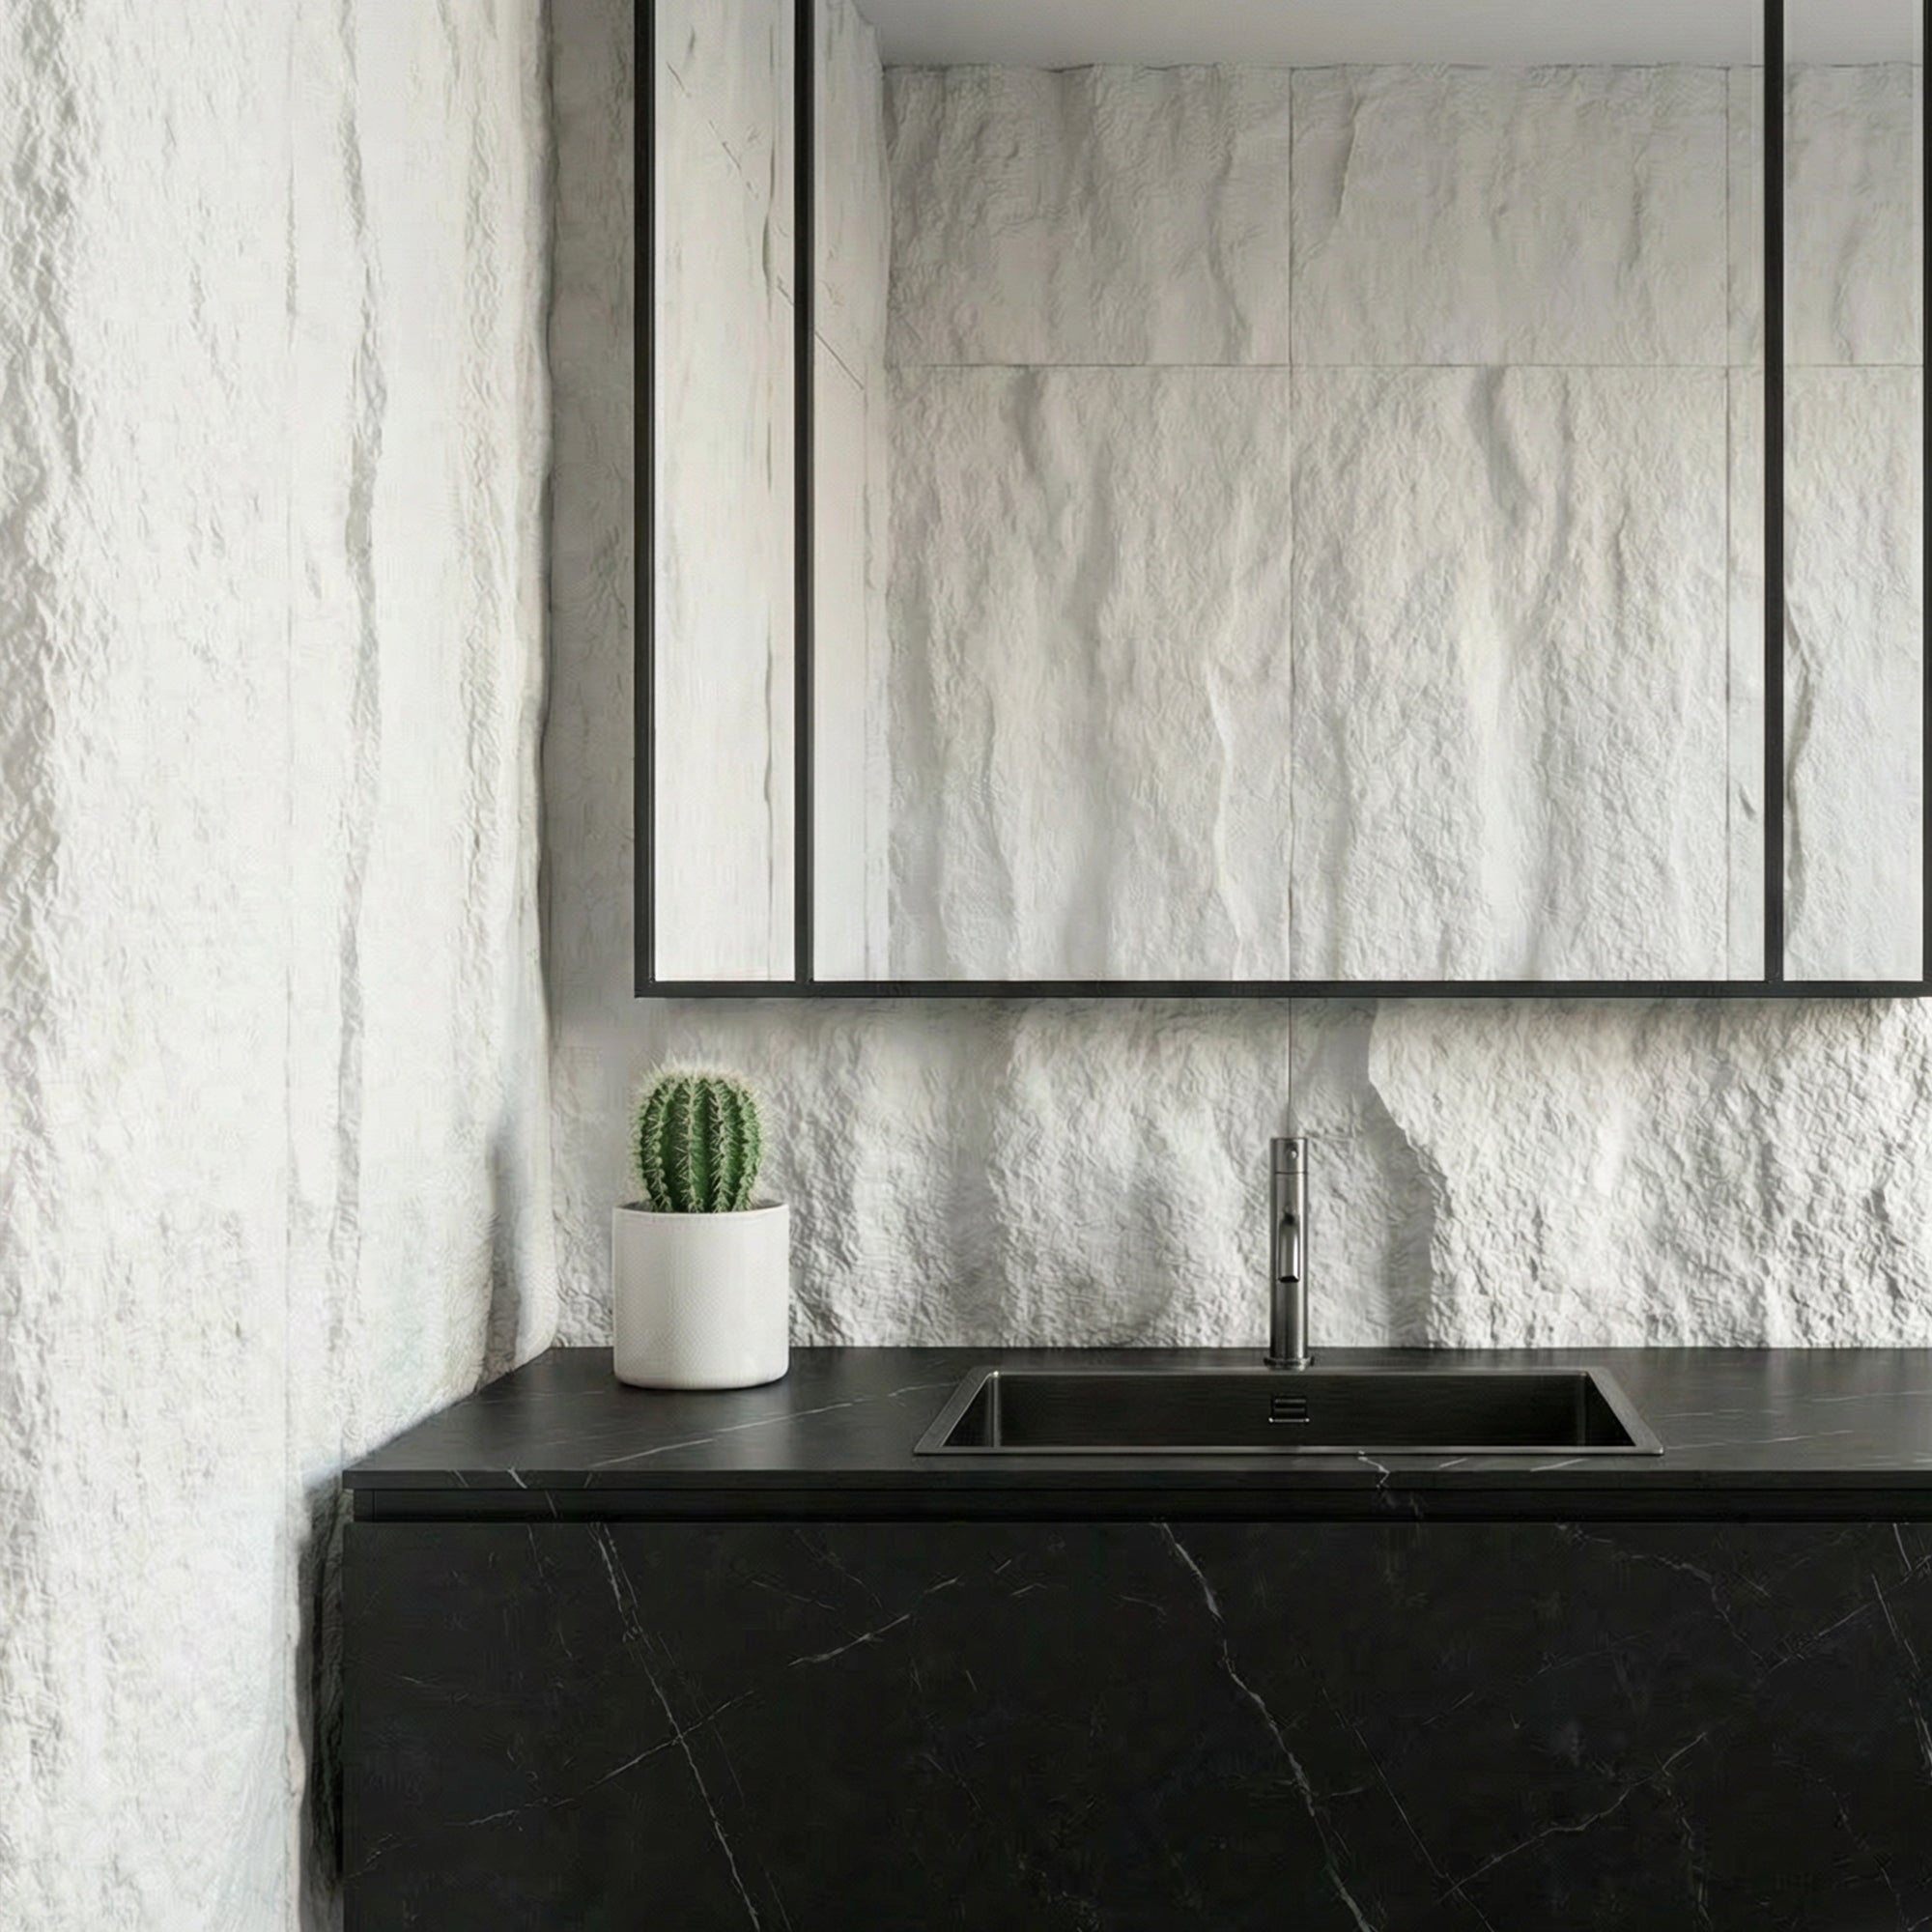
    The RockSurface® range delivers three-dimensional stone-effect surfaces in lightweight panel format. Where a client brief calls for a stone aesthetic on a wall that cannot bear real stone — or where the budget, timeline, or installation access makes real stone impractical — RockSurface® provides the visual result without the structural and logistical constraints.

    Sampling: The Essential First Step

    No professional specification should be made without physical samples assessed in the actual project space. Panels read very differently under different lighting conditions — what looks warm and rich under the showroom lighting at a trade event may appear flat and grey in a north-facing room, and vice versa.

    The Panel Hub provides samples across the full product range. For designers working on multiple projects, maintaining a sample library of the most-specified products is a practical investment that speeds up the specification process and reduces the risk of on-site surprises.

    Technical Data for Specifications

    Professional specifications require more than a product name and a finish description. When specifying wall panels, the information typically required includes:

    • Panel dimensions and weight per m²
    • Substrate material and core construction
    • Surface finish and treatment specification
    • Fire classification (Euroclass rating)
    • Acoustic performance data where relevant (NRC or sound absorption coefficient)
    • Installation method — adhesive, mechanical fixing, or clip system
    • Recommended substrate types

    Contact The Panel Hub directly for technical data sheets for any product in the range.

    Trade Account and Project Support

    Design professionals working on commercial, hospitality, or large-scale residential projects should register for a trade account with The Panel Hub. Trade account holders receive priority sampling, project pricing support, and access to the team for technical queries during the specification and installation phases of a project. Sign up today!