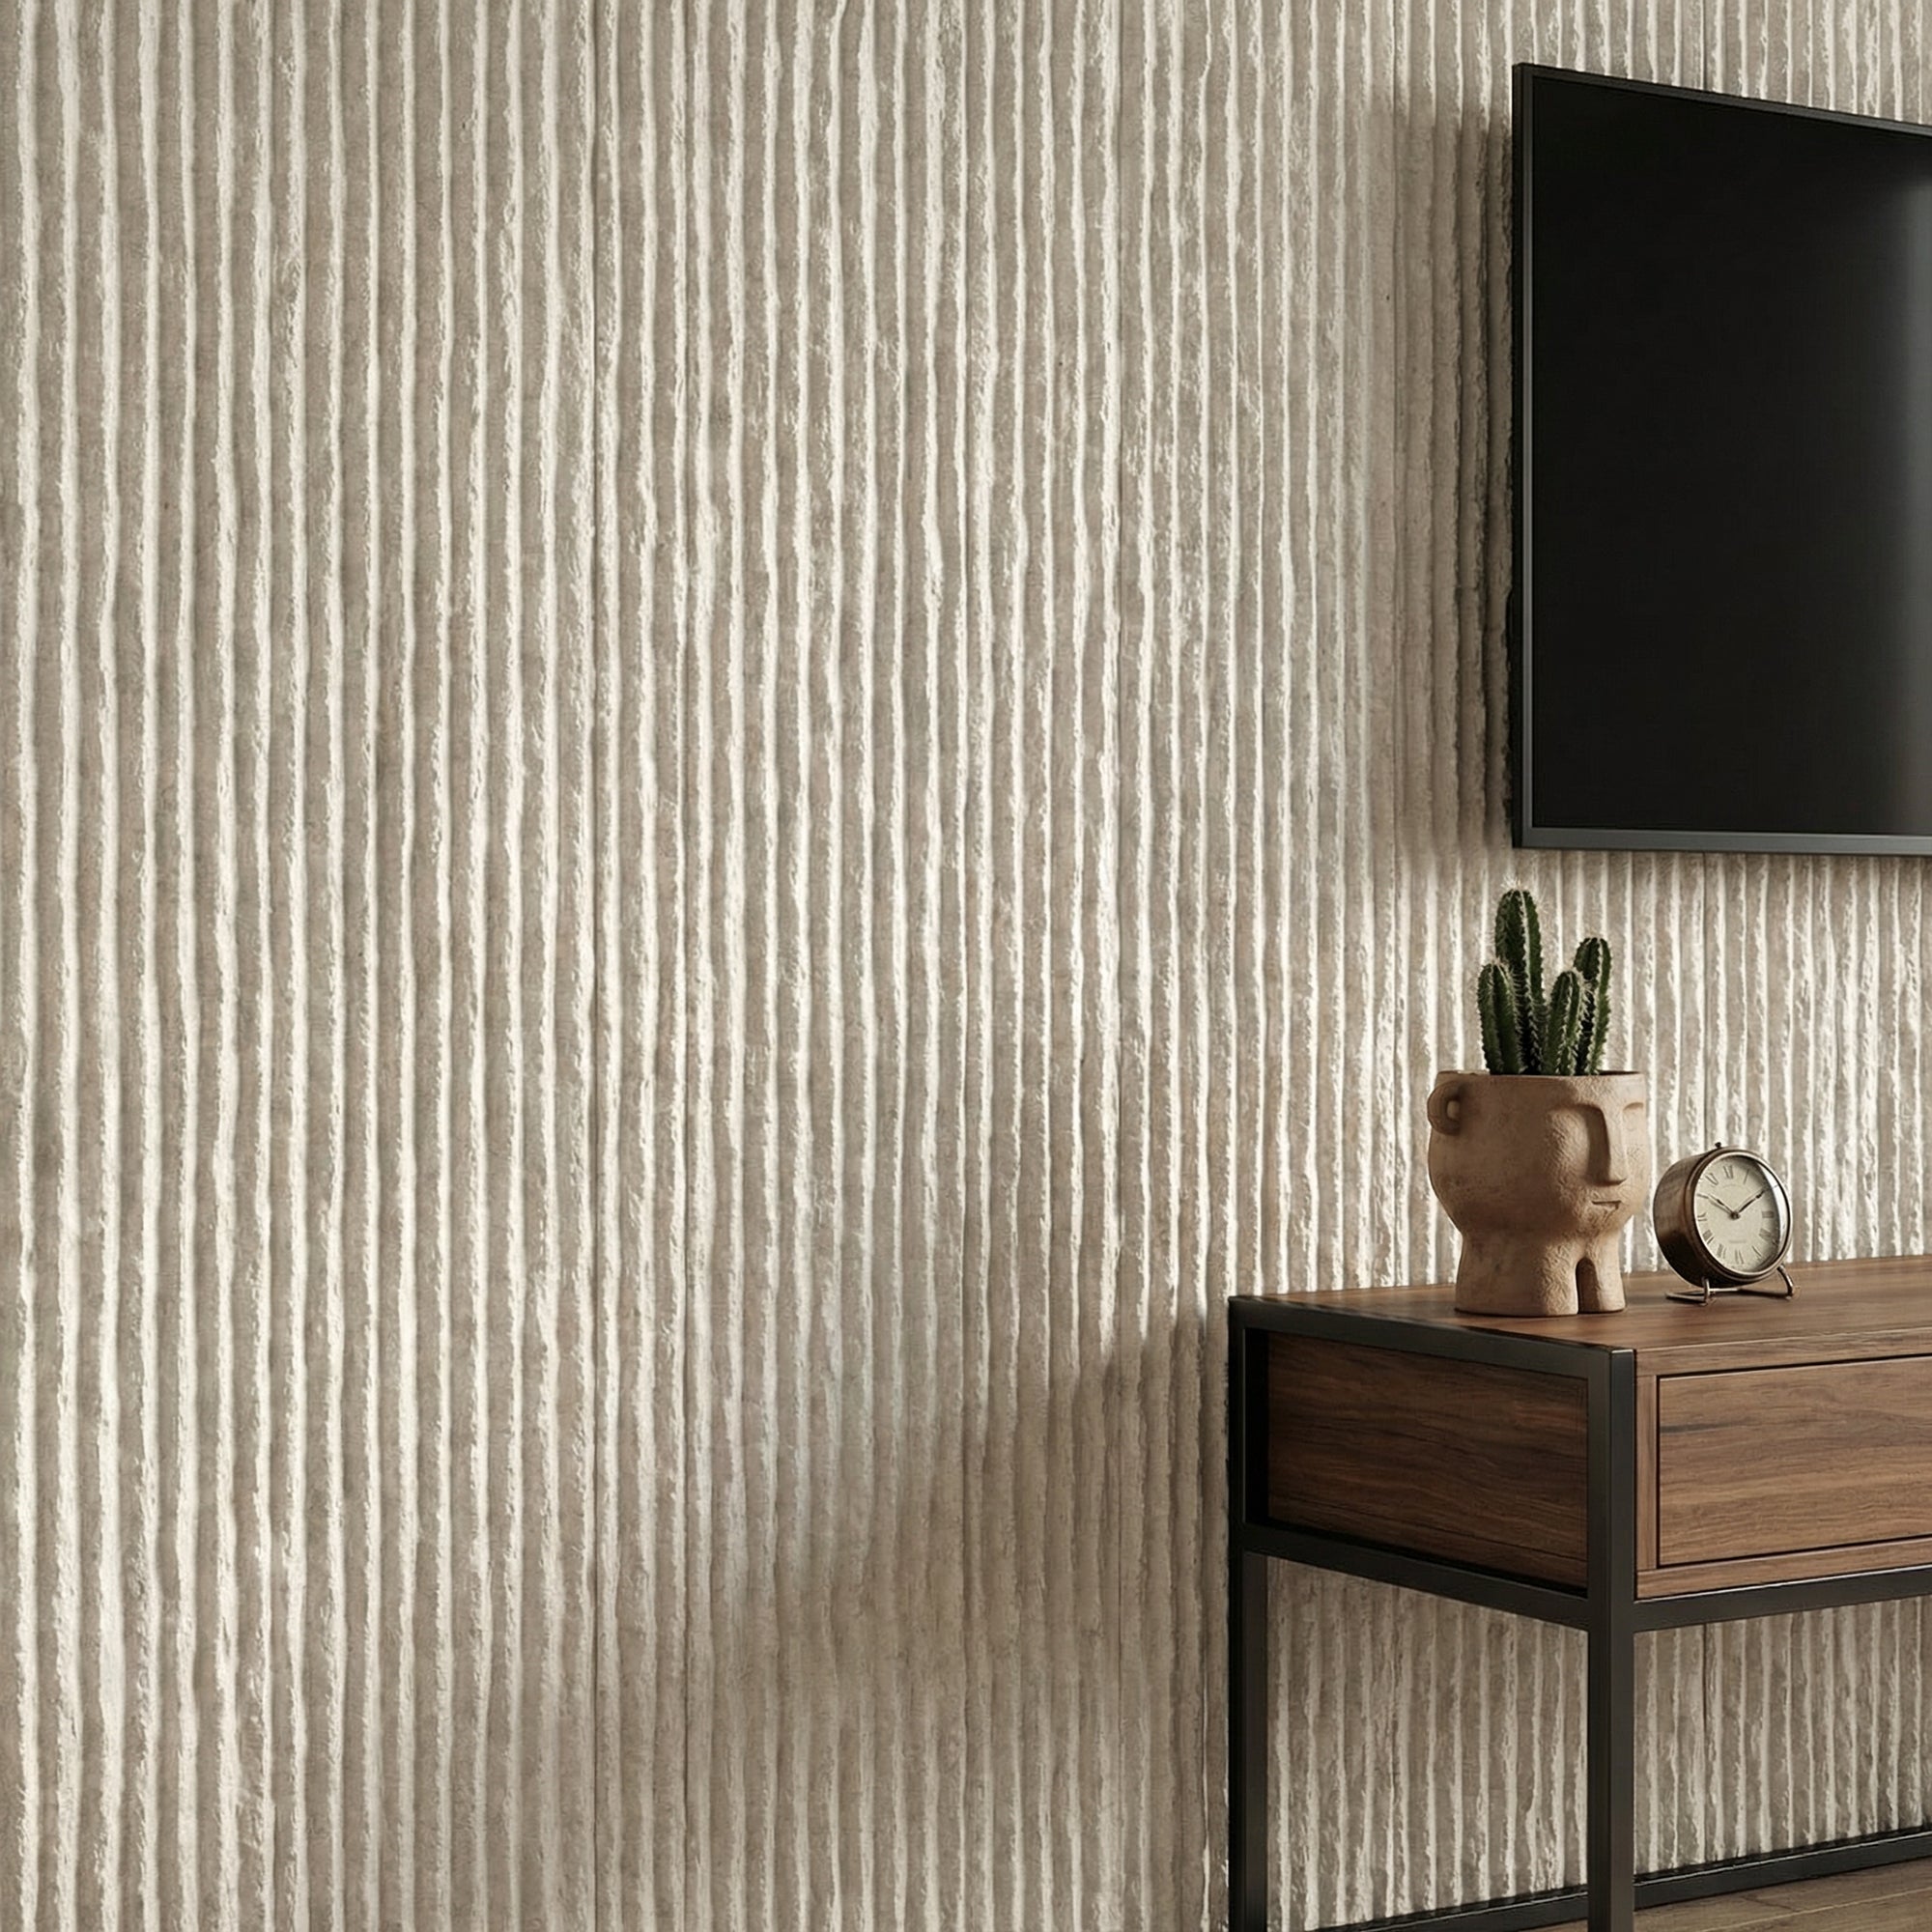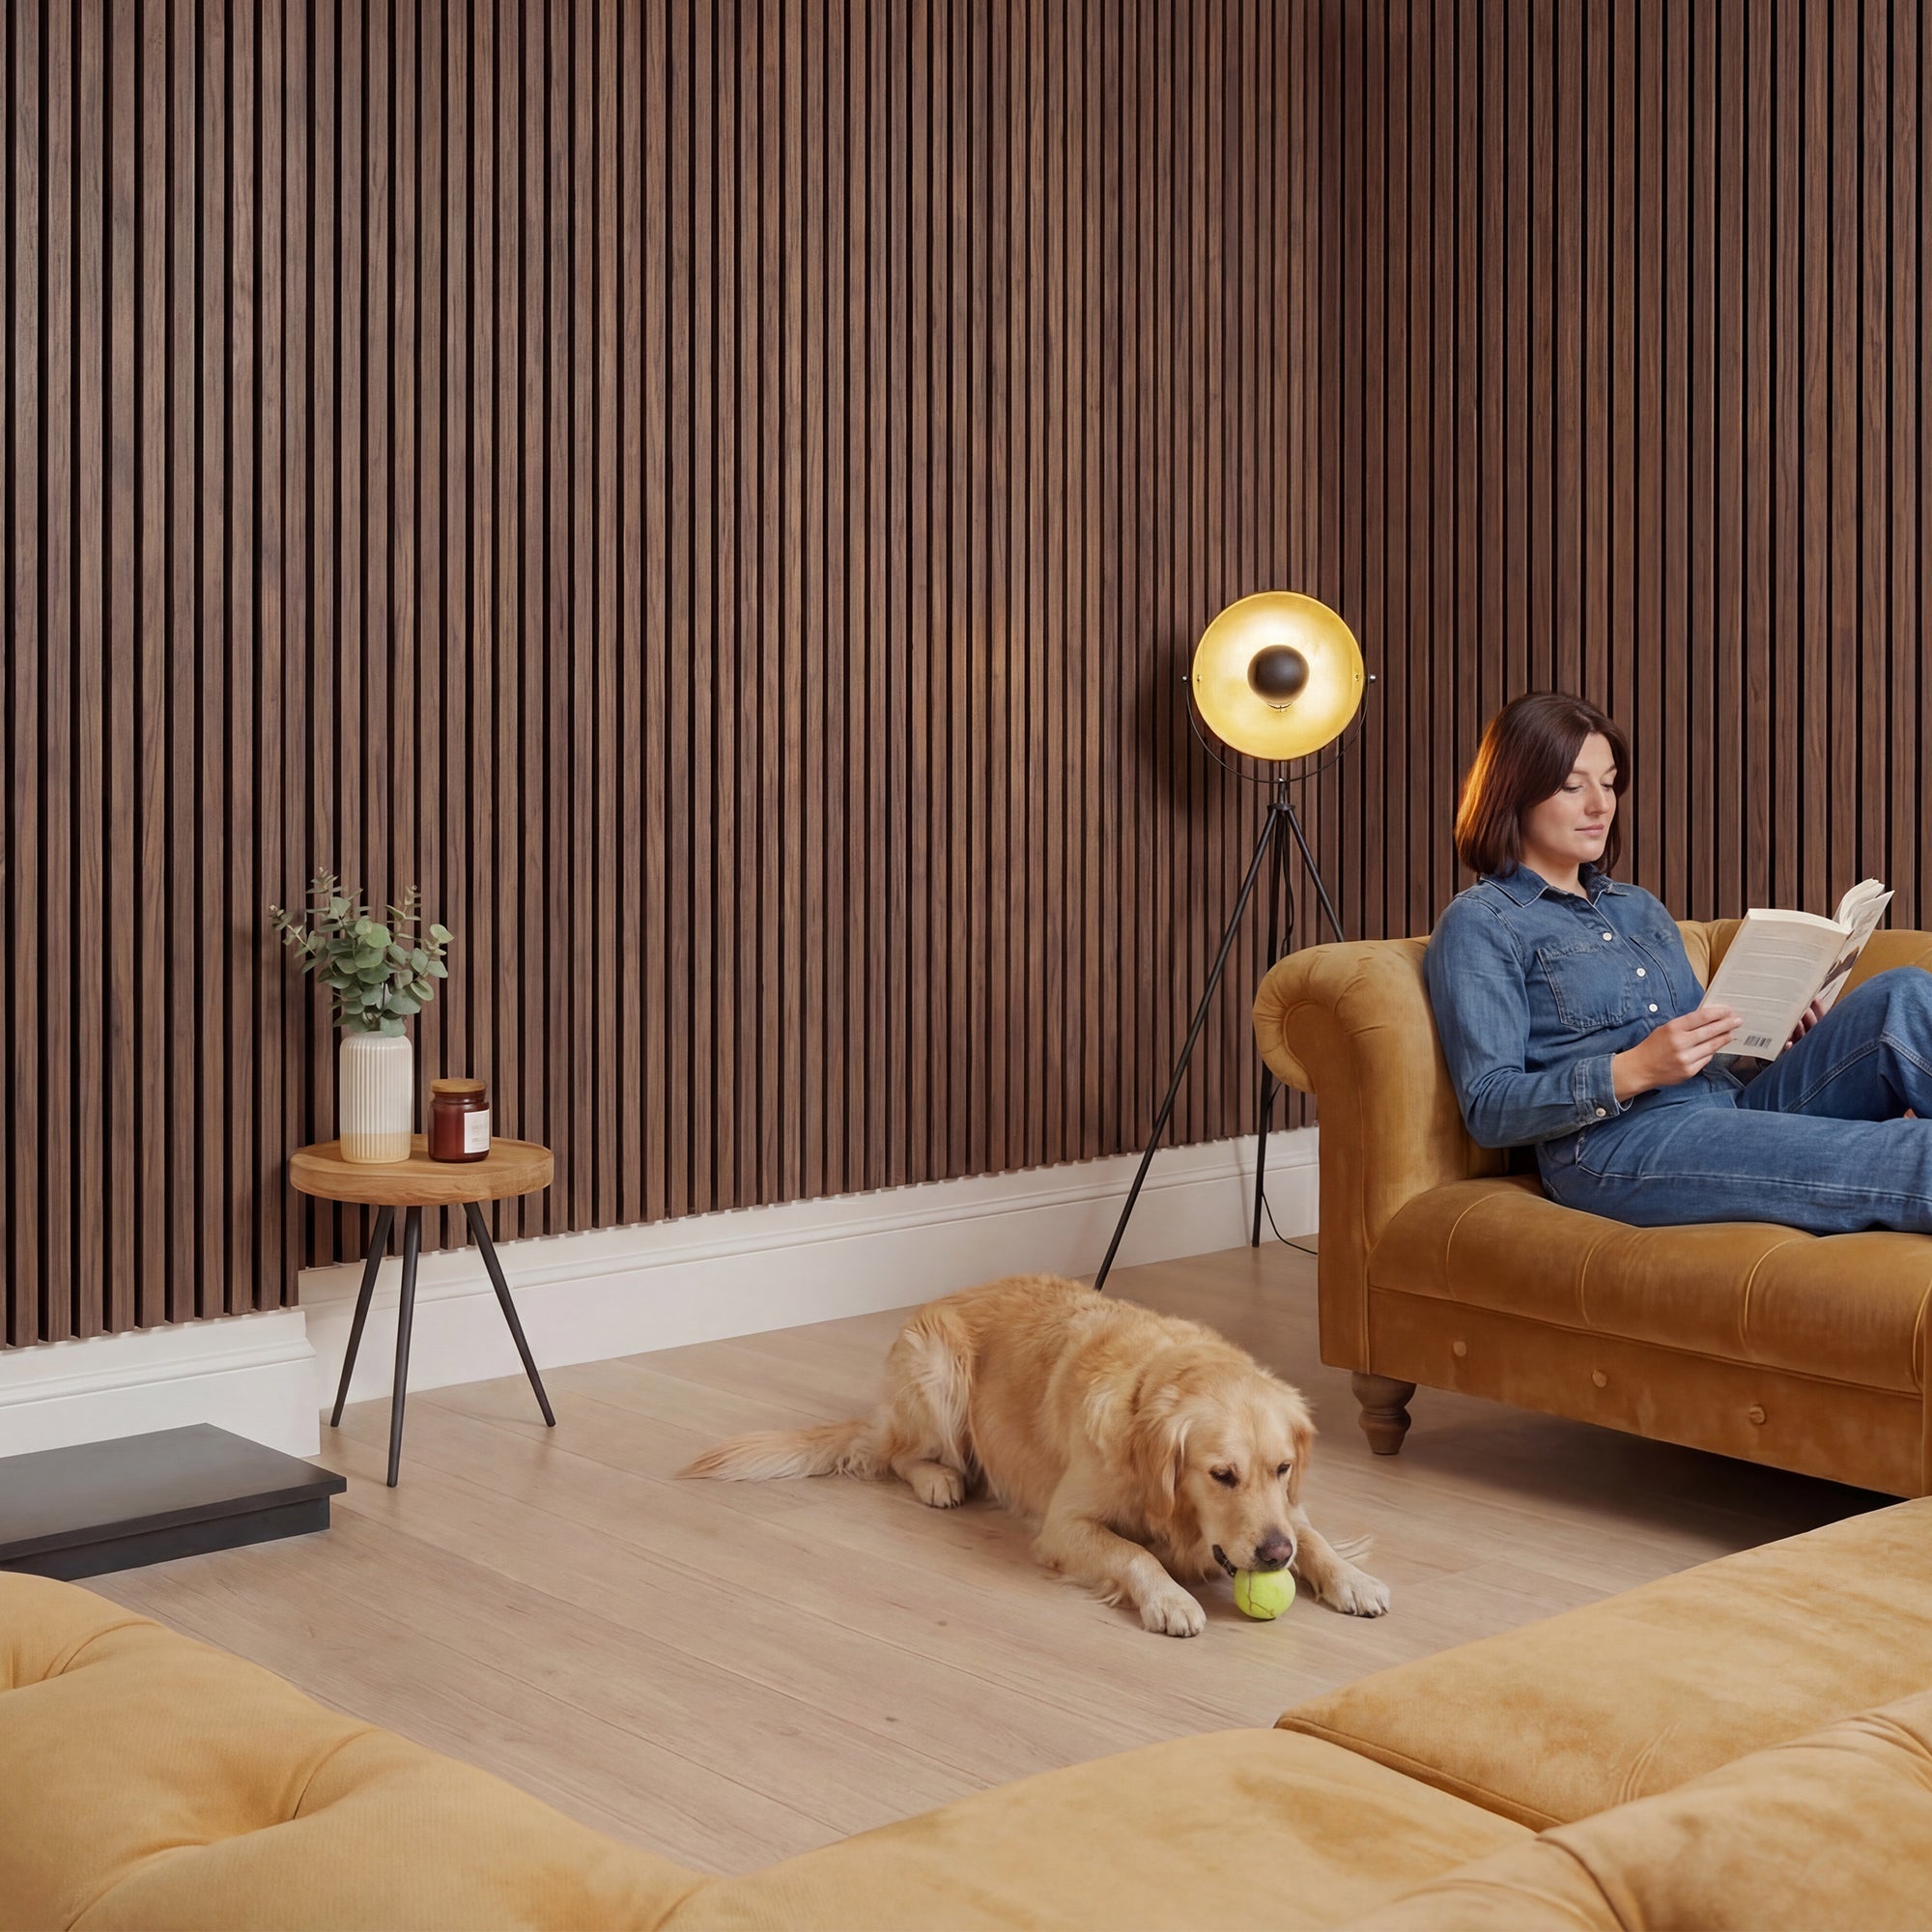
A media wall transforms an ordinary living room into a cinematic focal point — combining your TV, storage, lighting, and feature wall into one seamless design statement. When finished with wood panels, the result sits somewhere between a luxury hotel lounge and a high-end interior showroom.
This guide walks you through every step: from planning your layout to mounting your TV and adding the lighting touches that make a media wall truly stand out.
Read More: 5 Media Wall Ideas and Designs for Inspiration
Table of Contents
What Is a Media Wall?
A media wall is a purpose-built feature wall designed to house your TV, AV equipment, and often integrated shelving or cabinetry — all unified behind a single decorative surface treatment. Unlike a standard TV mounted on a plain wall, a media wall is a considered design element that becomes the room’s centrepiece.
Wood panels are the most popular finishing material for media walls — they add warmth, texture, and acoustic benefit while complementing both modern and transitional interior styles.
Planning Your Media Wall
Good planning separates a media wall that looks professionally designed from one that feels improvised. Before ordering materials, work through these decisions.
Wall Dimensions and TV Size
Measure your wall from floor to ceiling and decide how much of it the media wall will cover. As a general guide:
- A full-height, floor-to-ceiling installation creates the most dramatic impact but requires careful cable management
- A two-thirds height configuration works well in rooms with lower ceilings
- For TV sizing, the ideal viewing distance is approximately 1.5–2.5x the screen diagonal — a 65″ TV suits a room depth of roughly 2.5–4 metres
Cable Management
Plan cable routing before any panels go up. Surface-mounted trunking can be hidden behind panels, or cables can be chased into the wall if you have access. Decide upfront where your power points and media connections will sit — retrofitting these after panels are installed is expensive and disruptive.
Fireplace Integration
Many media walls incorporate an electric fireplace beneath the TV. If that’s your plan, choose a fireplace with sufficient safety clearance distance, and check that your wall panels carry an appropriate fire-safety rating for proximity to heat sources.
Choosing the Right Wood Panels for a Media Wall
Not all wood panels suit a media wall equally well. Here’s how to match panel type to your design goals.
Acoustic Slat Panels — Best for Reducing Echo
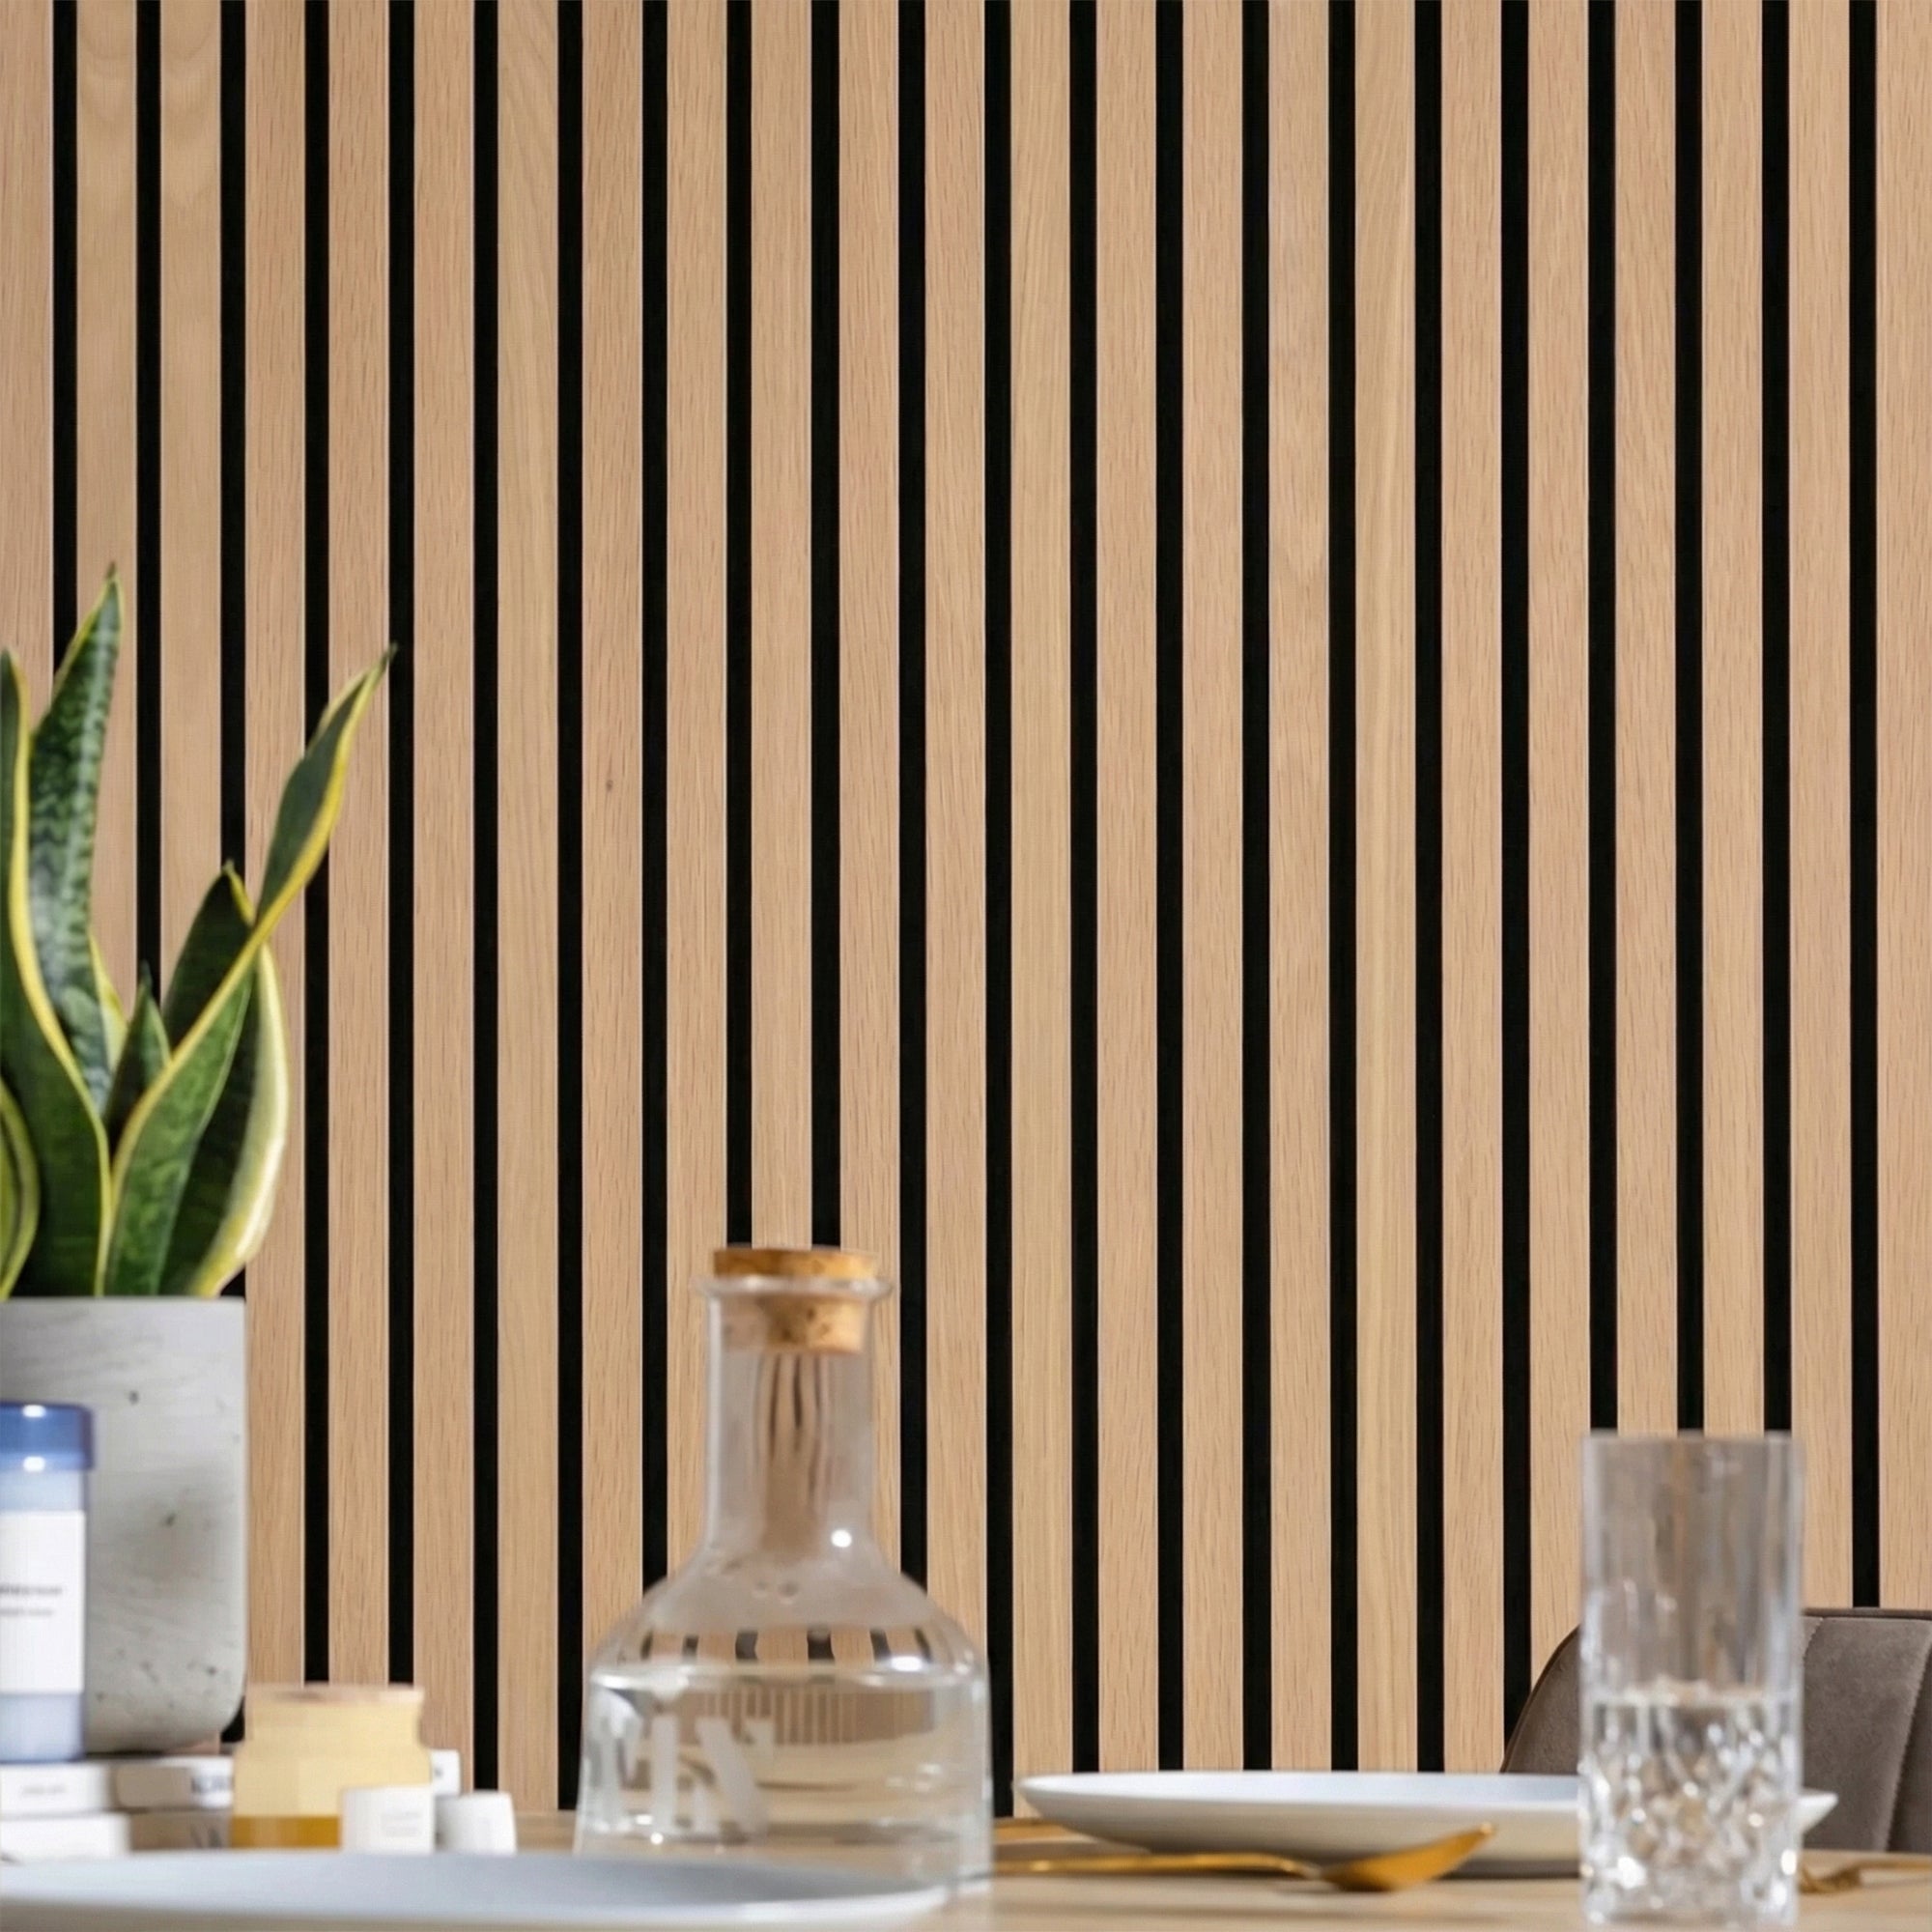
If your living room suffers from echo or has hard surfaces (stone flooring, glass, high ceilings), acoustic slat panels are the ideal choice. The textured surface and acoustic backing absorb sound reflections, improving audio clarity from your TV and sound system.
Our American Acoustic Slat Wood Wall Panels | SoundPanel™ are particularly well suited to media walls — the deep slat profile creates a rich shadow-play effect that looks exceptional with backlighting, while the real wood veneers deliver genuine warmth.
Solid Wood Mosaic Panels — Best for Visual Drama
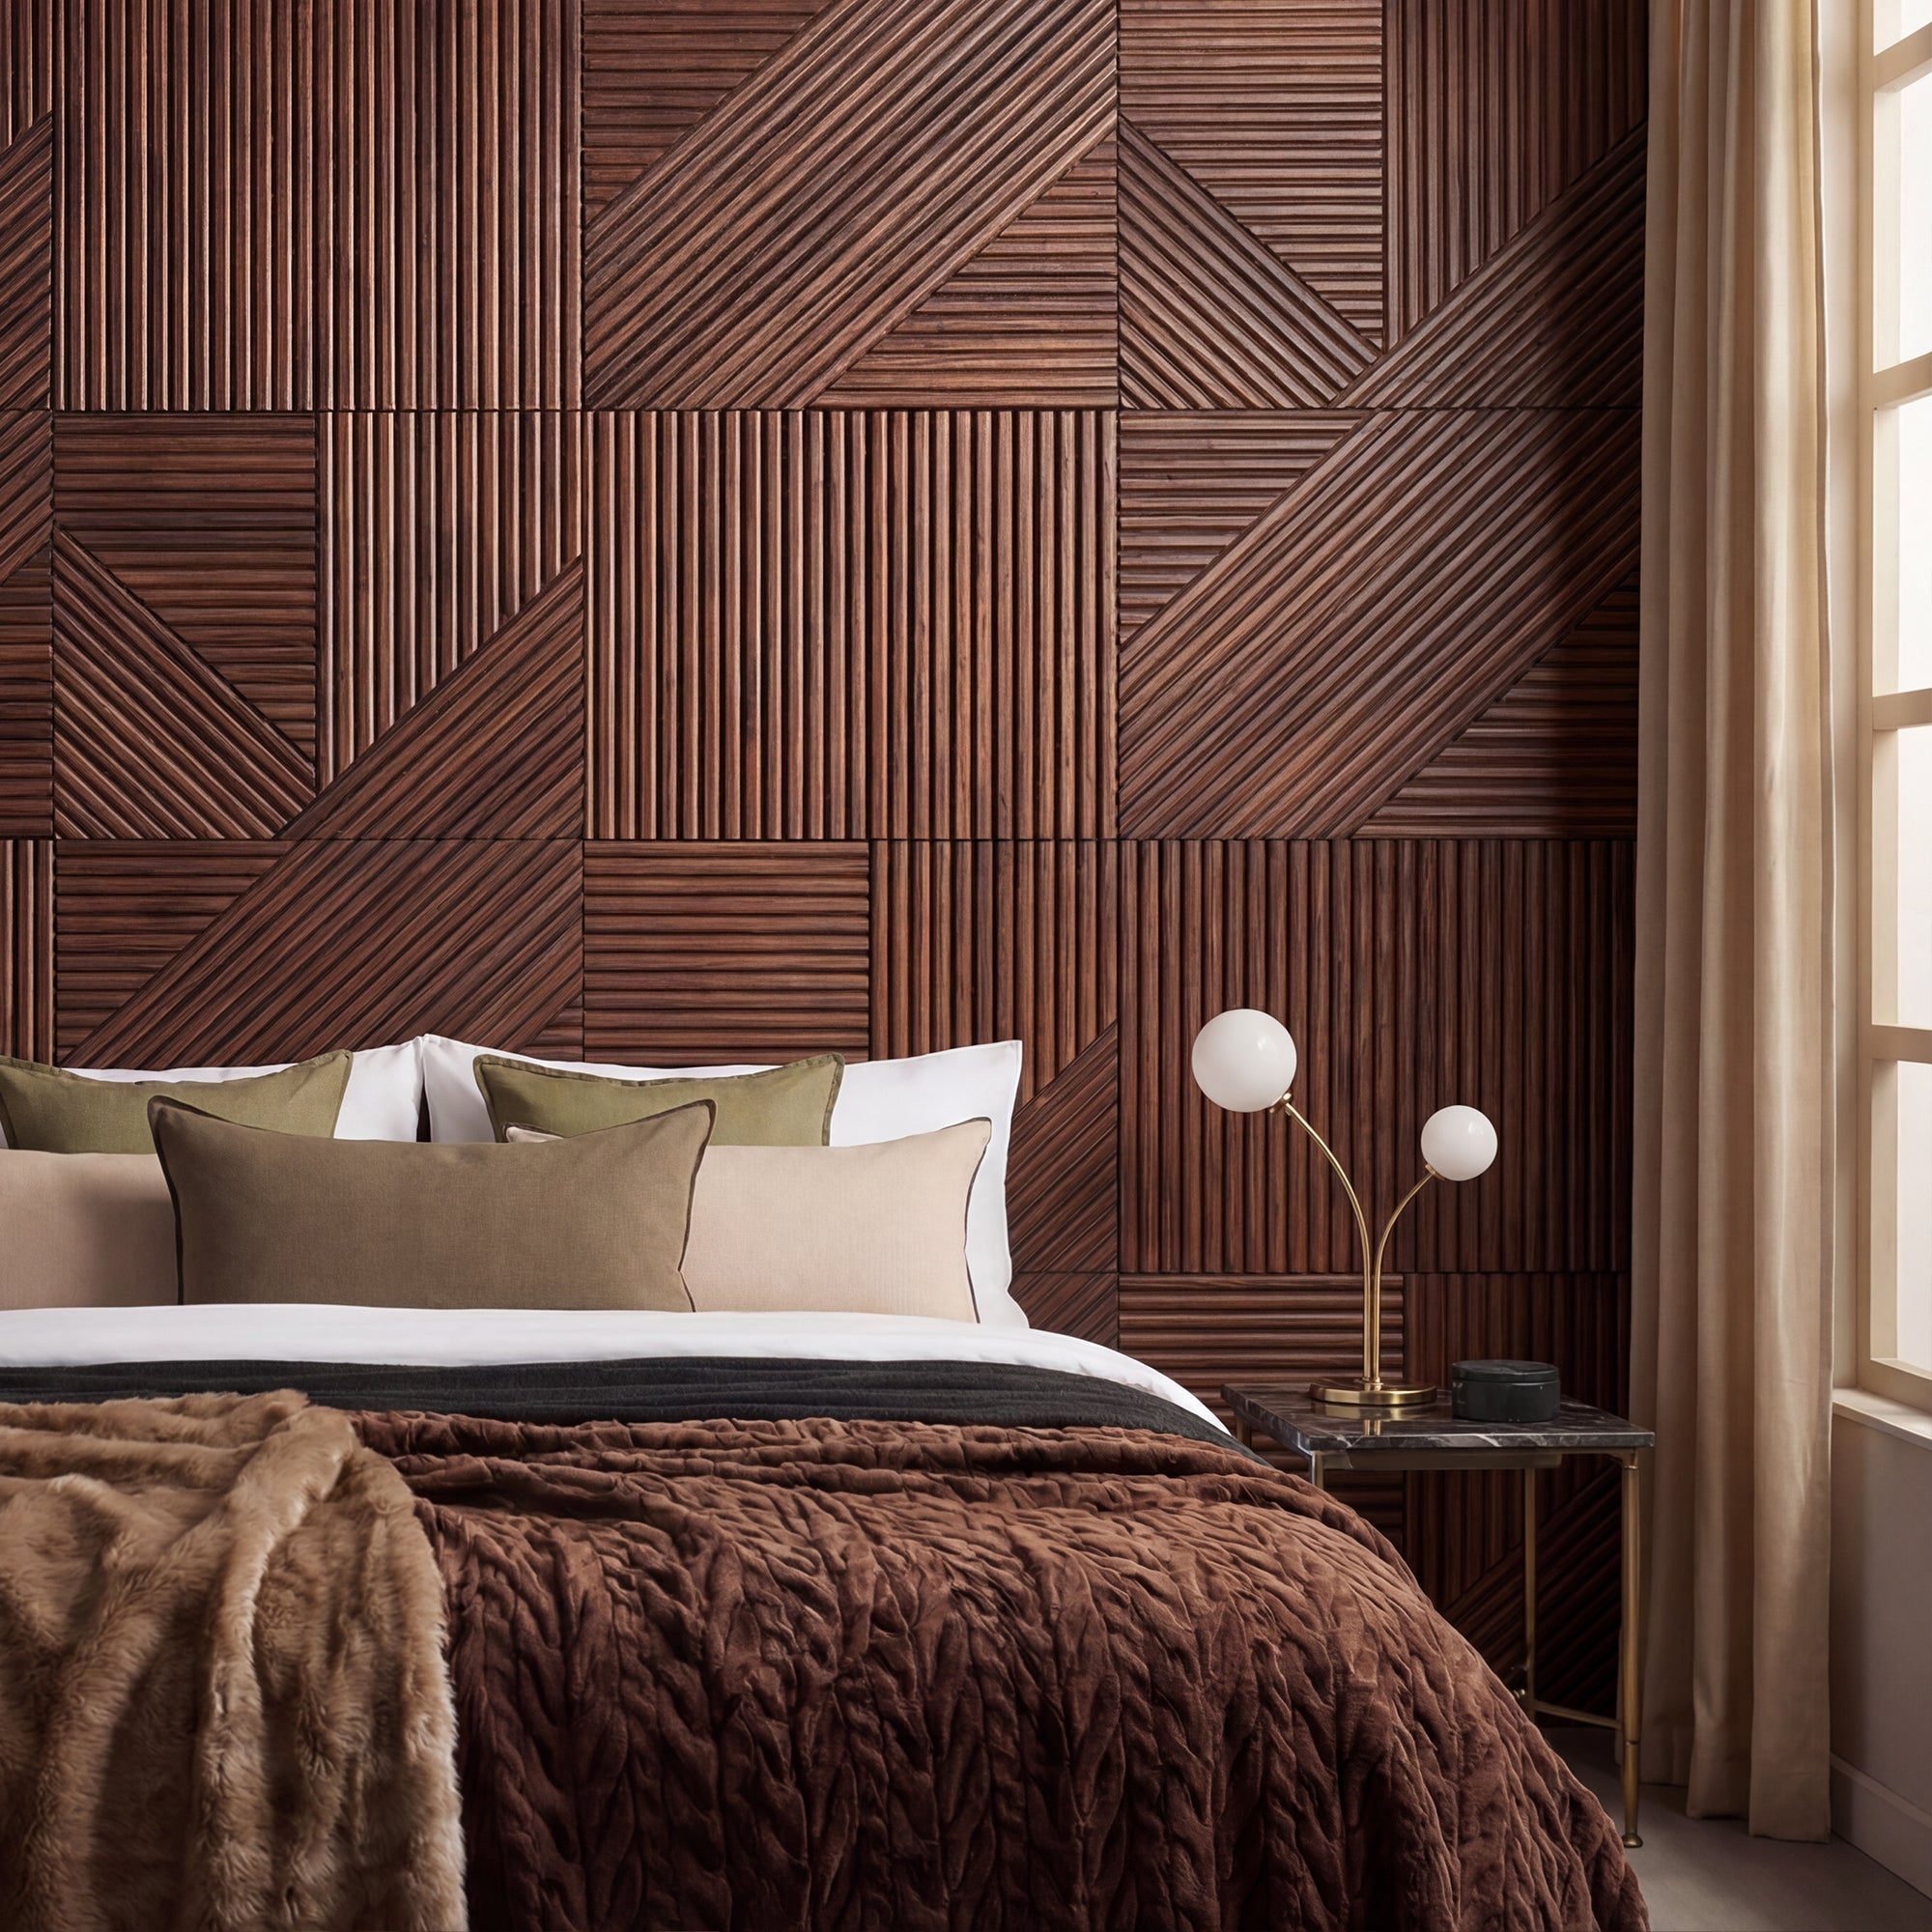
For a media wall where the design statement is the priority, solid wood mosaic panels deliver extraordinary texture. The interlocking geometric patterns of our Crossing Lines Solid Wood Wall Panels | GroovePanel® create a sophisticated visual rhythm that frames the TV without competing with it.
Choosing Your Finish
Consider the rest of the room when selecting a finish:
- Walnut / Dark tones — dramatic and cinematic; suits modern and industrial interiors with contrasting light furnishings
- Golden Oak / Light tones — warm, Scandinavian feel; suits neutral interiors and rooms with natural light
- Mixed tones — combining a dark panel directly behind the TV with lighter panels on surrounding sections adds depth without visual chaos
Read More: Interior Wood Slat Wall Ideas: Inspiration for Every Room
Tools and Materials You’ll Need
- Wood wall panels (measure your wall and order with 10–15% extra for wastage and cuts)
- High-quality panel adhesive
- Spirit level
- Tape measure and pencil
- Fine-tooth handsaw or circular saw with fine-tooth blade
- Drill and drill bits
- Wall plugs and screws (for perimeter fixing on larger installations)
- Sandpaper (120 and 180 grit, for cut edges)
- Stud finder
- LED light strip kit (optional but highly recommended)
- TV wall mount bracket (low-profile or tilting, depending on viewing angle preference)
Step-by-Step: How to Build a Media Wall with Wood Panels
Step 1 — Prepare the Wall Surface
The wall must be clean, dry, and structurally sound before any panels are applied. Remove existing artwork, shelving, or fixtures. Fill any holes or cracks and allow filler to fully cure. If the wall has a glossy painted surface, lightly sand it to improve adhesion. Wipe down with a dry cloth to remove dust.
Mark the centre of your wall with a vertical pencil line — this is your reference point for ensuring the panel layout is symmetrical around the TV position.
Step 2 — Mark Out Your Layout
Using your centre line as a reference, mark where each panel row will start and end. Use a spirit level to draw horizontal guide lines. Decide whether panels will run full height or to a specific panel-height mark. Mark the TV bracket position and confirm it aligns with a wall stud for safe mounting.
Dry-lay a few panels on the floor to confirm your pattern direction and starting point before applying any adhesive.
Step 3 — Install the Panels
Apply panel adhesive in a serpentine pattern to the back of each panel — enough to create solid contact across the full surface, but not so much that it squeezes out the sides on contact. Press the panel firmly to the wall and hold for 30–60 seconds. Check alignment with your spirit level before the adhesive sets.
Work from your centre line outwards in both directions, maintaining consistent spacing between panels. For edges and corners, measure and cut panels with a fine-tooth saw, then lightly sand cut edges before installation.
Tip: Leave the panels in the TV zone unmounted until after the TV bracket is secured to the wall.
Step 4 — Mount the TV Bracket
With panels in place everywhere except the TV zone, mark and drill your TV bracket fixing points into the wall studs. Feed your HDMI, power, and other cables through the wall or trunking channel before mounting. Then complete the panel installation around the bracket. The panels should sit flush to, or slightly proud of, the bracket base plate — this creates a clean floating appearance once the TV is hung.
Step 5 — Add LED Strip Lighting
Backlighting transforms a media wall. Our LED Light Strip Kit is designed to mount directly behind SoundPanel™ and GroovePanel® installations. Position strips along the top edge of the panel run, down the sides, or behind the TV for a bias-light effect that reduces eye strain during viewing.
LED strips run horizontally between panel rows also work well — they highlight the slat or pattern depth and create a layered lighting effect that photographs exceptionally well.
Step 6 — Final Touches
Hang the TV. Dress any exposed cable runs with matching cable trunking in a tone that complements the panel finish. Add shelving, cabinetry, or decorative elements either side of the TV if desired.
Stand back and review the panel alignment from a distance — minor adjustments are still possible within the first few hours before the adhesive fully cures. Once satisfied, panels reach full bond strength within 24 hours.
Media Wall Design Ideas
Full-Height Slat Panel Wall with Central TV
A floor-to-ceiling installation of SoundPanel™ acoustic slat panels creates a bold, hotel-grade media wall. The TV mounts on a low-profile bracket, sitting flush within the panel surface. LED backlighting grazes down the slat texture for a warm, diffused glow that accentuates the wood grain.
Mixed Tone — Dark Centre, Light Perimeter
Use walnut-tone panels directly behind the TV, transitioning to golden oak on the surrounding panels. The contrast creates a natural frame for the TV without any additional moulding or trim — the tonal shift does all the work.
Geometric Mosaic Feature Wall
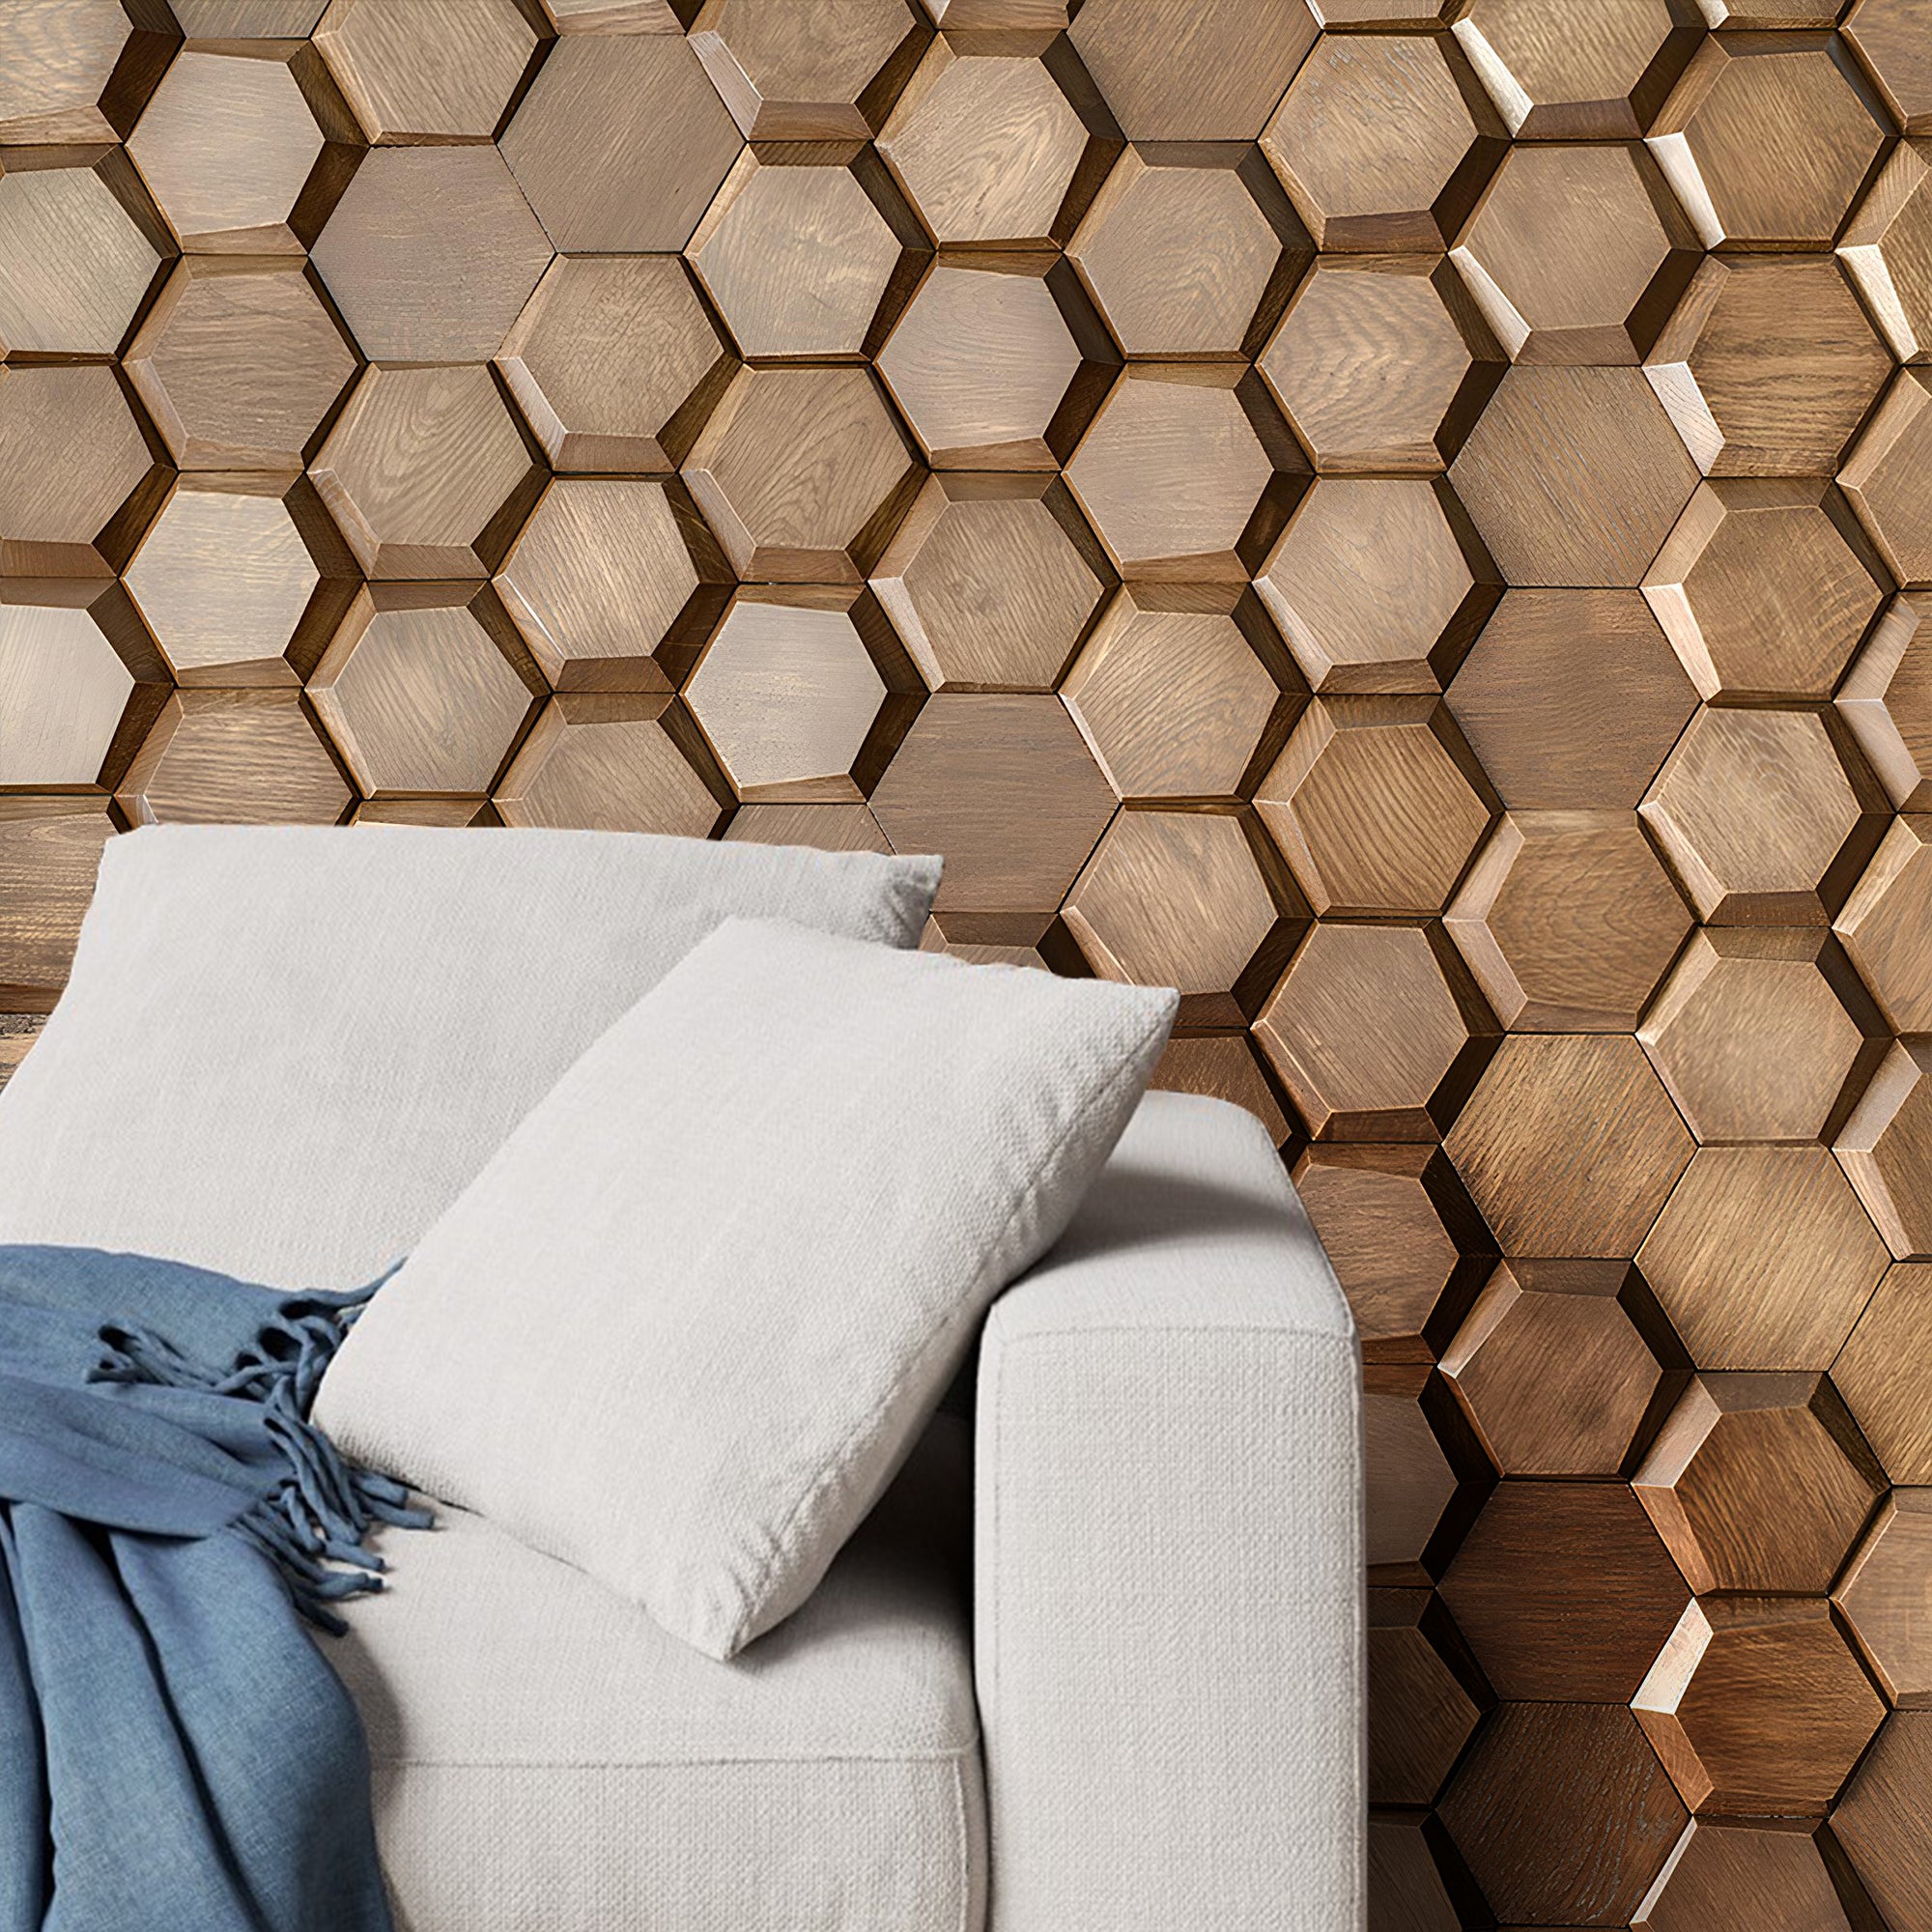
A media wall built from Honey Mosaic Wood Wall Panels | GroovePanel® creates a genuinely unique installation — the warm, handcrafted aesthetic works especially well in living rooms that lean eclectic or transitional.
Common Mistakes to Avoid
- Skipping the stud finder: Always locate and mark wall studs before mounting the TV bracket. A TV falling from the wall is dangerous and expensive.
- Ignoring cable management until the end: Retrofitting cable channels through installed panels is difficult. Plan routes before the first panel goes up.
- Applying adhesive to a dusty wall: Dust acts as a release agent. A single wipe-down before installation dramatically improves adhesion.
- Not checking for level frequently: Check with a spirit level after every third or fourth panel, not just at the end of each row. Errors compound.
- Ordering exactly the right amount of material: Always add 10–15% for wastage. Running short mid-installation and waiting for a new batch risks visible colour variation between batches.
Frequently Asked Questions
Do I need to hire a tradesperson to build a media wall?
For the panelling itself, no — our panels are designed for DIY installation. However, if you’re adding new power sockets, chasing cables into the wall, or integrating a gas or flued fireplace, you’ll need a qualified electrician or gas engineer for those elements.
Can I mount a TV on wood wall panels?
Yes, but the bracket must be fixed into the structural wall behind the panels — not the panels themselves. Panels are decorative and not load-bearing. Use a stud finder to locate wall studs and drill the bracket fixings through the panel surface directly into them.
How long does it take to build a media wall?
A typical DIY media wall with wood panels can be completed over a weekend: half a day for preparation and planning, a full day for panel installation, and a few hours for TV mounting and finishing.
What’s the best wood panel for a media wall?
SoundPanel™ acoustic slat panels are our top recommendation — the acoustic backing reduces echo from the TV and sound system, while the slat profile creates a premium, tactile finish that looks exceptional with backlighting.
Do wood panels work with an electric fireplace?
Yes, provided you maintain the manufacturer’s specified clearance distance between the fireplace and any combustible material. Most electric fireplaces specify a minimum clearance of 100–200mm. Always check the fireplace spec sheet before finalising your panel layout.
Conclusion
A well-built media wall is one of the most impactful single upgrades you can make to a living room — and with the right wood panels, it’s entirely achievable as a DIY project over a weekend.
The keys: plan your layout before touching a panel, manage cables before they become a problem, and choose your panel type to match both the aesthetic and acoustic goals of the space.
Ready to start? Explore our most popular media wall panels:
- American Acoustic Slat Wood Wall Panels | SoundPanel™ — best for acoustic performance and shadow-play lighting effects
- Crossing Lines Solid Wood Wall Panels | GroovePanel® — best for dramatic geometric visual impact
- Honey Mosaic Wood Wall Panels | GroovePanel® — best for warm, handcrafted aesthetic
Shop: LED Light Strip Kit — designed to integrate seamlessly with SoundPanel™ and GroovePanel® installations for effortless ambient lighting behind your media wall.