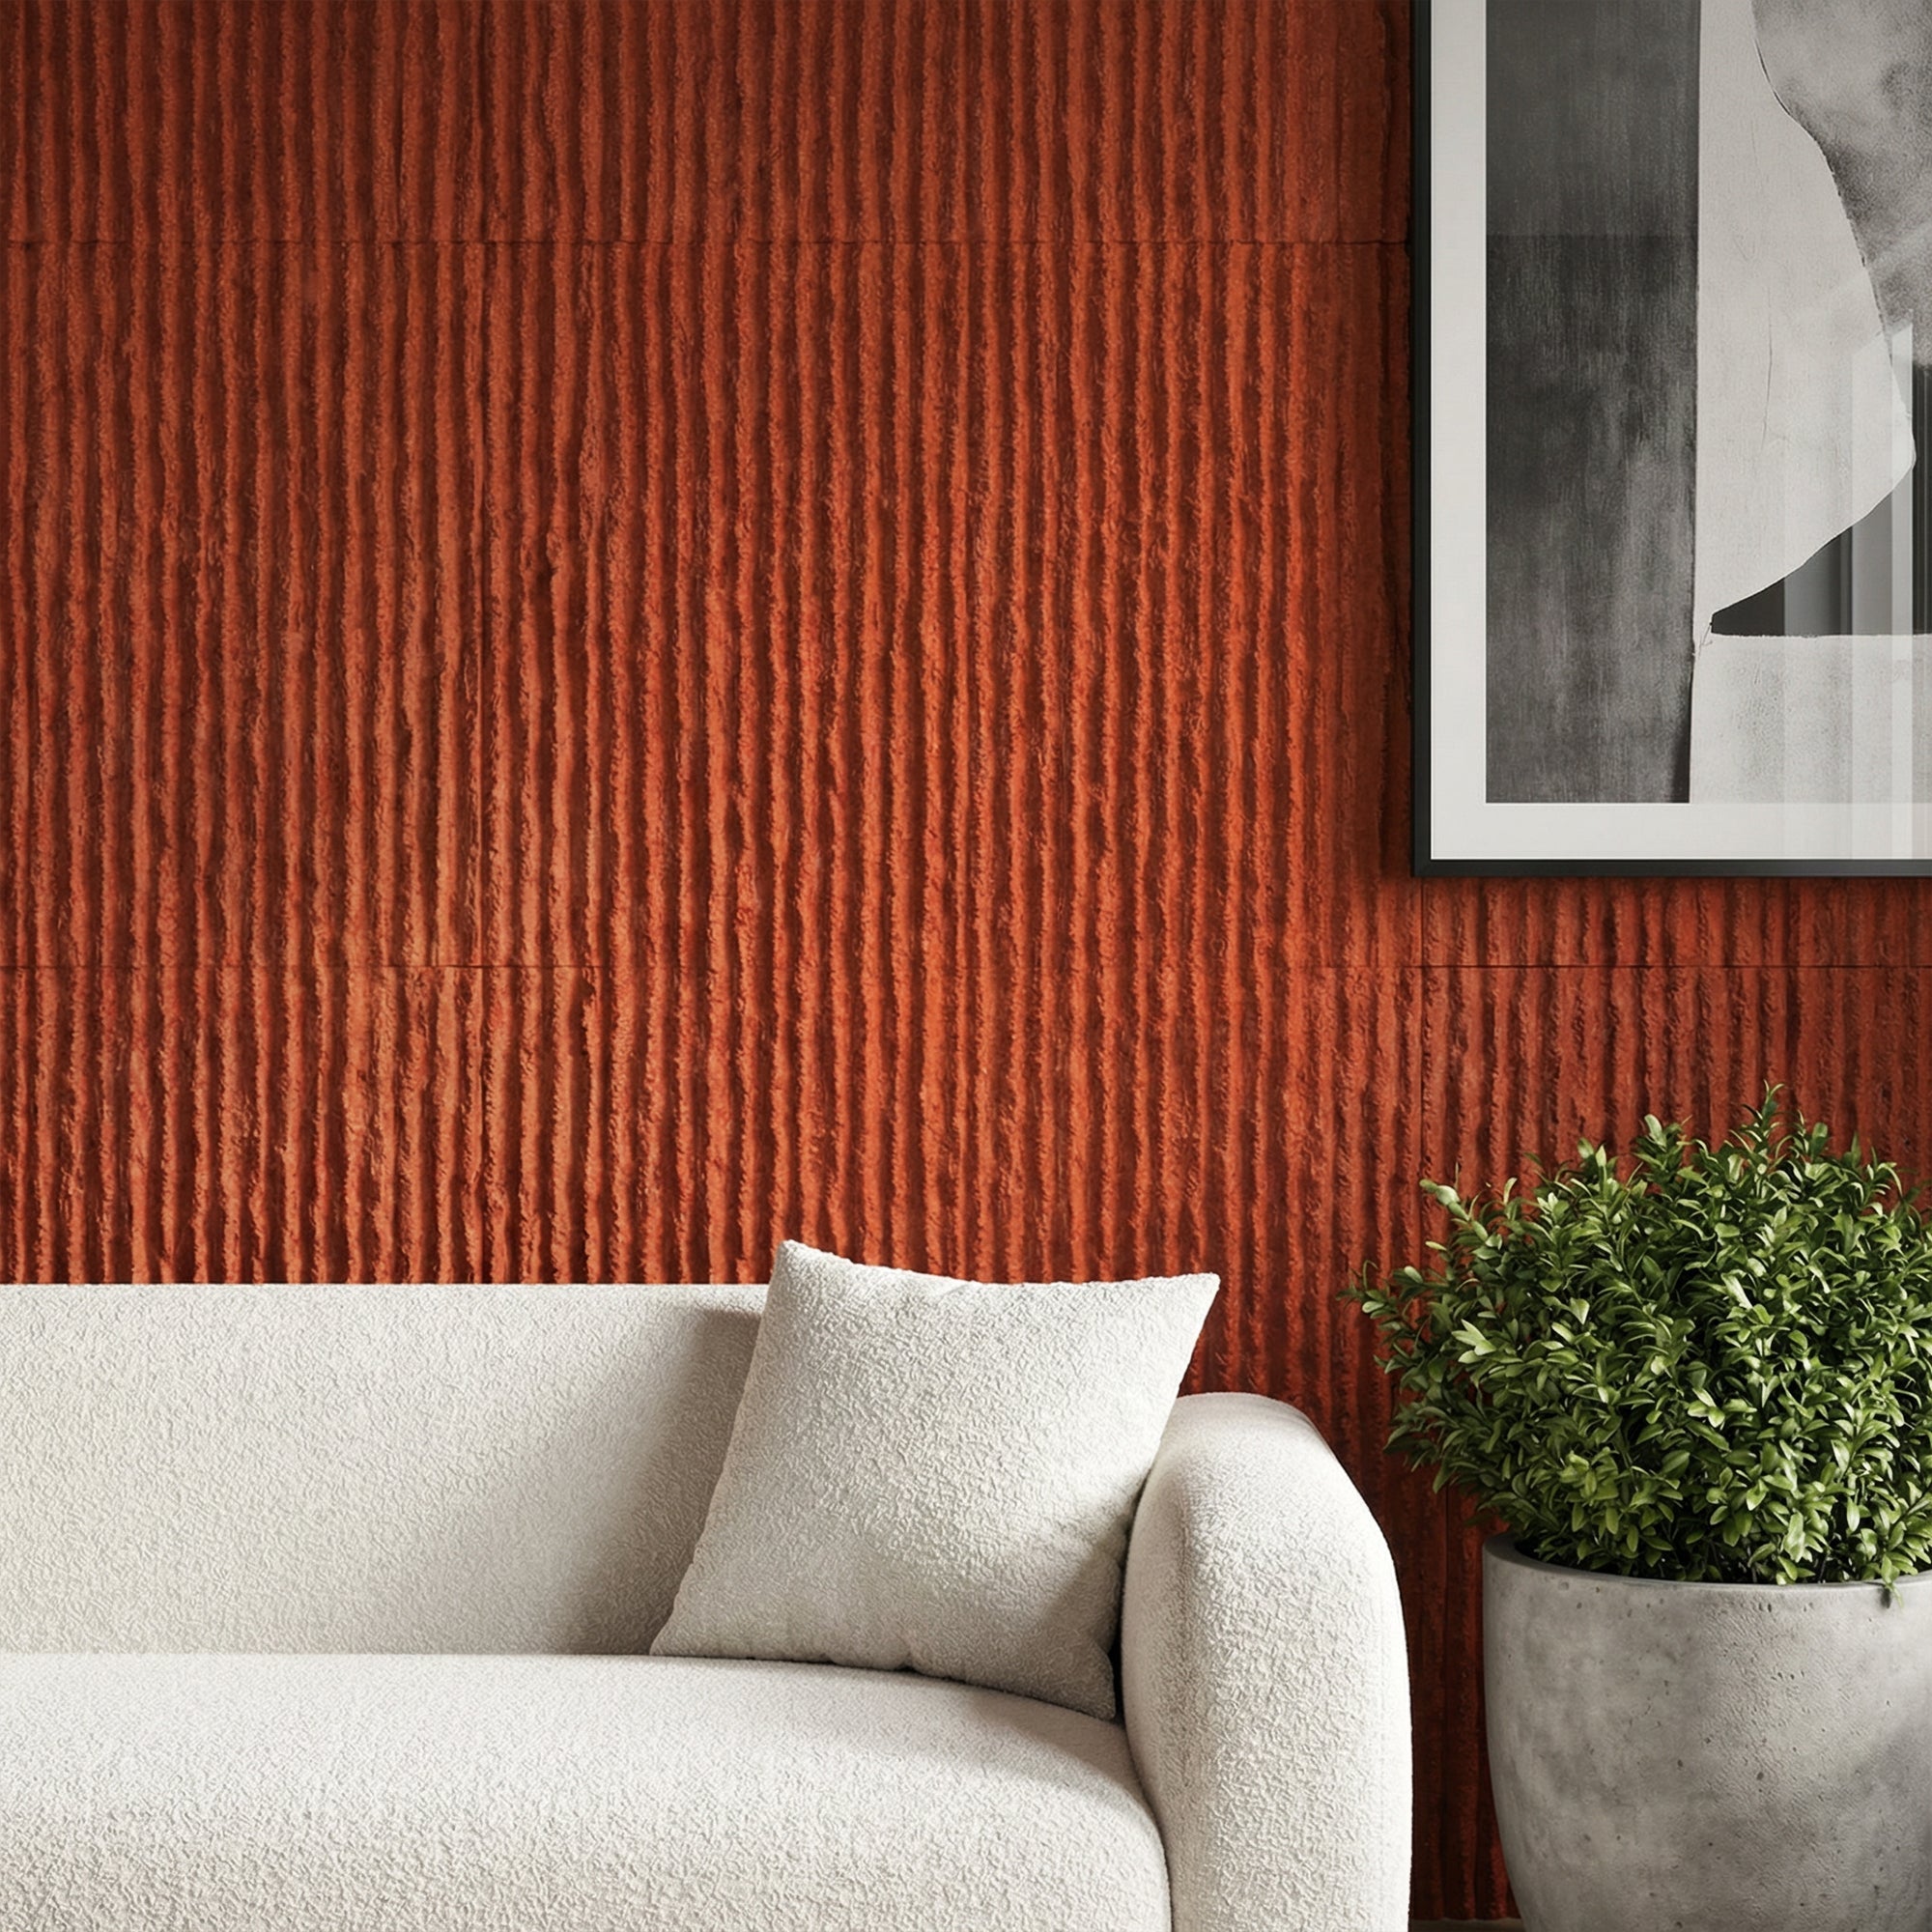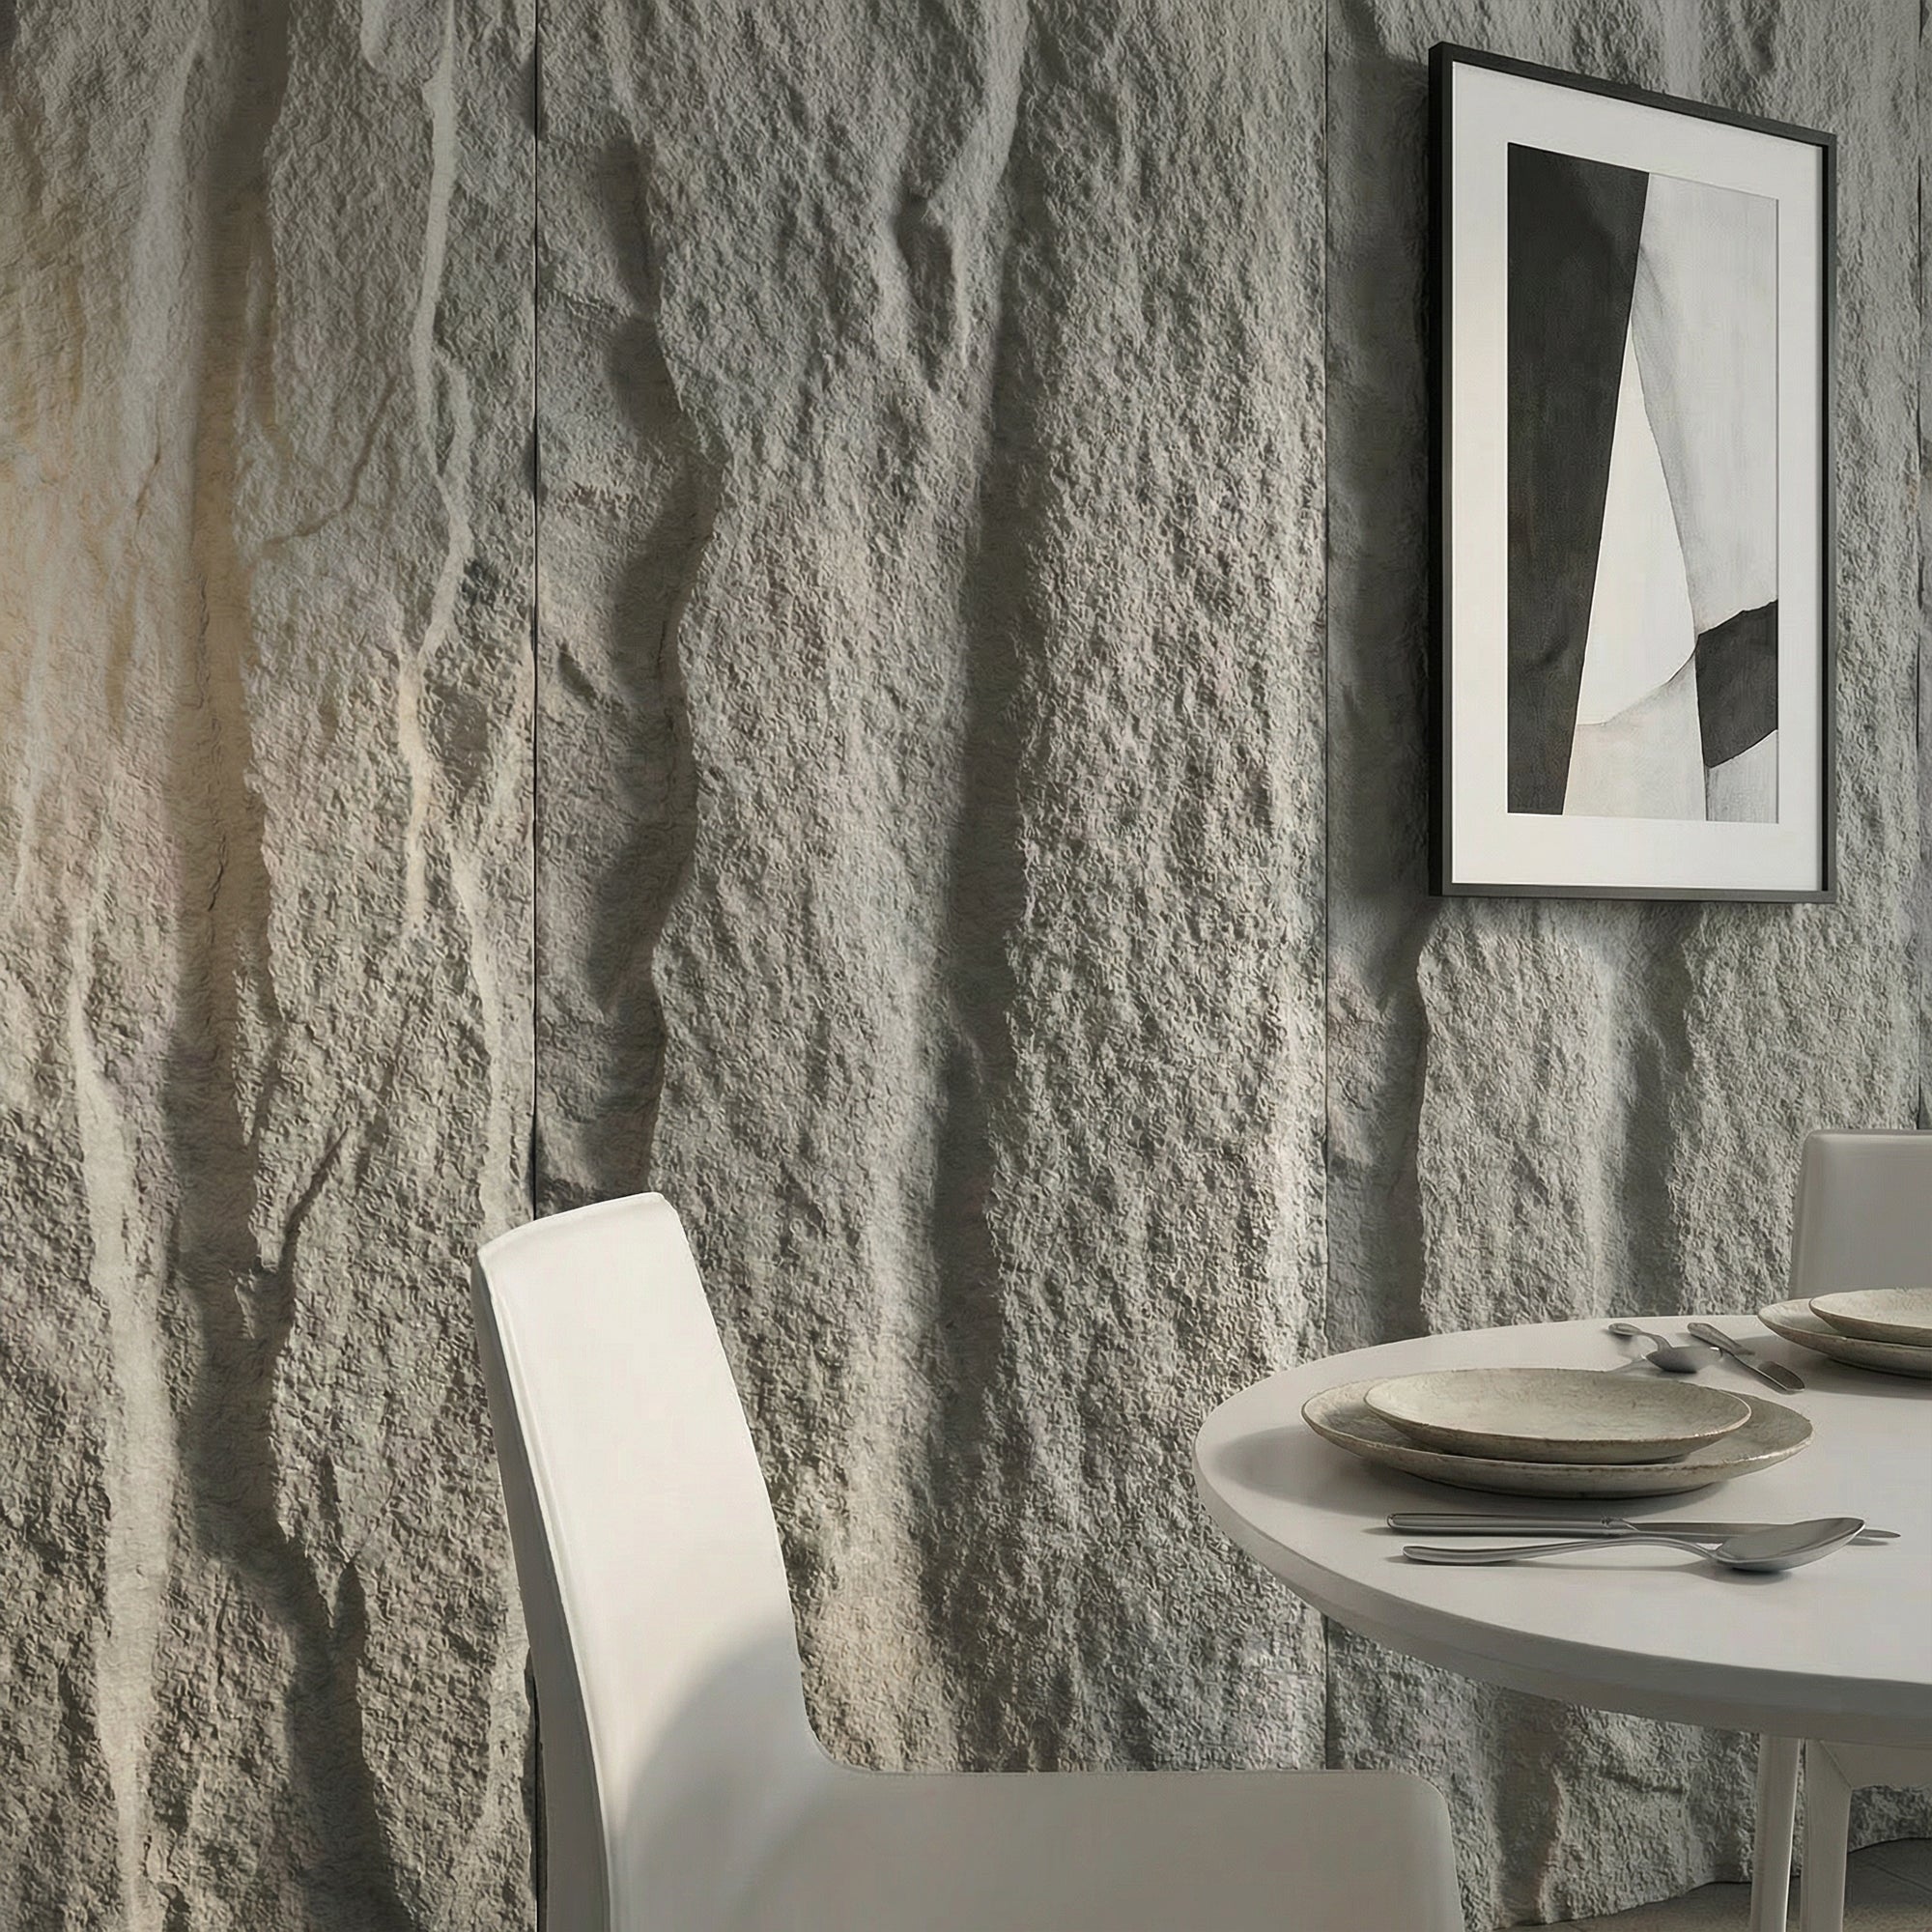
Grey is the dominant tone in contemporary stone panel design. It covers a spectrum from pale silver-grey to deep charcoal slate, and it works across a wider range of interior styles than any other stone colour. In 2026, grey faux stone wall panels are appearing in everything from minimalist residential feature walls to high-end hospitality environments.
Table of Contents
The reason is adaptability. Grey reads as industrial in loft-style conversions, as Scandinavian in pared-back Nordic interiors, and as genuinely luxurious in high-spec commercial spaces. It coordinates with almost every other material — timber, concrete, steel, glass — without competing for attention.
The Spectrum of Grey: Which Shade Works Where
Light Grey and Silver-Grey
Pale grey faux stone works best in rooms where you want texture without visual weight. Bathrooms, hallways, and open-plan living areas benefit from light grey panels that add interest without darkening the space. Paired with white joinery and natural wood flooring, a light grey stone feature wall creates a layered finish that feels expensive without being heavy.
Mid Grey
Mid-tone grey panels are the most versatile in the spectrum. They sit comfortably between warm and cool interior palettes and work equally well with warm oak tones and cool concrete surfaces. For living room feature walls, mid grey stone panels provide a strong visual anchor without dominating the room.
Charcoal and Slate Grey
Dark grey faux stone panels are a statement choice. Used on a fireplace breast, a single feature wall in a dining room, or a hotel bar back, charcoal stone panels add dramatic depth. They work best in spaces with adequate lighting and enough other surfaces — flooring, furniture, soft furnishings — to balance the visual weight.
Grey Faux Stone by Room
Living Room
A grey stone feature wall behind a sofa or on the fireplace breast is one of the most popular applications. The texture creates depth without introducing colour, which means it coordinates with any sofa, rug, or artwork without requiring redesign when you redecorate.
Bathroom
Grey stone-effect panels in bathrooms replicate the look of slate or natural stone tiles at a fraction of the weight and cost. They work particularly well on feature walls behind freestanding baths or in walk-in shower areas, provided the panels specified are rated for humid environments.
Kitchen
Grey faux stone panels used as a kitchen splashback alternative deliver the industrial aesthetic of exposed stone without grouting maintenance. They sit well behind stainless steel appliances and coordinate with both white and dark cabinetry.
Commercial and Hospitality
Grey stone panels are extensively used in restaurant, bar, and hotel design. The neutral tone allows lighting designers to play warm and cool light across the textured surface, creating atmosphere that changes throughout the day and evening.
What to Pair with Grey Faux Stone Panels
- Warm wood: Premium wood wall panels in natural oak, walnut, or pine flooring and furniture warm up cool grey stone panels and prevent the space from feeling cold.
- Dark metal: Matte black or gunmetal fixtures, frames, and shelving complement grey stone’s industrial quality.
- Concrete and plaster: Combining grey stone panels with polished concrete floors or bare plaster walls creates a layered raw material palette that feels architectural.
- Greenery: Plants against grey stone panels create strong contrast — foliage pops sharply against the neutral background.
Grey Faux Stone Panels from The Panel Hub
The Panel Hub stocks the RockSurface® stone effect wall panel collection in a range of grey tones. RockSurface® panels replicate the depth and texture of real stone without the weight or installation complexity. Browse the full range to find the grey tone that works for your project.