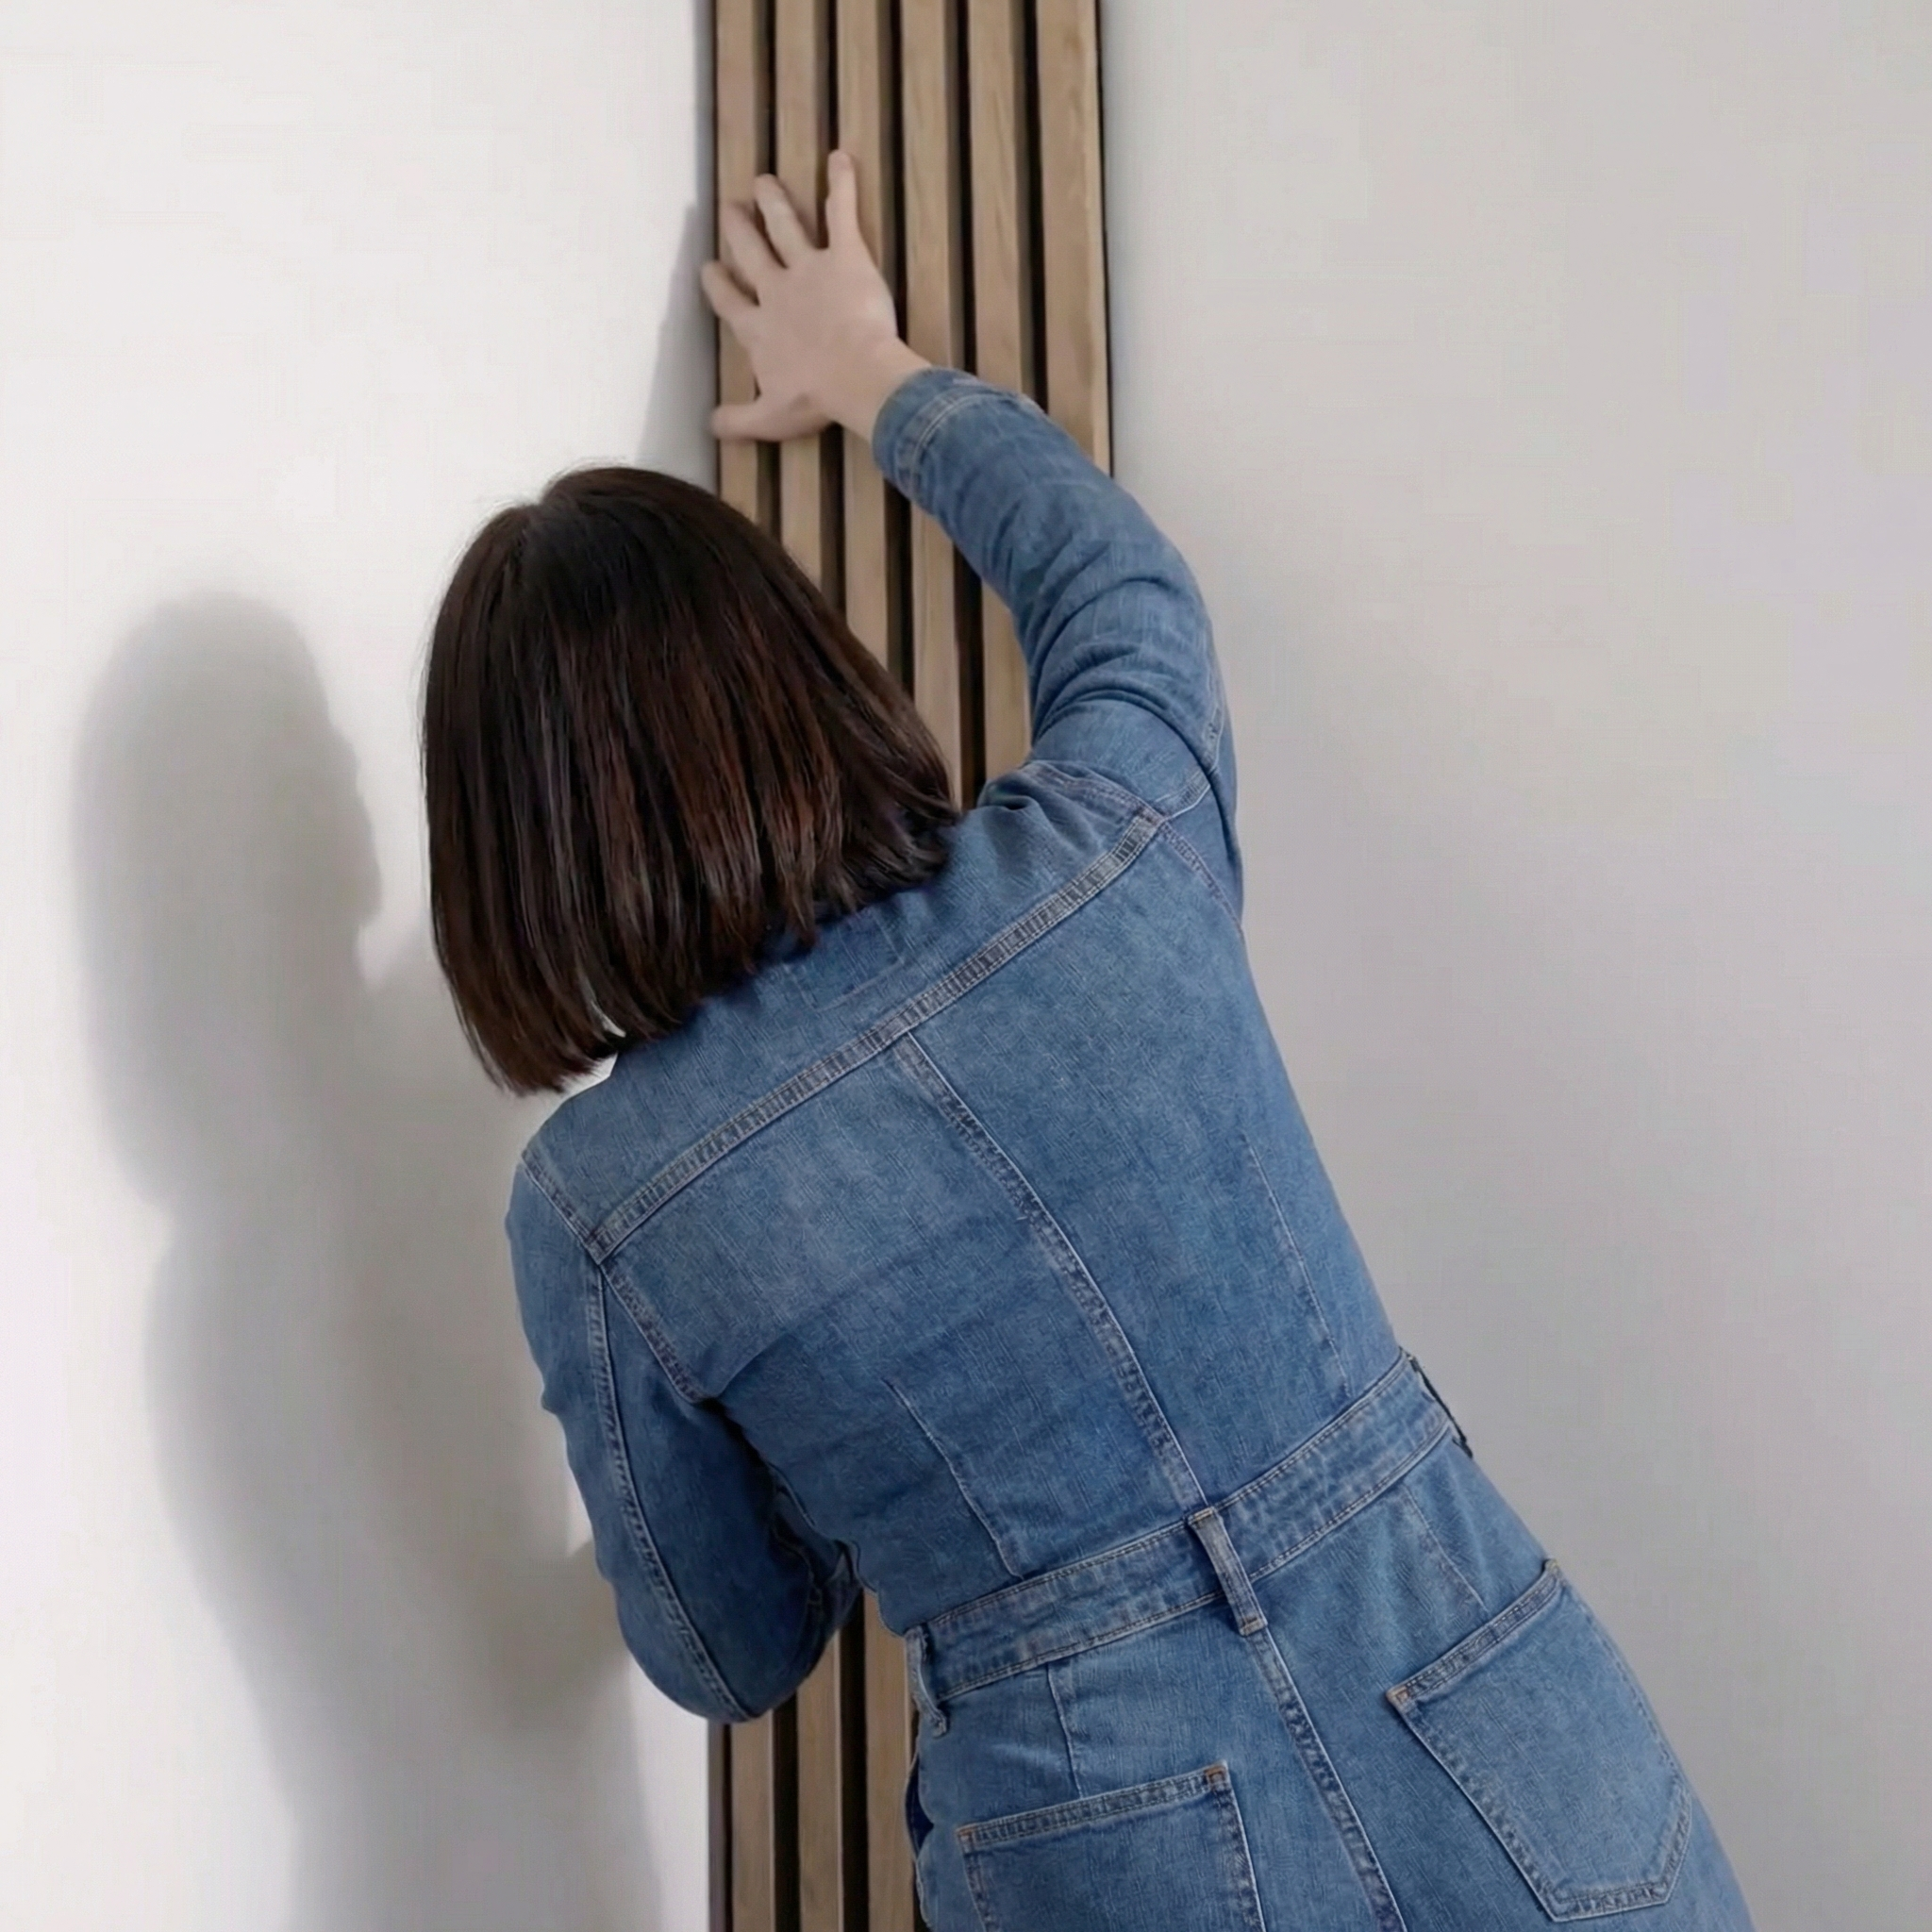
Tag: wall panel installation

  • Wall Panel Installation for Contractors: What You Need Before You Start

    Wall Panel Installation for Contractors: What You Need Before You Start

    Wall panel installation for contractors is straightforward — but only if the pre-installation preparation is done correctly. The most common causes of panel installation problems are substrate issues (uneven, damp, or poorly prepared walls), incorrect adhesive selection, inadequate planning for cuts and edge conditions, and insufficient curing time before the space is put back into use.

    This guide is written for contractors installing wall panels in residential, commercial, and hospitality environments. It covers what needs to be confirmed before installation begins, not during it.

    Substrate Assessment: The Make-or-Break Step

    Flatness

    Wall panels require a flat substrate. Use a 2m straight edge or spirit level to check the wall for high and low spots. Any deviation greater than 3mm over 2 metres needs to be addressed before panel installation. Options include: skim coat plaster to flatten high spots, batten out the wall to create a flat fixing surface, or use a flexible adhesive with gap-filling capacity for minor variations.

    Moisture

    Panels should not be fixed to damp substrates. Check moisture content with a moisture meter — the substrate should read below 75% relative humidity before panel installation proceeds. New plaster requires a minimum of 28 days to cure before it’s dry enough for panel installation; check moisture levels rather than relying on the date.

    Structural Integrity

    The substrate must be structurally sound and bonded to the wall behind it. Loose plaster, delaminating plasterboard, and poorly bonded screeds are not suitable substrates for adhesive panel installation. Identify and remedy any structural issues before installing panels.

    Adhesive Selection

    The correct adhesive depends on the panel material and the substrate type. Key considerations:

    • Panel weight — heavier panels require stronger adhesive systems
    • Substrate type — plasterboard, concrete, masonry, and existing tiles all require specific adhesive formulations
    • Environmental conditions — temperature and humidity during installation affect adhesive cure time and initial grab
    • Open time — the working time available after applying adhesive before the panel must be positioned

    Always follow the panel manufacturer’s adhesive recommendations. Using the wrong adhesive type is one of the most common causes of panel bond failure.

    Planning Cuts and Edge Conditions

    Before fixing any panels, complete a full dry-run layout on the floor to plan the placement of every panel and every cut. Identify:

    • Where cut panels fall — avoid very thin cuts at visible edges
    • How corners are handled — internal and external corners need specific details
    • How panels terminate at skirting, architrave, door frames, and ceiling line
    • Where service penetrations (sockets, switches, data points) fall within the panel layout

    Site Conditions During Installation

    Temperature and humidity during installation affect adhesive performance. Most panel adhesives require installation temperatures above 5°C and below 35°C. In cold or damp conditions, allow longer curing times before applying any load to the panels. Keep the space ventilated during and after installation to support adhesive cure.

    Handover and Snagging

    Before handing over a panel installation, inspect the completed work for:

    • Panel alignment — check slats and joints are parallel and consistent across the wall
    • Edge condition quality — sealant beads should be smooth and colour-matched
    • Panel security — check that all panels are fully bonded with no hollow-sounding areas
    • Surface cleanliness — remove adhesive residue from panel faces before it cures

    Contact The Panel Hub for bulk order wood wall panels, or request technical installation data sheets for any product in the range before beginning installation on a new project.
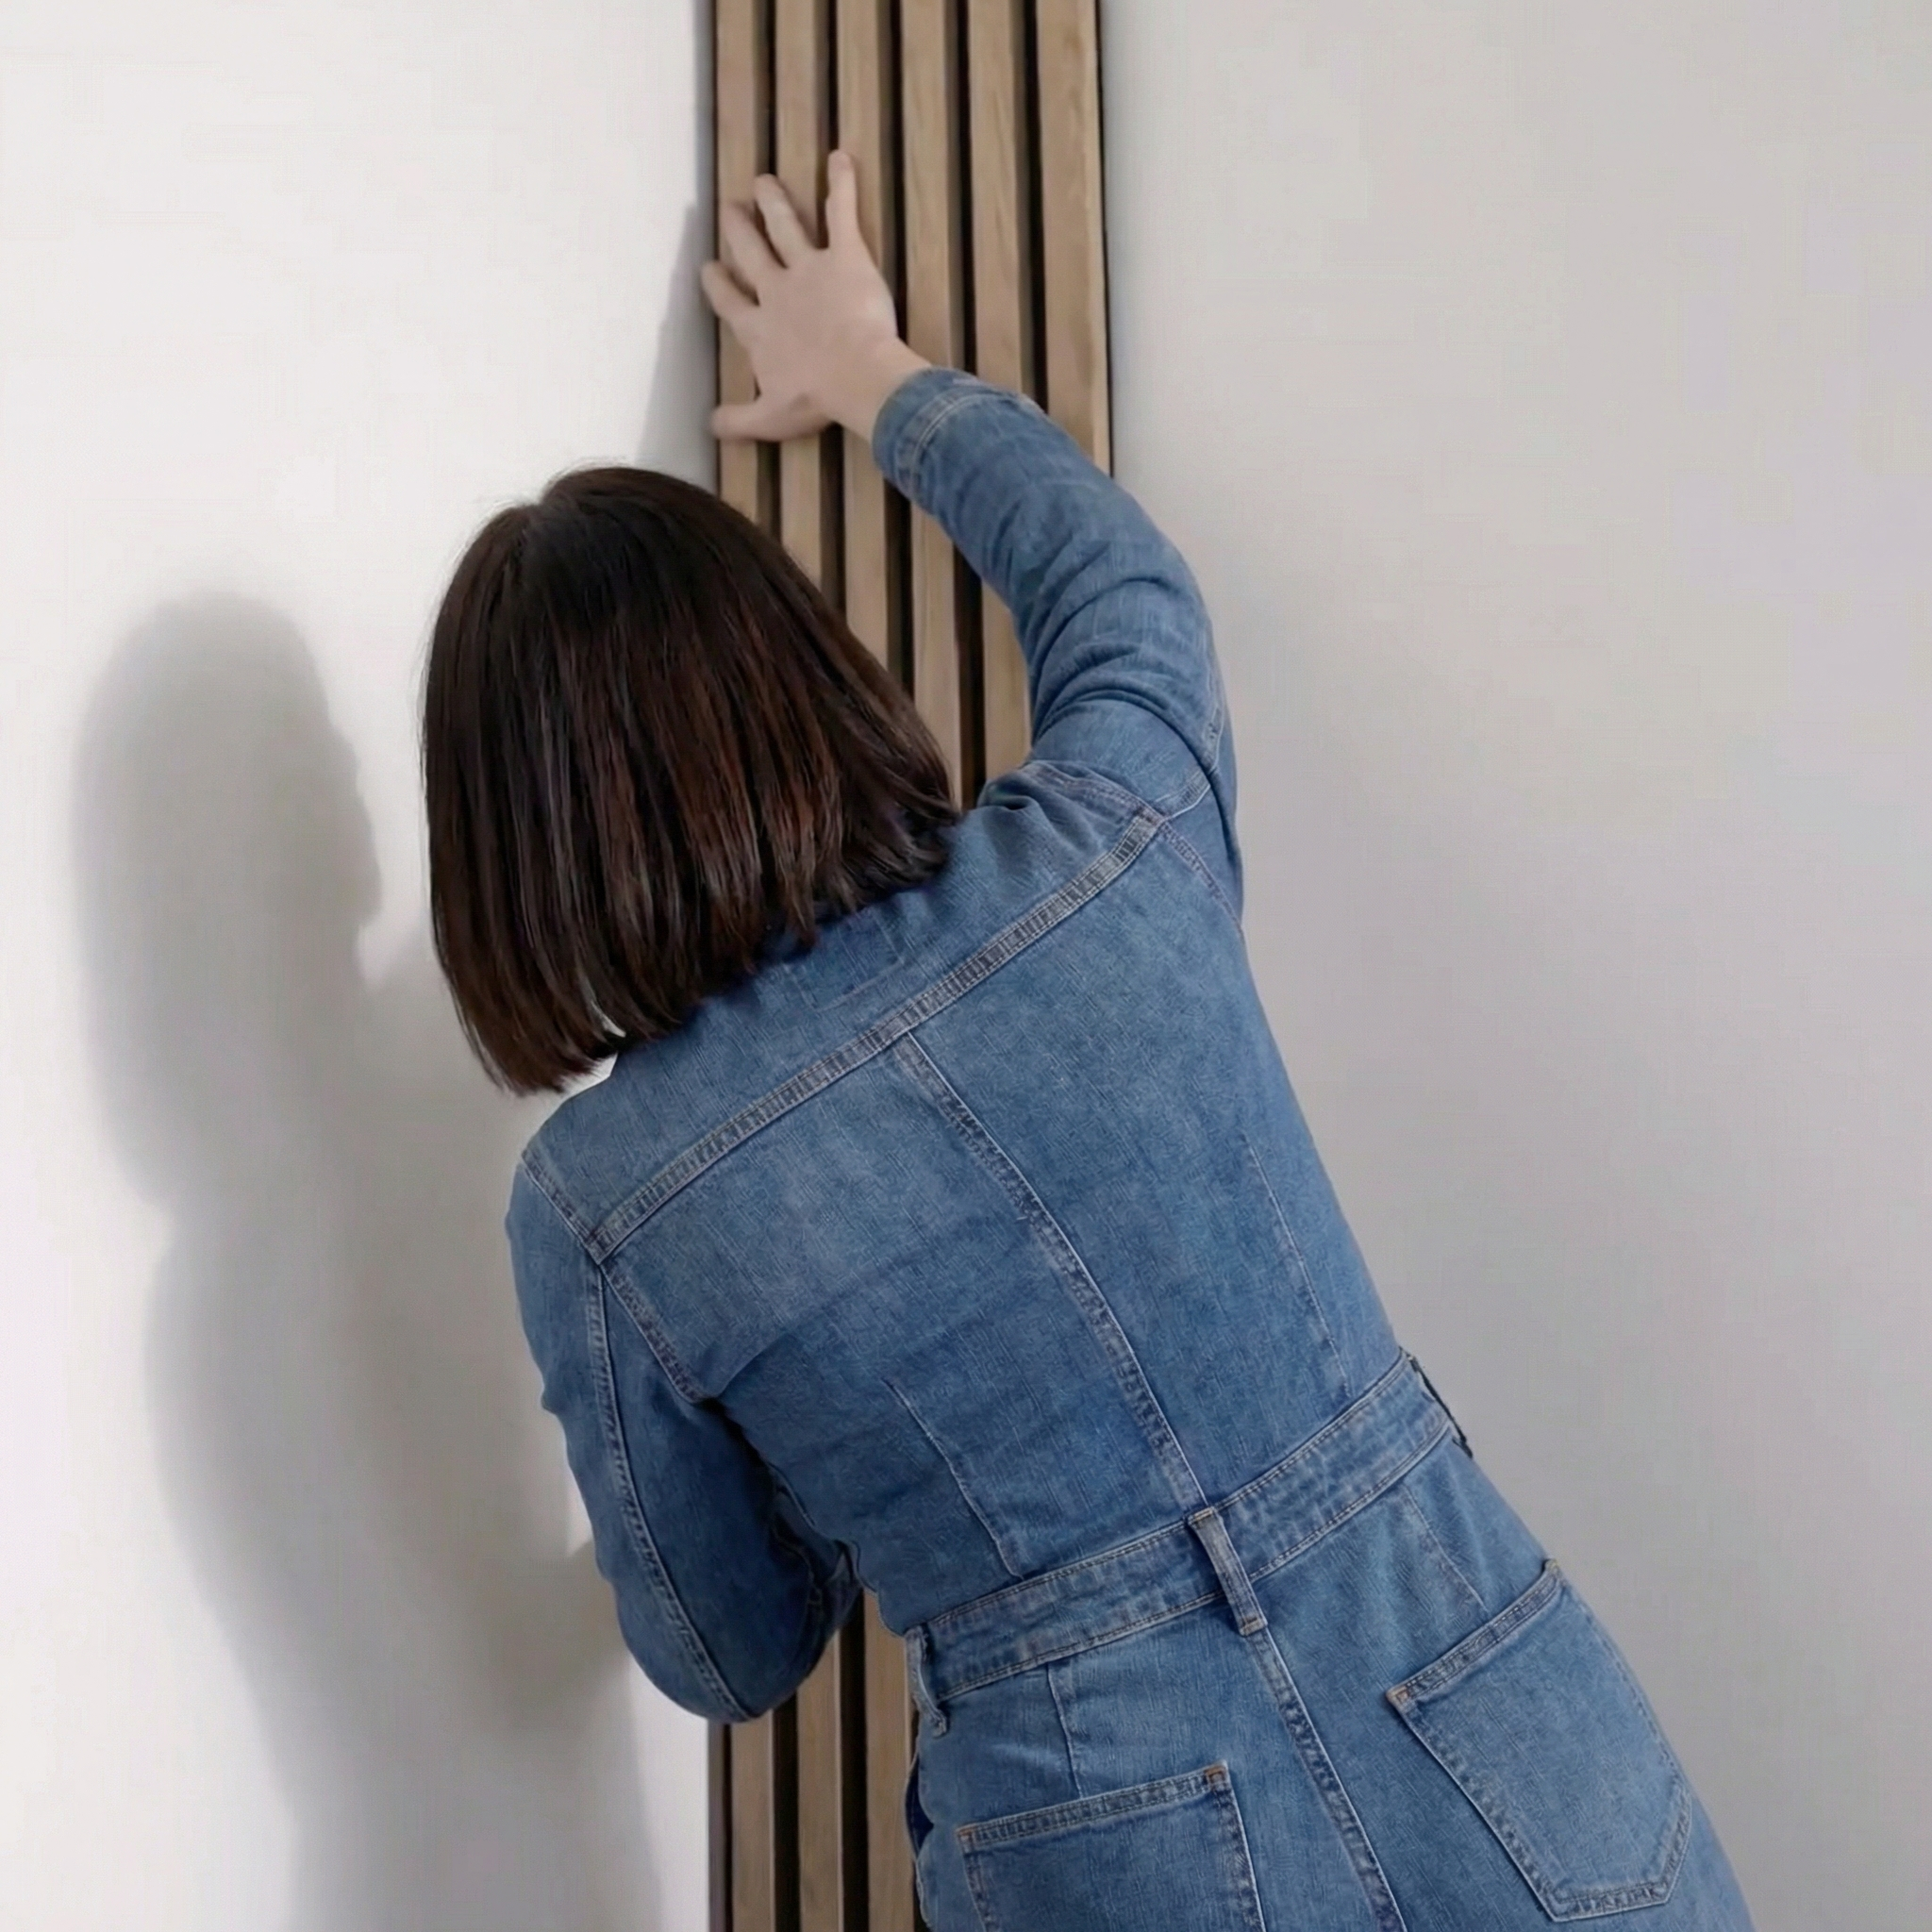
  • Are Wall Panels Easy to Install? Everything You Need to Know

    Are Wall Panels Easy to Install? Everything You Need to Know

    The Short Answer

    Yes — modern wall panels are designed for DIY installation, and most homeowners with basic tools can complete a feature wall in under two hours. But the difficulty does depend on the panel type, your wall condition, and your tools.

    Here’s everything you need to know before you start.

    What Makes Modern Wall Panels DIY-Friendly?

    Unlike traditional timber cladding or tiled walls that required trades and specialist tools, today’s engineered wood panel systems are built with the DIYer in mind:

    • Lightweight construction — MDF-core panels weigh a fraction of solid timber
    • Adhesive installation — most systems use construction adhesive rather than nails or fixings
    • Consistent sizing — panels are manufactured to tight tolerances, so they align predictably
    • Trimmed edges — quality panels have finished, rounded edges that don’t require additional trimming where panels meet

    Tools You’ll Need

    • Tape measure
    • Spirit level
    • Pencil
    • Construction adhesive (check compatibility with your panel type)
    • Caulking gun
    • Fine-tooth hand saw or circular saw with fine blade
    • Sandpaper (120 grit)
    • Rubber mallet
    • Painter’s tape (for positioning)

    You do not need a nail gun, power drill, or professional-grade equipment for most panel systems.

    How Long Does Installation Take?

    For a standard single feature wall (approx. 10–15 square feet):

    • Wall preparation: 15–30 minutes
    • Measuring and planning layout: 15–20 minutes
    • Panel adhesion and placement: 45–60 minutes
    • Finishing (trimming, edges, clean-up): 15–30 minutes

    Total: 90 minutes to 2 hours for most homeowners on a standard feature wall.

    Step-by-Step Installation Overview

    1. Prepare the wall — the surface must be clean, dry, and reasonably flat. Remove flaking paint, wash off dust, and fill any large holes.
    2. Find your starting point — measure the wall width and mark the centre. Start from the centre for symmetrical layouts, or from one corner for edge-to-edge coverage.
    3. Apply adhesive — run a zigzag bead of construction adhesive across the back of the panel. Avoid the very edges to prevent squeeze-out.
    4. Press and hold — press the panel firmly against the wall and hold for 30–60 seconds. Use a spirit level to check vertical alignment before the adhesive grabs.
    5. Work outward — continue placing panels left and right from your starting point, butting them snugly together.
    6. Cut to fit — use a fine-tooth saw to trim panels at corners, sockets, and edges. Score first with a utility knife for veneer surfaces.
    7. Finish edges — use matching trim strips or caulk to neaten exposed edges and the join between panels and ceiling/floor.

    Common Mistakes to Avoid

    • Not letting panels acclimatise — leave panels in the room for 24–48 hours before installing so they adjust to the room’s temperature and humidity.
    • Skipping the spirit level — even a small deviation early on compounds across the wall. Check level on every panel.
    • Using the wrong adhesive — use a solvent-free, panel-compatible adhesive. Solvent-based adhesives can damage MDF cores and veneer finishes.
    • Installing on damp walls — moisture trapped behind panels causes warping and mould. Always check for damp before installing.
    • Cutting too fast — slow, controlled cuts reduce splintering on veneer surfaces. A fine-tooth blade and steady pace give clean edges.

    Are Some Panels Harder Than Others?

    Yes. Here’s a rough difficulty guide:

    • Acoustic slat panels (adhesive): Beginner-friendly ✓
    • Tongue-and-groove shiplap: Beginner–intermediate ✓
    • Geometric tile panels: Intermediate (pattern alignment matters)
    • Stone cladding panels: Intermediate (heavier, requires correct adhesive)
    • Traditional timber board cladding: Intermediate–advanced (nailing, spacing)

    Conclusion

    Modern wall panel systems — particularly adhesive-backed acoustic and decorative panels — are genuinely accessible to DIYers. With the right preparation, the right adhesive, and a spirit level, most homeowners can complete a professional-looking feature wall in a single afternoon. If in doubt, order a sample panel first to test the adhesive and fitting before committing to a full wall.

    DIY vs Professional Installation: How to Decide

    Wall panel installation sits comfortably within the capability of a confident DIYer — but not every installation project is the same. Here is a simple framework for deciding whether to DIY or hire a professional.

    DIY-friendly conditions: Standard plasterboard walls in good condition; adhesive panel systems (not mechanical fixing with noggins); single feature wall rather than a whole room; panels under 15 kg per m²; no complex obstacles like curved walls, chimney breasts, or high ceilings requiring scaffolding.

    Consider professional installation for: Old properties with plaster on lath, lime plaster, or walls with significant unevenness; rooms requiring wall preparation work (replastering, moisture treatment); installations on brick, block, or stone substrates; rooms requiring multiple walls or full-room paneling; panels over 15 kg per m² that need mechanical fixing to wall studs.

    The cost difference between DIY and professional installation is typically £15–£35 per m² for labour. For a standard 3 m × 2.4 m feature wall (7.2 m²), that is roughly £100–£250 in labour savings — worth taking if you are confident in the result, but a poor trade-off if a poor installation means redoing the work.

    Wall Panel Installation FAQs

    What skills do I need to install wall panels myself?
    You need to be comfortable with measuring and marking accurately, cutting with a jigsaw or circular saw, applying adhesive, and using a spirit level. Carpentry experience is helpful but not essential for most adhesive panel systems. The cut quality is the most skill-dependent part — accurate, clean cuts at doorframes and ceiling junctions make the difference between a professional-looking result and an amateur one.

    How do I cut wood wall panels neatly?
    For straight cuts, a circular saw with a fine-toothed blade gives the cleanest result. A jigsaw works for curves or cutouts around obstacles. Always cut panels face-down with a circular saw (to prevent tearout on the visible surface) or face-up with a jigsaw. Support the panel fully on both sides of the cut line and use a straightedge guide for straight cuts.

    What is the biggest challenge for a first-time panel installer?
    Getting the first panel perfectly plumb and level. Every subsequent panel follows the first, so a slight error compounds across the whole wall. Take twice as long as feels necessary on the first panel — check plumb in both directions, double-check, and only then commit the adhesive.

    Are there panel systems specifically designed for beginner DIYers?
    Yes — click-and-lock slat panel systems that mount to horizontal wall battens are among the most DIY-friendly. Panels slot together without needing adhesive or precise cuts at every joint. They are also fully reversible, making them a good choice for anyone concerned about committing to a permanent installation.

    Ready to Get Started?

    Browse the complete wood wall panel collection at The Panel Hub — all products come with full installation guidance. The SoundPanel™ acoustic slat range is designed specifically for straightforward DIY installation using construction adhesive. For design inspiration on what to install, our interior slat wall ideas guide covers 50+ room applications, and the acoustic panel buyer’s guide helps you choose between panel types before ordering.