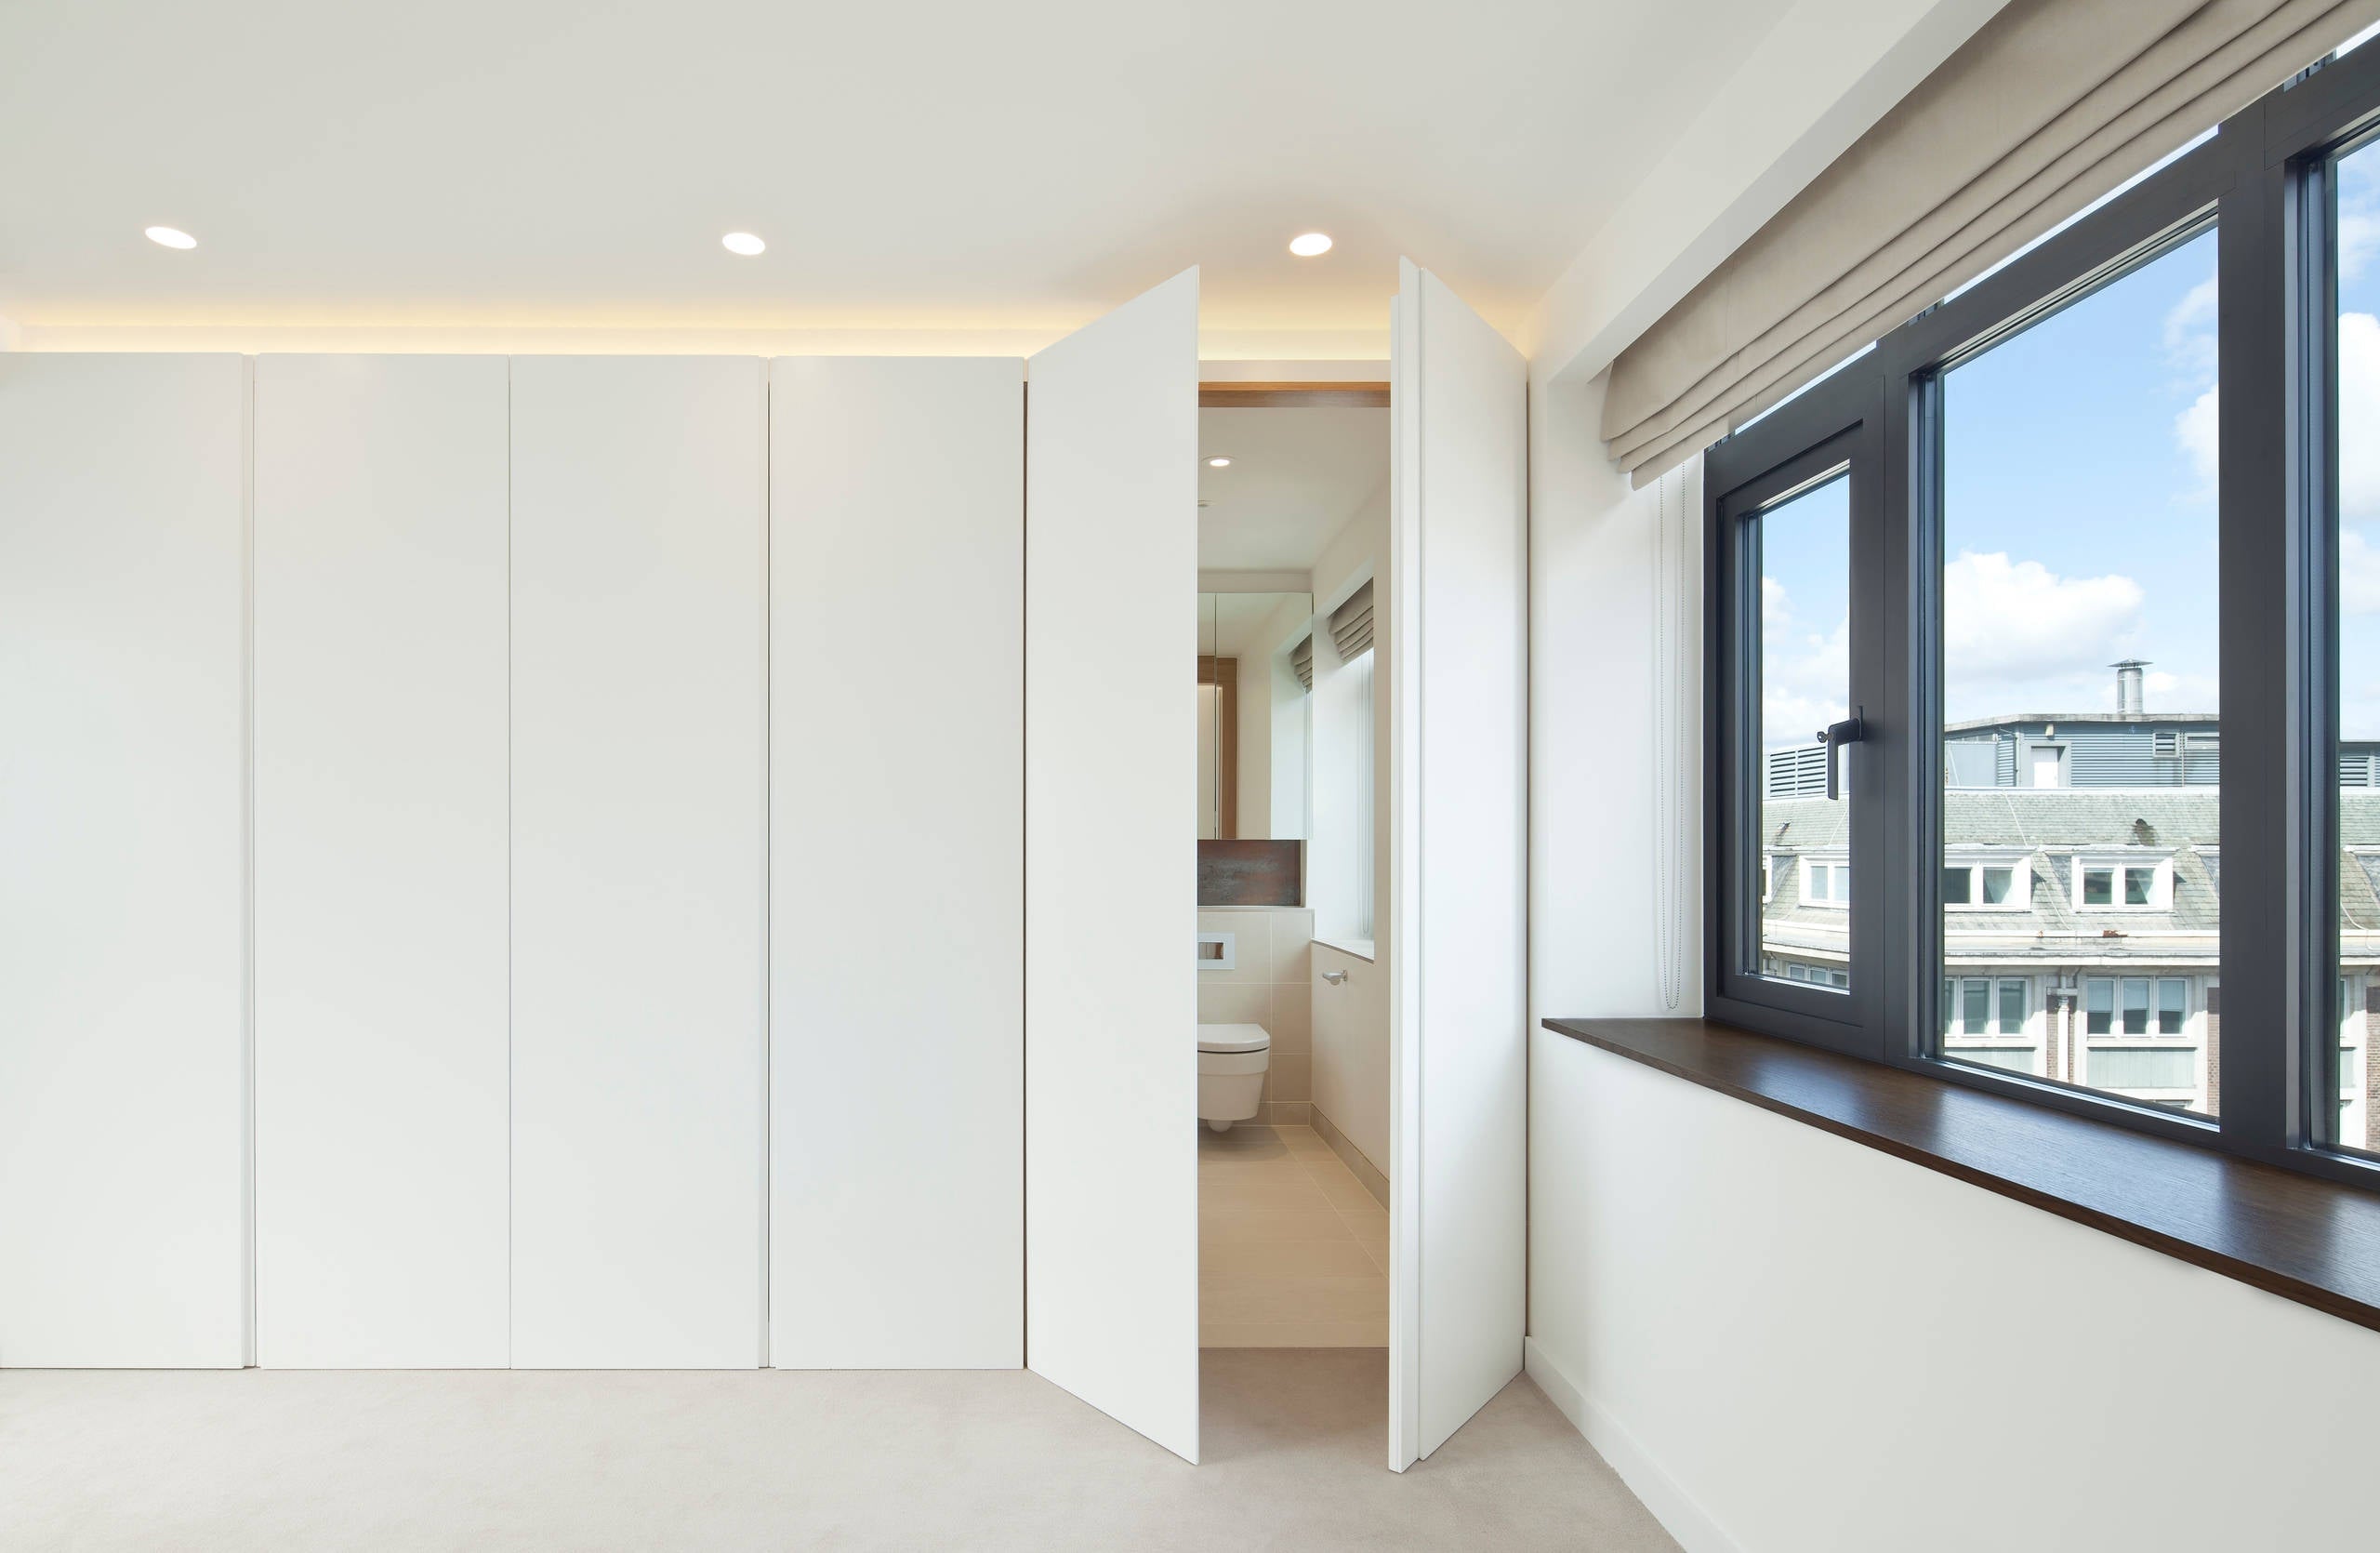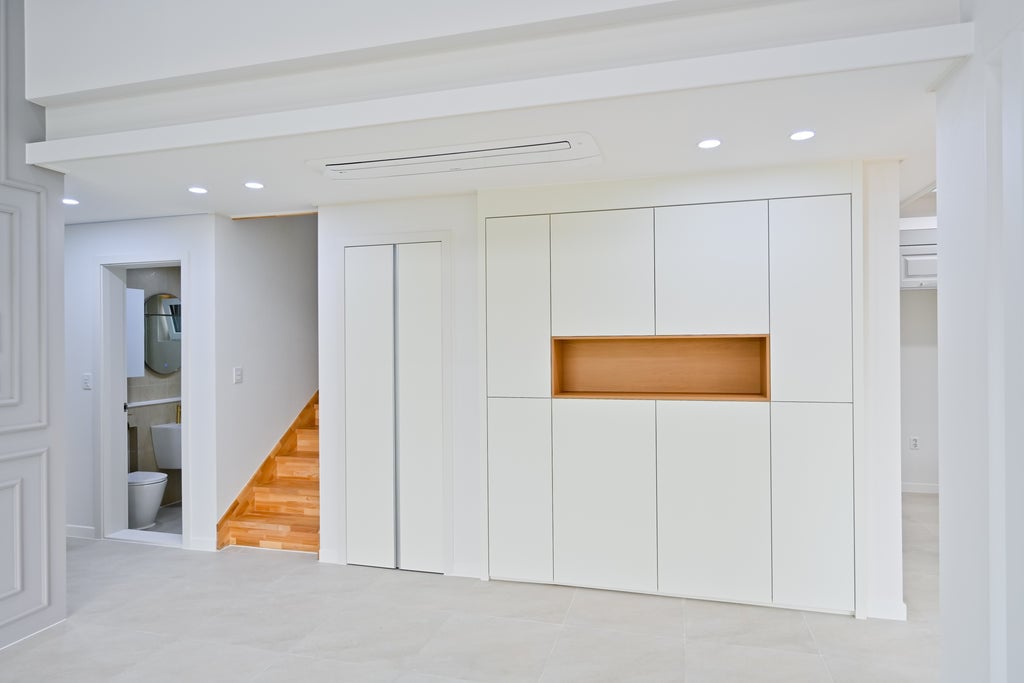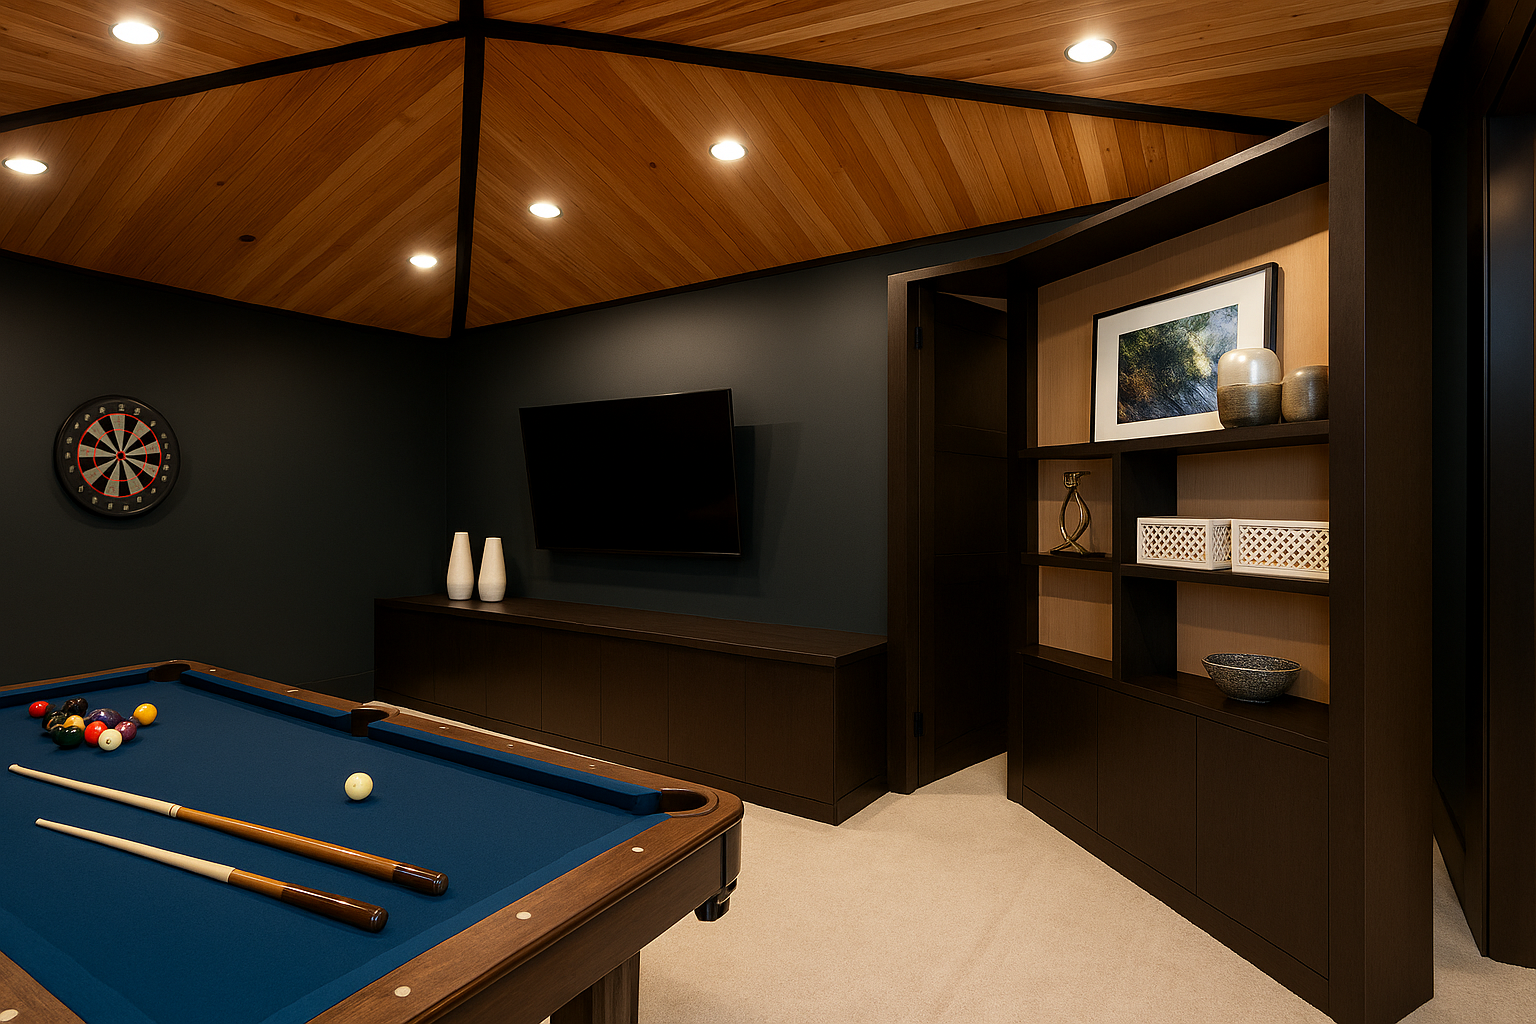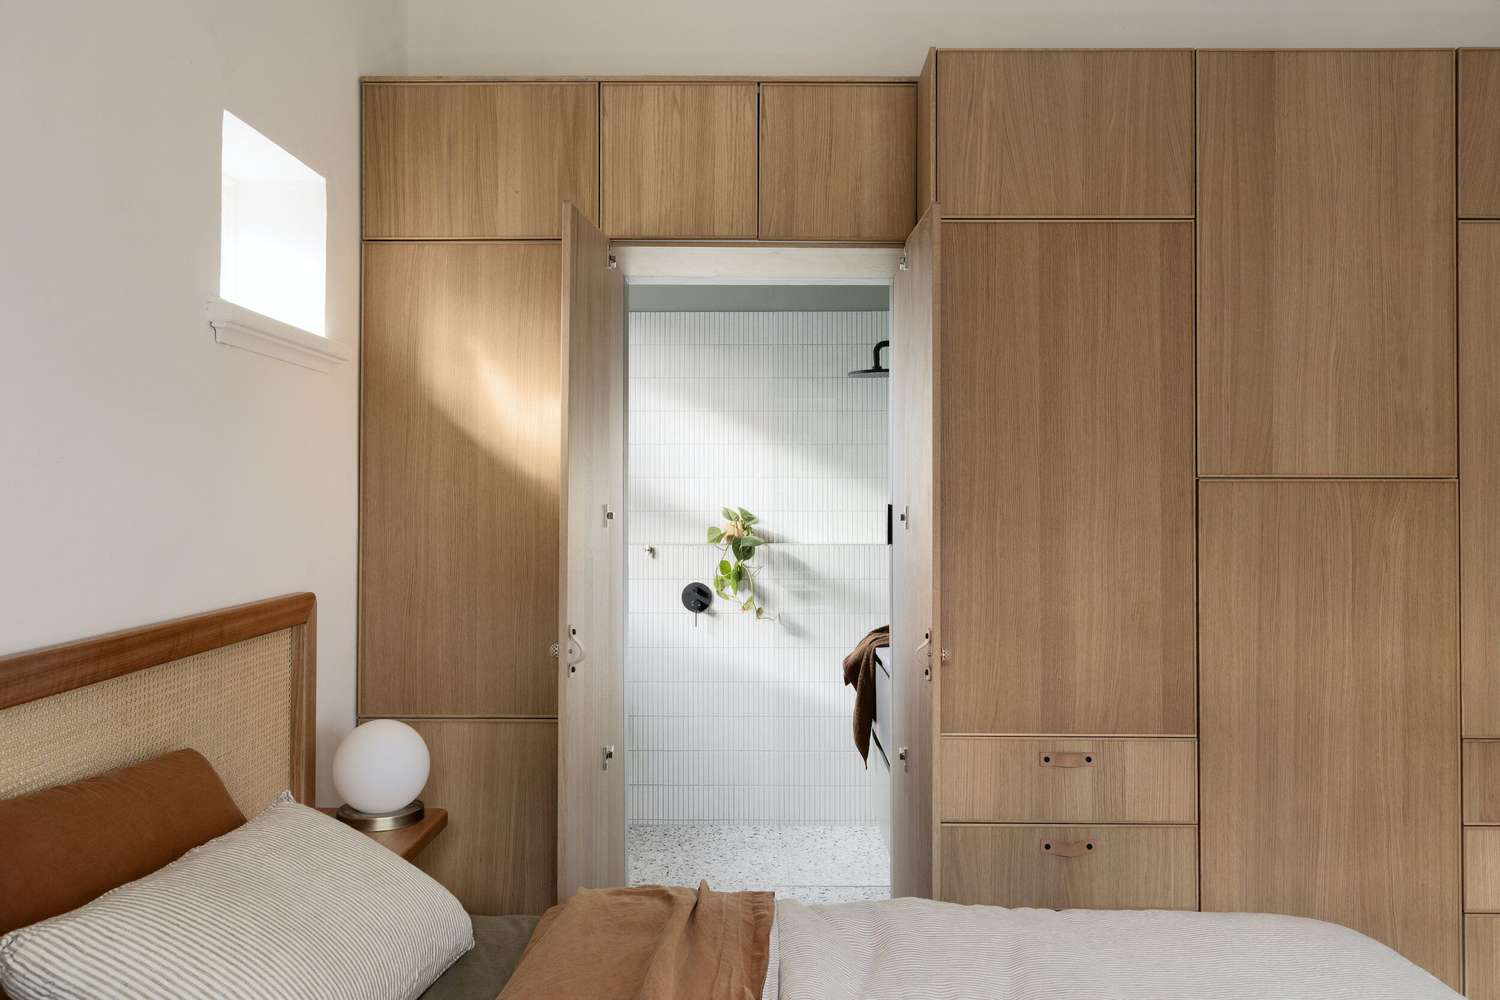
Tag: Wall Panel

  • Solid Wood vs. MDF: Which One Is Better for Wall Panels?

    Solid Wood vs. MDF: Which One Is Better for Wall Panels?

    While wall panels are making a big comeback in modern interior design, solid wood and MDF (medium-density fiberboard) are two popular material choices that dominate the market. Although they look similar, their characteristics, cost, and performance are different.

    If solid wood can be used without mixing with other materials, an MDF enhances the aesthetics of your walls with the help of resin. Regardless of the difference, both options can elevate your space. This article will provide you with more information about the differences between solid wood and MDF, helping you make a more informed decision.

    What Is Solid Wood?

    Simply put, solid wood panels are made entirely from natural timber. Each piece of wood comes straight from a log. This is why the panels showcase the natural grain, color, and texture of its tree, such as oak, teak, walnut, or pine.

    Its natural composition makes solid wood a timeless choice that suits any interior style, from classic to contemporary. Solid wood adds variation and character to a room, which gives it a sense of life. 

    Solid Wood Benefits

    • Natural beauty: The organic grain patterns and color tones are always visually striking.
    • Durability: Solid wood panels can last long with proper care.
    • Flexibility: You can repaint them multiple times and your solid wood remains beautiful.
    • Eco-friendly: You can renew solid wood, It also stands out as an eco-friendly material.

    Solid Wood Drawbacks

    • Expensive: Due to sourcing and craftsmanship, it comes at a premium price.
    • Climate sensitivity: Solid wood is susceptible to humidity changes, which can cause minor warping or cracking.
    • Weight: Solid wood is heavy. Therefore, you need to make an extra effort to install it.

    What Is MDF?

    MDF is a wood product made from fine wood fibers mixed with resin and wax and pressed into solid sheets under high temperatures and pressure. This wood is ideal for painting, laminating, and creating decorative grooves, since its surface is dense and smooth.

    It’s a favorite among people who seek sleek and modern aesthetics.

    MDF Benefits

    • Budget-friendly: MDF is much more affordable than solid wood, which is ideal for large wall projects.
    • Smooth surface: This wood is perfect for uniform finishes.
    • Customizable: You can shape MDF into various shapes, like slats, fluted panels, or decorative 3D designs.
    • Easy to install: MDF is simple to cut and handle, which is why it’s perfect for DIY or quick renovations.

    MDF Drawbacks

    • Moisture absorption: You need to seal or laminate MDF properly first, since it’ll swell once exposed to water.
    • Less durable: Compared to solid wood, MDF is not that strong and too fragile when under pressure
    • Not repairable: MDF is difficult to repair. Therefore, you need to replace it once it’s damaged.
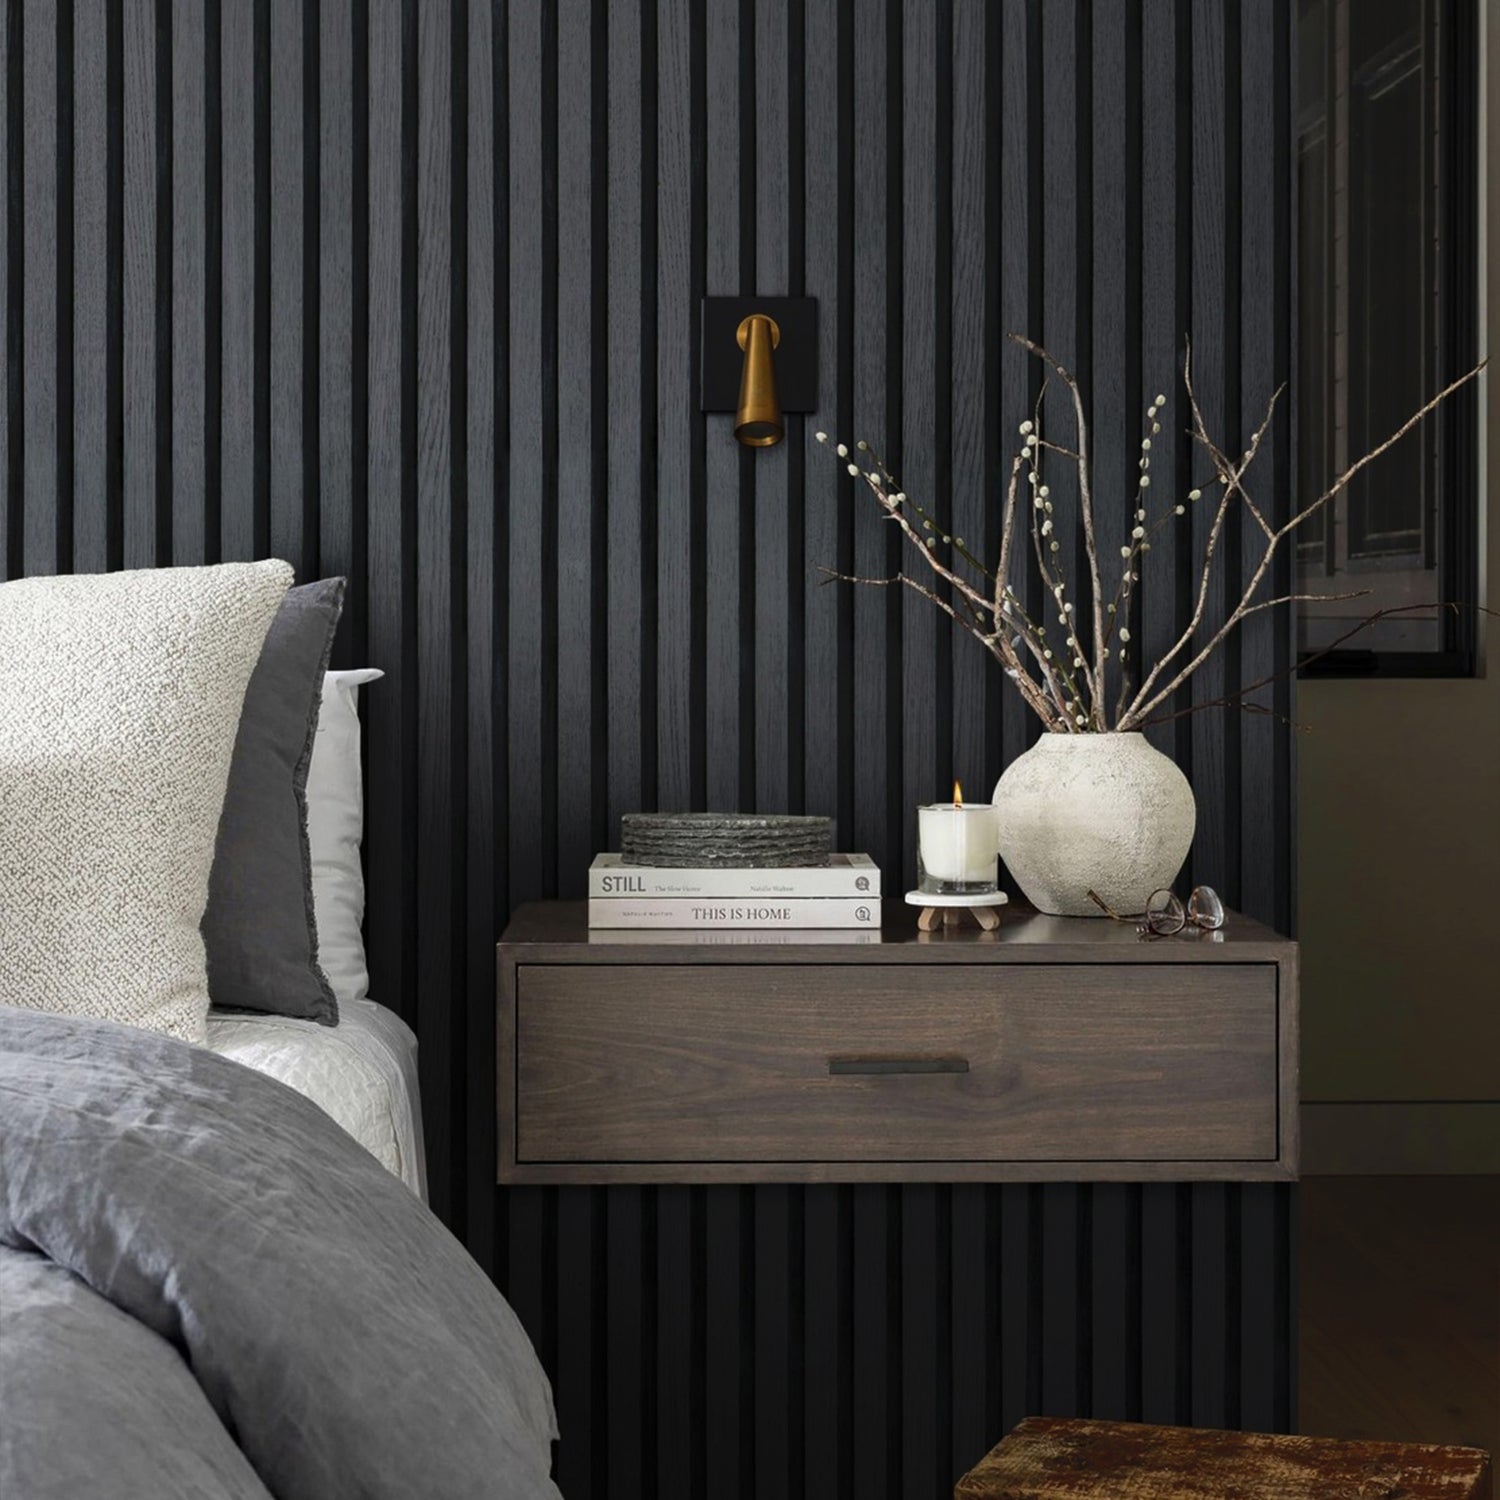
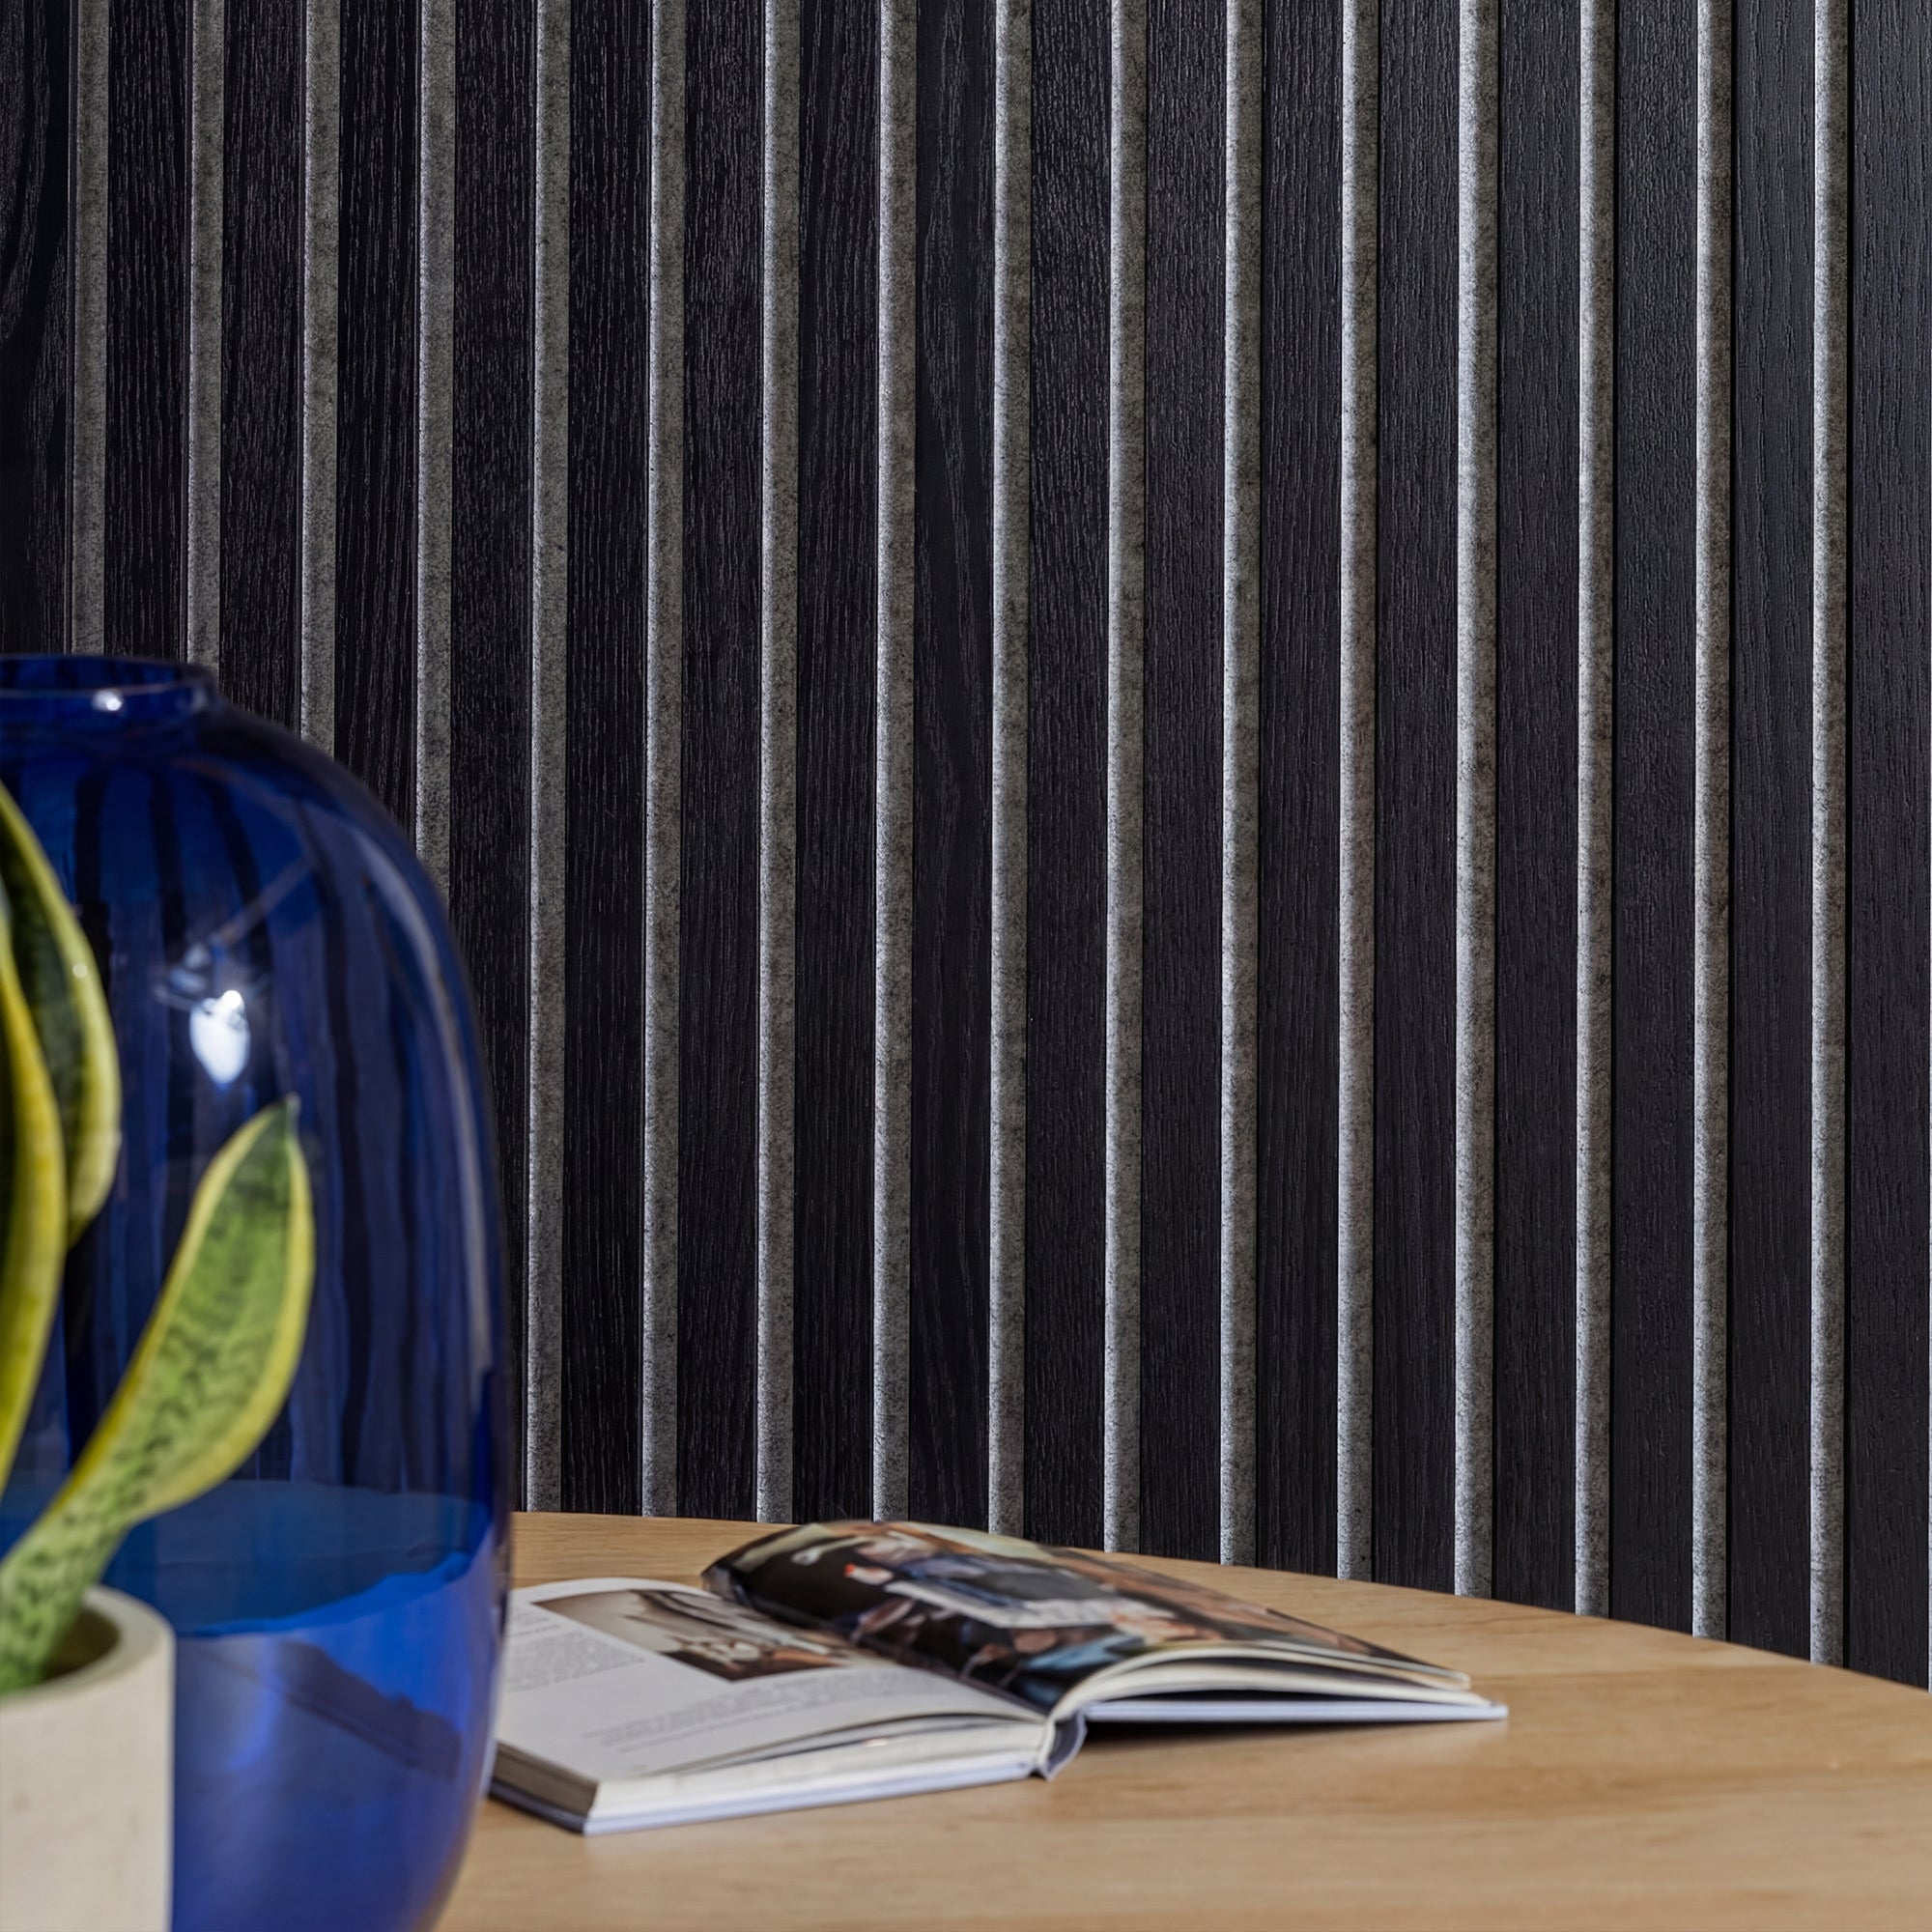
    American Smoke Acoustic Slat Wall Panels | 3-Sided Veneer | SoundPanel®-Indoor-The Panel Hub

    The Panel Hub’s wood wall panels use a higher density and moisture-resistant MDF core, perfected with CoreShield™. In other words, our panels are less likely to swell, crack, or warp even when exposed to various environments. Since we’re using real wood, our natural grain and color rivals solid wood. Explore our sound panels and decorative panels, enjoy free shipping today!

    Explore Wall Panels

    Comparing Solid Wood vs. MDF

    To understand the differences between solid wood and MDF, you can examine them from various aspects.

    Solid wood  gives an unique and timeless look through each panel, which is ideal for you who value aesthetics and ambience. MDF, on the other hand, offers a smooth and uniform surface that suits modern interiors while also prioritizing practicality.

    When the natural quality of solid wood meets proper maintenance, it can become extremely durable. MDF, however, offers moderate durability and tends to be more sensitive to moisture and humidity.

    Solid wood is everlasting, which is why you can refinish, polish, and repair over time. MDF is easier to clean, but you need to prepare yourself for the second purchase once it’s damaged.

    Solid wood is heavy and robust, so you’ll likely need help when installing it. MDF is much lighter, which you can install and handle all by yourself.

    Solid wood is worth the investment, so it can cost you more to have in your home. MDF is a 

    more affordable option that offers plenty of style.

    The more imperfections in a solid wood, the better it’ll look. Solid wood works beautifully with natural stains or paints to highlight its grain. Meanwhile, MDF pairs well with paints and veneers for a sleek appearance.

    Since solid wood is everlasting, you can renew it when sourced responsibly. MDF is typically made from recycled wood fibers, which offers an eco-friendly alternative.

    For the best results, you can choose solid wood to create luxurious interiors that value authenticity and craftsmanship. MDF is perfect for modern aesthetics and for you who want stylish panels without overspending, proving that versatility and cost-efficiency can go hand in hand.

    Blending Both Materials for Balance

    The diversity is what makes design beautiful. Now, many designers combine the strengths of both materials by using MDF core panels with a solid wood veneer. This hybrid design offers the rich appearance of wood and saves you more cost.

    Another approach is to use solid wood trims around MDF panels. You can try it to create the illusion of a fully wooden surface in a more affordable way.

    Explore our GroovePanel® collection to find the best solid wood panel. Then you can pair it perfectly with MDF.

    Pro Tip: Remember to always seal MDF edges first before installation.

    Solid Wood vs MDF FAQs

    Is solid wood always better than MDF for wall panels?
    Not in all situations. Solid wood is superior in terms of material authenticity, longevity, and refinishability. But MDF outperforms solid wood in dimensional stability (it does not expand and contract with humidity changes), consistency of surface quality (no knots, checks, or grain variation to complicate finishing), and ease of machining to precise profiles. For a painted panel installation in a contemporary interior where the material’s natural character is hidden by paint, MDF is a better practical choice than solid wood. For a natural-finish installation where grain and character are the point, solid wood is the only authentic option.

    Can I use solid wood panels in a bathroom?
    With care, yes. Solid wood panels in a well-ventilated bathroom with appropriate finishing on all six faces — including cut edges and back surfaces, not just the visible face — can perform for many years. The critical requirement is preventing moisture ingress at any cut edge or joint, as this is where wood most readily absorbs water and begins to move. For wet wall applications directly adjacent to showers or baths, PVC or WPC panels are significantly more practical than any wood product.

    Does solid wood add more value to a property than MDF?
    Yes. Estate agents and informed buyers can distinguish between a genuine solid wood panel installation and an MDF alternative, and solid wood installations command higher perceived value. The premium for solid wood over MDF in a feature wall installation is typically modest — the additional material cost is meaningful but not prohibitive — and the long-term value retention of solid wood is better than MDF, which is more prone to edge damage and moisture degradation over time.

    What is the weight difference between solid wood and MDF panels?
    Solid hardwood panels (oak, ash, walnut) are typically 20–30% lighter per unit volume than equivalent MDF, which has a density of 650–850 kg/m³ compared to 650–750 kg/m³ for hardwoods. In practice, for a standard 2400 x 600mm panel at 18mm thickness, MDF weighs approximately 15–20kg and solid wood of equivalent dimensions weighs 12–15kg. The difference matters for installation: heavier MDF panels require more robust fixing systems and may need additional adhesive support during the curing period.

    Conclusion

    Both solid wood and MDF offer its own advantages and disadvantages. Whether you choose solid wood or MDF, both materials can add beauty to your home. You can always give your walls the attention they deserve.
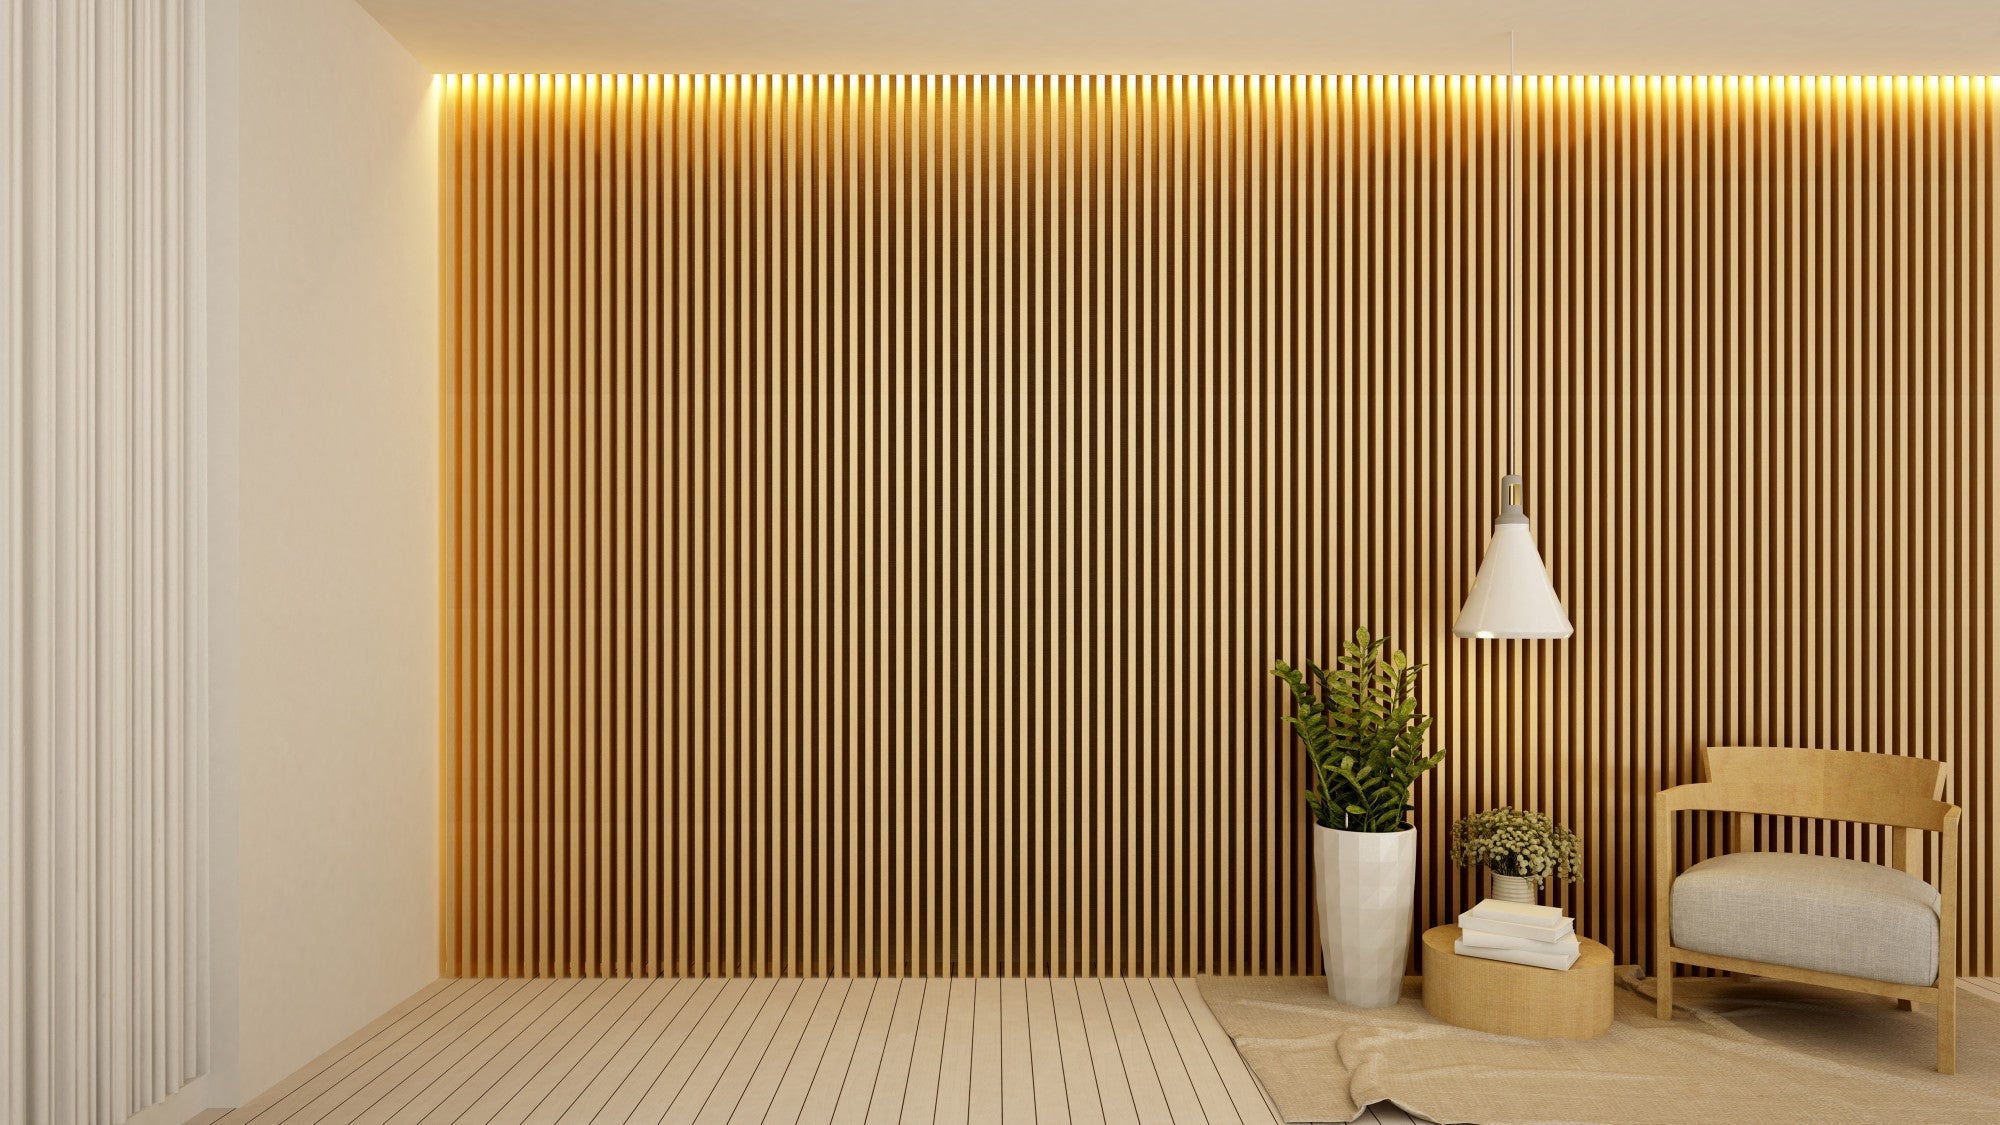
  • Where to Buy Wall Panels: Your 2026 Home Design Guide

    Where to Buy Wall Panels: Your 2026 Home Design Guide

    Wall panels have become one of the top home design upgrades in 2025. From modern apartments to cozy home offices, wall paneling can instantly enhance a space with texture, warmth, and sound control. But with so many online options available, knowing where to buy wall panels that balance quality, design, and value can feel overwhelming.

    This guide will help you locate the best sources for real wood and acoustic wall panels, understand what to look for before purchasing, and ensure you invest in panels that last for years.

    Why Choosing the Right Wall Panel Supplier Matters

    Not all wall panels are created equal. Some may look appealing online but lack real wood finishes, durability, or sound insulation quality. Choosing a trusted supplier ensures your panels perform well, look professional, and meet your design expectations.

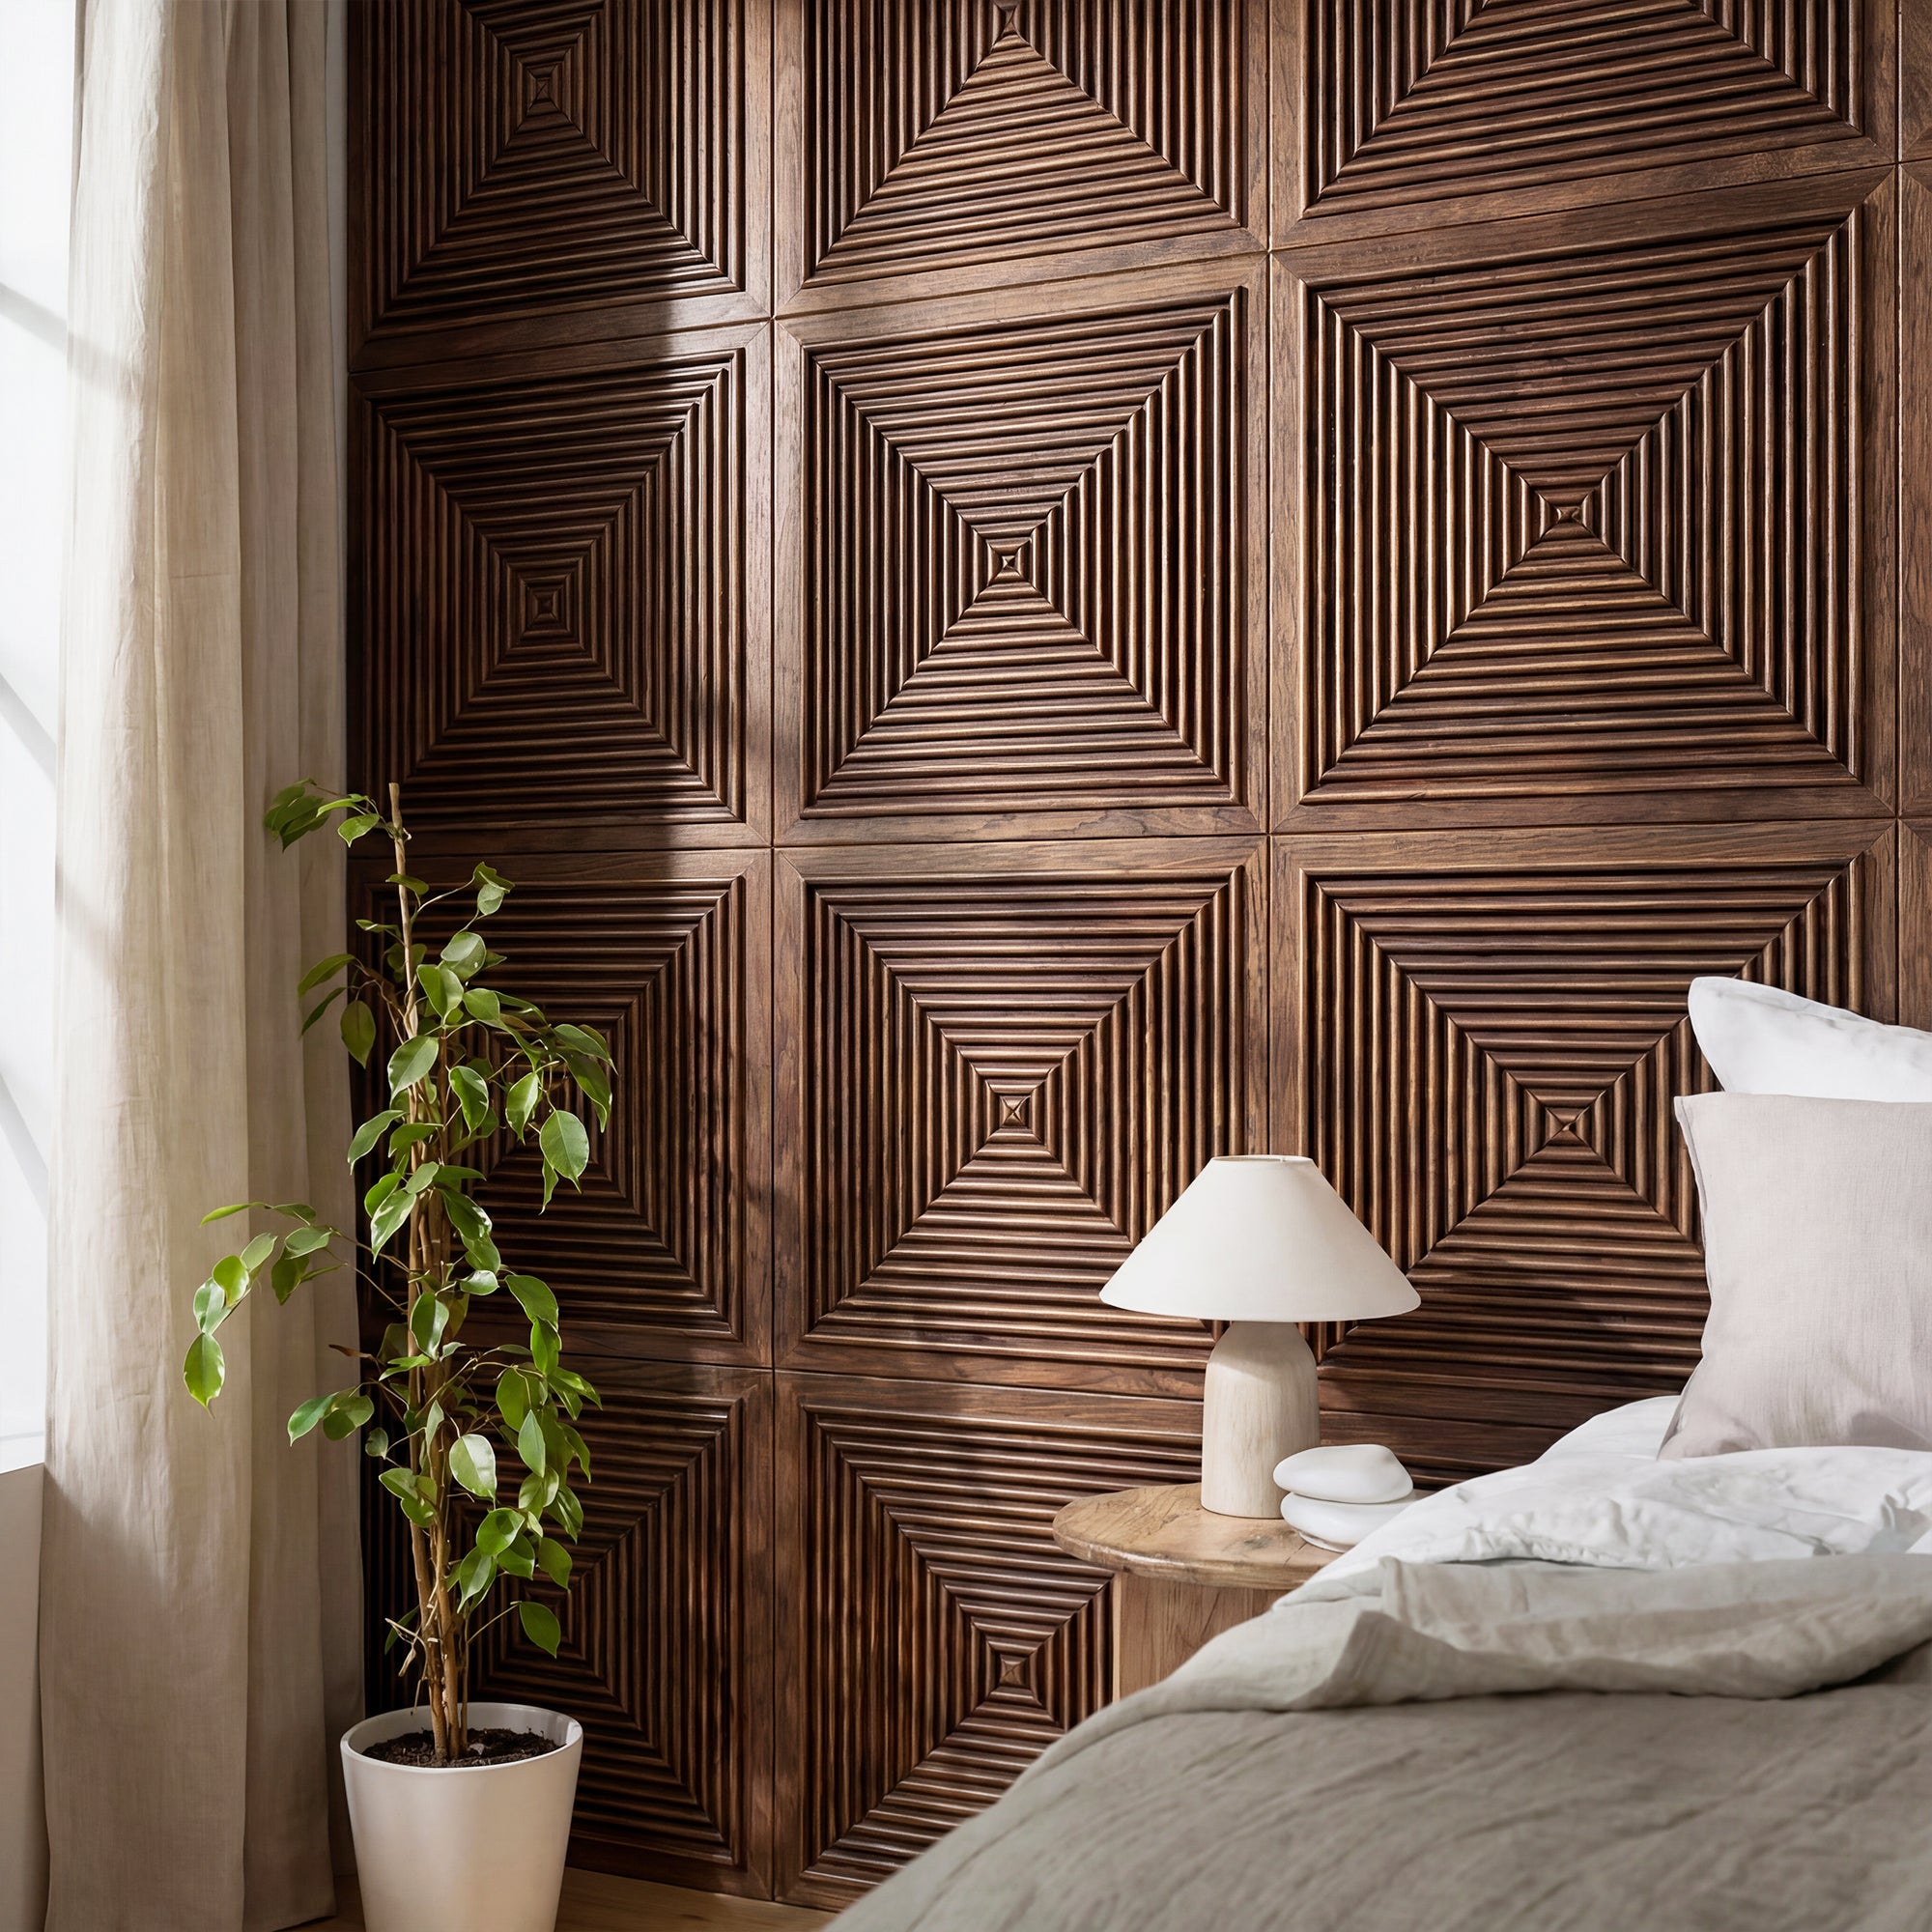
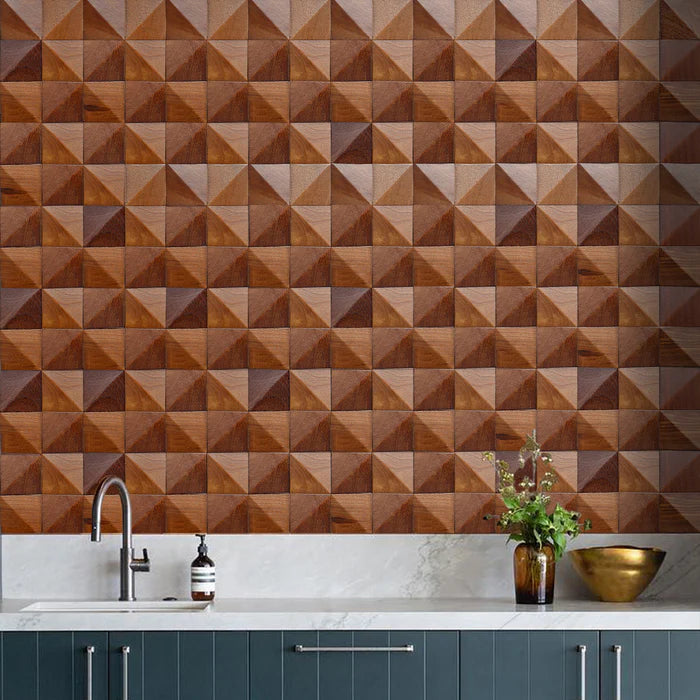
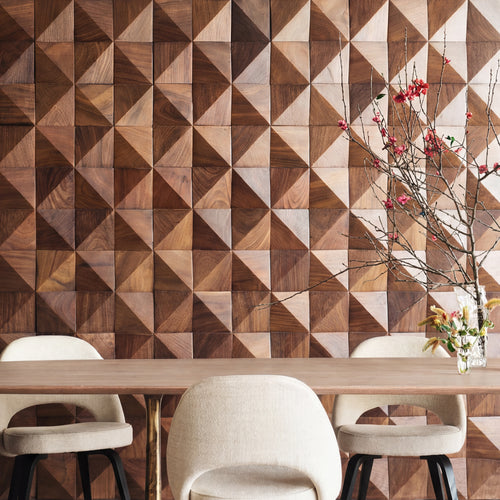
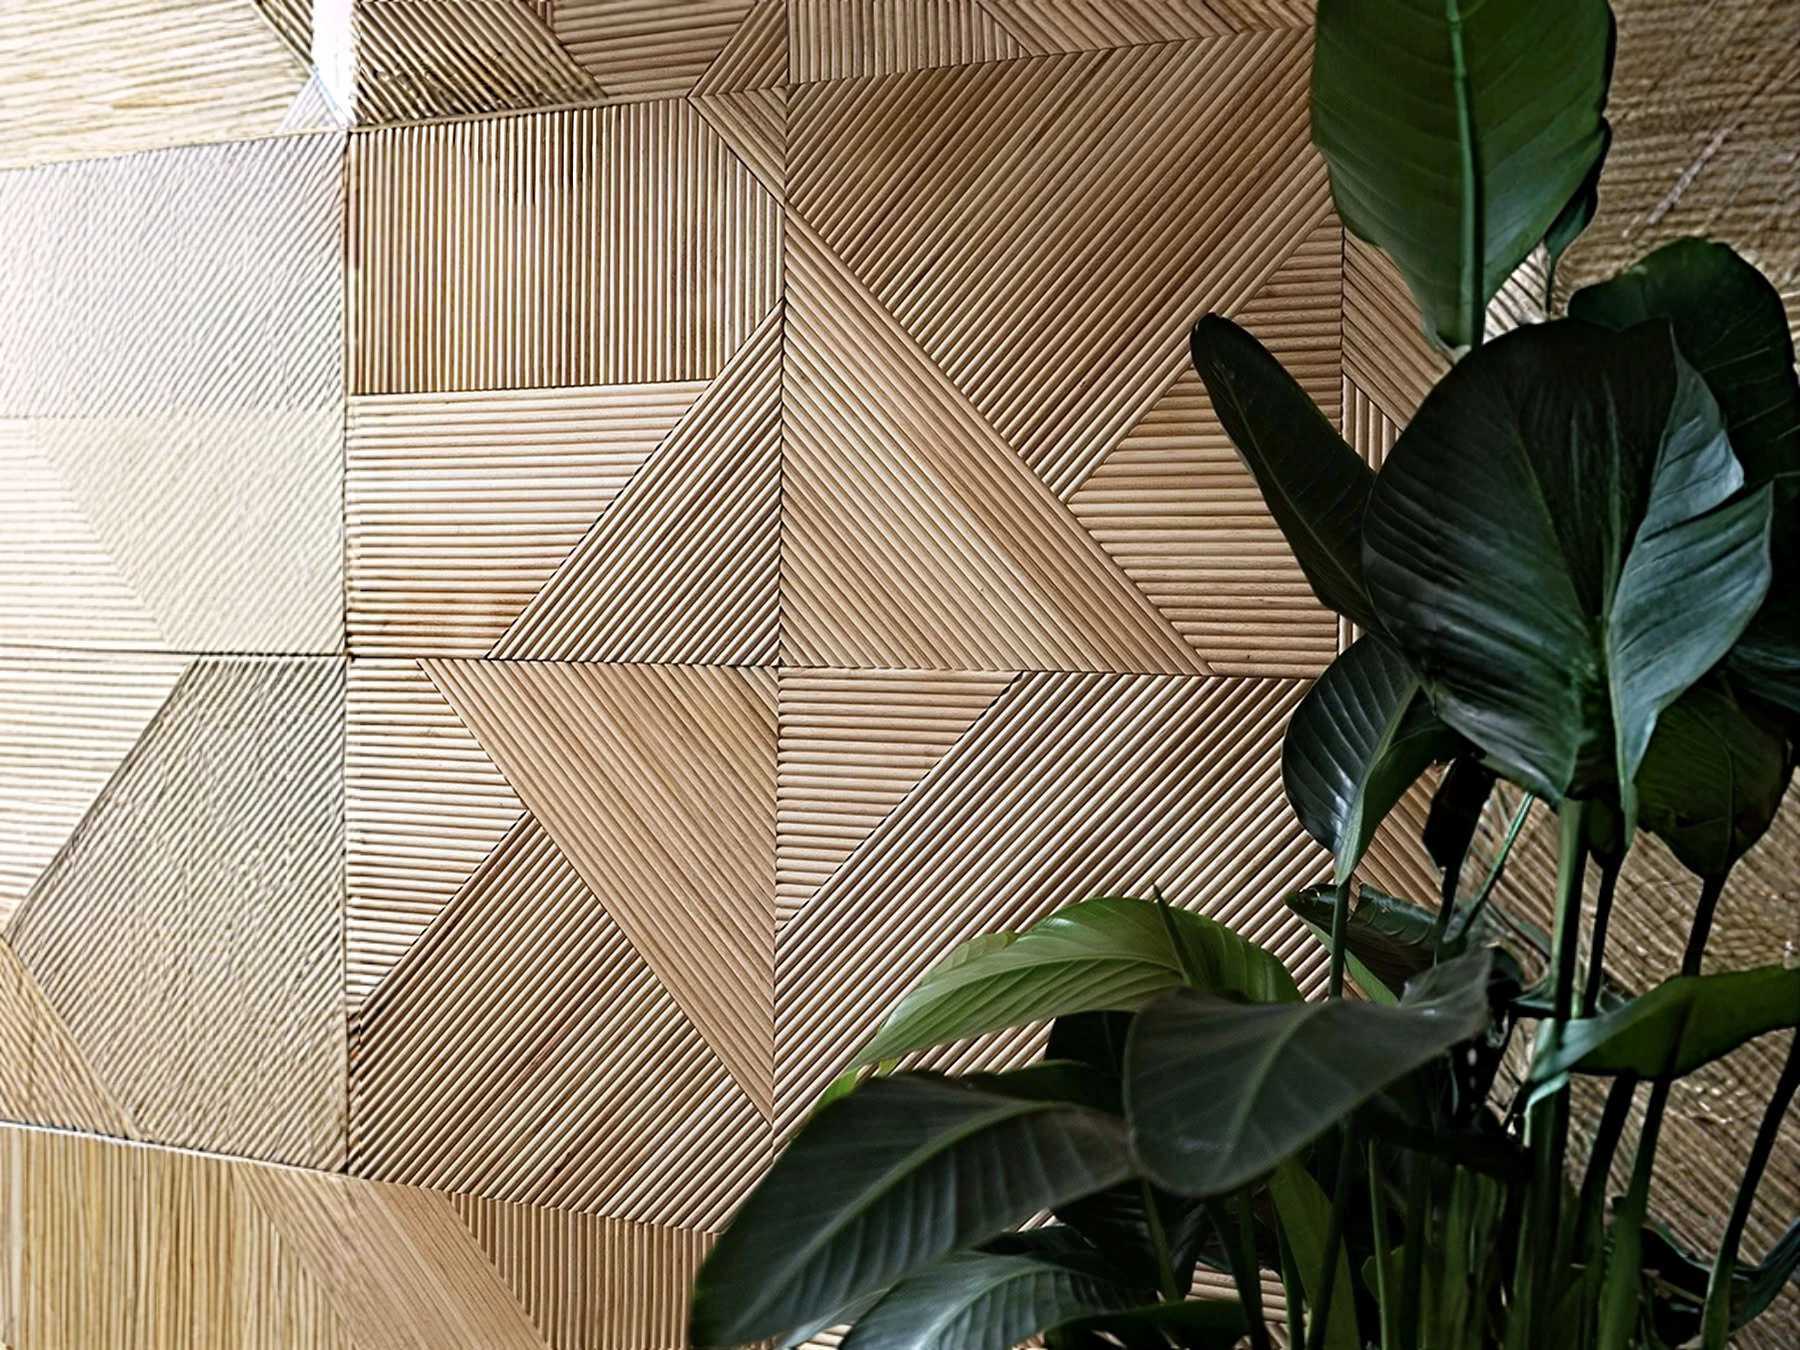
    Stylish wooden wall paneling with a modern geometric pattern and green plant accent.

    A reliable supplier should offer:

    • Verified real wood veneer or acoustic-quality materials

    • Accurate product dimensions and finish samples

    • Fast and secure shipping

    • Warranty coverage and after-sale support

    • Clear return and replacement policies

    When you buy from a certified brand like The Panel Hub®, you know you are investing in craftsmanship, sustainability, and long-lasting value.

    Best Places to Buy Wall Panels in 2025

    The Panel Hub® is a U.S.-based wall panel brand known for premium real wood acoustic panels and effortless installation services. The company focuses on high-end finishes, water-resistant MDF cores, and professional edge detailing.

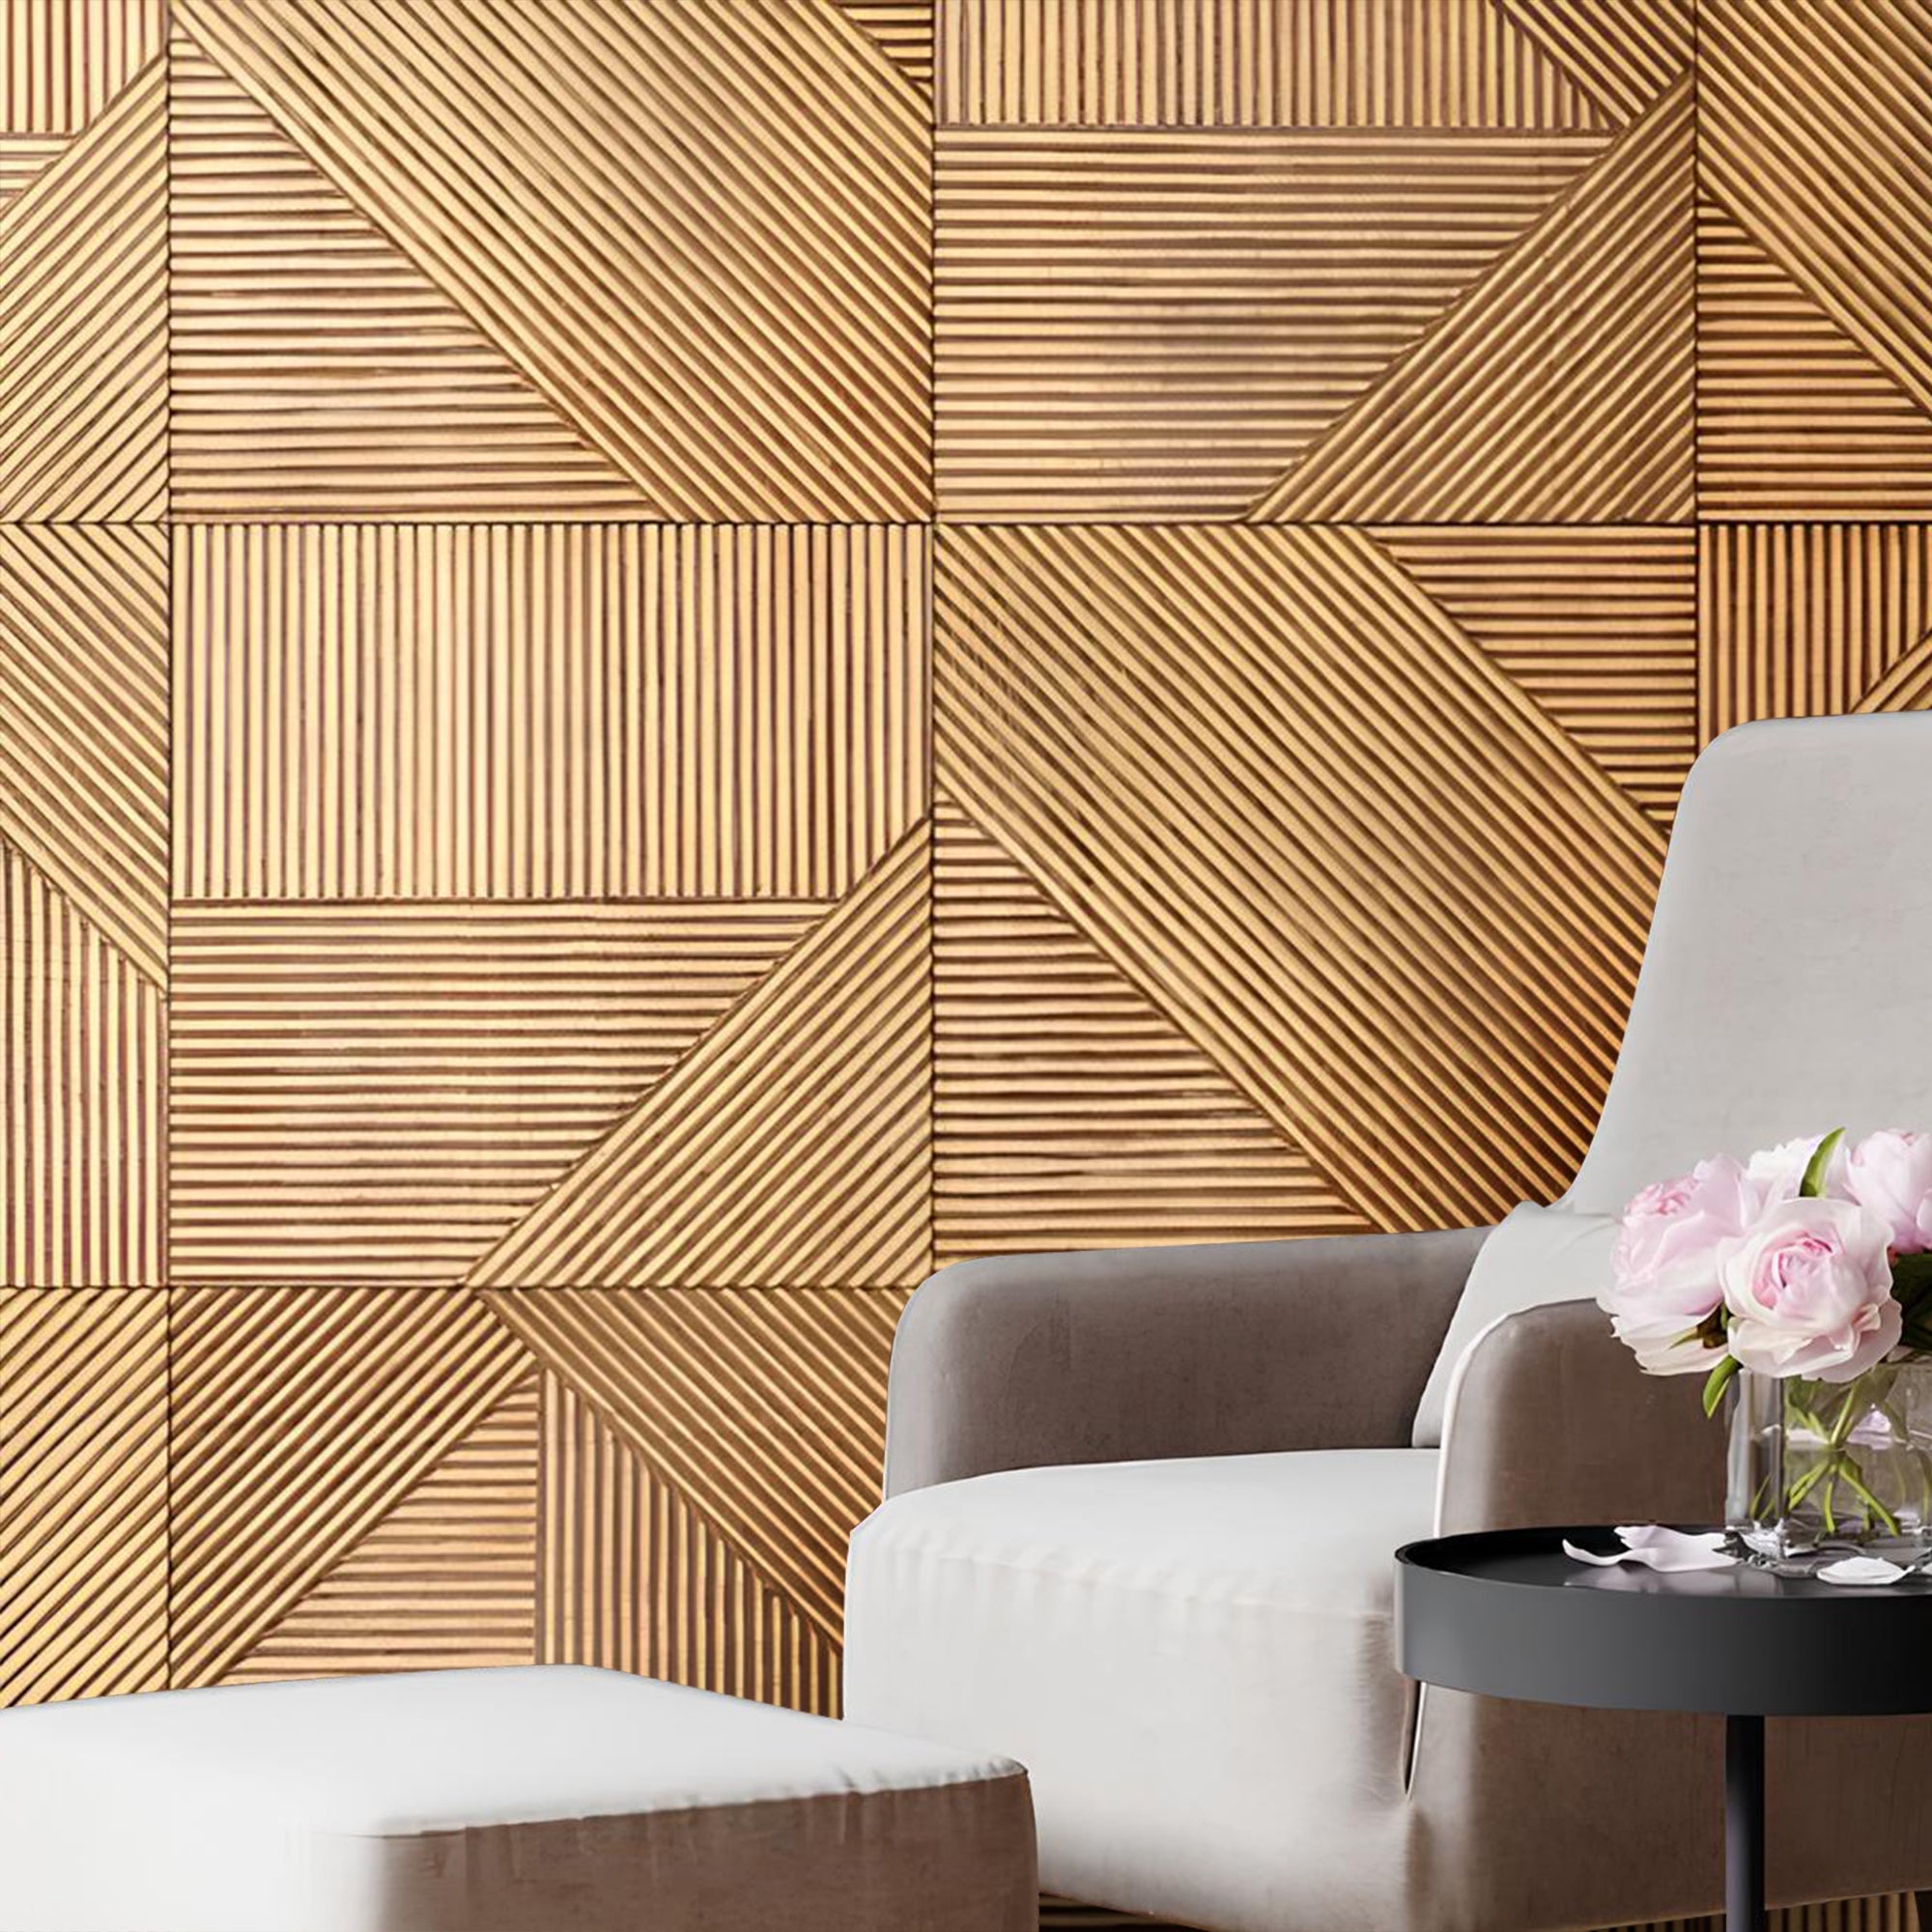
    Close-up of a modern geometric wood panel design from The Panel Hub.

    Why customers love it:

    • Real wood veneer with designer-grade texture

    • NRC 0.85 sound absorption for quieter spaces

    • Free professional installation on orders above two thousand dollars

    • Fast nationwide shipping (4 to 7 days)

    • Five-year product warranty

    👉 Browse The Panel Hub® Collection.

    2. Local Home Improvement Stores

    If you prefer in-person shopping, local retailers such as Home Depot or Lowe’s offer a variety of wall panels. You can physically inspect material samples, though the selection may be limited compared to specialized suppliers.

    Large home improvement store with neatly stacked shelves and products ready to buy.

    Pros:

    • Instant access to inventory

    • In-person quality check

    • Immediate pickup availability

    Cons:

    • Limited premium wood veneer options

    • Fewer acoustic panel choices

    • May require manual installation or third-party contractors

    3. Online Marketplaces

    Websites like Amazon and Wayfair provide convenient access to various wall panel brands. These platforms are ideal for budget-friendly options, though quality and authenticity can vary widely.

    A person browsing an online store on a laptop.

    Tips for safe online buying:

    • Read verified reviews and buyer images

    • Check for warranty and brand authenticity

    • Avoid listings with unclear specifications or no return policy

    4. Direct Manufacturer Websites

    Many homeowners prefer ordering directly from manufacturers to ensure product authenticity. This approach often comes with better support, faster customization, and more consistent quality control.

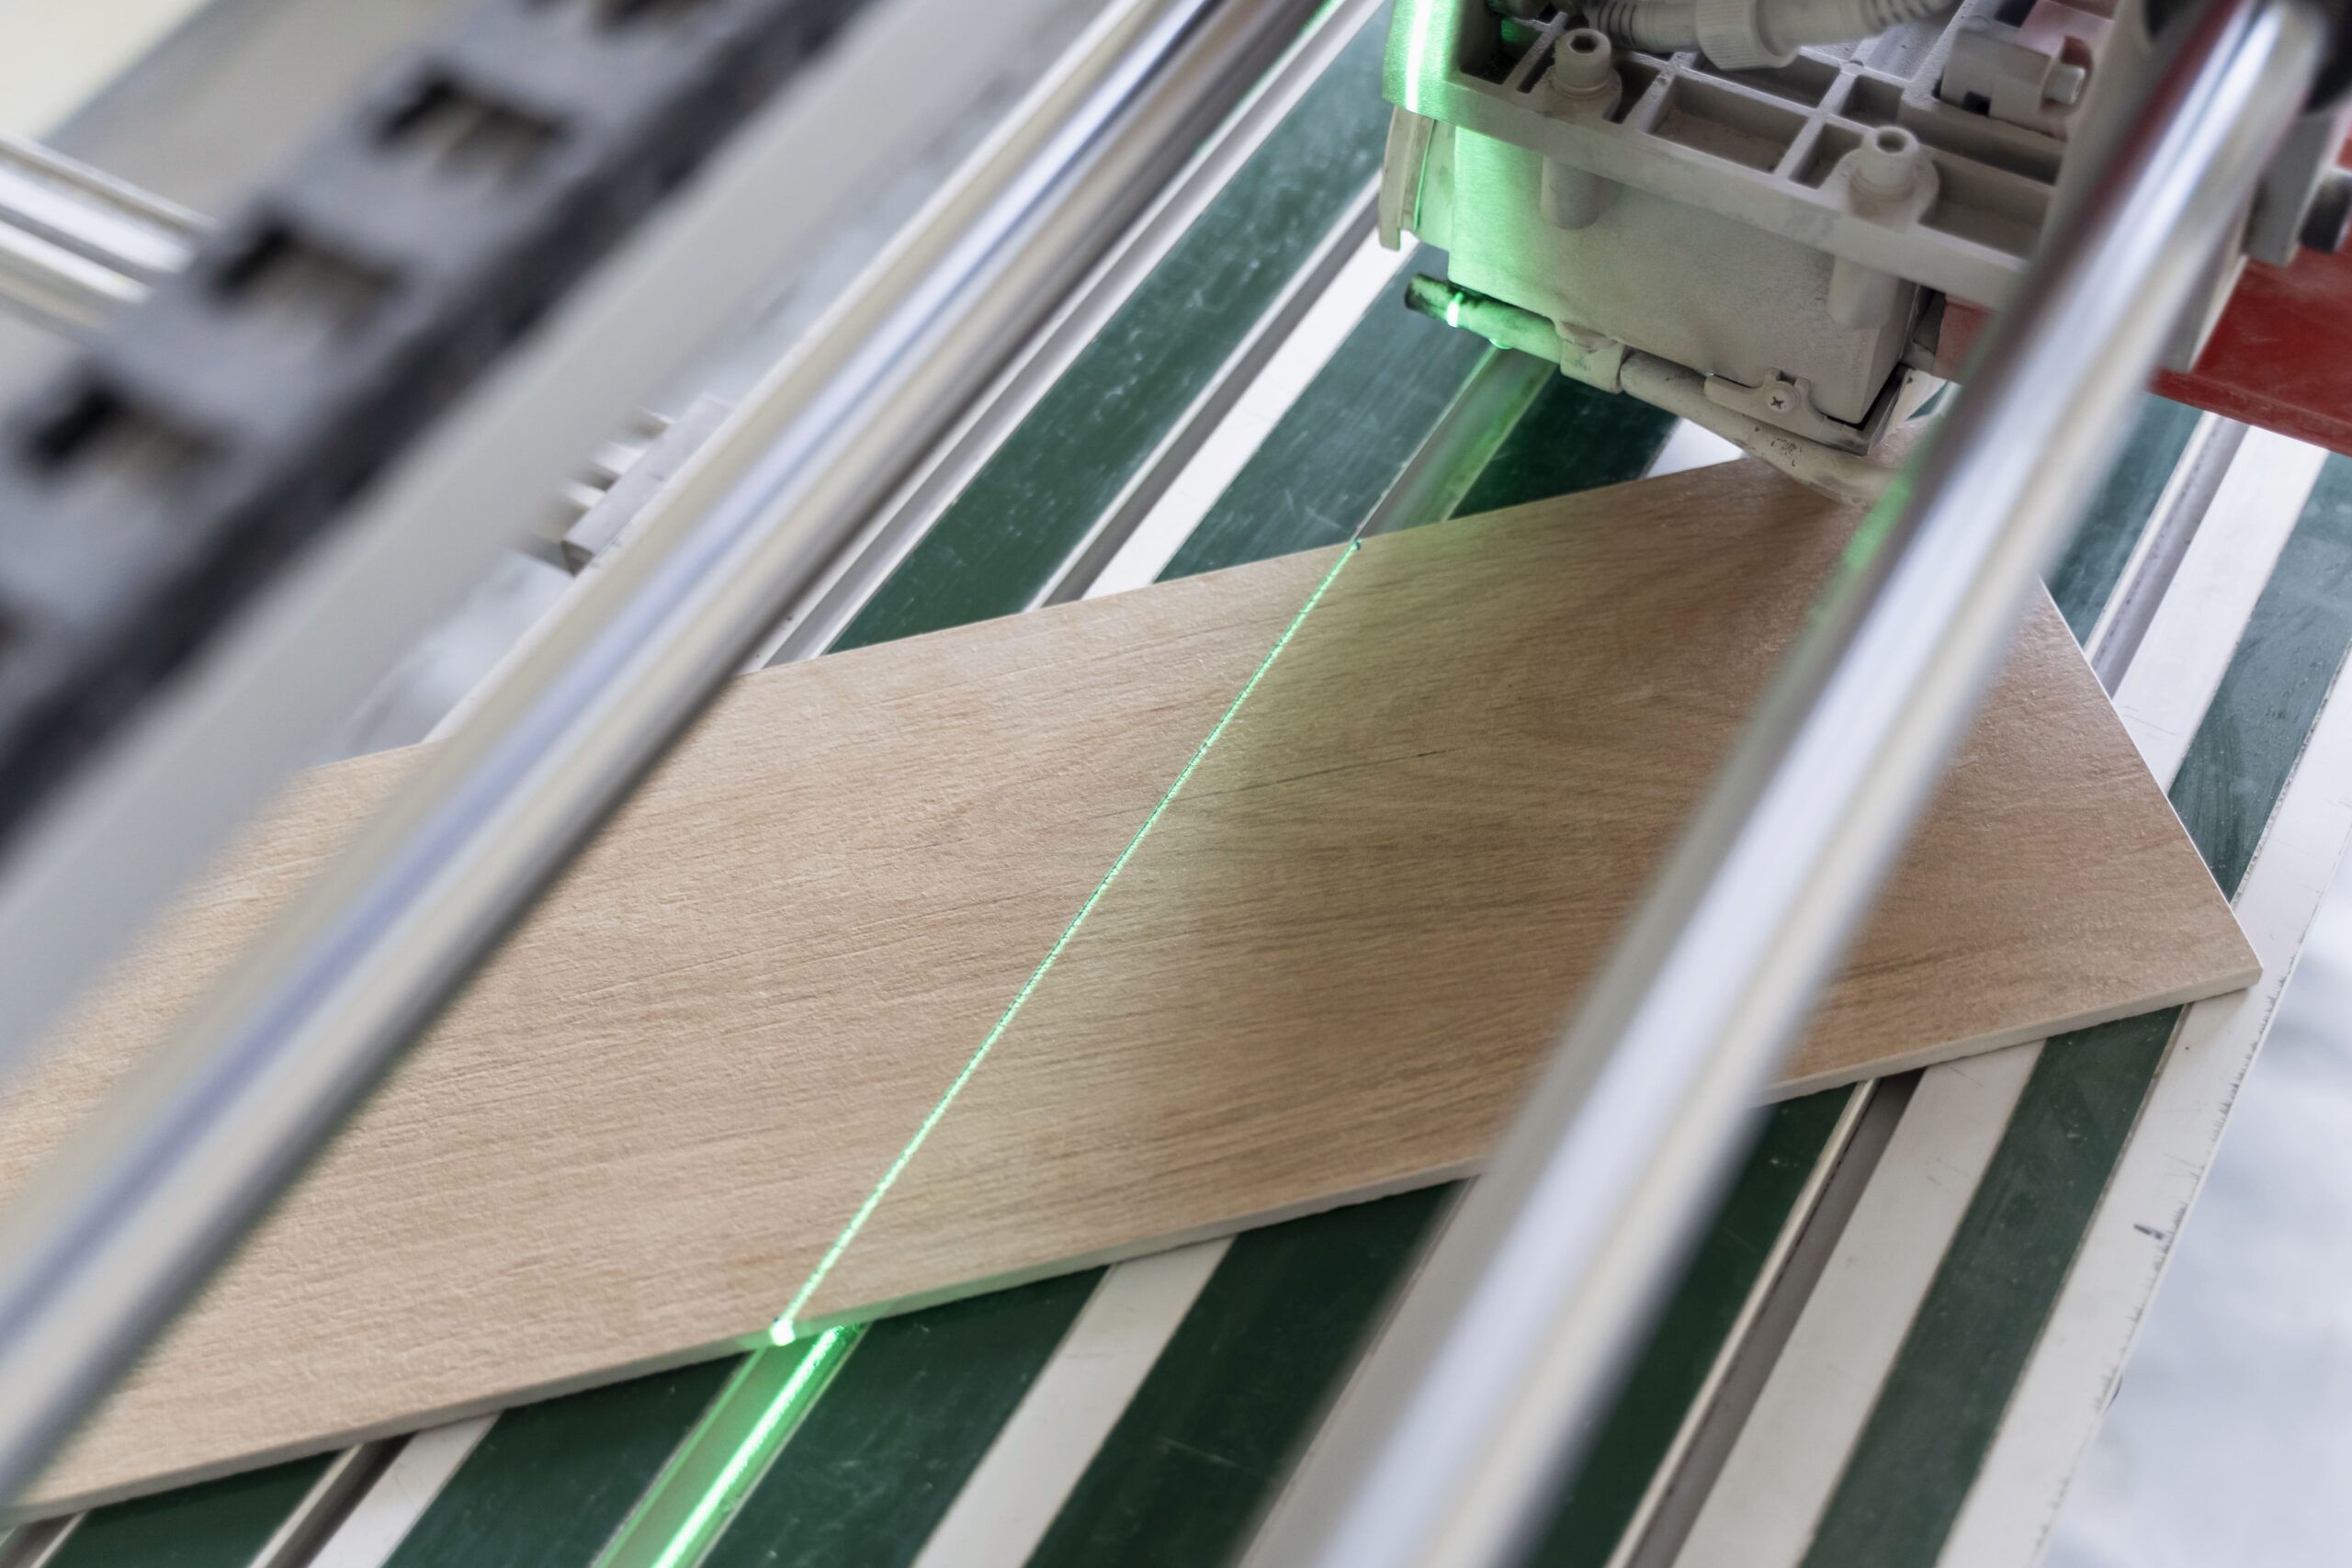
    Laser cutting machine working on a real wood panel in a workshop.

    Advantages include:

    • Access to exclusive collections and finishes

    • Custom sizing options

    • Direct technical assistance from the brand

    What to Look for Before Buying Wall Panels

    Before you make your purchase, review these important factors:

    • Material: Choose real wood veneer for long-term quality

    • Acoustic Rating: Look for NRC 0.85 or higher for sound control

    • Edge Finish: Rounded edges prevent chipping and ensure seamless installation

    • Installation: Prefer suppliers that offer DIY guides

    • Warranty: Look for a five-year guarantee or longer


    Why The Panel Hub® Is the Best Place to Buy Wall Panels

    The Panel Hub® stands out because it offers both premium materials and professional service. Every panel is designed to meet modern interior standards while simplifying the buying process for homeowners and designers alike.

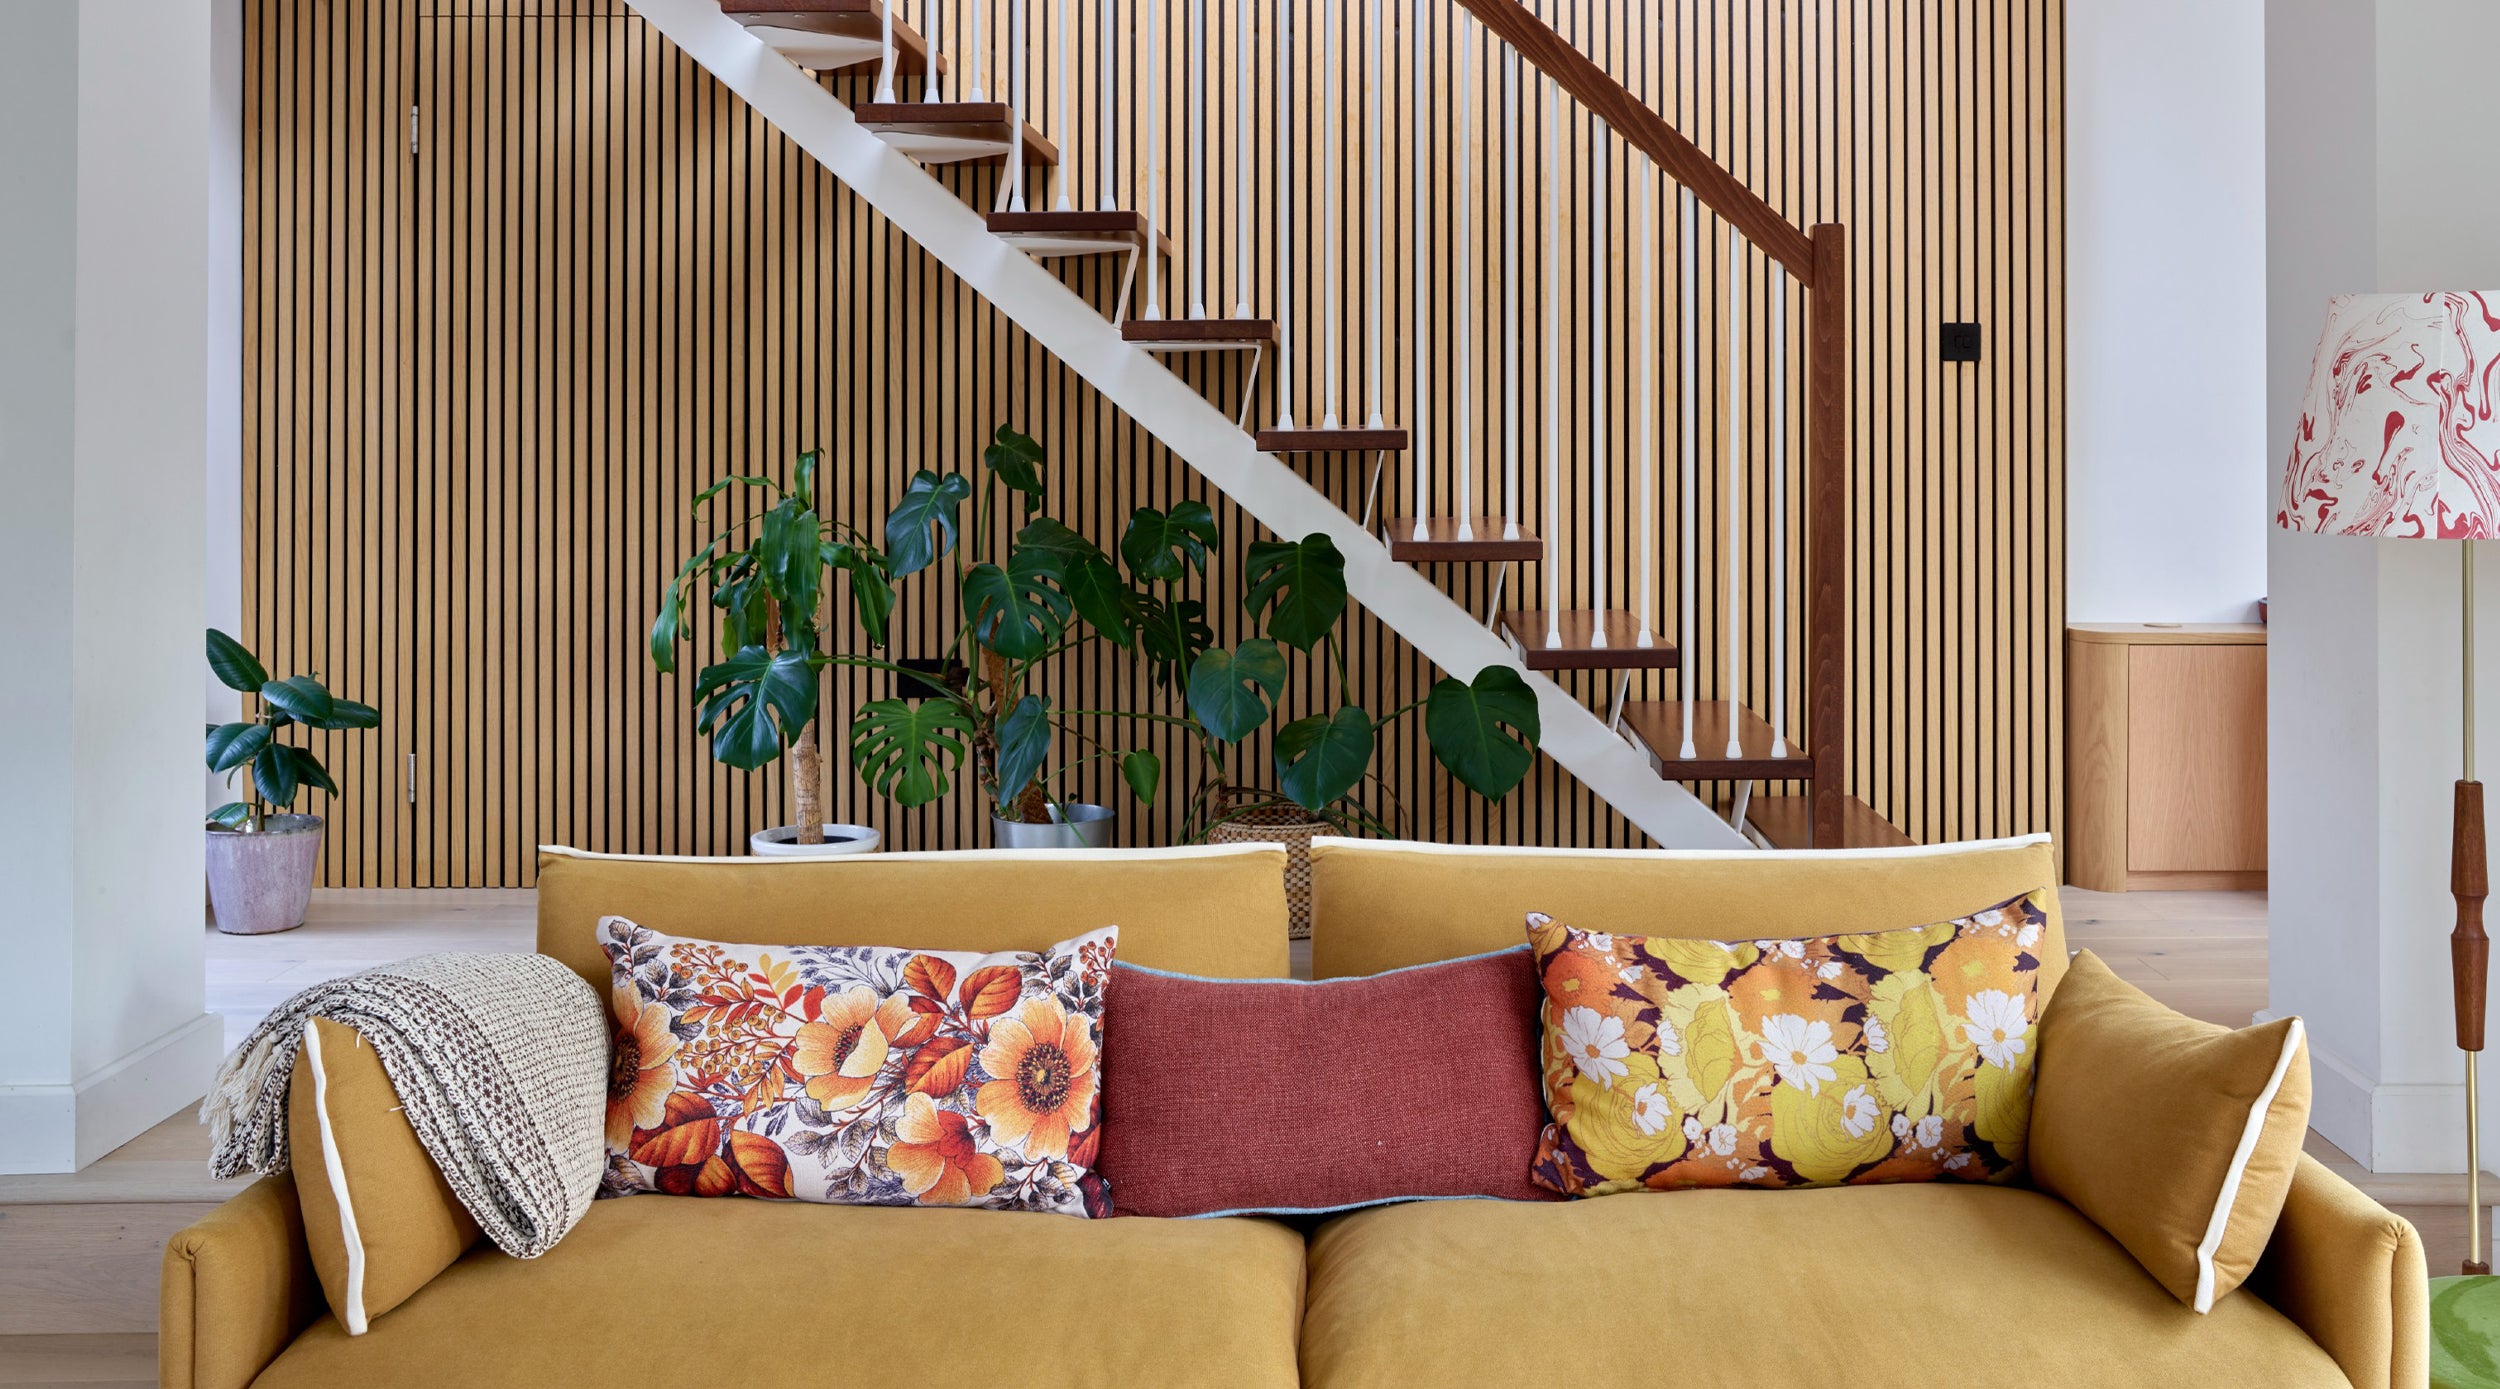
    Stylish living room with yellow sofa, floral pillows, and a striking wooden wall panel feature from The Panel Hub behind a staircase.

    Key advantages:

    • 100 percent real wood veneer

    • Water-resistant CoreShield™ MDF

    • Sound-absorbing design with NRC 0.85

    • Free visualization tools for design planning

    • Free installation on qualifying orders

    👉 Try our free Room Visualizer.

    When you buy from The Panel Hub®, you are choosing a trusted brand that combines design excellence with technical performance, creating an interior upgrade that lasts for years.

    What to Ask Before You Buy: A Quality Checklist

    Buying wall panels is not a purely price-driven decision — the quality of the material you receive, and the reliability of the supplier delivering it correctly, determines whether your project succeeds or fails. These are the questions worth asking before you commit to any significant order:

    Are samples available? Any quality panel supplier should offer samples at no charge or a nominal fee. If samples are unavailable, the supplier has limited confidence in their product holding up to close inspection — or their fulfilment process is not geared towards individual buyers. Samples allow you to check the species colour in your specific lighting, confirm the dimensional accuracy, and feel the quality of the finish.

    What is the returns policy for unused panels? Projects rarely use exactly the amount ordered. A 10–15% overorder is standard practice to account for cuts and waste. You need to know whether unused panels can be returned for credit, and on what terms. Suppliers who do not accept returns push all the risk of over-ordering onto the buyer.

    Are panels dimensionally consistent across a production run? Width and thickness variation between panels in the same order creates visible problems during installation — particularly with slat panels where gaps are supposed to be uniform. Ask specifically whether panels are sanded to a consistent thickness, and check reviews for comments on dimensional consistency.

    What is the lead time and can it be confirmed in writing? Renovation projects are time-sensitive. A supplier who can confirm a delivery date in writing before order acceptance is worth more than one who gives an estimated week and then misses it. Ask specifically about current stock levels for your chosen panels rather than accepting a generic lead time.
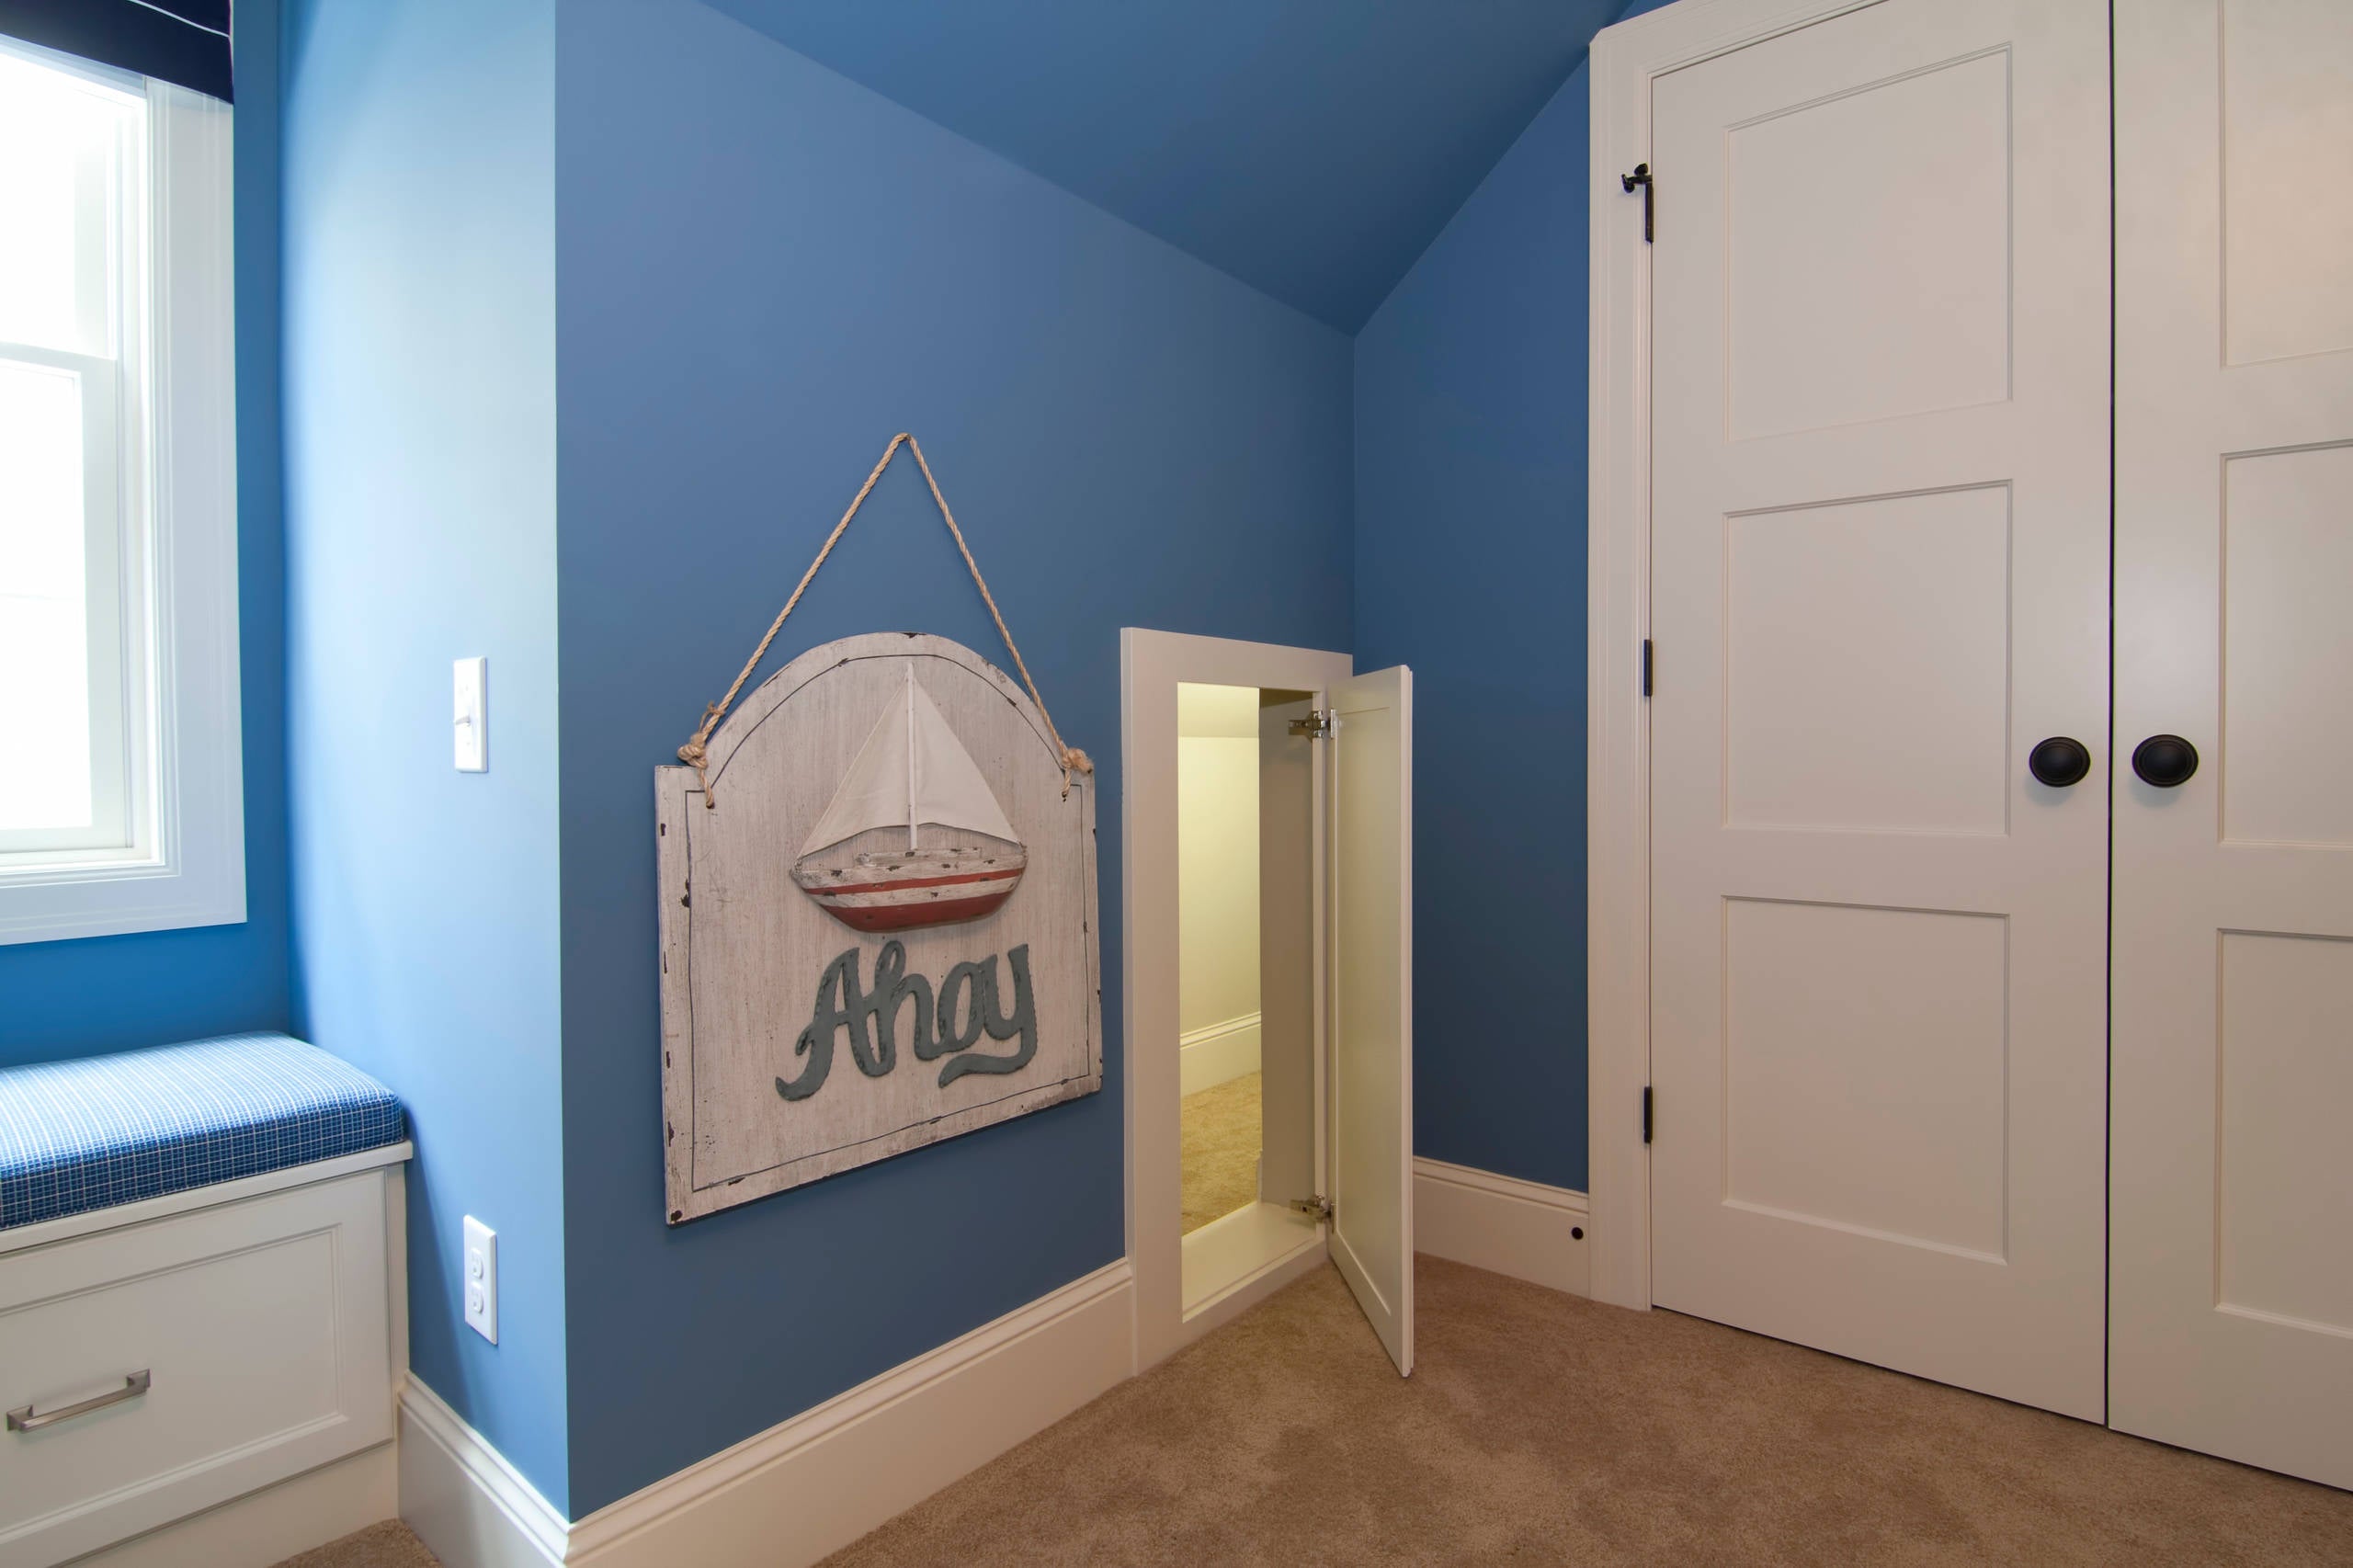
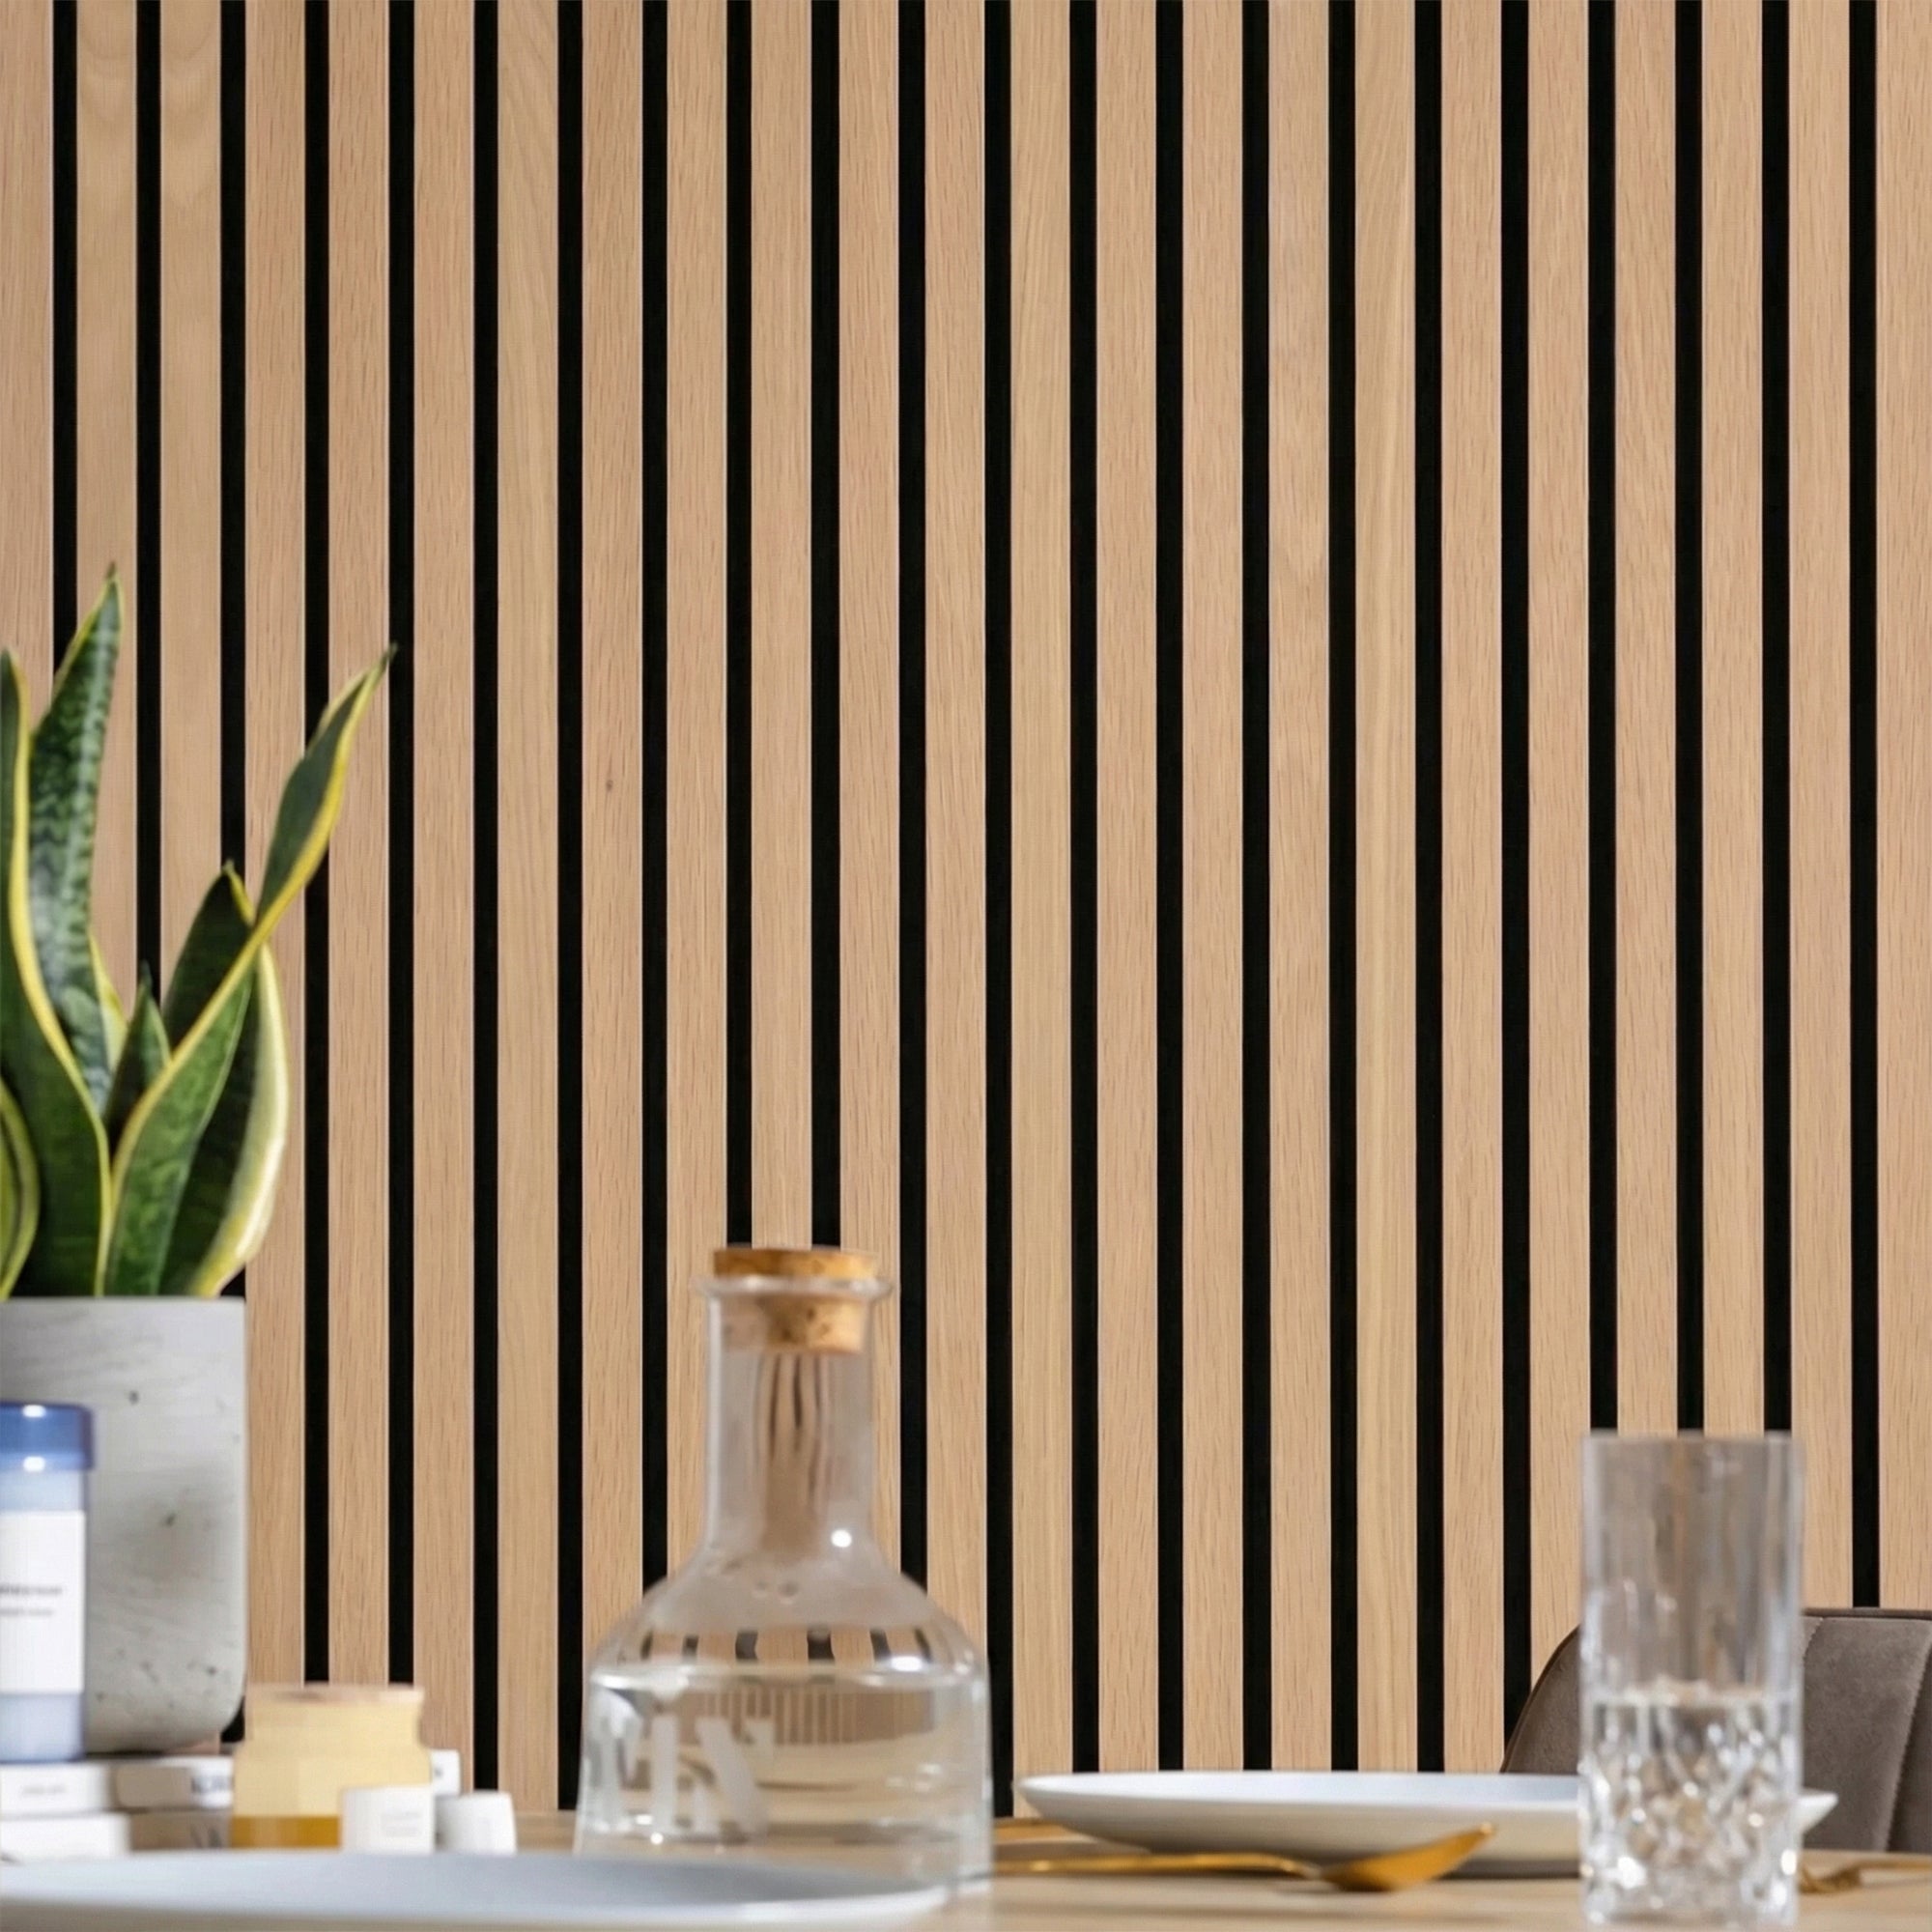
    Where to Buy Wall Panels FAQs

    Should I buy wall panels online or visit a showroom?
    For large orders or high-specification projects, visiting a showroom or requesting samples is strongly recommended. Colour rendering on screens varies significantly between devices, and the tactile quality of a panel — grain depth, surface texture, weight — is impossible to assess from a photograph. For smaller projects or when you have already used the supplier’s products before, online ordering is perfectly reliable.
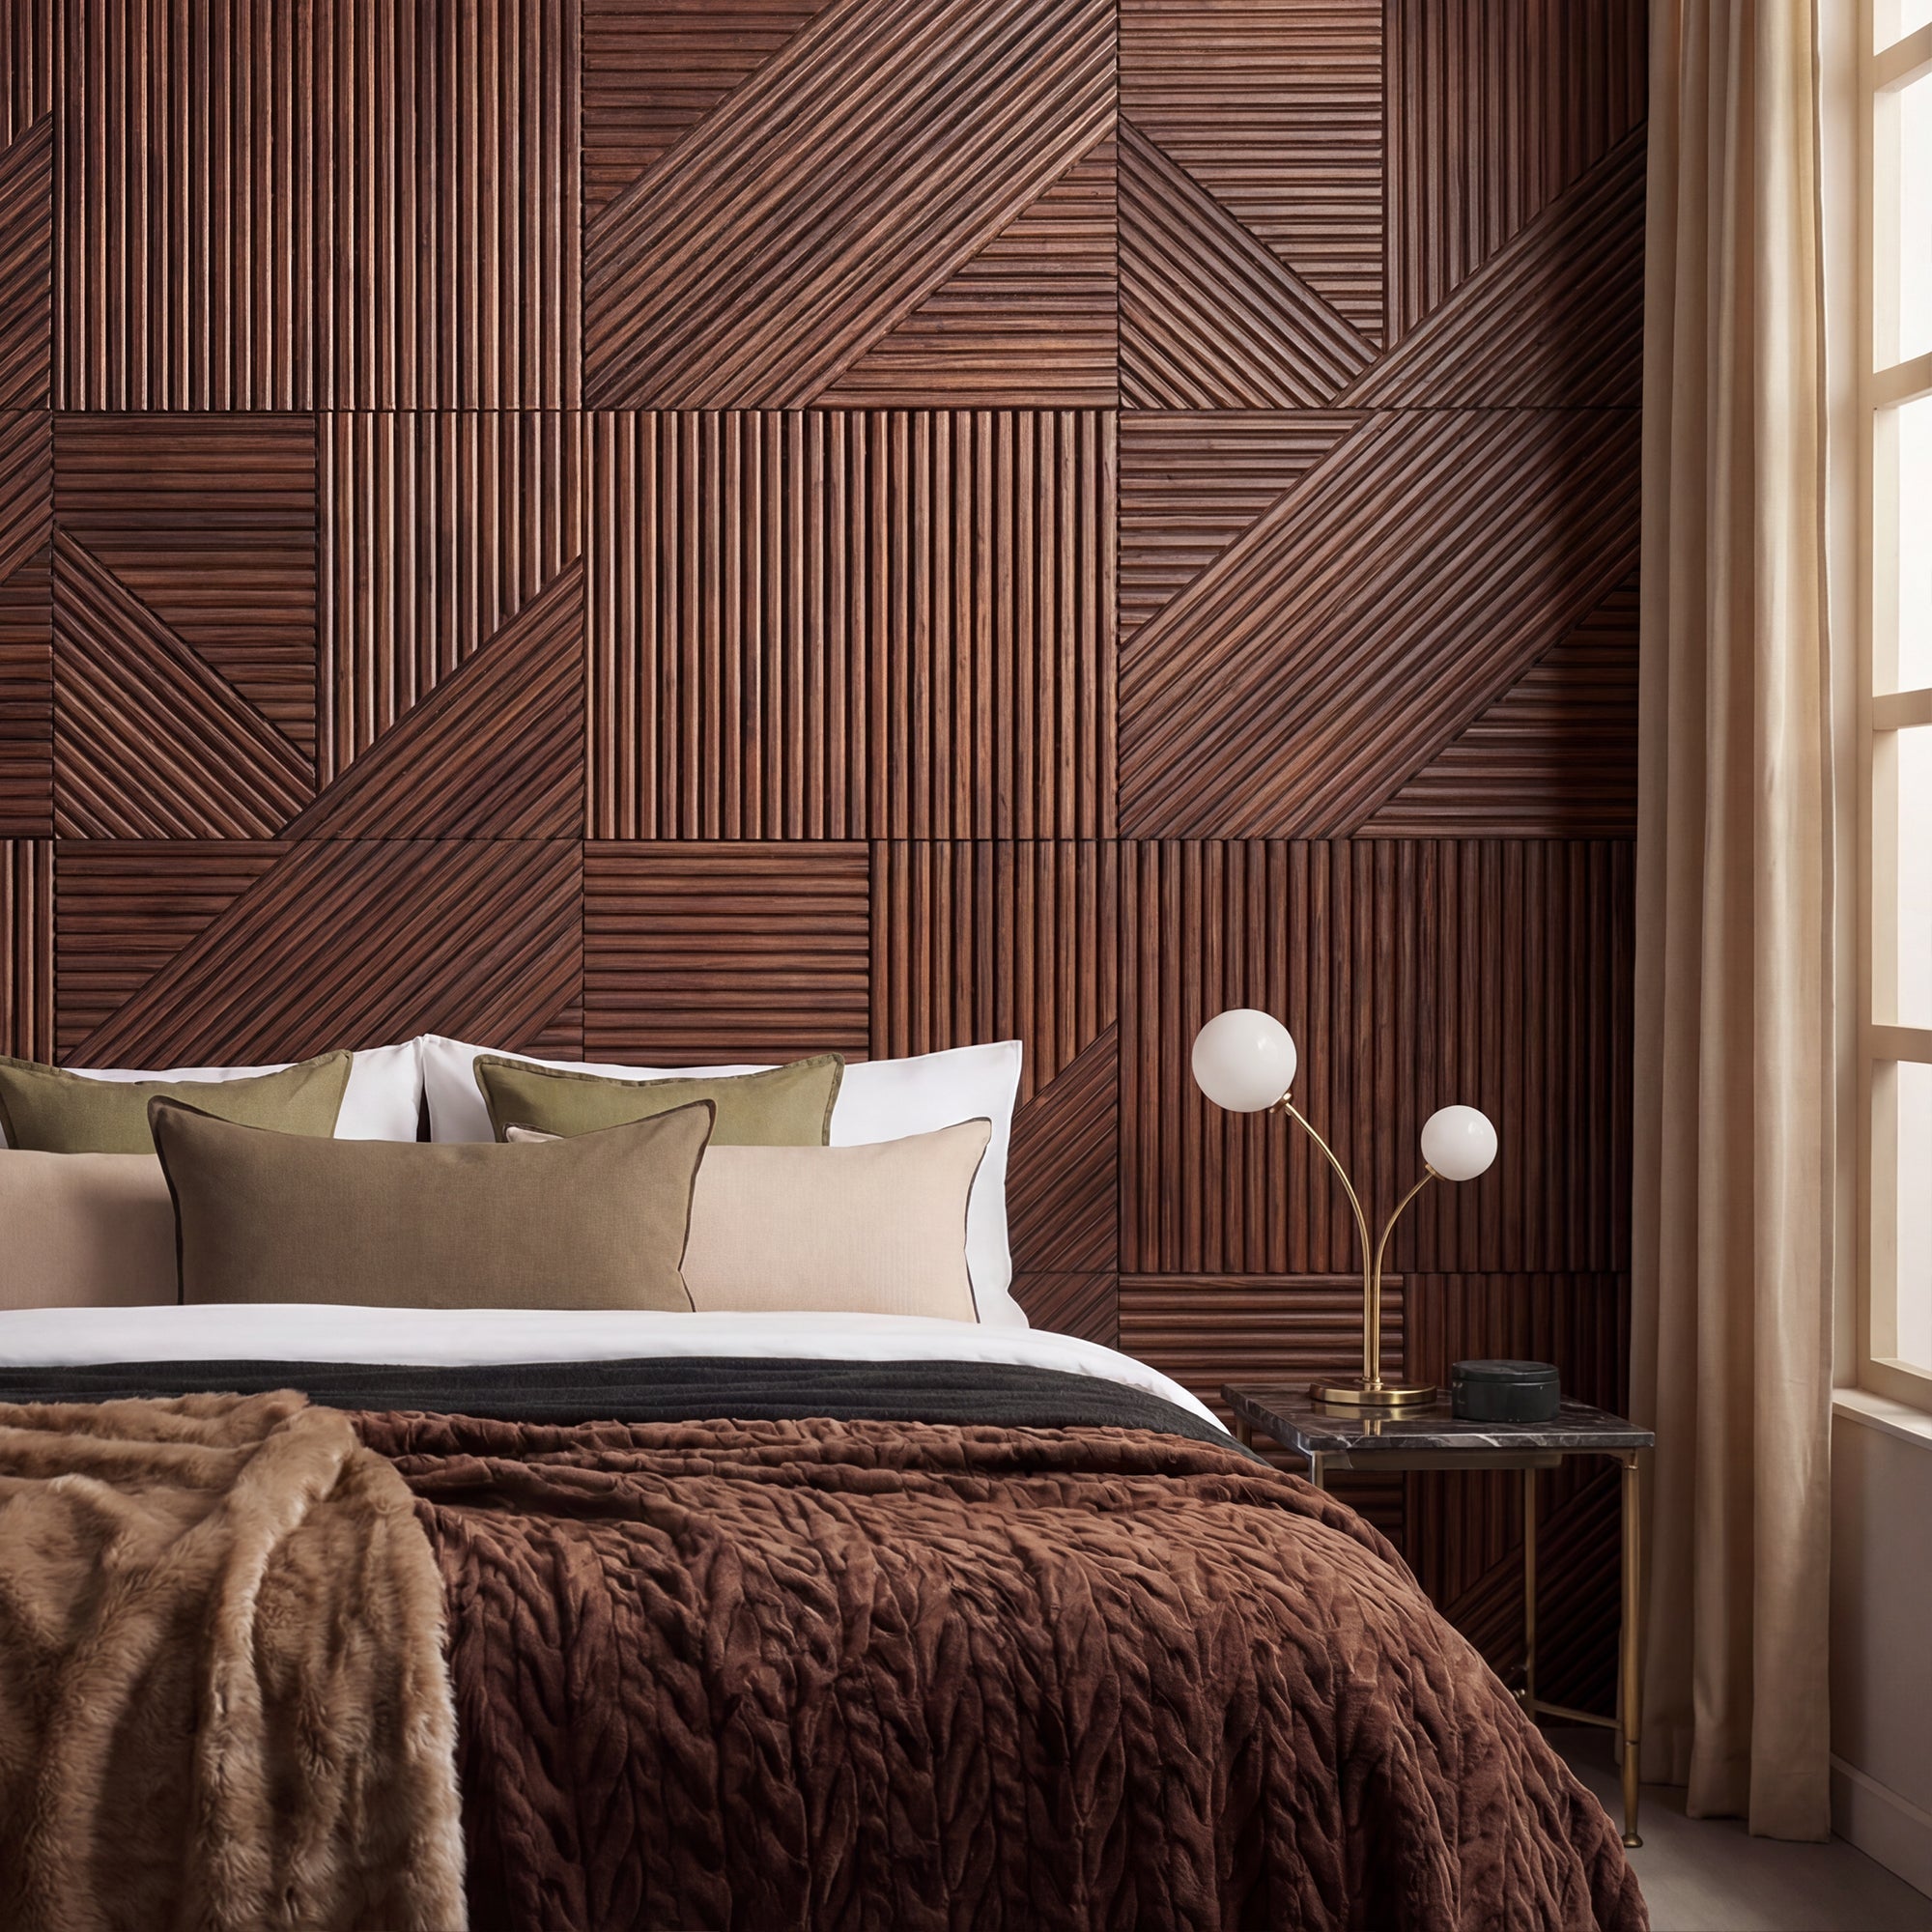
    Is it safe to buy wall panels from marketplace platforms?
    Marketplace purchases can work for commodity products, but wall panels carry specific risks: dimensional inconsistency, colour variation between production batches, and returns processes that are far less straightforward than buying direct from a specialist supplier. For a project where panels need to match across a room, buying from a single specialist supplier who can guarantee batch consistency is significantly more reliable than marketplace purchasing.

    How do I verify a wall panel supplier’s quality before ordering?
    Check for independent reviews on platforms where reviews cannot be altered by the seller. Look specifically for comments on dimensional consistency, colour accuracy versus website images, and how the supplier handled any problems with orders. A supplier with a high volume of detailed, positive reviews over multiple years is more reliable than one with a large number of short, generic positive reviews over a short period.

    Can I buy wall panels that are already cut to size?
    Some specialist suppliers offer a cut-to-length service, which eliminates on-site cutting for a straightforward installation and reduces material waste significantly. This service is particularly valuable for projects with non-standard ceiling heights or specific layout requirements where standard panel lengths would create significant waste. The additional cost of a cut-to-length service is typically recovered in reduced waste and simplified installation.

    Final Thoughts: Buy Once, Enjoy for Years

    Buying wall panels is more than a home improvement project. It is an investment in comfort, elegance, and timeless design. Whether you prefer DIY installation or full-service support, selecting the right supplier will make all the difference in your results.

    Start your transformation today with a brand that blends authenticity, sustainability, and style.

  • How to Reduce Noise in a Room: Simple Tips & Tricks

    How to Reduce Noise in a Room: Simple Tips & Tricks

    When it comes to how to reduce noise in a room, you need proper sound absorbing features to minimize unwanted sounds. You can also use soft materials such as rugs, carpets, and upholstered furniture to absorb noise effectively.

    On the other hand, hard flooring can create echoes that make a room feel noisier. Therefore, you can insulate your space and block out sound with thick curtains, which are especially useful when you’re sleeping or want more privacy.

    In addition, furniture can also act as a natural sound barrier, complementing its main purpose.

    Solutions for Reducing Noise in a Room

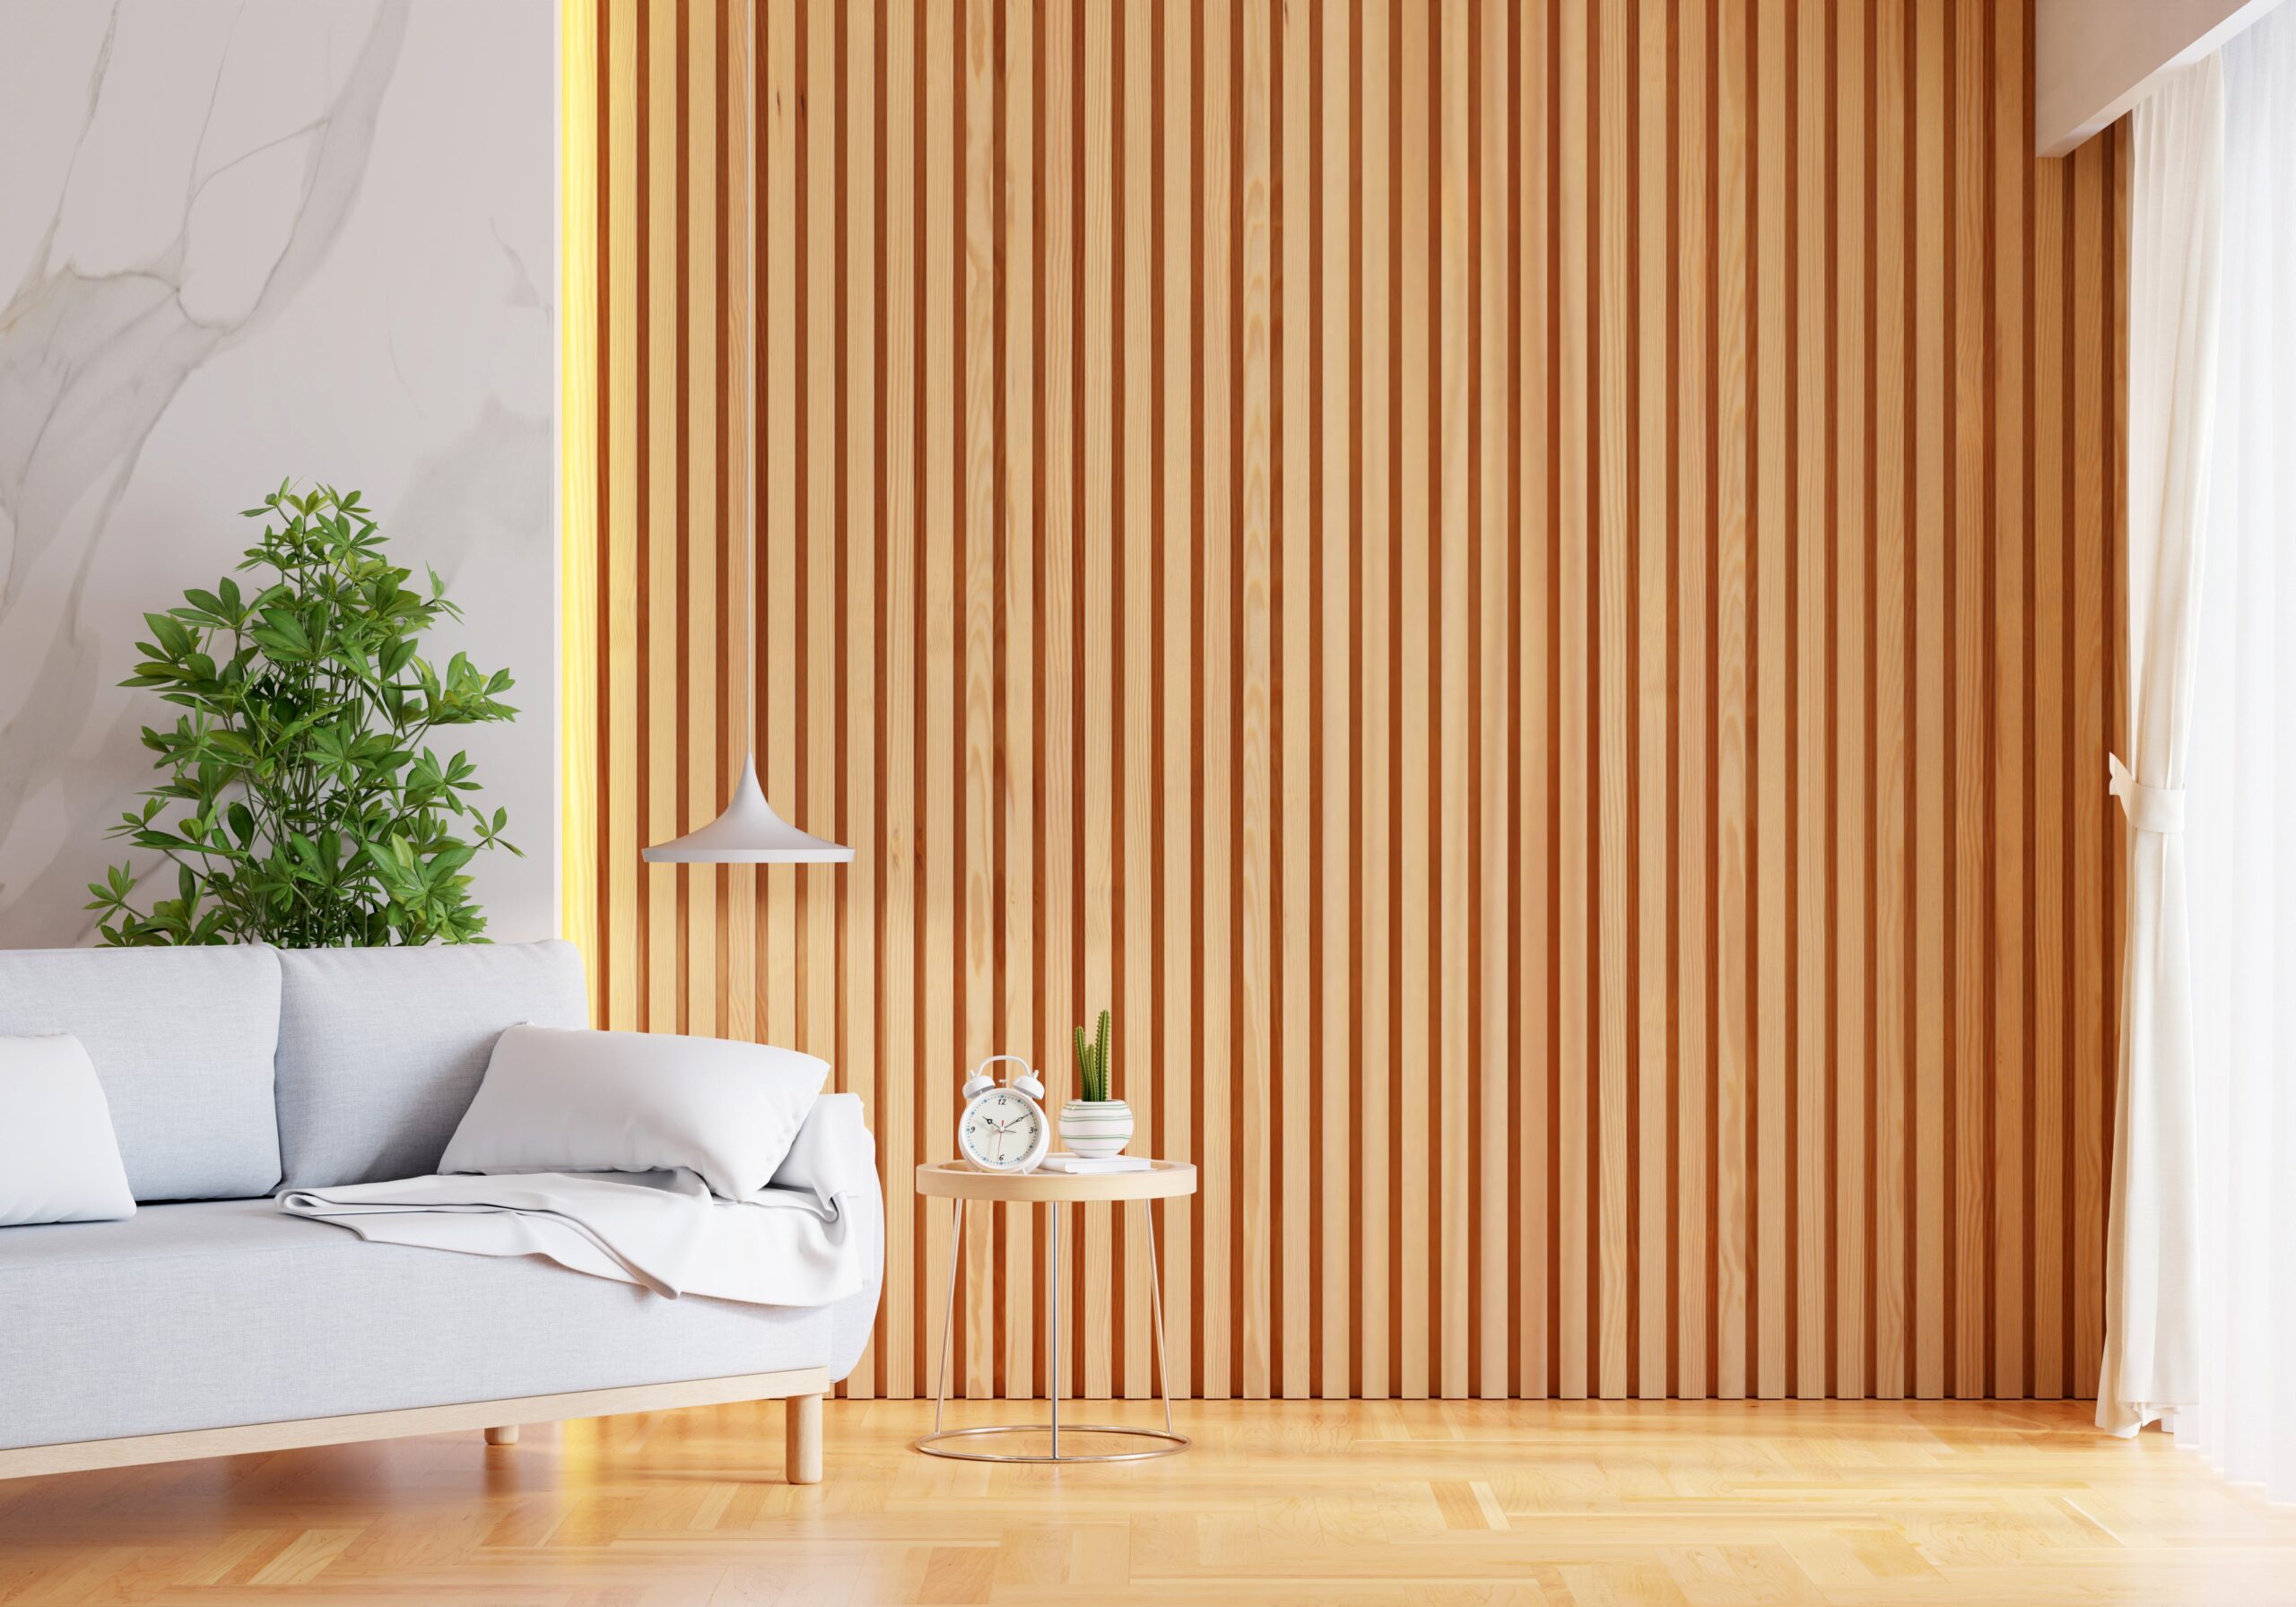
    Bright living room with a light wooden slat wall, gray sofa, indoor plant, round side table, and sheer white curtains.

    Some indoor spaces, such as city apartments or suburban homes tend to experience unwanted noise. That’s why managing sound with acoustic wall solutions can create a calm space and comfortable environment.

    To eliminate noise, you need soundproofing features in your room. However, many still think it requires a major renovation to adjust sound levels. In fact, small design changes can make a big difference.

    1. Install Sound-Absorbing Materials

    The first step to reducing noise is to utilize soft materials. Fortunately, you can easily find them, such as rugs, carpets, and upholstered furniture. On the other hand, using hard floors can create echoes that make a room feel noisier.

    Fabric wall hangings, acoustic panels, and padded headboards can also eliminate the unwanted noise, as their thick material is able to absorb sound. You can add them to any noisy area in your home.

    2. Use Heavy Drapes or Curtains

    The sound of traffic, construction, or neighborhood activity mostly enters through the window. To reduce it, you can replace your curtains with thicker ones, or use soundproof drapes for better noise control. With curtains, you can insulate your room and block out sound, which is useful when you’re sleeping or doing activities without anyone looking inside your home.

    If you’re on a budget, cushions or heavier curtains are a perfect choice to improve the acoustics of your space. They have a similar effect to other soft materials and fabrics, so you don’t need to worry.

    3. Place Furniture Strategically

    The larger furniture pieces, the more they can absorb and diffuse sound. Designed to fill and decorate a room, furniture can also act as a natural sound barrier in addition to its main function.

    Besides storing books, bookshelves can reduce echoes and prevent noise from travelling between rooms. When they’re placed against shared or thin walls, their solid surfaces absorb and block sound effectively.

    Another way to eliminate reflected noise is to move a cabinet against a wall facing the street or rearrange cushions like sofas. You just need to make minor changes to what you currently have.

    Acoustic Wall Solutions

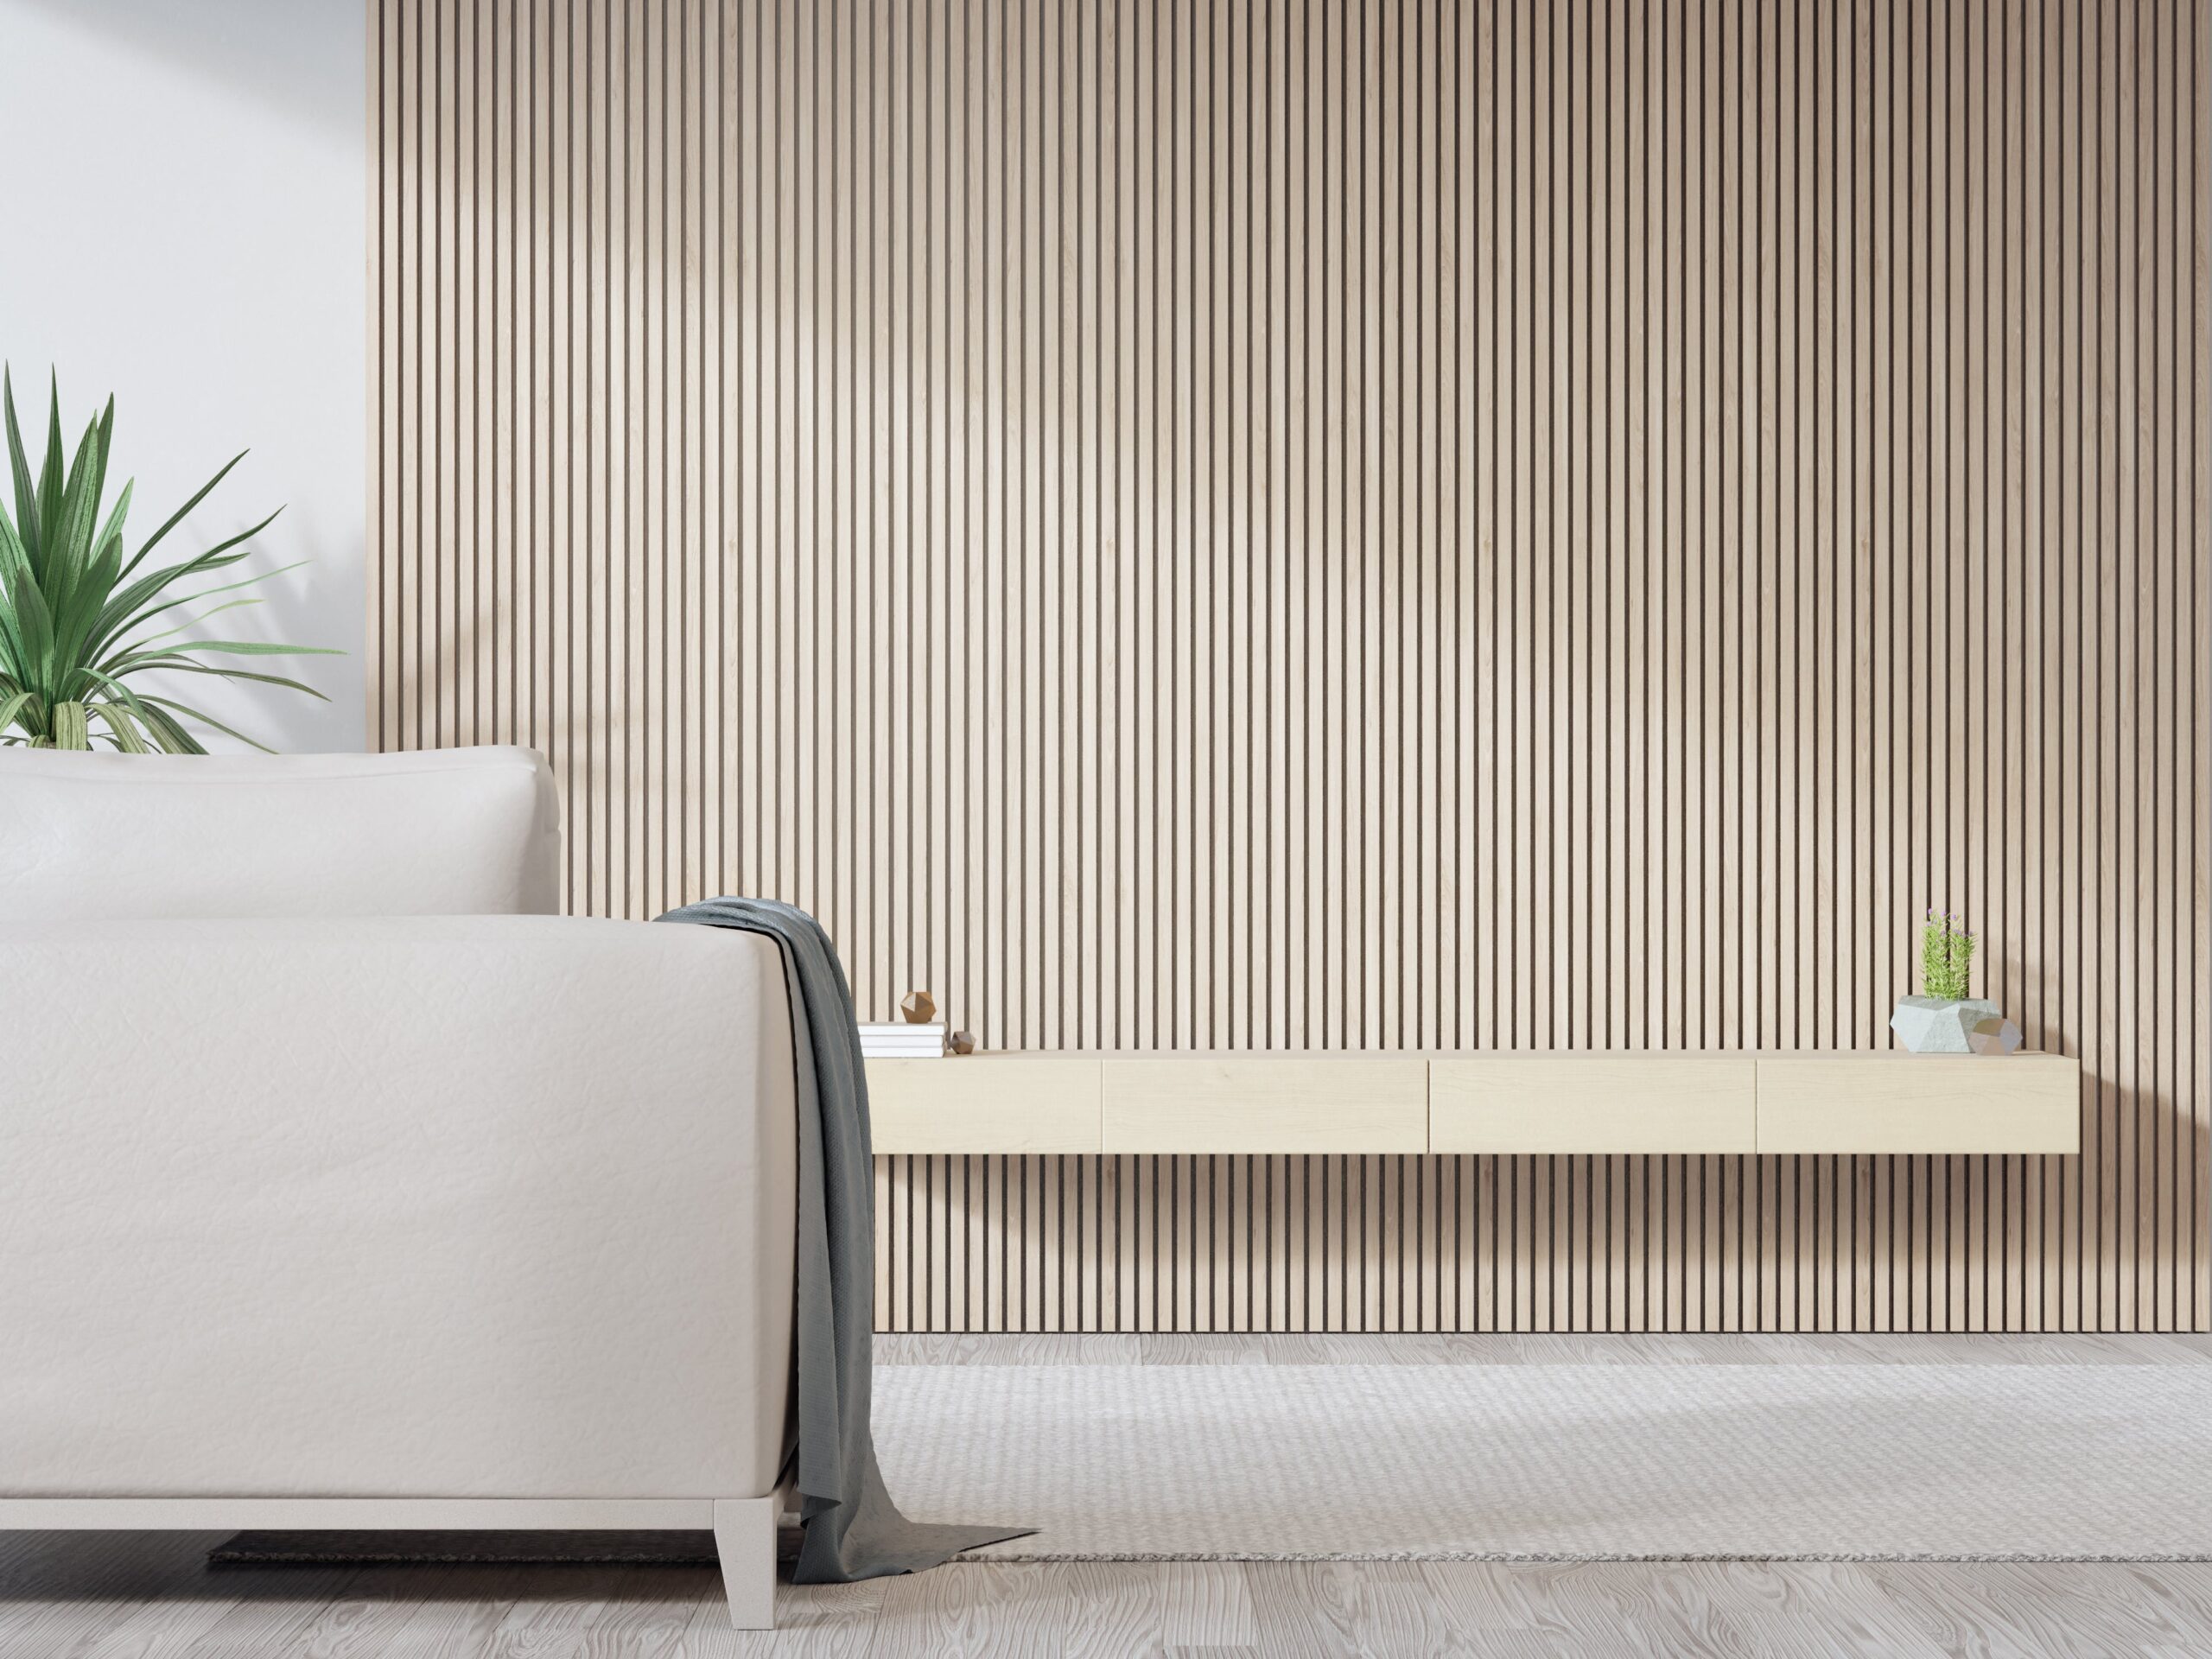
    Minimalist living room with light beige wooden slat wall, white sofa, floating cabinet, and indoor plant in soft natural lighting.

    Using acoustic wall panels and related materials can help manage noise over time. So, if you want to go beyond noise reduction, think about doing so. Furthermore, they can give any area an aesthetic touch.

    1. Install Acoustic Panels

    Acoustic panels not only improve how a room sounds but also how it looks. They’re designed to absorb mid- to high-frequency noise, helping to soften echoes and make any space feel calmer.

    At The Panel Hub, you can find acoustic wall panels that blend performance with design, which gives you both function and style. Even better, they’re customizable, so you can match them perfectly with your space and taste.

    2. Apply Soundproof Wallpaper and Acoustic Paint

    If you prefer something more subtle, try soundproof wallpaper or acoustic paint. These materials may not be as common as panels or foam, but they can still help reduce vibrations and noise traveling through your walls.

    Soundproof wallpaper works well in apartments, bedrooms, or offices. Made with several layers, it helps tone down noise without the need for a full renovation.

    Meanwhile, acoustic paint is a practical option if you want to minimize mid-range sounds such as chatter, TV noise, or general background hum. It’s an easy update that can make a noticeable difference in comfort.

    3. Use Acoustic Tiles or Ceiling Clouds

    Don’t overlook your ceiling. Hard, reflective surfaces can make a room feel louder and more echoey.

    Installing acoustic tiles helps capture sound waves before they bounce back, keeping the environment quieter. These are especially popular in open-plan homes, offices, or studios. For a more striking look, consider ceiling clouds, which not only absorb sound but also add a stylish touch to your space.

    Combination Approaches

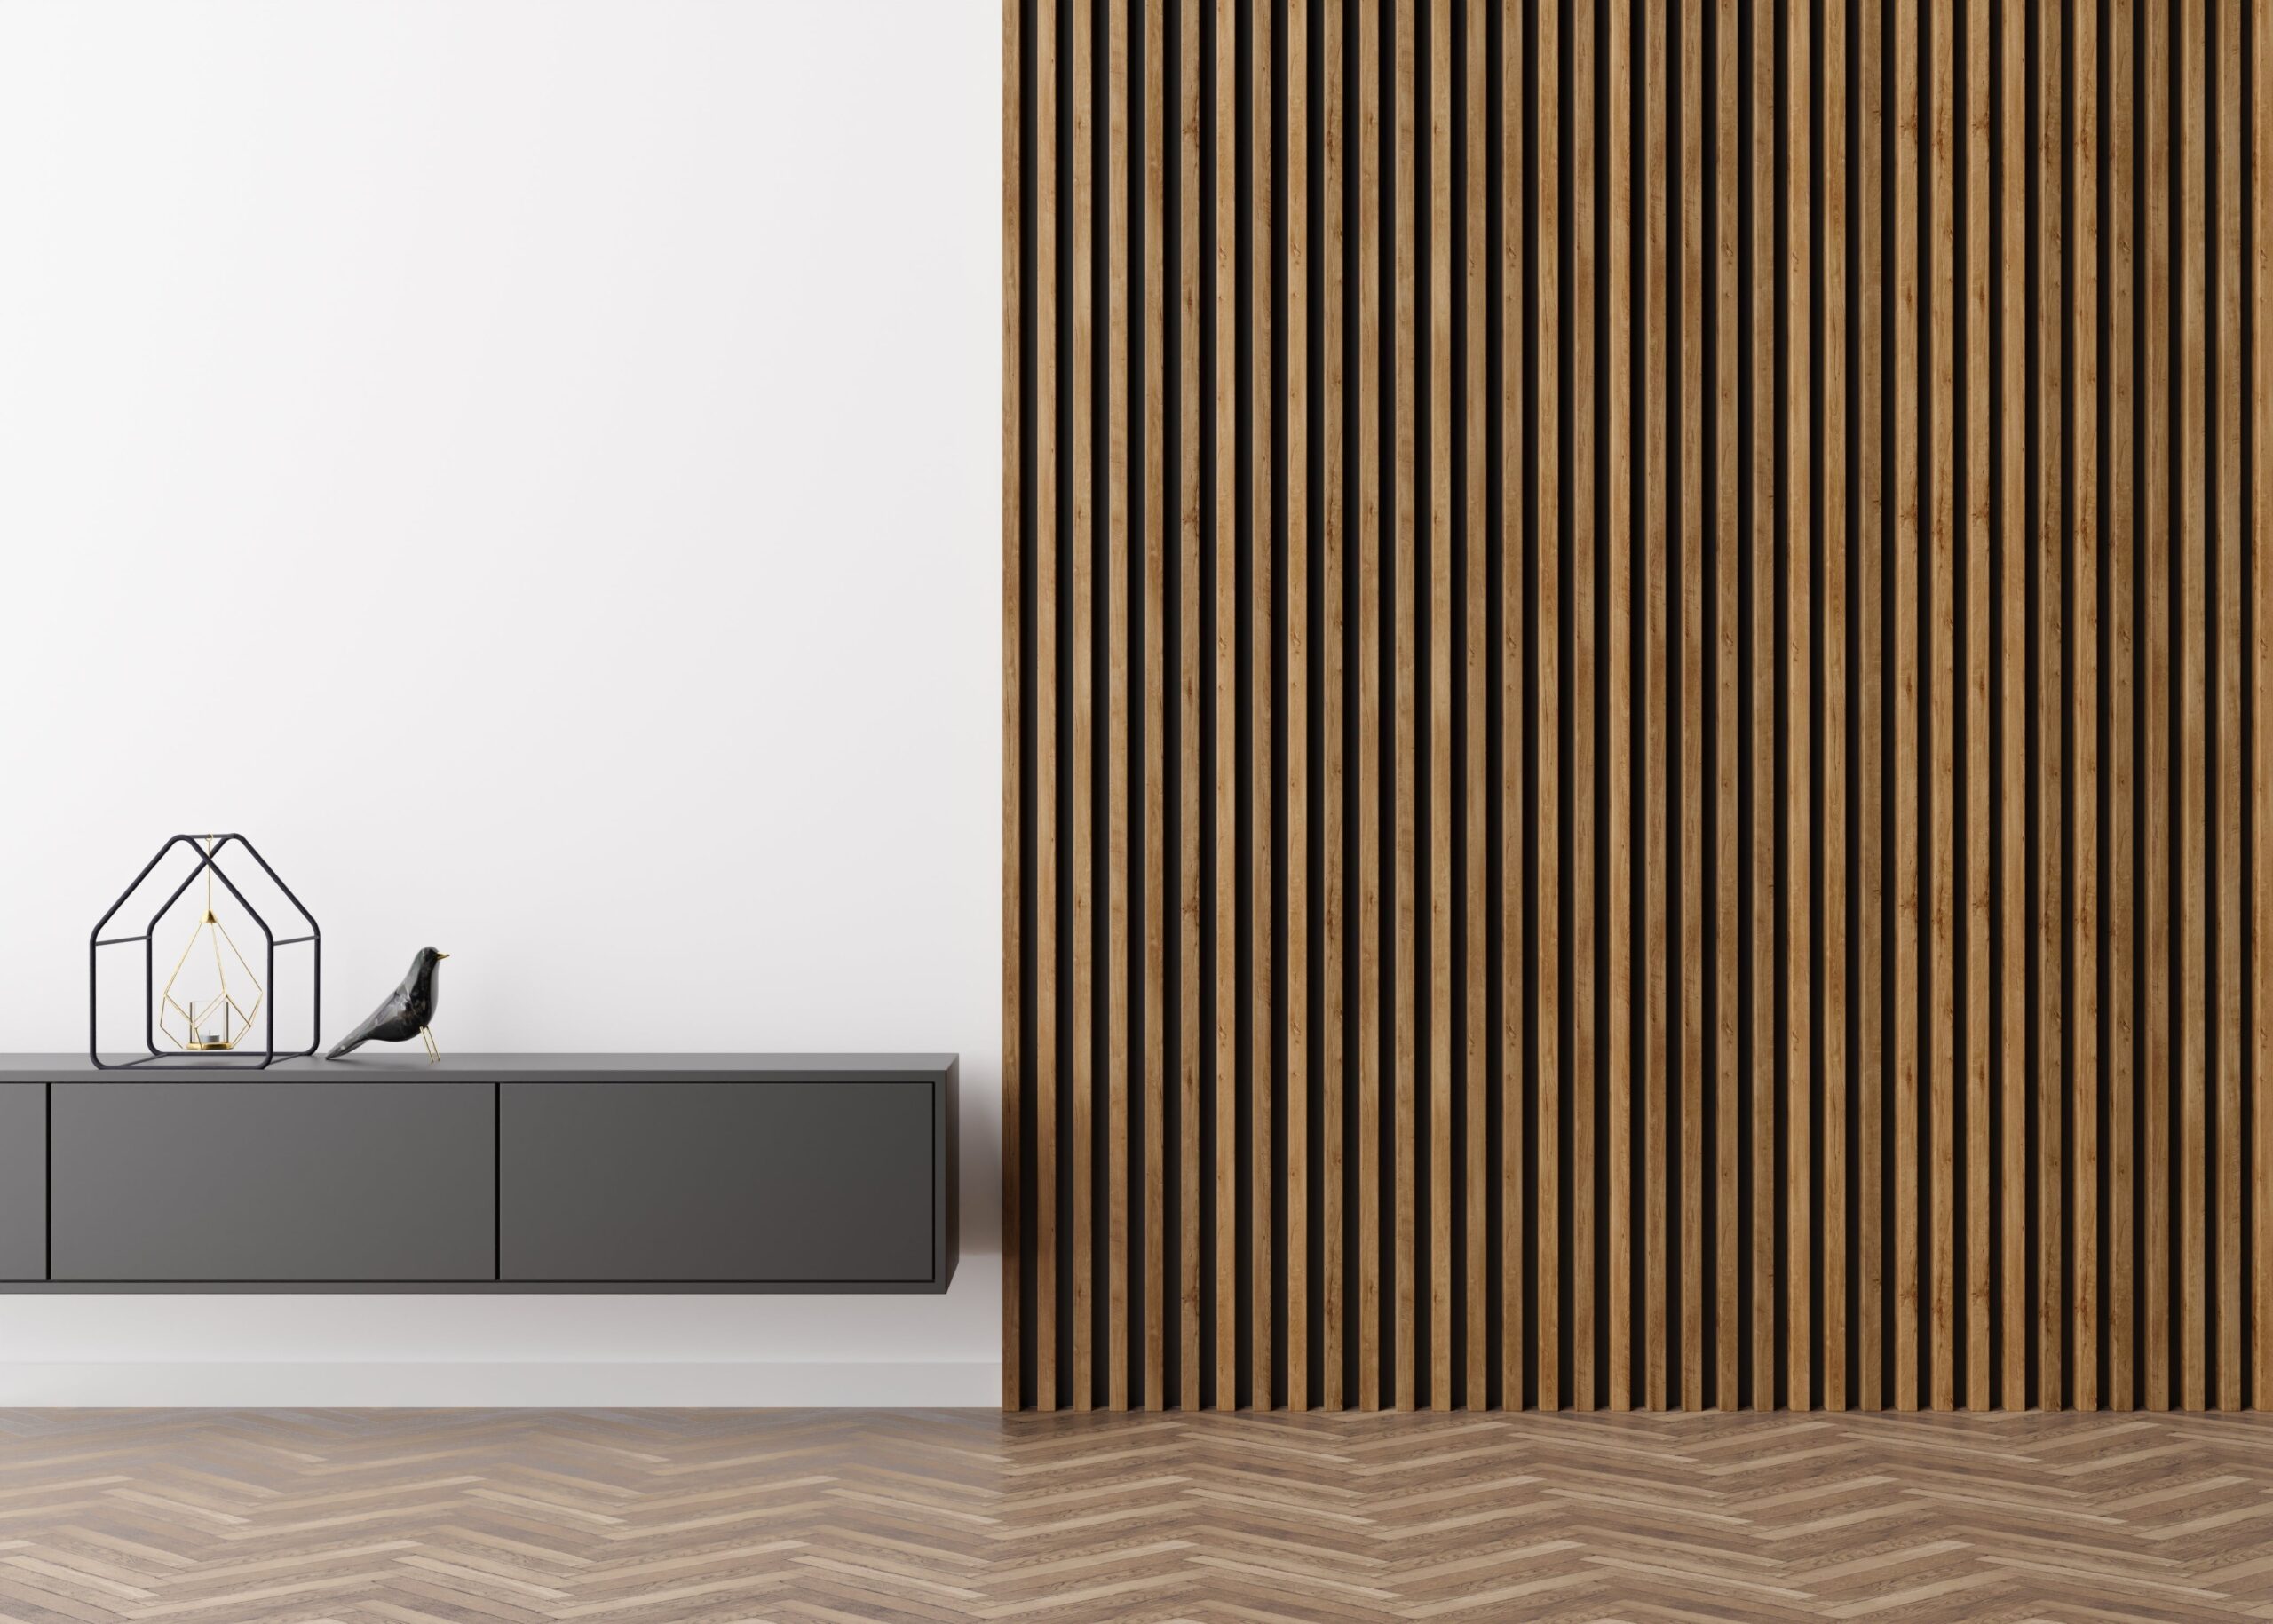
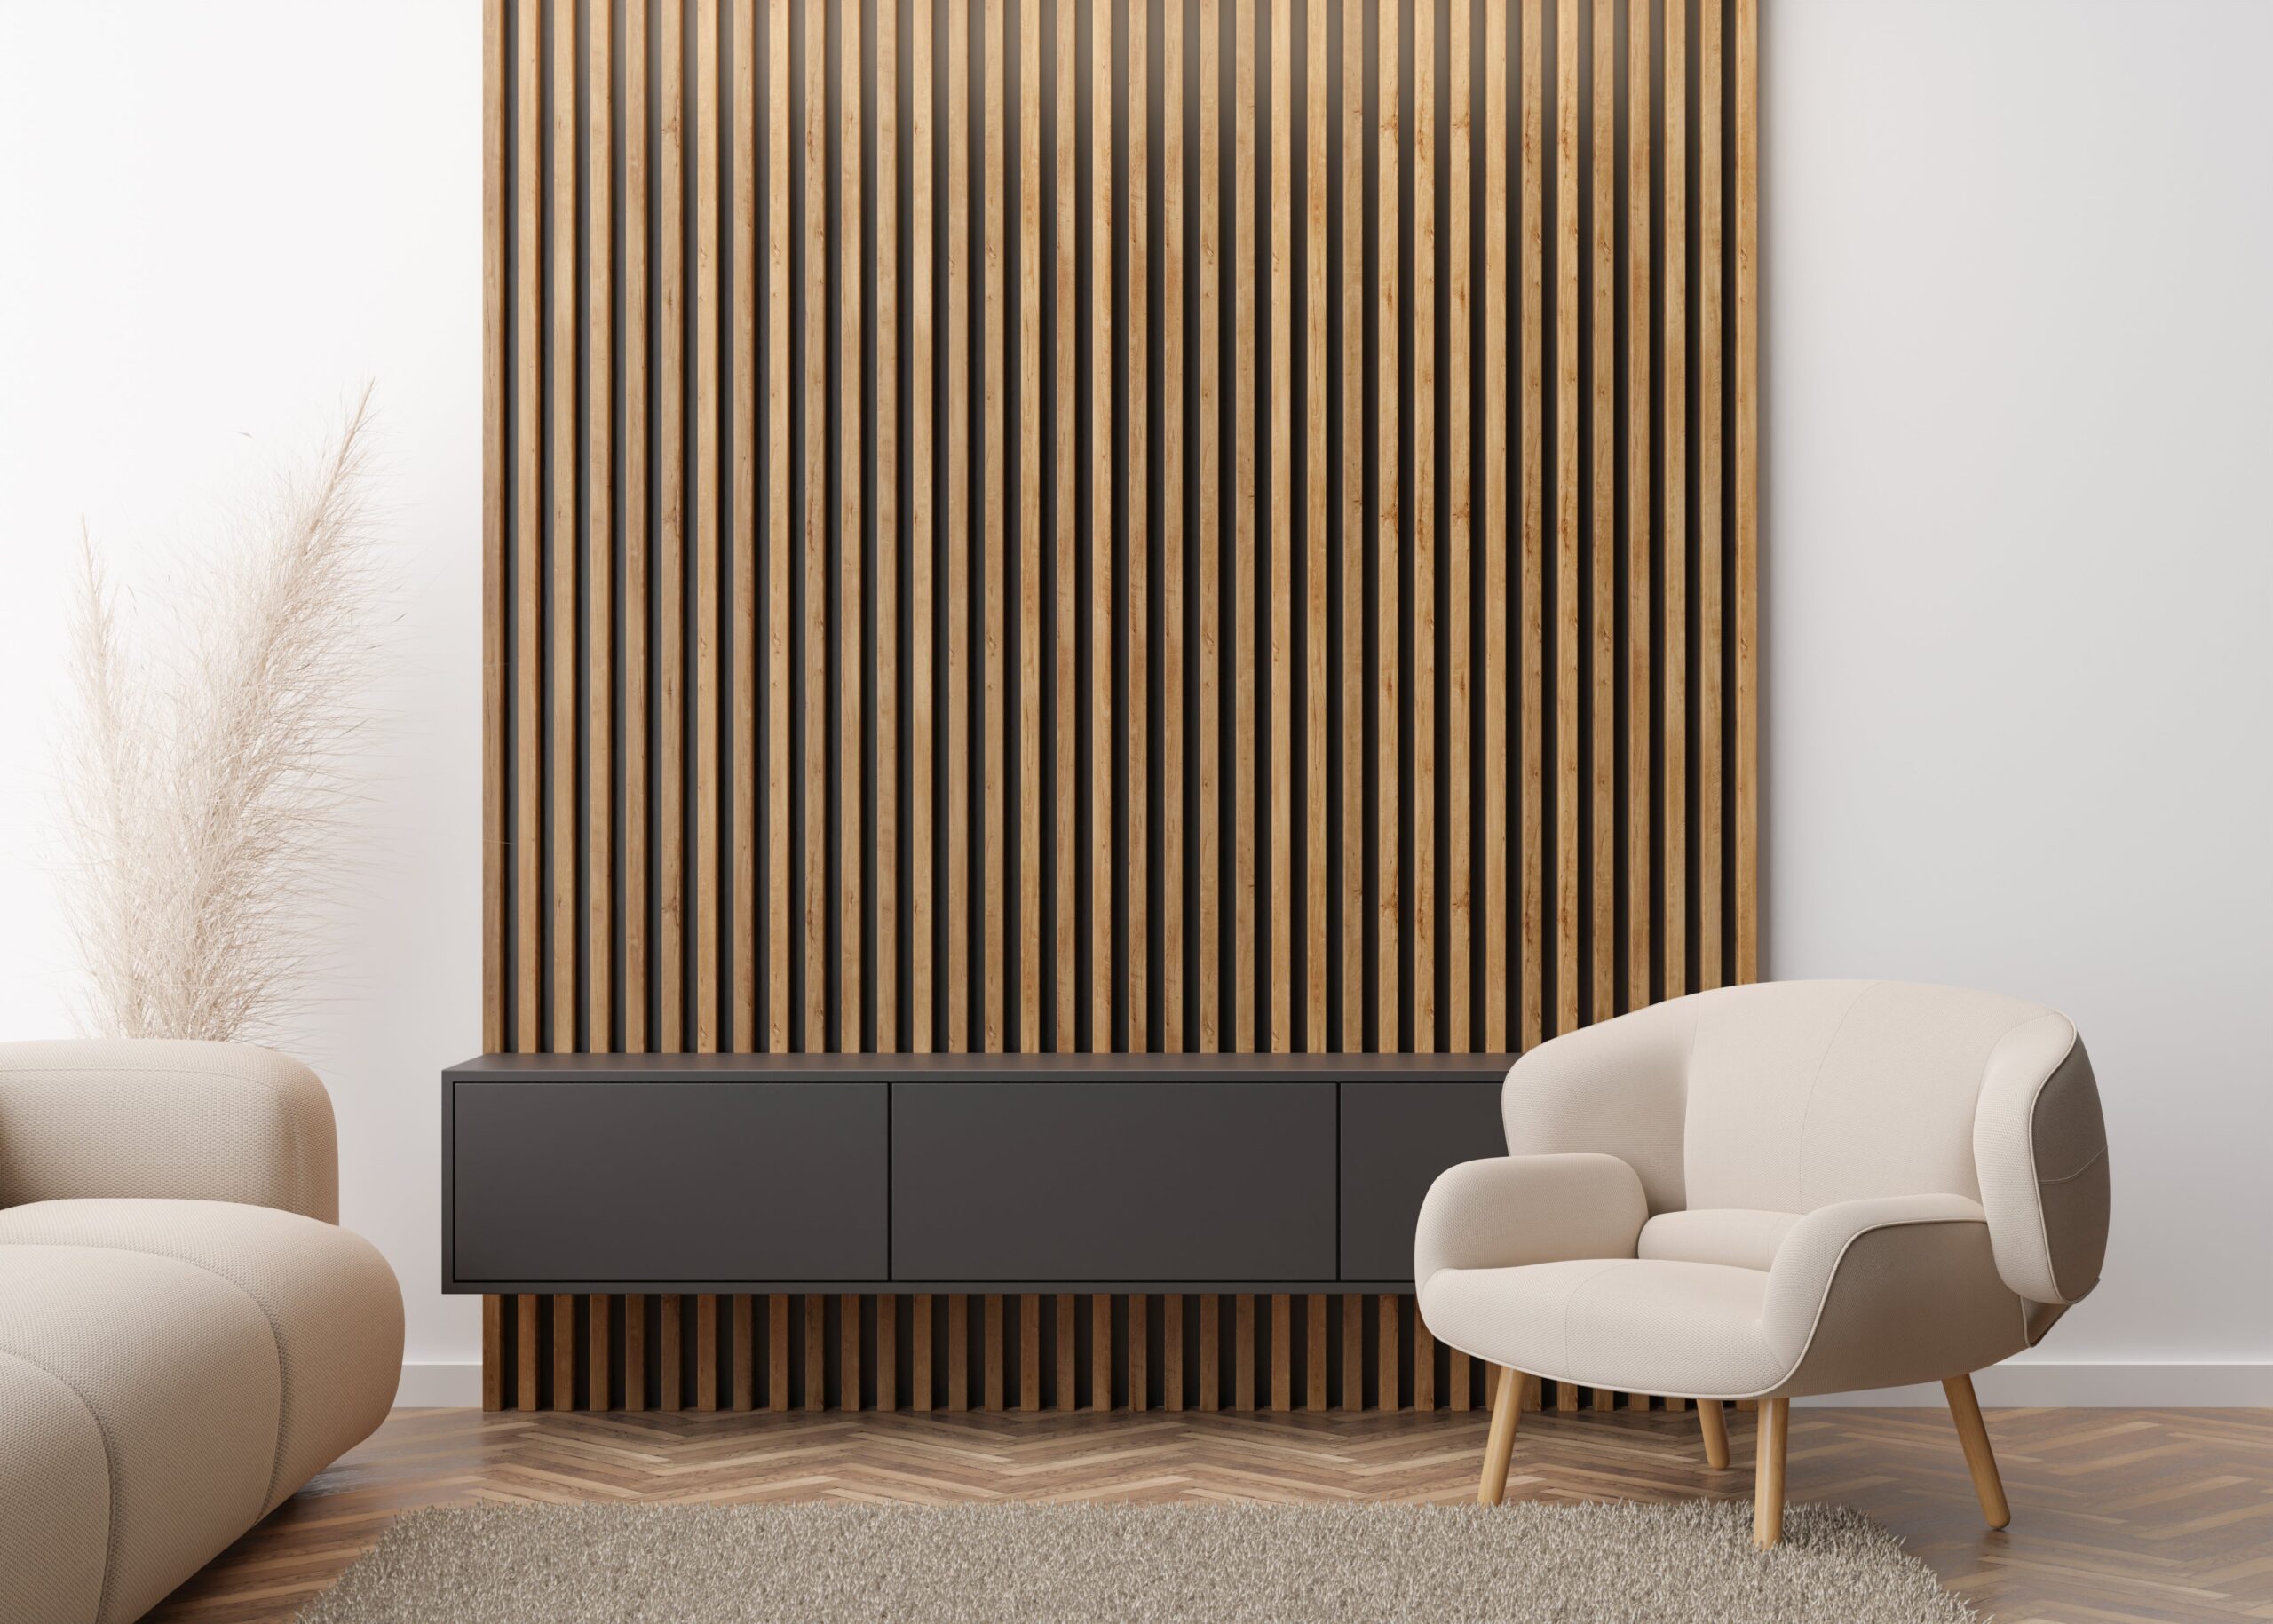
    Modern living room interior featuring a dark wooden slat wall, beige armchair, floating black cabinet, and light neutral decor.

    To answer the question “how to reduce noise in a room?”, the solution lies in the combination of multiple methods.

    For better noise control, start by incorporating soft furnishings like curtains, then add acoustic wall panels. Soft materials alone are difficult to manage more persistent noise, such as echo or TV sound.

    Then, move your sofas, wardrobes, or bookshelves to block and absorb sound waves. You can rearrange your furniture to reduce noise at no cost and without permanent changes. Keep in mind that you can always experiment with different setups to find the combination that works best for you.

    Most Common Noise Reduction Mistakes

    Most DIY noise reduction attempts either spend money in the wrong place or underestimate how much treatment a room needs. These are the patterns that appear most often.

    Buying products labelled “soundproof” without understanding what they do. No mass-market wall panel soundproofs a room. Acoustic panels reduce echo and reverberation within a room — a different and more achievable goal. Structural soundproofing (blocking sound from moving between rooms) requires mass, decoupling, and air-sealing — measures that typically involve the wall construction itself, not surface treatment. Buying acoustic panels expecting them to block external noise is the most common expensive mistake.

    Under-treating the room. Adding two or three small acoustic panels to a large, hard room and expecting a transformation. Meaningful acoustic improvement requires covering 25–40% of the total wall area with panels rated NRC 0.75 or higher. Small installations in large reverberant rooms have a barely perceptible effect. Calculate the required coverage area first, then size your budget accordingly.

    Treating only one surface type. Sound reflects off walls, floors, and ceilings. In a room with hard floors and a hard ceiling, wall panels alone address only a fraction of the reflection problem. Rugs on hard floors add meaningful absorption at the floor level. Curtains or soft furnishings contribute at the window plane. Acoustic panels complete the treatment. The combination approach delivers better results than maximising wall panel coverage alone.

    Using foam products in living spaces. Acoustic foam is effective but aesthetically incompatible with most domestic interiors. It degrades over 5–8 years and looks DIY from day one. In any room you spend meaningful time in, wood slat acoustic panels deliver the same absorption performance with a finish that’s designed for residential use.

    Not acclimatising panels before installation. Wood panels installed before they’ve adjusted to room conditions may develop gaps or warp slightly as they settle. Unboxing panels and leaving them flat in the room for 24–48 hours before installation eliminates this problem entirely.

    Frequently Asked Questions

    What is the most effective way to reduce noise in a room?
    For reducing echo and reverberation (making the room sound better from within), acoustic wall panels with NRC 0.80+ are the most effective single intervention. For reducing noise transmission from outside or from adjacent rooms, structural measures (mass, decoupling, air-sealing) are required — acoustic panels won’t solve transmission problems.
    Do rugs and soft furnishings reduce room noise?
    Yes, meaningfully — but not completely. Carpet and rugs absorb high-frequency sound at the floor level, reducing flutter echo. Heavy curtains absorb sound at window surfaces. Upholstered seating contributes additional absorption. For rooms that are only mildly reverberant, furnishings alone may be sufficient. For rooms with bare floors, large windows, and minimal soft furnishings, acoustic panels are needed to achieve a clear improvement.
    How do I reduce noise in a room without renovating?
    Surface-mounted acoustic panels (adhesive installation), rugs on hard floors, and heavy curtains are all non-structural, reversible interventions that meaningfully reduce room noise. None of these require structural work or professional installation. A combined approach — acoustic panels on the primary wall surfaces, rug on the floor, curtains on windows — typically achieves 50–70% of the acoustic improvement possible from a full renovation.
    Can I reduce room noise on a limited budget?
    Yes. Start with the highest-impact, lowest-cost intervention: a rug on a hard floor and a curtain on a bare window. Together these typically cost less than £200 and address the two most common surfaces where sound reflects in domestic rooms. Add acoustic wall panels on the most reflective wall as a second step — one feature wall of quality panels (8–12 tiles) typically costs £300–£600 and delivers a clear improvement in speech clarity and echo reduction.
    What causes noise in a room to get worse when other rooms are quiet?
    This is a psychoacoustic effect — when external ambient noise drops, the internal reverberation of the room becomes more noticeable. The room hasn’t changed; your perception of it has. This is why many people notice echo and acoustic problems most in quiet evenings or early mornings. Acoustic treatment addresses the underlying room characteristics that cause this.

    Conclusion

    While peace and quiet can feel like a luxury in today’s fast-paced world, you may struggle to figure out how to reduce noise in a room. Any kind of noise can affect productivity, sleep quality, and focus.

    Everybody wants to relax in a quieter space at their home, free from noise, and has peace of mind and comfort.

    Now that you know how to reduce noise in a room, visit the best-selling collections of wood wall panels and take the next step with The Panel Hub.

  • How to Clean Wall Panels Fast: 5 Types, 30-Minute Fix

    How to Clean Wall Panels Fast: 5 Types, 30-Minute Fix

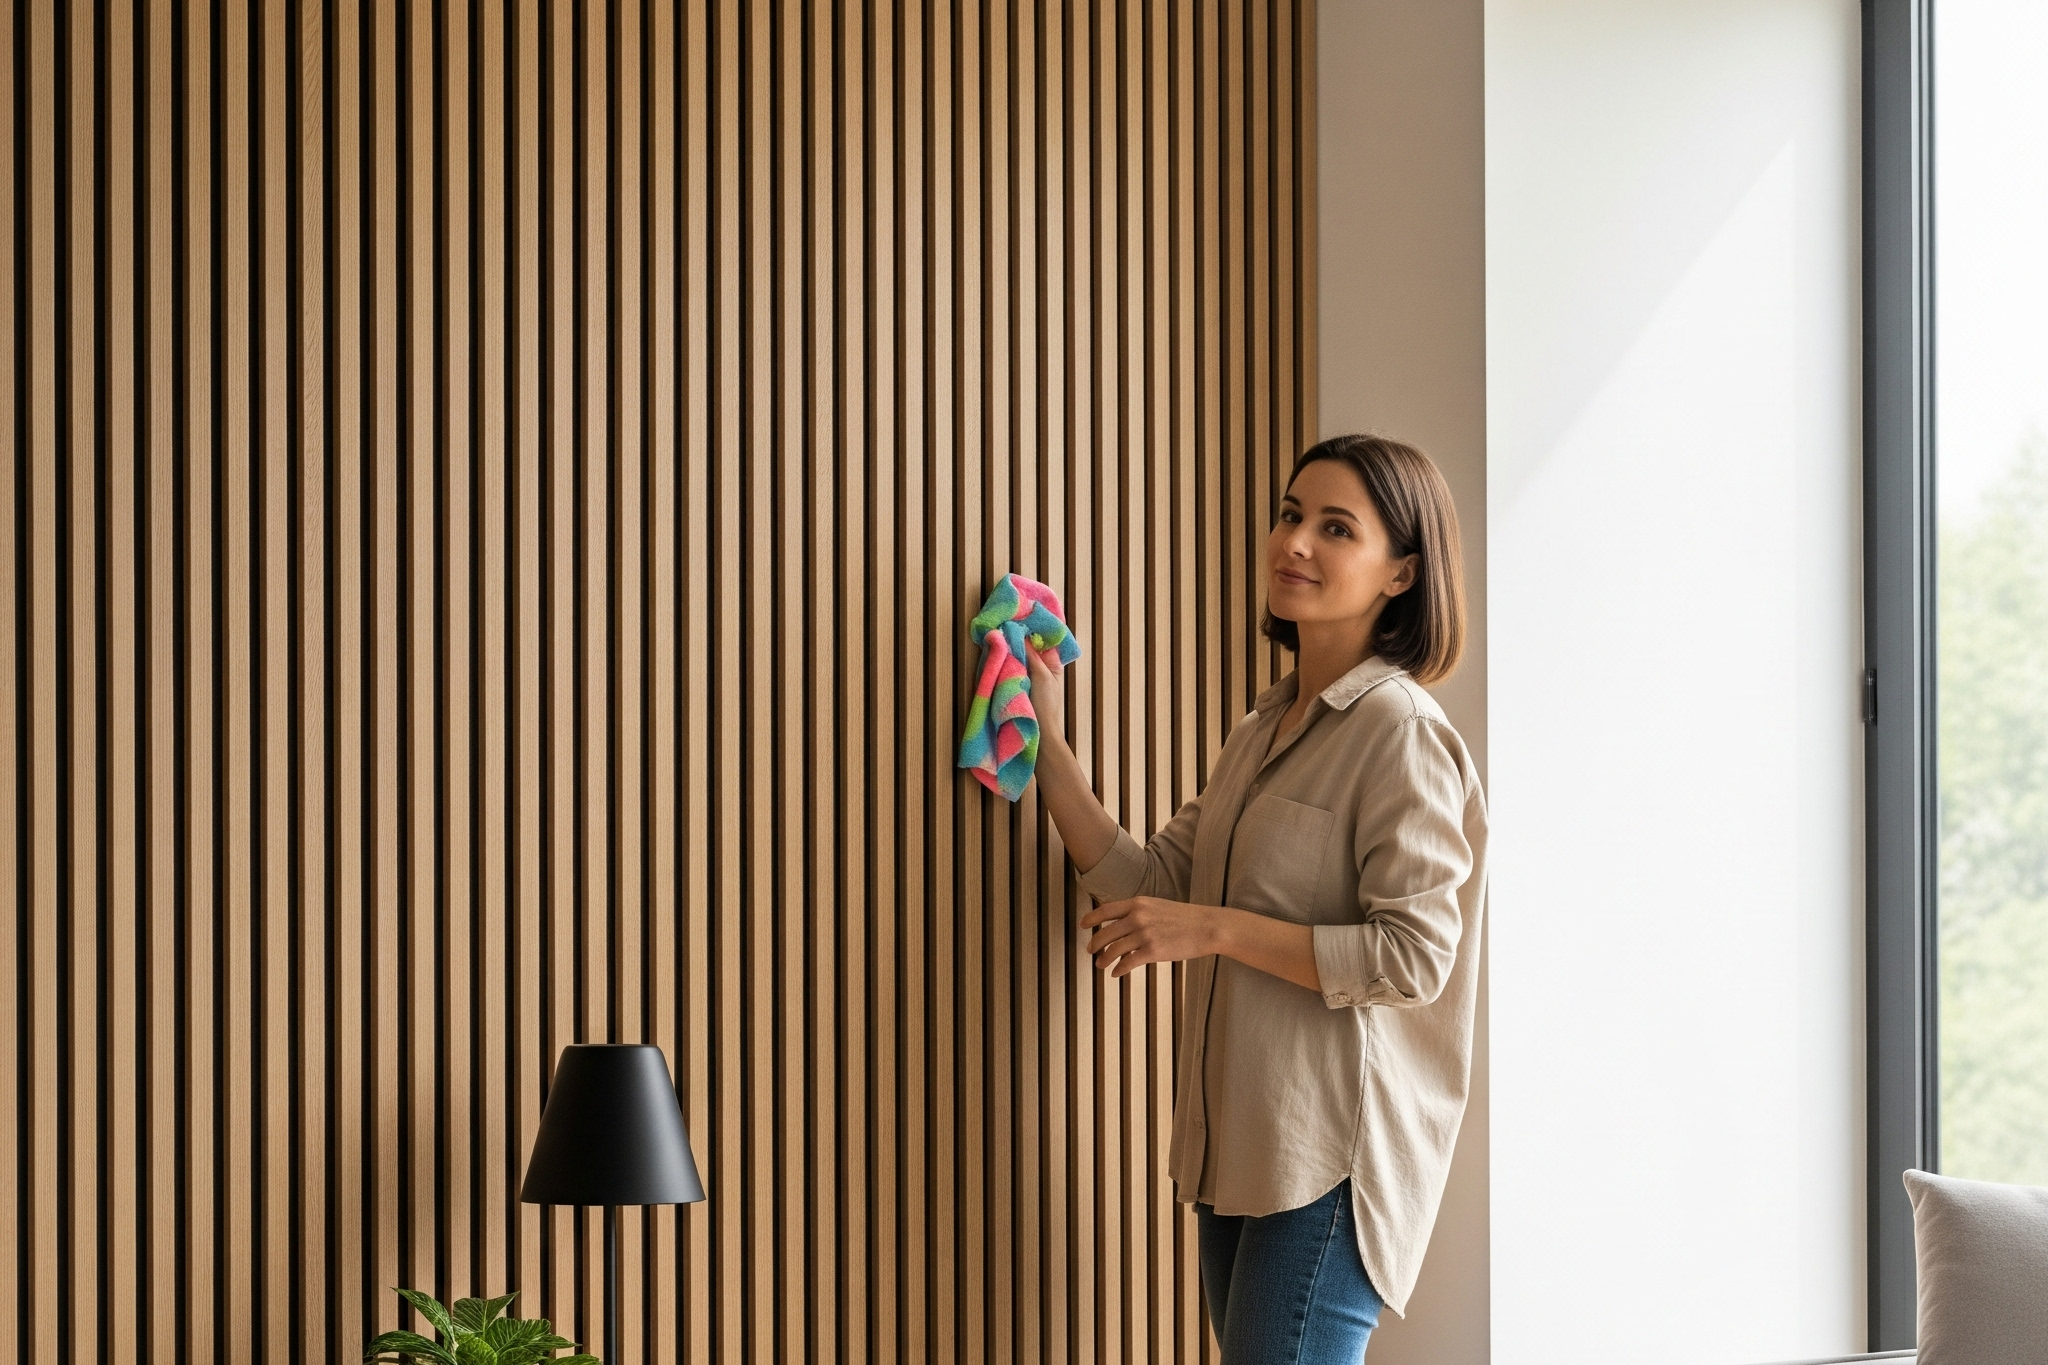
    How can you clean wall panels without damaging their finish or sacrificing your entire weekend? Yup, it’s possible! and way easier than you think. Whether your panels are covered in dust, kitchen grease, or mysterious marks (we’ve all been there), this guide breaks down everything you need to know, from tools and Amazon-approved products to step-by-step methods that actually work

    Let’s make those walls look brand new, without the stress.

    How Long Does It Take to Clean Wall Panels?

    On average, cleaning a full wall of panels takes about 10–15 minutes for a basic wipe-down and 20–30 minutes if you’re doing a deep clean. The actual time depends on the size of the wall, type of panel, and how long it’s been since your last cleaning session.

    Keeping up with light weekly cleaning can actually reduce how often you’ll need deep maintenance, saving you time and effort in the long run.

    How to Clean Different Types of Wall Panels

    Different materials have different needs. Let’s break it down by panel type so you can clean with confidence.

    1. MDF Decorative Panels

    MDF (Medium-Density Fiberboard) panels are sturdy and stylish, but they’re sensitive to moisture. Over-wetting them can cause warping or swelling, so gentle cleaning is key.

    Steps:

    1. Dust with a dry microfiber cloth or soft brush.

    2. Mix 1 tsp of mild dish soap + 2 cups warm water.

    3. Dampen (not soak!) a microfiber cloth and gently wipe the panel.

    4. Immediately dry with another clean cloth.

    Extra Tip: Use a vacuum with a soft brush attachment for grooves and slats.

    2. 3D PVC Wall Panels

    clean wall panels with dry cloth

    PVC panels are water-resistant and low-maintenance. It’s perfect for kitchens, bathrooms, or busy entryways. They handle moisture better than MDF and are ideal for frequent wipe-downs.

    Steps:

    1. Wipe off dust with a dry cloth.

    2. Spray a vinegar-water mix (1:1) or all-purpose cleaner.

    3. Wipe using a microfiber cloth in circular motions.

    4. For sticky areas, use a soft brush and soap water mix.

    DIY Hack: Add a few drops of lemon essential oil for a fresh scent.

    3. WPC Slat Panels

    man cleaning wpc wall panels with small brush

    WPC (Wood Plastic Composite) slats combine style and structure. Their grooved texture collects more dust, so a mix of dry and damp cleaning works best.

    Steps:

    1. Use a vacuum brush or handheld duster between slats.

    2. Mix water + a dash of mild detergent in a spray bottle.

    3. Lightly spray and wipe down with a microfiber cloth.

    4. For deep clean, use a small brush dipped in soapy water and follow with a dry wipe.

    Maintenance Tip: Wipe down once a week to prevent dust buildup in grooves.

    4. Slat Acoustic Panels

    American Acoustic Slat White Felt Wood Wall Panels - Oak - View 29

    When cleaning slat acoustic wall panels, it’s important to keep your panels looking sharp without damaging the felt backing or veneer.

    • Dust regularly
      Use a microfiber cloth or a soft duster to remove surface dust along the slats.
    • Vacuum between slats
      Use a vacuum with a brush attachment to clean inside grooves and remove trapped dust.
    • Spot clean gently
      For marks, lightly wipe with a damp (not wet) cloth and mild soap solution.
    • Dry immediately
      Use a clean dry cloth to prevent moisture from soaking into the felt backing.
    • Avoid harsh chemicals
      Stay away from abrasive cleaners, bleach, or excessive water.

    5. Solid Wood Wall Panels

    3D Concentric Square Wood Wall Panel - Walnut - View 2Simple maintenance is key to preserve texture and finish of your solid wood wall panels.

    1. Remove loose dust
      Wipe with a dry cloth or use a soft brush for textured surfaces.
    2. Use a mild cleaning solution
      Mix water with a small amount of gentle soap.
    3. Wipe the surface
      Clean using a soft cloth or sponge, following the panel’s texture.
    4. Rinse lightly (if needed)
      Wipe again with a clean damp cloth to remove any residue.
    5. Dry thoroughly
      Prevent water spots or damage by drying with a soft towel.
    6. Avoid abrasive tools
      Do not use scrub pads or harsh chemicals that can damage the finish.

    DIY Natural Cleaning Spray (Safe for All Panel Types)

    Want a gentle, all-natural cleaner you can use anytime? Try this simple DIY mix:

    You’ll Need:

    • 1 cup warm water

    • 1 cup white vinegar

    • 1 tsp dish soap

    • (Optional) 5–6 drops of essential oil (e.g., lavender or tea tree)

    Shake well and spray lightly onto a cloth before wiping. Avoid spraying directly on the panels, especially MDF.

    Why it works: Vinegar cuts grease, soap lifts grime, and essential oils leave a fresh, clean scent.

    For wood panel surfaces, be sure to follow specific care instructions to avoid damage. Check out our How to Clean Wood Panel Walls: Eco-Friendly Guide for more detailed tips and wood-safe methods.

    How Often Should You Clean Wall Panels?

    Keeping a schedule helps extend the life of your panels and keeps your walls looking like new:

    • Light dusting: Weekly

    • Wipe-down with cleaner: Every 2–4 weeks

    • Deep clean (kitchen, bathroom, or high-touch areas): Monthly

    Pro Care Tip from The Panel Hub: Consistent light maintenance is more effective, and safer, than waiting for a full-on scrub fest.

    Tools & Products You’ll Need (All Easy to Find)

    Having the right tools makes all the difference. Gentle cleaners and soft materials help you avoid damaging the surface or finish of your wood wall panels, especially if they’re decorative or textured.

    Basic Tools for Any Wall Panel Type:

    • Microfiber Cloths (gentle on all surfaces)

    microfiber cloths

    • Soft Bristle Brush (great for grooves/textured panels)

    soft bristle brush

    • Spray Bottle (for DIY cleaning solution)

    spray bottle

    Gentle Cleaning Solutions:

    • Mild Dish Soap (like Dawn or Method)

    • White Vinegar + Water Mix (for natural cleaning)

    • Panel-safe all-purpose cleaner

    Note: Method All-Purpose Cleaner—French Lavender is one of my go-to picks for safe and effective everyday cleaning. It’s plant-based, non-toxic, and gentle enough to use on wall panels, whether they’re MDF, PVC, or WPC. What’s most appealing to me about it? It cuts through grease and dust without the harsh chemicals, and the soft lavender scent makes cleaning feel a little more calming (and way less like a chore). This product is ideal for maintaining the cleanliness, polish, and freshness of your panels, particularly in areas with heavy traffic.

    Avoid:

    • Abrasive scrubbers

    • Strong chemical cleaners (especially for MDF or PVC panels)

    • Bleach or ammonia (can discolor and damage panel surface)

    Important: Strong chemical cleaners or abrasives can strip finishes or damage sensitive surfaces. Always test a small area first.

    Eco-Friendly Way to Clean Wood Panel Walls

    Natural Cleaning Solutions

    Using the power of natural substances is a great way to get clean without leaving a chemical mark. Vinegar and water, which are both common household items, can work wonders. In a spray bottle, mix equal parts water and white vinegar. Using this solution works as a mild but effective cleaner that gets rid of dirt without bringing any chemicals that could be harmful into your home or the area around it.

    Reusable Cleaning Tools

    The tools we use to clean in an environmentally friendly way are a big part of the process.  Instead of using paper towels or wipes that you throw away, use old t-shirts or microfiber cloths that you can wash and use again.  The environment is better off because of them.  Another benefit of using these materials is that they not only work well to get rid of dirt and dust, but they can also be cleaned and used again and again, which cuts down on the amount of trash that is made.

    Mindful Water Usage

    Even though water is needed for cleaning, it is important to use it wisely because it is a valuable resource. When washing walls with wood paneling, you should dampen your cloth instead of soaking it. Too much water can hurt wood by warping it or making mold grow.

    Being aware of how much water you use goes beyond just cleaning, which is another interesting point. While you wash the cleaning supplies or cloths, don’t leave the taps running. Another great way to make sustainability a reality is to collect rinse water in a bucket and use it again for cleaning or watering plants.

    Biodegradable Soaps

    Sometimes, a little soap is needed to tackle stubborn stains or built-up grime. In such cases, it’s vital to choose soaps that are biodegradable and free from harmful chemicals. These soaps break down naturally, ensuring that they don’t pollute waterways or harm aquatic life.

    There are many eco-friendly products that clean wood and are good for the environment as well. You might be able to find a product that fits your goals for eco-friendly cleaning by reading the labels and doing some research. Remember that a little bit goes a long way, so be careful how much you take.

    The Last Sweep: Keep Your Panels Looking Fresh

    Cleaning wall panels doesn’t have to be a chore. With the right tools and gentle techniques, you can keep them looking fresh, elegant, and dust-free all year round.

    If you’re using wall panels from The Panel Hub, rest assured, our wood wall panel collections are made to be easy-care, long-lasting, and perfect for real-life messes. 

    FAQs: How to Clean Wood Panel Walls (Eco-Friendly Guide)

    What is the best natural cleaner for wood panel walls?

    A simple mix of warm water and mild soap (like castile soap) works well for everyday cleaning. For a more natural solution, you can use diluted white vinegar—but always test on a small area first to avoid affecting the finish.

    Can vinegar damage wood wall panels?

    Yes, if used improperly. Vinegar is acidic and can dull or damage certain finishes if used in high concentrations or too frequently. Always dilute it with water and avoid soaking the surface.

    How often should I clean wood panel walls?

    Light dusting can be done weekly, while deeper cleaning should only be done every few months or as needed. Over-cleaning with moisture can wear down the finish over time.

    What’s the safest way to remove stains from wood panels naturally?

    Use a damp microfiber cloth with a mild soap solution and gently wipe the affected area. For tougher stains, a paste of baking soda and water can help—but apply lightly and avoid scrubbing too hard.

    Can I use essential oils to clean wood panel walls?

    Yes, small amounts of essential oils (like lemon or tea tree) can be added to natural cleaning solutions for fragrance and mild antibacterial properties. Just be careful not to leave oily residue on the surface.

    How do I clean wood panels without damaging the finish?

    Always use a soft cloth, minimal water, and gentle cleaning solutions. Wipe in the direction of the wood grain and dry immediately after cleaning to protect the finish.

    Are eco-friendly cleaners effective for grease or kitchen buildup?

    Yes, natural solutions like diluted vinegar or a mild soap mixture can effectively cut through light grease. For heavier buildup, you may need to repeat the process or use a slightly stronger (but still gentle) natural cleaner.

    Can I use a steam cleaner on wood panel walls?

    It’s not recommended. Steam can force moisture into the wood, potentially causing warping, swelling, or damage to the finish over time.

  • What Floors Look Best with Wood Paneling? 6 Ways to Decide!

    What Floors Look Best with Wood Paneling? 6 Ways to Decide!

    Wood paneling is back in style, and it’s adding a touch of warmth and character to homes everywhere! But with a resurgent trend comes a design dilemma: what floors look best with wood paneling? Choosing the right flooring can make or break your wood-paneled space.

    Fear not, design enthusiasts! In this post, we’ll explore 7 stunning combinations of wood paneling and flooring that will leave you inspired. We’ll also provide expert tips to help you decide what floors look best with wood paneling in your unique space, considering factors like style, budget, and traffic.

    So, whether you’re just starting to brainstorm ideas or ready to make a decision, keep reading for all the inspiration and information you need!

    Perfect Floor Types to Match Wood Paneling

    Wood paneling shows a certain charm and elegance that can easily be enhanced with the right flooring choice. But with a lot of options available, how do you decide which floor is the perfect match?

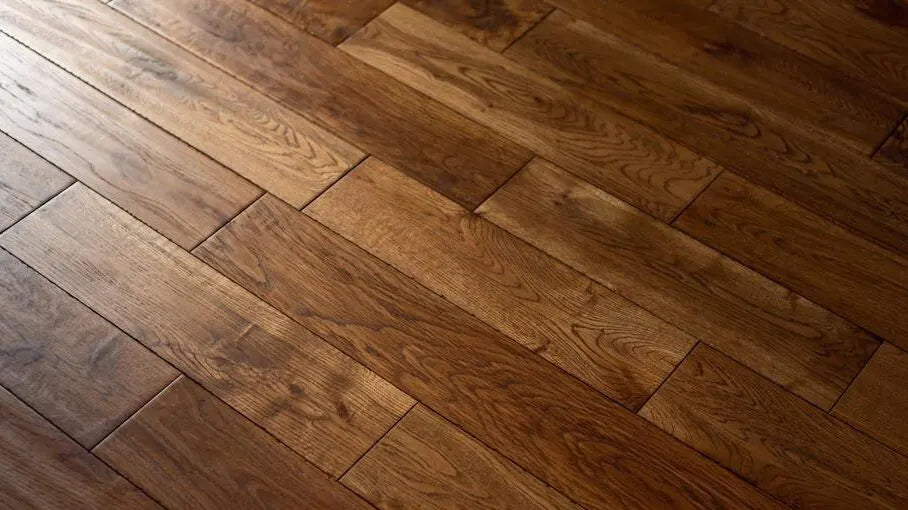
    Hardwood Floors

    what floors look best with wood paneling

    Choose a shade that complements or contrasts with your wood paneling, depending on the desired effect. Dark wood panels with light hardwood floors can create a striking contrast, while similar shades can produce a warm, cohesive look.

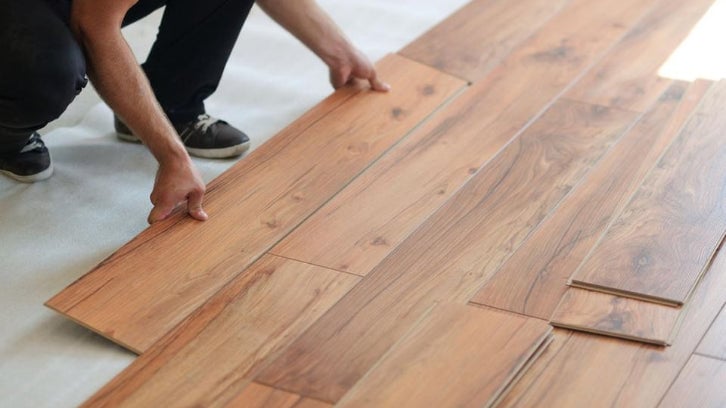
    Laminate Flooring

    what floors look best with wood paneling

    For those seeking a cost-effective yet stylish option, laminate flooring is a great choice. Available in a variety of colors and patterns, it can mimic the look of real wood, stone, or tile.

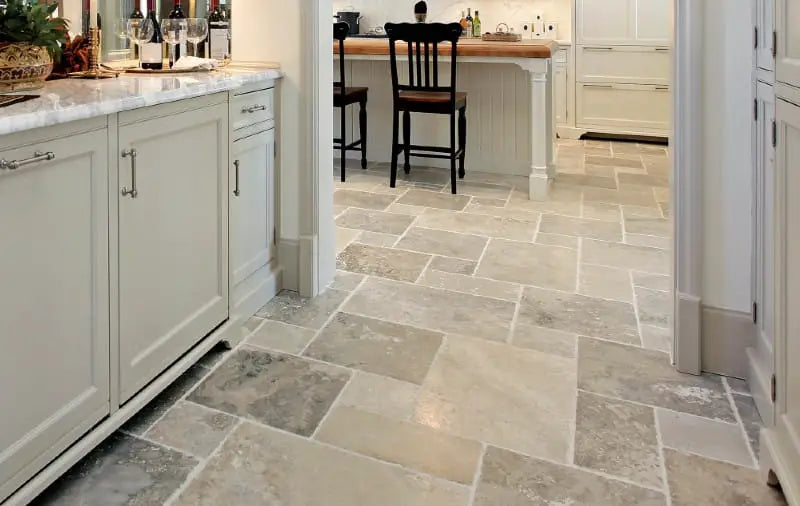
    Stone or Tile Flooring

    what floors look best with wood paneling

    If you want to add a touch of luxury and sophistication, stone or tile floors are the way to go. They provide a cool, sleek contrast to the warmth of wood paneling, creating a balanced ambiance.

    Carpet

    While not the first choice for some, carpet can actually work well with wood paneling, especially in intimate spaces like bedrooms or libraries. Choose a low-pile carpet in a neutral color or a subtle pattern to complement the wood without overwhelming it.

    Read more: Wood Wall Panelling Sheets: The Secret to Stunning Interiors

    Finding the Perfect Color to Complement Wood Paneling

    The color palette of a room plays a crucial role in setting the mood and enhancing the aesthetic appeal. When paired with wood paneling, choosing the right floor color can create a harmonious and inviting space.

    • Neutral Tones: You can never go wrong with neutral tones like beige, gray, or white. They make the wood paneling shine, creating a balanced look. These tones are versatile and can adapt to various decor styles, making them a stylish choice.
    • Earthy Hues: To enhance the natural appeal of wood paneling, opt for floors in earthy hues like browns, greens, or warm yellows. They are perfect for those aiming to create a nature-inspired space.
    • Bold Contrasts: choosing a floor color that contrasts with your wood paneling can create a striking visual impact. Dark wood panels with light-colored floors or vice versa adding depth and interest to the space.
    • Soft Pastels: If you prefer soft pastels like blush pink, light lavender, or baby blue can work beautifully with wood paneling. These colors add a touch of whimsy and charm, creating a gentle contrast that is both appealing and comforting.

    What to do with Wood Paneling

    Wood paneling is a versatile design element that can be used in various innovative ways to elevate your interior space.

    Creating Accent Walls

    Use wood paneling to create a stunning accent wall that adds depth and character to your space. This focal point can be enhanced with the right floor choice, ensuring a balanced and cohesive look.

    Mixing and Matching

    Don’t be afraid to mix and match different types of wood paneling and flooring for a unique and eclectic look. Ensure there is a common color or texture that ties the elements together for a harmonious result.

    Incorporating Modern Elements

    Wood paneling can be paired with modern furniture and decor to create a chic and contemporary space. Choose sleek and minimalistic floor options to complement this look. For a cutting-edge finish, our SoundPanel acoustic slat wood wall panels deliver clean lines and a sophisticated texture that pairs beautifully with minimalist flooring.

    Playing with Patterns

    Experiment with different paneling patterns and floor layouts to add visual interest and dynamic appeal to your space. Herringbone or chevron patterns can create a sophisticated and eye-catching look.

    Read more: How to Clean Wall Panels: Tips, Tricks, and Top 3 Recommendations

    Ensuring the Longevity of Wood Panel

    Investing in wood paneling requires commitment to maintenance and care to ensure their longevity and aesthetic appeal. These tips and tricks on how to keep your wood elements in top-notch condition, and will keep their beauty for years to come.

    • Regular Cleaning: Establish a regular cleaning routine to remove dirt, dust, and debris that can cause scratches and damage over time. Use gentle cleaning products and avoid excessive water to protect the wood.
    • Protecting from Sunlight: Prolonged exposure to sunlight can cause fading and discoloration. Use curtains or blinds to protect your wood paneling and floors from harsh UV rays.
    • Addressing Scratches and Dents: Address any scratches or dents promptly to prevent further damage.
    • Seasonal Care: Wood is sensitive to changes in humidity and temperature. Use humidifiers or dehumidifiers as needed to maintain a stable environment.

    Incorporating Patterns and Textures

    Incorporating patterns and textures in your flooring can add depth and interest to your space. Here are some ways to do this effectively:

    Herringbone Patterns: A herringbone pattern in wood or tile can introduce a sophisticated and timeless element to your space. This pattern breaks up large wooden surfaces and adds a touch of elegance and complexity to the room, making it more visually engaging.

    Mosaic Tiles: Using mosaic tiles in specific areas like the kitchen or bathroom can add a playful and artistic touch. Mosaic tiles come in various colors and designs, allowing you to create intricate patterns that can serve as a focal point in the room, adding a layer of visual interest. For a wood-based mosaic alternative, our GroovePanel mosaic wood wall panels bring the same artistic appeal with the warmth of natural wood.

    Textured Finishes: Opt for textured flooring materials, such as hand-scraped wood or textured tiles, to enhance the tactile experience and visual appeal. Textured finishes add a sense of depth and richness, making the floor look more interesting and inviting. These finishes also help in hiding minor scratches and wear, maintaining a fresh look longer.

    Dark Wood Paneling with Light Wood Floors: A Timeless Contrast

    Pairing dark wood paneling with light wood floors creates a striking balance between depth and brightness in your space. The rich, moody tones of dark wood paneling bring warmth and sophistication, while light wood floors provide an airy, open feel, preventing the room from feeling too heavy or enclosed.

    Why This Combination Works

    • Contrast that Pops – The stark difference in tones makes architectural details and decor stand out.
    • Balanced Aesthetic – Light floors reflect more natural light, preventing the space from feeling too dark.
    • Versatile Styling – Works with various design themes, from rustic farmhouse to modern minimalism.

    Best Light Wood Flooring Options

    1. White Oak – A durable and neutral-toned wood that pairs beautifully with dark paneling.
    2. Maple – Offers a subtle grain and a clean, bright look.
    3. Ash Wood – Features a slightly gray undertone, perfect for a contemporary aesthetic.

    If you’re aiming for a luxurious and inviting space, dark paneling with light floors is a foolproof design choice that stands the test of time. A standout option is the SoundPanel American Acoustic Slat Wood Wall Panel, which pairs beautifully with both light and dark floors to create a refined, textured feature wall.

    Wood Paneling for Floors: Should You Try It?

    While wood paneling is traditionally used for walls, it’s gaining traction as a unique flooring option that adds texture and character. Wood paneling for floors isn’t just about aesthetics—it also offers durability and warmth underfoot.

    Pros of Using Wood Paneling for Floors

    Distinctive Look – Creates a seamless, cozy feel when paired with matching wall panels.
    Sustainable Choice – Many wood paneling options are made from reclaimed or responsibly sourced materials.
    Varied Textures & Finishes – From glossy varnishes to matte finishes, you can customize the look.

    Things to Consider

    • Durability: Opt for high-quality sealed wood panels to prevent scratches and water damage.
    • Maintenance: Regular polishing and protective coatings are necessary for longevity.
    • Room Suitability: Best used in low-traffic areas like bedrooms, offices, or lounges.

    If you’re looking for an unconventional flooring choice, wood paneling for floors can be an elegant and eco-friendly option.

    Conclusion

    It’s pretty clear that nailing the “what floors look best with wood paneling?” question can totally transform your space. With the right wood panels, you’re not just choosing décor, you’re choosing a vibe, a statement, and a whole mood!

    So, pick panels that talk to you, and watch your space go from “just okay” to “oh, wow!” in a snap!

  • Veterans Day Promotions: Exclusive Wall Paneling Deals for 2026

    Veterans Day Promotions: Exclusive Wall Paneling Deals for 2026

    Veterans Day is more than just a holiday, a heartfelt tribute to the service members who have contributed so much to our country. Many veterans go beyond their military service to become pillars of their communities, often stepping into the role of family hosts, particularly during Thanksgiving. There’s a natural harmony in veterans hosting gatherings that celebrate family and connection, bridging the essence of their service with the warmth of holiday traditions.

    Veterans Day Honoring All Who Served

    In honor of Veterans Day, we’re offering exclusive promotions on wall paneling that add charm, warmth, and character to your home. The holiday season is just around the corner, making it the perfect time to explore our Veterans Day wall paneling sale and elevate your living space before your Thanksgiving or other holiday festivities.

    Veterans Day Promotions: Limited-Time Savings on Wall Paneling

    This Veterans Day, we’re thrilled to bring you exclusive savings that celebrate high-quality materials, unique textures, and timeless designs. All at a discount. Wall paneling can transform any room, adding warmth and character that’s perfect for gatherings with family and friends. These limited-time savings make it easy to create a personalized space without stretching your budget.

    In appreciation of veterans, our promotions emphasize values of strength and hospitality, reflecting what makes a home feel truly welcoming. Plus, with The Panel Hub Rewards, you can earn points for future purchases. Here’s how it works:

    • 250 Points: Sign up for an account
    • 150 Points: Post a photo/video review of your purchase
    • 50 Points: Follow, share, and tag us on social media

    Check our promotions page for updated Veterans Day deals, including exclusive discounts, potential free consultations, and bundled installation options. It’s the perfect time to give your home the upgrade it deserves while honoring the spirit of Veterans Day.

    Veterans Day Wall Paneling Sale: Ideal Timing for Pre-Holiday Home Improvements

    The_Panel_Hub_-_Hero_Banner_6_Desktop_75572f2b-3781-4742-9947-4d5adf324d1a-The Panel Hub


    Veterans Day marks an ideal time to prepare your home for the holidays. With Thanksgiving and December celebrations just weeks away, the Veterans Day wall paneling sale offers you a chance to get those home improvement projects underway. Imagine the satisfaction of completing a wall paneling upgrade before holiday events, transforming your home into a cozy, elegant space ready to welcome family and friends.

    In particular, wall paneling in warm tones or sophisticated patterns makes the perfect backdrop for family gatherings. Here’s why our Veterans Day promotions provide the ideal timing:

    1. Seasonal Readiness: Complete your updates before the holiday rush, making your home event-ready.
    2. Exclusive Discounts: Limited-time savings make it easy to invest in quality materials that elevate your home’s design.
    3. Home Value Boost: Wall paneling offers a timeless, sophisticated look that adds long-term value to your home.

    Enhancing Home Interiors with Veterans Day Promotions

    The choice of wall paneling isn’t just about aesthetic appeal, it’s also a way to show pride and tradition within your home. From smooth, classic paneling to more contemporary, textured designs, wall paneling makes a statement while giving rooms a polished, finished look. Here are a few ideas to inspire your Veterans Day paneling upgrades:

    1. Classic Wainscoting: Perfect for dining rooms or entryways, wainscoting provides a refined, traditional look that’s ideal for holiday gatherings.
    2. Rustic Shiplap: Bring cozy, farmhouse vibes into your living spaces, ideal for relaxing settings where family can gather and feel at ease. For more ideas, you can explore 70s Wood Paneling Decor: Revamp Your Home with Rustic Style for inspiration on creating that warm, welcoming look.
    3. Modern Vertical Slats: Great for creating an illusion of height and elegance, these panels add a unique, sophisticated touch that works well in contemporary spaces.
    4. Elegant Wallpaper Panels: For those who want something bolder, wallpapered panels allow you to explore colors and patterns while still benefiting from the durability and charm of traditional paneling.

    Making the Most of Wall Paneling Sales: A Practical Guide

    Promotional periods — whether Veterans Day, seasonal sales, or clearance events — are legitimate opportunities to invest in home improvements at a lower cost. The key is to approach them as a prepared buyer rather than an impulse buyer. The difference between a successful sale purchase and a regrettable one almost always comes down to whether you had done your research before the discount appeared.

    Before a sale period opens, have your measurements done and confirmed, your material and species choice made, and your installation plan ready. This means you can act immediately when the promotion goes live, rather than spending the sale period researching and missing the window. Wall panel quantities sell through quickly during promotions — having your specification ready means you can place an order within hours of the sale starting.

    Check the terms carefully. Some promotional pricing applies to standard stock only, with made-to-order or cut-to-length services excluded. Delivery timelines can extend during busy promotional periods, which affects project scheduling. Confirm whether the promotional price applies to your specific panel specification before treating the advertised discount as applicable to your order.

    Veterans Day Wall Paneling FAQs

    Are Veterans Day wall panel promotions available to non-military buyers?
    Most Veterans Day promotions from residential wall panel suppliers are available to all buyers as a general seasonal sale. Some suppliers offer additional discounts specifically for active service members and veterans — it is worth asking directly if you or a family member qualifies for an enhanced discount beyond the general promotional pricing.

    Is Veterans Day a good time to buy wall panels compared to other sale periods?
    Veterans Day (and the surrounding period in November) coincides with the start of the winter home improvement season, when renovation projects accelerate ahead of the holiday period. Suppliers tend to offer genuine discounts to clear stock and generate pre-Christmas orders. It is a reliable sale window for wall panel buyers in the US market, comparable in value to end-of-season summer sales.

    Can I use a Veterans Day discount on large commercial orders?
    Commercial order pricing is typically negotiated separately from retail promotional pricing. For large residential projects or commercial orders, contact the supplier directly during the promotional period to discuss whether the discount can be applied to a volume order, or whether a separate commercial pricing structure is more appropriate.

    How should I store wall panels purchased during a sale before installation?
    Store panels flat, indoors, in a dry environment with consistent temperature. Do not store in garages or outbuildings where temperature and humidity fluctuate — wood panels acclimatise to their storage environment, and panels that have absorbed moisture or dried out significantly will behave differently during installation. Allow panels at least 48 hours to acclimatise in the room where they will be installed before fitting, particularly for solid wood or engineered wood products.

    Tips for Veterans Day Wall Paneling Shopping

    The_Panel_Hub_-_Gallery_2-The Panel Hub

    To make the most of Veterans Day promotions, consider the following shopping tips that ensure you’re choosing the best options for your space and style:

    • Plan Ahead: Measure your spaces carefully and determine which rooms would benefit most from the wall paneling. This helps to narrow down the best deals for the areas you’re looking to enhance.
    • Explore Samples: Many stores offer samples or design consultations as part of their Veterans Day sales. Take advantage of these to ensure you’re selecting the color, texture, and style that aligns with your vision.
    • Layer with Décor: Consider how your paneling will work with other holiday décor. Wall paneling serves as a beautiful foundation for festive decorations, from garlands to framed art.

    Preparing Your Home to Honor Veterans and Family Traditions

    A Veterans Day wall paneling upgrade does more than just improve your home’s aesthetic. It creates a space that celebrates family, tradition, and warmth. Imagine family members gathering for Thanksgiving in a room transformed with wall paneling that adds both character and comfort. Wall paneling creates an inviting atmosphere that reflects the values of honor, resilience, and hospitality that veterans exemplify.

    This Veterans Day, make your home a place where family and friends can come together in a setting that feels both sophisticated and welcoming. With our Veterans Day promotions on wall paneling, you can achieve this transformation with affordable options that blend quality, style, and sentimental value.

    Wrapping Up Your Veterans Day Promotions Shopping

    Veterans Day is the perfect opportunity to make meaningful updates to your home, preparing it for the holiday season while celebrating those who have served. Take advantage of limited-time discounts to create a space where memories are made and traditions are honored, reflecting both the spirit of Veterans Day and the upcoming holiday season. So why wait? Jump into our Veterans Day promotions today to begin crafting a home that’s as warm and inviting as the holiday spirit itself.


  • Modern Hidden Door Ideas: 8 Inspirations You’ll Love and Tips

    Modern Hidden Door Ideas: 8 Inspirations You’ll Love and Tips

    Wall panel hidden doors blend functionality with a touch of mystery, adding both aesthetic appeal and practicality to your living space. If you’re looking for modern hidden door wall design ideas, this article is for you. This style is ideal for any home wanting to maximize space or add a unique element, hidden doors in wall panels offer a dual-purpose solution that combines design finesse with utility.

    Hidden doors are not just about aesthetics, they also enhance privacy and security. Whether you’re concealing a personal study or a safe room, these doors ensure that what lies behind them remains out of sight, accessible only to those in the know. This feature can be particularly appealing in busy households or for those with valuable items they wish to keep hidden.

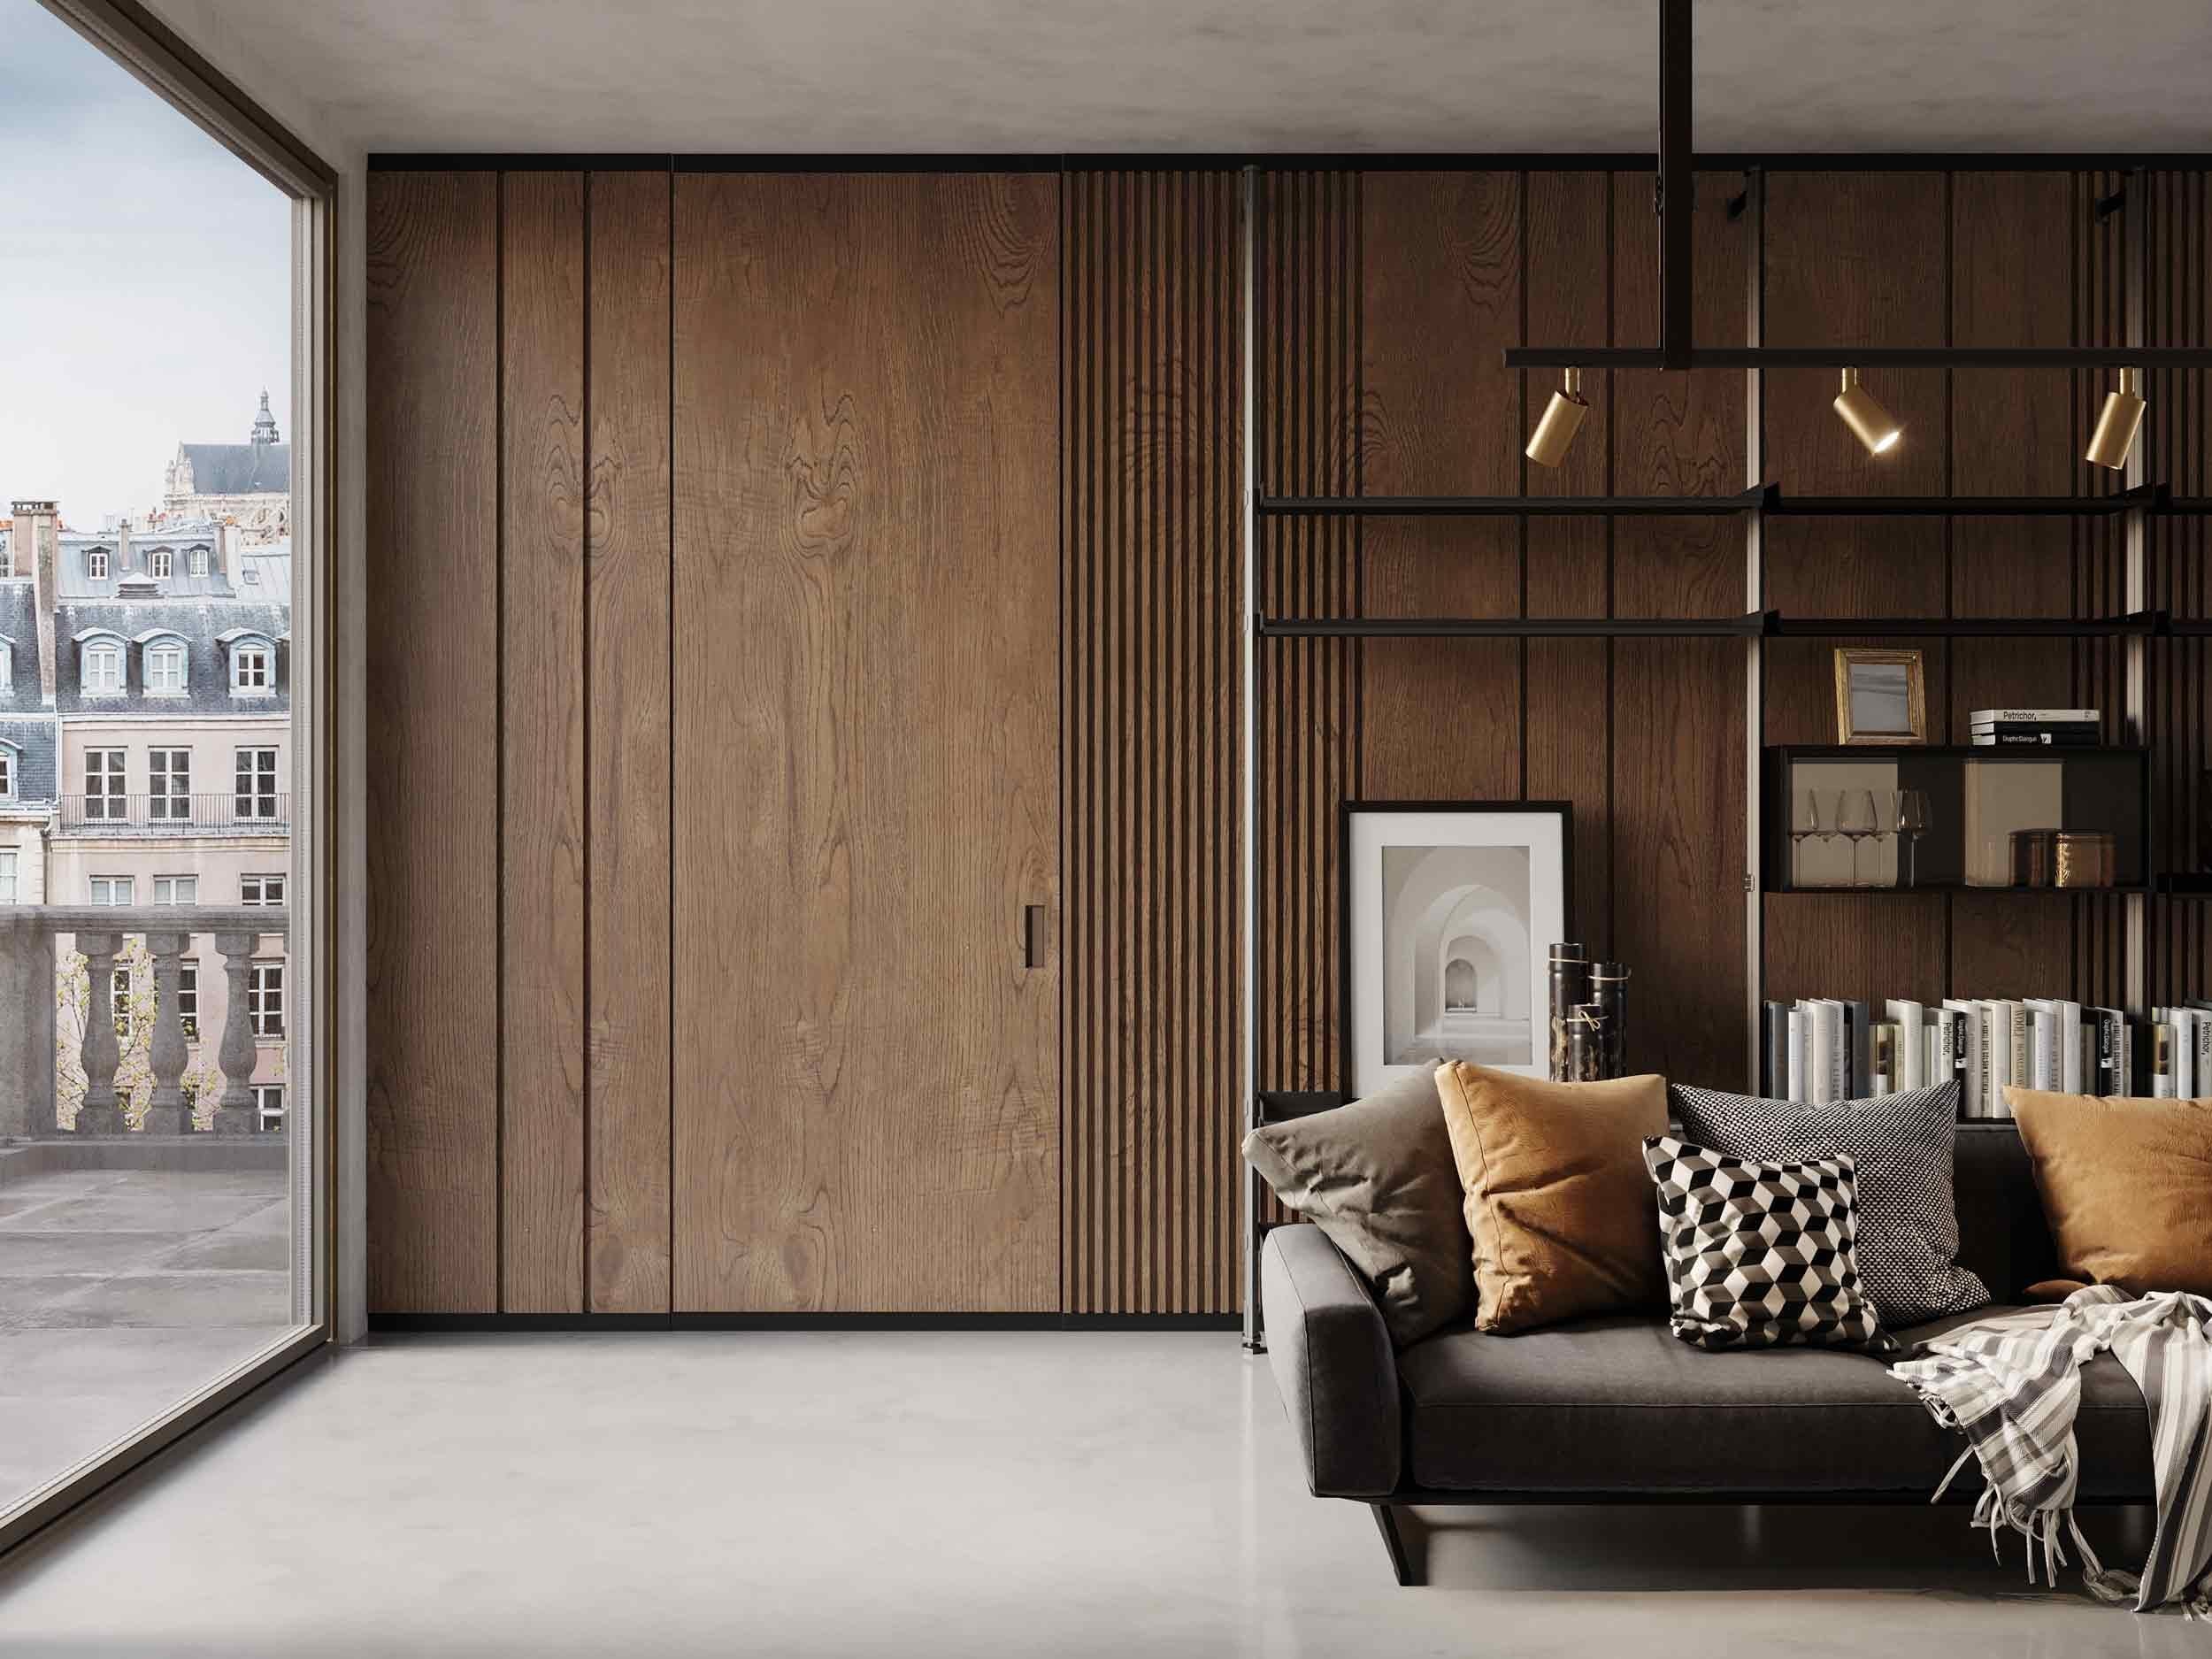
    The beauty of wood wall panel hidden doors lies in their versatility. They can be customized to fit any room’s decor, matching the surrounding wall so perfectly that guests might never guess there’s a door there at all. This seamless integration ensures that your home’s style is uninterrupted while still incorporating functional elements that cater to both privacy and design.

    Secret Hidden Door: Why You Need It?

    Wall_art_panel_door_hidden_door_bespoke_door_coverd_in_wall_panels_door_matching_th_style_of_the_wall-The Panel Hub

    A secret hidden door serves multiple purposes beyond mere decoration. It is a smart way to maintain the aesthetic integrity of your space while adding an element of surprise and clever functionality. For those who value privacy, a secret door can keep certain areas of your home out of sight, providing a discreet retreat or storage space.

    For families, hidden doors can transform a normal home into a fascinating, interactive living space. Imagine children delighting in the magic of a secret passage or a hidden playroom, and such features can turn an ordinary home into a wondrous space. Moreover, for collectors and hobbyists, a secret door can secure special collections like art, memorabilia, or even wine, away from everyday traffic, preserving their condition and exclusivity.

    In addition to privacy and intrigue, secret hidden doors also offer practical solutions for space management. They can conceal utility spaces or storage areas, making them accessible without disrupting the flow and style of the home’s interior. This dual functionality makes hidden doors an excellent choice for sleek, modern homes where space and aesthetics are prioritized.

    Hidden Door Ideas

    Hidden doors come in various styles and functionalities, each serving different purposes while adding a hidden charm to your home. Here’s a quick look at some innovative hidden door ideas that could transform your living space.

    1. Hidden Wardrobe

    Hidden_Bathroom_Door-The Panel Hub

    A hidden wardrobe is a clever solution for those looking to streamline their bedroom or hallway aesthetics. By integrating the wardrobe door seamlessly into the wall paneling, you create an uninterrupted surface that enhances the room’s visual spaciousness. This setup is particularly advantageous in smaller living spaces where every square inch counts, offering a neat way to conceal large closet spaces without the clutter of visible doors.

    The functionality of a hidden wardrobe extends beyond mere concealment. It provides a secure, discreet place to store clothing, accessories, and valuables. Customizable interior layouts can be tailored to maximize organizational efficiency, ensuring that everything from shoes to shirts has its designated place, which helps in maintaining order and ease of access.

    2. Hidden Bathroom Door

    wall-with-hidden-door-decorative-cabinet-made-wood_1024x1024_f3f34fe6-89e4-4aa6-94f3-37788a9048ba-The Panel Hub

    Integrating a hidden door for bathroom access can significantly elevate the sophistication of your home’s design. This approach is especially effective in en-suite bathrooms or small apartments where space is at a premium. By concealing the bathroom entrance, you maintain a cleaner, more continuous look in your living areas, which visually expands the space and enhances the overall aesthetic flow.

    A hidden bathroom door not only optimizes space but also adds an element of privacy and exclusivity. The design can be customized to match the surrounding wall, with options ranging from mirrored panels to match wood veneer, ensuring that the entrance remains discreet and seamlessly integrated into the overall design scheme of the home.

    If you’re looking for innovative ideas on how to incorporate paneling in a small bathroom to maximize aesthetics and functionality, there are various inspiring solutions available. For more detailed ideas and visual inspiration, you might find the article on small bathroom wall paneling ideas helpful. Check out Small Bathroom Wall Paneling Ideas for creative tips and trends that could transform your space.

    3. Secret Home Office

    A secret home office set behind a hidden door offers the perfect blend of privacy and accessibility. For those working from home, this setup provides a sanctuary away from the household’s hustle and bustle, where focus and productivity can thrive. The hidden door ensures that work life remains separate and invisible, preserving the living space’s aesthetics and functionality when not in use.

    Moreover, a hidden home office can double as a safe room for sensitive documents and technology. This setup not only protects valuable work material but also keeps the technology and clutter out of sight, contributing to a cleaner and more organized living space. It’s an ideal solution for professionals who need a home office but don’t want to dedicate visible space permanently.

    If you’re looking for more ideas to enhance your workspace, especially within a limited area, exploring different office decor strategies can be very beneficial. For those in search of creative office decor ideas suitable for a work environment, a variety of innovative suggestions and trends can be found in the article Office Decor Ideas for Work.

    4. Hidden Bar or Wine Cellar

    For enthusiasts and entertainers, a hidden bar or wine cellar behind a secret door in the wall paneling can be the pinnacle of home luxury. This feature allows homeowners to stylishly stash their collections of spirits or wines, making them accessible yet unobtrusive. The hidden nature of the bar or cellar makes entertaining more dynamic, offering a surprise element that guests will surely admire.

    The design can be as elaborate or as simple as you wish, with custom shelving, climate control for wines, and bespoke lighting to highlight your collection. Not only does this add a level of sophistication to your hosting, but it also keeps valuable bottles securely stored and aesthetically displayed.

    5. Hobby Room

    hobby room with hidden door

    A hobby room concealed behind a hidden door provides a dedicated space for creativity and relaxation without taking up visible living area. Whether you’re into crafting, painting, or collecting, having a space that can be hidden away when not in use allows for better organization and less clutter in the main areas of your home. This setup is particularly beneficial for hobbies that require a lot of equipment or materials that can cause visual clutter.

    Additionally, a hidden hobby room can serve as a personal retreat, a place to unwind and engage in leisure activities away from the distractions of daily life. The psychological benefits of having such a space are significant, offering a sanctuary where one can recharge and indulge in personal interests in complete privacy.

    6. Hidden Kitchen Door

    Imagine pushing against a seemingly minimal and simple slat decorative panel in your kitchen to reveal a spacious pantry. This is where practicality meets elegance, offering a storage solution that keeps your essentials hidden yet easily accessible. Such hidden door ideas not only declutter the space but also add an element of surprise to your cooking area.

    7. Hidden Vanity Room

    Hidden Door Ideas

    A bathroom vanity that hides a secret compartment or passageway is among the most innovative hidden door ideas. This can be a clever way to conceal a safe, extra storage, or even a hidden pathway to a dressing room or spa area.

    8. Hidden Play Room

    Hidden Door Ideas

    Transform a child’s room with a hidden door that opens up to a play area or a secret hideout. This not only encourages creativity and adventure but also keeps the mess out of sight, making it a win-win for both parents and kids.

    How to Build a Hidden Door

    Building a hidden door adds an element of mystery and efficiency to your home, allowing you to maximize space while maintaining aesthetic continuity. Whether you’re looking to conceal a personal study, a safe room, or just create a secret nook, the process requires precision and some creativity in both design and execution.

    Utilize Existing Doorway

    interior-doors-hinged-invisible-carminati-pp8pulnvsgxn42xbtl5r4u0pn0cd182dr91dqn9kow-The Panel Hub

    Using an existing doorway for your hidden door is a practical approach, especially if you want to minimize construction. This method involves converting the standard door into something less noticeable, like a bookshelf or a mirrored wood panel that seamlessly blends into the surrounding wall. The key here is to ensure that the modifications are perfectly aligned with the existing décor, maintaining the illusion of a continuous wall. You can add custom shelving or another facade that matches the wall, equipped with a hidden mechanism that allows the door to open and close smoothly without obvious hinges.

    Careful consideration of weight and balance is crucial when using an existing doorway. The new door must be able to support whatever facade you choose without straining the original frame. Consulting with a professional can help ensure that your hidden door is not only discreet but also safe and functional.

    Create a New Wall and Doorway

    For those who require more flexibility in placement or want to incorporate a hidden door in an area without an existing doorway, constructing a new wall with an integrated door is the way to go. This involves building a false wall that perfectly matches the rest of the room but includes a concealed door. The construction of a new wall allows you to design the hidden door system from scratch, giving you the freedom to customize the size, style, and mechanism to fit your specific needs.

    When creating a new wall and doorway, it’s important to integrate the structure into the home’s existing framework securely. This might involve reinforcing the wall, choosing durable materials, and installing a high-quality door mechanism that can handle frequent use. The aesthetic finish should be indistinguishable from the rest of the room, requiring meticulous plastering, painting, or decorating to ensure the hidden door remains a secret.

    Both methods of building a hidden door offer unique advantages and can be tailored to suit different types of spaces and needs. Whether integrating into an existing doorway or constructing a new one, the end result should always prioritize seamless design and functionality. With the right planning and resources, your hidden door will add value and character to your home for years to come.

    Wall Panels Simplify the Installation of Secret Hidden Doors

    Wall panels not only enhance the aesthetic of a space but also simplify the process of incorporating secret hidden doors. Their versatility allows for seamless integration into any design scheme, making it possible to add these clever installations without major renovations. Wall panels provide a uniform surface that can disguise doorways, ensuring that the entrance to your hidden room or storage area remains undetected.

    The advantage of using wood wall panels lies in their ability to be customized to match the existing interior, whether that involves mimicking textures, colors, or patterns found throughout the room. This customization makes it easy to maintain the illusion of a continuous wall, while hiding access to private spaces. As a result, wall panels are not just a decorative choice but a functional one that can significantly enhance the usability and secrecy of any room. They make the installation of hidden doors more accessible and practical, bringing a blend of mystery and sophistication to modern homes.

    If you are searching for wall panels suitable for secret hidden doors, The Panel Hub offers a collection that might meet your needs. Their SoundPanel Acoustic Slat Wood Wall Panels provide both aesthetic appeal and the functionality required for integrating hidden doors seamlessly into your home’s design.

    For more ways to make the wall itself the feature, see our guide to geometric wood wall panel ideas, or browse the full GroovePanel collection for solid-wood panels that hide a door seam beautifully.

    Hidden Door Wall Design: FAQs

    What is a modern hidden door wall design?

    A modern hidden door wall design is a door finished in the same wall paneling as the surrounding wall, so it disappears into one continuous surface. Instead of a visible frame and architrave, the panel lines run straight across the door, leaving no obvious entry point. It is also called a flush or jib door.

    Can you make a hidden door with wall panels?

    Yes, and it is one of the easiest methods, because the repeating panel pattern hides the door seam. You clad the door leaf in the same panels as the wall, align the pattern across the gap, and add a concealed hinge and a push-to-open latch so there is no visible handle.

    How do you build a hidden door in a wall?

    You can either convert an existing doorway or frame a new false wall. Either way, fit a concealed hinge, clad the door in the same wall panels as the wall so the pattern lines up, and use a push latch instead of a handle. Getting the panel alignment right across the seam is what makes the door disappear.

    What is a jib door?

    A jib door is a flush door with no frame or architrave, finished to match the wall around it so it blends in. Cladding a jib door in wall paneling is a popular modern take, since the panel pattern hides the edges completely.

    Which wall panels work best for a hidden door?

    Slat and solid-wood panels work best, because their strong vertical or geometric pattern disguises the door seam. Our SoundPanel acoustic slat range and GroovePanel geometric panels are both well suited, and lighter panels keep the door leaf easy to swing on a concealed hinge.

  • Tongue and Groove Wall Panels Make Upgrading Your Home Easy!

    Tongue and Groove Wall Panels Make Upgrading Your Home Easy!

    Looking for a seamless way to enhance your walls with a clean, classic finish? Tongue and groove wall panels might be just what you need. These versatile panels interlock with ease, creating a smooth, continuous surface that adds warmth and style to any room. But what exactly makes these panels so popular?

    What Are Tongue and Groove Wall Panels?

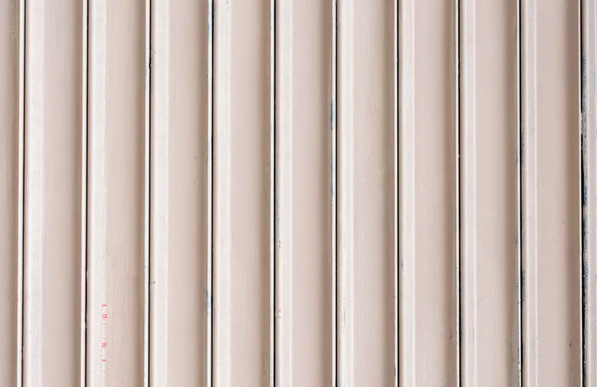
    tongue and groove panel sample

    Tongue and groove wall panels are named after their unique interlocking design. Each panel has a “tongue” on one side and a “groove” on the other, allowing the panels to fit together snugly without visible gaps. This construction results in a polished, uniform look, making it perfect for both traditional and modern spaces.

    Why Choose These Panels?

    Not only do these panels offer a sleek aesthetic, but they are also very easy to install. Their design ensures stability and eliminates the need for visible nails or screws. Additionally, they provide excellent durability and you can install them vertically, horizontally, or even diagonally for design flexibility. For a detailed guide on how to easily set up wall panels, check out our step-by-step instructions in: How To Install Wall Panelling In Your Home: 5 Simple Steps

    Benefits of Tongue and Groove Wall Panels

    • Easy Installation: Thanks to their interlocking design, these panels are beginner-friendly and for the most part, doesn’t require professional help for installation.
    • Enhanced Durability: The snug fit of each panel enhances structural stability, making the walls more resilient to wear and tear.
    • Versatile Design: Available in a variety of materials like wood, MDF, and PVC, tongue and groove panels suit different styles, from rustic to contemporary.
    • Concealed Fastening: The design hides nails or screws, providing a clean finish.
    • Insulation Capabilities: When paired with the right materials, these panels can also improve thermal insulation.

    A Simple Installation Guide

    1. Prepare the Surface: Clean and smooth the surface where you’ll install the panels, whether it’s drywall, plaster, or wood. Ensure it is free of dust or debris.
    2. Measure and Cut Panels: Measure the wall space and cut the tongue and groove panels to fit. Ensure precise cuts for a seamless fit.
    3. Start Installation: Begin by fitting the first panel. Secure it using adhesive or nails, depending on your preference and surface type.
    4. Fit Panels Together: Align the tongue of one panel into the groove of the next, pressing them together for a secure connection.
    5. Finish with Trim: Once all panels are installed, add trim around the edges to give a clean, finished look.

    Let’s Talk Best Materials

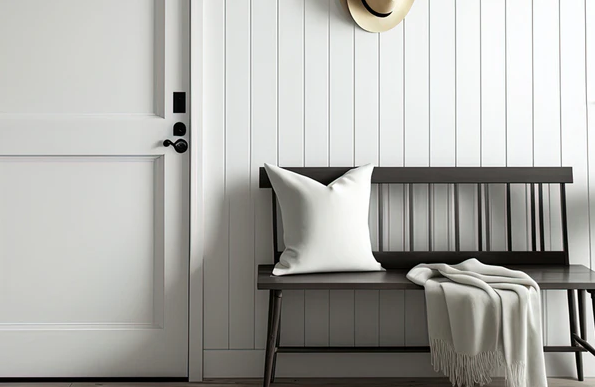
    white tongue and groove wall panel

    WoodPeople like this basic material because it is warm and looks nice. It has an old-fashioned look that works well in both traditional and modern settings. Wood panels last a long time and you can actually add color/dye to it to match any decor style. They give a room a bit of class and luxury. But wood needs to be cared for regularly, especially in damp places, to keep it from twisting or getting damaged.

    MDF (Medium-Density Fiberboard): MDF is a more affordable option that provides a smooth surface, ideal for painting. It’s perfect for achieving a sleek, modern look without the cost of natural wood. MDF is easy to install and provides a consistent finish. However, it’s less durable in moist environments, so it’s better for dry areas like living rooms or bedrooms.

    PVC: Known for its moisture resistance, PVC panels are a great choice for areas exposed to humidity, such as bathrooms or kitchens. PVC is lightweight, durable, and easy to clean, making it a low-maintenance option. While it doesn’t offer the same natural warmth as wood, PVC panels can still be styled to resemble wood or other materials, providing versatility in design without compromising on functionality.

    Tongue and Groove Panels for Different Spaces

    tongue and groove panels in large space

    These panels are incredibly versatile and can be used in various parts of the home:

    • Living Rooms: For a cozy, cabin-like feel.
    • Bathrooms: PVC versions are moisture-resistant, making them ideal for humid environments.
    • Kitchens: Add a rustic touch or create a sleek modern finish with MDF panels.

    Maintenance and Care

    Maintaining tongue and groove wall panels is quite simple, but it varies slightly depending on the material used.

    • For wood panels, regular dusting with a soft cloth and periodic polishing are essential to keep the wood looking vibrant and prevent dullness. It’s important to avoid excess moisture, as wood can warp in humid conditions.
    • For MDF panels, a damp cloth can be used for cleaning, but be sure to avoid soaking the material to prevent water damage. Dusting frequently will help maintain the finish.
    • PVC panels are the easiest to maintain, requiring only a wipe down with a mild cleaner and water. They are water-resistant, making them perfect for humid areas, and don’t require any special treatments over time.

    Is This Panel for You?

    To wrap things up, tongue and groove wall panels are a stylish and flexible way to change the look of a room. There is a material for everyone, whether you want the natural warmth of wood, the low cost of MDF, or the ability to fight water damage of PVC. 

    Besides looking good, these panels are also pretty simple to put up, which makes them a great do-it-yourself project for people who want to improve the look of their homes. 

    If you take care of your tongue and groove panels the right way, they can improve the look and usefulness of your home for many years to come. Get ready to make your room better?

    Tongue and Groove vs Other Panel Types: A Quick Comparison

    Tongue and groove panels occupy a distinctive place in the wall panelling market — but how do they compare to the alternatives you might be considering?

    Versus shiplap: Shiplap uses a simpler rebated overlap joint, creating a visible shadow gap between boards. Tongue and groove panels interlock fully with no visible gap, resulting in a smoother, more seamless surface. Shiplap reads as more casual and rustic; tongue and groove leans towards the refined and traditional. Both can be painted or stained, and both are available in wood, MDF, and PVC variants.

    Versus flat wall panels: Large-format flat panels (typically 8×4 sheets) install more quickly and cover a wall in fewer pieces, but the horizontal or vertical joint lines between sheets are difficult to conceal without careful filling and finishing. Tongue and groove boards create natural shadow lines that are part of the visual design rather than a defect to be hidden.

    Versus beadboard: Beadboard is a specific type of tongue and groove with a narrow rounded bead machined between each board, giving it a distinctive cottage or period aesthetic. Standard tongue and groove without the bead reads as more versatile — suitable for rustic, coastal, and Scandinavian interiors as well as traditional ones. If you want the farmhouse feel, beadboard delivers it more immediately; if you want something that adapts to multiple styles, smooth tongue and groove is the better choice.

    Versus tiles: In areas like bathrooms and kitchens, tongue and groove PVC panels are a genuine alternative to wall tiles. They are quicker to install (no grouting), warmer to the touch, and easier to replace if damaged. The trade-off is perceived durability — a well-installed tile wall will outlast panels in heavy-use commercial environments, but for residential bathrooms and kitchens, quality PVC tongue and groove panels perform excellently for decades.

    Tongue and Groove Wall Panel FAQs

    Can tongue and groove panels be used on ceilings as well as walls?
    Yes — tongue and groove boards are one of the most popular choices for panelled ceilings, particularly in cottages, lodges, and garden rooms. The interlocking joint means boards can span between ceiling joists without visible fixings, and the natural linear pattern draws the eye along the room rather than upward, which can make low-ceiling spaces feel more welcoming rather than claustrophobic.

    Do tongue and groove panels need an air gap behind them?
    In most interior applications, no air gap is required. Panels are typically fixed directly to battens or to the existing wall surface. However, in rooms with known damp issues or in converted outbuildings, a small ventilated air gap behind the battens helps prevent moisture build-up. For solid exterior walls, a vapour-permeable membrane between the masonry and the battens provides additional protection.

    What is the best adhesive for tongue and groove wall panels?
    Solvent-free grab adhesive (such as No More Nails or similar construction adhesives) is the standard choice for tongue and groove panels in interior applications. Apply in a zigzag pattern to the back of each board. For panels in humid areas, use a waterproof adhesive rated for bathroom and kitchen use. Always combine adhesive with mechanical fixings — nails or screws — for the first and last boards in any run to ensure the installation remains stable over time.

    Can I paint tongue and groove panels without sanding them first?
    If the panels are bare wood or pre-primed MDF, a light sanding with 120-grit paper before painting gives better adhesion and a smoother finish. For panels that have been previously painted with a sound, non-flaking surface, a wash with sugar soap and a light key sanding is sufficient. Avoid painting over glossy surfaces without keying first — the topcoat will peel within months if the gloss remains intact below.

  • Japanese Wall Art Panels: Modern and Traditional Techniques for Elegant Walls

    Japanese Wall Art Panels: Modern and Traditional Techniques for Elegant Walls

    Japanese wall art panels draw on centuries of craft tradition to bring calm, balance, and extraordinary visual depth into contemporary interior spaces.

    By focusing on minimalism, natural materials, and expert craftsmanship, Japanese design provides a pathway to creating beautiful yet functional wall art. Techniques such as Wagoya, Kumiko, and Yakisugi can inspire anyone looking to add a timeless and refined touch to their home.

    In this article, we will explore these three key traditional Japanese woodwork techniques. Then, it will show you how to create your own Japanese-inspired wall by blending tradition with

    Japanese wall art

    Traditional Japanese Wall Art: A Balance of Function and Beauty

    Traditional Japanese wall art is more than just decoration. Obviously, it is closely tied to the architectural principles of balance, harmony, and respect for nature. This aesthetic is rooted in clean lines and thoughtful design, bringing serenity into the home. Indeed, Japanese interiors emphasize simplicity and natural elements. 

    Wood plays a central role, often left untreated or given minimal finishing touches to reveal its organic beauty. Moreover, earthy colors and minimal decoration create a calm, unobtrusive atmosphere, allowing the space to breathe. Every element, from the materials to design, is carefully chosen to foster a sense of peace and simplicity. 

    Additionally, the lack of clutter in Japanese interiors direct attention to craftsmanship and the beauty of the natural world. Natural light plays an important role. It softly illuminates the textures of wood and highlights the minimalist design. These principles form the basis for creating Japanese woodworking-inspired walls that are both visually appealing and functional.Through a balanced combination of aesthetic and practical elements, Japanese wall art brings a sense of calm and timeless elegance into any home. 

    Wagoya: The Art of Traditional Japanese Joinery

    In traditional Japanese wall art, there is a technique called Wagoya. This joinery method avoids the use of nails, screws, or any modern fasteners. Instead, it relies on precisely cut wooden joints to create strong and durable structures. For example, Wagoya is often used in temples and traditional homes. This intricate craftsmanship required for Wagoya results in breathtakingly detailed patterns that showcase skill and precision.

    Inspiration for walls: Although traditionally associated with architecture, Wagoya principles can be adapted to inspired creative wall design. Imagine incorporating interlocking wooden panels or geometric patterns as a feature wall. This approach adds both texture and architectural interest to the space, creating a dynamic focal point. Moreover, the beauty of Wagoya lies in its timelessness, offering a sophisticated, natural look that will never go out of style. By introducing Wagoya-inspired elements into modern spaces, you bring a sense of balance and craftsmanship that will never go out of style. Just like the Natural Reeded Wall Panel, this Wagoya-inspired design brings a touch of structural elegance to any room, all while remaining true to the traditional technique. Additionally, using natural wood materials complements the minimalist aesthetic of Japanese design, enhancing the overall harmony of the space.

    Kumiko

    Kumiko: Delicate Lattice Woodwork

    Another technique, it’s called Kumiko, an ancient craft that involves creating intricate lattice patterns from thin wooden strips. This delicate method requires precision and patience, showcasing the remarkable skill of Japanese artisans. Traditionally, Kumiko is used in shoji screens and sliding doors, adding not only a soft and light feel but also a unique visual texture to an interior. The geometric patterns of Kumiko are designed to allow natural light to gently filter through, creating a serene, airy ambiance in any space.

    Inspiration for walls: Moreover, incorporating Kumiko into modern wall designs, it can add a refined touch of Japanese elegance. A simple Kumiko accent piece or wall panel can enhance a room’s style. For modern twist, try out Groove Panel Mosaic Panel, this product will seamlessly blend tradition with contemporary design. Whether used in partitions, wall panels, or accent pieces, Kumiko brings a sense of airiness and intricate artistry that transforms any space into a calming retreat. Additionally, its delicate patterns create an understated focal point that draws the eye without overwhelming the room.

    Yakisugi

    Yakisugi: Charred Wood with Rustic Appeal

    Last but not least, Yakisugi, or shou sugi ban, is a traditional technique where wood is charred to increase durability. This ancient method not only preserves the wood but also enhances its resistance to the elements, making it ideal for both indoor and outdoor use. The charring process creates striking textures and a bold, rustic aesthetic that cannot be replicated with other methods.

    Inspiration for walls: Particularly, Yakisugi walls make a bold statement, especially in minimalist spaces where simplicity is key. The deep, rich texture and dark tones of charred wood contrast beautifully with neutral or light-colored surroundings, adding a dramatic yet natural touch to modern interiors. This technique can be applied to accent walls, headboards, or even entire feature walls to create a strong visual impact. For those looking to achieve this look more easily, Acoustic Hexagonal Wall Panel or Acoustic Slat panels offers a pre-finished charred wood option that brings the rustic beauty of Yakisugi into homes without the need for complex treatment. Whether you’re aiming for a traditional feel or a contemporary twist, this product helps you introduce a unique, natural texture into any living space.

    Conclusion

    To sum up, from the timeless joinery of Wagoya to the intricate latticework of Kumiko and the rustic appeal of Yakisugi, traditional Japanese woodwork offers a wealth of inspiration for modern wall design. Each technique reflects the core values of Japanese art: simplicity, craftsmanship, and harmony with nature.

    After delving into these traditional techniques, it’s clear that they blend seamlessly with modern sensibilities. By combining the minimalism of traditional woodwork with contemporary design elements, you can create a unique space that reflects both tradition and modernity. For instance, pairing Kumiko-inspired lattice panels with bold, modern colors, or integrating Yakisugi wood into a minimalist room, creates an exciting fusion of old and new. The clean, geometric lines of Wagoya can also be mirrored in modern modular wall units or shelving, blending function with beauty.

    Exploring the world of Japanese wall art panels and integrating these elements into your home can transform your walls into a work of art. If you want to explore geometric wood panels that will suit Japanese-inspired interiors, explore The Panel Hub now!

  • 70s Wood Paneling for Walls: Modern Decor Ideas & Inspiration

    70s Wood Paneling for Walls: Modern Decor Ideas & Inspiration

    70s wood paneling is making a genuine comeback, not as a dated relic but as a warm, textured wall treatment that suits modern interiors far better than most people expect. If you want that retro warmth updated for today, modern 70s wood paneling for walls is the way to go.

    However, this isn’t just about slapping some wood on your walls. It’s about mastering the art of blending old with new to create a home that feels both timeless and contemporary. Therefore, in this guide, we’ll show you exactly how to do that. With insider tips and product recommendations, it will take your decor game to the next level. So, get ready to fall in love with your home all over again!

    Rekindle the Warmth: Bringing 70s Wood Paneling Back to Life

    70s wood paneling decor-1

    The 70s were known for their cozy, earthy interiors, and wood paneling played a significant role in that aesthetic. Not only do the rich tones and textures of wood paneling instantly add warmth and character to any room, but they also make it an ideal choice for spaces where you want to relax and unwind. However, the key to making 70s wood paneling decor work in a modern home is to balance its vintage appeal with contemporary elements.

    To begin, choose a room where you want to create a cozy, inviting atmosphere—perhaps a living room, bedroom, or even a den. After that, consider pairing the wood paneling with neutral or muted colors on the other walls to prevent the space from feeling too dark or overwhelming. Ultimately,  the goal is to highlight the natural beauty of the wood while keeping the room feeling open and airy.

    American Oak Slat Wood

    18 reviews
    $225 $249

    Crossinglines Mosaic Wood

    32 reviews
    $199 $299


    The Signature Styles of 70s Wall Paneling

    70s wall paneling was all about warmth and texture. The decade leaned into rich, honey-toned woods, wide vertical planks, and tongue-and-groove boards that wrapped entire rooms in a cozy, enveloping feel. Dark walnut and knotty pine were everywhere, often paired with earthy oranges, browns, and avocado greens. What sets a modern take apart is restraint: instead of paneling every wall, today’s 70s wall paneling works best as a single feature wall in a real-wood finish, letting the grain and shadow lines do the talking. Keep the retro warmth, lose the dated heaviness, and the look reads as intentional rather than stuck in time.

    Modern Meets Retro: Balancing 70s Wood Paneling with Fresh Accents

    70s wood paneling decor-2

    One of the best ways to modernize 70s wood paneling is to incorporate shiplap walls into your design. Shiplap is known for its clean lines and subtle texture, offering a modern contrast to the more traditional look of wood paneling. For example, you could have one wall covered in classic wood paneling and another in white shiplap, creating a striking visual balance that marries the old with the new.

    Another way to bring a contemporary twist to your wood-paneled room is by adding sleek, modern furniture and accessories. You can also think about incorporating metal fixtures, glass elements, and minimalist decor to counterbalance the rustic feel of the wood.

    Layered Perfection: Elevate Your Space with Rustic Wood Wall

    Once you’ve balanced the modern and vintage elements with shiplap, you can take your design further by incorporating rustic wood walls. Blending 70s wood paneling with rustic wood walls creates a layered, textured look that adds depth and interest to your space. Rustic wood walls, on the other hand, bring a rough-hewn, natural element that complements the smoother, glossier look of traditional wood paneling.

    For instance, you could use rustic wood wall in spaces like dining rooms or home offices to create an authentic, natural vibe.

    This product offers a perfect blend of rich tones and natural textures, making it an ideal choice for those looking to add a rustic touch to their modern home. The Walnut Honey Mosaic design enhances the warmth of 70s wood paneling while introducing a contemporary flair.

    Color & Texture Magic: Transforming Wood Paneling with Modern Touches

    While natural wood tones are undeniably beautiful, don’t be afraid to mix in some color. Painting the shiplap wall in a soft, muted shade—like pale grey or sage green—can offer a refreshing contrast to the rich tones of the wood paneling. Additionally, consider adding textured accessories like woven rugs, plush cushions, and metal fixtures to create layers of visual interest.

    For those who prefer a more uniform look, products like the Solid Wood Parallel Mosaic – Brown can add a touch of modern elegance to your space, blending seamlessly with the wood paneling and enhancing the overall aesthetic.

    Illuminate the Charm: Perfect Lighting for Your Wood-Paneled Rooms

    Lighting is crucial when working with wood paneling, as it can either enhance or detract from the room’s overall ambiance. To bring out the beauty of the wood, opt for warm, soft lighting. Pendant lights, wall sconces, and floor lamps in materials like metal or glass can add a modern touch while complementing the rustic elements of the room.

    Additionally, consider using dimmable lights to create a cozy, inviting atmosphere in the evenings. The right lighting will not only highlight the natural grain of the wood but also make the room feel more intimate and relaxing.

    You might also like: 4 Best Ceramic Table Lamps: From Vintage to Modern Styles

    Nature’s Embrace: Integrating Natural Elements with Wood Paneling

    To truly capture the essence of a modern rustic design, incorporating natural elements is essential. Think indoor plants, stone accents, and even water features to bring the outdoors in. These elements work in harmony with wood paneling to create a serene, nature-inspired space.

    For example, the Natural Dark AlignPro offers a striking, natural look that pairs beautifully with green plants and stone accessories. The combination of these elements with 70s wood paneling creates a tranquil environment that feels both timeless and contemporary.

    Where to Buy 70s Wood Paneling

    Original 1970s paneling is hard to source now, and reclaimed sheets are usually thin, damaged, or the old particleboard-and-photo-print kind. The better way to get the look is a modern real-wood panel in the same warm tones. The Panel Hub makes exactly that: solid and real-wood wood wall panels in walnut and honey finishes, cut for easy DIY install and backed by a 5-year warranty. For an authentic 70s feel, pick a warm-toned panel for a single feature wall, and the options shown above are a good place to start.

    Conclusion

    Reviving 70s wood paneling in a modern home isn’t just about nostalgia. It’s about blending the best of both worlds to create a space that’s full of character, warmth, and style. By following these tips and incorporating high-quality products like those from The Panel Hub, you can achieve a modern rustic look that’s uniquely yours. Whether you’re updating your living room, bedroom, or any other space, 70s wood paneling decor can bring a touch of vintage charm that’s perfectly balanced with contemporary design.

    Ready to transform your home? Start planning your modern rustic makeover today and enjoy a space that’s both stylish and comforting.