Tag: wall panels

  • Contemporary Wall Panel Trends 2026: What’s Popular Right Now

    Contemporary Wall Panel Trends 2026: What’s Popular Right Now

    Wall panels have moved from niche to mainstream in the past five years. What began as a boutique interior design trend — acoustic slat panels on media walls, stone effect panels on fireplace breasts — has expanded into a design language used across residential, commercial, and hospitality environments at every price point.

    In 2026, the trends within wall panelling are maturing. Early adopters have moved on from the obvious applications; the mainstream has arrived and is doing more sophisticated things with the format. Here’s what’s defining the category right now.

    Fluted and Ribbed Profiles: Still Dominant, More Refined

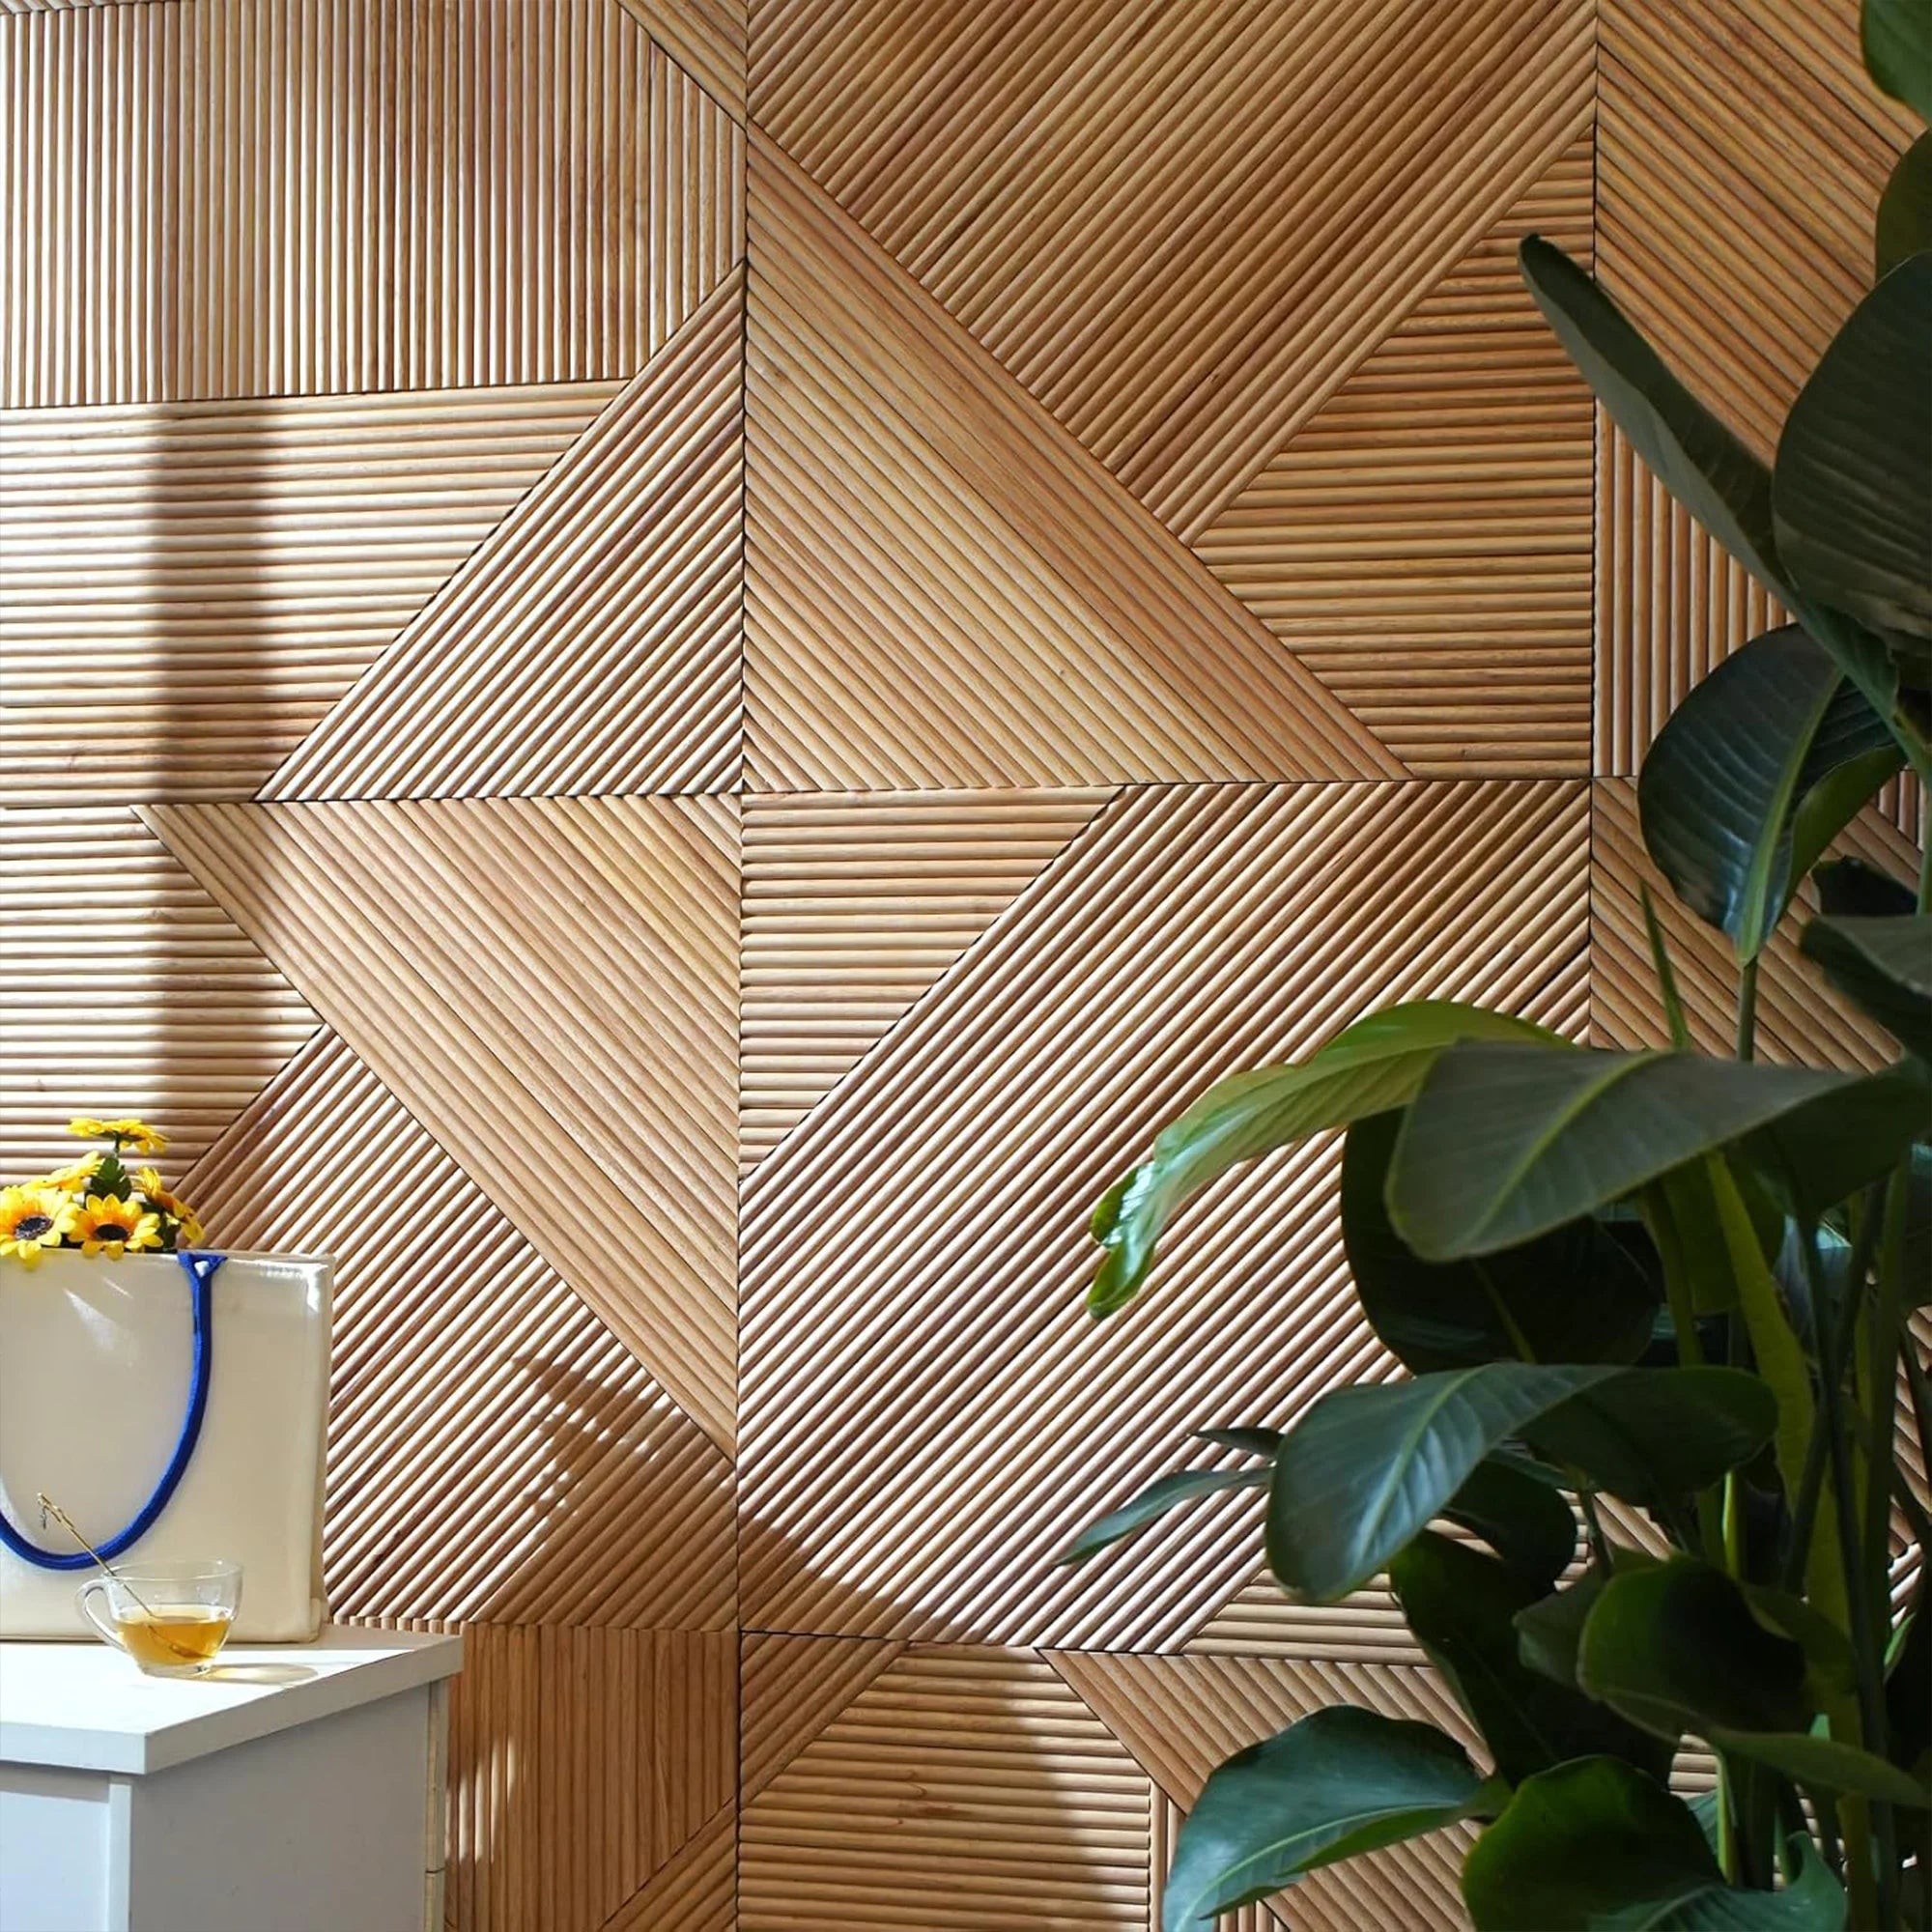
    Fluted and ribbed panels were the defining aesthetic of 2022–2024. In 2026, they’re mainstream — which means the interesting design moves have become more sophisticated. Fine-pitch fluting (narrower ridges, tighter spacing) has overtaken the bold wide-flute profiles of the early trend. The result is more refined — a surface that reads as textured at a distance but resolves into precise detail up close.

    The GroovePanel® range includes multiple flute profiles from fine pitch to bold relief — the direction of travel in 2026 is toward the finer end of the spectrum.

    Stone Effect Surfaces: From Niche to Mainstream

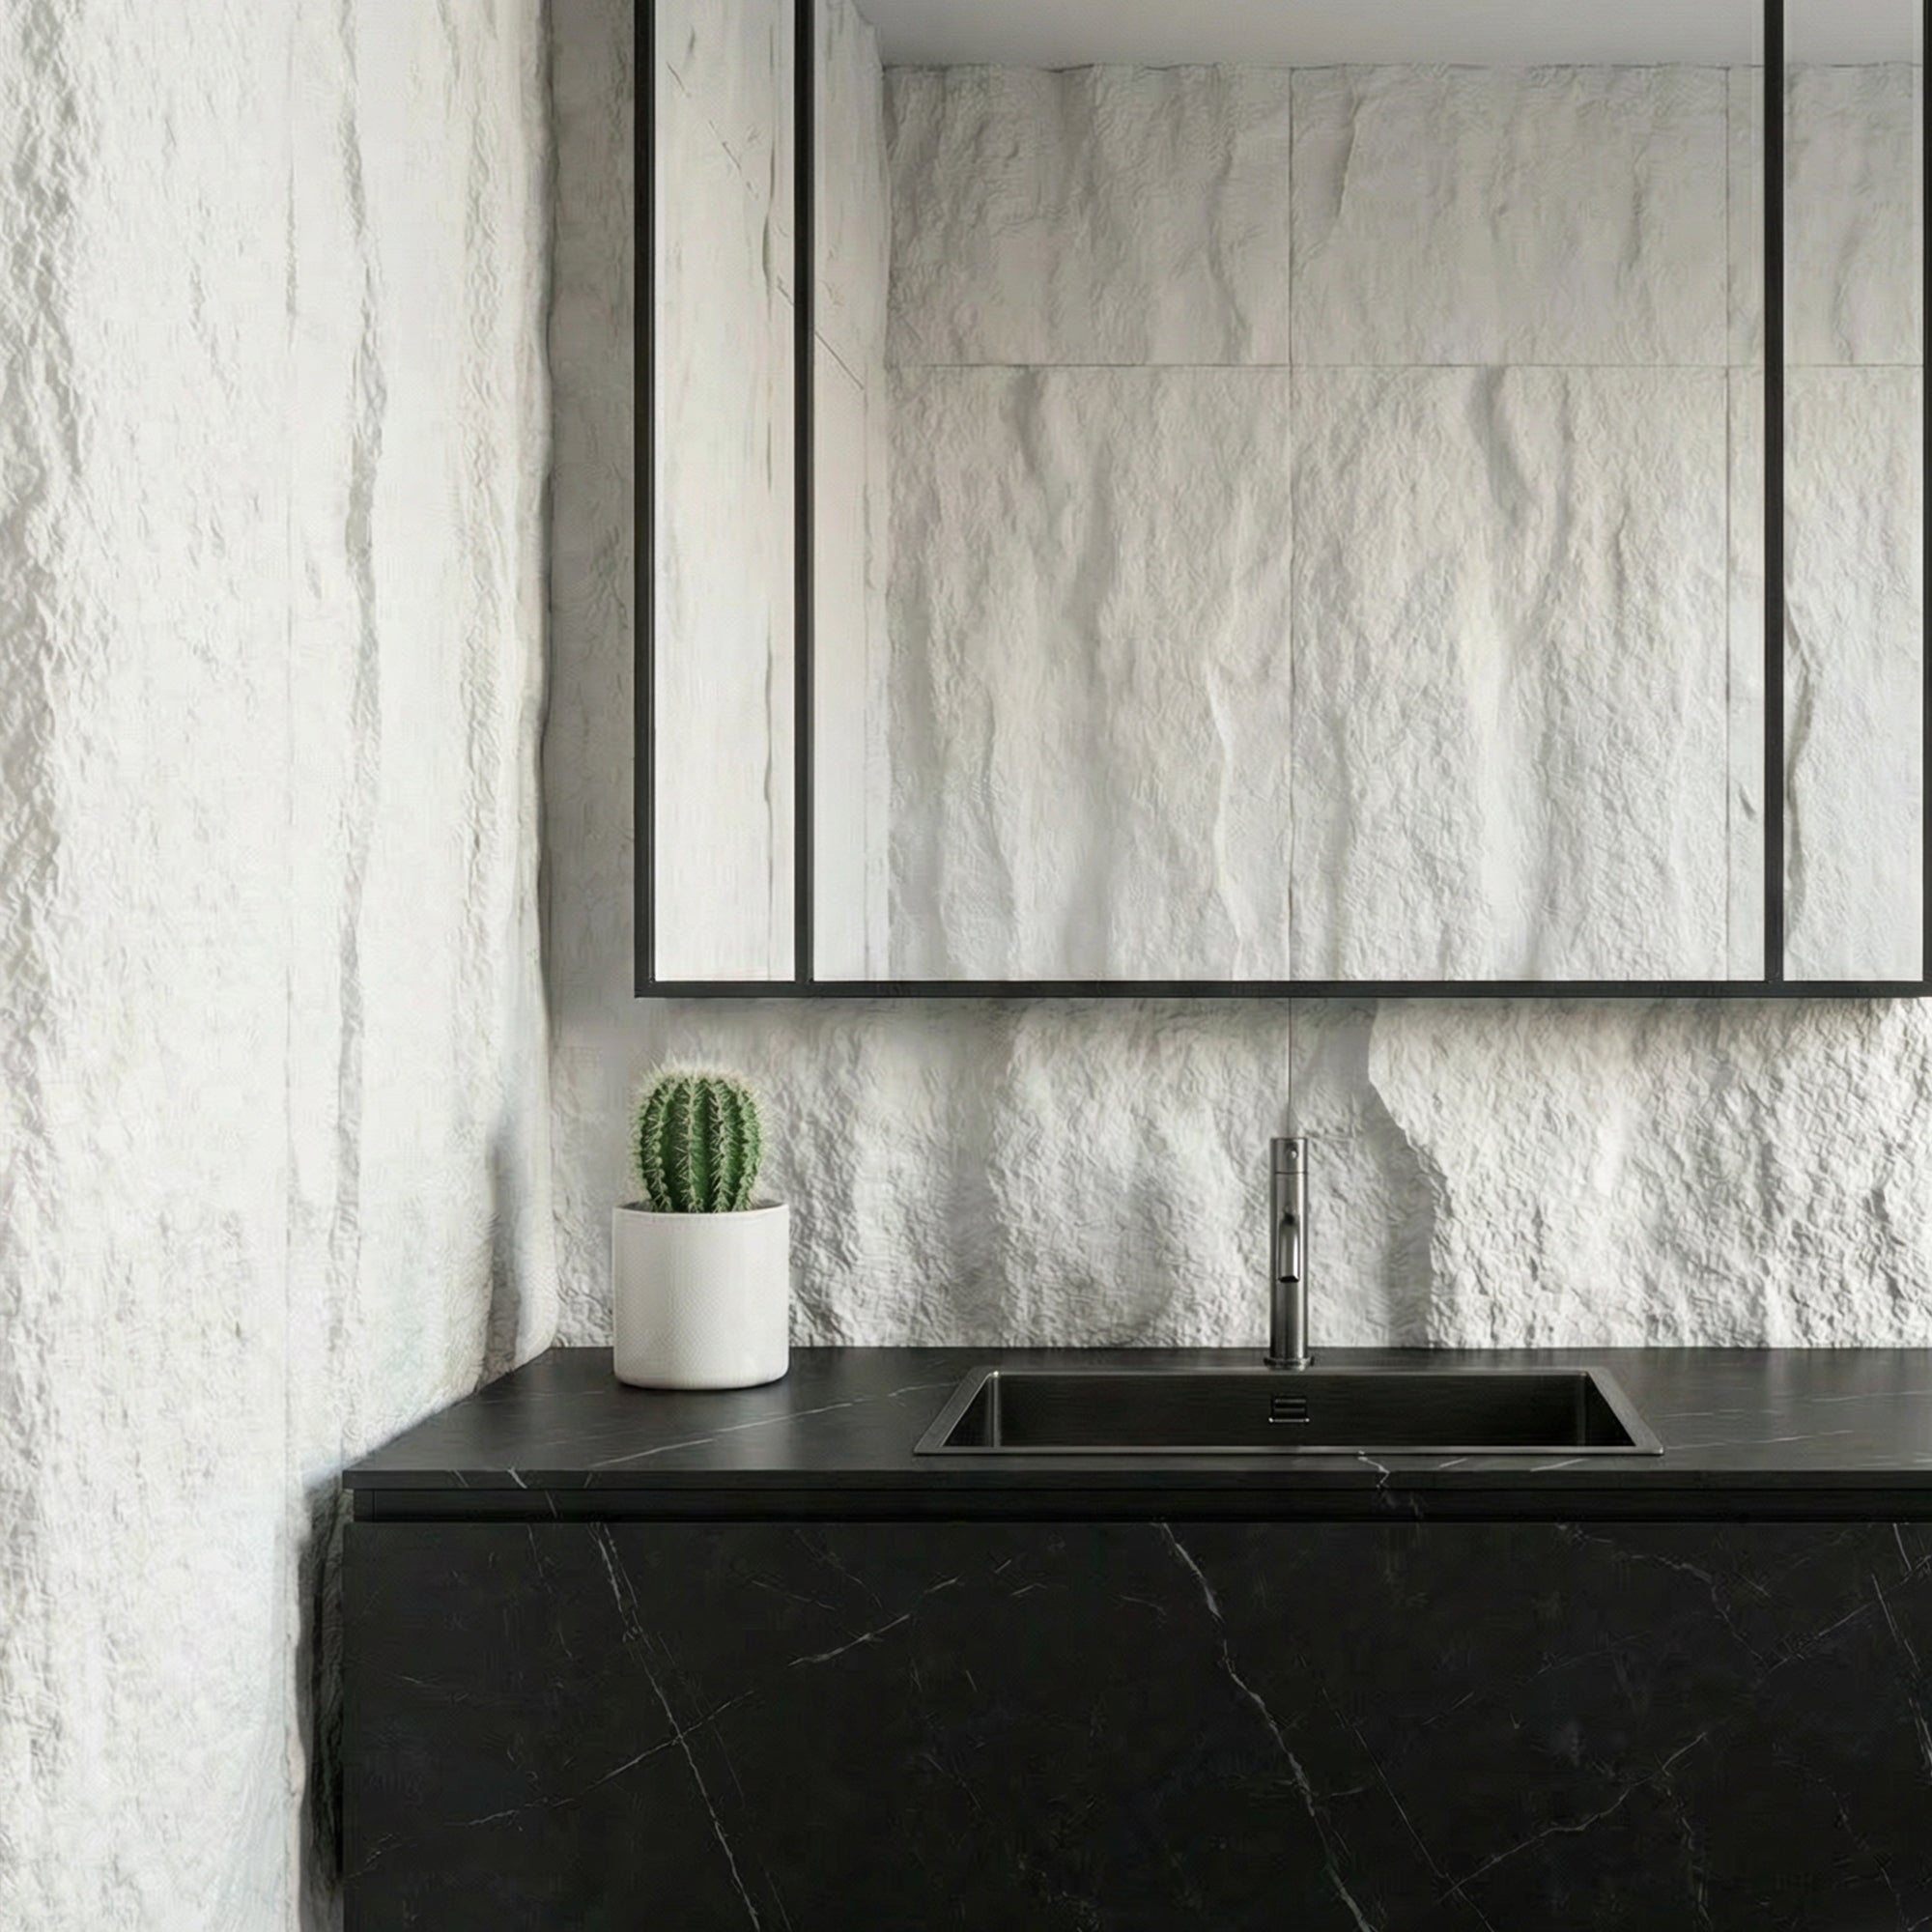
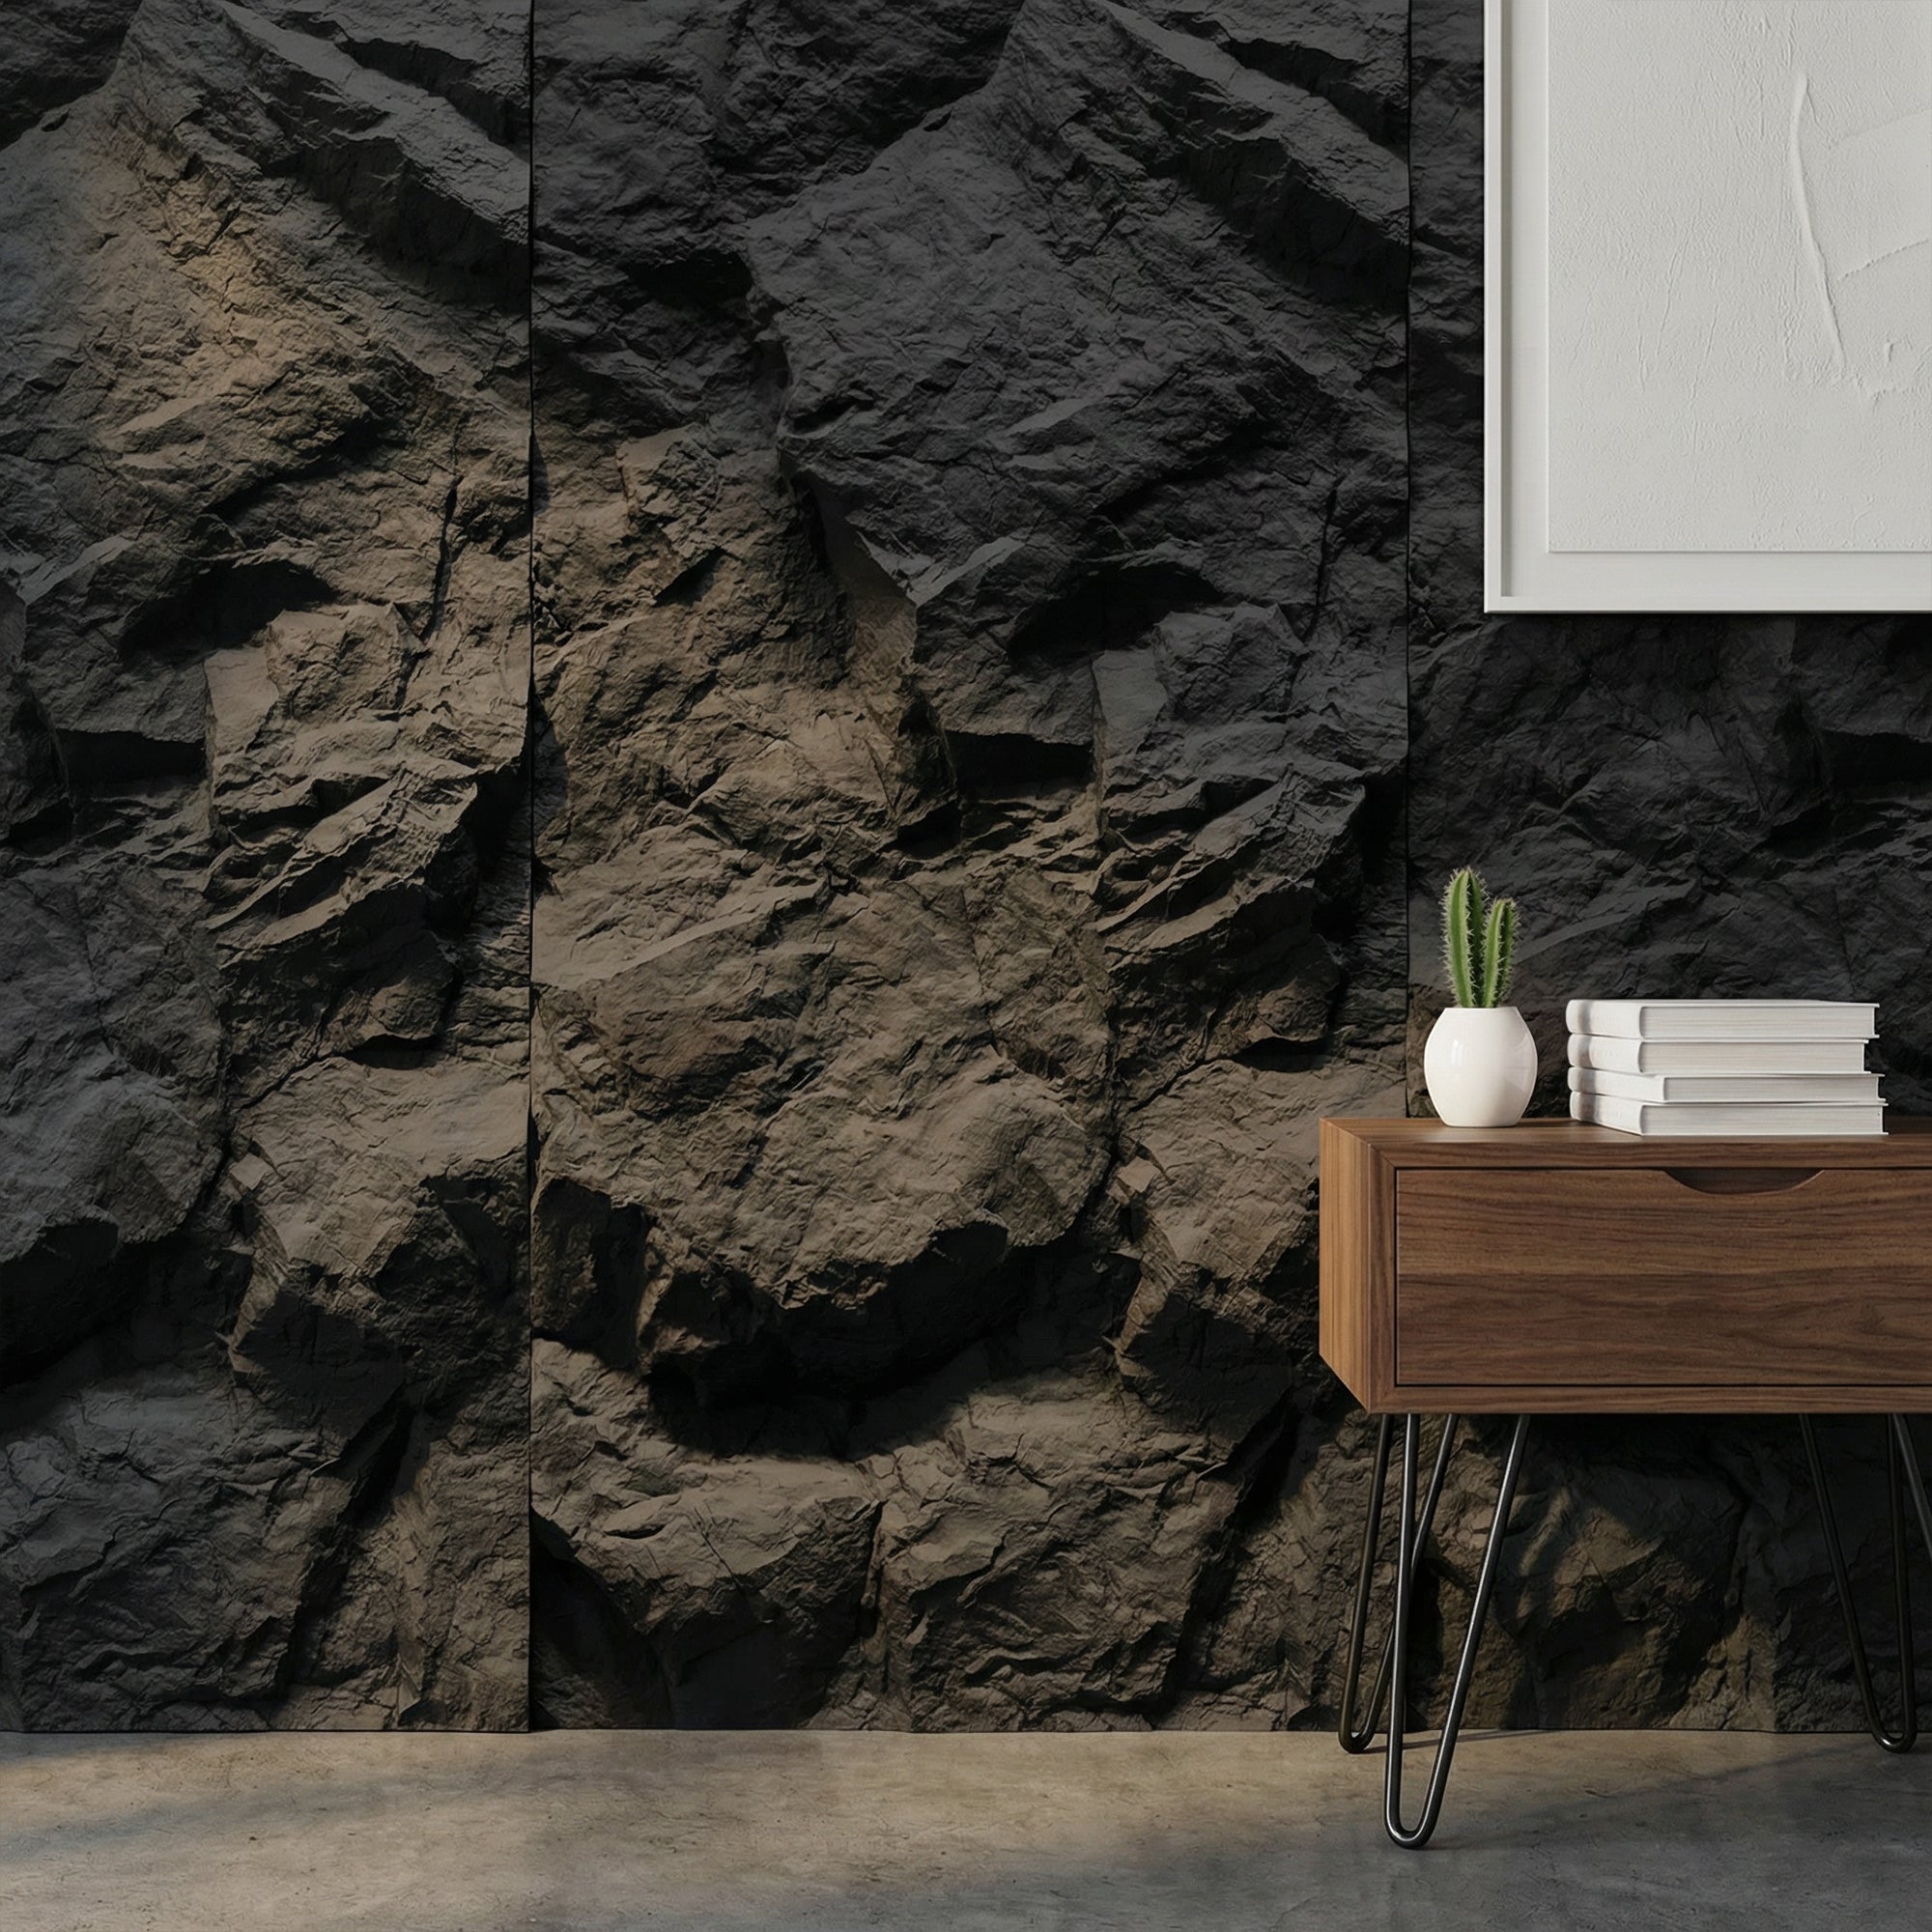
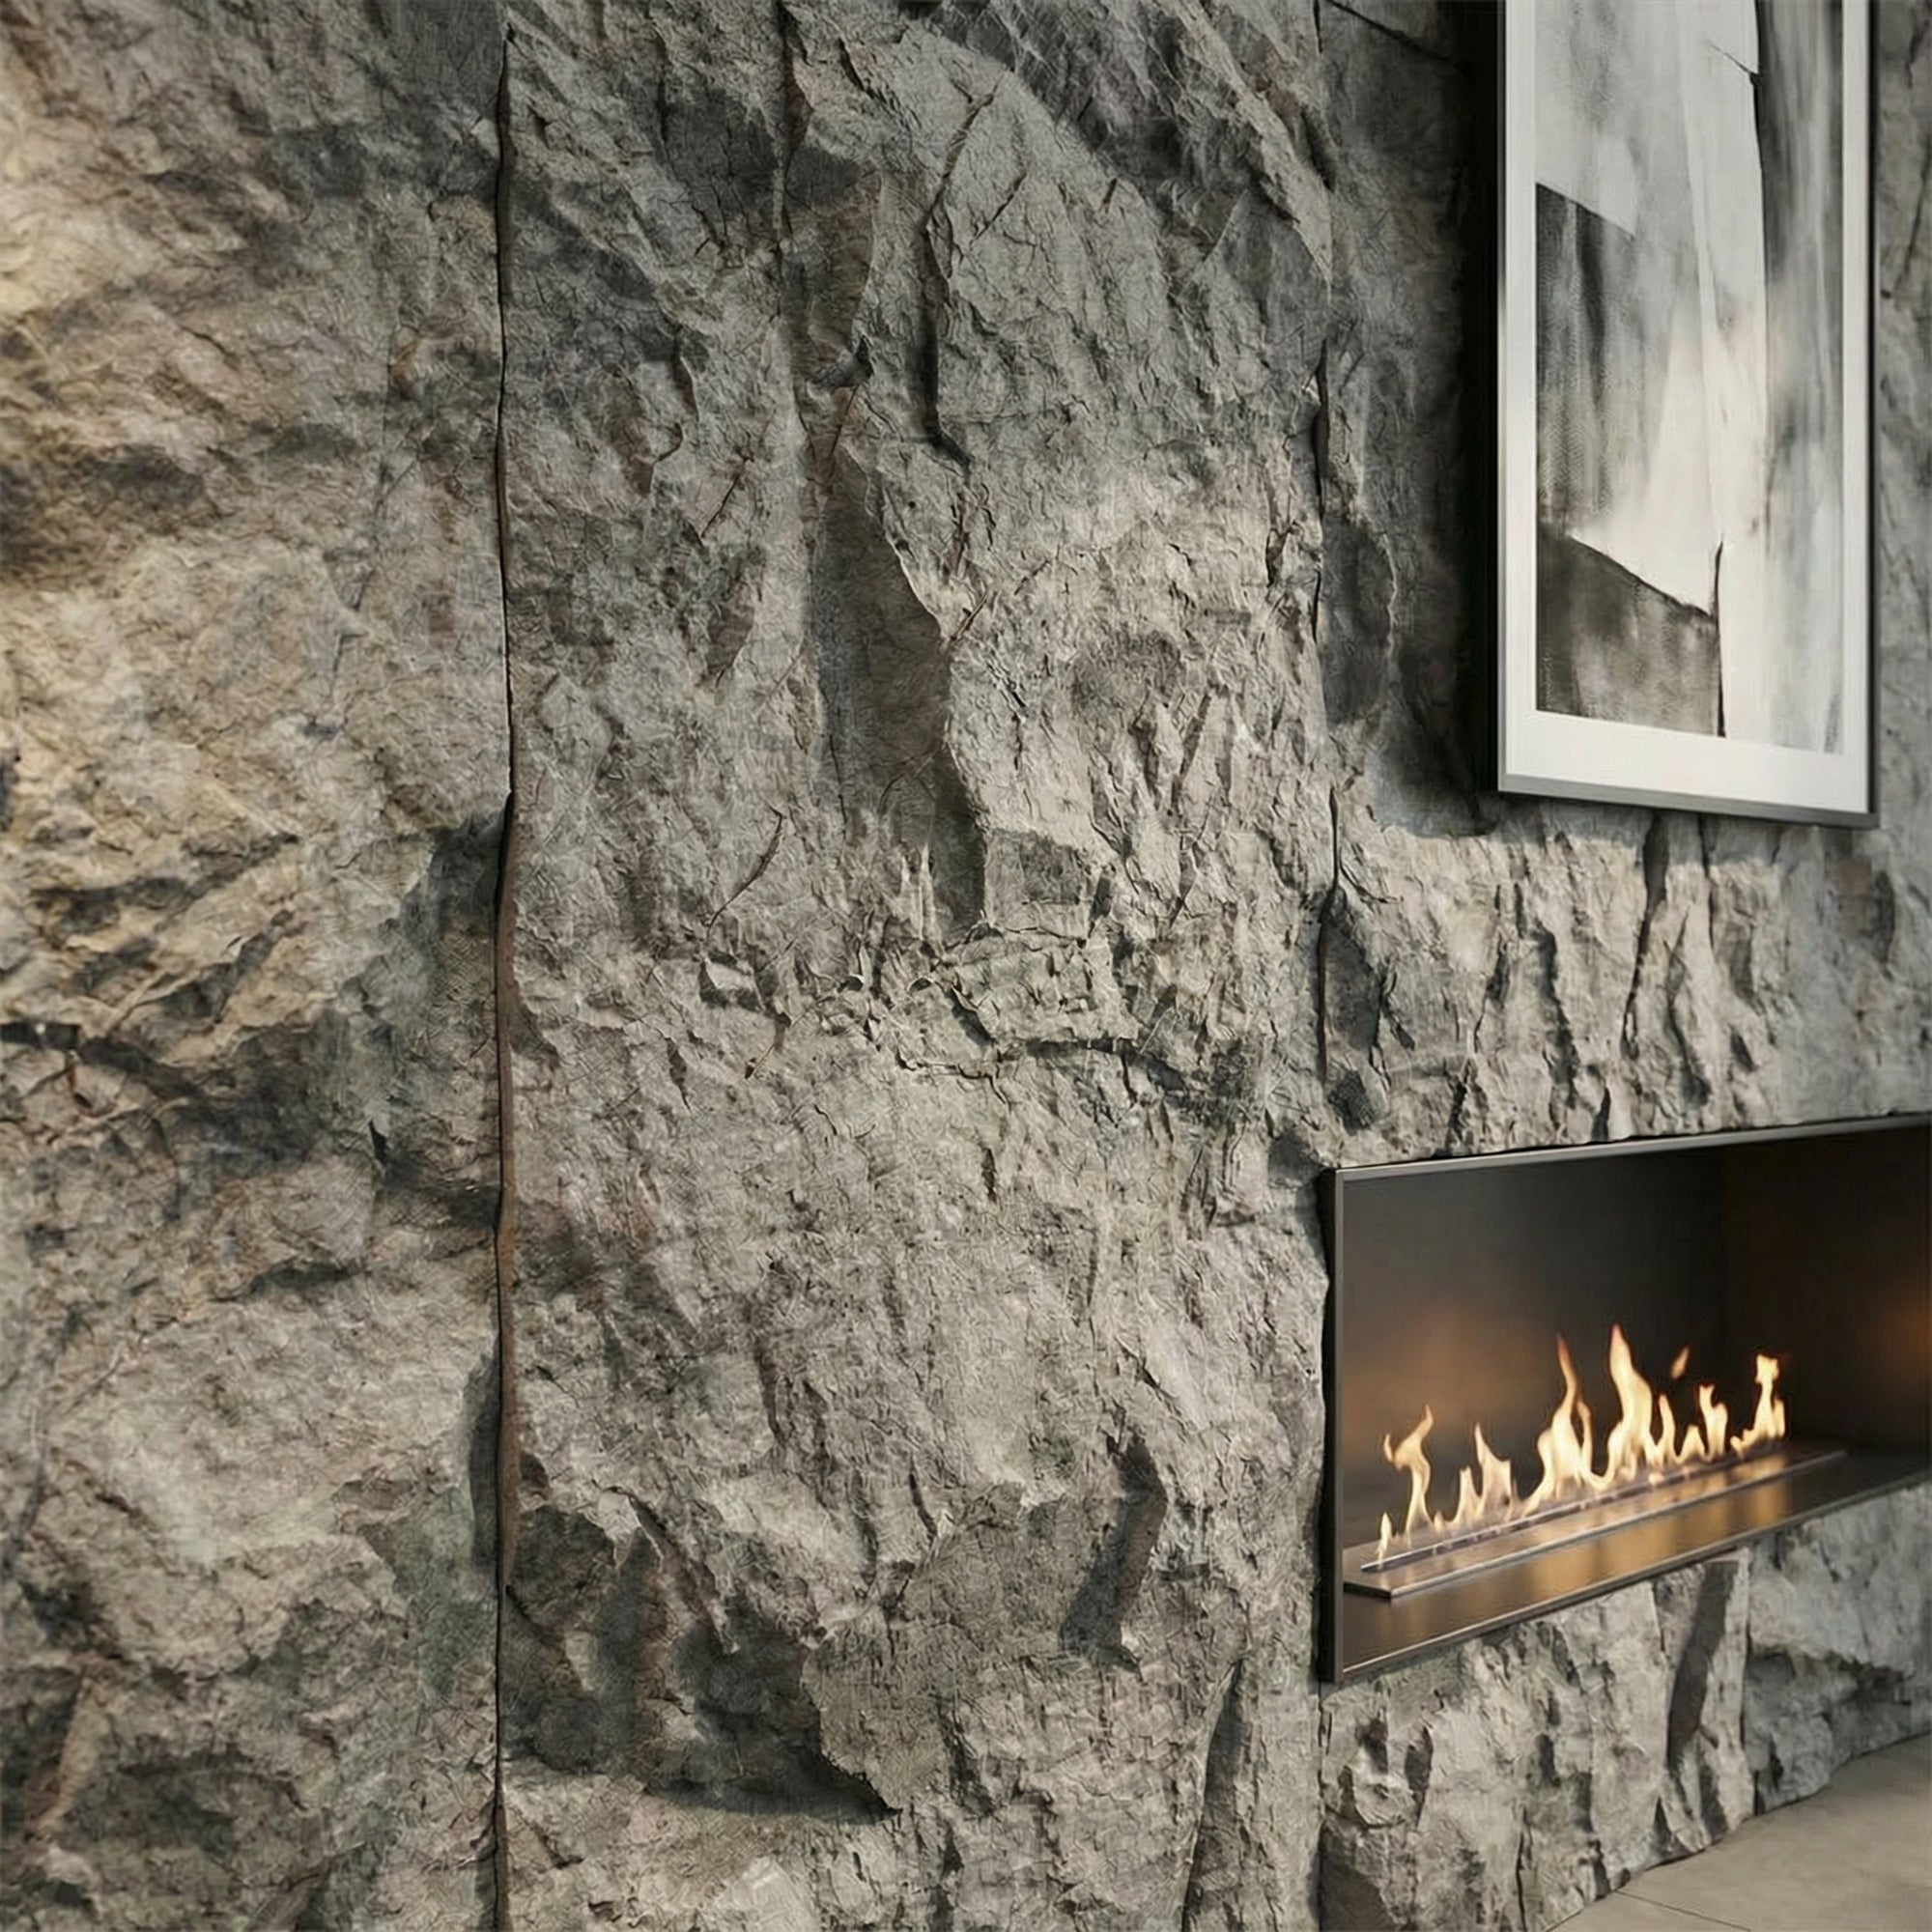
    Three-dimensional stone effect panels have followed a similar trajectory to wood panels, but about three years behind. In 2026, stone effect panels are appearing in residential applications that would previously have used painted walls or tile. The combination of realistic texture, lightweight installation, and significantly lower cost than real stone is proving compelling.

    The standout trend within stone panels is the move toward larger-format relief — bigger individual stone faces, deeper shadow lines, and more dramatic three-dimensional geometry.

    Mixing Materials: Wood Plus Stone

    One of the most interesting developments in 2026 is designers combining wood slat panels and stone effect panels in the same space. A horizontal band of stone effect panel at lower wall height, transitioning to wood slat above, creates a layered material story that neither material could tell alone. In commercial environments, this mixing approach creates spaces that feel designed at a different level of ambition than monolithic single-material feature walls.

    Acoustic Panels as Visual Features

    Acoustic slat panels began as a functional specification in recording studios and broadcast environments. In 2026, they’re a mainstream residential feature, specified for their appearance as much as their acoustic performance. The SoundPanel™ range sits at this intersection of acoustic function and visual quality — a combination that’s proving increasingly relevant as open-plan living creates rooms with genuinely poor acoustic performance.

    What’s Fading Out

    • All-wall panel applications: Covering every wall in a room with the same panel product is becoming dated. Feature wall applications — one or two walls — remain strong.
    • Very dark wood tones: Deep espresso and near-black wood finishes that dominated hospitality design in 2021–2023 are giving way to warmer, lighter, more natural tones.
    • Peel-and-stick alternatives: The entry-level end of the market is separating from genuine panel products. Buyers who started with temporary solutions are upgrading to permanent installations.

    What’s Ahead

    The direction of travel for wall panels points toward more material experimentation — mixing profiles, tones, and surface textures within a single space. Browse the full range at The Panel Hub to explore both wood and stone effect options across the current collection.
  • FF&E Wall Panels: How to Specify Finishes for Project Schedules

    FF&E Wall Panels: How to Specify Finishes for Project Schedules

    In the language of commercial interior design and project management, FF&E — Furniture, Fixtures and Equipment — covers the moveable and semi-permanent elements specified separately from the base building. Wall panels occupy a grey area in many project specifications: they’re not furniture, they’re not structural, and depending on the project scope, they may be classified as either FF&E or a finishes item within the base build.

    Getting this classification right, and specifying wall panels correctly within a project schedule, affects procurement timelines, installation sequencing, and the allocation of responsibility between the main contractor and the FF&E contractor.

    FF&E vs Base Build: Where Do Wall Panels Sit?

    In most commercial and hospitality projects, the distinction is straightforward:

    • Base build wall finishes (plaster, paint, standard tiling) are specified in the architect’s package and installed by the main contractor during the construction phase.
    • FF&E wall panels (decorative wall panels, acoustic panels, feature wall panels) are typically specified in the interior designer’s package and installed during the fit-out phase, after the base build is complete.

    The practical implication is that FF&E wall panels are installed after the main construction trades have finished — into a completed space, without the structural access and wet trade flexibility of the construction phase. This makes the installation method, substrate condition, and lead time particularly important considerations.

    Lead Times: Planning Your Panel Specification

    For commercial projects with fixed programme dates, lead time is a critical factor in material selection. The Panel Hub maintains stock of the most popular products in the GroovePanel®, SoundPanel™, and RockSurface® ranges for shorter lead times. For large-volume orders or non-standard finishes, confirm availability and lead time before locking the specification into the programme.

    Writing the Panel Specification

    A complete wall panel specification for an FF&E schedule should include:

    • Product name, reference, and finish description
    • Panel dimensions and coverage per panel
    • Total area to be covered (m²) with wastage allowance
    • Substrate specification (what the panel is to be fixed to)
    • Installation method (adhesive type, mechanical fixing if required)
    • Fire classification required and confirmation of product certification
    • Acoustic performance requirement (if applicable)
    • Maintenance and cleaning requirements for handover documentation

    Batch Consistency for Multi-Room and Multi-Property Projects

    For hospitality projects specifying the same panel across multiple rooms or multiple properties, batch consistency is a critical quality control issue. Natural wood products vary between production batches — colour, grain character, and finish tone can shift subtly between orders. For projects requiring consistent appearance across multiple units, confirm with the supplier whether panels can be ordered in a single batch, and what the maximum batch size is for the specified product.

    Working with The Panel Hub on FF&E Projects

    The Panel Hub works with interior designers, FF&E consultants, and hospitality procurement teams on commercial projects. Contact the trade team to discuss project volumes, lead times, and technical requirements before your specification is finalised.

  • Luxury Wall Panels: What Separates Premium Quality from Budget

    Luxury Wall Panels: What Separates Premium Quality from Budget

    Not all wall panels are equal. The difference between a budget panel installation and a premium one is visible — in the quality of the material, the precision of the finish, the depth of the surface detail, and the way the panel performs over time. Understanding what separates premium from budget is the starting point for any buyer who wants results that last.

    Material Quality: What to Look for

    Solid Wood vs Engineered Alternatives

    Premium wood panels use real timber or high-quality engineered wood with genuine hardwood veneers. The grain, colour variation, and surface texture of solid wood creates a material depth that printed foils, vinyl wraps, and low-cost laminates cannot replicate. The GroovePanel® and SoundPanel™ ranges from The Panel Hub use real wood construction — the material reads and feels different from engineered alternatives at every level of interaction with the panel.

    Stone Effect Panel Composition

    Premium stone effect panels use mould casts derived from real stone samples. The natural irregularity of real stone — no two faces identical, no machine-perfect edges — is captured in the mould and reproduced in each panel. Budget panels use simplified or repeating geometric moulds that create a pattern that reads as manufactured rather than natural at close range. The difference is immediately visible when you hold samples side by side.

    Surface Finish and Treatment

    The surface finish on a premium panel is applied with precision and durability in mind. For wood panels this means:

    • Multiple coats of oil or lacquer, each sanded between applications
    • Edge treatment that matches the face finish — a common economy measure is to leave panel edges poorly finished
    • UV stability — premium finishes resist fading in rooms with significant natural light
    • Surface hardness — the finish withstands daily contact without marking

    For stone effect panels, premium surface treatment includes colour depth (multiple tones across the surface rather than a single flat colour), textural variation within the surface, and sealed finishes that resist moisture and staining.

    Profile Precision and Manufacturing Tolerances

    Premium panels are manufactured to tight tolerances. Slat widths, groove depths, and panel dimensions are consistent from one panel to the next. This matters for installation — inconsistent dimensions create visible variation in the finished wall. Budget panels often show variation that becomes apparent across a large installation, with some slats appearing wider or narrower than others, or joints between panels that are visibly inconsistent.

    What Budget Panels Compromise On

    • Material: Thinner veneers, basic MDF substrates, or lower-density composite materials
    • Finish: Single-coat finishes, edge-matching omitted, limited UV stability
    • Tolerances: Visible variation in slat widths and panel dimensions
    • Surface detail: Simplified moulds for stone panels, less colour variation, shallower relief
    • Longevity: Budget finishes degrade faster and substrates are less stable over time

    How to Assess Quality Before Buying

    The best way to assess panel quality before purchasing is to request samples. A full-size sample allows you to examine the surface finish under your specific lighting, assess the construction quality, and compare the material against your existing finishes. The quality difference between premium and budget panels is immediately apparent when you hold them.

    The Panel Hub provides samples across the full range — GroovePanel®, SoundPanel™, and RockSurface®. Request samples before committing to your order — the quality difference is immediately apparent when you hold a panel in your hands.

  • Wall Panels for Interior Designers: A Trade Specification Guide

    Wall Panels for Interior Designers: A Trade Specification Guide

    If you’re looking for wall panels for interior designers, you came to the right article. Interior designers working across residential, commercial, and hospitality sectors increasingly specify wall panels as a primary surface material. The shift reflects both client demand for tactile, high-quality wall finishes and the practical advantages of panel systems over painted plaster, traditional tiling, and applied wallcoverings.

    This guide is written for design professionals who need reliable technical information, a dependable sampling process, and a supplier capable of meeting the lead times and consistency requirements of a professional project.

    Why Wall Panels Are Increasingly Specified in Design Practices

    Wall panels have moved from an occasional feature element to a mainstream specification material across several reasons. Clients increasingly arrive at design consultations having seen panels on social media and in showrooms — the demand is there. More importantly, panels solve problems that other finishes don’t: they add acoustic performance, create three-dimensional surface interest without paint or wallpaper, and can be installed without wet trades.

    For interior designers, the practical benefit is a surface material that photographs well, holds up in client presentations, and delivers a premium result without requiring specialist contractors.

    The Three Panel Categories Designers Should Know

    Solid Wood Slat and Fluted Panels

    The GroovePanel® solid wood range covers fluted, grooved, and ribbed profiles in real timber. These are the panels specified for premium residential feature walls, high-end hospitality environments, and any project where material authenticity — visible grain, natural colour variation, solid timber construction — is part of the design brief.

    Acoustic Slat Panels

    The SoundPanel™ range combines visual quality with measurable acoustic performance. Timber slats on acoustic felt backing reduce reverberation and manage echo in open-plan spaces, home offices, media rooms, and commercial environments. For designers specifying into projects with acoustic requirements — offices, hospitality, residential open-plan — this is the category to specify.

    Stone Effect Panels

    The RockSurface® range delivers three-dimensional stone-effect surfaces in lightweight panel format. Where a client brief calls for a stone aesthetic on a wall that cannot bear real stone — or where the budget, timeline, or installation access makes real stone impractical — RockSurface® provides the visual result without the structural and logistical constraints.

    Sampling: The Essential First Step

    No professional specification should be made without physical samples assessed in the actual project space. Panels read very differently under different lighting conditions — what looks warm and rich under the showroom lighting at a trade event may appear flat and grey in a north-facing room, and vice versa.

    The Panel Hub provides samples across the full product range. For designers working on multiple projects, maintaining a sample library of the most-specified products is a practical investment that speeds up the specification process and reduces the risk of on-site surprises.

    Technical Data for Specifications

    Professional specifications require more than a product name and a finish description. When specifying wall panels, the information typically required includes:

    • Panel dimensions and weight per m²
    • Substrate material and core construction
    • Surface finish and treatment specification
    • Fire classification (Euroclass rating)
    • Acoustic performance data where relevant (NRC or sound absorption coefficient)
    • Installation method — adhesive, mechanical fixing, or clip system
    • Recommended substrate types

    Contact The Panel Hub directly for technical data sheets for any product in the range.

    Trade Account and Project Support

    Design professionals working on commercial, hospitality, or large-scale residential projects should register for a trade account with The Panel Hub. Trade account holders receive priority sampling, project pricing support, and access to the team for technical queries during the specification and installation phases of a project. Sign up today!

  • Wall Panels vs Tiles: Which Wins for Kitchens and Bathrooms?

    Wall Panels vs Tiles: Which Wins for Kitchens and Bathrooms?

    Tiles have been the default choice for kitchen and bathroom walls for over a century — and for good reason. They’re waterproof, durable, easy to clean, and available in an almost unlimited range of colours and patterns. But wall panels have made significant inroads in recent years, and in many applications they now offer a compelling alternative with less effort and often a better visual result.

    Appearance: Which Looks Better?

    This is subjective, but some observations hold:

    • Tiles offer enormous design variety — from classic subway tiles to large-format marble looks, the tile market covers every style and budget.
    • Wall panels offer a cleaner, more seamless finish. Without grout lines, the surface reads as continuous — a quality that makes rooms feel larger and finishes look more contemporary.
    • Stone-effect panels like RockSurface® provide three-dimensional texture that large-format flat tiles cannot replicate.
    • Wood slat and fluted panels bring a warmth to kitchens and bathrooms that tiles rarely achieve.

    Waterproofing: Where Tiles Still Win

    Properly installed tiles with fully waterproofed grout are the gold standard for wet environments — shower floors and surfaces in direct contact with water. Most standard wall panels are not suitable for areas of direct water contact.

    However, for kitchen splashbacks, bathroom feature walls behind sanitary ware, and any wall that sees splash rather than continuous water exposure, panels rated for humid environments perform adequately and look superior.

    Installation: Which Is Easier?

    Wall panels have a significant installation advantage. The process is straightforward: prepare the substrate, apply adhesive, fix panels, seal edges. No specialist skills, no grouting, and a much faster timeline — a kitchen splashback wall can be panelled in an afternoon.

    Tile installation requires planning, setting out, cutting tiles, laying in adhesive, grouting, sealing, and cleaning. In a bathroom, this process typically takes 2–3 days for a competent tiler.

    Cost: What’s the True Comparison?

    Tile costs vary enormously — from £5/m² for basic ceramic to £200+/m² for premium marble-look tiles. Installation adds £30–£60/m² for professional tiling.

    Quality wall panels typically cost £30–£80/m² for materials and £15–£30/m² for professional installation — often lower than equivalent quality tiles when installation is factored in.

    Maintenance: The Grout Problem

    Grout is the weakest link in any tiled installation. It stains, cracks, grows mould, and eventually needs re-grouting — a messy, time-consuming process. Wall panels have no grout. A wipe-down with a damp cloth is the extent of routine panel maintenance in most applications.

    The Verdict

    • Choose tiles for wet rooms, shower floors, and any surface in continuous water contact. Also choose tiles if you want large-format patterned or marble finishes.
    • Choose panels for kitchen splashbacks, bathroom feature walls, any application where grout maintenance is a concern, or where you want a textured 3D finish that tiles can’t provide.

    Browse the full range of wood wall panels and stone effect panels at The Panel Hub.

  • Wood Wall Panels vs Stone Wall Panels: Which Is Right for Your Space?

    Wood Wall Panels vs Stone Wall Panels: Which Is Right for Your Space?

    Wood and stone are the two dominant materials in natural feature wall design. Both have been used in interior and exterior architecture for centuries. Both are now available in panel form — engineered, lightweight, and easy to install — which puts them in direct competition for the same wall space in homes, offices, and commercial environments.

    Choosing between wood wall panels and stone effect wall panels depends on the room, the aesthetic you’re creating, and the practical requirements of the installation.

    What Each Material Communicates

    Wood Panels

    Wood panels are warm. The grain, tone, and texture of timber communicate organic warmth, natural authenticity, and domesticity. Even in their most contemporary application — fine slat panels with precise engineering and clean finishes — wood panels read as approachable and tactile. They work in bedrooms, living rooms, and home offices where warmth and comfort are design priorities.

    Stone Panels

    Stone panels are cool. Even in warm stone tones, the material communicates solidity, permanence, and weight. Stone feature walls make a bolder statement than wood and sit more comfortably in rooms where drama or formality is the goal — dining rooms, bar areas, commercial environments, feature fireplaces.

    Practical Differences

    Moisture Resistance

    Stone-effect panels generally have better inherent moisture resistance than wood panels, making them more suitable for bathroom and kitchen applications. Wood panels in humid environments require appropriate surface treatment or moisture-resistant cores.

    Acoustic Performance

    Wood slat and acoustic panels from the SoundPanel™ acoustic wood wall panel range offer measurable sound absorption — a benefit stone panels don’t provide. If acoustic performance is a factor in your specification, wood acoustic panels have a clear advantage.

    Room-by-Room Guide

    • Living room: Both work — wood for warmth, stone for drama and formality
    • Bedroom: Wood panels are generally preferred for the warmth they contribute
    • Bathroom: Stone-effect panels have the moisture resistance advantage
    • Kitchen splashback: Stone-effect panels are the practical choice
    • Fireplace breast: Stone is the classic choice; wood works in contemporary settings with appropriate fire safety considerations
    • Commercial and hospitality: Both are extensively used — choice is driven by the atmosphere the space is designed to create

    Can You Use Both?

    Yes — and the combination is often more interesting than either material alone. A fireplace breast in stone panels with an adjacent media wall in wood slats creates material contrast that defines the living room as a thoughtfully designed space. In commercial environments, alternating stone and wood surfaces across different zones creates a layered, high-end finish.

    Explore Both at The Panel Hub

    The Panel Hub supplies both wood wall panels — including the GroovePanel® and SoundPanel™ collections — and the RockSurface® stone effect range. Request samples from both to compare the materials in your own space before deciding.

  • Brown Wall Panels: How to Use Warm Wood Tones Without Making a Room Feel Heavy

    Brown Wall Panels: How to Use Warm Wood Tones Without Making a Room Feel Heavy

    Brown wall panels are one of the most versatile choices in the colour spectrum — warm enough to feel inviting, neutral enough to pair with almost anything, and available in a range of tones from light caramel to deep espresso. At The Panel Hub, our brown wall panels span the full range of warm wood tones, and they’re among our most popular finishes. The challenge — and the skill — is choosing the right shade for your room and knowing how much to use.

    What We Mean by Brown Wall Panels

    In wood paneling, ‘brown’ covers a significant spectrum: from the light, sandy brown of pale oak through the mid caramel tones of natural walnut to the dark, rich brown of wenge or ebony finishes. When we talk about wood wall panels in brown tones, we’re talking about the range of warm, earthy hues that give a panel its character — and choosing between them requires understanding both the tone and the depth you want to introduce into the room.

    Where Brown Wall Panels Work Well

    Living rooms

    A brown-toned panel on a living room feature wall — particularly behind a sofa or as a TV wall — adds the warmth and grounding quality that makes a living room feel complete. Mid-brown panels (walnut, natural oak) are the most versatile here, working with both light and dark furniture and creating a focal point without dominating the room.

    Bedrooms

    Brown panels on the bedhead wall create a warm, enveloping backdrop that’s harder to achieve with paint. The natural grain and texture of wood paneling add a quality that solid colour can’t replicate. For bedrooms, mid to light brown tones work best — they’re warm enough to feel restful without making the room feel dark.

    Dining rooms

    In dining rooms, a paneled feature wall in a warm mid-brown adds depth and intimacy to the space — exactly the quality that makes a dining room feel inviting for longer meals and gatherings. Our SoundPanel™ acoustic slat panels in walnut and mid-oak finishes are a popular choice here, reducing the echo from hard surfaces while adding warmth and texture.

    Home offices

    In a home office, a brown-toned panel behind the desk creates a professional, warm backdrop for video calls and adds the sense of structure and focus that a bare white wall can’t achieve. It reads as considered and calm rather than decorative.

    Choosing the Right Shade of Brown

    Light warm brown (oak and honey tones)

    Light brown finishes — pale oak, honey, and sandy tones — are the most versatile and work in the widest range of spaces. They add warmth without weight, suit rooms of any size, and pair easily with white, cream, and neutral décor. If you’re unsure which shade to choose, start here.

    Mid-brown (walnut and caramel tones)

    Mid-brown finishes add more richness and depth. They suit rooms with good natural light, larger spaces, or rooms where the panel is the deliberate focal point. Our walnut wall panels offer the most popular mid-brown finishes — rich without being dark, warm without being saturated.

    Dark brown (espresso and deep mahogany tones)

    Dark brown finishes make a strong statement and work best on a single feature wall in a well-lit room. In darker rooms or on multiple walls, they can make the space feel enclosed. Used confidently — on one wall, in a room with good light — they create a dramatic, high-contrast result that suits both contemporary and period interiors.

    What to Pair With Brown Wall Panels

    Brown panels work well with: warm whites and creams for the remaining walls; natural textures (linen, wool, jute, leather); greenery (indoor plants complement warm wood tones strongly); warm metal finishes (brass, bronze, antique copper); and muted accent colours (sage, dusty pink, warm terracotta, olive). Avoid pairing with very cool or blue-toned greys — they drain warmth from the panel and create a visual clash.

    Common Mistakes to Avoid

    The most common mistake is going too dark for the room’s light level, which makes the space feel small and enclosed. Another frequent issue is choosing a brown finish that reads as too orange or too grey under the room’s artificial lighting — always test a sample in situ before committing. And avoid installing dark brown panels on multiple walls in a small room — limit strong brown tones to a single feature wall.

    Our Brown-Tone Panel Collections

    Browse our brown wall panels collection for the full range of warm-toned finishes, from light oak to deep walnut. The complete wood wall panel range includes brown-toned options across all panel formats — slat, mosaic, and stone-effect.

  • Dado Rail Paneling Ideas: How to Update Half-Height Wall Paneling

    Dado Rail Paneling Ideas: How to Update Half-Height Wall Paneling

    Dado rail paneling is one of the oldest wall treatments in domestic architecture, but it’s gone through a significant design evolution. What was once almost exclusively a traditional feature — painted woodwork, raised panels, deep architraves — has become a versatile format that works in everything from period properties to contemporary hallways. At The Panel Hub, we see dado rail paneling as one of the smartest ways to use wood wall panels — it adds character and depth while leaving the upper wall free to breathe.

    What Is Dado Rail Paneling

    Dado rail paneling refers to wall treatment applied to the lower portion of the wall — typically from the skirting board up to around 90–110cm, where it’s capped with a horizontal rail (the dado rail). The treatment below the rail can be flat paneling, raised or recessed panels, tongue-and-groove boarding, or — increasingly — contemporary slat or textured panels. The upper wall is usually left plain or painted in a contrasting or complementary colour.

    The dado rail itself can be a traditional wooden moulding or a simple square-edged timber batten in more contemporary schemes.

    Why Dado Rail Paneling Works in Hallways

    Hallways are high-traffic areas where lower walls take the most abuse — scuffs, marks, and wear from bags, coats, and passing contact. Dado rail paneling solves this practically while creating strong visual interest. It also helps with proportions: in hallways that feel narrow or tall, adding a horizontal break at dado height grounds the space and makes it feel more inhabitable.

    Our hallway wall panels are particularly well suited to dado rail schemes because they add texture at exactly the height where it creates the most visual impact.

    Dado Rail Panel Styles to Consider

    Modern slat panels below dado height

    Vertical slat panels installed from skirting to dado rail height is the most contemporary interpretation of dado paneling. The slats read as texture and warmth, the upper wall remains clean and open, and the overall effect is modern without being cold. This approach works in both period properties and new-builds. Our SoundPanel™ acoustic slat panels work well in this format — they can be cut to height and finished cleanly at the dado rail line.

    Traditional painted timber panels

    In period properties, raised or recessed timber panels painted in a deep tone — navy, forest green, charcoal — below a white dado rail is a classic combination. The paint finish unifies the panel detail and the architectural elements without competing with the wall colour above.

    Textured lower panels

    For a contemporary interpretation, textured panels — such as our RockSurface® stone-effect panels — below a simple square dado rail create a strong material contrast with the plain plaster above. This approach works well in hallways where the brief is to make a bold first impression.

    Heights and Proportions

    The traditional dado rail height is around 90–100cm — roughly chair-back height, which is where the term originates (dado rails protected plaster from chair backs in dining rooms). In contemporary schemes, this height is usually appropriate. For rooms with higher ceilings or wider hallways, a slightly higher dado at 110–120cm can improve proportions. For very low-ceilinged spaces, keeping the dado at 80cm or below makes the ceiling feel higher.

    Colour Choices for Dado Rail Paneling

    The most effective colour combinations for dado rail schemes are those that create clear contrast between the lower panel and the upper wall. A mid-toned or dark panel colour below a light upper wall is the most common approach. If the panels are natural wood (rather than painted), allow the timber tone to be the contrast element and keep both upper wall and trim colours neutral — off-white, warm stone, or soft grey all work well.

    Getting Started With Dado Rail Panels

    Choose your dado height first — mark it with a spirit level and chalk line before any installation begins. Then select a panel style that works from skirting to that height. The dado rail itself can be fitted after the panel is installed, covering the top raw edge of the panel cleanly.

    Browse our hallway wall panels and the full wood wall panel collection to find a style that suits your space.

  • Gold Wall Panels: How to Use Warm Metallic Tones in Wall Paneling

    Gold Wall Panels: How to Use Warm Metallic Tones in Wall Paneling

    Gold wall panels — paneling in warm, golden wood tones rather than metallic gold — are one of the most sought-after choices for homeowners who want warmth and richness without the heaviness of darker finishes. At The Panel Hub, our gold wall panels cover a range of warm amber and honey-toned finishes that bring a natural, sun-warmed quality to interiors. They’re not metallic or shiny — they’re wood, and the warmth comes from the finish rather than any artificial effect.

    What Are Gold Wall Panels

    In the context of wood wall panels, ‘gold’ refers to the warm amber and honey tones found in certain oak and light hardwood finishes — the colour of honey oak, aged pine, or the warm caramel of a well-finished light hardwood. These finishes catch natural light differently throughout the day, reading as bright and warm in direct sunlight and deeper and richer in lower-light conditions. The effect is one of genuine warmth rather than decorative warmth.

    Where Gold Wall Panels Work Best

    Living rooms

    A warm gold-toned panel on a living room feature wall creates a focal point that reads as luxurious without being heavy. It pairs well with softer furnishing tones — cream, off-white, warm beige, soft terracotta — and adds exactly the kind of warmth that makes a living room feel inviting rather than designed.

    Bedrooms

    Behind the bed head, a gold or honey-toned panel creates the warm, enveloping quality that bedrooms benefit from. It’s warmer than a dark accent wall but more interesting than a neutral. With warm-toned linen, natural textures, and indirect lighting, a gold panel finish on the bedhead wall creates a room that feels genuinely considered.

    Commercial spaces

    In hotel rooms, spa reception areas, and high-end retail, gold-toned panels add a sense of premium warmth that cooler finishes can’t replicate. They perform especially well under warm-toned artificial lighting — the timber finish responds to light sources in a way that makes the material look richer as the day progresses.

    Choosing the Right Shade of Gold

    Warm honey oak

    The warmest end of the gold spectrum — amber, honey, and caramel tones. These finishes work best in rooms with warm-toned décor (terracotta, soft yellow, cream) and natural-light rooms that can carry the warmth without it feeling saturated.

    Pale golden finishes

    Lighter, more bleached gold tones — closer to blonde or ash-gold — suit rooms that need warmth but can’t afford to go too dark. These read as softer and more Scandinavian in character, working well with white walls and pale furnishings. Our oak wall panels include several finishes in this range.

    Deeper amber tones

    Richer amber and caramel tones add more drama and depth. These suit larger rooms, rooms with good natural light, and spaces where the panel is the clear focal point of the design. In smaller rooms, they work best on a single feature wall rather than multiple surfaces.

    What to Pair With Gold Wall Panels

    Gold-toned panels pair well with: warm neutrals (cream, ivory, warm white, sand); soft accent colours (terracotta, blush, sage green, dusky blue); natural textures (linen, cotton, jute, marble); and brass, copper, or antique gold metal finishes in lighting and hardware. Avoid pairing with cool tones — grey, silver, stark white — which clash with the warmth of the panel rather than complementing it.

    Common Mistakes With Gold Tones

    The most common mistake is choosing a gold finish that’s too saturated or too orange for the room’s light conditions. Test samples in your actual room under both natural and artificial light before committing. A finish that looks perfect in a showroom can read as overly orange under certain artificial lighting. Also avoid pairing gold panels with cool-toned grey interiors — the clash between warm and cool creates visual tension that makes both elements look less considered.

    Our Gold and Warm-Tone Panels

    Browse our gold wall panels collection, which includes honey oak, warm amber, and caramel finishes across our slat and mosaic panel formats. The full wood wall panel range also includes several warm-toned finishes across all product lines.

  • How to Mix Wood Tones: A Practical Guide to Getting It Right

    How to Mix Wood Tones: A Practical Guide to Getting It Right

    Mixing wood tones is one of those design decisions that looks effortless when it works and immediately noticeable when it doesn’t. At The Panel Hub, we regularly help customers choose wood wall panels that will work alongside existing timber elements in their homes — flooring, cabinetry, furniture, staircases. This guide covers the principles that make mixed wood tones work and the mistakes that make them clash.

    Why Mixing Wood Tones Works — and Why It Sometimes Doesn’t

    The idea that all wood tones in a room must match is a myth. In nature, wood tones vary constantly — no forest is monochromatic — and rooms that use a single wood tone throughout can feel flat, monotonous, and overly designed. The aim isn’t matching; it’s coherence. The difference is significant: matching means same tone, same grain, same finish; coherence means the elements belong together without being identical.

    Mixed wood tones fail when the tones pull in different directions — one warm, one cool — or when the contrast between adjacent tones is too slight to read as deliberate. The goal is either clear contrast or clear harmony. Ambiguity is what creates the feeling that something is wrong.

    The Rules of Mixing Wood Tones

    Keep undertones consistent

    Every wood tone has an underlying warmth or coolness. Oak is warm (yellow-orange undertones); ash can go either way; some grey-washed tones are cool. The most reliable rule for mixing wood tones is to keep the undertones in the same direction — all warm, or all cool. Mixing a warm walnut with a cool grey-washed oak creates a clash that’s hard to resolve with other elements. Mixing warm walnut with warm honey oak, by contrast, creates a coherent layered scheme even though the tones are quite different.

    Vary depth, not warmth direction

    The most successful mixed wood tone interiors tend to vary along the depth axis — light, mid, and dark tones of the same warmth family — rather than mixing warm and cool. Light oak flooring, mid-oak furniture, walnut wall panels: these three elements share warm undertones but vary in depth, creating a layered effect that reads as natural and considered.

    Limit to three wood tones maximum

    Most rooms can handle two or three distinct wood tones. Beyond that, the space starts to feel visually busy and unresolved. In practice, most rooms have two existing wood tone commitments (flooring and cabinetry or flooring and furniture) — which means the wall panel should relate to one of those rather than introduce a third independent tone.

    How to Mix Wall Panels With Existing Wood in Your Room

    Working with wood flooring

    The most important relationship in most rooms is between the wall panel and the floor — because both are large surface areas and both are highly visible. The clearest options are: match the panel closely to the floor (unified, calm); contrast clearly (deliberate, layered); or go significantly lighter or darker on the panel relative to the floor. Avoid a panel finish that’s almost the same as the floor but slightly different — it reads as an error rather than a choice.

    Working with timber furniture

    Furniture tends to be a smaller surface area than walls or floors, so it has more flexibility. A warm walnut panel can work with both lighter oak furniture and darker mahogany furniture, provided the undertones are consistent. Think of the panel as the backdrop and the furniture as the foreground — they don’t need to match, but they should belong to the same tonal family.

    Working with kitchen or built-in cabinetry

    When paneling a wall in a room with substantial timber cabinetry — a kitchen, a study with built-in shelving, a bedroom with fitted wardrobes — the panel should either echo or deliberately contrast with the cabinet tone. A panel that’s almost the same as the cabinetry but not quite creates visual confusion. Aim for either a close match or a clear step in either direction.

    Common Combinations That Work

    Light oak floor + walnut wall panels: the warm undertones are shared, the depth contrast is clear, and the room reads as layered and rich. Natural oak panels + dark walnut furniture: the panels recede and the furniture stands out; a clean, contemporary combination. Mid-oak cabinetry + light ash panel: pale and warm throughout; airy and Scandinavian in character. Our oak wall panels and walnut wall panels cover the most commonly needed tones for these combinations.

    Common Mistakes When Mixing Wood Tones

    Mixing warm and cool tones in the same room — the most common cause of clashing. Choosing a panel that’s almost the same as the floor or cabinetry but not quite. Using more than three distinct wood tones in one space. And choosing a panel finish in isolation, without sampling it against the existing wood elements in the room. Always order samples and test them in your space before committing.

    Getting the Balance Right

    The simplest approach: identify the warmth direction of your existing wood (warm or cool), then choose a panel from the same warmth family. Vary the depth for interest. Test samples against your existing wood in the actual room under your actual lighting. Browse the complete wood wall panel range to explore the full spectrum of available finishes and find the right combination for your space.