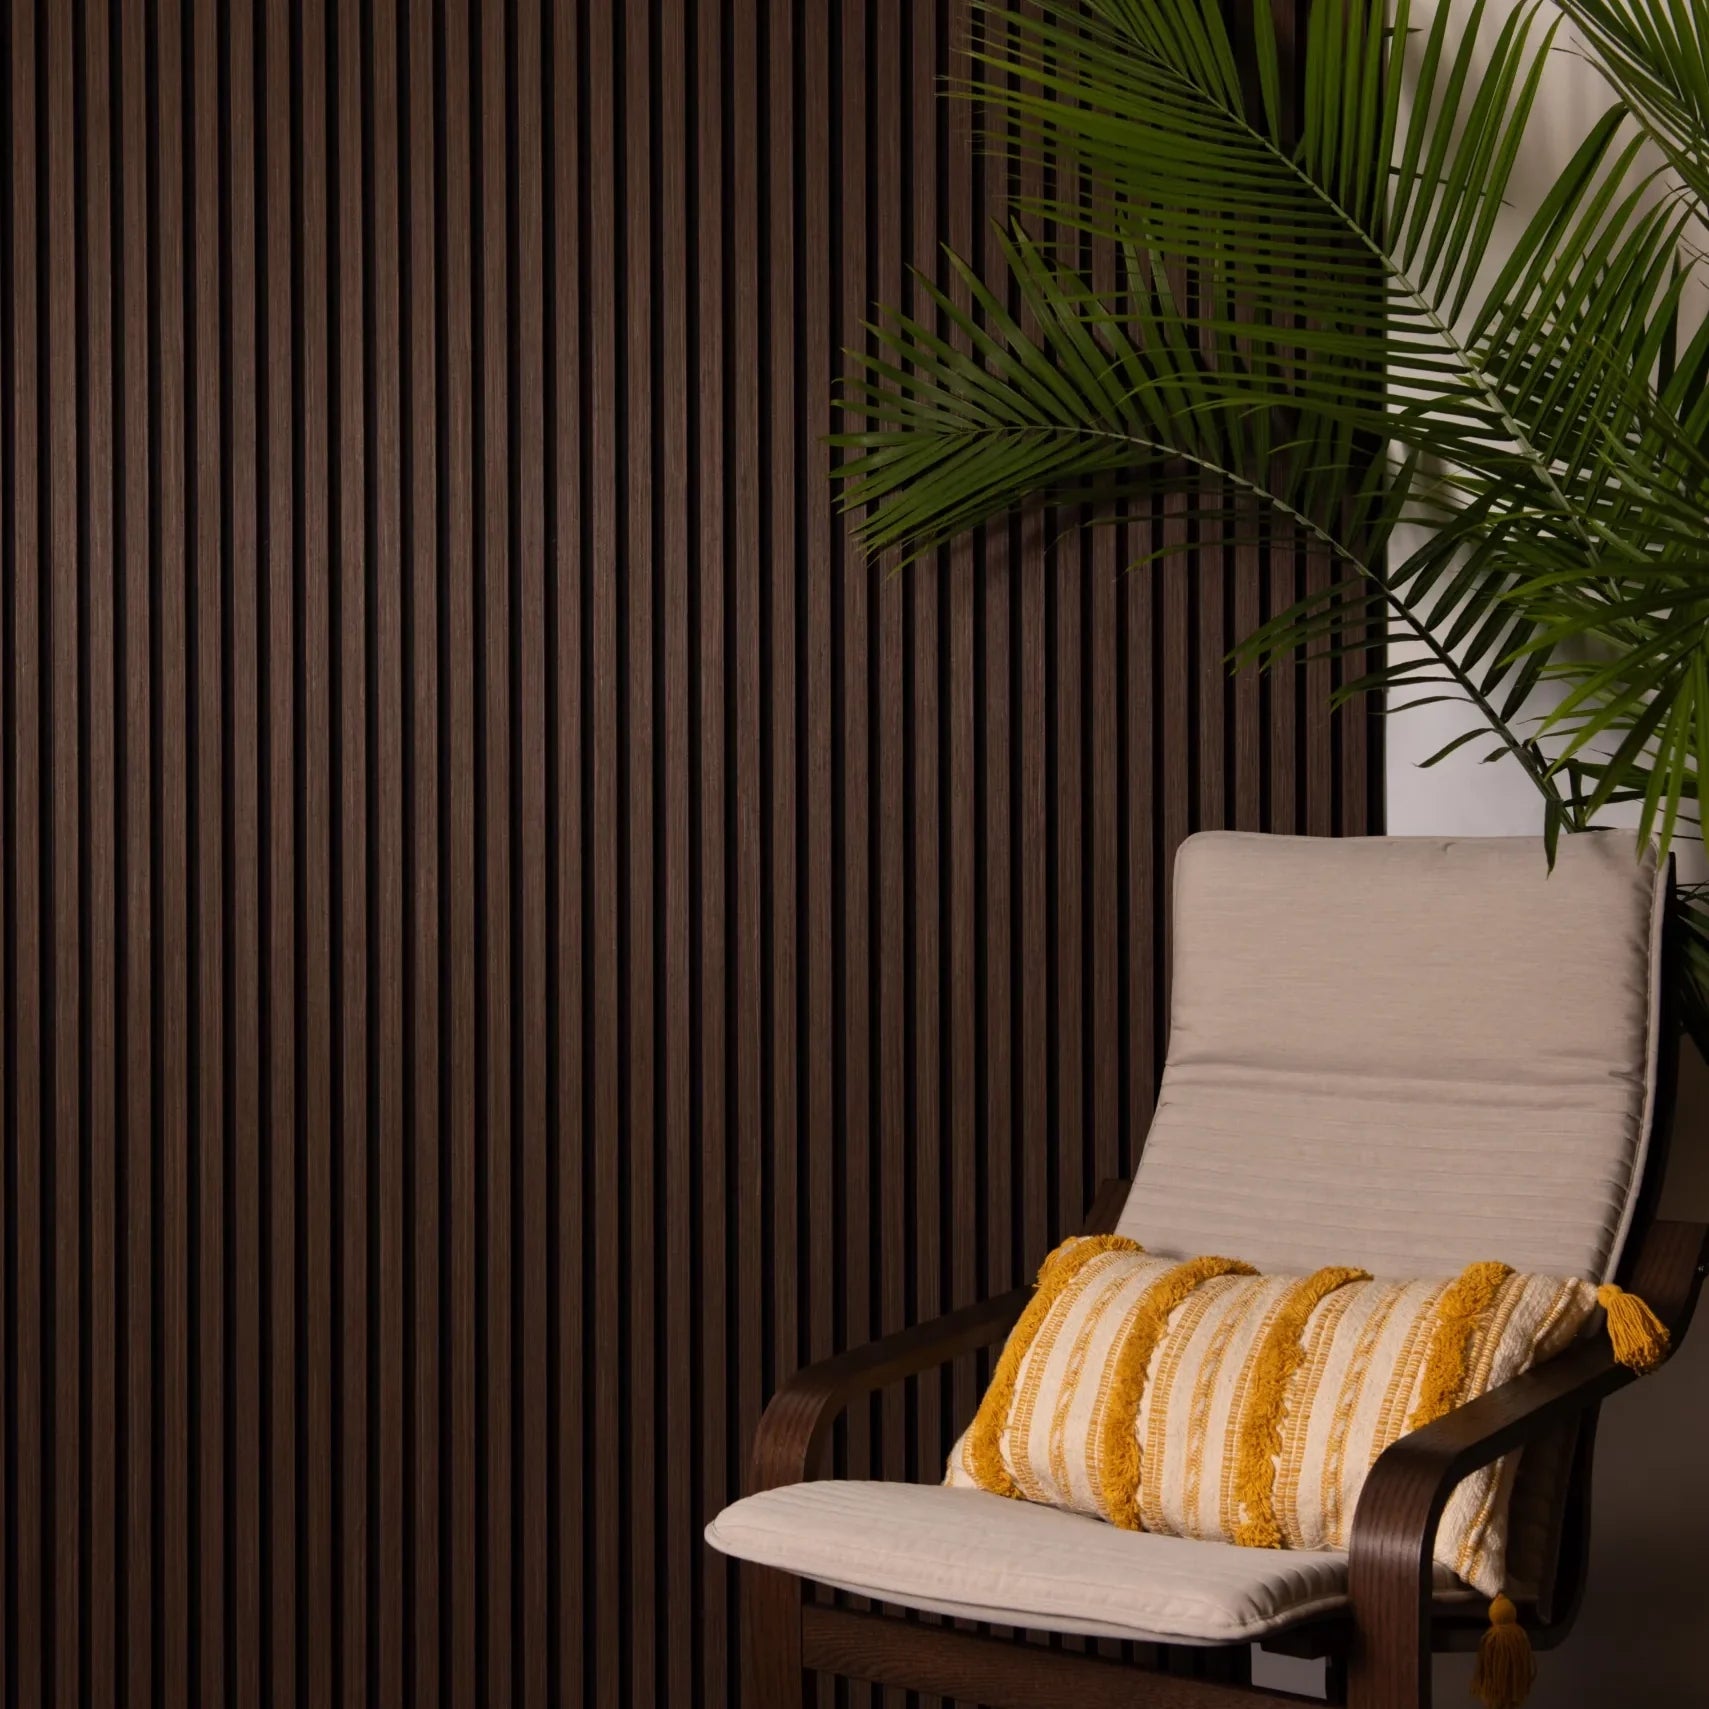
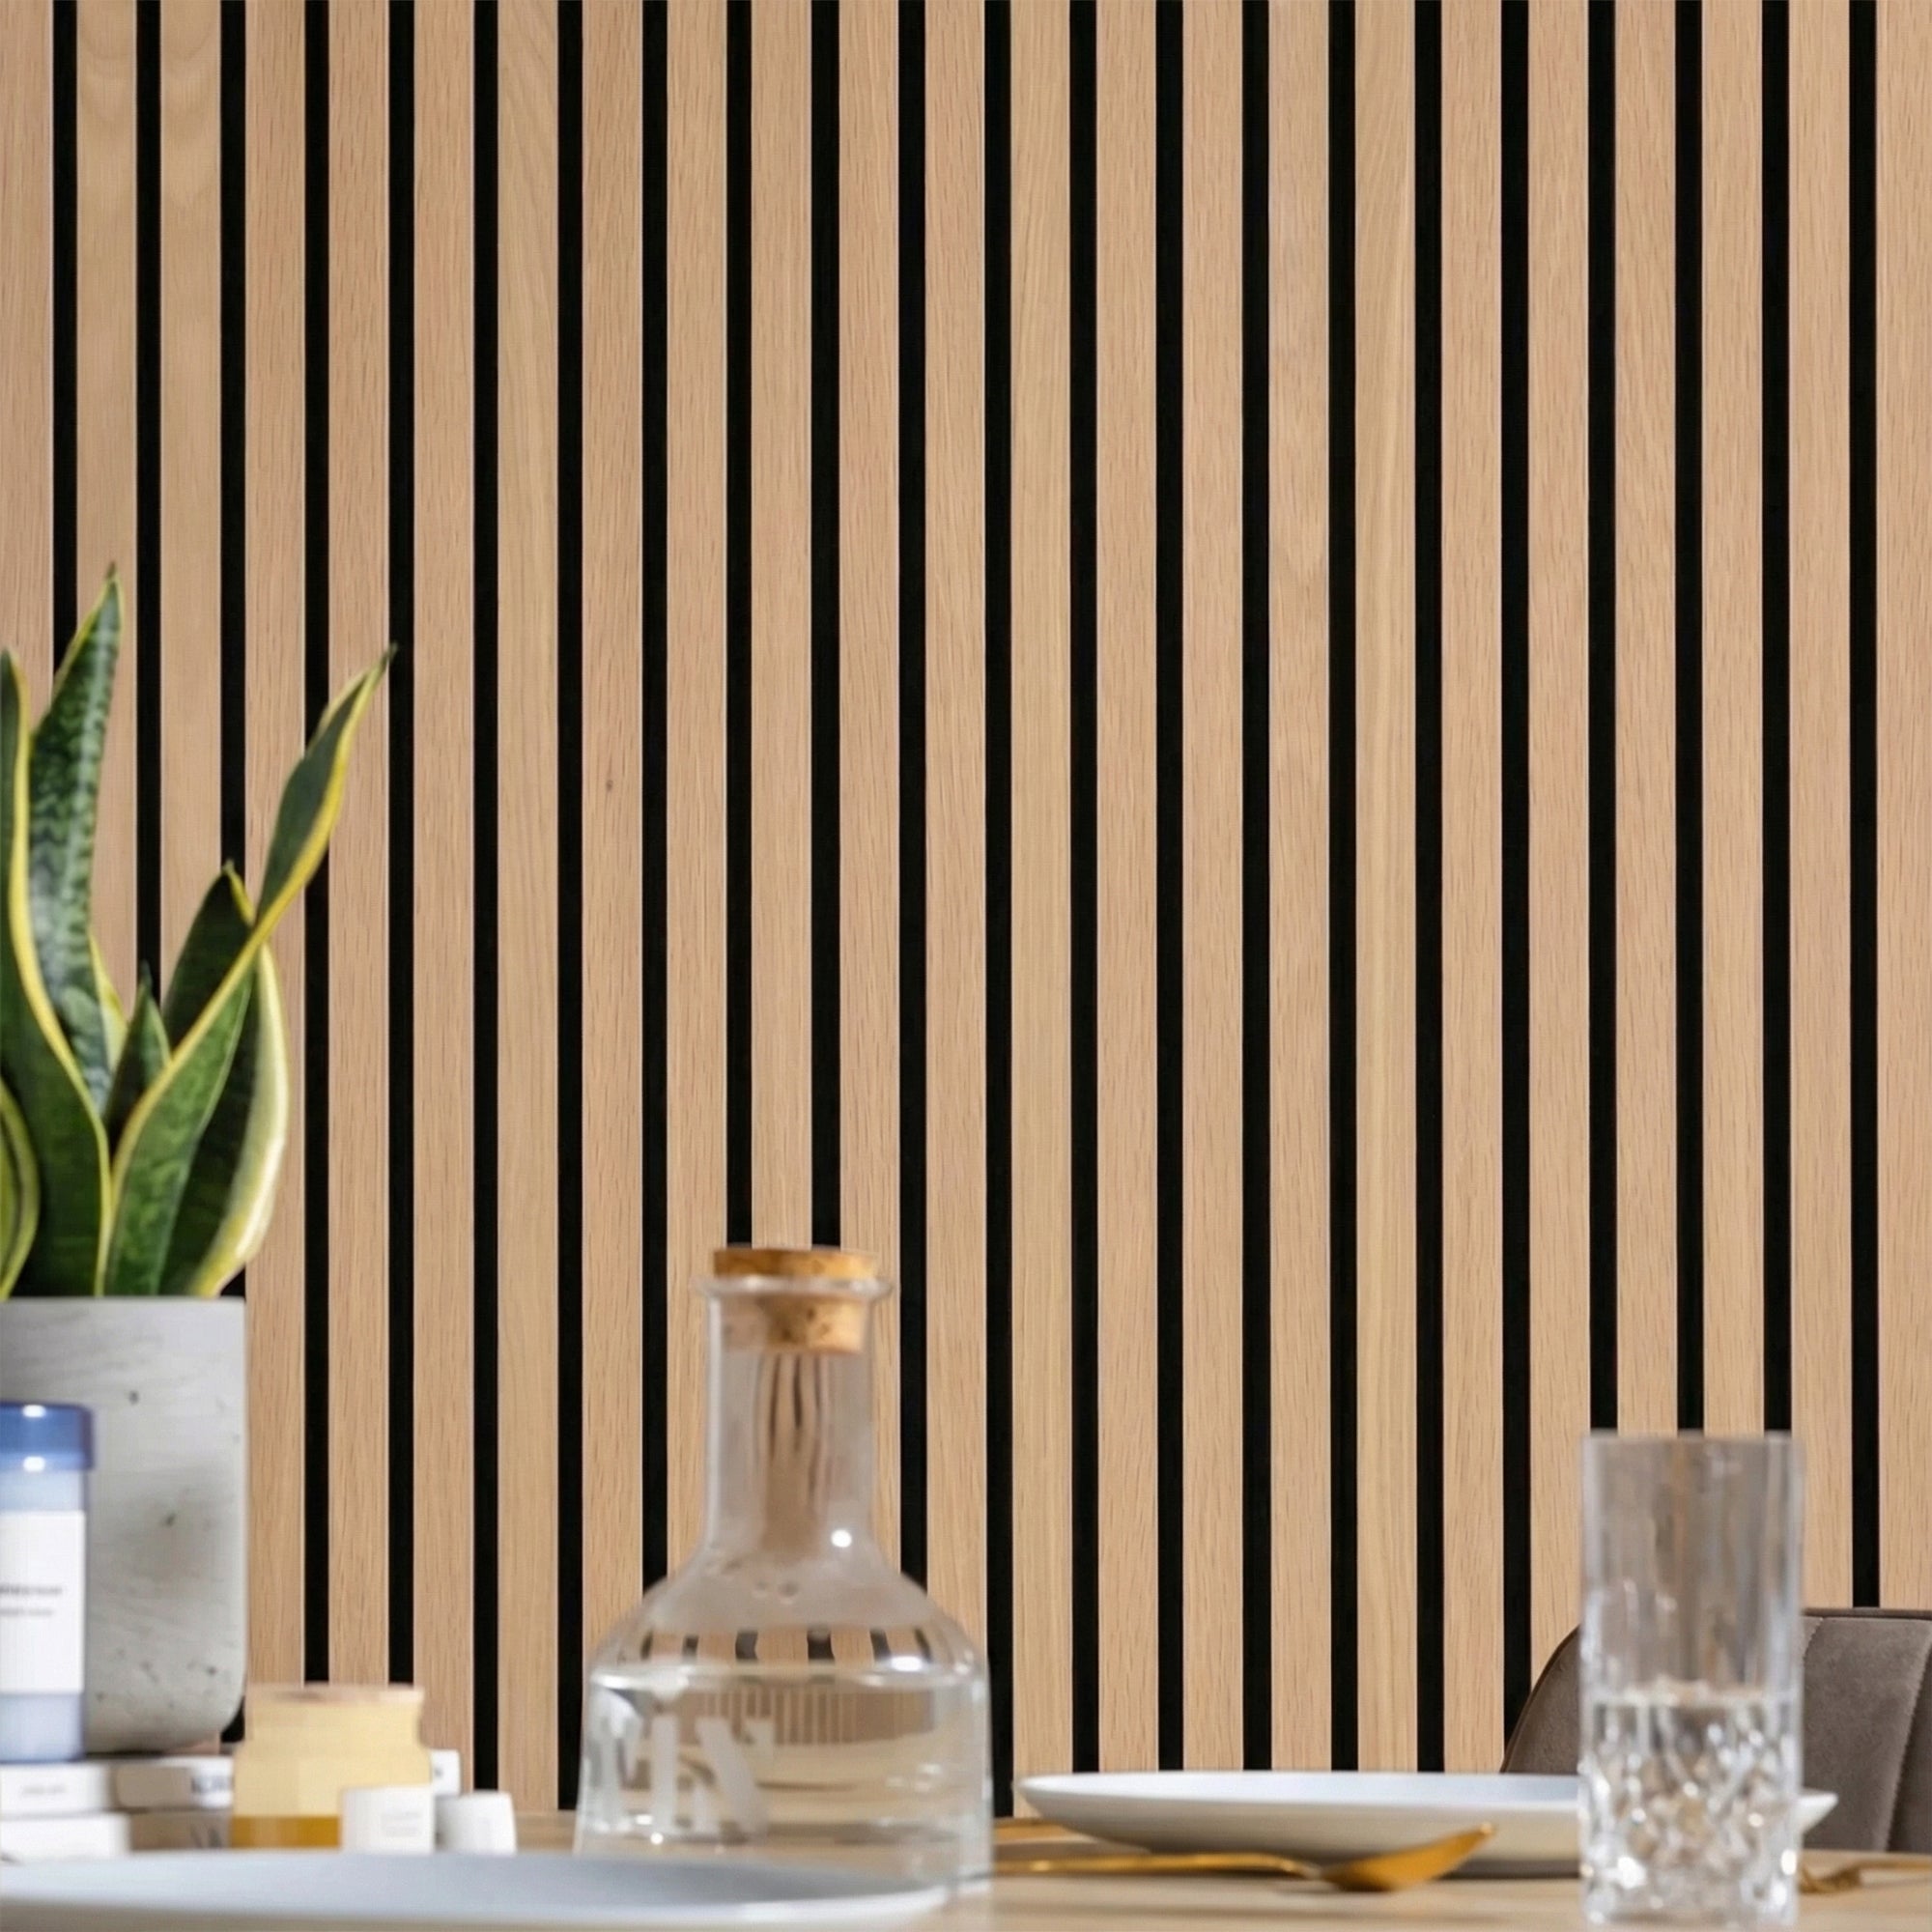
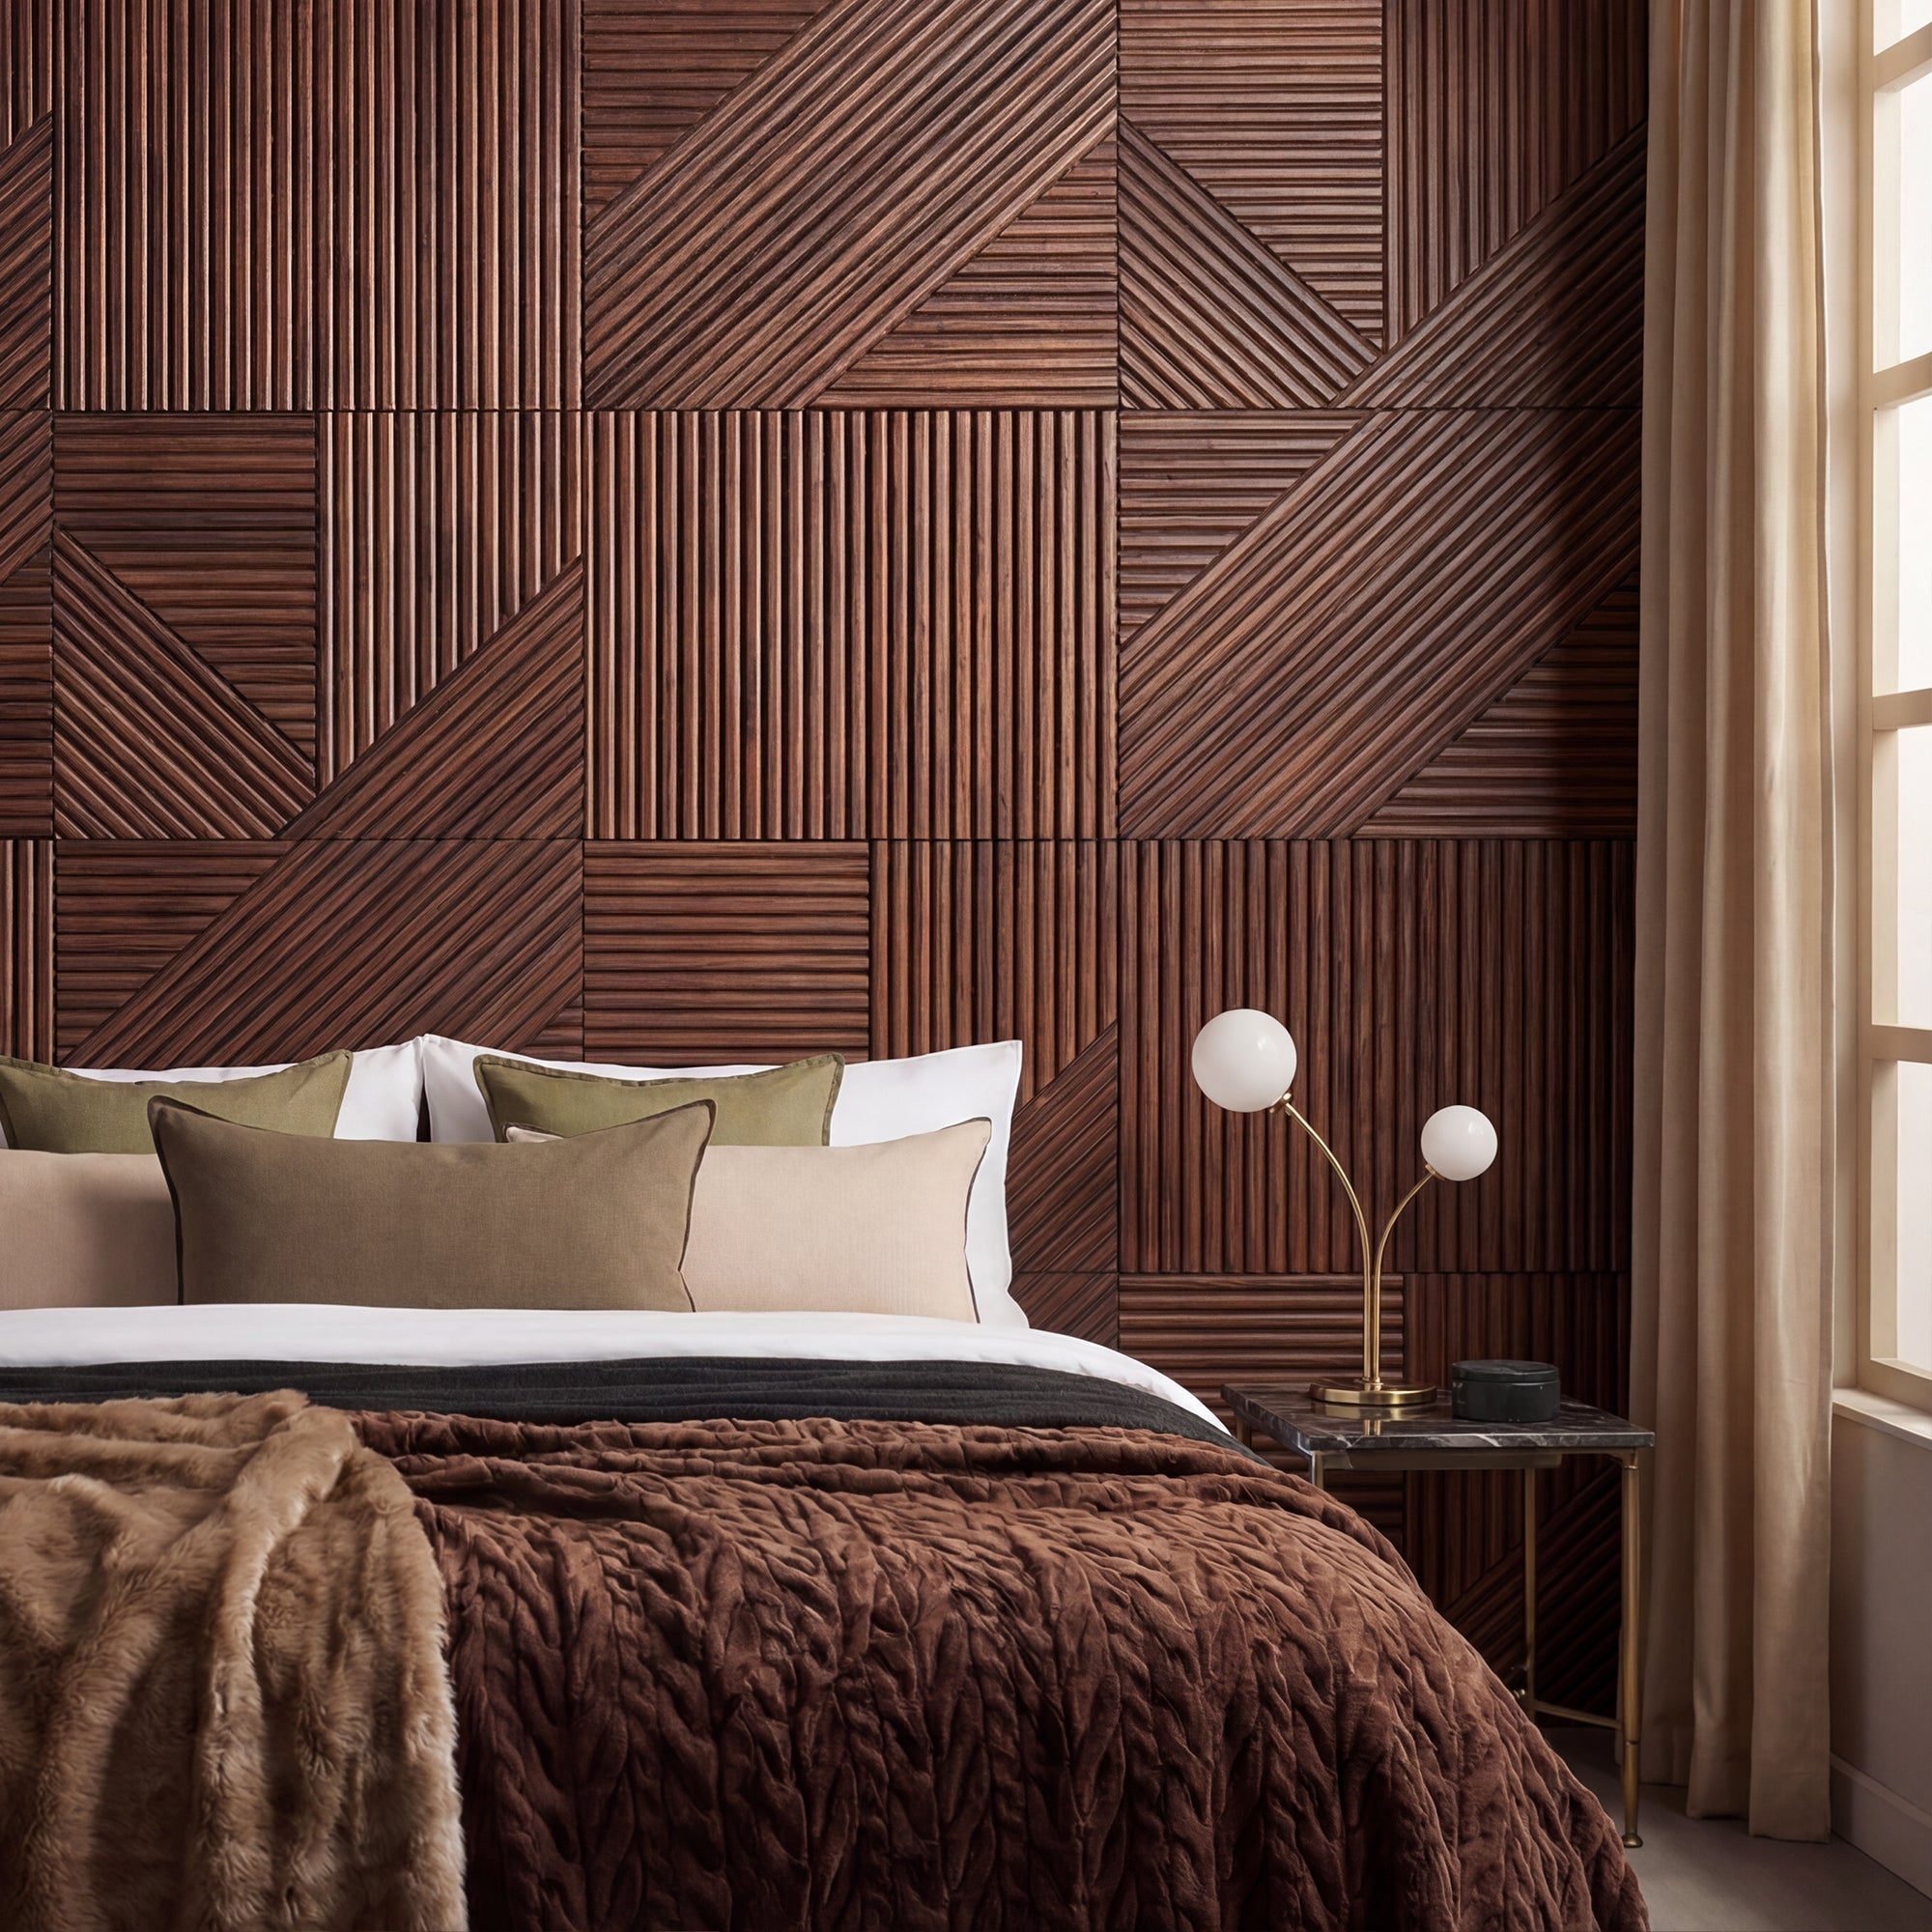
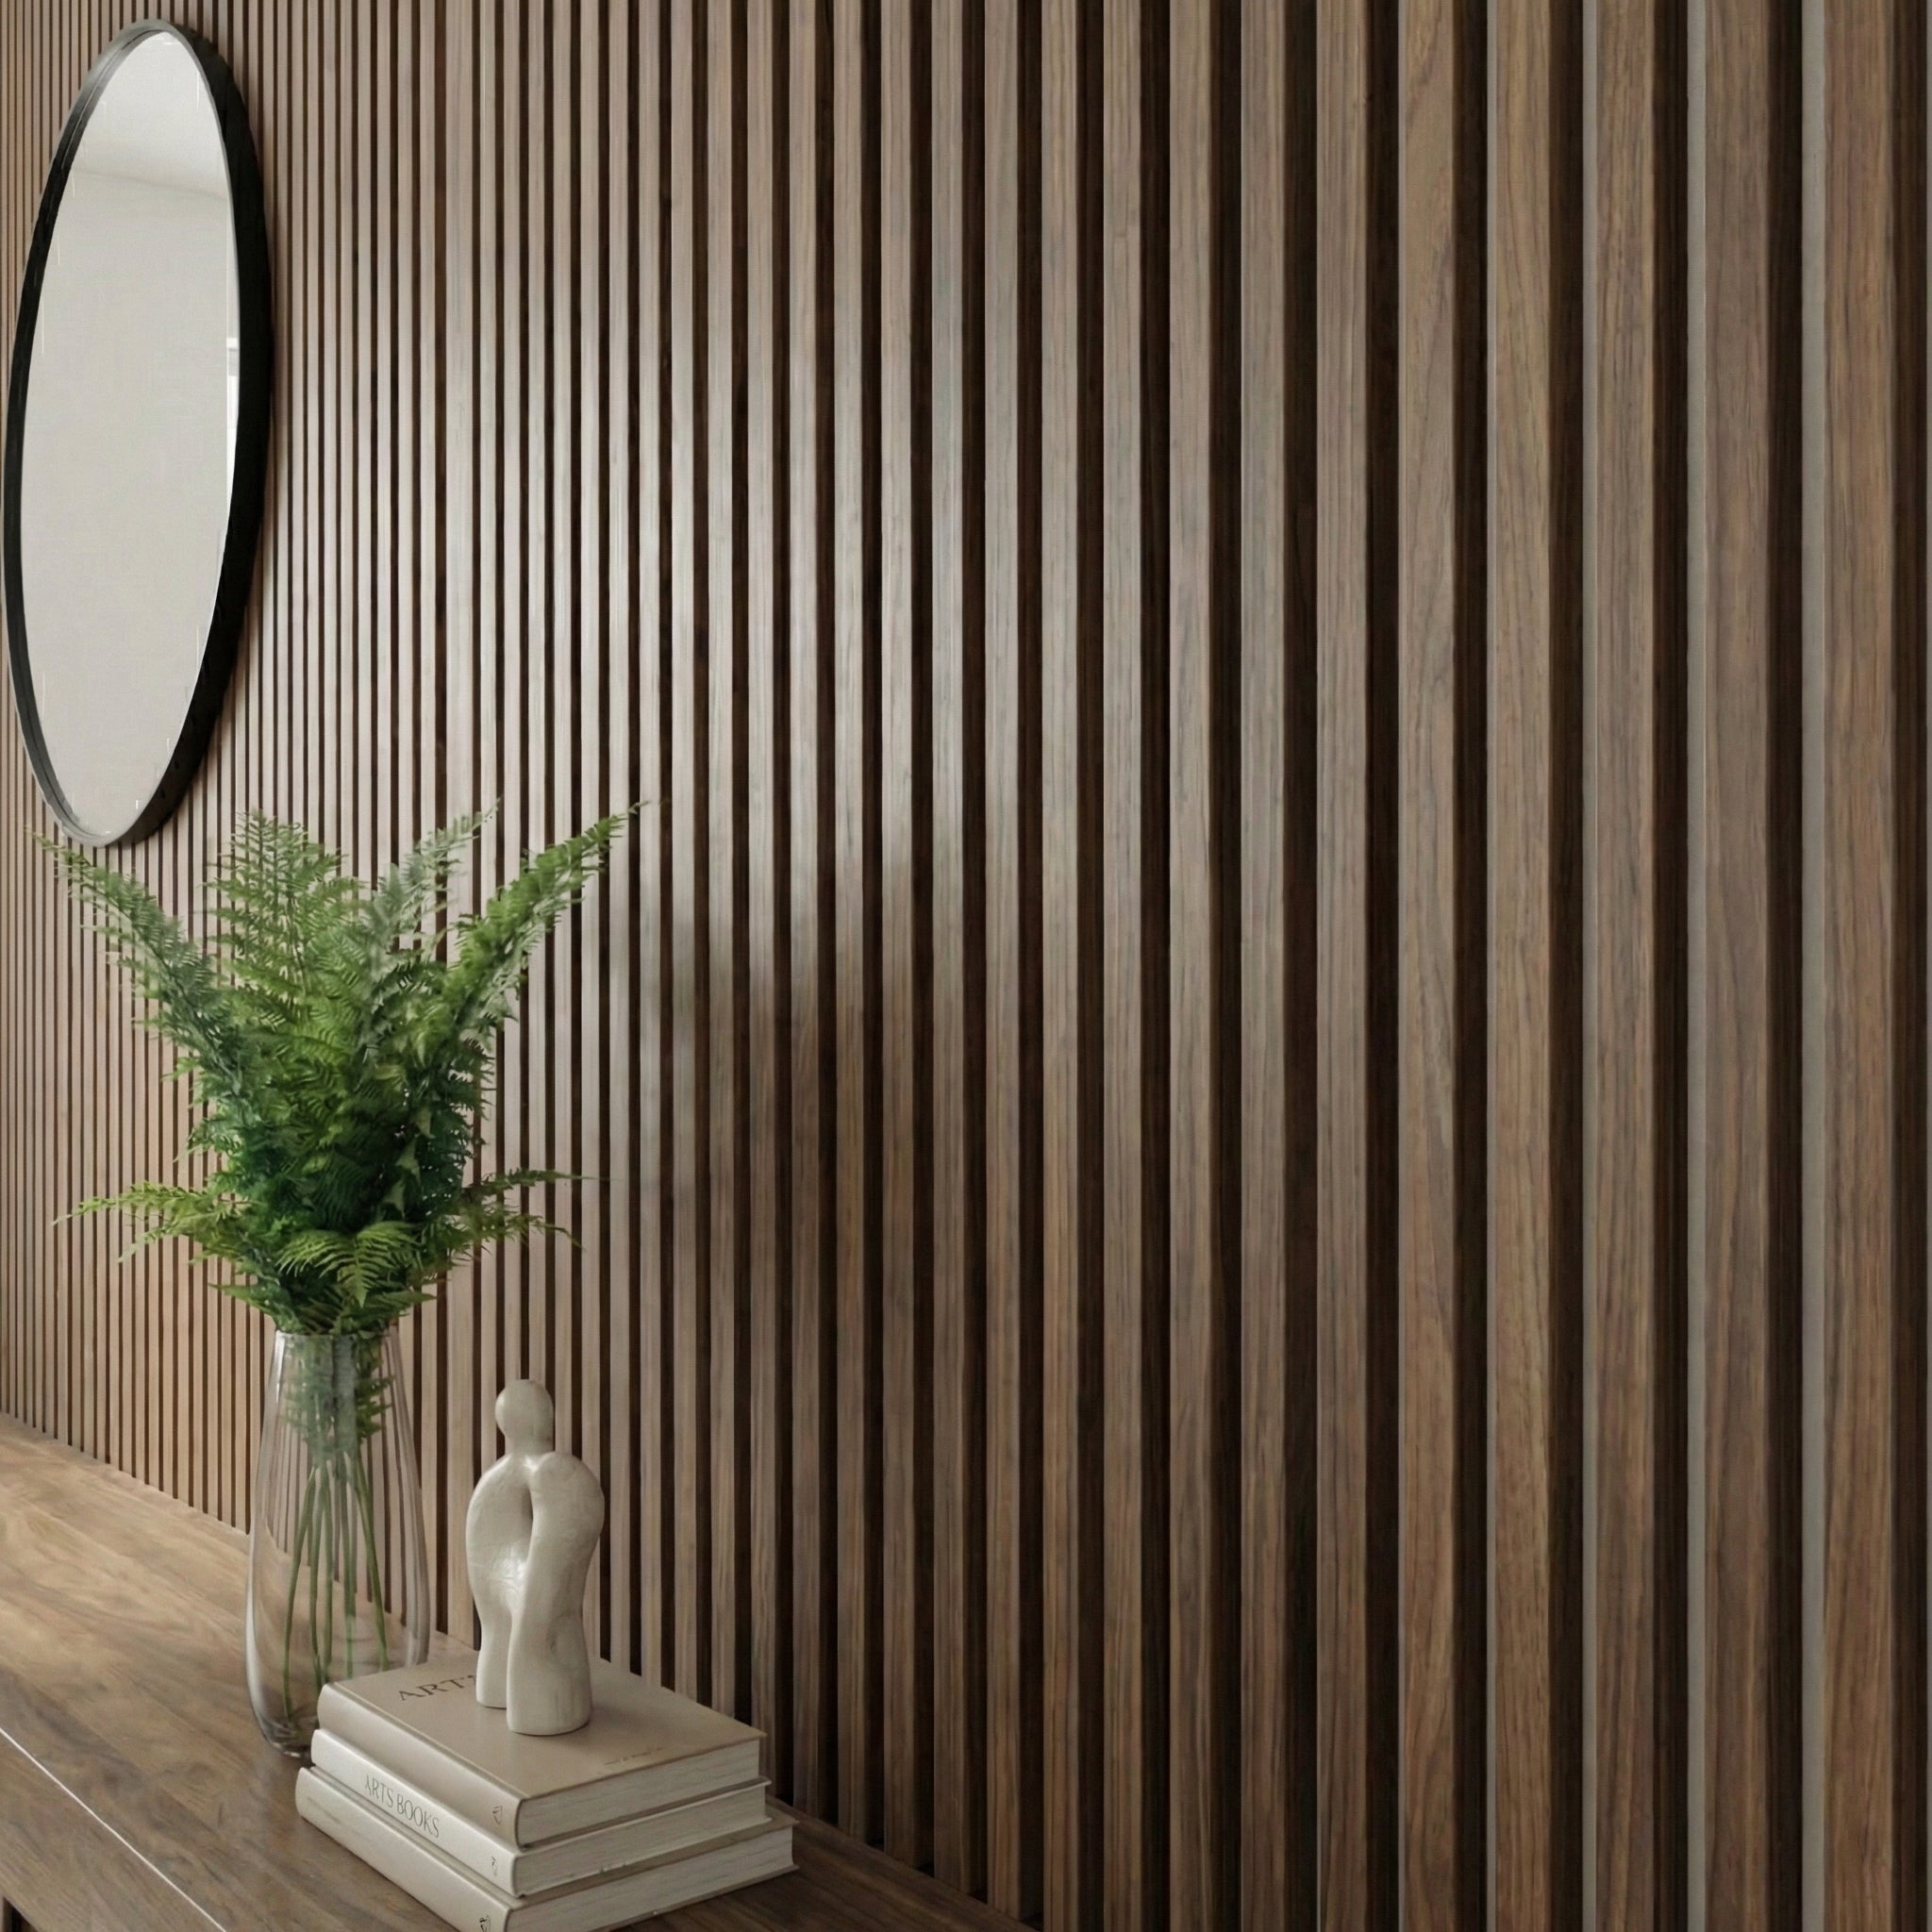
Shopping for slat wall panels online can be overwhelming. Search any retailer and you’ll find dozens of options ranging from genuine solid wood to cheap laminate imitations — often described in similar language and photographed to look nearly identical. This guide breaks down exactly what to look for, which red flags to avoid, and what distinguishes panels worth buying from panels worth skipping.
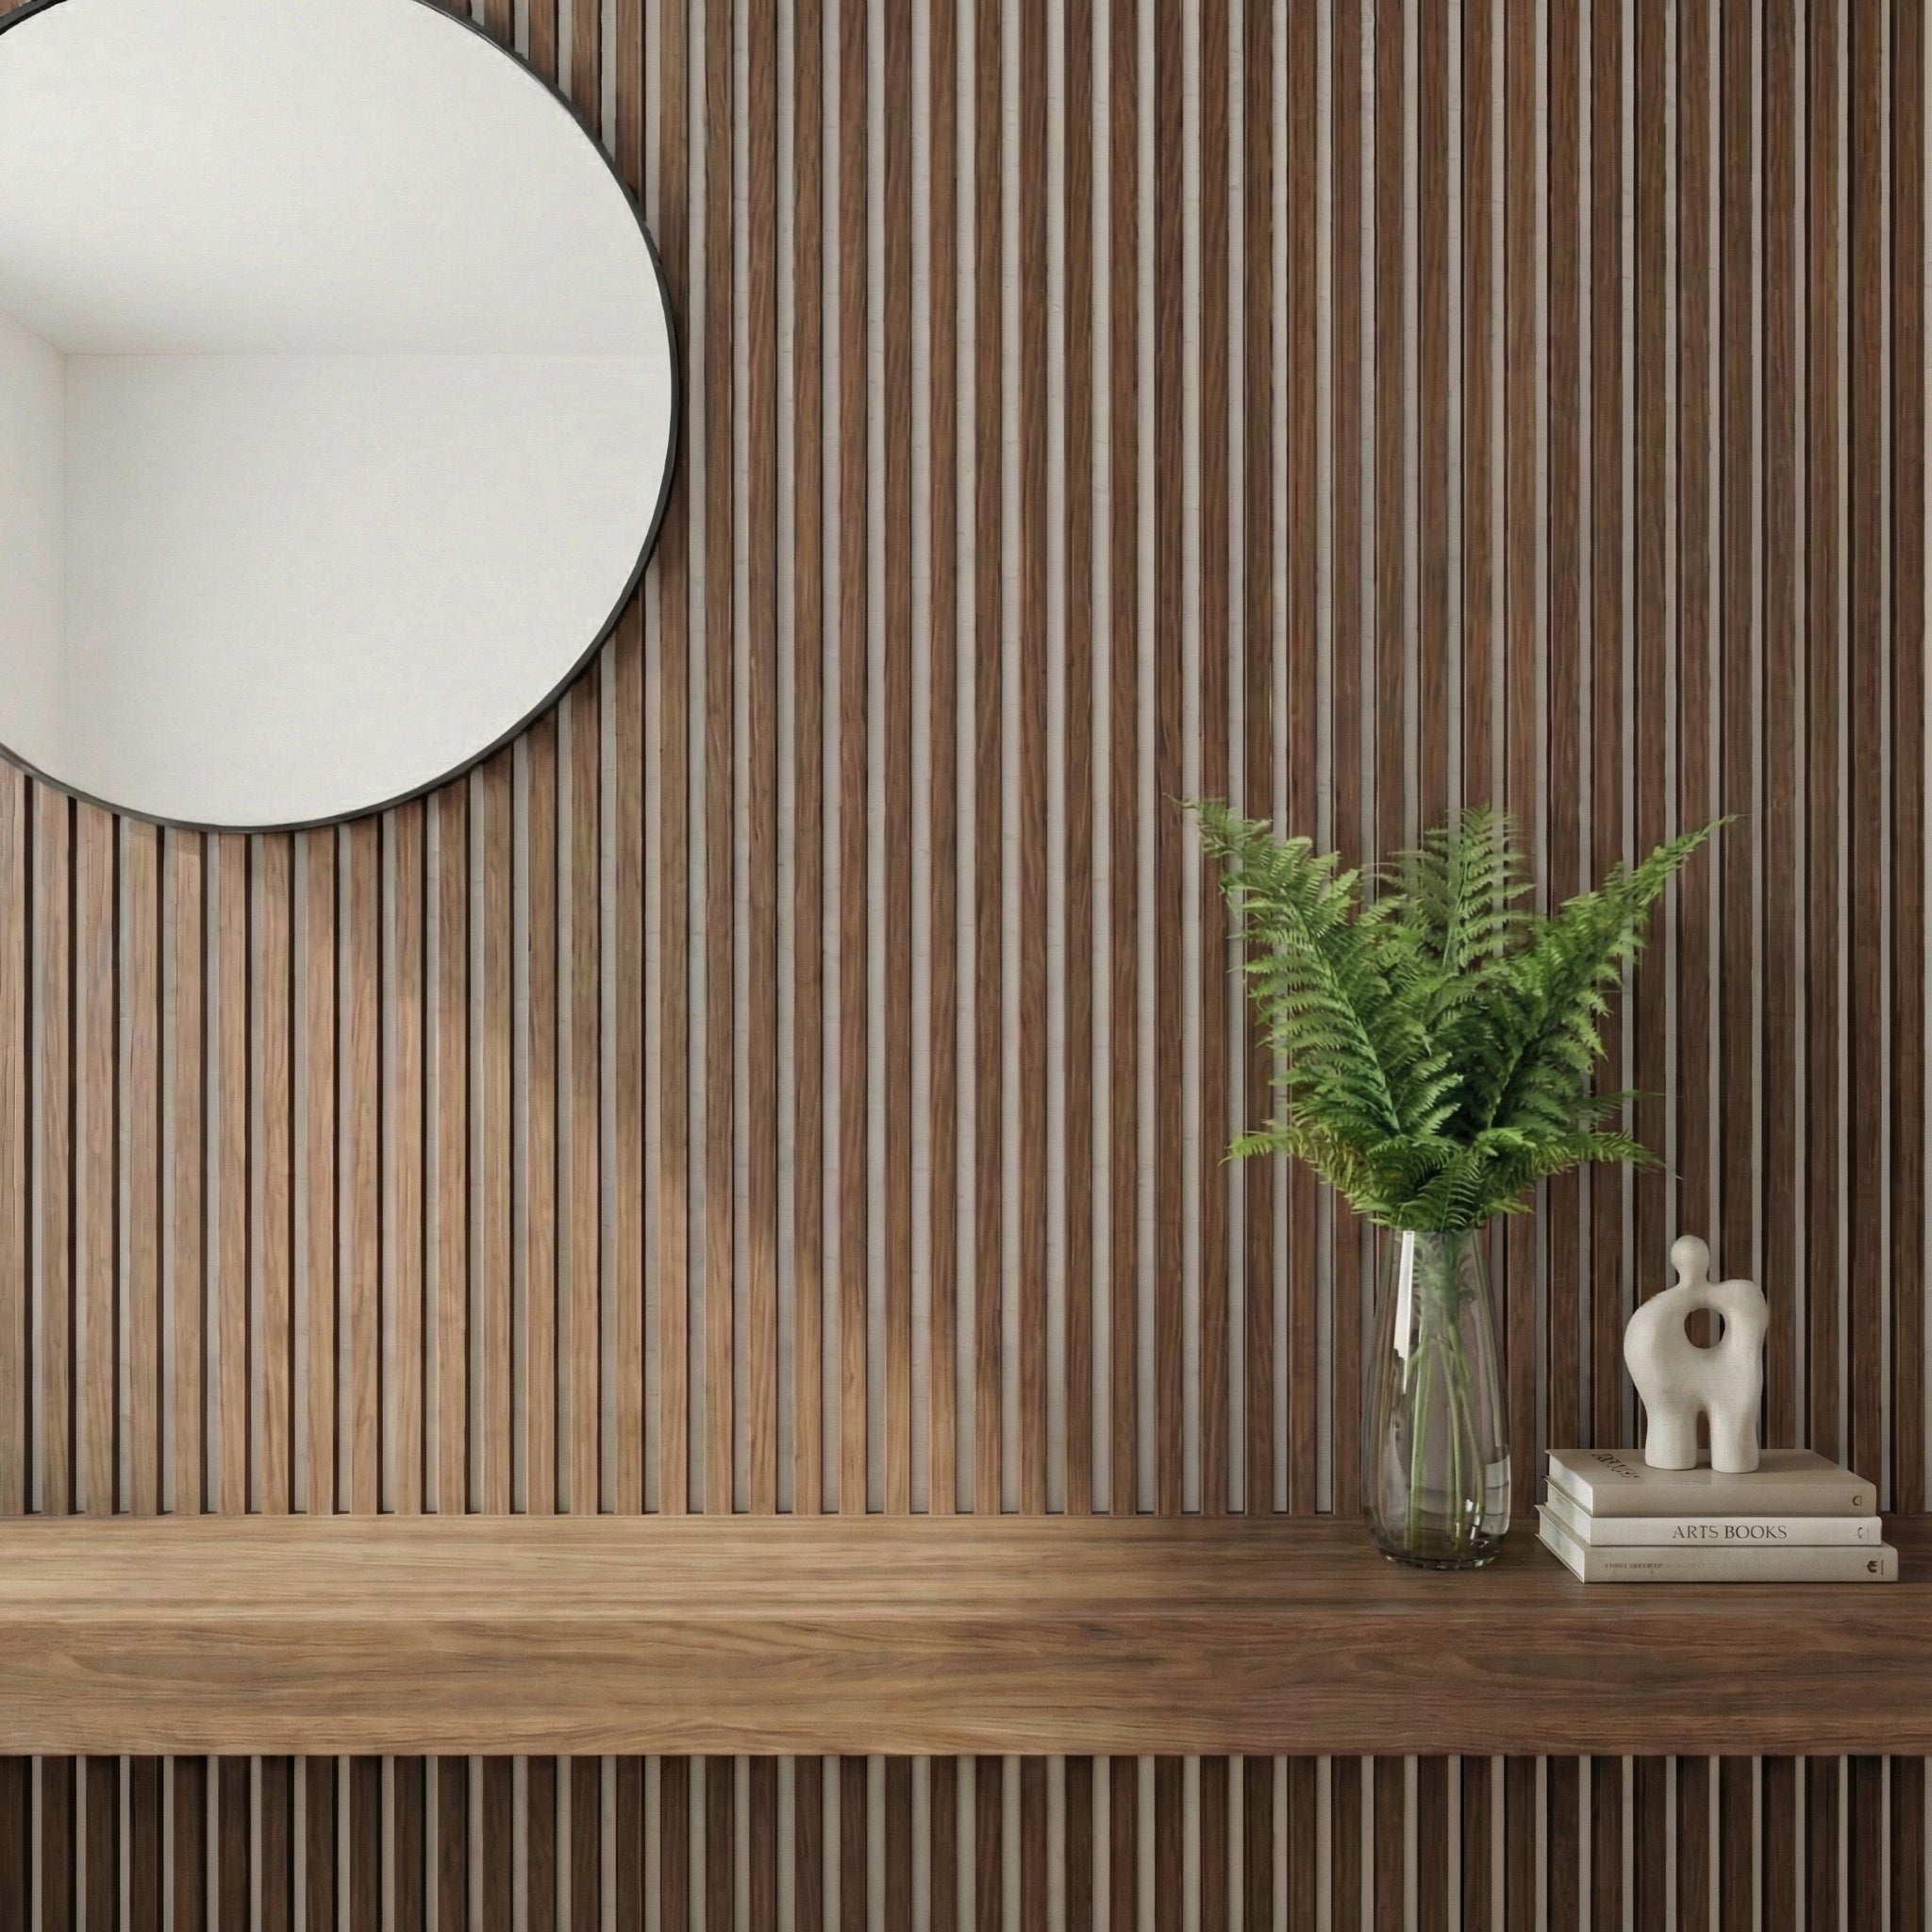
Slat wall panels are decorative wall coverings made from evenly spaced vertical or horizontal timber strips fixed to a backing board or felt substrate. The spacing between slats creates a repeating shadow line that gives the panel its distinctive depth and texture.
High-quality slat panels use real wood veneers or solid wood slats. Budget panels use MDF with a printed wood-effect finish — these look convincing in photos but feel flat in person and don’t age gracefully.
What to Look For When Buying Online
Real Wood vs. Imitation
The most important distinction when buying slat panels online is whether the slats are real wood or a printed finish on MDF. Look for:
Material description: Phrases like “real wood veneer”, “solid wood slats”, or “natural oak” indicate genuine timber. “Wood effect”, “wood finish”, or “wood look” almost always mean printed MDF.
Grain variation in photos: Real wood shows natural grain variation between slats. Printed finishes repeat the same pattern across every slat.
Weight per panel: Real wood panels are heavier. If the listing doesn’t mention weight or the panel appears suspiciously light, check the spec sheet.
Backing Material
The backing affects both acoustic performance and ease of installation:
MDF backing: Rigid and easy to work with, but no acoustic benefit. Fine for purely decorative installations.
Panel Dimensions and Coverage
Before ordering, calculate your wall area and check how many square metres each panel covers. Add 10–15% for cuts and wastage. Convert everything to cost per square metre for a fair comparison across different panel formats.
Check panel thickness too. Thicker panels (21mm+) look more substantial and have better acoustic properties than thinner alternatives.
Finish Durability
For high-traffic areas — hallways, commercial spaces — check whether the finish is factory-sealed or requires additional treatment. Pre-finished panels install straight from the box. Unfinished panels need oiling or sealing before installation.
Red Flags When Shopping Online
No material specification: Reputable retailers state clearly what panels are made from. Vague descriptions like “premium quality” or “luxury finish” without material details are a warning sign.
Overly uniform grain in photos: Real wood grain is never perfectly uniform. If every slat in the product photo looks identical, the finish is almost certainly printed.
No returns policy: A supplier confident in their product quality offers clear returns terms or a sample service. No aftercare policy usually means no aftercare support.
No installation guidance: Quality suppliers provide adhesive recommendations, installation instructions, and customer support. If a listing offers none of these, expect the same after purchase.
How to Measure Before You Order
Measure wall width and height in metres
Multiply to get total square metres
Subtract windows, doors, and areas not being panelled
Add 12% for wastage (15% for rooms with many corners or complex cuts)
Check the panel listing for coverage per unit and divide accordingly
If you’re unsure about a finish or tone, order a sample first. Seeing real wood grain in your actual room under your actual lighting is worth the extra step — wood tones look very different on screen versus in person.
Shipping and Delivery
Wood panels are bulky and fragile. When buying online, check:
Packaging: Panels should arrive in rigid cardboard with foam or bubble protection on corners and edges. Inadequate packaging causes transit damage that’s difficult to claim on.
Lead times: In-stock panels typically ship within 1–3 business days. Confirm lead times before ordering if you have an installation deadline.
Damaged delivery protocol: Photograph your delivery before opening. Photographic evidence of packaging damage is essential for any valid transit claim.
Our Slat Wall Panel Range
All slat wall panels at The Panel Hub are made from real wood — no printed finishes, no imitation grain.
Real wood veneer slats on an acoustic felt backing. Available in multiple finishes including Golden Oak, Walnut, and Charcoal. Pre-finished and ready to install straight from the box.
100% solid wood — not veneer — in an interlocking geometric pattern. The most authentic natural material option for buyers seeking maximum visual texture and genuine solid wood feel.
Yes — and we recommend it for any large order. Seeing the real wood grain and finish in your room under your lighting is the most reliable way to confirm your choice before committing to full quantities.
What is the difference between slat panels and flat wall panels?
Slat panels have individual timber strips spaced with visible gaps, creating a dimensional, textured surface with shadow lines. Flat wall panels have a smooth, uniform surface. Slat panels are more visually dynamic and offer acoustic absorption; flat panels are easier to clean and suit moisture-prone areas better.
Are slat panels suitable for bathrooms?
Standard wood slat panels are not recommended for direct water contact or sustained high humidity. For bathroom feature walls away from the shower zone, properly sealed panels can work well. For shower walls and wet areas, our waterproof wall panel range is a better fit.
How do I install slat wall panels?
Apply panel adhesive in a serpentine pattern to the back of each panel, press firmly to a clean dry wall, and hold for 30–60 seconds. For larger installations, perimeter screw fixings add additional security. Full installation guidance is included with every order.
Conclusion
Buying slat wall panels online comes down to one core question: is this real wood or a printed imitation? Reputable suppliers are transparent about materials, offer samples, and provide installation support. Those that aren’t should be approached with caution.
You’ve seen slat walls in hotel rooms, design blogs, home offices, and probably your Instagram feed more times than you can count. There’s a reason they keep showing up. A slat wall does something that paint, wallpaper, and most other wall treatments can’t — it changes the spatial feel of a room through geometry. The parallel lines create direction. The shadow between each slat creates depth. The wood surface creates warmth. All three together make a room feel considered in a way that’s hard to fake with anything else.
This guide covers everything you need to go from idea to finished wall: the types available, how to choose between them, which rooms they work best in, and a step-by-step install process that works for TPH’s SoundPanel line specifically.
Slat wall panels are pre-built boards consisting of narrow wooden strips — slats — mounted at regular intervals over a backing material. You buy them as a panel, not as individual strips. One panel covers a section of wall at once, the panels connect to each other, and the result is a continuous slat surface across the full wall.
This matters more than it sounds. Buying individual slats and mounting them one-by-one means spacing 60–80 strips perfectly on a standard wall, keeping every gap identical, and dealing with any wall imperfections strip by strip. Panel-format slat walls are pre-spaced, pre-built, and connect with a clean edge. Installation is measured in hours, not days.
The backing material is where types diverge meaningfully — and where most guides stop being useful.
Not all slat wall panels are the same product. The slat face is only half of what you’re buying. The backing — what’s behind the slats — determines acoustic performance, installation method, weight, and price. Here’s a clear breakdown.
Acoustic Slat Panels (Wood Veneer + Felt Backing)
The category TPH’s SoundPanel sits in, and currently the most popular residential slat panel in the market. Real wood veneer slats over an HDF core, mounted over high-density acoustic felt backing. The gaps between slats allow sound to pass through to the felt, which absorbs it rather than reflecting it back into the room.
TPH’s SoundPanel uses AcuFelt 1500 g/m² backing — that density matters, it’s what delivers the NRC 0.85 rating. Absorbs 85% of sound energy hitting the surface. FSC-certified. 3-sided rounded edges. Ships from North Carolina. Installs in under 2 hours per wall.
Best for: Any room where both aesthetics and acoustics matter — living rooms, bedrooms, home offices, home theaters, dining rooms NRC: 0.85 Slat width: Typically 10–20mm Installation: Adhesive + optional screws through felt backing
Decorative Slat Panels (No Acoustic Backing)
Same visual profile as acoustic panels — same slat spacing, same wood veneer face — but with no felt backing. Purely visual. These are lighter and lower cost, and are the right choice when acoustics genuinely don’t matter to you.
The honest limitation: without backing, the NRC is near zero. The slats reflect rather than absorb. If you’re treating a home office or a room with echo, decorative-only slat panels won’t solve the problem.
Best for: Accent walls where visual warmth is the only goal NRC: Negligible Installation: Adhesive direct to wall
Horizontal Slat Panels
The same construction as vertical, rotated 90 degrees. Horizontal lines read differently in a space — they emphasise width rather than height, which works particularly well in narrow corridors, low-ceiling rooms, or any space where you want the eye to travel along the wall rather than up it.
Horizontal slat panels can be acoustic or decorative depending on the backing. The installation process is identical — the orientation is a design decision, not a structural one. More on horizontal wall paneling.
Best for: Hallways, rooms with low ceilings, wide feature walls
Fluted and Reeded Panels
Technically not slat panels, but frequently confused with them. Fluted panels have concave channels milled into a solid face — no gaps between elements, no backing required. Reeded panels have convex ridges. Both create a linear texture without the open-gap structure of a true slat panel.
The tradeoff: no acoustic benefit at all, since there’s no gap for sound to pass through. The aesthetic is more architectural and formal than slat panels. Works well in hallways, dining rooms, and spaces where you want texture without the warmth of visible wood grain.
Best for: Formal spaces, painted feature walls, kitchen island cladding
WPC Slat Panels (Outdoor)
Wood-plastic composite panels for exterior use. Real wood fibre combined with polymer — the slat profile is similar to interior versions but the material is weather-resistant and stable in moisture. If you’re cladding an exterior wall, covered patio, or garden room, WPC is the right material. Standard wood veneer panels are not suitable outdoors. WPC outdoor panel guide.
Best for: Exterior walls, covered patios, garden rooms, outdoor kitchens
Vertical vs Horizontal: Which Direction?
This is the most common design question about slat walls, and the answer is spatial rather than stylistic.
Vertical slats draw the eye upward. They make ceilings feel higher and rooms feel taller. This is why vertical slat walls are the default in most living rooms and bedrooms — the proportional improvement is immediate and works in almost any room. If you’re unsure, go vertical.
Horizontal slats draw the eye sideways. They make walls feel wider and rooms feel lower and more intimate. This works well in narrow corridors where you want the space to feel less like a tunnel, or in rooms with high ceilings where you want to bring the visual weight down.
There’s no wrong answer — but knowing what each direction does spatially helps you make an intentional choice rather than just copying what you’ve seen elsewhere.
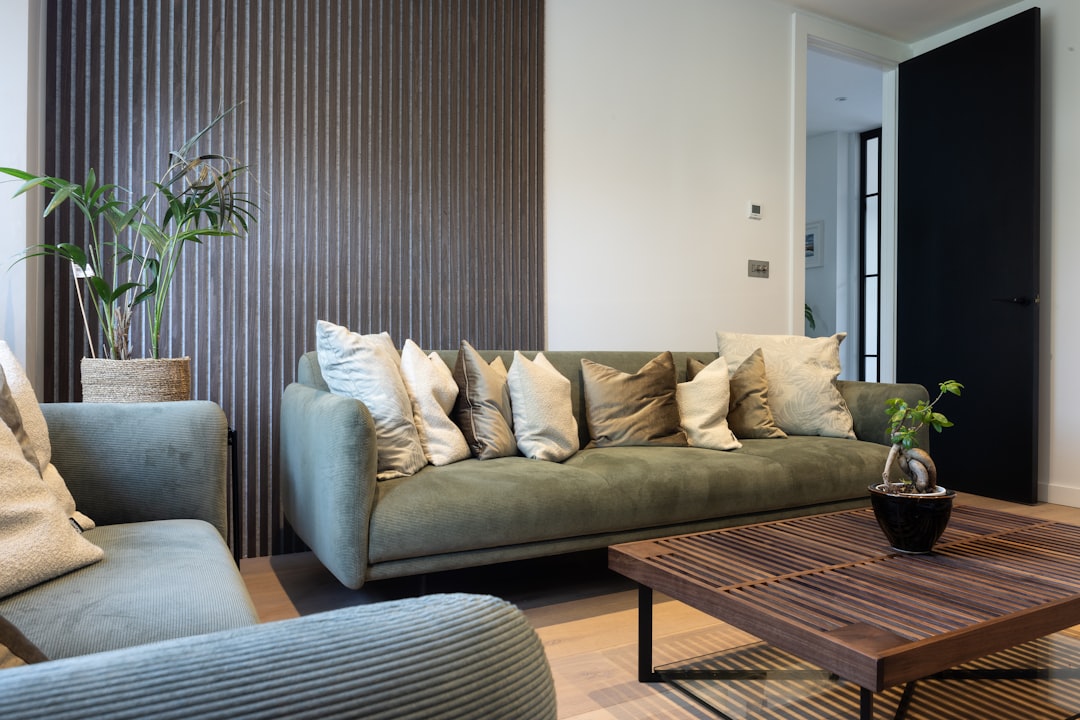
The most popular application. A full slat wall behind the sofa anchors the room and gives it a focal point that doesn’t require artwork or accessories. Behind a TV it frames the screen cleanly — the parallel lines of the wall echo the rectangular geometry of the display and make the whole setup look designed rather than assembled.
Acoustic slat panels work especially well in open-plan living rooms, where hard floors and high ceilings create flutter echo that makes conversations feel louder than they are. One treated wall changes the acoustic feel of the whole room.
Best wall: Behind the sofa or as a TV feature wall Best finish: White Oak for lighter rooms, Walnut for warmer or darker schemes Orientation: Vertical — draws the ceiling up — Living room panel ideas
Bedroom
A full-width slat wall behind the bed is the single most impactful bedroom upgrade you can make for the money. It replaces the need for a headboard, creates a hotel-suite quality backdrop, and — if you use acoustic panels — makes the room measurably quieter. People sleep better in lower-reverberation environments. That’s not marketing, it’s basic acoustics.
Extend the panel wall beyond the width of the bed and add wall-mounted bedside lights directly to the slat surface for a fully integrated look.
Best wall: Full headboard wall, floor to ceiling Best finish: American Walnut — warm, dark, creates enclosure and calm Orientation: Vertical — Bedroom panel ideas
Home Office
Two problems, one solution. Slat panels behind your desk absorb the echo that makes every video call sound hollow, and they create a clean, textured backdrop that reads well on camera. A grey painted wall looks flat and forgettable on a call. A walnut slat wall looks like you made a decision about your space.
This is the strongest acoustic argument for slat panels outside of a home theater. Hard surfaces — drywall, glass desk, hard floor — create a flutter echo at the speech frequency range (500Hz–2000Hz) that NRC 0.85 panels address directly.
Best wall: Behind the desk, camera-facing Best finish: Charcoal or American Walnut — both read cleanly on camera Orientation: Vertical — Office and gaming room setups
Hallway
Hallways are narrow, usually under-lit, and mostly ignored. A slat wall panel on one side transforms them into something architectural. The directional lines of vertical slats create visual movement that makes the corridor feel intentional rather than transitional. Horizontal slats on a particularly narrow hallway push the walls apart visually.
Hallways are also one of the easiest spaces to panel — the wall area is modest, there are usually no outlets to cut around, and a single wall is often enough.
Best wall: The longer wall Best finish: White Oak brightens dark hallways; Charcoal creates drama in well-lit ones Orientation: Vertical for height, horizontal for width
Dining Room
Hard floors, glass, and painted walls make dining rooms acoustically brutal — conversations bounce off every surface and the room gets louder as more people talk. One acoustic slat wall behind a banquette or sideboard absorbs enough to drop the ambient noise level without killing the energy of a dinner table.
Darker finishes work especially well in dining rooms — walnut or charcoal creates the warm, intimate quality of a restaurant booth that makes people want to stay at the table.
Best wall: Behind a bench seat or sideboard Best finish: American Walnut or Golden Oak — Dining room wall panels
Home Theater and Gaming Room
Acoustic treatment isn’t optional in a home theater — it’s what makes the equipment investment worthwhile. Side walls are the highest priority: first reflection points from speakers are the primary source of flutter echo and image smearing. Rear wall treatment handles the echo that returns to your listening position after crossing the room.
Charcoal and dark walnut finishes also absorb light scatter and improve perceived screen contrast — a practical benefit on top of the acoustic one.
Coverage needed: Side walls + rear wall, 25–35% of total wall area Best finish: Charcoal — absorbs light, maximises contrast — Home theater guide
Floor to ceiling beats half-wall. The proportional impact of a full-height slat wall is dramatically stronger than stopping at mid-height. When you can see both the floor and the ceiling as a continuous plane, the room reads taller. Half-height panels look like a decision that ran out of budget.
Light it from the side. Raking light — from a floor lamp, a wall sconce, or morning sunlight — catches the edge of each slat and creates the shadow pattern that makes slat walls look three-dimensional. Overhead downlights flatten the effect. If you’re installing in a living room, plan a side light source to make the most of the texture.
Let the wall breathe. A slat wall doesn’t need to be covered with things. Resist the instinct to hang art or shelves in front of it. The panel is the feature. One large piece of art to one side is fine. A gallery wall on top of a slat wall is visual noise.
Use the panel as a headboard platform. Mount wall sconces or reading lights directly through the felt backing on either side of the bed position. No holes in the plaster, no wall repair if you reposition. The felt takes screws cleanly.
Integrate LED strip lighting. LED strips in the channel between panels or behind the bottom edge create ambient underlighting that makes the slat pattern visible even without a side light source. Works especially well in home theaters and gaming rooms.
TPH’s SoundPanel is designed for DIY installation. Here’s the complete process for a standard flat interior wall.
What You Need
Tape measure and pencil
Spirit level or laser level
Construction adhesive (Liquid Nails or panel-specific adhesive) — adhesive guide
Adhesive gun
Circular saw or oscillating tool
Screws (3.5mm × 35mm minimum) and drill — optional but recommended for permanent installations
Jigsaw for outlet cutouts
Before You Start
Acclimate the panels. Leave them flat in the room for 24–48 hours before installation. Wood acclimates to room humidity and temperature — installing cold panels into a warm room can cause slight movement after fixing.
Decide on orientation. Vertical or horizontal. Read the section above if you’re undecided. Commit before you start — you can’t change direction mid-wall.
Plan your layout. Measure your wall width. Divide by panel width to calculate how many panels you need and what width the end panel will be. Aim to avoid a very thin strip at one end — if the last panel would be less than a third of full width, trim a little from both the first and last panel so the margins look balanced and intentional.
Prepare the wall. Clean, dry, and reasonably flat. Remove loose paint, fix large dips or protrusions. You don’t need to skim or plaster — minor imperfections disappear behind the panel. Remove baseboards at the bottom if you’re going floor to ceiling, so panels sit flat to the floor. How to cut wall panels.
Step 1 — Mark Your Starting Line
Use a spirit level or laser to draw a true vertical line at your starting point. This is the most important step. Any drift here compounds across the wall. Take your time on this line — everything that follows references it.
If you’re starting from a corner, check whether the corner itself is plumb. Most aren’t perfectly vertical. Start your first panel against the line, not the corner, and fill any gap with a trim strip or caulk after.
Step 2 — Cut the First Panel to Height
Measure your floor-to-ceiling height. Most panels need a top cut to fit. Measure twice, mark the cut line across the full panel width, and cut with a circular saw. A straight edge clamped to the panel as a saw guide gives the cleanest cut. Cutting tips for wall panels.
If you’re going floor to ceiling without baseboards, cut the panel to the exact floor-to-ceiling measurement. If you’re leaving the baseboard in place, cut to the height from top of baseboard to ceiling.
Step 3 — Apply Adhesive
Run a zigzag bead of construction adhesive across the felt backing of the panel — not in straight lines, which can leave unbonded sections. Cover the full panel back. For permanent installations, apply adhesive to both the panel back and the wall surface for maximum bond strength.
Don’t apply adhesive to the slat faces themselves — only the felt backing contacts the wall.
Step 4 — Press and Secure
Lift the panel to the wall, align the edge with your starting line, and press firmly from top to bottom. The felt backing grips the wall immediately — you won’t need to hold it in place.
Check the edge alignment against your level line. Adjust now if needed — you have about 60 seconds before the adhesive starts to set.
For a permanent installation, drive screws through the felt backing into wall studs. 3 screws per row, roughly every 300–400mm vertically. The screws pass through the felt without splitting it and are hidden behind the slat faces — invisible from the front. For walls where you expect shelves or wall-mounted items, adhesive alone is sufficient for the panels themselves, but screw fixings give you additional load-bearing points.
Step 5 — Work Across the Wall
Butt the second panel tightly against the first. The slat lines create the visual alignment — when the slats of adjacent panels line up, the join disappears. Check the far edge of each new panel with your level before pressing to confirm you haven’t drifted.
Stagger any horizontal joins if your wall is taller than one panel height — offset by at least half a panel width so the joins don’t create a visible horizontal line across the wall.
Step 6 — Handle Outlets and Switches
Measure the position of the outlet on the wall precisely — distance from the floor and from the panel edge you’re working from. Transfer those measurements to the back of the panel. Drill a starter hole inside the marked area, then cut with a jigsaw. Test the fit before applying adhesive.
If a slat falls partly over an outlet opening, cut that slat cleanly at the edge of the opening. The small piece that falls off can be re-attached with a dab of construction adhesive after the panel is fixed to the wall.
Step 7 — Trim the Last Panel
Measure the remaining gap at the end of the wall. Rip the last panel to width with a circular saw using a straight-edge guide. The cut edge faces the wall corner or ceiling — the factory edge faces outward. If the cut edge is visible (at an external corner, for example), sand lightly and finish with a matching trim strip.
Realistic Timing
A standard 8×10 ft accent wall takes most people 1.5–2.5 hours on their first installation. The second wall is noticeably faster. A full room treatment — three or four walls — is a comfortable full-day project for two people.
Common Mistakes to Avoid
Not checking the starting line for plumb. Everything follows that first line. Spend five extra minutes getting it true with a proper level — not just eyeballing it against the wall corner.
Installing without acclimating. Panels that haven’t acclimated can shift slightly as the wood adjusts to room conditions. 24–48 hours flat in the room is all it takes.
Stopping at the baseboard height. If your baseboard is staying in place, panels sitting on top of it leave a gap at the floor that looks unfinished. Remove the baseboard first, install the panel to the floor, then reinstall the baseboard over the bottom edge of the panel. Clean result, no gap.
Rushing outlet cutouts. Measure twice before cutting. An outlet hole that’s 5mm too large can’t be undone. Mark it on the back, check the position twice, cut conservatively, and test the fit before gluing.
Covering the wall with things. The slat pattern is the feature. Give it room to breathe. One considered accessory is fine. Five things competing with the texture undermines the whole effect.
Caring for Slat Wall Panels
Low maintenance is part of the value. Here’s the short version:
Dust regularly with a dry microfiber cloth. Run it along the slats, not across them.
For marks: Damp cloth with mild soap, dried immediately. Don’t saturate the wood face.
Acoustic felt: Vacuum through the slat gaps once a year. Dust in the felt reduces its absorption performance over time, slowly — annual maintenance keeps it performing at full efficiency.
Avoid steam and sustained moisture. The wood veneer is real and responds to humidity. Not a bathroom material unless you’re using waterproof panels specifically.
Do slat wall panels actually improve acoustics? Only if they have a high-density acoustic backing. Decorative slat panels without backing have near-zero acoustic benefit — the wood reflects sound rather than absorbing it. TPH’s SoundPanel achieves NRC 0.85 because of the AcuFelt 1500 g/m² backing behind the slats. That backing is what does the acoustic work.
Can I install slat wall panels over existing wallpaper? Not recommended. Wallpaper creates an uneven, potentially unstable substrate. Strip it first, skim-coat any damage, and install onto clean flat wall.
Can I install them myself? Yes. TPH’s SoundPanel is designed for DIY. The tools you need are basic — a circular saw, a level, adhesive, and a drill if you’re screw-fixing. A standard accent wall takes 1.5–2.5 hours.
Vertical or horizontal — does it affect installation? No. The installation process is identical. Orientation is purely a design decision about how you want the room to feel spatially.
How do I deal with a wall that isn’t perfectly flat? Minor imperfections — small bumps, texture, old painted surfaces — are fine. The panel bridges across them. Large dips (more than 5mm deep over 300mm) should be filled first so the panel has enough contact area for the adhesive to hold properly.
How many panels do I need? Use the Box Calculator — enter your wall dimensions and it returns a panel count with a waste allowance factored in.
Can slat panels be painted? TPH’s wood veneer panels are pre-finished and designed to show the natural grain — painting them covers the wood character that makes them worth buying. If you want a painted slat panel, MDF-based slat panels are made for that purpose.
And if you want to explore the decorative slat options without acoustic backing: Shop all wood wall panels.
The Panel Hub’s SoundPanel uses real wood veneer over HDF cores with AcuFelt 1500 g/m² high-density backing. NRC 0.85. FSC-certified. Designed in the USA, shipped from North Carolina. 3-sided furniture-grade rounded edges.
Wood slat wall panels consist of parallel vertical strips of real wood (or wood veneer) arranged at even spacing across a backing board or panel. The slat profile — thin vertical lines separated by regular gaps — creates a strong directional rhythm that draws the eye upward and adds depth to flat walls.
They’ve become the defining wall treatment of contemporary and Scandinavian-influenced interiors in the 2020s, appearing in everything from high-end hotel lobbies to DIY bedroom makeovers.
Acoustic vs Decorative Slat Panels
This is the most important distinction in the category:
Acoustic slat panels have a felt or fabric backing (such as AcuFelt™) that absorbs sound. NRC ratings of 0.65–0.85 make them genuinely functional acoustic products, not just decorative ones. If you want the wall to both look good and sound better, these are what you need.
Decorative slat panels have the same visual profile but no acoustic backing. They’re lighter, cheaper, and easier to handle — but they won’t reduce echo. Fine for purely aesthetic applications; a poor choice for living rooms, offices, or bedrooms where acoustic quality matters.
Always check the product specification for NRC rating before purchasing if acoustic performance is part of your brief.
Types of Wood Slat Wall Panels
Standard Vertical Slat Panels
The most common format. Panels typically measure 96″–100″ in height and 12″–24″ in width, with individual slats running the full panel height. Designed to be installed flush together to create a seamless slat wall across the full width of the wall.
Curved Slat Panels
Panels where the slats follow a gentle arc rather than a straight line. Creates an organic, undulating surface texture that suits biophilic and organic modern interiors. Harder to find and more expensive than standard flat panels.
Perforated Acoustic Panels
Instead of an open slat profile, these panels use a solid wood or MDF face with regular perforations (holes or slots) that allow sound to pass through to the acoustic backing. More surface coverage, slightly different aesthetic — suits spaces where you want the warmth of wood without the strong shadow-line effect of slats.
Hexagonal Slat Panels
Slat panels cut to a hexagonal shape and arranged as individual tiles rather than full wall panels. Create a graphic, geometric pattern with the warmth of real wood. Popular for accent walls with a more playful or architectural character.
Wood Species for Slat Panels
The species determines colour and grain character. The most common options:
Oak — warm honey tone, versatile grain, universally applicable
Ash — pale and fine-grained, best for light Scandinavian aesthetics
For a full comparison of wood species and their characteristics, see our guide on the best wood for wall panels.
How to Choose the Right Slat Panel
Decide if you need acoustic performance — if yes, look for NRC 0.65+ and confirm the product has genuine felt backing, not just a paper backing.
Choose your species — match to your room’s existing tones and furniture. Order samples before committing.
Check slat width and spacing — narrow slats (10–15mm) with close spacing create a dense, textural effect; wider slats (20–30mm) with more spacing create a bolder, more graphic look.
Check panel dimensions vs wall dimensions — calculate coverage before ordering to avoid running short.
For guidance on putting them up once you’ve chosen, our wall panel installation guide covers everything from wall preparation to finishing edges.
And for inspiration on how slat panels translate across different rooms, the slat wall panels ideas guide has 20 real applications worth browsing.
Are They Worth the Investment?
Yes — with caveats. Cheap decorative slat panels (under $50/panel) are often laminate-faced MDF with paper backing that looks and feels nothing like the product photography suggests. Premium acoustic slat panels with real wood veneer and genuine felt backing are a significant step up in both quality and price — and deliver correspondingly better results. Buy once, install correctly, and the result lasts 20+ years.
Choosing the Right Slat Panel for Your Project
With multiple types, wood species, and finish options available, the choice narrows considerably once you’ve answered three questions: what is the primary purpose, what is the room’s humidity level, and what is the viewing distance?
Purpose: If acoustic improvement is a requirement alongside the visual finish, specify panels with acoustic backing (AcuFelt™ or equivalent). If the installation is purely decorative, standard decorative slat panels offer a wider range of face profile options and are typically more affordable.
Humidity: Bathrooms, kitchens, and other damp environments require timber species with higher natural stability — or engineered panels specifically rated for damp conditions. Standard solid wood slat panels are not suitable for rooms where moisture levels regularly exceed 70% RH. Engineered or composite-core panels handle humidity better.
Viewing distance: For installations viewed close-up daily — bed heads, TV walls, home office features — material quality is immediately perceptible. Real wood veneer panels justify the premium over printed or vinyl-faced alternatives in these locations. For corridor walls, high-level feature walls, or commercial spaces viewed from several metres, mid-tier engineered options are often indistinguishable from premium versions in everyday use.
Colour and finish: Natural oiled finishes show wood grain most faithfully and can be refreshed with a periodic application of the same oil. Lacquered finishes are more durable in high-traffic areas but harder to repair if scratched. Stained options offer the most flexibility in matching existing joinery and furniture.
FAQs: Wood Slat Wall Panels
What are wood slat wall panels made from? Wood slat wall panels consist of timber strips (slats) mounted onto a backing board or felt substrate. The slats are typically made from solid hardwood, engineered wood, or wood veneer over an MDF or HDF core. The backing provides structural stability and, in acoustic versions, sound absorption.
How thick are wood slat wall panels? Total thickness varies by product but is typically 18–22mm for standard slat panels including the backing. The timber slat itself is usually 8–12mm proud of the backing surface. This overall thickness is important when planning around electrical sockets, which may need extension boxes to bring them flush with the new wall surface.
Can wood slat wall panels be used on ceilings? Yes, when mechanically fixed rather than adhesive-only. Ceiling installations require fixing through the panel backing into joists or a batten framework. The visual result is striking — ceiling slat panels work especially well in living rooms, home cinemas, and dining rooms where acoustic improvement alongside the aesthetic is valuable.
How do I clean wood slat wall panels? For routine cleaning, a dry or very slightly damp microfibre cloth is sufficient. Avoid soaking the surface or using abrasive cleaners. For oiled finishes, periodic re-oiling (typically annually in normal use) will restore the surface and protect the timber from drying out.