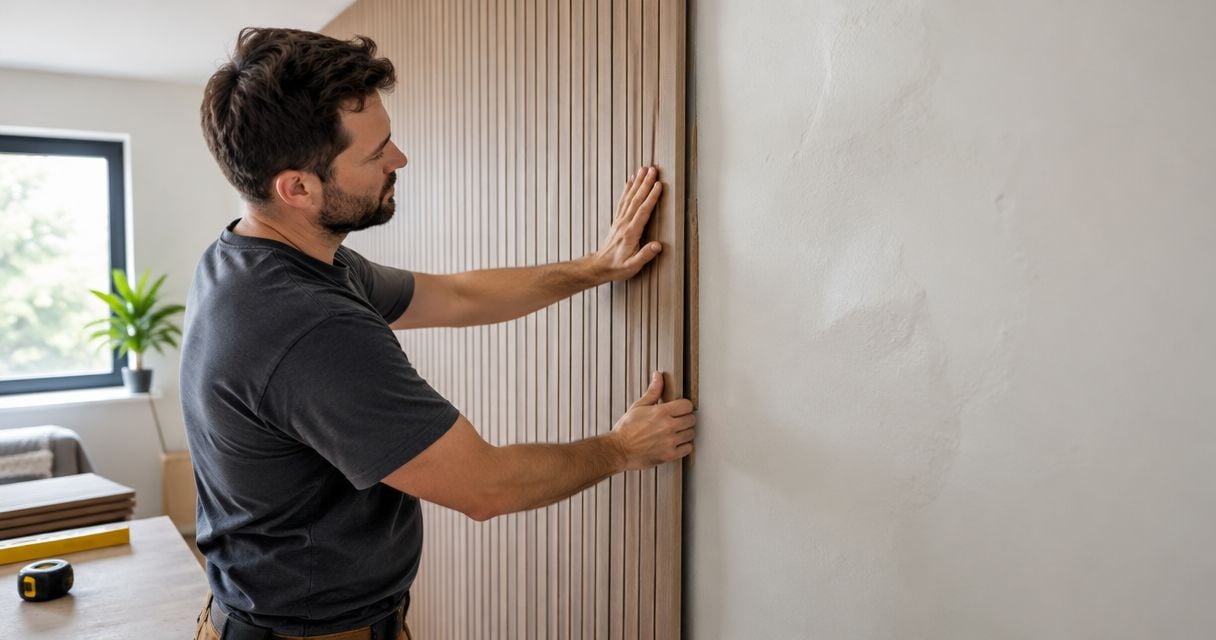
Yes, you can install wall panels over uneven walls if you first provide the flat, secure support required by the panel manufacturer; repair isolated defects or use an approved, leveled batten system for broader unevenness. Do not force panels against a bowed wall or cover damp, loose, or moving surfaces—decorative paneling hides the wall but does not repair it.
- Can you install wall panels over uneven walls? Yes, after correcting the surface or creating approved, flat support.
- The Panel Hub sells decorative and acoustic wall panels; neither category replaces repairs to damp or unstable walls.
- Patch isolated defects; consider leveled battens for widespread bows only when the panel manufacturer permits that installation.
- Check panel support, door trim, and electrical boxes before committing to a thicker wall assembly.
Why this matters
An uneven wall creates more than a visible bump. Unsupported panel edges, inconsistent adhesive contact, and fasteners pulled into hollows can leave you with open joints or distorted panels.
For your 2026 project, decide how to correct the wall before choosing the finish. The Panel Hub wall panels belong at the finishing stage, after you establish a suitable backing and resolve moisture or movement.
If adhesive is part of your plan, start with the guide to using Liquid Nails to install wall panels. Adhesive compatibility and wall flatness are separate checks; satisfying one does not satisfy the other.
Can you install wall panels over uneven walls?
Yes—but the finished panel needs suitable support, not simply something behind it. A shallow, isolated depression calls for a different repair than a wall that bows across its width. The panel's installation instructions determine which backing, fixing method, and surface tolerances are acceptable.
Use this comparison to choose your next move, rather than treating every uneven wall as an adhesive problem.
| Approach | Best for | Main advantage | Main limitation |
|---|---|---|---|
| Local surface repair | Isolated dents, ridges, or damaged patches on otherwise sound walls | Corrects the defect without building out the whole wall | Does not solve widespread bowing or movement |
| Leveled battens | Broad unevenness where the panel permits batten fixing | Creates a separate, flat fixing plane | Adds depth and requires secure anchoring and supported joints |
| Wall rebuilding or replacement | Loose backing, failed plaster, or a wall needing substantial repair | Addresses the underlying substrate problem | Requires more preparation before decorative work |
| Direct fixing | Walls already within the panel manufacturer's requirements | Avoids an additional support framework | Is unsuitable when the wall cannot provide the required contact or support |
Check the wall before choosing a method
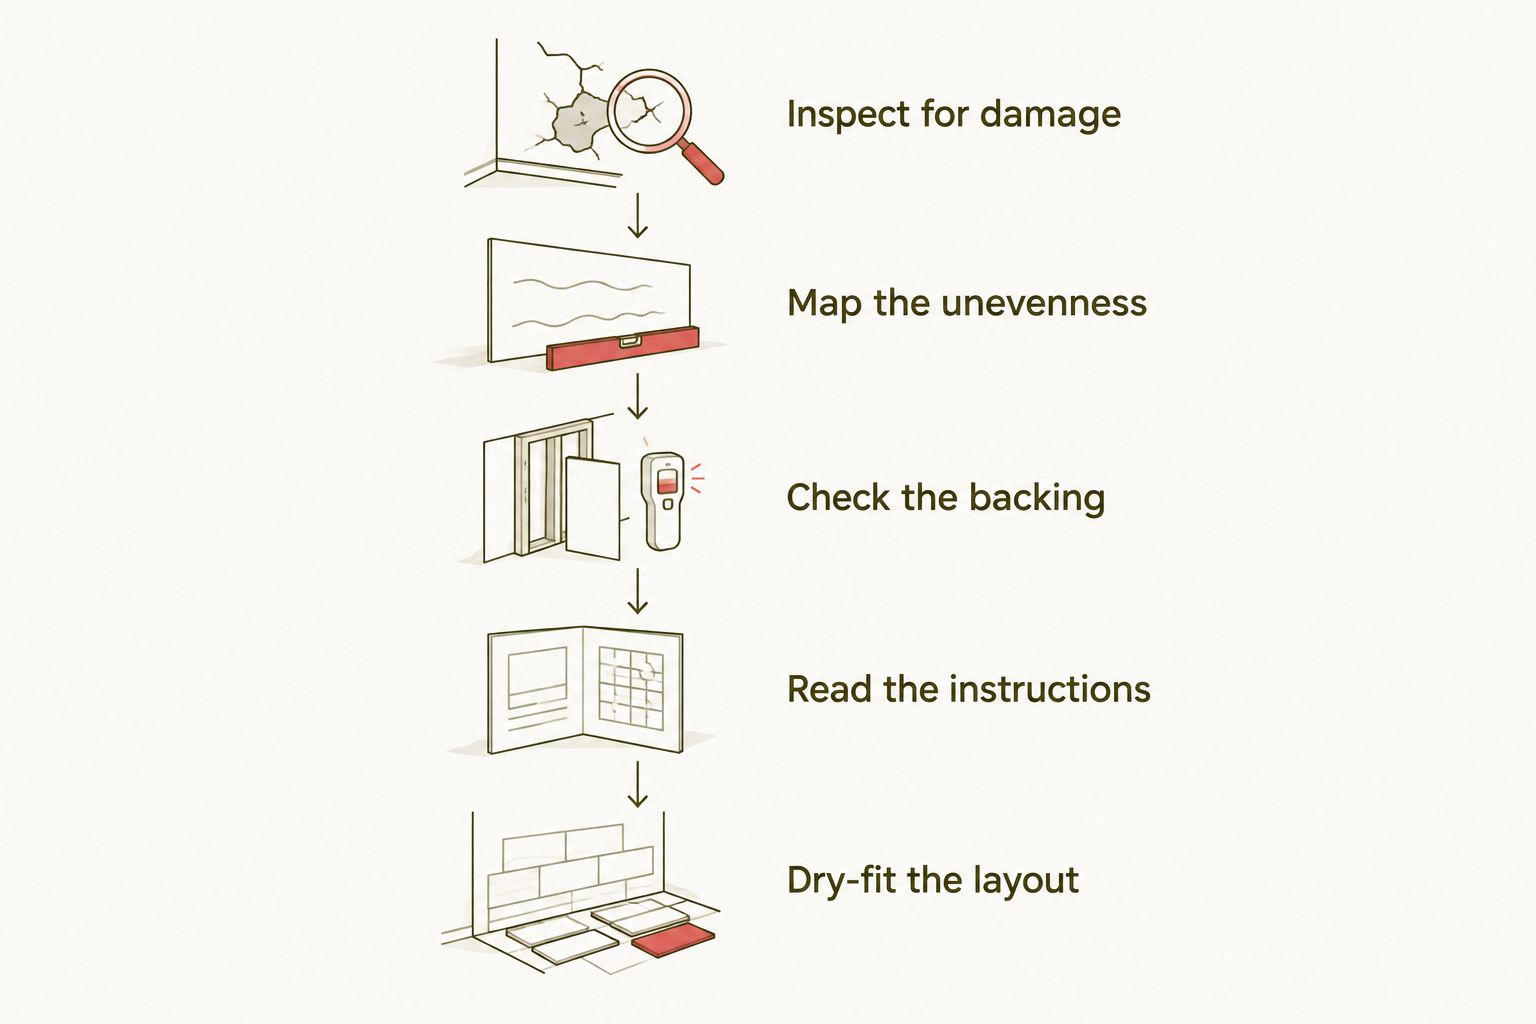
- Inspect for damage. Look for loose plaster, peeling paint, damp staining, soft drywall, and cracks that have changed. Investigate the cause before covering any affected area.
- Map the unevenness. Hold a straightedge horizontally, vertically, and diagonally. Mark high spots, hollows, and places where the straightedge rocks.
- Check the backing. Identify whether you have drywall, plaster, masonry, or another substrate. Locate suitable fixing points rather than assuming the visible surface can carry the installation.
- Read the panel instructions. Confirm permitted substrates, flatness requirements, fixing methods, joint support, and movement allowances.
- Dry-fit the layout. Check panel joints, exposed edges, sockets, switches, and door trim before drilling or applying adhesive.
A 4-foot straightedge is a useful inspection tool for a DIY project. It helps reveal local changes, but a longer reference or laser check is useful for judging the whole wall; neither tool supplies the manufacturer's acceptance limit.
Local repairs: best for isolated wall defects
Choose local repair when the surrounding wall is sound and the unevenness is limited to identifiable defects. Remove loose material, correct raised areas using a method suitable for the substrate, and fill depressions with a compatible repair material.
Let repairs dry or cure as directed before continuing. A patch that looks dry at the surface is not automatically ready for adhesive, primer, or a covered finish.
Check the repaired area again with your straightedge. Work across the patch boundaries, not just through its center: a repair that leaves a raised rim has replaced one problem with another.
Repair the backing rather than bending the panel to match it. Local repair preserves the existing wall depth, but it is the wrong choice when the surrounding substrate is loose or the bow extends across the installation.
For a 2026 room refresh, also inspect the existing coating. A firmly attached panel is only as secure as the paint, plaster, or other layer carrying its adhesive bond.
Leveled battens: best for broader unevenness
A batten system creates a new fixing plane in front of the existing wall. Use it only when the panel manufacturer allows that method, and anchor the battens to suitable backing with appropriate fixings.
Set the framework to a common plane rather than fastening every batten tightly against the wall's existing curves. Where packing is needed, use suitable, stable packing at fixing points; unsupported or compressible packing undermines the purpose of the framework.
Do not guess batten spacing from the panel's appearance. Panel thickness, construction, orientation, edge support, and the approved fixing arrangement determine the support layout.
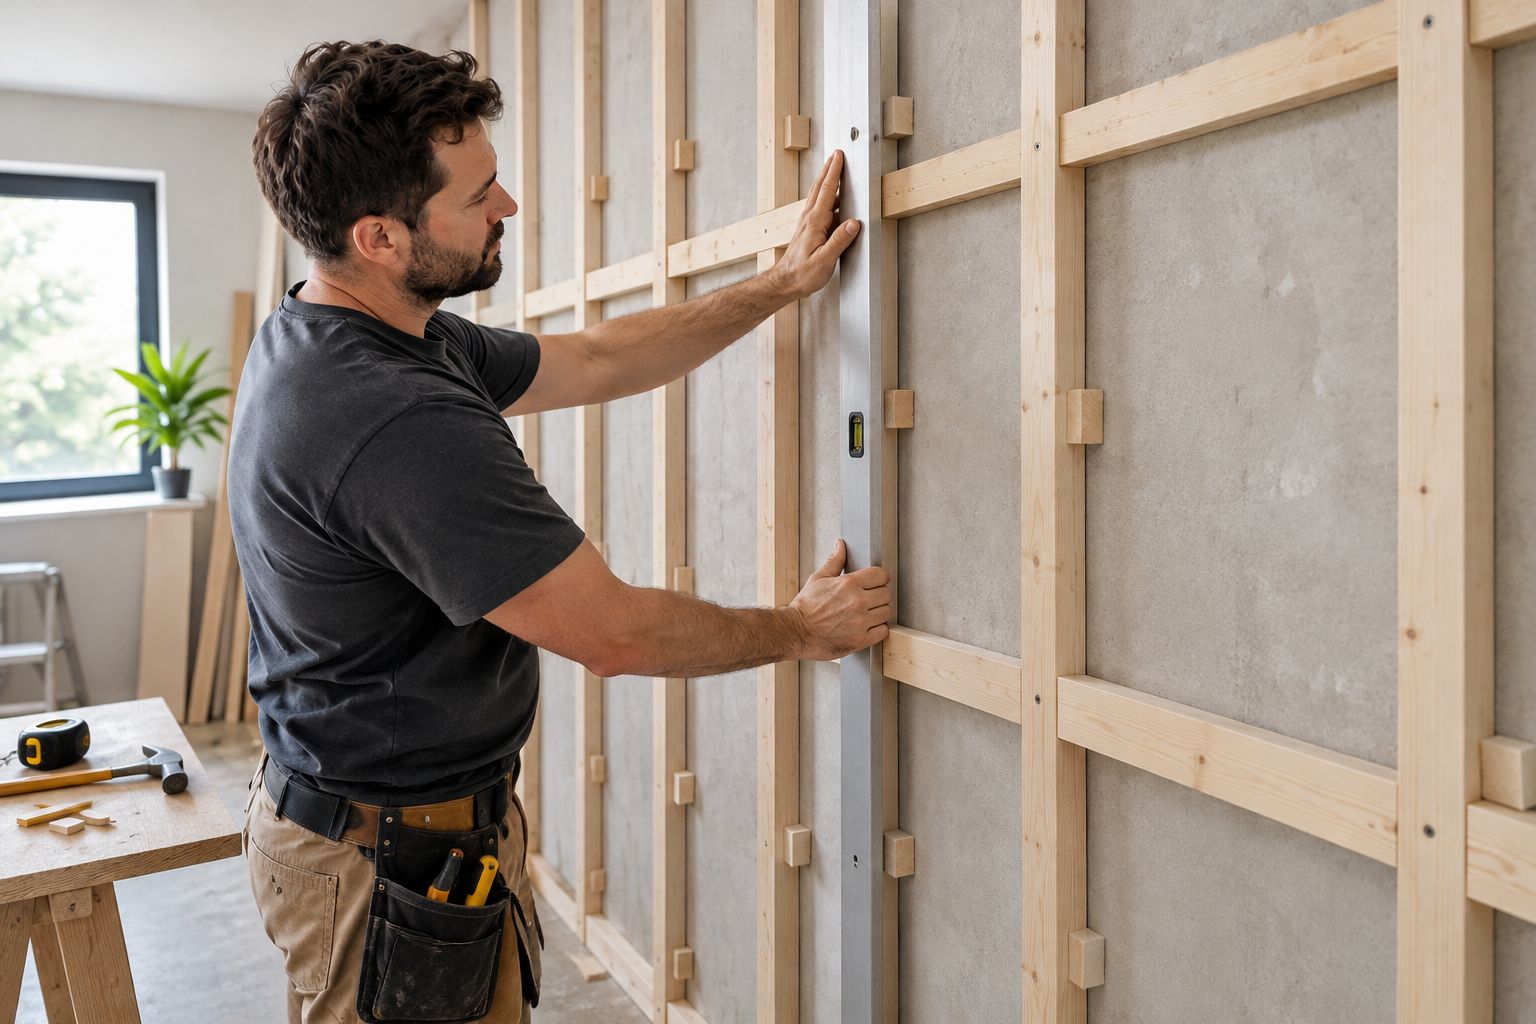
A batten system also changes the wall's finished depth. Measure the framework, panel, and any specified backing together before deciding how edges and fittings will meet the new surface.
For example, a 3/4-inch build-out moves the finished face 3/4 inch toward the room. This is an illustrative measurement, not a recommended batten size or permission to use that assembly.
Choose battens for an approved support solution, not as a shortcut around damaged walls. Their benefit is control over the fixing plane; their drawback is extra detailing at corners, trim, and services.
Wall repair or replacement: best for unsound backing
Stop the decorative installation if the wall is damp, loose, or changing shape. New panels conceal access to the problem and make later repairs more disruptive.
A contractor should assess extensive failed plaster or a damaged wall assembly before you cover it. If bowing or cracking is new or worsening, obtain an assessment of the cause rather than assuming it is cosmetic.
Do not sand an unknown old coating or disturb suspect material just to flatten the surface. Establish whether testing or specialist handling is required before preparation begins.
For a 2026 renovation, document the repaired wall before installing the finish. Photographs of fixing locations and concealed services give you a useful reference for later work, without relying on memory.
Why the installation method varies
The right method follows the wall and the panel, not the decorative pattern. These factors decide whether you repair the surface, build a new fixing plane, or stop for further investigation:
- Extent of unevenness: A localized defect is different from a continuous bow across the wall.
- Substrate condition: Loose plaster, damaged drywall, or weak coatings need attention before they carry a finish.
- Panel construction: A rigid decorative panel and a backed slat assembly do not automatically share the same support requirements.
- Approved fixing method: Adhesive, screws, and batten fixing depend on the manufacturer's instructions and suitable backing.
- Moisture exposure: A decorative covering does not correct a leak, condensation problem, or failed wet-area assembly.
- Finished wall depth: Added framing affects exposed edges, existing trim, electrical fittings, and access points.
There is no universal acceptable gap for every wall panel. Record the largest gap you find, then compare that measurement with the requirements for the exact panel and installation method.
Can you use extra adhesive to fill the gaps?
Do not use extra adhesive as an improvised leveling system. Adhesives have requirements for substrates, application, curing, and permissible gaps; a thicker bead is not automatically an approved substitute for surface repair.
Pressing a panel against high spots can leave other areas without the required contact. Pulling it tight with screws can instead distort the panel, particularly where the backing remains unsupported.
Use adhesive only within its published application limits and the panel manufacturer's instructions. If those requirements do not accommodate the wall, change the preparation method rather than changing the bead size by guesswork.
Do acoustic slat panels hide a bowed wall?
Acoustic slat panels can visually interrupt a plain surface, but their decorative face does not establish a flat backing. Check whether the particular assembly permits direct fixing, battens, or another support arrangement.
For a bedroom or living-room project, The Panel Hub's Acoustic Slat Wood Wall Panels are an option to consider after resolving the wall preparation. Confirm the installation requirements for that exact product before planning support or fixings.
The benefit is a decorative acoustic finish; the limitation is that acoustic performance and wall correction are different jobs. Do not assume that a sound-absorbing panel also repairs bowing or blocks sound passing through the wall.
What changes around sockets, doors, and baseboards?
An added support layer moves the panel face forward while existing fittings remain where they were. Plan those transitions before cutting panels, because a neat central field does not resolve a recessed socket or an awkward doorway edge.
Check the following details during your 2026 layout review:
- Electrical boxes: Have a qualified electrician address box depth, device support, and any required extensions. Do not bury boxes or leave devices supported only by the decorative panel.
- Door and window trim: Decide whether the panel meets, stops short of, or requires changes to existing casing.
- Baseboards: Plan whether they remain visible, are removed and refitted, or need another approved detail.
- Outside corners: Allow for a finished return that covers the new wall depth without leaving unsupported edges.
- Access points: Keep electrical panels, service covers, and required ventilation accessible.
A 1/2-inch panel adds 1/2 inch before any adhesive, backing, or framework is included. Treat that as a measurement example only; use the actual dimensions of your selected materials for the final layout.
A final dry-fit check before fixing
Dry-fit across the most uneven area and a representative joint, not only the easiest corner. Check that the panel sits without rocking, edges have the required support, and the intended fixings meet suitable backing.
Look along the surface from the side as well as straight on. Side lighting makes changes in alignment easier to see, particularly beside straight slats or repeated geometric patterns.
For your 2026 installation, stop if a panel needs force to sit in its intended position. Recheck the support plane, panel condition, and fitting instructions before committing to permanent fixings.
FAQ
Can I install wall panels directly over an uneven wall?
Only if the wall meets the exact panel’s substrate, support, and flatness requirements. Otherwise, repair the surface or use a manufacturer-approved support system before fixing panels.
How uneven can a wall be before I need battens?
There is no universal threshold for every wall panel. Measure the unevenness and compare it with the panel manufacturer’s requirements; battens are an option only when that installation method is permitted.
Can I screw a bowed panel flat against the wall?
Do not use screws to force a panel into the wall’s curves. Provide the required support and follow the approved fastening method instead of relying on fastener pressure to correct the shape.
Will textured wall panels hide bumps better than smooth panels?
Texture can make small visual irregularities less noticeable, but it does not make an unsuitable backing acceptable. Both textured and smooth panels need the support specified for their construction.
Can I panel over uneven bathroom walls?
Yes, after correcting the backing and meeting the requirements of the complete wet-area system. Decorative paneling alone does not repair leaks or establish a compliant waterproof assembly.
Do I need a professional for a bowed wall?
Get professional assessment when bowing is new, worsening, associated with cracking, or accompanied by dampness or loose material. A sound wall with isolated cosmetic defects is a different preparation job.
One last thing
A wall can be flat without being plumb. A flat wall provides an even plane; a plumb wall stands vertically, and that difference matters where a panel layout meets corners and door casings.
The Panel Hub wall panels are best for homeowners choosing decorative or acoustic finishes after preparing a sound, suitable backing. Before fixing the first panel, check both the support plane and the reference line for your layout—following a crooked corner can make every subsequent joint look wrong.
Related guides
- Installing wall panels around window and door casings
- Wiring outlets behind wood wall panels
- Filling nail holes in wood wall paneling
Leave a Reply