Tag: Feature Wall

  • 3D Stone Effect Wall Panels: How Depth and Shadow Transform a Surface

    3D Stone Effect Wall Panels: How Depth and Shadow Transform a Surface

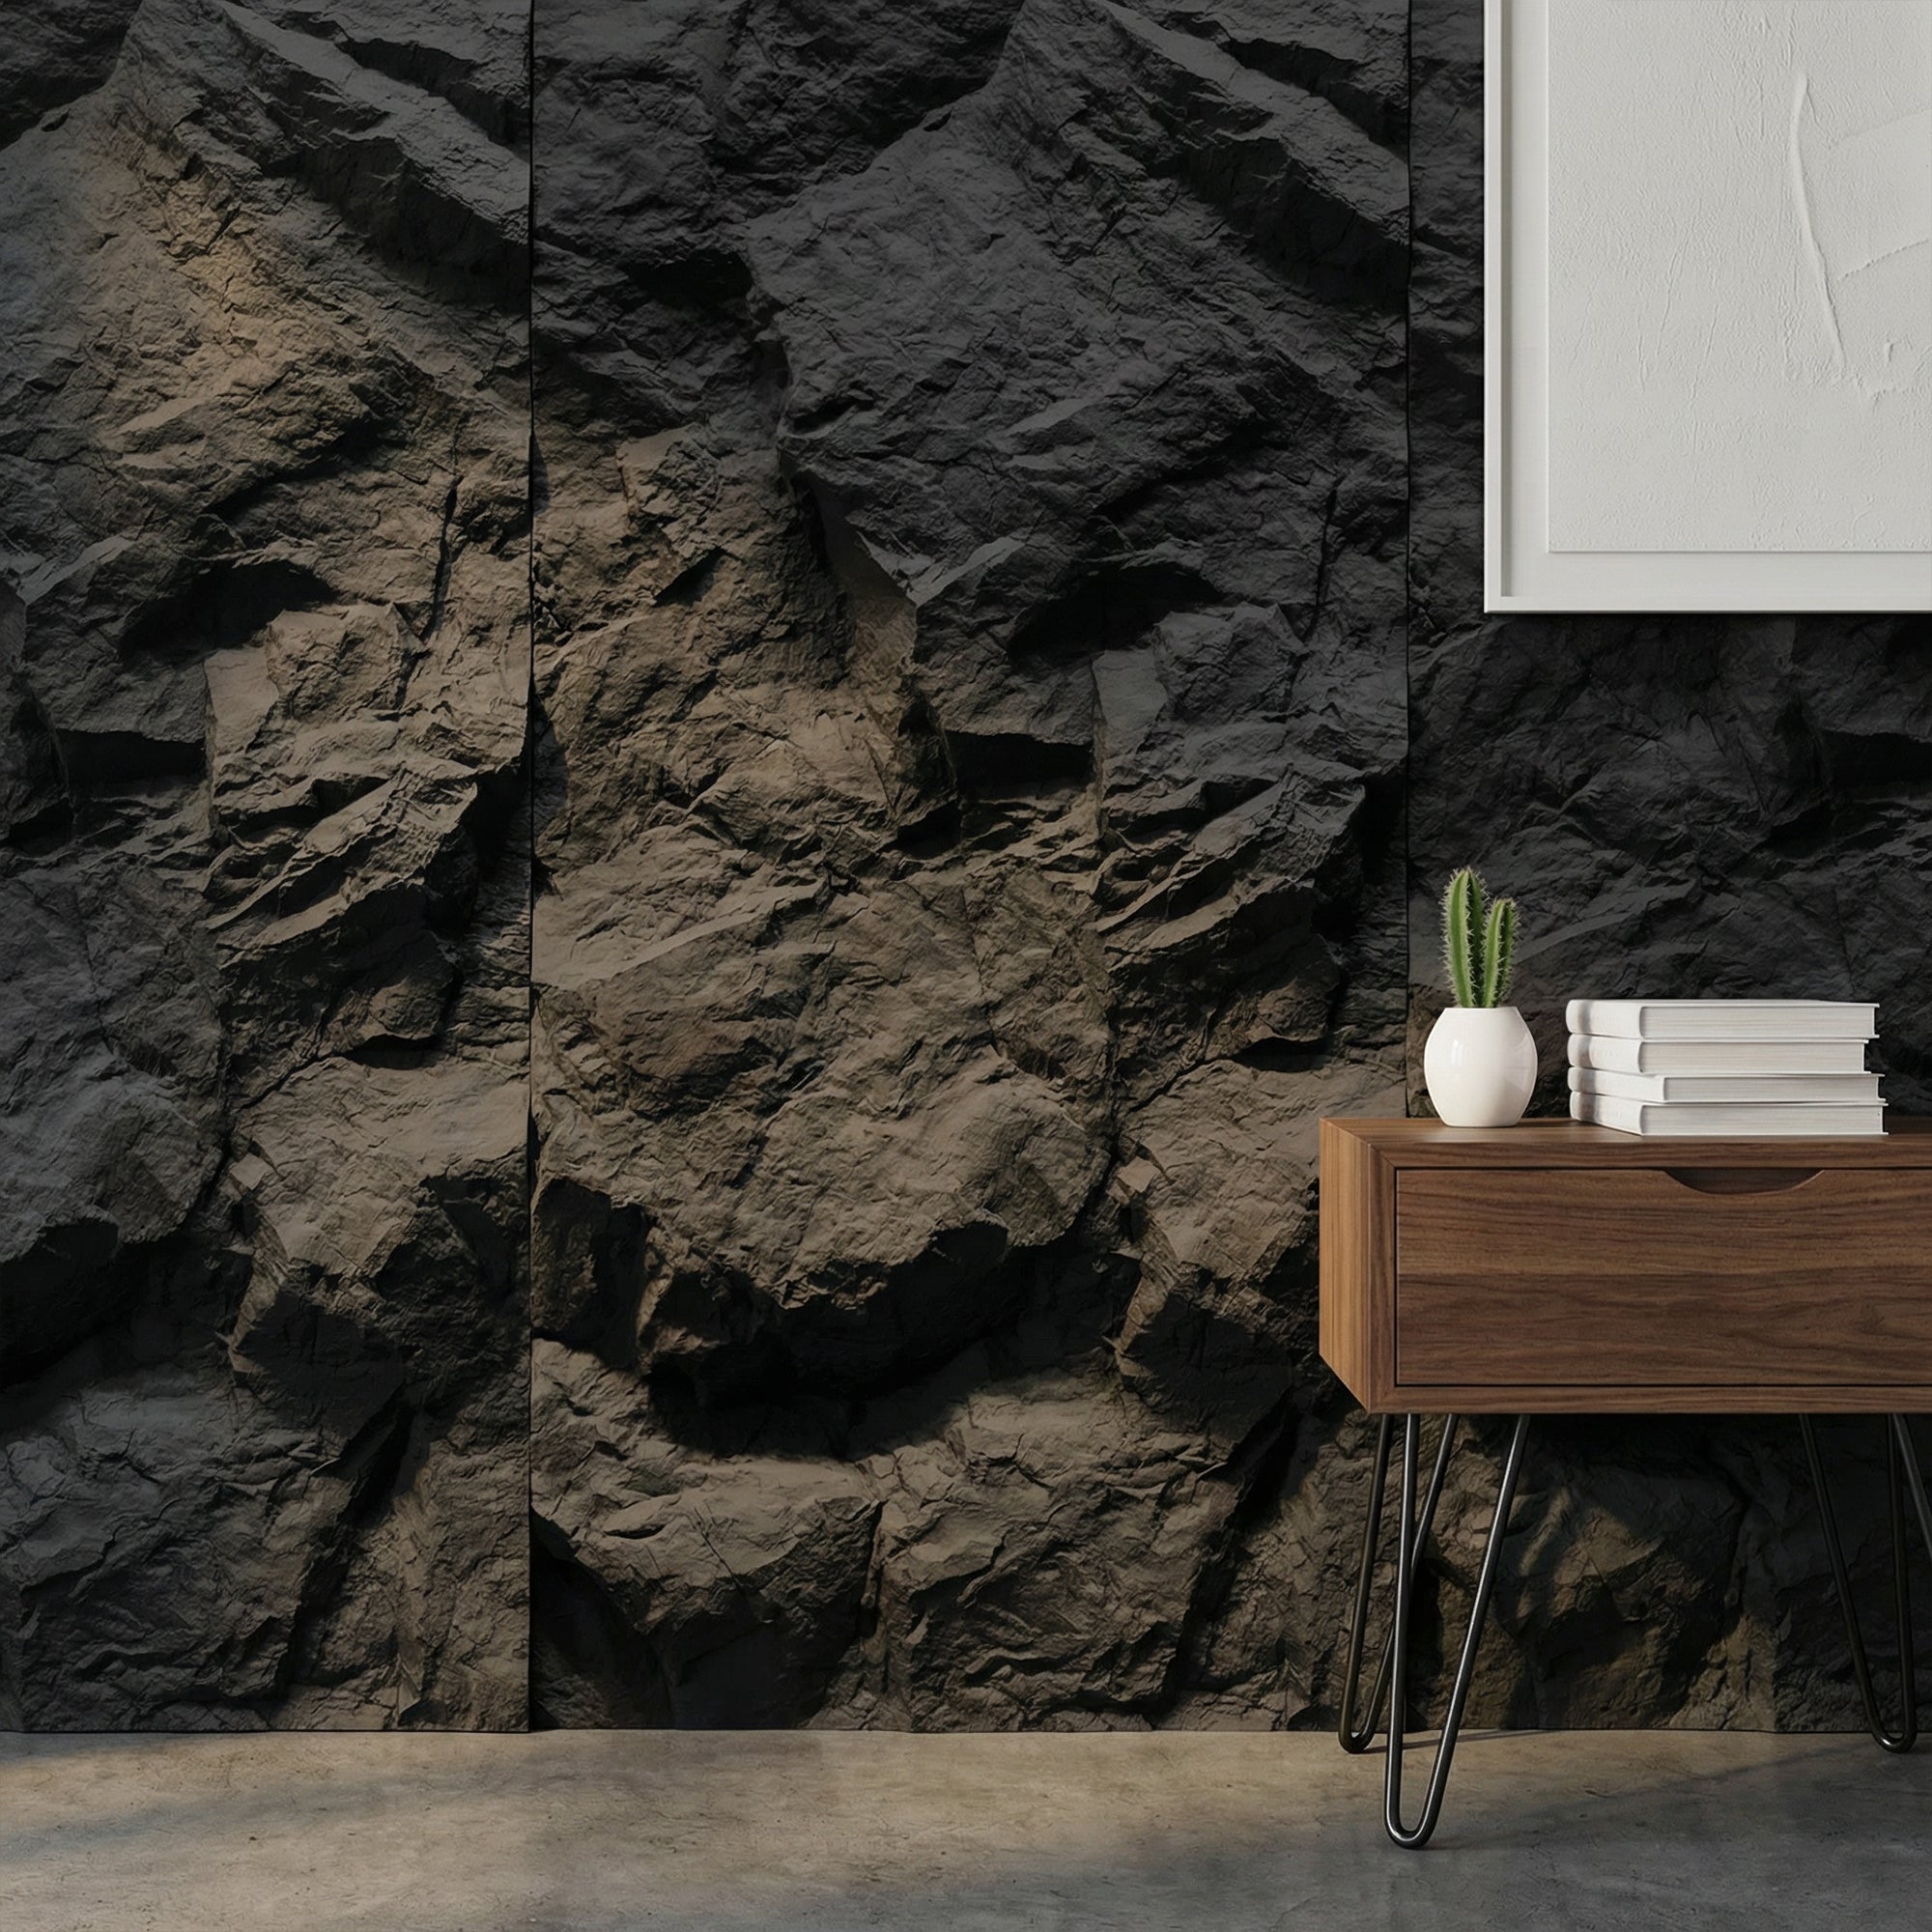
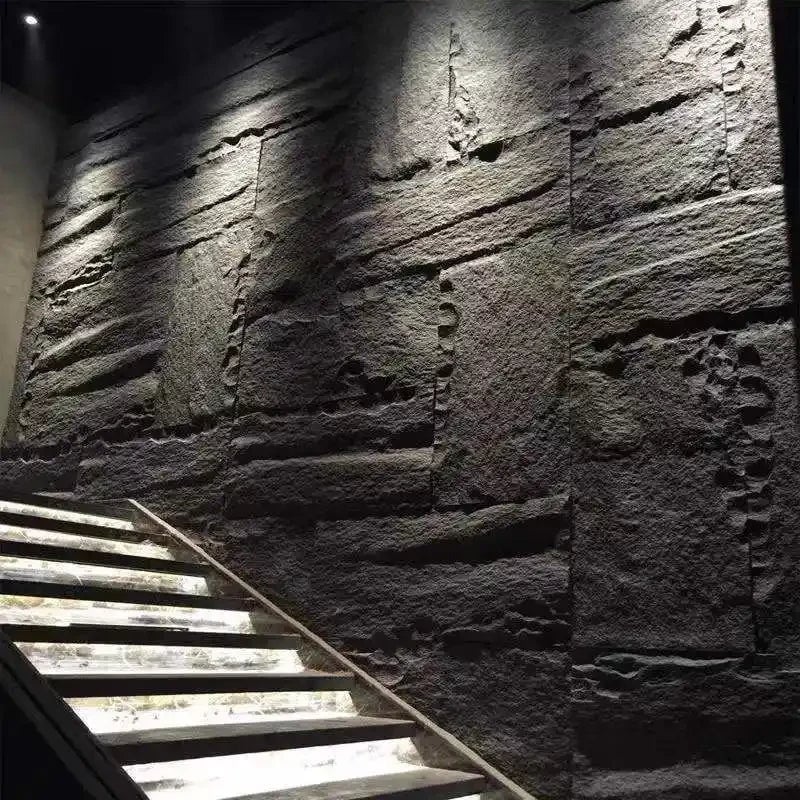
    A flat stone surface is attractive. A three-dimensional stone surface is arresting. The difference is what happens when light strikes the wall — on a flat panel, light reflects uniformly. On a 3D stone effect panel, light catches the raised surfaces, falls into the recesses, and creates an ever-shifting pattern of highlight and shadow that changes as the light source moves.

    This is why 3D stone effect wall panels have become a feature in high-end residential and commercial interiors. The surface actively engages with the room’s lighting conditions, producing a result that cannot be achieved by any flat material, however realistic its finish.

    The Science Behind the Effect

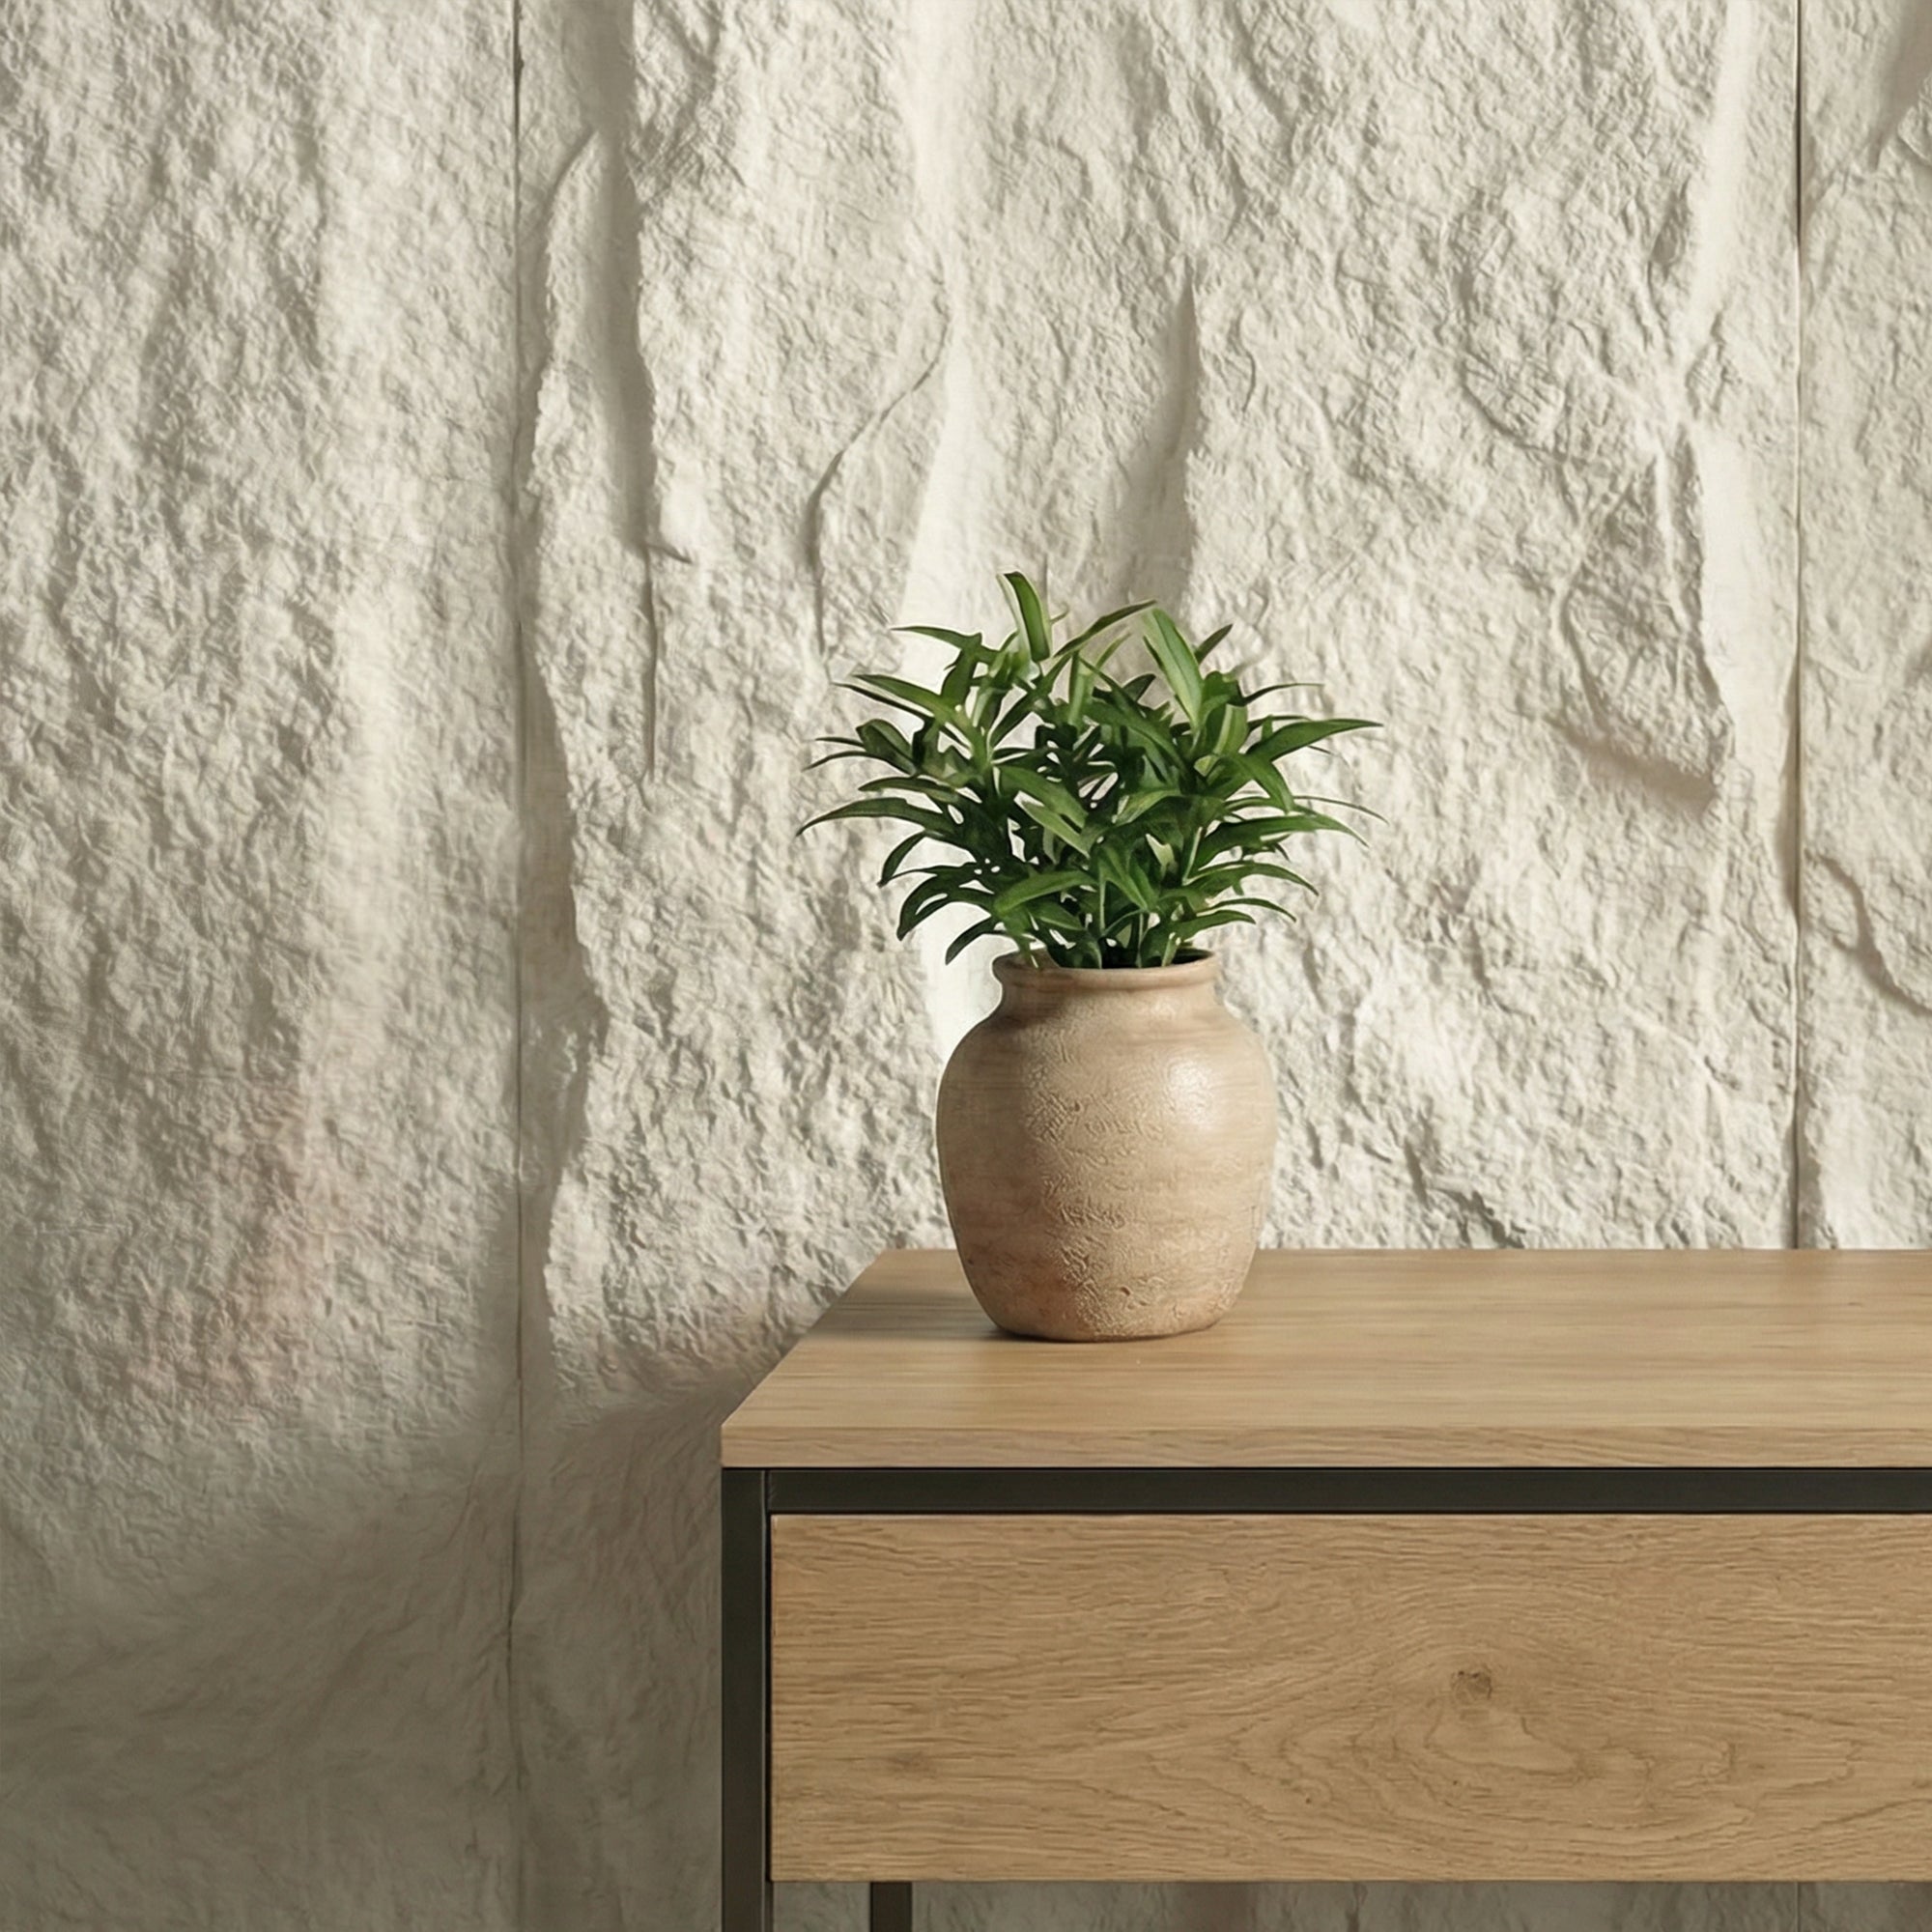
    3D stone panels use moulded relief — raised and recessed elements across the surface — to create depth. The depth of this relief varies: shallow relief creates a subtle undulation that reads as texture from a distance, while deep relief creates pronounced shadow lines and a sculptural quality visible from across the room.

    The most effective 3D stone panels derive their surface geometry from casts of actual stone samples. The natural irregularity of real stone — no two faces exactly the same, no perfectly straight edges — translates into a finished panel that reads as genuinely organic rather than manufactured.

    Lighting 3D Stone Panels for Maximum Effect

    Grazing Light

    Light positioned to graze across the surface — wall-mounted luminaires, directional spots at a low angle — catches the leading edges of the relief and throws the recesses into deep shadow. This is the most dramatic lighting approach for 3D stone and works particularly well in dining rooms, bars, and bedrooms.

    Warm vs Cool Light

    Warm white light (2700–3000K) brings out warm undertones in natural stone finishes and creates an intimate effect. Cool white light (4000K+) emphasises the sculptural quality of the relief and creates a crisper, more contemporary result. Choose based on the atmosphere you’re creating.

    Avoiding Flat Overhead Lighting

    Ceiling-mounted downlights directly above a 3D stone panel are the least effective lighting choice — they illuminate from above without creating the lateral shadows that reveal the relief. Supplement downlights with wall-mounted fittings to bring out the texture.

    Where 3D Stone Effect Panels Work Best

    Living Rooms and Dining Rooms

    The changing light conditions across a day mean a 3D stone feature wall looks different at every time of day. The surface is engaging without being distracting — it rewards close attention without demanding it.

    Fireplace Surrounds

    The dancing light from an open fire is particularly effective against a 3D stone surface. The irregular reflection creates a warm, organic effect that flat surfaces cannot replicate.

    Commercial Spaces: Bars, Hotels, Restaurants

    3D stone panels are extensively used in hospitality design. The textured surface provides acoustic benefit — broken surfaces scatter sound rather than reflecting it flatly — and creates atmosphere that flat walls cannot match. The controlled, directional lighting typical of hospitality environments brings out 3D stone at its best.

    3D Stone Effect Panels from The Panel Hub

    The Panel Hub stocks the RockSurface® 3D stone effect panel collection in multiple tones and relief depths. Request a sample to assess how the relief performs in your specific lighting conditions before placing your order.
  • Wood Wall Panels vs Stone Wall Panels: Which Is Right for Your Space?

    Wood Wall Panels vs Stone Wall Panels: Which Is Right for Your Space?

    Wood and stone are the two dominant materials in natural feature wall design. Both have been used in interior and exterior architecture for centuries. Both are now available in panel form — engineered, lightweight, and easy to install — which puts them in direct competition for the same wall space in homes, offices, and commercial environments.

    Choosing between wood wall panels and stone effect wall panels depends on the room, the aesthetic you’re creating, and the practical requirements of the installation.

    What Each Material Communicates

    Wood Panels

    Wood panels are warm. The grain, tone, and texture of timber communicate organic warmth, natural authenticity, and domesticity. Even in their most contemporary application — fine slat panels with precise engineering and clean finishes — wood panels read as approachable and tactile. They work in bedrooms, living rooms, and home offices where warmth and comfort are design priorities.

    Stone Panels

    Stone panels are cool. Even in warm stone tones, the material communicates solidity, permanence, and weight. Stone feature walls make a bolder statement than wood and sit more comfortably in rooms where drama or formality is the goal — dining rooms, bar areas, commercial environments, feature fireplaces.

    Practical Differences

    Moisture Resistance

    Stone-effect panels generally have better inherent moisture resistance than wood panels, making them more suitable for bathroom and kitchen applications. Wood panels in humid environments require appropriate surface treatment or moisture-resistant cores.

    Acoustic Performance

    Wood slat and acoustic panels from the SoundPanel™ acoustic wood wall panel range offer measurable sound absorption — a benefit stone panels don’t provide. If acoustic performance is a factor in your specification, wood acoustic panels have a clear advantage.

    Room-by-Room Guide

    • Living room: Both work — wood for warmth, stone for drama and formality
    • Bedroom: Wood panels are generally preferred for the warmth they contribute
    • Bathroom: Stone-effect panels have the moisture resistance advantage
    • Kitchen splashback: Stone-effect panels are the practical choice
    • Fireplace breast: Stone is the classic choice; wood works in contemporary settings with appropriate fire safety considerations
    • Commercial and hospitality: Both are extensively used — choice is driven by the atmosphere the space is designed to create

    Can You Use Both?

    Yes — and the combination is often more interesting than either material alone. A fireplace breast in stone panels with an adjacent media wall in wood slats creates material contrast that defines the living room as a thoughtfully designed space. In commercial environments, alternating stone and wood surfaces across different zones creates a layered, high-end finish.

    Explore Both at The Panel Hub

    The Panel Hub supplies both wood wall panels — including the GroovePanel® and SoundPanel™ collections — and the RockSurface® stone effect range. Request samples from both to compare the materials in your own space before deciding.

  • Stacked Stone Wall Panels: The Look, the Reality, and How to Choose

    Stacked Stone Wall Panels: The Look, the Reality, and How to Choose

    Stacked stone is one of the most enduring looks in interior and exterior design — courses of thin stone laid in horizontal rows, creating a surface that reads as ancient, solid, and artisanal. The problem is that genuine stacked stone is heavy, expensive, and requires skilled installation on a structure capable of bearing the load.

    Stacked stone wall panels replicate the aesthetic using lightweight composite or stone-effect materials that can be fitted by any competent installer in a fraction of the time. The result, done well, is visually indistinguishable from the real thing at normal viewing distances.

    Real Stacked Stone vs Stacked Stone Panels: The Honest Comparison

    Weight

    Natural stacked stone cladding typically weighs 50–80kg per square metre. This requires structural assessment before installation, specialist fixings into masonry, and often a plinth or ledger to support the load. Stacked stone panels from The Panel Hub weigh a fraction of this and can be fixed to plasterboard, timber studwork, or existing wall finishes using standard adhesive or mechanical fixings.

    Cost

    The material cost of natural stacked stone, plus structural preparation, specialist installation, and ongoing maintenance, typically runs four to six times the cost of high-quality stone-effect panels. For large-format applications — entire accent walls, exterior cladding, commercial fit-outs — the saving is significant.

    Appearance

    High-quality faux stacked stone panels replicate the natural variation, colour shifts, and texture of real stone. The key quality indicators are the depth of the relief, the colour variation across the surface, and the finish on individual stone faces. Panels using mould-cast textures derived from real stone samples are the most convincing.

    Where to Use Stacked Stone Panels

    Fireplace and Feature Walls

    The fireplace breast is the classic application. Stacked stone panels on a chimney breast or media wall create a rural, artisanal aesthetic that feels grounded and permanent. They work in both traditional and contemporary interiors.

    Garden and Exterior Walls

    Stacked stone panels rated for exterior use give garden boundary walls and exterior house cladding the look of real stone at a fraction of the cost. Always verify UV and frost resistance ratings for any exterior application.

    Bar Fronts and Commercial Feature Walls

    In hospitality and retail environments, stacked stone panels create an artisanal, premium atmosphere on bar fronts, booth dividers, and reception desks — without requiring a specialist stonework contractor.

    Installation Considerations

    Most stacked stone panels are interlocking — each panel’s edge profile engages with its neighbour to create a seamless appearance. Key installation steps:

    • Ensure the substrate is flat, dry, and structurally sound
    • Dry-lay panels before fixing to plan the layout and minimise cuts
    • Use the correct adhesive for your substrate and panel material
    • Cut panels with an angle grinder or tile saw for clean edges around openings and corners

    Stacked Stone Panels from The Panel Hub

    RockSurface® panels from The Panel Hub deliver the stacked stone aesthetic in a lightweight, easy-to-install format. Available in multiple stone tones and textures for both residential and commercial applications. Request samples to assess the finish in your own space before ordering.

  • Show Home Wall Paneling: How Developers Use Feature Walls to Drive Sales

    Show Home Wall Paneling: How Developers Use Feature Walls to Drive Sales

    A show home has one job: to make a prospective buyer fall in love with a property they haven’t yet seen completed. The interior specification of a show home is a sales tool, not a living environment — and every design decision should be evaluated on whether it helps buyers visualise themselves in the space and justify the asking price.

    Wall panels have become a standard specification in show homes across the market spectrum, from affordable developments where a single feature wall in the master bedroom adds perceived value, to premium developments where panels are used throughout to create the material richness that supports a high price per square foot.

    Why Feature Walls Work in Show Homes

    The feature wall is one of the most effective visual devices available to show home designers. It creates a focal point in a room, gives buyers something specific and emotive to respond to, and — when specified correctly — photographs extraordinarily well in marketing materials.

    A GroovePanel® fluted solid wood panel behind the bed in the master bedroom is the single most impactful specification in most show homes. It creates a warm, textured backdrop that makes the room feel considered and premium. It photographs beautifully. And it’s a specification that buyers aspire to replicate — which means they’re more likely to proceed with a purchase than leave to look at competitors.

    Which Rooms Benefit Most from Panel Feature Walls

    Master Bedroom

    The bed head wall is the natural home for a show home feature panel. Every marketing photograph of the master bedroom will include this wall. The texture, warmth, and quality of a solid wood panel in this position creates emotional impact that no painted wall can match.

    Living Room or Open-Plan Living Area

    A feature wall panel on the media wall or fireplace breast in the main living area anchors the room and gives buyers a clear sense of where the television goes and how the room is oriented. It also elevates the perceived quality of the entire living space.

    Entrance Hallway

    The hallway is the first space buyers experience when they walk through the front door. A panel feature wall in the hallway — even a modest one — creates an immediate impression of quality that sets the tone for the rest of the viewing.

    Cost-Effective Specification for Show Homes

    Show home budgets are allocated by sales and marketing teams who understand the return on investment calculation: every pound spent on show home specification needs to pay back in sales velocity and margin. Wall panels offer a high-impact visual result at a specification cost that’s modest relative to the increase in perceived value they create.

    For volume developers specifying the same panel across multiple show homes or across multiple units in a single development, volume pricing from The Panel Hub reduces the per-unit cost further. Contact the trade team to discuss project volumes and pricing.

    Show Home Panel Specification from The Panel Hub

    The Panel Hub works with residential developers, show home designers, and sales and marketing teams on panel specifications for show homes across the UK. The full range of wood wall panels and stone effect panels is available with samples on request.

  • Contemporary Wall Panel Trends 2026: What’s Popular Right Now

    Contemporary Wall Panel Trends 2026: What’s Popular Right Now

    Wall panels have moved from niche to mainstream in the past five years. What began as a boutique interior design trend — acoustic slat panels on media walls, stone effect panels on fireplace breasts — has expanded into a design language used across residential, commercial, and hospitality environments at every price point.

    In 2026, the trends within wall panelling are maturing. Early adopters have moved on from the obvious applications; the mainstream has arrived and is doing more sophisticated things with the format. Here’s what’s defining the category right now.

    Fluted and Ribbed Profiles: Still Dominant, More Refined

    Fluted and ribbed panels were the defining aesthetic of 2022–2024. In 2026, they’re mainstream — which means the interesting design moves have become more sophisticated. Fine-pitch fluting (narrower ridges, tighter spacing) has overtaken the bold wide-flute profiles of the early trend. The result is more refined — a surface that reads as textured at a distance but resolves into precise detail up close.

    The GroovePanel® range includes multiple flute profiles from fine pitch to bold relief — the direction of travel in 2026 is toward the finer end of the spectrum.

    Stone Effect Surfaces: From Niche to Mainstream

    Three-dimensional stone effect panels have followed a similar trajectory to wood panels, but about three years behind. In 2026, stone effect panels are appearing in residential applications that would previously have used painted walls or tile. The combination of realistic texture, lightweight installation, and significantly lower cost than real stone is proving compelling.

    The standout trend within stone panels is the move toward larger-format relief — bigger individual stone faces, deeper shadow lines, and more dramatic three-dimensional geometry.

    Mixing Materials: Wood Plus Stone

    One of the most interesting developments in 2026 is designers combining wood slat panels and stone effect panels in the same space. A horizontal band of stone effect panel at lower wall height, transitioning to wood slat above, creates a layered material story that neither material could tell alone. In commercial environments, this mixing approach creates spaces that feel designed at a different level of ambition than monolithic single-material feature walls.

    Acoustic Panels as Visual Features

    Acoustic slat panels began as a functional specification in recording studios and broadcast environments. In 2026, they’re a mainstream residential feature, specified for their appearance as much as their acoustic performance. The SoundPanel™ range sits at this intersection of acoustic function and visual quality — a combination that’s proving increasingly relevant as open-plan living creates rooms with genuinely poor acoustic performance.

    What’s Fading Out

    • All-wall panel applications: Covering every wall in a room with the same panel product is becoming dated. Feature wall applications — one or two walls — remain strong.
    • Very dark wood tones: Deep espresso and near-black wood finishes that dominated hospitality design in 2021–2023 are giving way to warmer, lighter, more natural tones.
    • Peel-and-stick alternatives: The entry-level end of the market is separating from genuine panel products. Buyers who started with temporary solutions are upgrading to permanent installations.

    What’s Ahead

    The direction of travel for wall panels points toward more material experimentation — mixing profiles, tones, and surface textures within a single space. Browse the full range at The Panel Hub to explore both wood and stone effect options across the current collection.

  • Dark Wood Panels for Living Rooms: How to Use Them Without Losing the Light

    Dark Wood Panels for Living Rooms: How to Use Them Without Losing the Light

    Dark wood panels in a living room are one of the most impactful design choices you can make — but also one of the easiest to get wrong. At The Panel Hub, our dark wood panels are among our most searched finishes, and the questions we hear most often are about balance: how dark is too dark, which walls should be paneled, and what to pair them with. This guide covers all of it.

    Why Dark Wood Works in Living Rooms

    Dark wood panels add depth, drama, and a quality of visual weight that lighter finishes can’t replicate. In a living room — where the goal is a space that feels rich, considered, and inviting for spending time — that weight works in your favour. A dark wood panel on a feature wall creates a sense of enclosure and intimacy that makes a large living room feel more human in scale, and gives a smaller room a purposeful, designed quality rather than just feeling small.

    The key distinction is between using dark panels strategically — on one or two walls, with considered lighting and complementary materials — and using them everywhere, which creates a space that feels heavy and light-starved.

    Which Walls to Panel in Dark Wood

    The TV wall

    The TV wall is the most common location for dark wood paneling in a living room, and for good reason. A dark background recedes behind the screen, reducing the contrast that makes a TV look like a black rectangle mounted on a white wall. Dark walnut or deep oak panels create a backdrop that makes the TV appear integrated rather than prominent, and the wall becomes part of the room’s design rather than an afterthought.

    The fireplace wall

    A fireplace wall in dark wood paneling creates a focal point with real visual gravity. The depth of the panel finish complements the darkened interior of a fireplace opening and creates a cohesive, rich composition. This works best when the fireplace surround is in a contrasting lighter material — white plaster, stone, or painted timber — that prevents the whole wall from reading as uniformly dark.

    The wall behind the sofa

    In living rooms where seating faces a window, the wall behind the sofa is often backlit and benefits from a darker, more defined treatment. A dark wood panel here creates a strong horizontal backdrop that anchors the furniture arrangement and prevents the sofa from floating in space. It’s most effective in rooms with good natural light, where the panel’s darkness is balanced by light from the opposite side of the room.

    Choosing the Right Dark Wood Finish

    Walnut

    Walnut is the most versatile dark wood finish for living rooms — rich, warm, and with enough grain variation to feel organic rather than flat. Our walnut wall panels suit both contemporary and period living rooms and pair well with warm neutrals, deep greens, and burnt orange accent tones. Walnut reads as dark without being oppressive — it’s the right starting point if you’re unsure how much darkness the room can handle.

    Dark oak and espresso finishes

    Darker than walnut, espresso and dark oak finishes are for rooms where contrast is the brief. Pale walls, light upholstery, and bright lighting let these finishes perform without making the room feel closed in. In well-lit rooms with high ceilings, they create a dramatic, high-contrast result. Our dark wood panel collection includes several finishes in this range, from deep tobacco through to near-black ebony tones.

    Wenge and near-black tones

    The darkest finishes — wenge, ebony, very dark espresso — are for confident, deliberate interiors where the panel is clearly the dominant design statement. Limit these to a single feature wall, ensure the room has strong lighting, and pair with light or warm furnishings to prevent the room from reading as oppressive.

    Balancing Dark Panels in a Living Room

    The single most important rule: keep the remaining walls light. A dark feature wall and three plain light walls creates exactly the right balance — drama and depth without loss of space or light. If you panel two walls in dark wood, ensure they’re not adjacent (which creates a corner that feels closed) and keep the remaining walls very light.

    Scale also matters. In a living room under 4m wide, limit dark paneling to one wall. Larger rooms can carry more. Use our wood wall panel collection sample swatches to test proportions in your space before committing.

    Lighting Dark Wood Panels

    Dark panels absorb light, so the lighting in a paneled living room needs to be intentional. Uplighters or wall-grazing downlights positioned to skim across the panel surface reveal the texture and grain that make dark wood interesting. Picture lights, floor lamps positioned near the panel, and warm-toned LED strips can all be used to bring the panel to life in the evening. Avoid cold-toned lighting with dark panels — it makes the wood look grey and lifeless.

    What to Pair With Dark Wood Panels

    Dark wood panels pair best with: warm whites and creams for the remaining walls; warm-toned textiles (caramel leather, oatmeal linen, deep wool); brass and antique gold hardware and lighting; warm-spectrum area rugs; and natural textures (stone, jute, ceramics). They clash with: cool greys, stark whites under cool lighting, chrome and silver metals, and very pale or icy accent colours.

    Common Mistakes to Avoid

    Don’t panel more than one wall dark in a small room. Don’t choose a very dark finish in a room with limited natural light. Don’t pair with cool-toned décor. And don’t use dark panels as a substitute for thoughtful lighting — they need more light, not less, to perform well. With the right placement and lighting, dark wood panels are one of the most rewarding choices in interior design.

  • Kitchen Feature Wall Ideas: How to Create a Focal Point That Actually Works

    Kitchen Feature Wall Ideas: How to Create a Focal Point That Actually Works

    Kitchens are the most-used room in most homes, but they’re rarely treated as spaces where design can make a real statement. At The Panel Hub, we’ve seen a growing number of homeowners and kitchen designers using wood wall panels to add warmth, texture, and character to kitchens that would otherwise feel cold or purely functional. A well-placed kitchen feature wall is one of the most impactful changes you can make without touching the cabinetry or flooring.

    What Makes a Good Kitchen Feature Wall

    A kitchen feature wall works when it anchors the room visually without competing with everything else. In practice, that usually means one wall — often the one behind open shelving, a dining area, or an island — treated with a material, colour, or texture that draws the eye. The wall becomes a backdrop that makes the rest of the kitchen look more considered.

    Wood paneling is effective here because it adds warmth and depth without requiring a full renovation. It sits behind cabinetry, appliances, and décor rather than clashing with them. The right panel finish reads as intentional, not decorative for its own sake.

    Where to Position a Kitchen Feature Wall

    The wall behind open shelving

    Open kitchen shelving has become a design staple, but the wall behind it matters as much as the shelves themselves. A paneled wall behind floating shelves gives depth and richness to what would otherwise be empty painted plaster. Oak slat panels work particularly well here — they add visual interest without overpowering the items on display.

    The island-facing wall

    In kitchens with a central island, the wall you face while cooking is often overlooked. Paneling this wall creates a backdrop that frames the island and makes the whole kitchen feel more designed. This is especially effective in open-plan spaces where the kitchen needs to hold its own visually against a living or dining area.

    The dining area wall in open-plan kitchens

    In open-plan kitchen-diners, the wall at the end of the dining table is a natural feature wall location. Paneling it defines the dining zone without building a wall and creates a visual anchor for the table and chairs. This is one of the most popular uses of wood paneling in contemporary kitchen design.

    Panel Styles That Work in Kitchens

    Slat panels

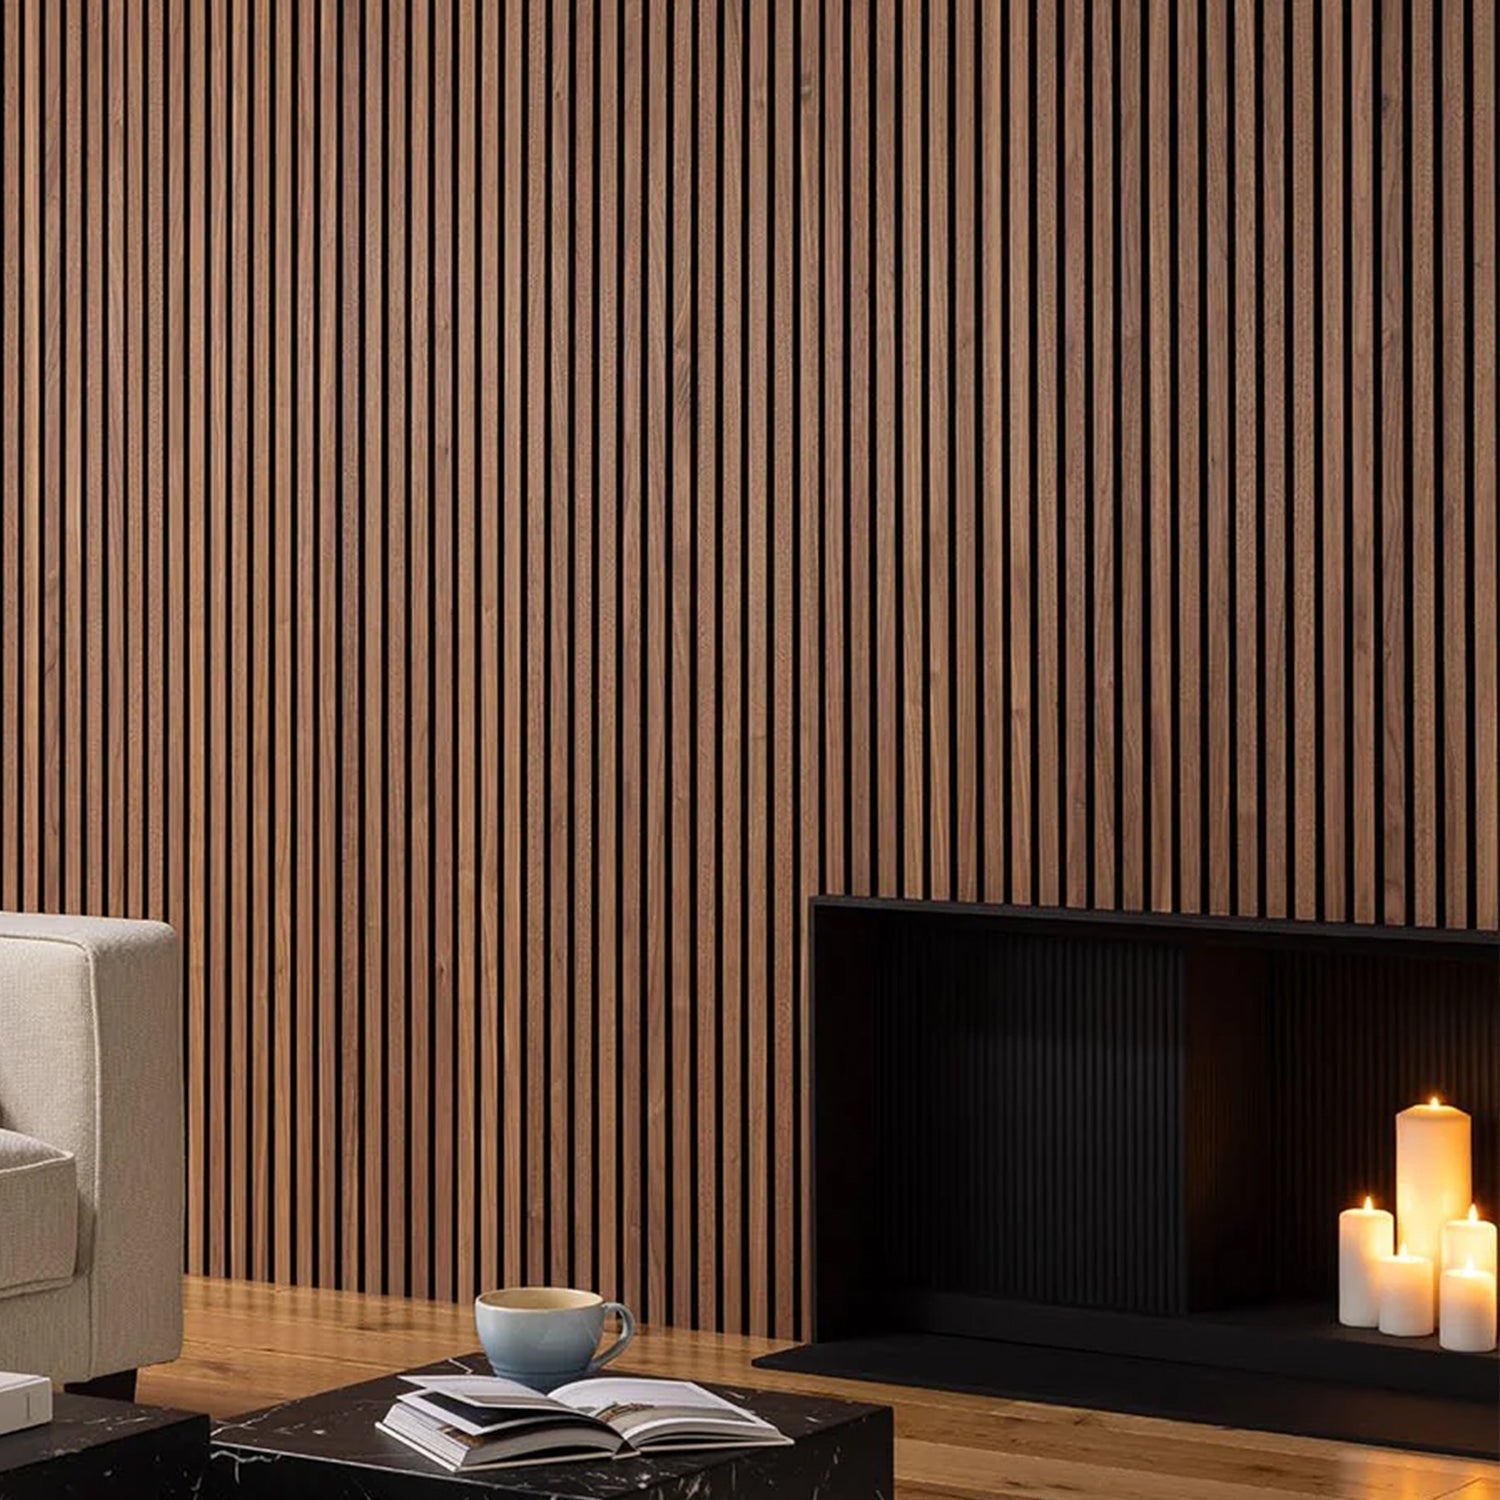
    Vertical slat panels are the most widely used style for kitchen feature walls. The clean linear lines complement both modern handleless kitchens and more traditional shaker-style cabinetry. Our SoundPanel™ acoustic slat panels work especially well in open-plan kitchen-diners where the dining area benefits from sound absorption too.

    Mosaic and grooved panels

    For kitchens with a more textural approach, mosaic-style panels add a different kind of depth. Our GroovePanel® mosaic panels suit kitchens with a more eclectic or warm-minimalist aesthetic and pair well with raw timber, concrete worktops, or dark cabinetry.

    How to Choose the Right Finish

    The finish of your kitchen feature wall panels should relate to something else already in the room — the flooring, worktop, or cabinet handles. If your kitchen has warm-toned timber flooring, an oak panel finish carries that warmth up the wall without feeling repetitive. If the kitchen is largely white or grey, a walnut or darker oak finish creates contrast and warmth without clashing.

    Avoid going so dark that the wall recedes too much, especially in smaller kitchens. Mid-tone oak finishes tend to be the most versatile — they read as warm without being heavy.

    Practical Considerations for Kitchen Panels

    The main practical question with kitchen wall panels is moisture and cleaning. Our kitchen wall panels are not intended for use directly behind hobs or sinks where water or grease splatter is a constant issue. For feature walls away from the cooking zone — behind shelving, in dining areas, or on island-facing walls — they perform well and are easy to maintain with a dry or lightly damp cloth.

    Panels should not be installed in areas subject to heavy steam or direct water contact. For those zones, tile or glass is still the right material. But for the majority of kitchen wall space, panels are a practical and durable choice.

    Kitchen Feature Wall Ideas by Style

    Modern minimal

    In a minimal kitchen with handleless cabinetry and a neutral palette, a pale oak slat panel on the dining wall adds warmth and texture without disrupting the clean lines. Keep the rest of the walls plain and let the panel do the work.

    Warm Scandi

    A Scandi-influenced kitchen — white cabinets, timber accents, simple shapes — benefits from a feature wall that adds the warmth the rest of the room is built around. A natural oak panel behind open shelving completes the look without adding clutter.

    Industrial

    Darker panel finishes — walnut, dark oak, or a panel with strong grain contrast — pair well with industrial kitchen elements: black metal frames, concrete worktops, exposed brickwork. The wood softens the harder materials without losing the industrial edge.

    Where to Start

    The easiest way to start is to identify the single wall in your kitchen that gets the most visual attention — usually the one you face most often or the first one you see when entering the room. Panel that wall first. Once it’s in place, you’ll have a much clearer sense of whether any other walls need treatment or whether that one change is enough.

    Browse our full range of kitchen wall panels or explore the complete wood wall panel collection to find the right finish for your space.

  • Honeycomb Wood Wall Panels: Design Ideas and How to Use the Honey Mosaic Pattern

    Honeycomb Wood Wall Panels: Design Ideas and How to Use the Honey Mosaic Pattern

    The honeycomb is one of the most efficient structures in nature. Hexagonal cells tessellate perfectly, cover a surface with no gaps, and distribute structural load evenly — which is why bees figured it out millions of years ago. In interior design, honeycomb-inspired wall patterns carry that same sense of natural order: organic, textured, and satisfying in a way that purely geometric shapes sometimes aren’t.

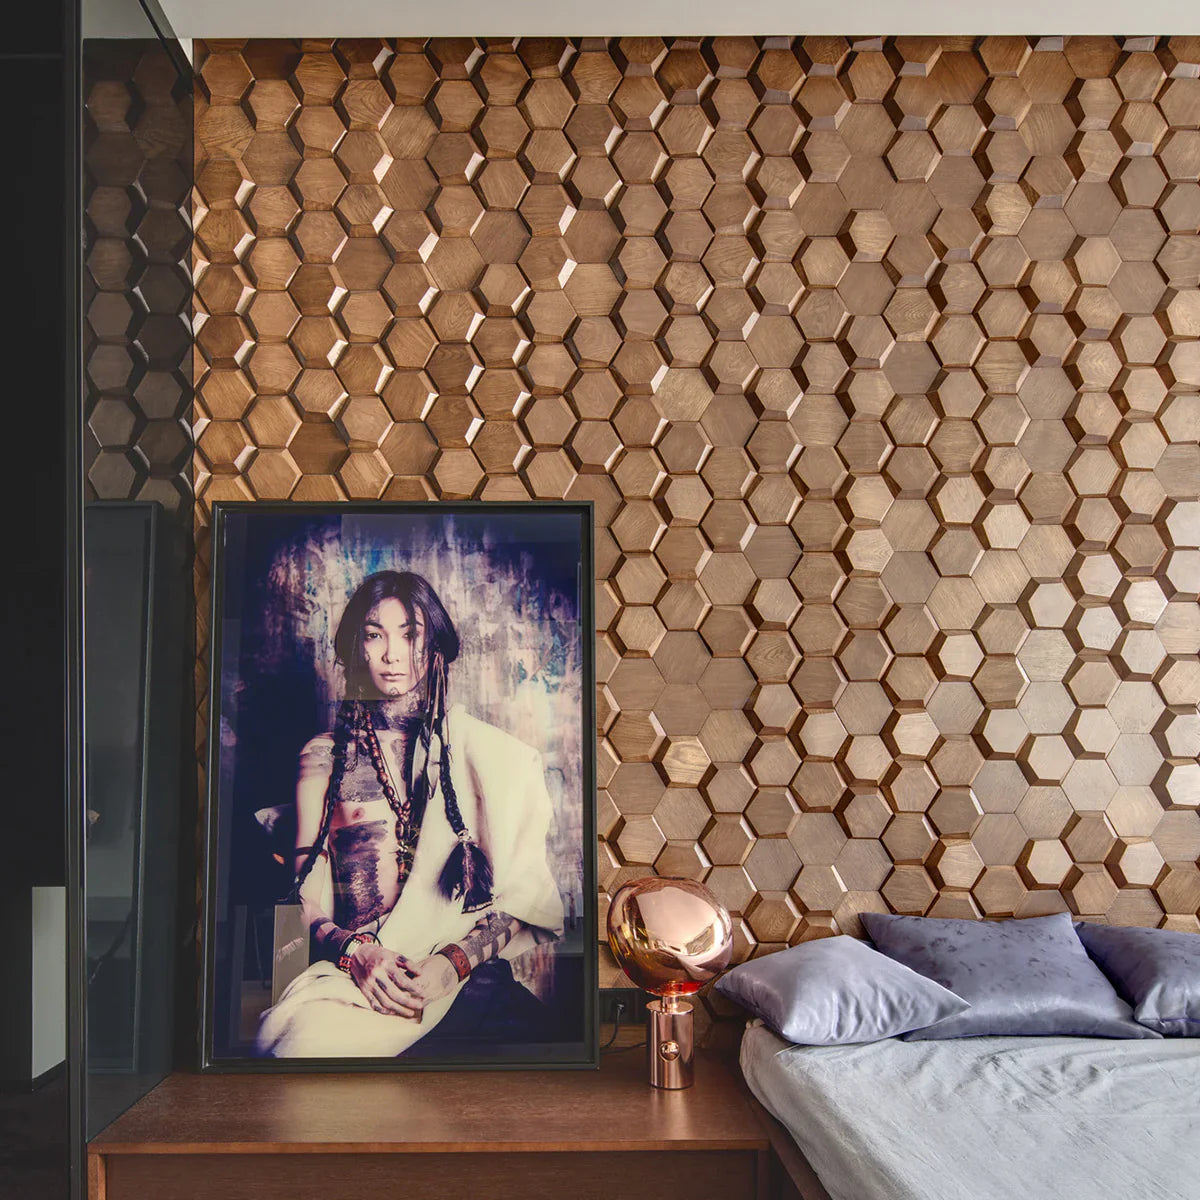
    At The Panel Hub, the Honey Mosaic Solid Walnut Panel is our closest expression of this aesthetic — a mosaic of irregular, closely fitted solid walnut pieces that create an all-over surface texture reminiscent of natural cellular structures. Here’s how to use it, and what to consider when planning a honey mosaic installation.

    What Is the Honey Mosaic Pattern?

    The honey mosaic is a solid walnut panel composed of small, irregularly shaped pieces arranged in a close-fitted mosaic. Unlike a regular geometric tile where every unit is identical, the honey mosaic has slight variation between pieces — in grain direction, cut angle, and natural colour — that gives the overall surface a handcrafted, organic quality.

    This distinguishes it from our sharper geometric formats like the concentric square or crossing lines panels, which are more architectural and precise. The honey mosaic reads as warmer and more natural — closer to a craftsman’s work than a technical drawing.

    Which Rooms Suit the Honey Mosaic Pattern?

    Living rooms seeking warmth

    A honey mosaic wall behind a sofa adds rich timber texture without the hard-edged geometry of a concentric square or triangle pattern. If your living room is contemporary but you want warmth and tactile interest rather than graphic impact, the honey mosaic is the better choice.

    Bedrooms with earthy or biophilic interiors

    The irregular, nature-derived quality of the honey mosaic pattern suits bedrooms with earthy tones — terracotta, warm white, sage green. For biophilic interior design (bringing natural materials and textures indoors), it’s one of the most appropriate panel formats because it mimics the cellular structure of organic materials rather than imposing a human-made geometry.

    Spa bathrooms and wellness spaces

    Wellness-oriented bathrooms — where the aesthetic goal is calm, warmth, and natural materials — benefit from honey mosaic panels on a feature wall behind a freestanding bath or vanity. The walnut tone reads as luxurious in contrast to white marble or concrete floor tiles. Note: ensure panels are not in direct water contact zones; oil or wax the surface for moisture protection.

    Home offices and reading rooms

    A honey mosaic wall behind a desk brings warmth to a workspace without the visual distraction of a strongly directional pattern. It’s present enough to improve the aesthetic but not so graphic that it competes for attention during video calls.

    Styling the Honey Mosaic Pattern

    Complementary colours

    Walnut’s natural colour ranges from medium brown to a deep reddish-brown. It pairs well with:

    • Warm white walls (not cool, blue-tinted white)
    • Terracotta and burnt orange accents
    • Deep green upholstery
    • Sand and camel tones in textiles and flooring

    Material combinations

    The organic quality of the honey mosaic works particularly well alongside other natural materials: linen upholstery, jute rugs, unglazed ceramic vessels. Avoid combining it with high-gloss synthetic finishes, which create a jarring contrast with the raw, natural quality of the walnut.

    Honey Mosaic vs Other GroovePanel Formats

    If you’re deciding between the honey mosaic and other patterns in the GroovePanel® range, here’s the key distinction: the honey mosaic prioritises warmth and organic texture over graphic impact. If you want a wall that makes a bold pattern statement, choose the concentric square or walnut triangle. If you want a wall that reads as warm, handcrafted, and natural, choose the honey mosaic.

    For a full comparison of panel patterns and when to use each, read our guide to wood mosaic wall panels.

    Installation

    Honey mosaic panels are installed using adhesive onto a flat, prepared wall. Because the pattern is irregular, there’s no strict directional requirement — you don’t need to align rows as precisely as you do with triangles or squares. Start from the centre of your planned installation area and work outward, maintaining consistent joint spacing between tiles.

    For all installation preparation guidance, read our article on how to install wall panels on an uneven wall — the surface prep steps are the same regardless of panel format.

    Browse the full range at GroovePanel® Geometric Wood Wall Panels or order a honey mosaic sample to see the walnut tone in your own lighting.

  • 3D Geometric Wood Panels: How Shadow and Depth Transform a Room

    3D Geometric Wood Panels: How Shadow and Depth Transform a Room

    There’s a difference between a patterned wall and a three-dimensional wall. A printed or painted geometric pattern adds visual interest. A 3D geometric wood panel adds physical depth — the shadows it casts are real, and they change as the light in the room changes. This is what separates a truly dynamic feature wall from one that looks impressive in photos but flat in person.

    This guide covers how 3D geometric wood panels work, what makes them effective, and how to use them to transform a room.

    What Makes a Panel “3D”?

    A 3D wood panel has relief — the surface isn’t flat. Individual elements are raised, recessed, or angled relative to each other, creating physical depth. In the 3D Geometric Pattern Wooden Panel from our GroovePanel® range, the geometric elements are routed and shaped from solid timber, creating distinct planes that produce shadow lines across the surface.

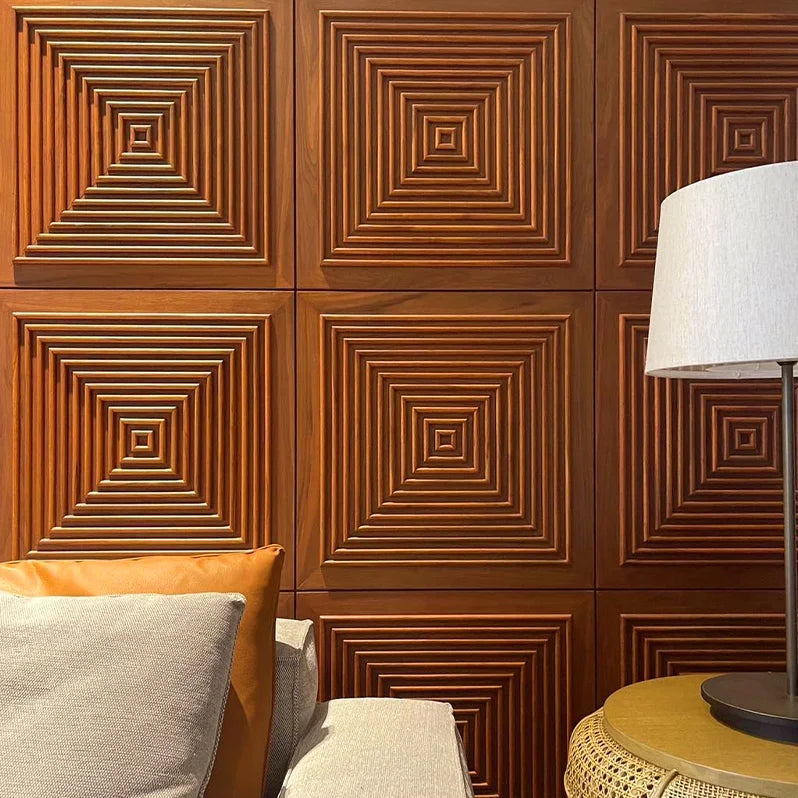
    The 3D Concentric Square Panel takes this further: the nested squares are stepped at different heights, so the innermost square is the highest point and the outer ring is the lowest. The result is a panel that looks like a topographic map or an architectural model — and it casts different shadows at different times of day as the sun angle changes.

    This is fundamentally different from a flat mosaic panel with surface pattern. The depth is structural, not visual — it exists in the physical object, not as a trick of print or finish.

    How Shadow Works on a 3D Panel

    Shadow is what gives 3D panels their character. Without directional light, a 3D panel loses most of its impact. This has direct implications for where you install one:

    • Walls receiving natural side-lighting (windows to one side of the wall) are ideal — morning and afternoon light rakes across the surface and maximises shadow definition.
    • Walls with directional artificial lighting — a wall sconce or track light at an angle — maintain the 3D effect in the evening.
    • Avoid flat, overhead-only lighting for a 3D panel wall. Overhead light fills in shadow and flattens the effect. If you have only overhead lights, add a wall sconce or an angled floor lamp to create directional light across the panel surface.

    Room-by-Room: Where 3D Geometric Panels Have the Most Impact

    Living rooms

    A chimney breast or the wall behind a sofa are the most effective locations. The panel becomes a focal point that you see from across the room and appreciate up close. In a living room that has natural light entering from the side, the shadow lines on a 3D panel shift through the day — it’s effectively an installation that changes appearance without changing physically.

    Hallways and entryways

    3D panels are particularly effective in hallways where the main light source is a single pendant or wall sconce. The raking light across the panel surface creates a striking first impression at the entrance to a home.

    Behind a TV or media wall

    Mounting a 3D geometric panel on a media wall, surrounding a TV, is a contemporary alternative to built-in media units. When the TV is off, the panel reads as a decorative surface. When the TV is on, the panel adds texture and depth to a functional zone. For ideas on media wall design, see our article on how to decorate the wall behind a TV stand.

    Solid Wood vs MDF for 3D Geometric Panels

    3D geometric panels are available in solid wood and MDF. For flat panels, MDF can be an acceptable substrate. For 3D relief panels, solid wood is significantly better:

    • Routed edges in solid wood are crisp and clean; in MDF, they can chip or fray, especially at fine geometric details
    • Solid wood panel edges show natural grain; MDF shows a grey composite
    • Solid wood holds screws and mounting hardware better in high-relief areas
    • MDF is more susceptible to moisture damage in the fine channels and recesses of a 3D pattern

    All panels in the GroovePanel® range are 100% solid FSC-certified timber. For a full material comparison, read our guide to MDF vs Solid Wood Wall Panels.

    Combining 3D Panels with Lighting

    The relationship between 3D panels and lighting is worth planning in advance rather than after installation. Options include:

    • LED strip lighting mounted in a channel above or to the side of the panel — creates continuous raking light across the entire surface
    • Wall sconces with directional shades — places a pool of angled light on a section of the panel
    • Adjustable track lighting — allows you to change the light angle seasonally

    For more on integrating lighting with wall panels, see our guide to wall panels with LED lighting.

    Getting Started

    Browse the 3D geometric formats in the GroovePanel® collection. Order a sample of wood wall panels of your choice to hold the panel in your room under your actual lighting — this is the only reliable way to judge the shadow effect before buying.

    For broader context on 3D wall panels across all material types, read our pillar guide to 3D wall panels.

  • Wood Mosaic Wall Panels: Patterns, Styles, and How to Choose the Right Design

    Wood Mosaic Wall Panels: Patterns, Styles, and How to Choose the Right Design

    Wood mosaic wall panels bring something that flat timber boards simply cannot: visual rhythm. Each panel is a composition of small individual pieces — triangles, squares, hexagons, or diamonds — arranged into a repeating geometry that catches light differently depending on the angle you stand at. If you’ve been staring at a blank wall wondering how to add character without committing to wallpaper or paint, a wood mosaic panel is one of the most effective answers available.

    This guide walks through what wood mosaic wall panels are, which patterns work best in which rooms, how to choose between solid wood and engineered options, and what to look for before buying.

    What Are Wood Mosaic Wall Panels?

    A wood mosaic wall panel is a modular tile made from individual pieces of real or engineered wood, glued or fitted onto a backing sheet. Unlike a continuous plank or slat panel, the mosaic format breaks the surface into a repeated geometric unit — creating texture, pattern, and depth from a single flat installation.

    The individual pieces can be cut from solid timber, engineered veneer, or MDF. The quality difference between these materials is significant, which we’ll cover in detail below.

    At The Panel Hub, our GroovePanel® Geometric Wood Wall Panels are made entirely from 100% solid FSC-certified timber. That means no MDF core hidden under a veneer — every piece you see is real wood, end grain and all. The result is panels that age naturally, resist warping better than engineered alternatives, and carry a texture you can feel as well as see.

    Pattern choice matters more than most buyers realise. The geometry you pick changes not only the look but how the wall behaves in different lighting conditions.

    Triangle mosaics

    Triangle-based mosaics create strong directional energy. Arranged in opposing pairs, triangles form diamond or chevron effects. Arranged concentrically, they build a radial focal point. The Walnut Triangle Solid Wood Panel is a favourite for headboard walls and living room feature walls where you want a clear visual anchor.

    Concentric square mosaics

    Concentric squares are among the most hypnotic patterns in interior design right now. Each panel contains a series of nested squares receding toward a central point, creating a sense of depth on an otherwise flat wall. Our 3D Concentric Square Wood Wall Panel achieves this with precision-cut solid wood — the shadow lines between layers change throughout the day as natural light shifts.

    Honey mosaic patterns

    Honeycomb-adjacent patterns built from stacked hexagonal or irregular pieces produce a warmer, more organic mosaic. Our Honey Mosaic Solid Walnut Panel uses walnut’s natural grain variation to ensure no two tiles look identical, giving large installations a handcrafted feel at scale.

    Crossing lines and grid mosaics

    Linear crossing patterns break the surface into a grid of negative space and solid wood. The Crossing Lines Solid Wood Panel is a cleaner, more architectural look — less traditional mosaic, more graphic composition.

    Solid Wood vs Engineered Wood Mosaic Panels: What’s the Difference?

    This is the question that most affects long-term satisfaction. Engineered mosaic panels — where a thin veneer is laminated to an MDF or HDF core — are cheaper upfront. But because the visible surface is only 0.6–2mm thick, they cannot be sanded or refinished if they scratch. The edges, if visible, reveal the composite core.

    Solid wood panels cost more but behave like real timber. Surface scratches can be sanded out. The colour and grain run through the full depth of each piece. And because solid wood has mass, panels feel substantial on the wall rather than thin.

    For a full breakdown of the material trade-offs, read our guide to MDF vs Solid Wood Wall Panels.

    Which Rooms Work Best for Wood Mosaic Panels?

    Mosaic patterns work in almost any room, but the scale and grain direction of the pattern should match the proportions of the wall.

    • Living rooms: Large-scale mosaics like concentric squares work well on chimney breasts or walls behind sofas. The pattern creates enough visual complexity to make art optional.
    • Bedrooms: A full headboard wall in triangle or honey mosaic pattern transforms a bedroom from functional to genuinely designed. Keep bedding and furniture in neutral tones so the pattern breathes.
    • Hallways and entryways: Smaller panels work well in tighter spaces. A single accent wall of crossing lines or triangle mosaics greets visitors without overwhelming a narrow corridor.
    • Home offices: The texture of a wood mosaic panel behind a desk is far more interesting on video calls than painted plasterboard — and it absorbs a small amount of mid-frequency sound as a bonus.

    How Many Panels Do You Need?

    Calculate your wall area in square metres (width × height), then check the individual panel coverage listed on the product page. Most of our wood mosaic panels cover between 0.09 m² and 0.25 m² per tile. Add 10% to your total to account for cuts at edges and corners.

    For help planning your layout, our guide to creating a geometric feature wall covers grid planning, centring your pattern, and avoiding the most common layout mistakes.

    Finish and Colour: Natural, Stained, or Painted?

    Most wood mosaic panels are supplied unfinished or with a light factory oil. This gives you flexibility to:

    • Leave natural for a warm, pale timber look
    • Apply a dark walnut stain for contrast and drama
    • Use a white or grey wash for a Scandinavian or coastal aesthetic
    • Paint in a flat or matte finish if you want the pattern without the wood tone

    Natural walnut panels — like those in our GroovePanel range — arrive with the species’ characteristic dark brown warmth already built in, which reduces the need for staining.

    Installation: What to Know Before You Start

    Wood mosaic panels are installed tile by tile onto a flat, primed wall. The key preparation steps are:

    1. Ensure the wall is flat — high spots cause gaps between tiles
    2. Mark a level horizontal datum line before starting
    3. Begin from the centre of the wall, working outward
    4. Use a suitable panel adhesive and allow full cure time before grouting or finishing joints

    For uneven walls, read our guide on how to install wall panels on an uneven wall before you begin.

    Where to Buy Wood Mosaic Wall Panels

    Browse the full GroovePanel® Geometric Wood Wall Panel collection for solid wood mosaic options in walnut, oak, and mixed-species finishes. All panels are FSC-certified and EPD-verified. Samples are available through our wall panel sample service if you want to check colour and texture in your own lighting before committing to a full order.