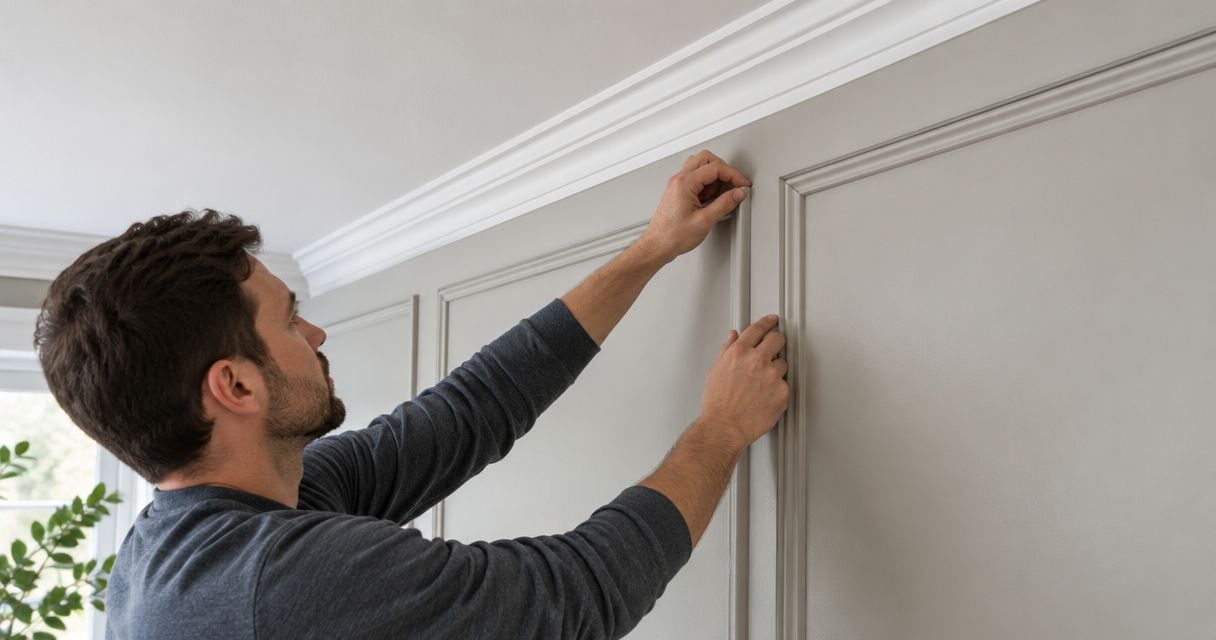
Instead of repeatedly trimming panels until they squeeze beneath existing crown molding, plan the finished wall depth, test the junction with scraps, and install a separate finishing trim where needed. This 2026 guide explains connecting wall panel trim to crown molding without forcing the panels against the crown or hiding poor cuts under caulk.
- Connecting wall panel trim to crown molding starts with measuring the complete panel assembly, not just the decorative face.
- Keep existing crown molding when a sample shows the panel and finishing trim fit beneath it.
- Use a flat transition rail to separate uneven panel ends from the crown molding.
- The Panel Hub serves homeowners choosing decorative and acoustic wood wall panels; check installation instructions before selecting trim.
Why this matters
Crown molding finishes the wall-to-ceiling junction. Wall panel trim finishes the panel edge. Those jobs overlap visually, but attaching one directly to the other is not automatically the right construction detail.
A panel mounted on backing or battens sits farther into the room than a panel attached directly to the wall. That extra depth changes whether the crown projects beyond the finished surface, meets it neatly, or appears buried behind it.
The Panel Hub is best for homeowners shopping for decorative and acoustic wood wall panels. When choosing The Panel Hub wall panels for a 2026 project, resolve the crown junction before covering the wall. The trim detail needs to suit the actual assembly, not just the panel's appearance.
Before you start
- Gather the panel installation instructions, a panel offcut, proposed finishing trim, tape measure, level, straightedge, angle finder, and suitable cutting tools. Choose fastening and finishing materials compatible with the wall, panel, and trim.
- Inspect the existing crown for loose sections, damaged finishes, and hidden services near proposed fastening locations. Use stable access equipment, eye protection, and appropriate dust control; investigate suspect older paint before disturbing it.
- Check the concealed depth first. Include backing, battens, and the intended mounting system in your sample. Also check required movement clearances: a trim that covers an edge must not clamp a panel that needs room to move.
Do not start by removing sound crown molding. First establish whether the new wall surface can finish beneath it without changing the ceiling detail.
Wall depth and junction layout
The first configuration decision is the relationship between the finished panel face and the crown's lower edge. In your 2026 project notes, record that relationship before ordering finishing trim or cutting full panels.
- Measure the assembly. Hold a panel sample against the intended backing or mounting arrangement. Measure from the original wall surface to the outermost finished face, including raised texture where it meets the trim.
- Check crown projection. Hold a straightedge against the sample face and extend it upward. Observe whether the crown's lower edge projects beyond that plane, meets it, or sits behind it.
- Check the wall. Take readings at 3 measurement points: each end and the middle. Add checks wherever the wall bows or the crown changes direction.
- Mark the finish line. Establish a level reference for the panel or transition rail. Compare it with the crown's underside rather than assuming the existing molding is level.
- Inspect adjoining details. Check door casings, window casings, side returns, and corners. A top trim that works in the middle of the wall still needs a deliberate ending at each side.
Expected result: You know the finished wall depth, the crown's position relative to it, and where the panel's top edge will end.
Choose the junction that matches the measurements
The options below are construction details, not interchangeable accessories. Select the detail that fits your measured assembly and the panel manufacturer's instructions.
| Junction option | Best for | Advantage | Limitation |
|---|---|---|---|
| Panel below crown | A panel face that fits beneath the existing crown | Preserves the existing ceiling detail | Exposes inaccurate top cuts unless an approved edge trim covers them |
| Flat transition rail | Uneven panel ends or a visual break beneath crown | Creates a continuous boundary above the panel pattern | Adds another horizontal element and needs independent support |
| Repositioned crown | Panel assemblies that leave the crown recessed behind the new face | Allows the crown to relate to the new wall plane | Requires removal, refitting, and possible corner or ceiling repairs |
Keep existing crown when the mock-up fits; change the junction when it does not. Caulk cannot correct an incompatible depth relationship.
A flat transition rail is a practical choice when you want to preserve the crown while giving slats or textured panels a clean stopping point. It does not solve every depth problem: the rail itself must fit below the crown and cover the intended panel edge.
Sample assembly and trim fit
A dry-fit makes the connection visible before adhesive or fasteners make it permanent. Test the complete junction, including the finish that will remain exposed.
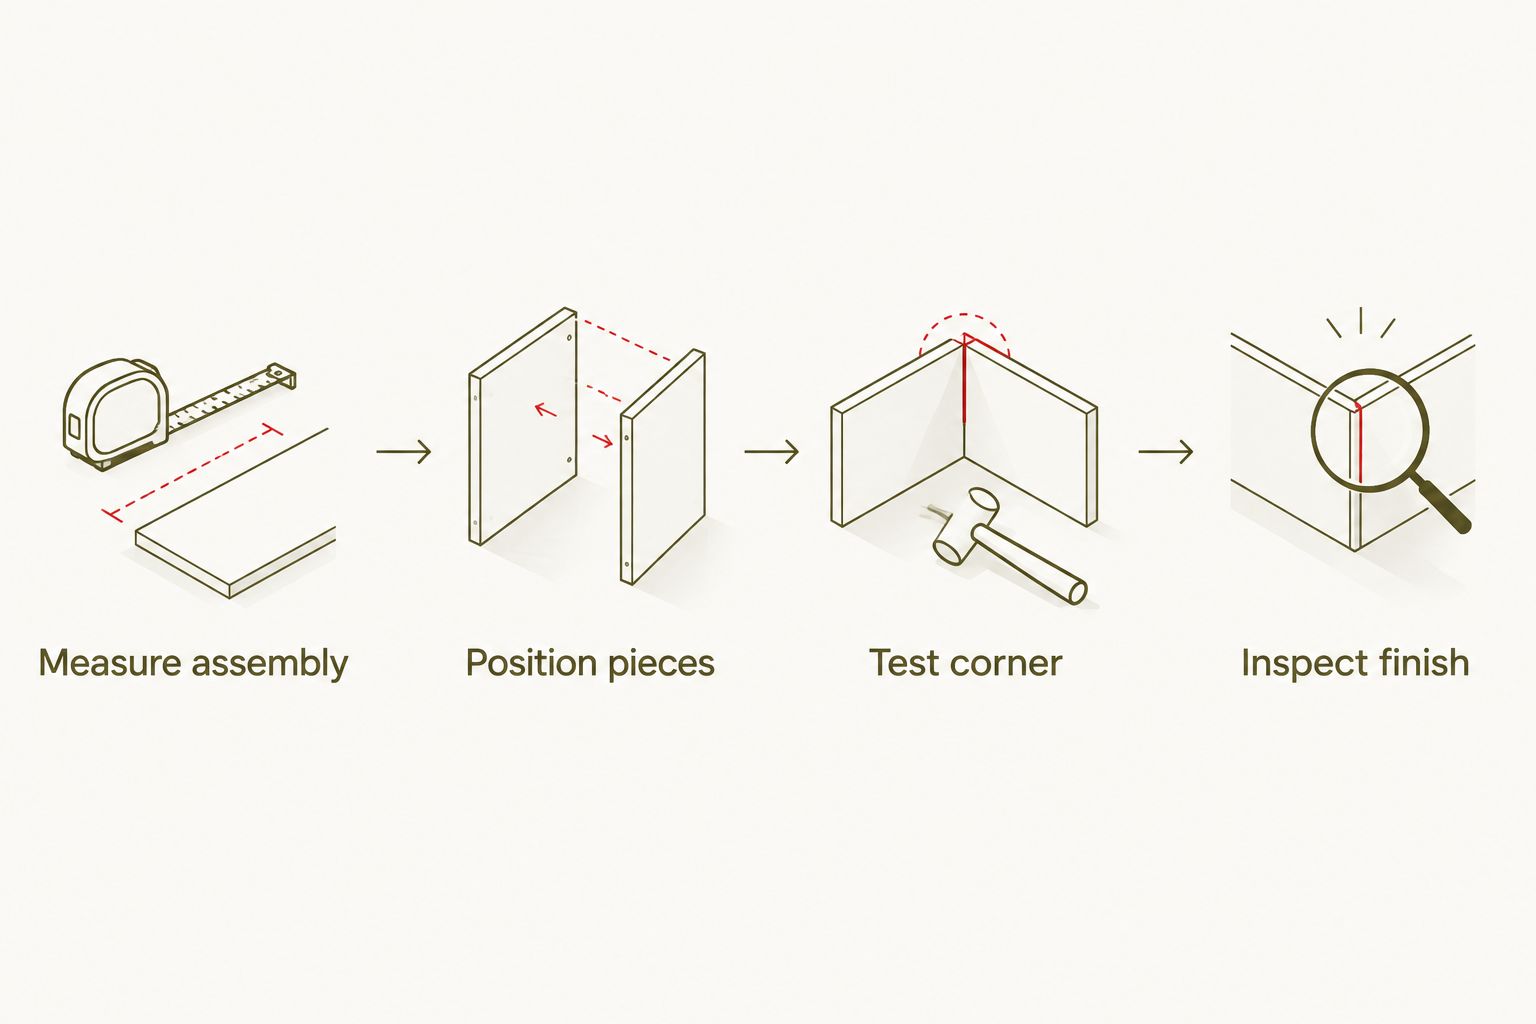
- Build the sample. Use 2 scrap pieces: a panel offcut and a finishing-trim offcut. Add any specified backing or mounting layer behind the panel.
- Position the pieces. Hold the assembly beneath the crown at the intended height. Preserve the panel manufacturer's required clearance instead of pushing everything tightly together.
- Check edge coverage. Confirm that the trim hides the intended cut edge without covering an unwanted portion of the pattern or obstructing required movement.
- Test the corner. For a flat rail turning around a true 90-degree corner, a symmetrical miter starts with 45-degree cuts. Measure the actual corner before cutting; out-of-square walls require a different fit.
- Inspect the finish. View the sample from the doorway and from normal seating height. Check exposed backing, unfinished ends, uneven shadows, and awkward side returns.
Expected result: The sample shows a junction you can repeat across the wall without forcing, excessive filler, or an exposed raw edge.
Decide what stays visible
Painted trim and natural wood require different finishing plans. A paintable joint can conceal a small cosmetic seam; a stained or clear-finished wood joint needs accurate cutting and a compatible finish.
Do not assume wood filler or caulk will match the panel surface. Test any visible finishing material on an offcut and let it dry before judging the result.
For a 2026 room update, photograph the approved sample and keep it beside your measurements. It gives you a reference when checking later cuts, especially where the crown changes height or the wall changes direction.
Panel installation and trim fastening
Install the wall panels and finishing trim as separate components unless the manufacturer's instructions specify an integrated system. The crown is not a substitute for suitable wall support.
- Prepare the substrate. Repair loose or damaged areas and prepare the wall as required by the mounting system. Do not attach panels over a surface that is unstable or unsuitable for the selected adhesive.
- Lay out the pattern. Check where full panels, cut panels, and side edges will fall. Keep the approved top junction while adjusting the layout at doorways and corners.
- Cut the panel tops. Transfer the actual measurements to each panel. Cut with the method specified for the material, supporting delicate faces and controlling dust.
- Install the panels. Follow the panel instructions for attachment, clearances, and mounting arrangement. Do not wedge the panel between floor and crown to make it feel secure.
- Fit the finishing trim. Attach the rail or edge trim to appropriate support using a method suitable for its material. Do not rely on decorative panel faces or the crown's thin lower edge as an unspecified fastening surface.
- Check each section. Confirm alignment, edge coverage, and corner fit before installing the next length. Keep adhesive and filler away from surfaces they are not intended to cover.
Expected result: The panels stay supported by their intended mounting system, and the trim finishes the top edge without transferring that job to the crown.
A clean boundary for slatted walls
For slatted panels, check both the slat ends and the backing at the top junction. A continuous rail can hide the cut ends, but its position must suit the complete panel assembly.
Do not fill the spaces between slats simply to make them resemble solid paneling. Preserve the panel's intended construction and follow its installation instructions.
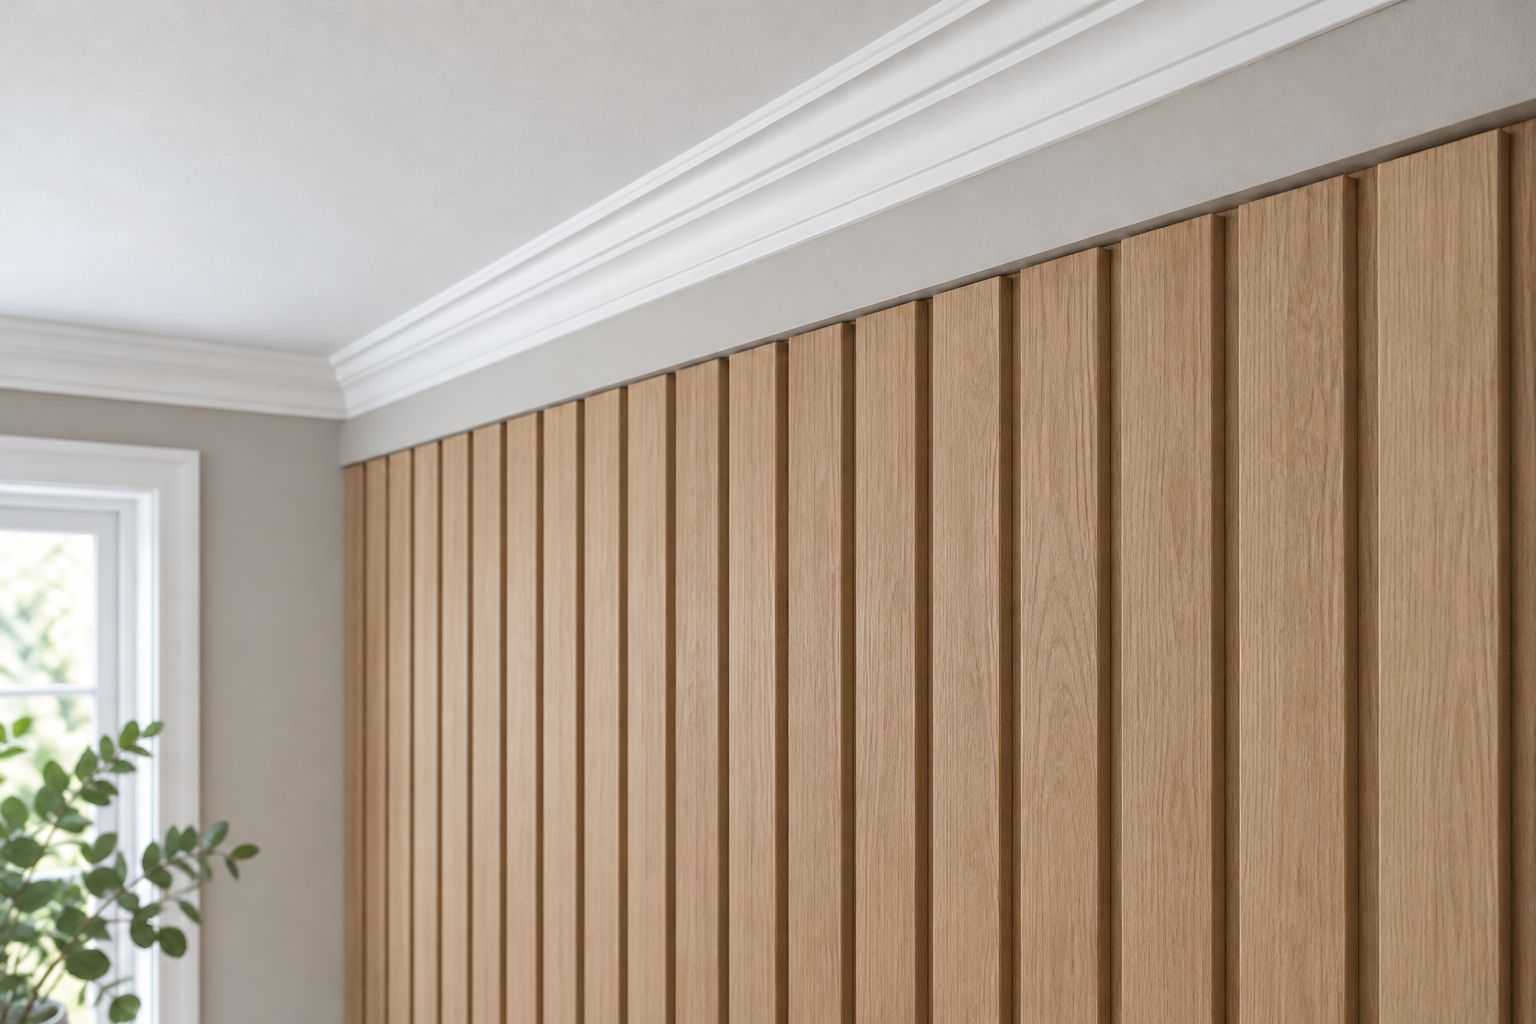
The Panel Hub acoustic wall panels still need the correct mounting arrangement after you add decorative trim. Treat the top junction as an edge-finishing decision, not permission to change the panel assembly.
Joint finishing and final checks
Finishing should refine an accurate fit, not disguise a failed one. Inspect the connection before applying materials that make later adjustments harder.
- Check physical fit. Look for raised trim, unsupported ends, pinched panels, and corners that open when pressed. Correct these before filling fastener holes.
- Finish suitable seams. Use compatible paintable caulk only for appropriate cosmetic seams. Do not bridge required movement joints or use caulk as structural attachment.
- Finish exposed ends. Apply the material-specific treatment required for cut edges. Do not leave an exposed panel core simply because it is near the ceiling.
- Respect drying instructions. Follow the adhesive, filler, caulk, and coating instructions before disturbing or finishing the joint.
- Inspect under room lighting. Check the wall with daylight and the lights you normally use. Light grazing across the surface reveals uneven trim and rough transitions.
Expected result: The finished junction looks deliberate, retains required clearances, and has no unsupported trim or exposed unfinished edges.
Adding panels beneath crown during a later room update
If you add panels after another wall has already been finished, match the junction detail rather than automatically matching the new panel height. Different wall assemblies can need different edge coverage.
- Rebuild the sample with the new panel and mounting arrangement.
- Compare the proposed rail with existing door and window trim.
- Check how the rail ends where the feature wall stops.
- Keep a continuous crown line where the measured fit allows it.
For a 2026 feature-wall update, a deliberate side return is better than an open trim end. Fit an appropriate return or end treatment to the chosen profile; do not assume the adjacent wall will hide the cut.
Troubleshooting
The panel face projects past the crown
Change the junction, not the panel by force. Test a compatible transition detail or refit the crown to the new wall plane. Do not remove backing or alter the mounting arrangement unless the panel instructions permit it.
A gap widens along the crown
Check whether the crown is uneven, the wall bows, or the panel top was cut to a single measurement. Scribe the appropriate trim where practical or use a transition rail that accommodates the measured variation; do not build a deep filler wedge.
The trim opens at a corner
Measure the actual corner angle and check that both pieces sit flat. Recut or refit the joint instead of pulling it closed with fasteners, which can distort the trim or leave the joint under stress.
The joint cracks after finishing
Check for loose fastening, unsuitable finishing material, or a required movement joint that was filled solid. Repair the cause before repainting. Repeatedly covering the crack does not correct the assembly.
The panel backing remains visible
Return to the approved sample and check trim coverage, panel height, and side returns. Use an appropriate edge detail rather than coating exposed backing with an unapproved adhesive or filler.
Customize your workflow
Carry the same sample-first method to the rest of the room. Door casings, heating equipment, and switches introduce different constraints; a successful crown connection does not settle those details.
The Panel Hub decorative wall panels give you several surface patterns to work with, but the finishing sequence stays practical: verify depth, approve the sample, install the supported assembly, then finish its edges. Keep that sequence even when the room design changes.
FAQ
How do I connect wall panel trim to existing crown molding?
Measure the complete panel assembly, dry-fit the top junction, and install a compatible edge trim or transition rail beneath the crown. Refit the crown when the new wall plane prevents a suitable connection.
Do I need to remove crown molding before installing wall panels?
No, crown molding can stay when the complete panel assembly fits beneath it with the required clearances. Check a sample before committing to that detail.
Should wall panels touch the crown molding?
Do not force wall panels against crown molding. Follow the panel manufacturer’s clearance requirements and use an appropriate finishing detail to cover the edge where permitted.
What’s the best trim for uneven panel ends below crown?
A flat transition rail is a practical choice for creating a continuous boundary above uneven panel ends. It needs suitable support and enough coverage for the measured junction.
Can I nail wall panel trim into the crown molding?
Do not treat the crown molding as the default fastening surface for wall panel trim. Attach the trim to suitable support using a method appropriate for the materials and the installation.
Can I use caulk to hide the gap above wood panels?
Use compatible caulk only for appropriate cosmetic seams. Do not use it to conceal a major fitting error, support trim, or fill a required movement joint.
How should I plan this crown molding connection in 2026?
Plan a 2026 crown molding connection around the actual panel depth and current installation instructions. Keep an approved sample so the top edge, corners, and side returns follow the same detail.
One last thing
Finish the sample before approving the joint. A junction that looks tidy in bare wood can reveal mismatched filler or an exposed cut edge after coating. Testing the complete finish on scraps protects the work you have not installed yet.
Related guides
- Installing wall panels around window and door casings
- Combining wall panels with baseboard heating
- Wall panels for DIY beginners
- Natural wood veneer wall panels
Leave a Reply