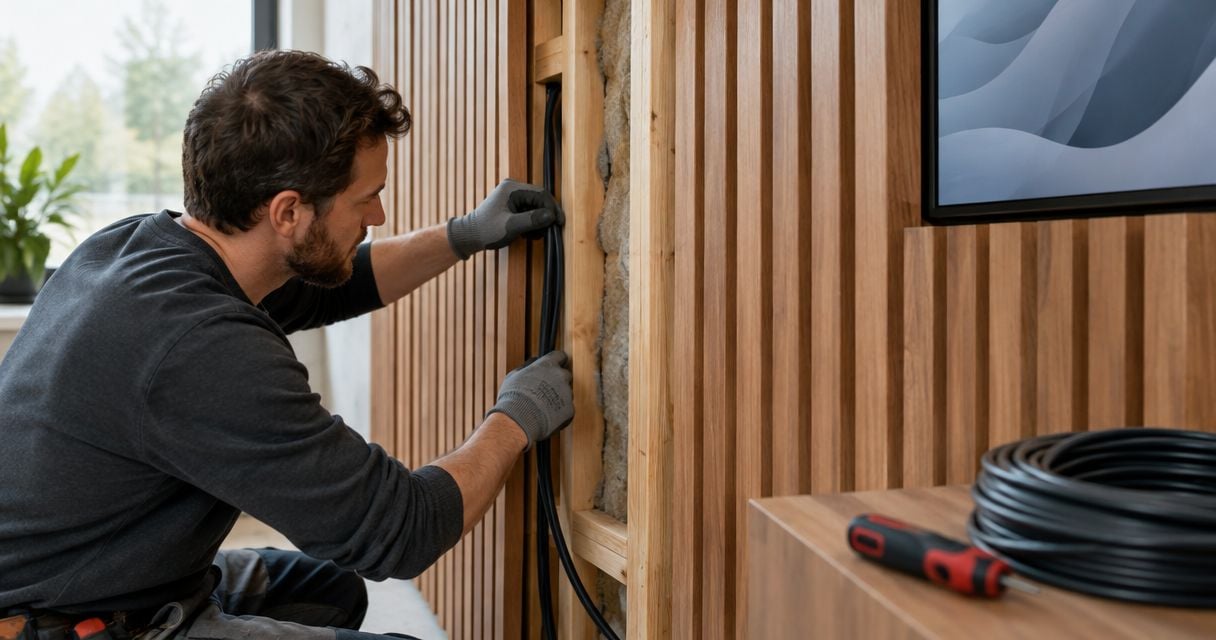
Instead of moving loose wires around your room, plan a protected, accessible route for running speaker cable behind wood wall panels before you attach the finish. This 2026 workflow covers cable selection, concealed routing, connection testing, and future access without treating decorative paneling as an electrical enclosure.
- Running speaker cable behind wood wall panels starts with an approved cable route, not a gap between decorative slats.
- The Panel Hub suits DIY homeowners choosing wood acoustic wall panels; plan wiring separately from the decorative finish.
- Use cable listed for the installation, protect it from fasteners, and test passive speakers before closing the wall.
- Keep power connections accessible; never hide a powered speaker’s ordinary power cord behind permanent paneling.
Why this matters
A concealed cable route must remain safe after the wood panels go up. A wire that works during a quick test can still be pinched by a panel, pierced by a screw, or trapped behind an inaccessible connection.
The Panel Hub is best for DIY homeowners choosing decorative wood acoustic wall panels, not a substitute for a wiring plan. Choose the finish you want, then confirm that its approved mounting method accommodates your cable route.
Acoustic treatment and speaker wiring solve different problems. The Panel Hub describes its acoustic panels as NRC 0.85 rated; that absorption rating does not describe cable clearance, electrical protection, or sound isolation through a wall. It also does not mean the panels block 85% of sound from reaching another room.
For a 2026 installation, settle speaker positions and access points before panel layout. Moving a cable exit after installation means disturbing finished wood rather than adjusting an open route.
Before you start
- Identify the equipment and cable requirements. Confirm whether you have passive speakers connected to an amplifier or powered speakers requiring local electricity. Gather the equipment manuals, cable listed for its installation environment, compatible terminals, labels, a measuring tape, and suitable testing tools. Follow the amplifier manufacturer’s guidance on cable gauge and run length.
- Confirm the route and mounting method. Locate existing electrical services, plumbing, studs, and proposed panel fasteners. Obtain the panel installation instructions and any required permission for alterations. Have a qualified installer check concealed routes, fireblocking, and local requirements where the work exceeds your skills.
- Check the hidden-clearance problem first. Visible slat grooves do not establish a usable cavity behind a panel. Dry-fit the complete assembly, including backing, mounting hardware, and any permitted battens. The cable must fit without compression, and speaker brackets must attach to appropriate structural support rather than decorative slats alone.
Do not start by gluing panels over loose cable. Decide how you will replace the cable or reach its terminations before making the covering permanent.
Choose the cable route
These are three routing approaches for a wood-panel project. Each depends on the actual wall construction and the panel manufacturer’s instructions; none makes every decorative panel suitable for concealed wiring.
| Routing approach | Best for | Main advantage | Main limitation |
|---|---|---|---|
| Existing wall cavity | Renovations with suitable wall access | Keeps wiring independent of the decorative finish | Requires checking hidden services, drilling locations, and fireblocking |
| Permitted service cavity | Panel installations designed around an approved stand-off assembly | Separates cable routing from the panel face | Adds wall depth and needs coordinated supports and fastener locations |
| Accessible surface raceway | Finished rooms where opening the wall is undesirable | Keeps the cable route inspectable and replaceable | Leaves a visible trim line and must suit the cable and location |
Choose access over invisibility when the two conflict. An accessible raceway is a better finish than a hidden wire crushed behind a panel. Check the raceway manufacturer’s instructions before combining it with decorative trim or covering it.
A service cavity is not permission to change an acoustic panel’s tested mounting arrangement. Added depth, backing changes, and blocked openings can change the assembly, so confirm the details rather than assuming the published acoustic rating transfers unchanged.
Speaker layout and cable specification
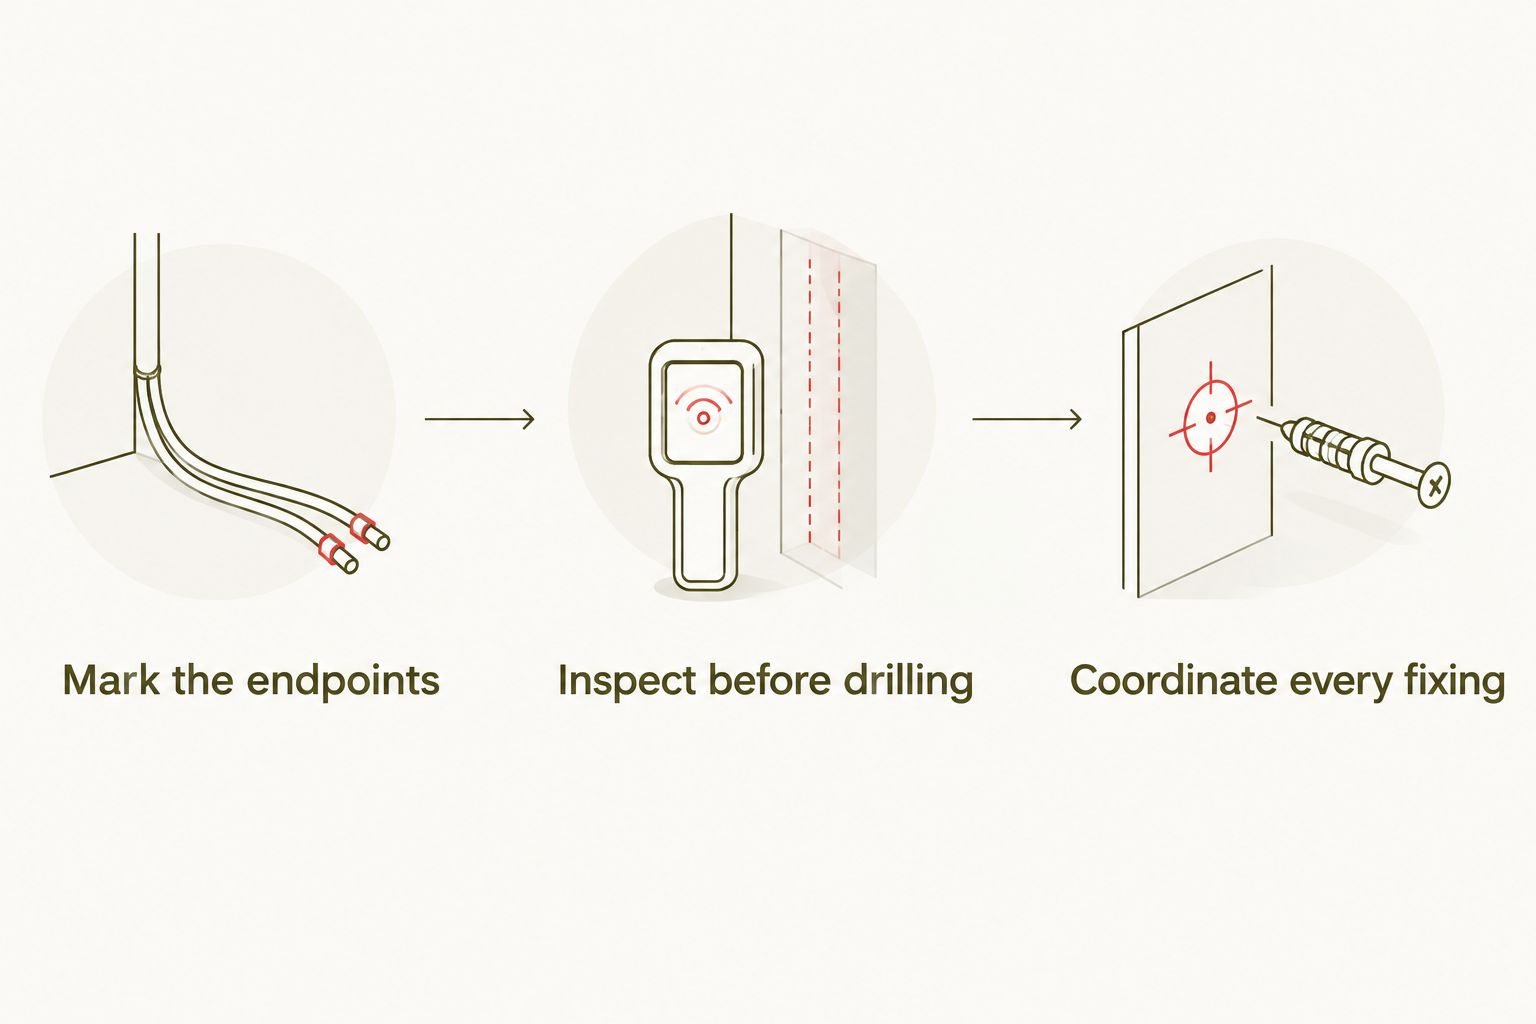
- Mark the endpoints. Identify the amplifier connection and each passive speaker connection. Mark the proposed cable exits on the unfinished wall, then check them against furniture, speaker brackets, panel seams, and removable covers.
- Measure the actual route. Follow the planned bends and vertical changes rather than measuring straight between the amplifier and speaker. Allow enough accessible slack to terminate and service the connections without leaving a tangled bundle behind the finish.
- Select and label the cable. Use the equipment manufacturer’s cable guidance and cable listed for the concealed environment. In US residential work, CL2 or CL3 markings commonly identify cable intended for appropriate in-wall applications; other spaces require different listings. Confirm the applicable listing rather than buying ordinary hookup wire by appearance.
A passive speaker cable normally has 2 conductors. Preserve their identity from end to end using the jacket marking or conductor identification, and label both ends with the same channel name, such as Front Left.
Cable sizes such as 14 AWG and 16 AWG describe conductor gauge, not a universal maximum distance. A lower AWG number means a thicker conductor; select the gauge using the run length, speaker load, and equipment guidance rather than a blanket rule.
Expected result: every speaker has a named route, identified endpoints, and a cable specification checked against its installation environment. Your 2026 route sketch should show where the cable enters, exits, and remains accessible.
Cable path and mounting protection
- Inspect before drilling. Check the proposed route for electrical wiring, water lines, and structural obstacles. A wall scanner helps locate features but does not prove a drilling location is clear. Stop where you cannot establish a safe path.
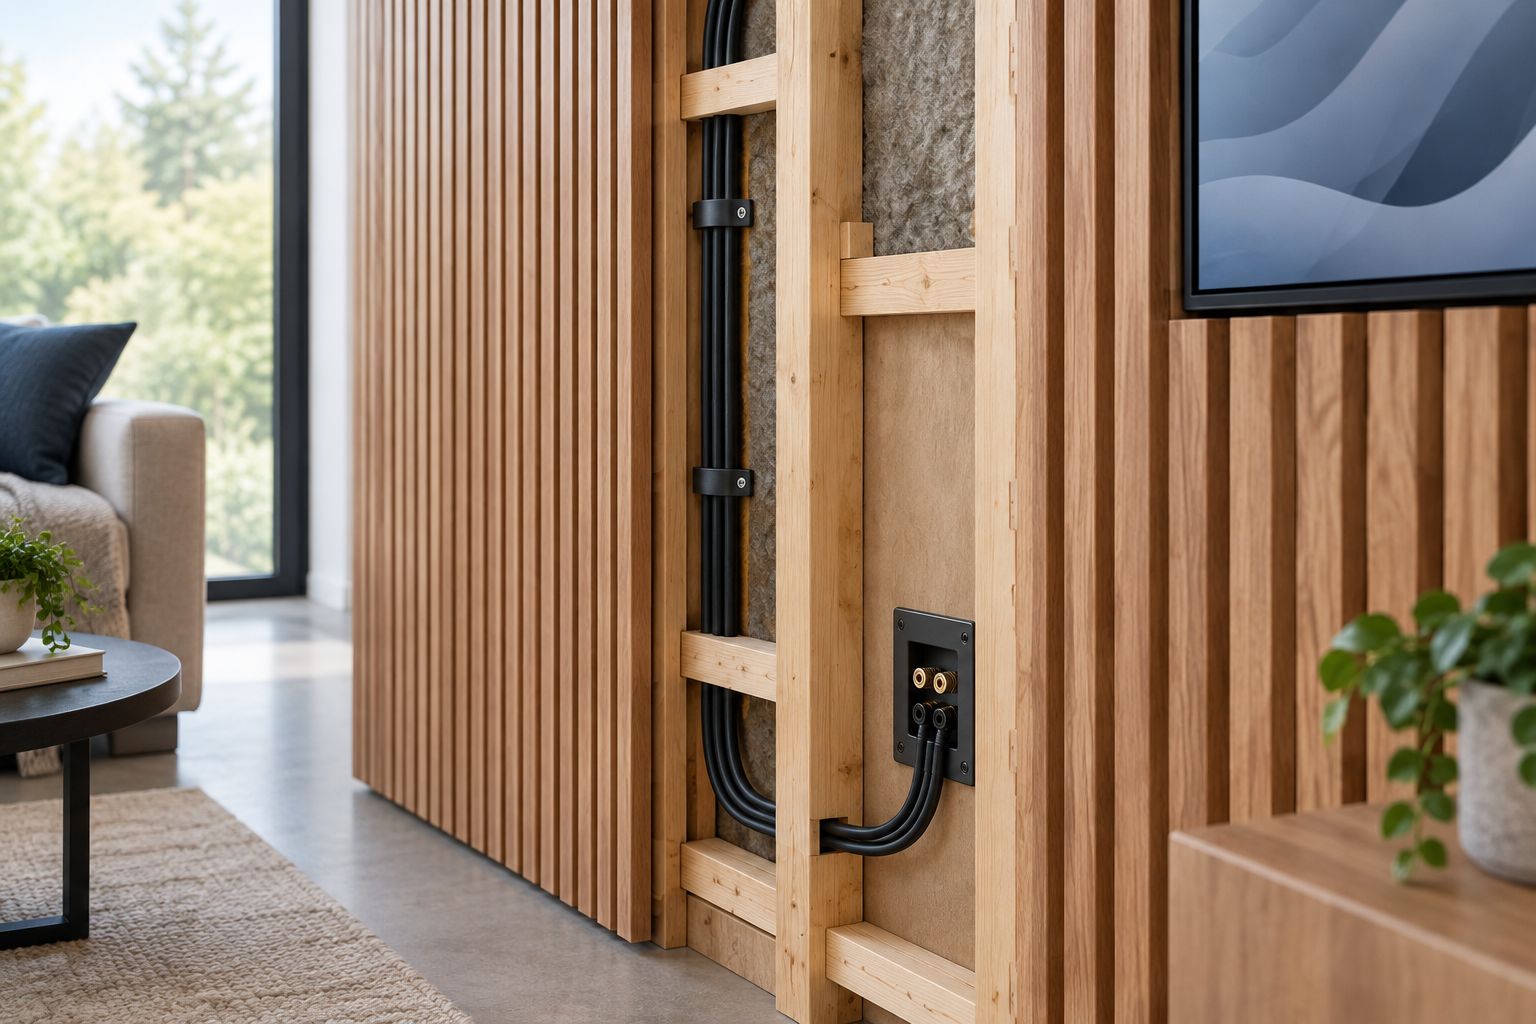
- Prepare the permitted route. Route the cable through the approved wall cavity, service cavity, or raceway. Protect it from sharp edges and fasteners using the methods required for that assembly. Have penetrations through fireblocking or rated construction handled with the appropriate approved details.
- Coordinate every fixing. Mark panel screws, mounting brackets, and trim fixings on the route drawing. Keep the cable outside those fixing paths, support it with suitable hardware without crushing the jacket, and photograph the completed route before covering it.
Do not share electrical boxes or raceways with mains wiring unless the assembly and applicable rules permit the arrangement. Keep speaker cable routing separate from mains wiring as required, and avoid long parallel routes where practical. A right-angle crossing can limit parallel exposure, but it does not replace required separation or an approved assembly.
The Panel Hub’s acoustic wall panels are the finish layer, not a cable-management system. Use the panel instructions to determine whether your intended mounting assembly is allowed.
Expected result: the cable follows a protected path that does not intersect planned fixings. You have a record of that path and know which connections remain accessible.
Cable exits and speaker connections
- Dry-fit the exit arrangement. Position a suitable low-voltage connection plate, cable outlet, or protected pass-through according to its instructions. Check that the finished panel depth does not prevent its cover from seating or leave the cable rubbing against a cut wood edge.
- Disconnect the equipment before termination. Switch off and unplug the amplifier before attaching speaker cable. Strip only the insulation needed for the terminal, follow the terminal instructions, and keep loose strands from bridging adjacent connections.
- Match polarity and check the route. Connect the identified conductor consistently to the corresponding positive terminal and the other conductor to the negative terminal. If using a meter for continuity checks, disconnect both cable ends from equipment first and check for unwanted contact between conductors.
Do not hide an improvised splice behind permanently bonded panels. Use an uninterrupted run where practical, or provide an accessible termination arrangement suitable for the cable and installation.
A cable exit should serve the speaker without carrying its weight. Secure the speaker bracket to appropriate support and leave the cable free from tension at the connection.
Expected result: the exits fit the finished wall depth, the connections are accessible, and no loose strands bridge terminals. Every channel retains consistent conductor identification.
Connection testing and panel closure
- Test before covering. Connect the intended speaker and amplifier, then play known audio at a low level. Verify the correct channel at each speaker. Stop immediately if the amplifier reports a fault, a speaker cuts out, or a connection becomes abnormal.
- Check the dry-fit assembly. With the equipment switched off, position the panel without forcing it. Confirm that the cable, connectors, and service slack do not push the panel outward or interfere with its mounting points.
- Close and retest. Install the panel according to its instructions, using the documented fixing positions. Repeat the channel checks after installation and make sure every cover, outlet, and service point remains reachable.
Listen for rattles as well as missing sound. A successful electrical connection does not prove that a cable, cover, or panel edge is free from vibration against the speaker’s mounting arrangement.
Expected result: the panels sit correctly, every speaker plays through its intended channel, and the wiring remains protected and serviceable. Keep the route photos with your 2026 equipment notes.
Variant: add wiring behind panels already installed
Retrofitting starts with identifying how the existing panels attach. Do not assume a panel is removable because its fixing points are hidden. Adhesive attachment changes the access plan.
For mechanically fixed panels, follow the manufacturer’s removal instructions and support each section during removal. Inspect the space behind the finish before committing to a route, then follow the same cable-selection, protection, termination, and testing process.
For bonded panels, compare controlled removal and repair with an accessible surface raceway. Do not force cable between the panel and wall with a tool; that approach gives you no reliable control over clearance or hidden services.
If you expect to move speakers during a 2026 room redesign, choose accessible exits and a replaceable route now. A pull cord helps future cable replacement only when the pathway is designed for pulling cable and remains usable throughout its length.
Troubleshooting
- One speaker is silent. Switch off and disconnect the equipment, then inspect its terminals and channel labels. Test the isolated cable for continuity and an unwanted connection between conductors. A disconnected strand or short needs correction before reconnecting the amplifier.
- The amplifier enters protection after panel installation. Stop using it and disconnect power. Inspect accessible terminations for bridging strands, then check the affected cable for damage from screws or compression. Do not repeatedly restart the amplifier against a suspected short.
- Bass sounds weak after reconnecting speakers. Check polarity at both ends of every affected run. Reversed polarity can cause cancellation between speakers; listening alone does not identify which connection is reversed.
- The panel sits proud or rocks. Remove the affected section using the approved method and inspect for trapped cable, oversized connectors, or bundled slack. Do not pull screws tighter to flatten a cable obstruction.
- A buzz appears after rerouting. Separate equipment troubleshooting from wall work. Check whether the symptom remains with a known-good temporary cable routed away from mains wiring. A persistent buzz also requires checking the amplifier, source connections, and grounding rather than blaming the panel finish.
Customize your workflow
Use the speaker wiring plan to coordinate your wider room layout. Keep amplifier ventilation, speaker bracket support, outlets, and furniture access separate from the decorative panel pattern.
For room-treatment planning, read the guide to connecting acoustic wall panels to a home theater system. Speaker placement and acoustic treatment deserve their own decisions; hiding cable does not establish either.
The Panel Hub’s wood acoustic wall panels suit a decorative room upgrade, but cable serviceability must come from the installation plan. Before closing your 2026 project, save the cable labels, route photographs, equipment manuals, and panel mounting instructions together.
FAQ
Can I run speaker cable behind wood wall panels?
Yes, when the cable and concealed route are suitable for the installation and protected from fasteners, sharp edges, and compression. Confirm clearance behind the complete panel assembly rather than assuming decorative grooves provide a cable cavity.
What cable should I use behind wood wall panels?
Use speaker cable listed for the concealed installation environment and sized according to the equipment manufacturer’s guidance. CL2 and CL3 are common US in-wall cable markings, but the location and applicable rules determine the required listing.
Can I hide a powered speaker’s power cord behind paneling?
Do not conceal an ordinary flexible power cord behind permanent paneling. Provide the powered speaker with an appropriately installed, accessible electrical supply and have mains alterations handled by a qualified electrician.
Is 14 AWG better than 16 AWG for concealed speaker wiring?
14 AWG is thicker than 16 AWG, but the correct choice depends on run length, speaker load, and equipment guidance. Cable gauge does not replace the listing required for concealed installation.
Can speaker cable share a route with electrical wiring?
Only use shared routing arrangements permitted by the applicable rules and the listed assembly. Plan separate routes by default, and do not assume a right-angle crossing makes a shared box or raceway acceptable.
Do acoustic wood panels soundproof a speaker cable route?
No, acoustic absorption and sound isolation are different functions. Concealed cable openings, wall construction, and acoustic treatment must each be considered separately.
Do I need to remove existing panels to add speaker cable?
You need access to verify and prepare a concealed route, but a suitable accessible surface raceway can avoid opening the wall. Follow the panel manufacturer’s removal instructions rather than prying off an unknown mounting system.
One last thing
Test the finished wall, not just the exposed wire. A cable can pass its initial check and still suffer damage during panel fastening. Repeat the speaker test after closure, then retain a photograph that identifies the cable path relative to fixed room features.
Your future wall-mounted shelf is another reason to keep that record. Concealed wiring remains relevant long after the speakers are installed.
Related guides
- Pairing soundproofing insulation with acoustic wall panels
- Installing wall panels around electrical breaker panels
- Wiring outlets behind wood wall panels
Leave a Reply