Category: Uncategorized

  • How to Build a Media Wall: Step-by-Step Guide with Wood Panels

    How to Build a Media Wall: Step-by-Step Guide with Wood Panels

    A media wall transforms an ordinary living room into a cinematic focal point — combining your TV, storage, lighting, and feature wall into one seamless design statement. When finished with wood panels, the result sits somewhere between a luxury hotel lounge and a high-end interior showroom.

    This guide walks you through every step: from planning your layout to mounting your TV and adding the lighting touches that make a media wall truly stand out.

    Read More: 5 Media Wall Ideas and Designs for Inspiration

    What Is a Media Wall?

    A media wall is a purpose-built feature wall designed to house your TV, AV equipment, and often integrated shelving or cabinetry — all unified behind a single decorative surface treatment. Unlike a standard TV mounted on a plain wall, a media wall is a considered design element that becomes the room’s centrepiece.

    Wood panels are the most popular finishing material for media walls — they add warmth, texture, and acoustic benefit while complementing both modern and transitional interior styles.

    Planning Your Media Wall

    Good planning separates a media wall that looks professionally designed from one that feels improvised. Before ordering materials, work through these decisions.

    Wall Dimensions and TV Size

    Measure your wall from floor to ceiling and decide how much of it the media wall will cover. As a general guide:

    • A full-height, floor-to-ceiling installation creates the most dramatic impact but requires careful cable management
    • A two-thirds height configuration works well in rooms with lower ceilings
    • For TV sizing, the ideal viewing distance is approximately 1.5–2.5x the screen diagonal — a 65″ TV suits a room depth of roughly 2.5–4 metres

    Cable Management

    Plan cable routing before any panels go up. Surface-mounted trunking can be hidden behind panels, or cables can be chased into the wall if you have access. Decide upfront where your power points and media connections will sit — retrofitting these after panels are installed is expensive and disruptive.

    Fireplace Integration

    Many media walls incorporate an electric fireplace beneath the TV. If that’s your plan, choose a fireplace with sufficient safety clearance distance, and check that your wall panels carry an appropriate fire-safety rating for proximity to heat sources.

    Choosing the Right Wood Panels for a Media Wall

    Not all wood panels suit a media wall equally well. Here’s how to match panel type to your design goals.

    Acoustic Slat Panels — Best for Reducing Echo

    If your living room suffers from echo or has hard surfaces (stone flooring, glass, high ceilings), acoustic slat panels are the ideal choice. The textured surface and acoustic backing absorb sound reflections, improving audio clarity from your TV and sound system.

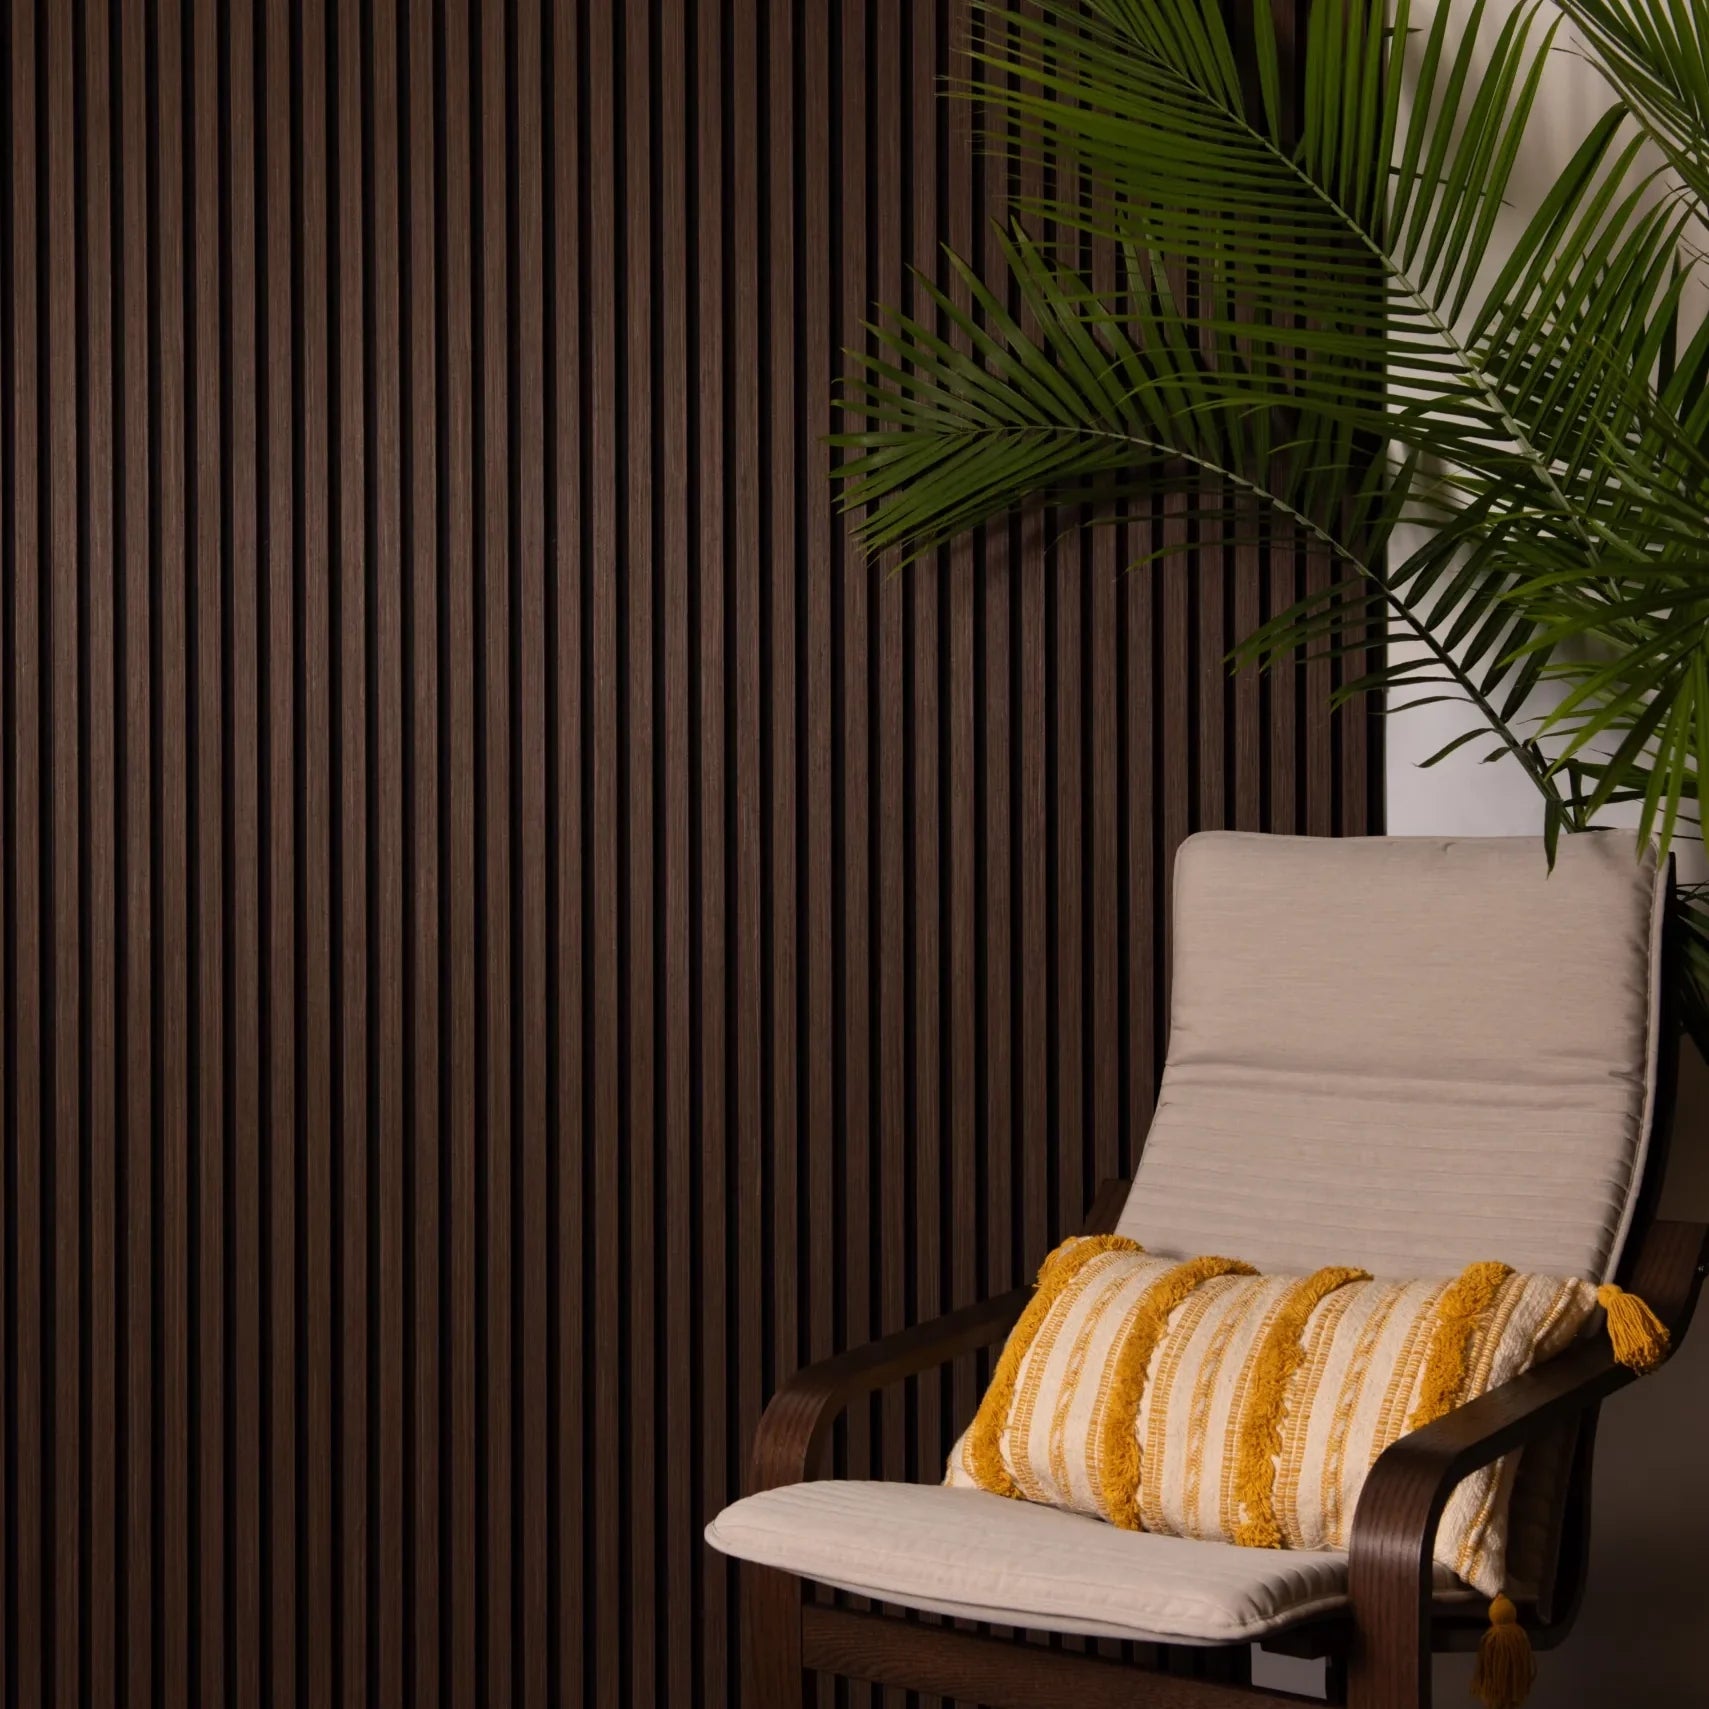
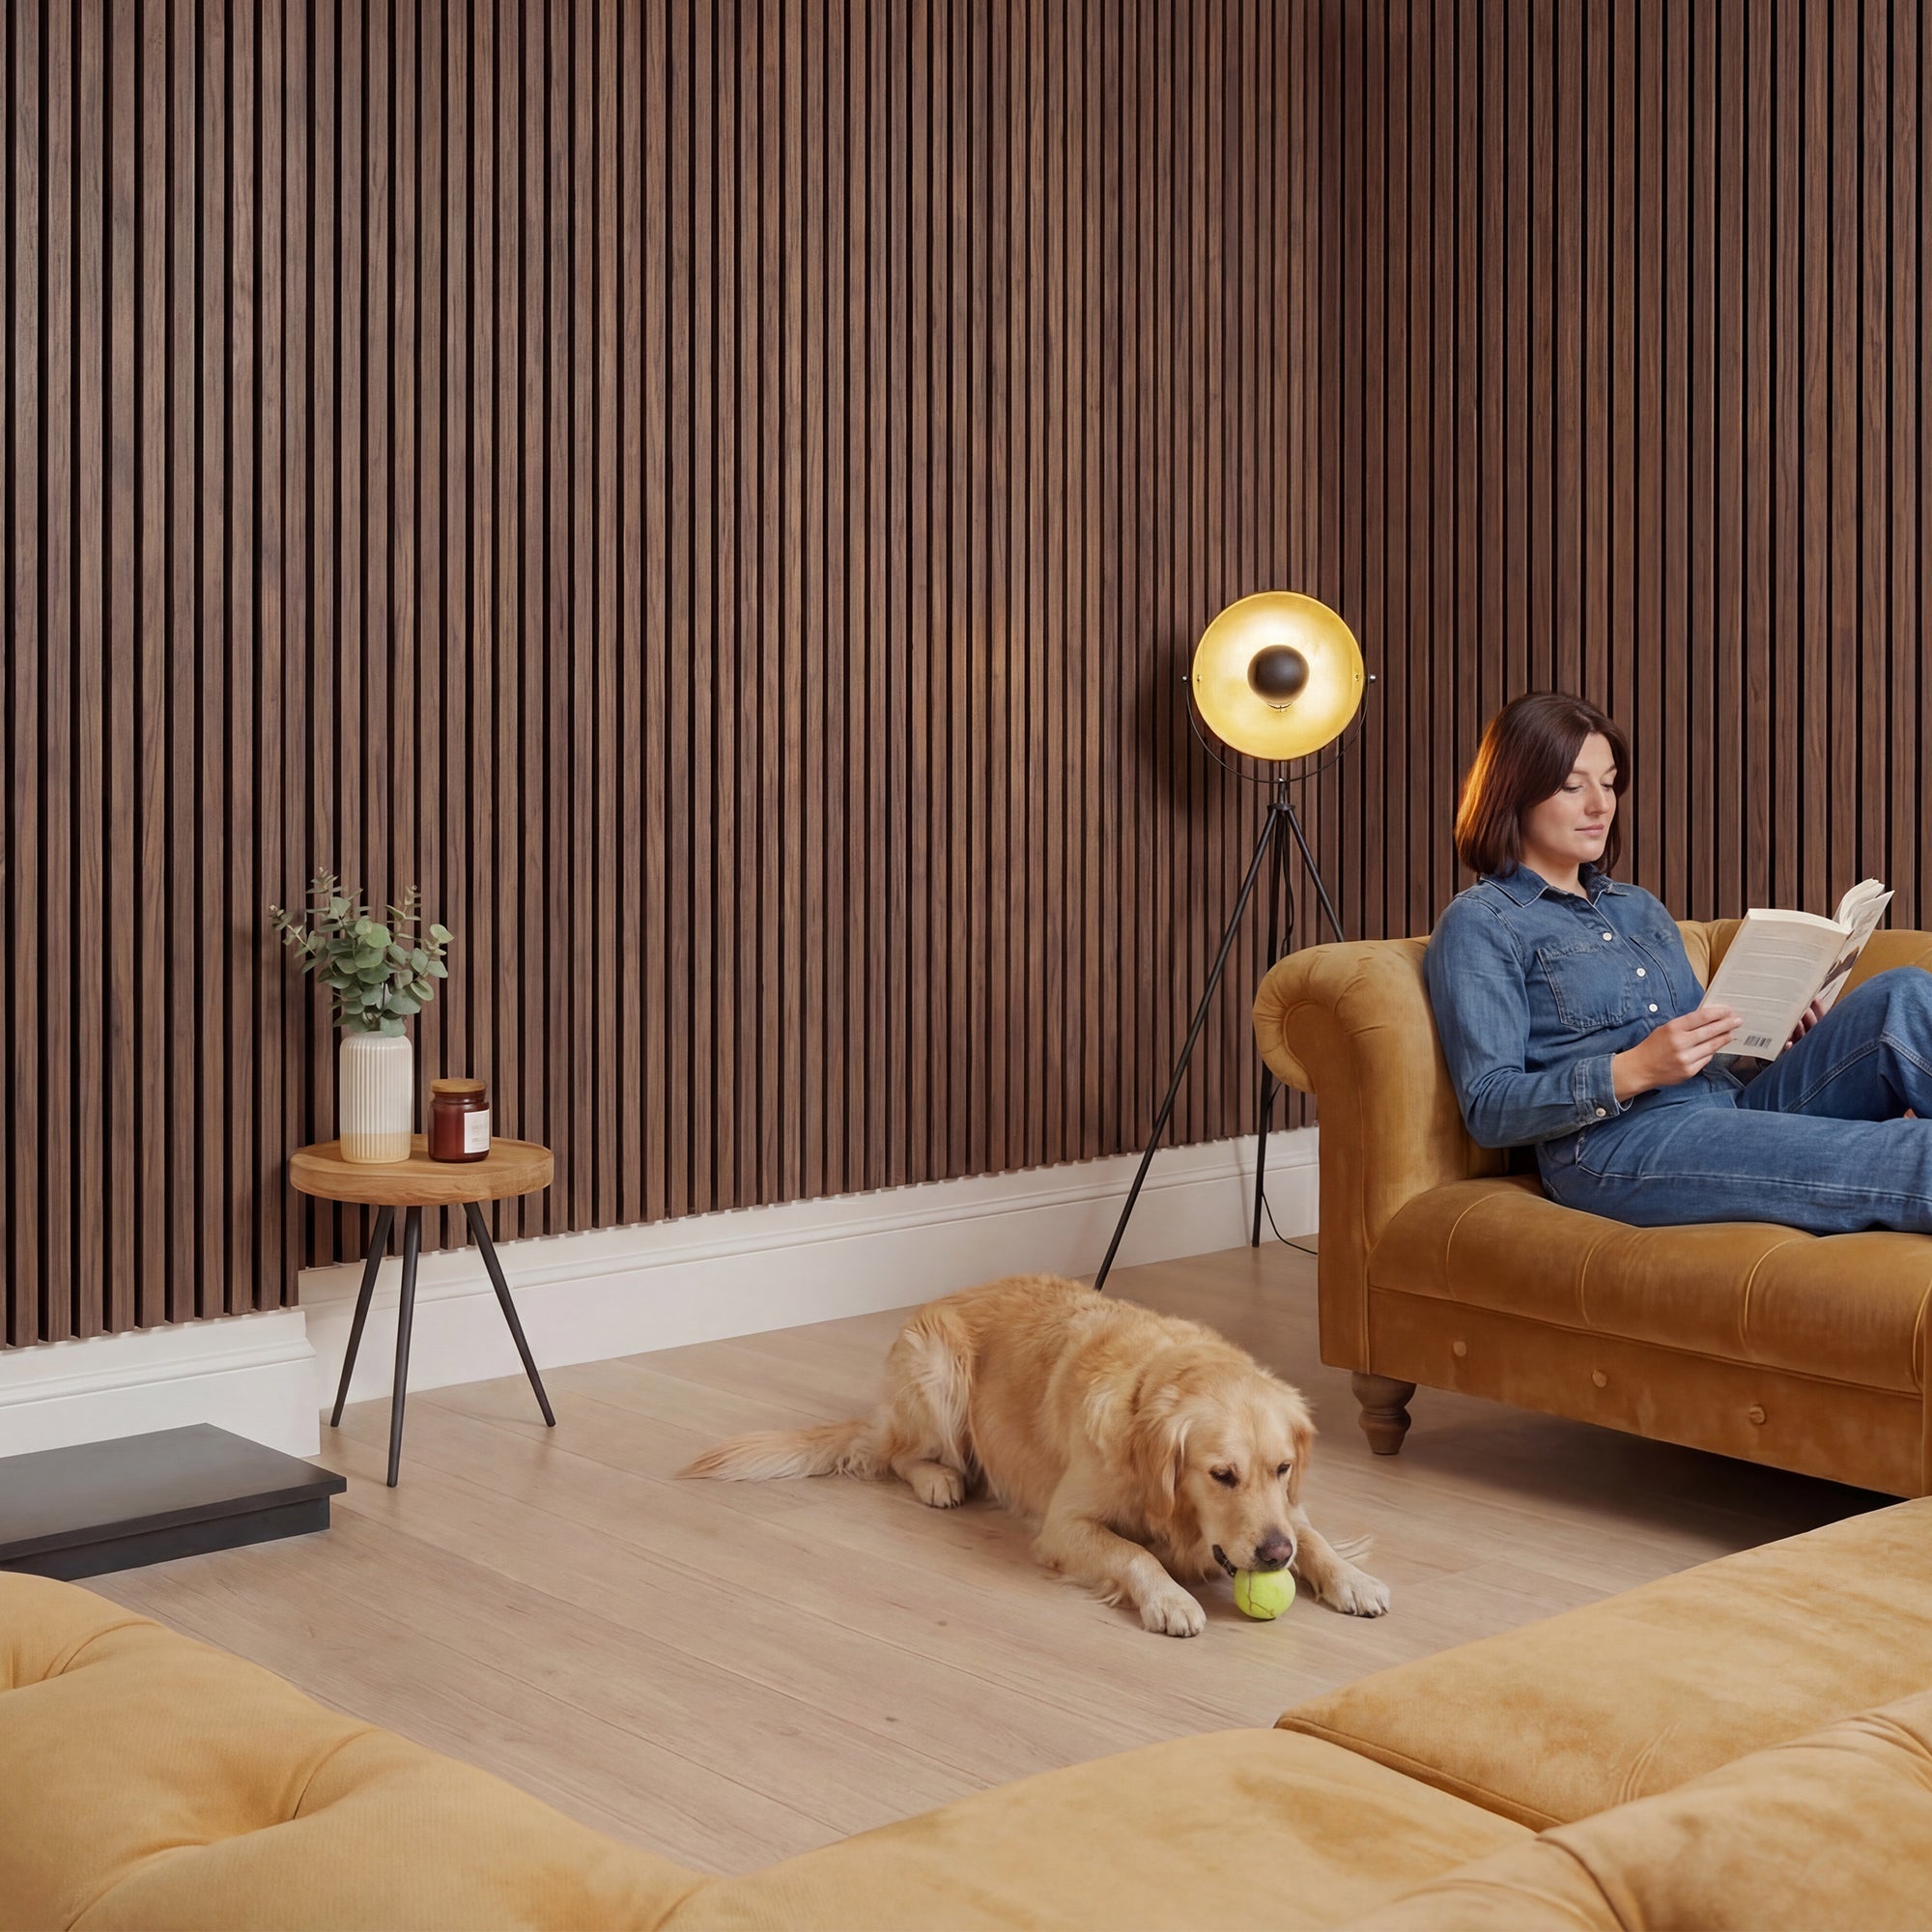
    Our American Acoustic Slat Wood Wall Panels | SoundPanel™ are particularly well suited to media walls — the deep slat profile creates a rich shadow-play effect that looks exceptional with backlighting, while the real wood veneers deliver genuine warmth.
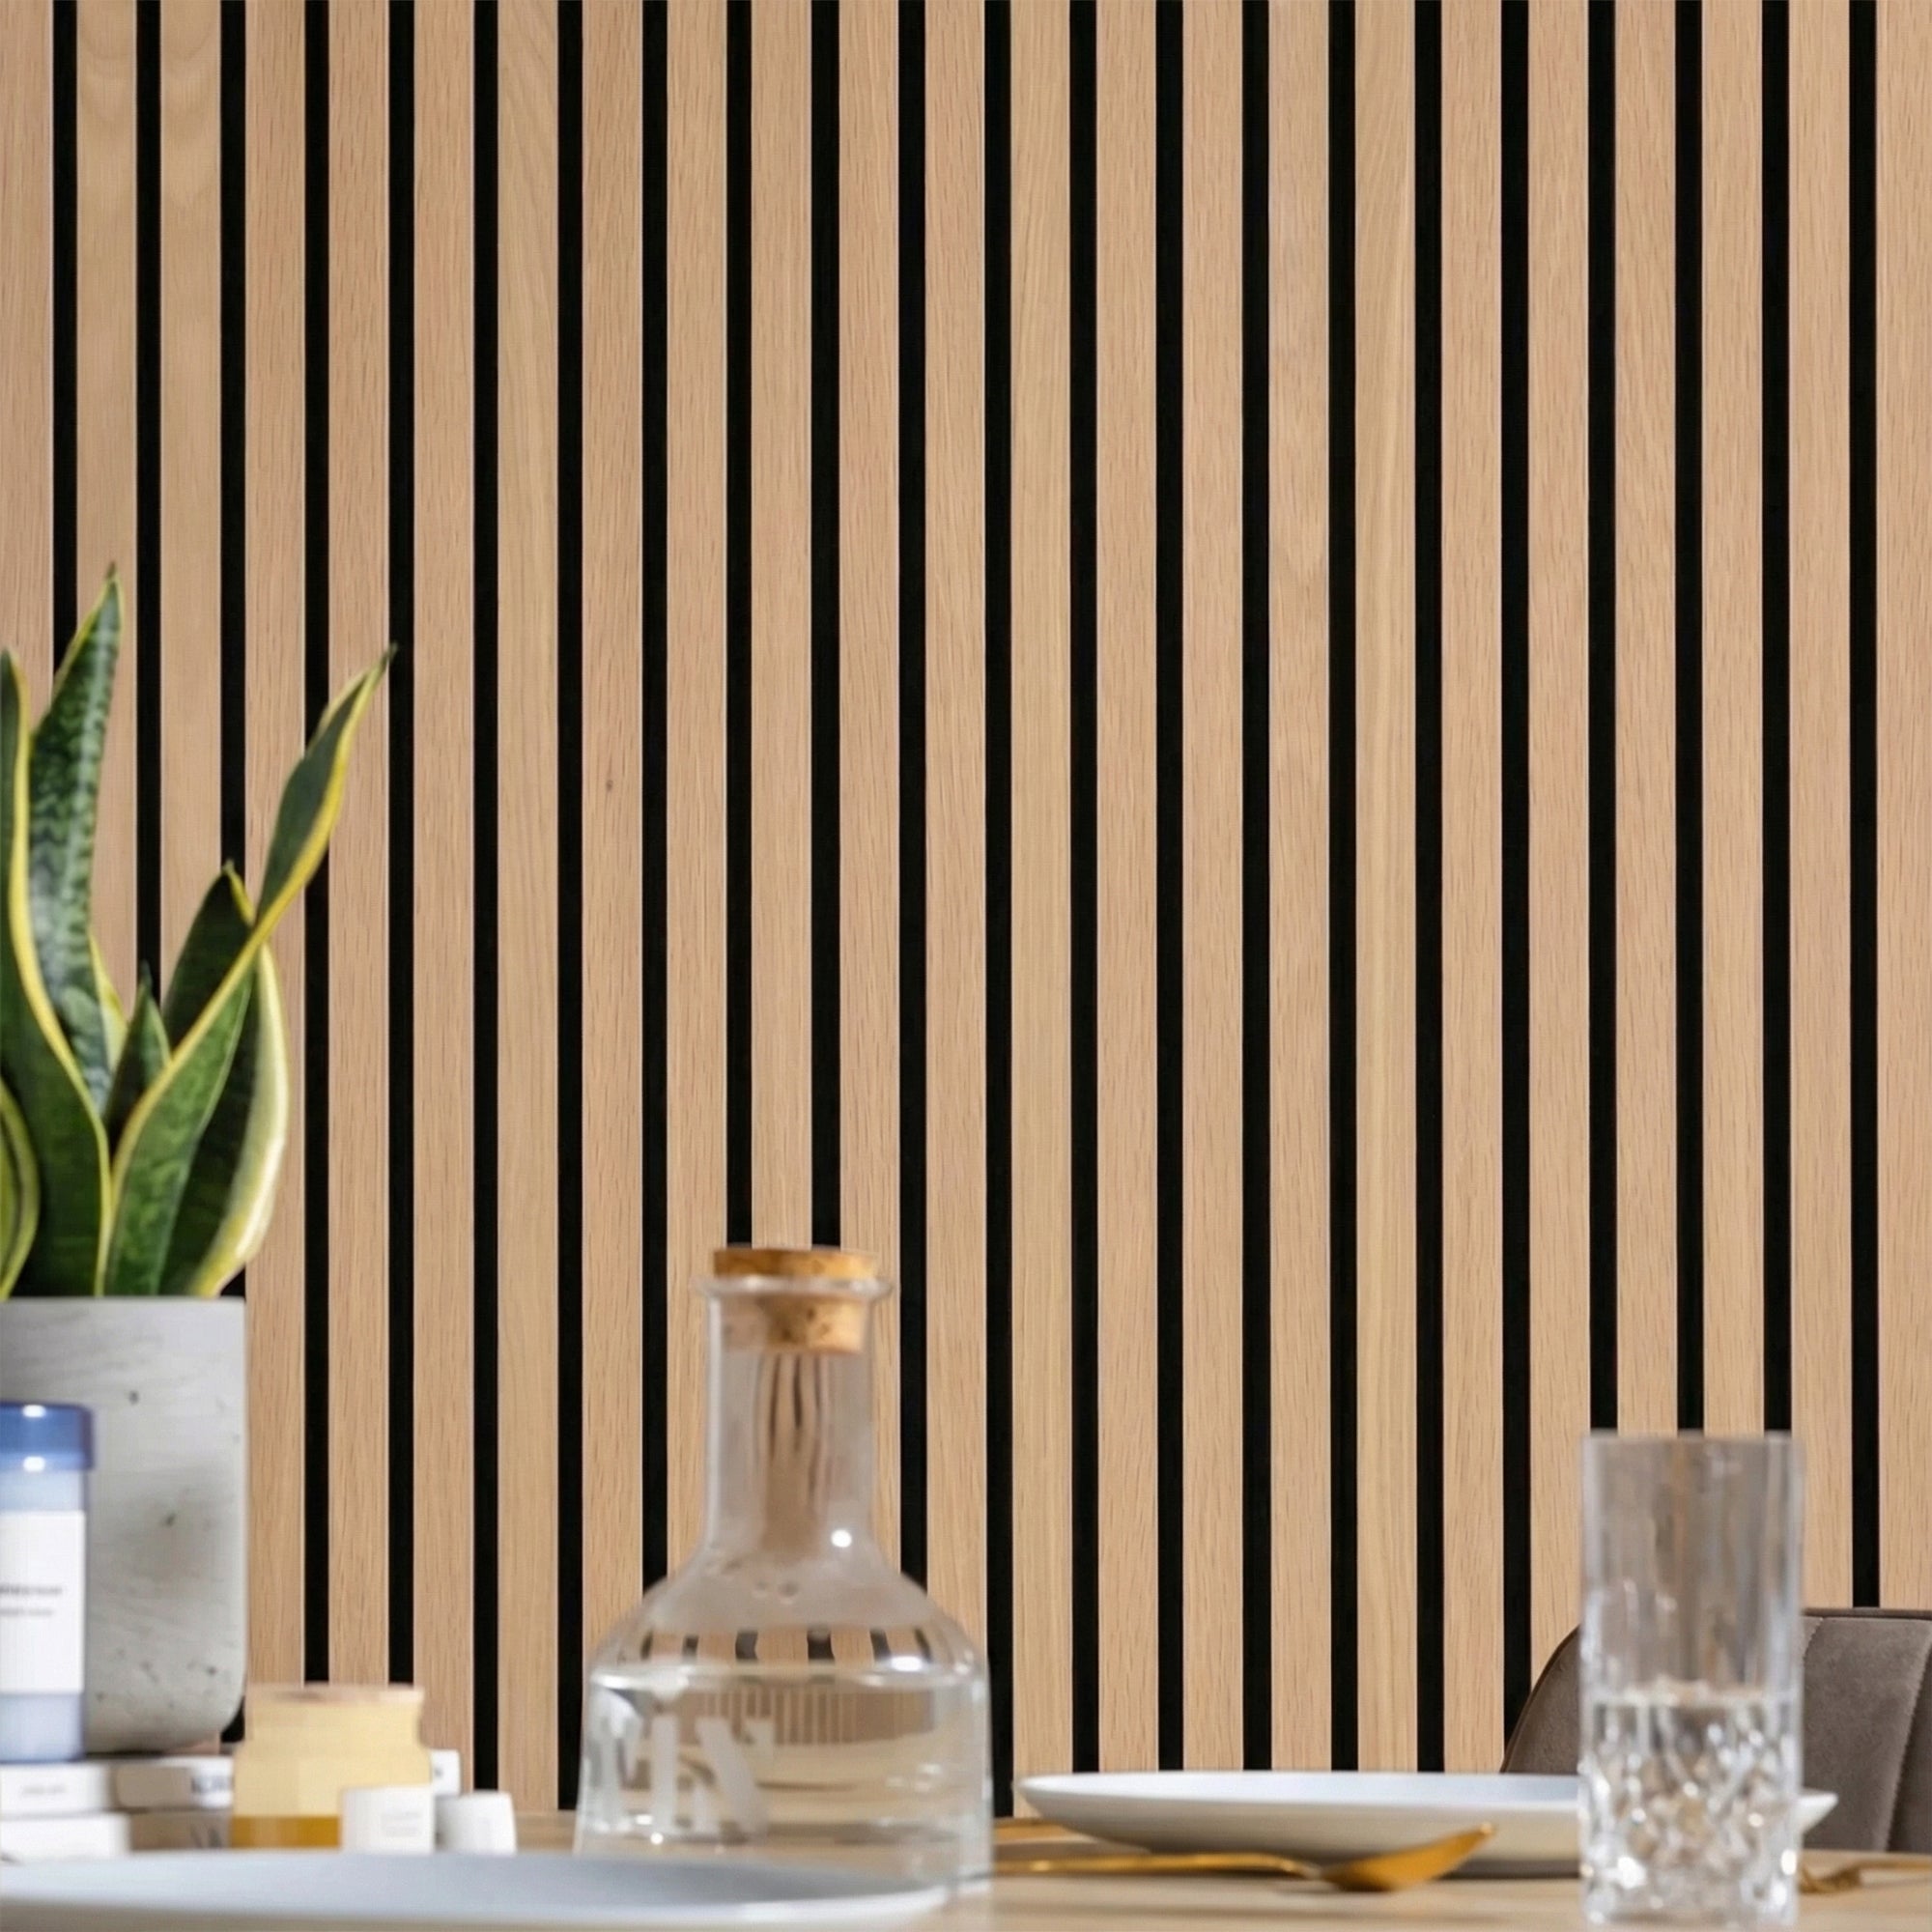
    American Acoustic Slat Wood Wall Panels - SoundPanel™ - The Panel Hub

    Solid Wood Mosaic Panels — Best for Visual Drama

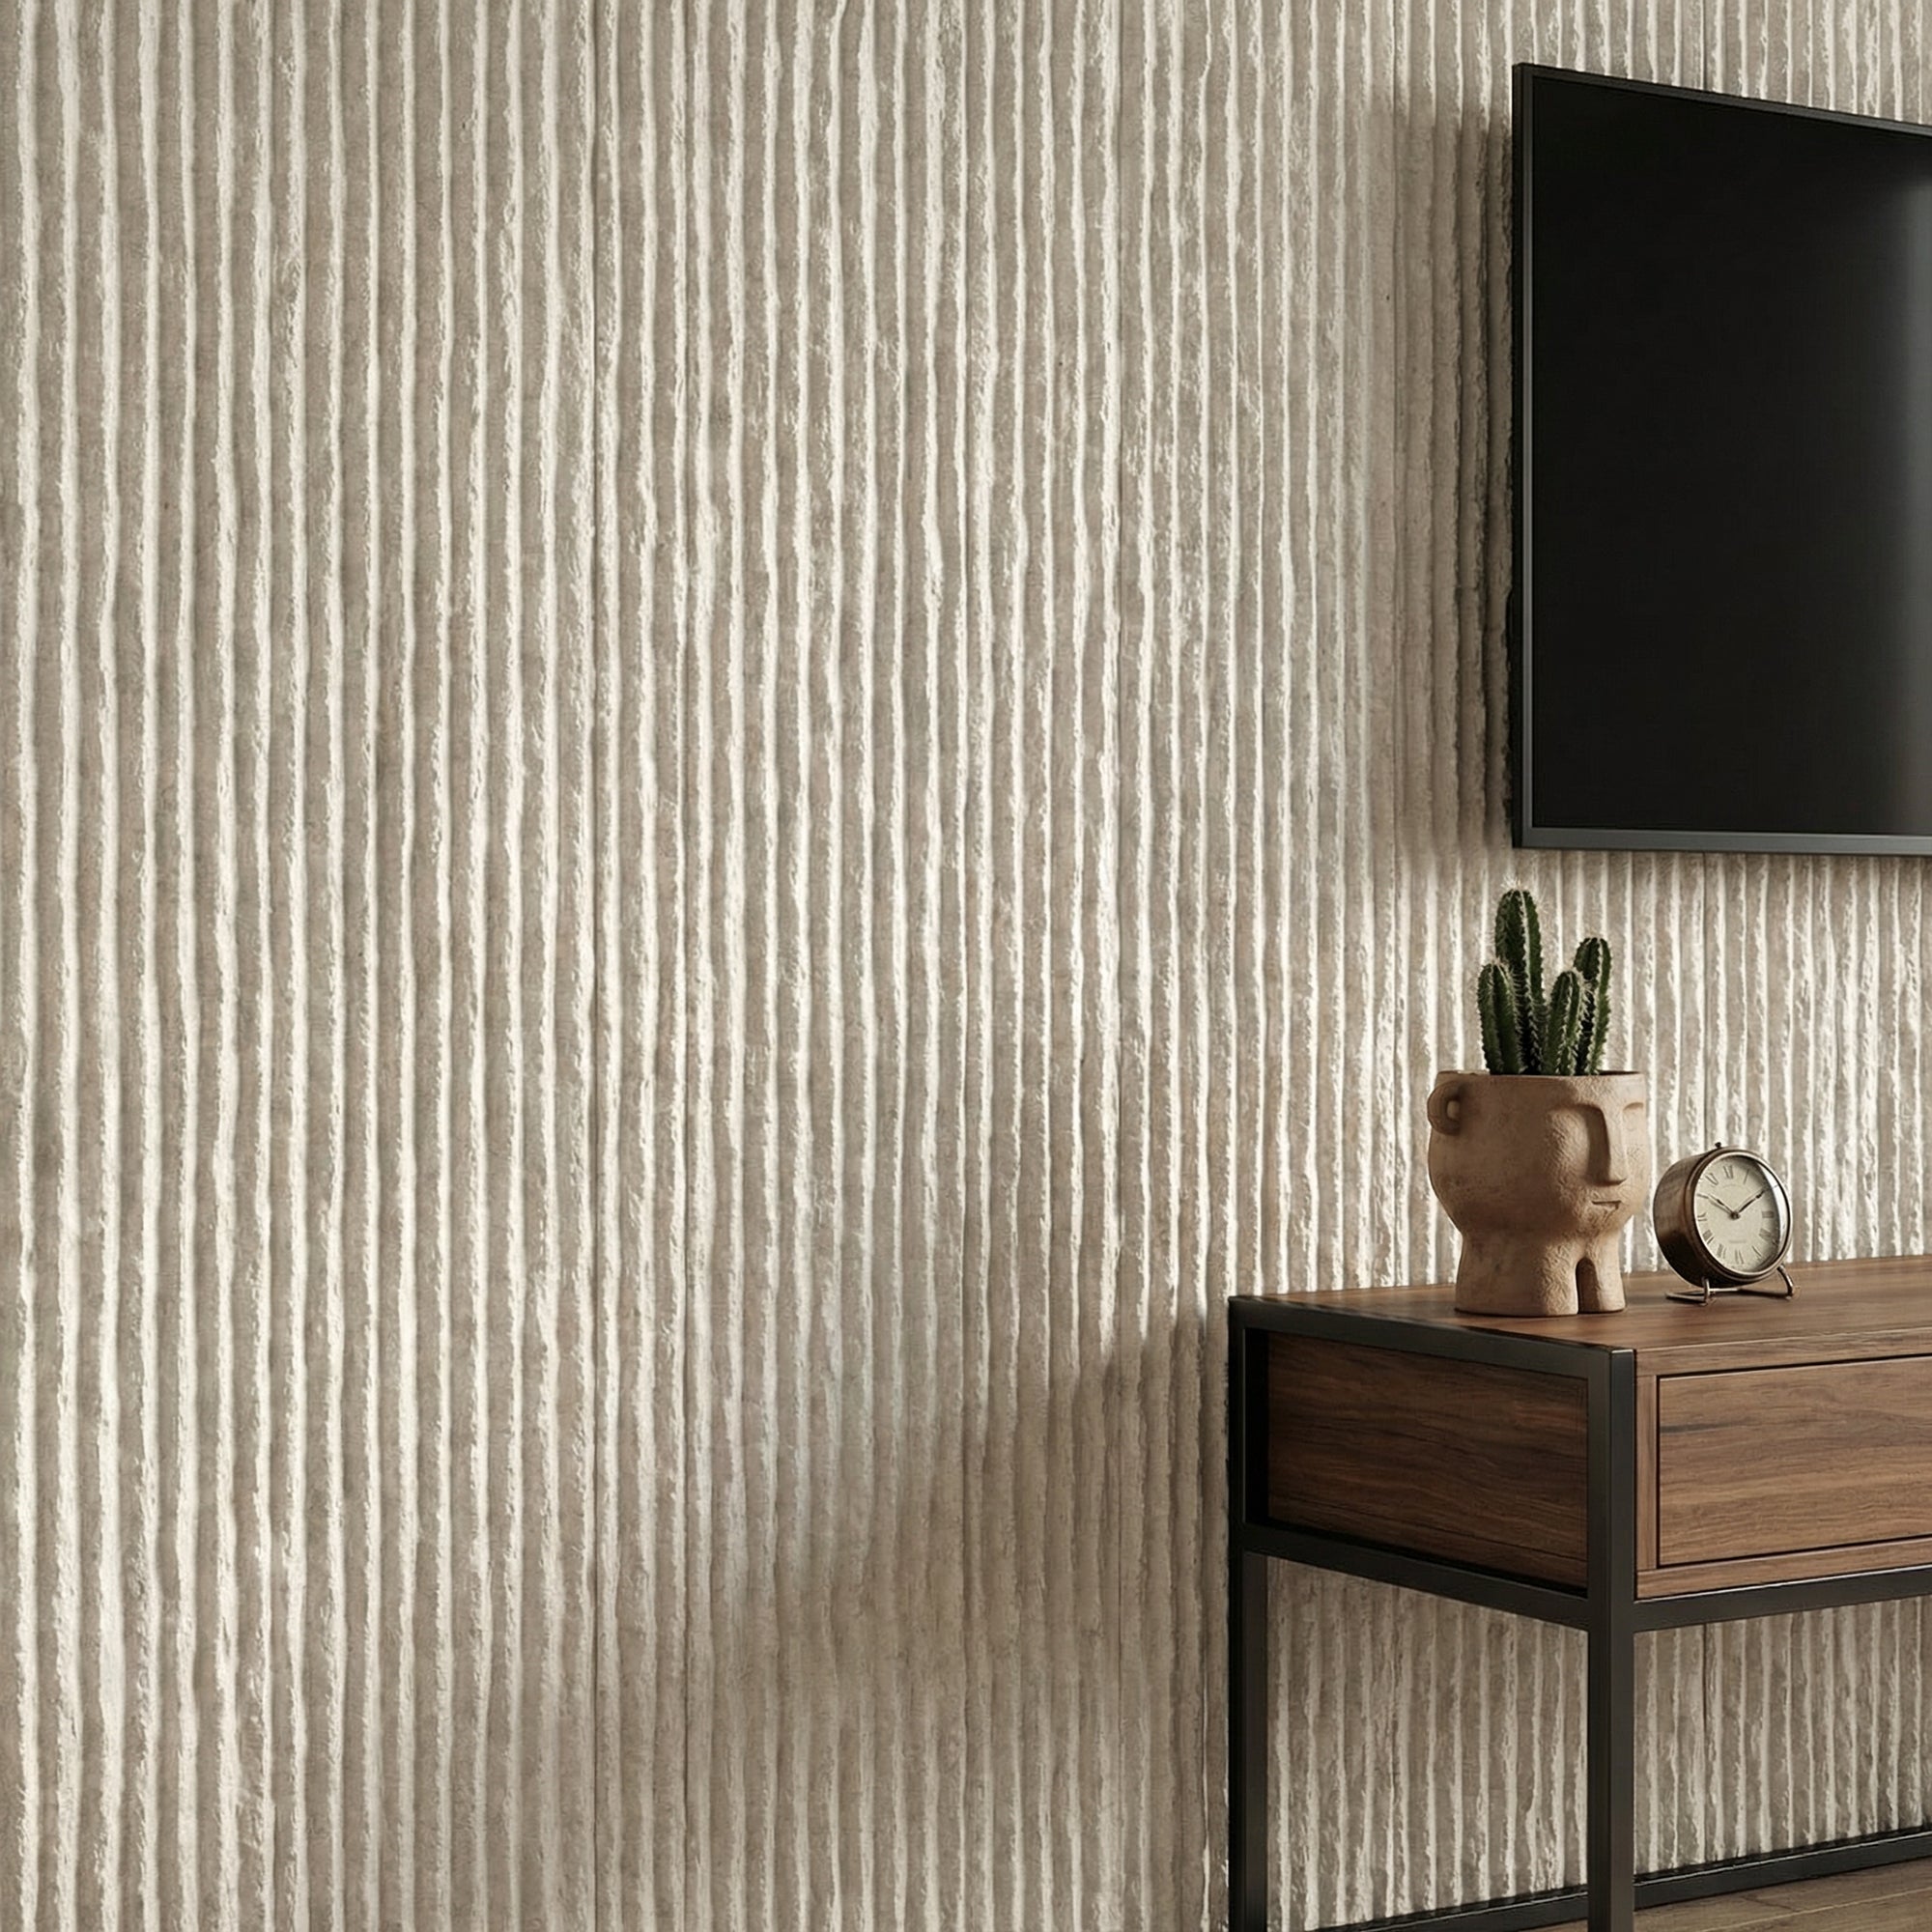
    For a media wall where the design statement is the priority, solid wood mosaic panels deliver extraordinary texture. The interlocking geometric patterns of our Crossing Lines Solid Wood Wall Panels | GroovePanel® create a sophisticated visual rhythm that frames the TV without competing with it.
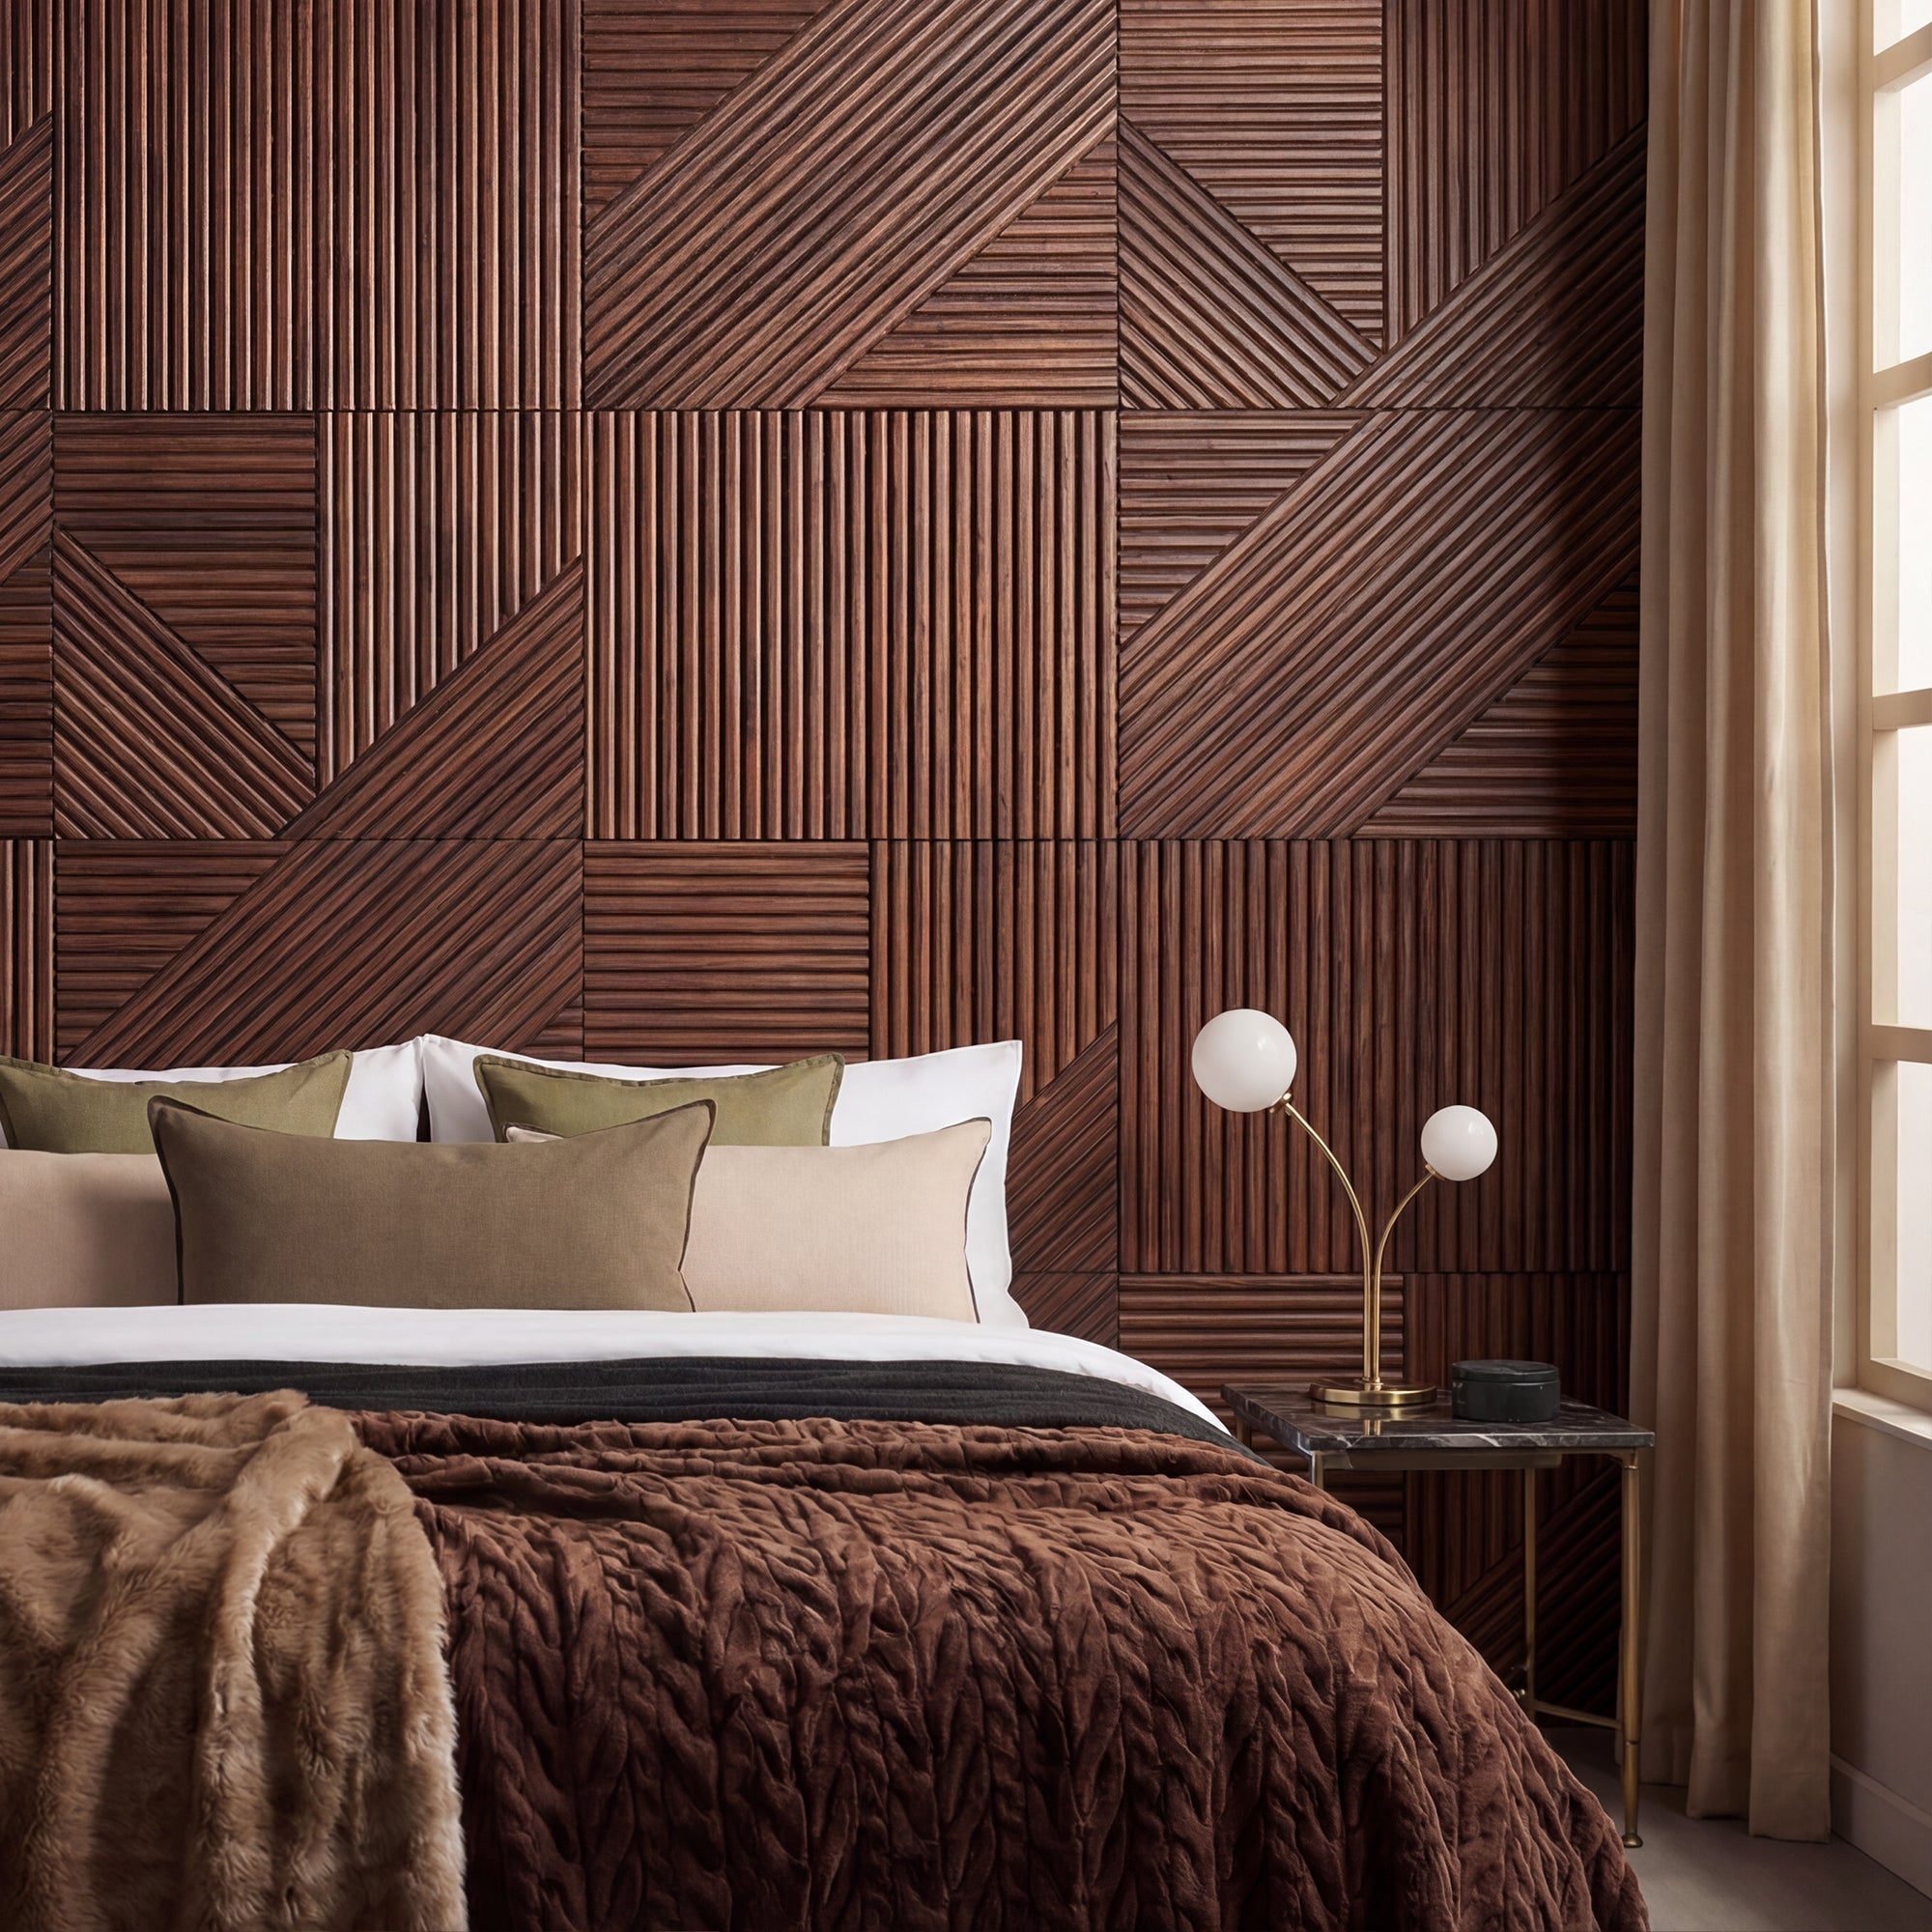
    Crossing Lines Solid Wood Wall Panels - GroovePanel® - The Panel Hub

    Choosing Your Finish

    Consider the rest of the room when selecting a finish:

    • Walnut / Dark tones — dramatic and cinematic; suits modern and industrial interiors with contrasting light furnishings
    • Golden Oak / Light tones — warm, Scandinavian feel; suits neutral interiors and rooms with natural light
    • Mixed tones — combining a dark panel directly behind the TV with lighter panels on surrounding sections adds depth without visual chaos

    Read More: Interior Wood Slat Wall Ideas: Inspiration for Every Room

    Tools and Materials You’ll Need

    • Wood wall panels (measure your wall and order with 10–15% extra for wastage and cuts)
    • High-quality panel adhesive
    • Spirit level
    • Tape measure and pencil
    • Fine-tooth handsaw or circular saw with fine-tooth blade
    • Drill and drill bits
    • Wall plugs and screws (for perimeter fixing on larger installations)
    • Sandpaper (120 and 180 grit, for cut edges)
    • Stud finder
    • LED light strip kit (optional but highly recommended)
    • TV wall mount bracket (low-profile or tilting, depending on viewing angle preference)

    Step-by-Step: How to Build a Media Wall with Wood Panels

    Step 1 — Prepare the Wall Surface

    The wall must be clean, dry, and structurally sound before any panels are applied. Remove existing artwork, shelving, or fixtures. Fill any holes or cracks and allow filler to fully cure. If the wall has a glossy painted surface, lightly sand it to improve adhesion. Wipe down with a dry cloth to remove dust.

    Mark the centre of your wall with a vertical pencil line — this is your reference point for ensuring the panel layout is symmetrical around the TV position.

    Step 2 — Mark Out Your Layout

    Using your centre line as a reference, mark where each panel row will start and end. Use a spirit level to draw horizontal guide lines. Decide whether panels will run full height or to a specific panel-height mark. Mark the TV bracket position and confirm it aligns with a wall stud for safe mounting.

    Dry-lay a few panels on the floor to confirm your pattern direction and starting point before applying any adhesive.

    Step 3 — Install the Panels

    Apply panel adhesive in a serpentine pattern to the back of each panel — enough to create solid contact across the full surface, but not so much that it squeezes out the sides on contact. Press the panel firmly to the wall and hold for 30–60 seconds. Check alignment with your spirit level before the adhesive sets.

    Work from your centre line outwards in both directions, maintaining consistent spacing between panels. For edges and corners, measure and cut panels with a fine-tooth saw, then lightly sand cut edges before installation.

    Tip: Leave the panels in the TV zone unmounted until after the TV bracket is secured to the wall.

    Step 4 — Mount the TV Bracket

    With panels in place everywhere except the TV zone, mark and drill your TV bracket fixing points into the wall studs. Feed your HDMI, power, and other cables through the wall or trunking channel before mounting. Then complete the panel installation around the bracket. The panels should sit flush to, or slightly proud of, the bracket base plate — this creates a clean floating appearance once the TV is hung.

    Step 5 — Add LED Strip Lighting

    Backlighting transforms a media wall. Our LED Light Strip Kit is designed to mount directly behind SoundPanel™ and GroovePanel® installations. Position strips along the top edge of the panel run, down the sides, or behind the TV for a bias-light effect that reduces eye strain during viewing.

    LED strips run horizontally between panel rows also work well — they highlight the slat or pattern depth and create a layered lighting effect that photographs exceptionally well.

    Step 6 — Final Touches

    Hang the TV. Dress any exposed cable runs with matching cable trunking in a tone that complements the panel finish. Add shelving, cabinetry, or decorative elements either side of the TV if desired.

    Stand back and review the panel alignment from a distance — minor adjustments are still possible within the first few hours before the adhesive fully cures. Once satisfied, panels reach full bond strength within 24 hours.

    Media Wall Design Ideas

    Full-Height Slat Panel Wall with Central TV

    A floor-to-ceiling installation of SoundPanel™ acoustic slat panels creates a bold, hotel-grade media wall. The TV mounts on a low-profile bracket, sitting flush within the panel surface. LED backlighting grazes down the slat texture for a warm, diffused glow that accentuates the wood grain.

    Mixed Tone — Dark Centre, Light Perimeter

    Use walnut-tone panels directly behind the TV, transitioning to golden oak on the surrounding panels. The contrast creates a natural frame for the TV without any additional moulding or trim — the tonal shift does all the work.

    Geometric Mosaic Feature Wall

    A media wall built from Honey Mosaic Wood Wall Panels | GroovePanel® creates a genuinely unique installation — the warm, handcrafted aesthetic works especially well in living rooms that lean eclectic or transitional.
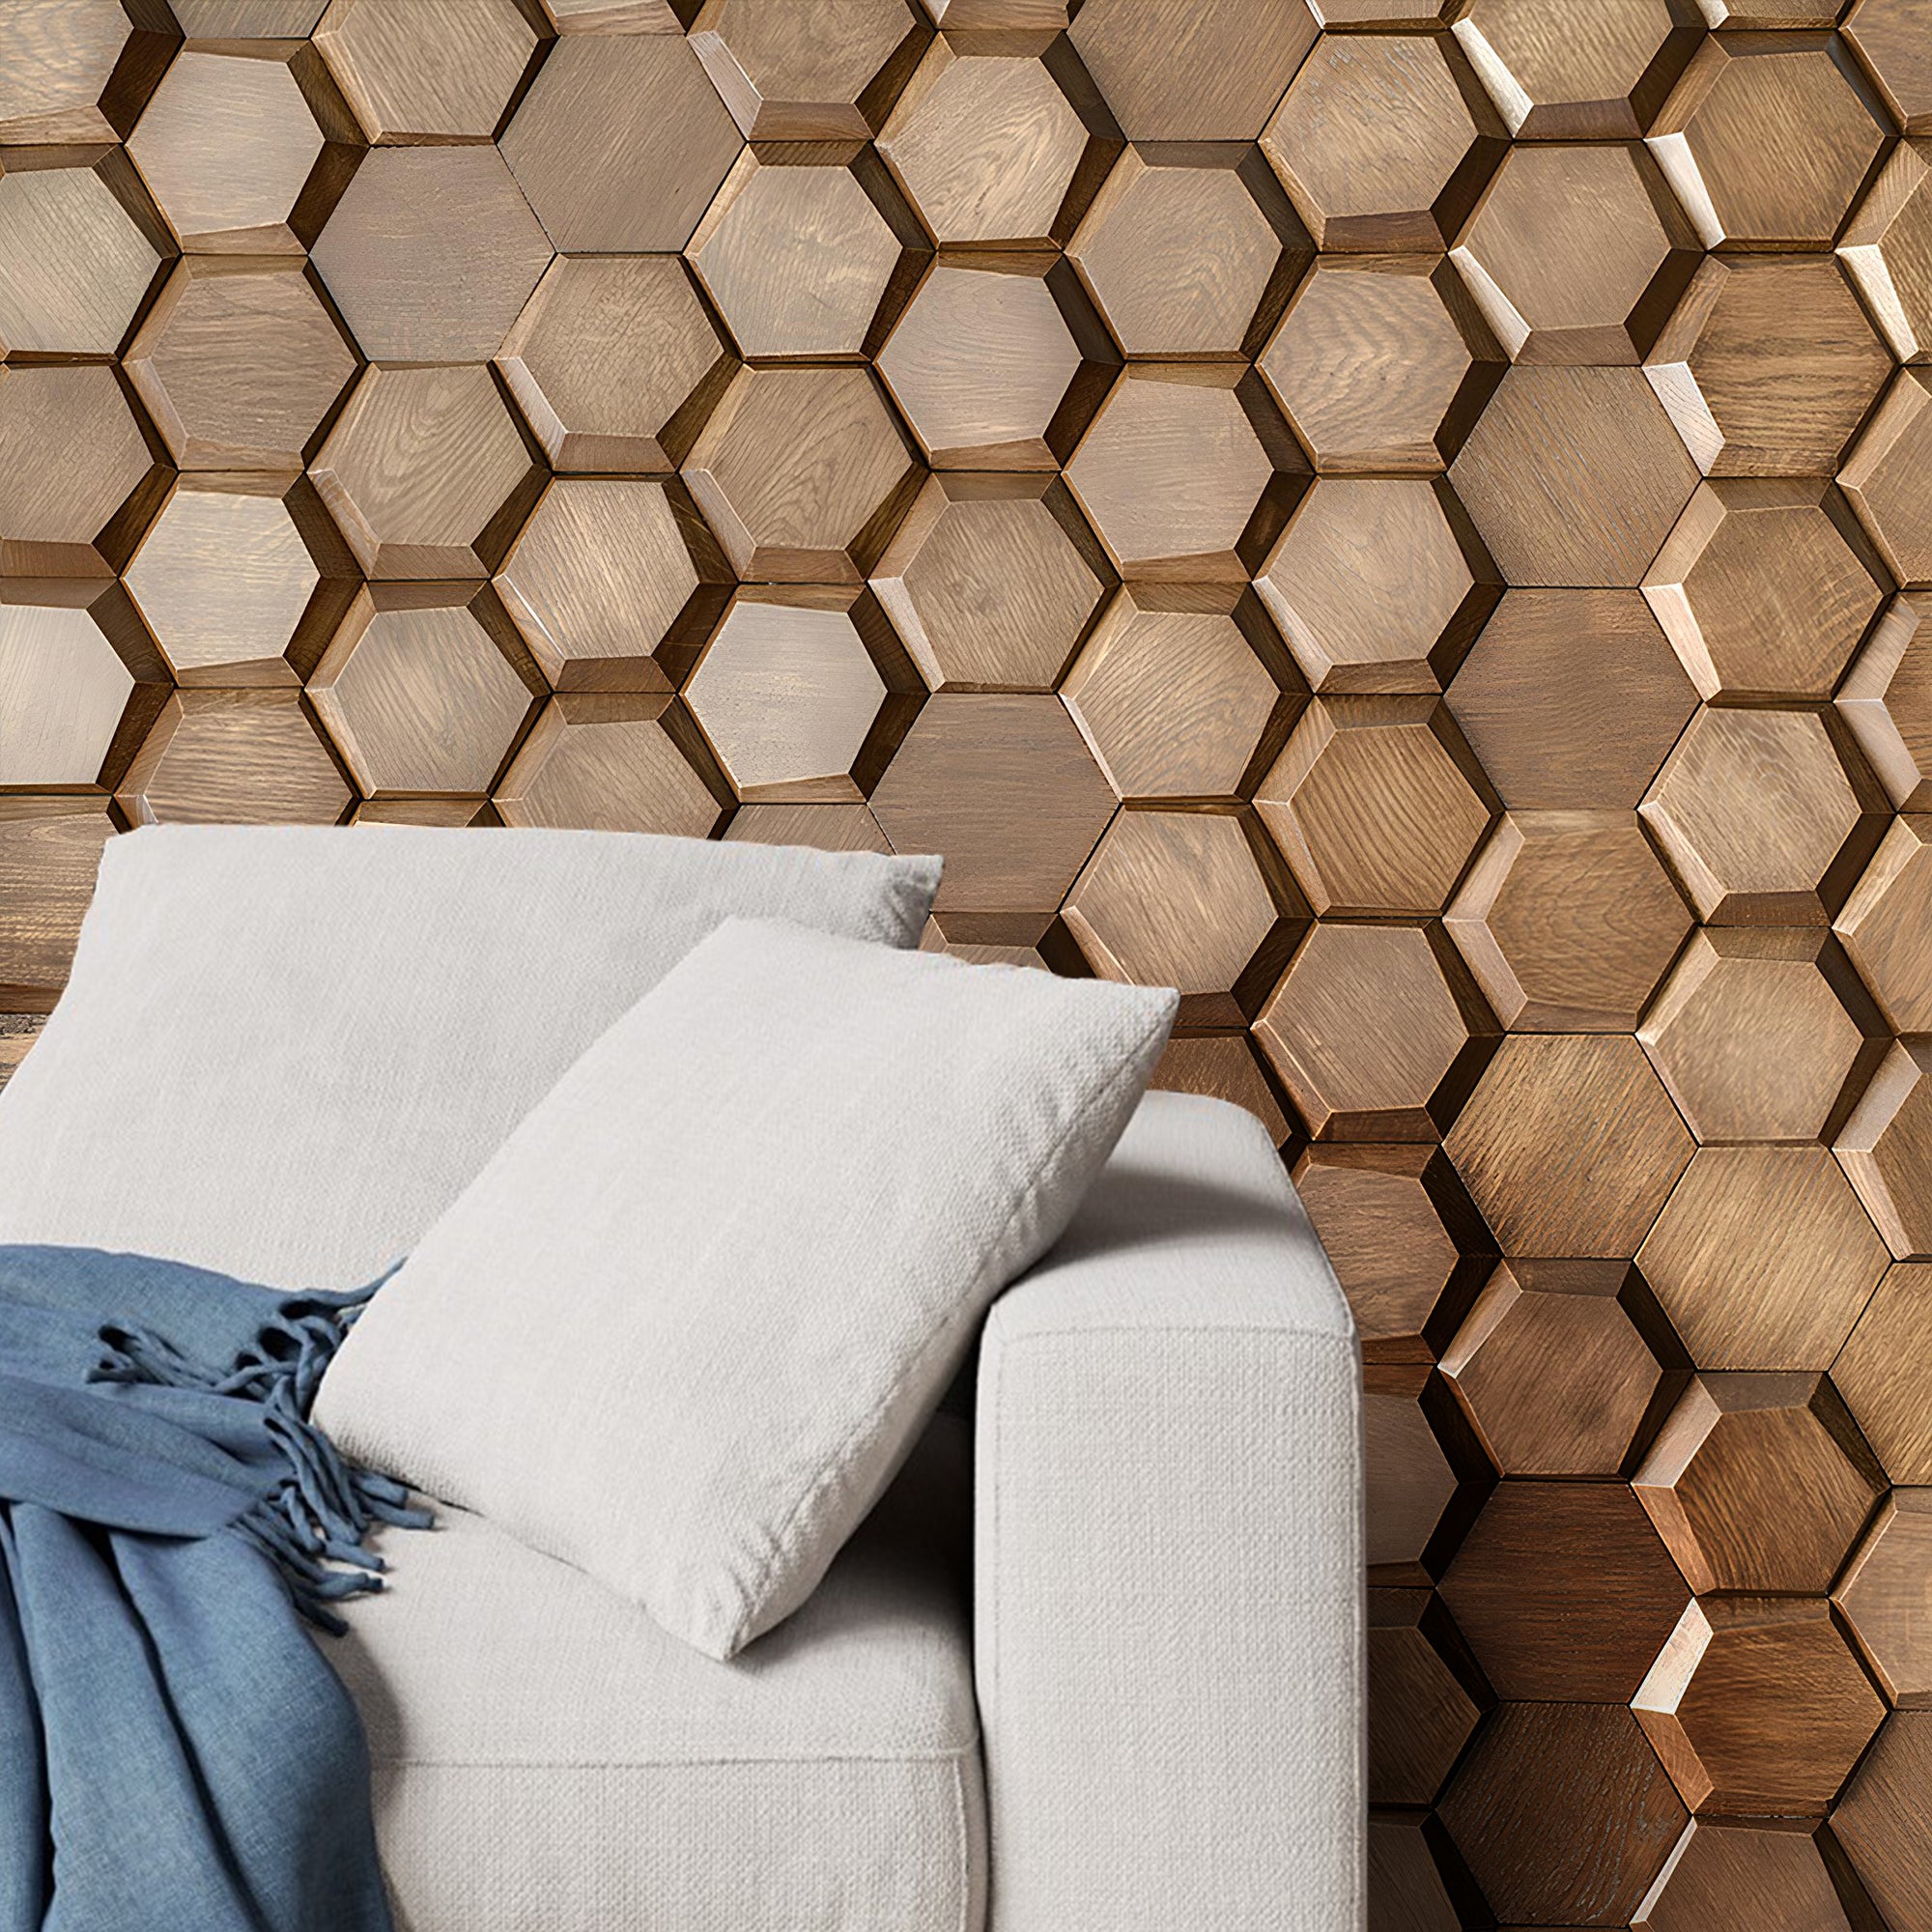
    Honey Mosaic Wood Wall Panels - GroovePanel® - The Panel Hub

    Common Mistakes to Avoid

    • Skipping the stud finder: Always locate and mark wall studs before mounting the TV bracket. A TV falling from the wall is dangerous and expensive.
    • Ignoring cable management until the end: Retrofitting cable channels through installed panels is difficult. Plan routes before the first panel goes up.
    • Applying adhesive to a dusty wall: Dust acts as a release agent. A single wipe-down before installation dramatically improves adhesion.
    • Not checking for level frequently: Check with a spirit level after every third or fourth panel, not just at the end of each row. Errors compound.
    • Ordering exactly the right amount of material: Always add 10–15% for wastage. Running short mid-installation and waiting for a new batch risks visible colour variation between batches.

    Frequently Asked Questions

    Do I need to hire a tradesperson to build a media wall?

    For the panelling itself, no — our panels are designed for DIY installation. However, if you’re adding new power sockets, chasing cables into the wall, or integrating a gas or flued fireplace, you’ll need a qualified electrician or gas engineer for those elements.

    Can I mount a TV on wood wall panels?

    Yes, but the bracket must be fixed into the structural wall behind the panels — not the panels themselves. Panels are decorative and not load-bearing. Use a stud finder to locate wall studs and drill the bracket fixings through the panel surface directly into them.

    How long does it take to build a media wall?

    A typical DIY media wall with wood panels can be completed over a weekend: half a day for preparation and planning, a full day for panel installation, and a few hours for TV mounting and finishing.

    What’s the best wood panel for a media wall?

    SoundPanel™ acoustic slat panels are our top recommendation — the acoustic backing reduces echo from the TV and sound system, while the slat profile creates a premium, tactile finish that looks exceptional with backlighting.

    Do wood panels work with an electric fireplace?

    Yes, provided you maintain the manufacturer’s specified clearance distance between the fireplace and any combustible material. Most electric fireplaces specify a minimum clearance of 100–200mm. Always check the fireplace spec sheet before finalising your panel layout.

    Conclusion

    A well-built media wall is one of the most impactful single upgrades you can make to a living room — and with the right wood panels, it’s entirely achievable as a DIY project over a weekend.

    The keys: plan your layout before touching a panel, manage cables before they become a problem, and choose your panel type to match both the aesthetic and acoustic goals of the space.

    Ready to start? Explore our most popular media wall panels:

    Shop: LED Light Strip Kit — designed to integrate seamlessly with SoundPanel™ and GroovePanel® installations for effortless ambient lighting behind your media wall.
  • How to Choose Wall Panel Colors: A Room-by-Room Guide

    How to Choose Wall Panel Colors: A Room-by-Room Guide

    Choosing the wrong color for your wall panels is an expensive mistake — hard to fix once the panels are installed. The right color can make a room feel larger, warmer, more dramatic, or more serene. The wrong one can make it feel dark, chaotic, or flat.

    This guide walks through the decisions that lead to a confident color choice: how lighting affects panel tone, how to coordinate panels with existing finishes, and which colors tend to work best room by room.

    How Lighting Changes Everything

    Wall panels look different under different light conditions — and the difference is more dramatic than with flat paint, because the three-dimensional texture of slats creates shadow lines that shift as light changes throughout the day.

    • North-facing light (cool, diffused): Warms up dark panels; can make light panels feel cold. Mid-tones like walnut and natural oak tend to read best.
    • South-facing light (warm, bright): Flatters lighter panels — golden oak and pale natural finishes look rich and warm. Very dark panels can feel oppressive under intense direct sunlight.
    • Warm white artificial lighting (2700–3000K): Emphasises warm tones in wood grain. Golden Oak deepens to a rich amber; Walnut reads as deep burnished brown.
    • Cool white artificial lighting (4000K+): Brings out grey undertones. Works well with charcoal; can make warm oak tones appear greenish.

    Always view a sample in your actual room at different times of day before committing to a full order. Wood tones look significantly different on screen versus in person and under different light conditions.

    Coordinating Panels with Existing Finishes

    Flooring

    • Matching tones: Floor and wall panel in the same wood family creates cohesive warmth — popular in Scandinavian and Japandi interiors. Risk: the room can feel monochromatic without contrast elsewhere.
    • Contrasting tones: Dark panels with light floor (or vice versa) creates definition between surfaces. The room feels grounded and the feature wall reads clearly.
    • Matching undertones: A floor with warm golden undertones pairs naturally with warm golden oak panels. A floor with cool grey undertones pairs better with charcoal or cooler-toned wood.

    Furniture

    You don’t need an exact match between panel tone and furniture — in fact, exact matches can look staged. Aim for tonal coordination (same warm or cool family) with a clear difference in shade depth, bridged by an accent — a cushion, rug, or artwork that picks up both the panel and furniture finish.

    Wall Paint

    • White or very light painted walls make dark panels more dramatic — high contrast, modern feel
    • Mid-tone complementary walls (sage green, warm grey, terracotta) create a richer, layered look alongside warm wood panels
    • Matching dark walls to dark panels creates an enveloping, moody aesthetic — popular in media rooms and bedrooms, but requires confident lighting to avoid feeling oppressive

    Golden Oak — The Most Versatile

    American Acoustic Slat Wood Wall Panels - Oak - View 1

    Golden Oak’s warm mid-amber tone sits comfortably with almost any interior palette. It works equally well in bright, airy spaces and warmer, more intimate rooms. It’s forgiving of mismatched furniture tones and photographs beautifully under both natural and artificial light. The most popular starting point for first-time panel installations.

    Best for: Living rooms, bedrooms, Scandinavian and transitional interiors.

    Walnut — Premium and Dramatic

    American Acoustic Slat White Felt Wood Wall Panels - Walnut - View 8

    Walnut’s deep rich brown creates striking contrast against light walls and pale furniture. In a well-lit room, walnut panels feel luxurious and enveloping — the natural grain variation adds depth without losing warmth. Under cool or bright light, the grain becomes more visible and detailed.

    Best for: Media walls, home offices, dining rooms, contemporary and high-end interiors.

    Charcoal / Dark Grey — Cinematic and Architectural

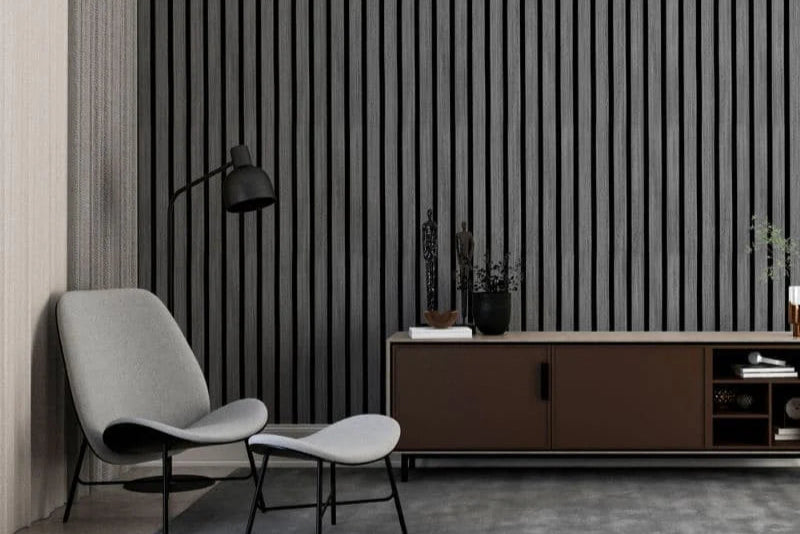
    grey-acoustic-slat-wall-panel-room-The Panel Hub

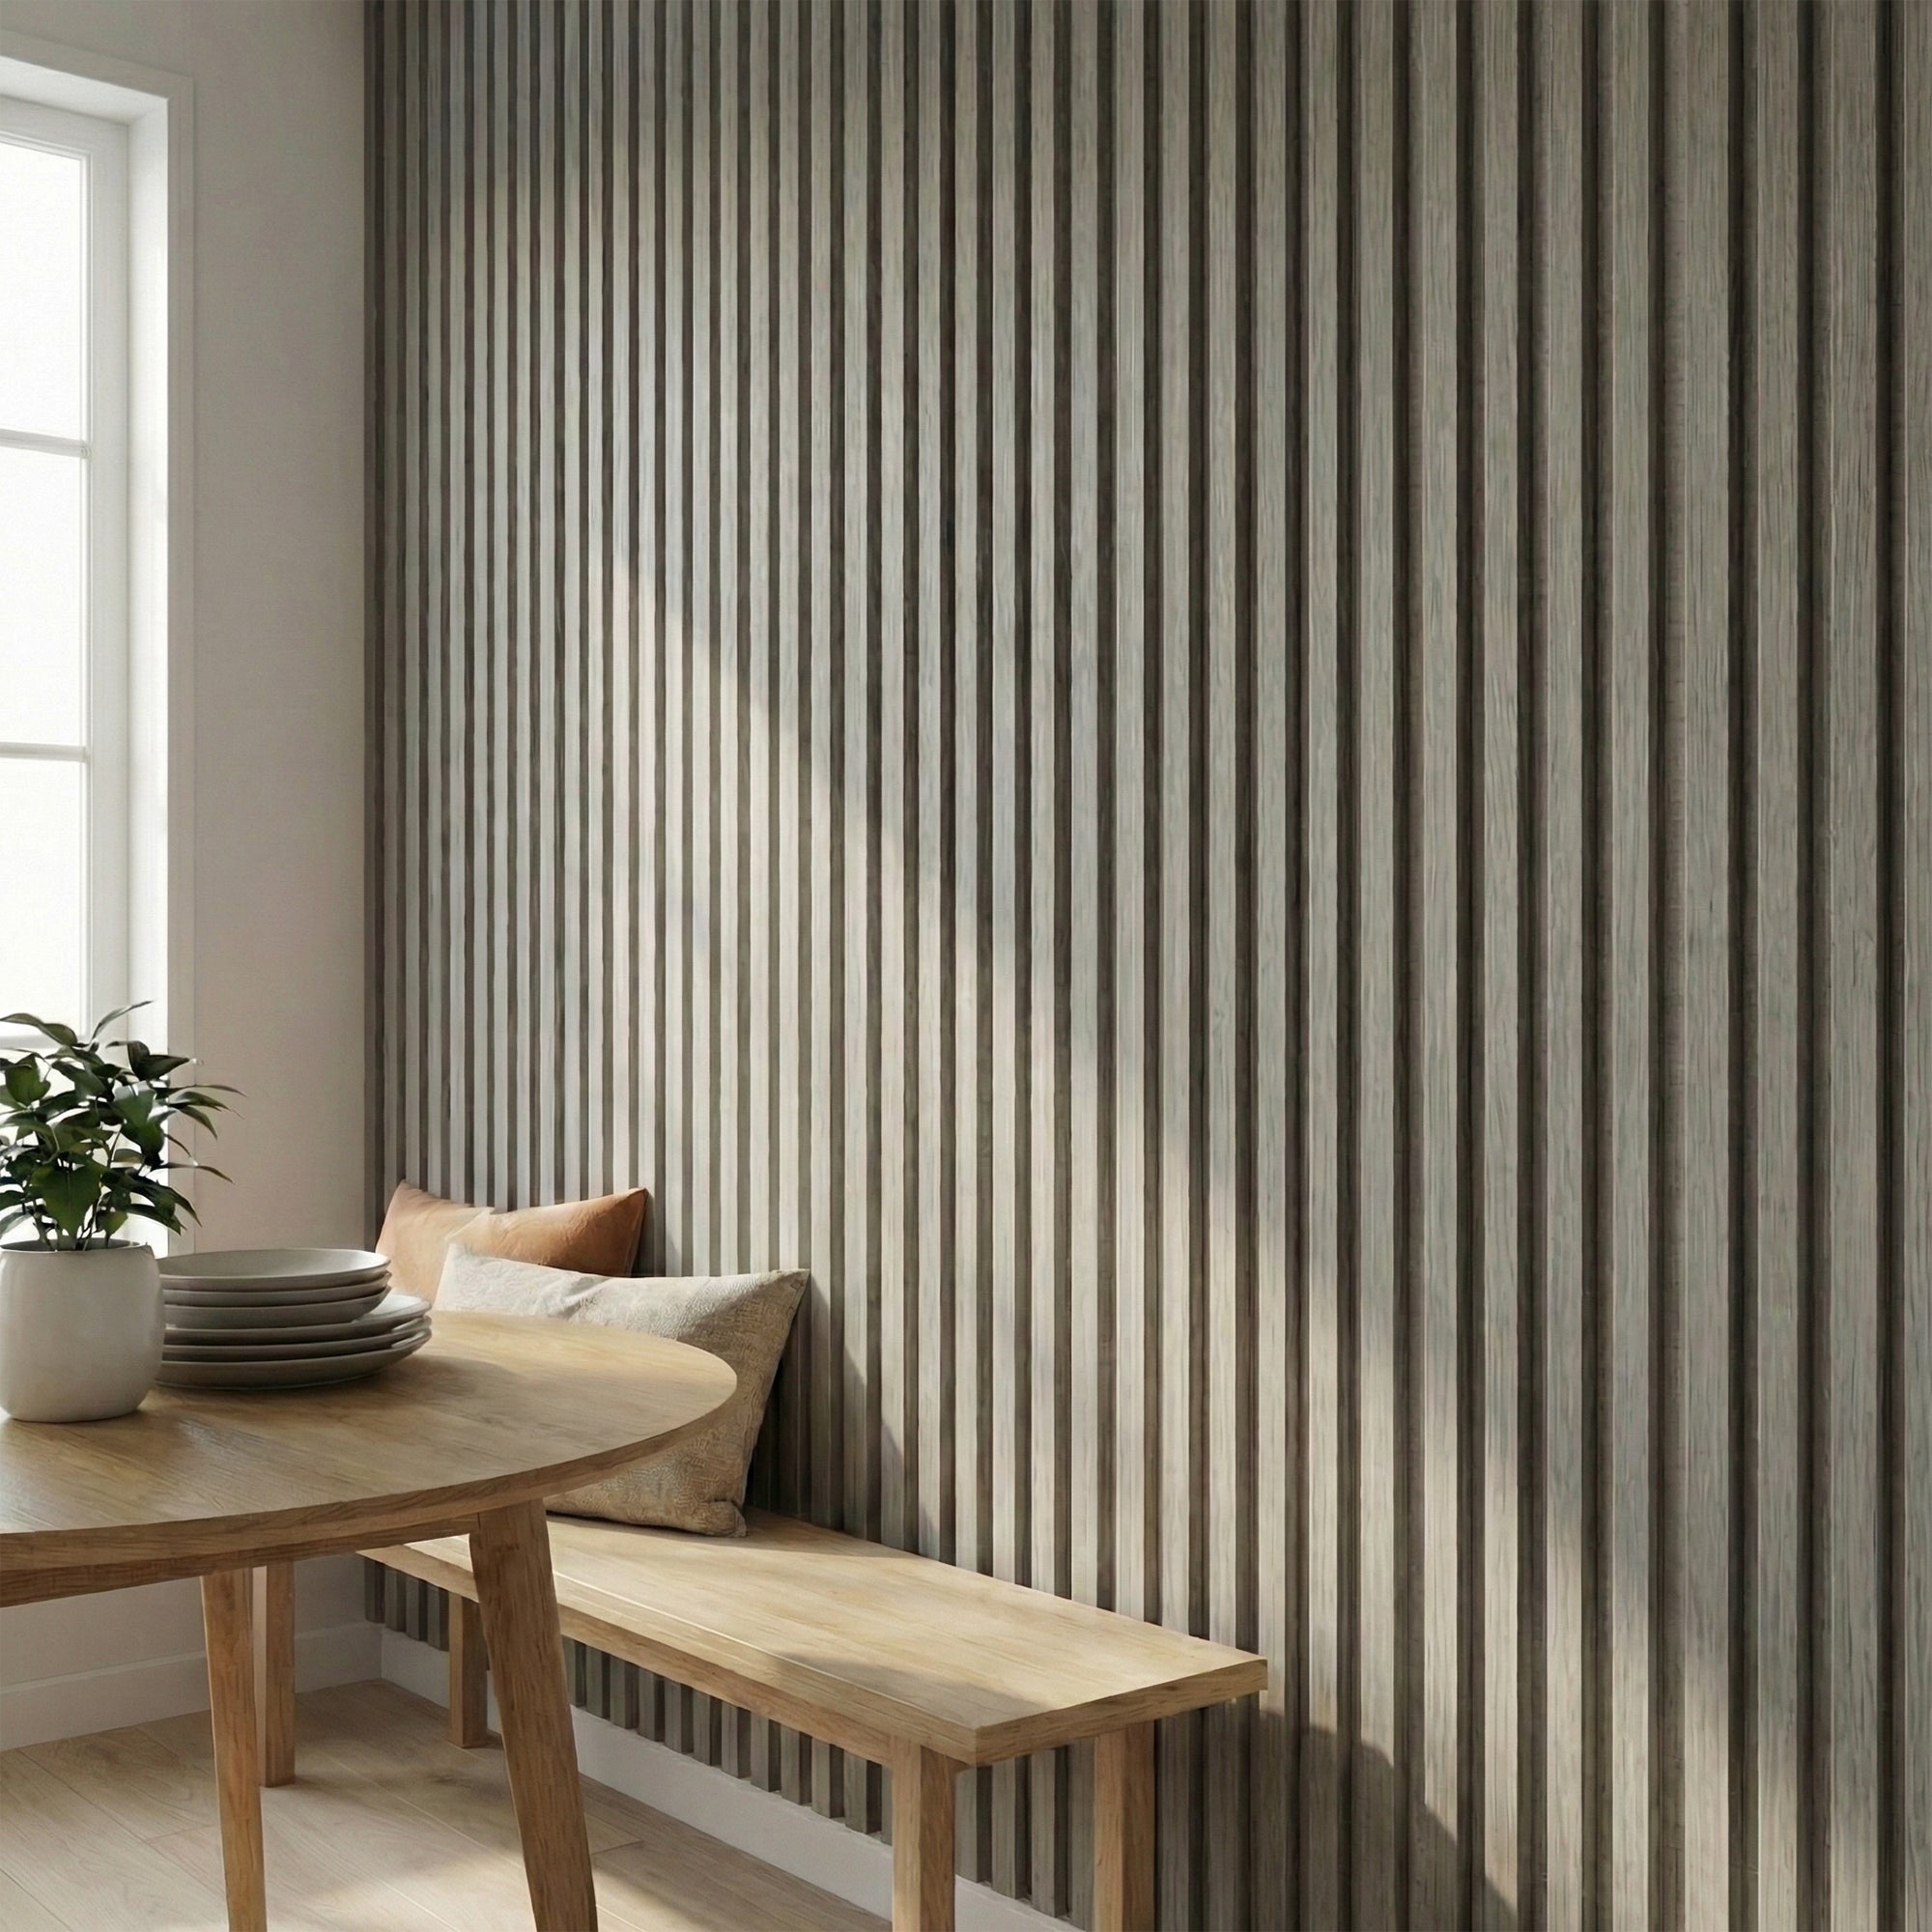
    Charcoal panels deliver an almost architectural feel — they recede from the room and create a dark, dramatic backdrop. Unlike black, charcoal retains wood grain texture and warmth. Combined with warm lighting, charcoal slat panels create one of the most cinematic wall effects achievable with a decorative panel.

    Best for: Media rooms, feature walls in neutral interiors, spaces that want drama without strong warmth.

    Natural / Light — Minimal and Japandi

    For interiors leaning pale, minimal, and Japandi-inspired, natural or light ash finishes deliver delicate wood texture that adds warmth without weight. Particularly effective in small rooms where darker finishes might feel heavy.

    Best for: Small rooms, bedrooms, Japandi and Scandinavian interiors, spaces with limited natural light.

    Room-by-Room Color Guide

    Living Room

    Golden Oak and Walnut are the most popular choices — Oak for warmer, more relaxed living rooms; Walnut for more modern, styled spaces. For a media wall with a TV, Walnut or Charcoal create the best visual contrast with the screen. Read our TV wall paneling guide for more specific advice.

    Bedroom

    Warm tones (Golden Oak, natural) create the most relaxing sleep environment for headboard feature walls. Dark tones (Walnut, Charcoal) work beautifully in bedrooms if the room is large enough and well-lit — avoid dark panels in bedrooms with minimal natural light.

    Home Office

    Medium to dark tones work well. Walnut panels on the wall behind a desk create a professional, premium backdrop for video calls. Avoid very light panels immediately behind a screen — the contrast can cause eye fatigue over long sessions.

    Hallway

    Narrow hallways benefit from lighter tones and vertical panel orientations, both of which create an impression of height and width. If the hallway has good lighting, a single dark feature wall at the far end creates a dramatic arrival moment. Read our full hallway paneling guide for more specific ideas.

    Dining Room

    Rich warm tones suit dining rooms well. For formal dining, darker panels create an intimate, restaurant-like atmosphere. For casual dining, lighter oak tones keep the space feeling open and sociable.

    Mixing Panel Colors

    Mixing tones intentionally is increasingly popular. The most common approach: a darker tone on the main feature wall (behind the TV or the sofa) transitioning to a lighter tone on adjacent walls. Keep the same panel profile and texture consistent — using the same slat format in different tones gives cohesion while adding depth.

    Frequently Asked Questions

    How do I know if a panel color will work in my room?

    Order a sample. It’s the single most reliable step — seeing the real panel in your room under your lighting next to your existing finishes eliminates virtually all color-choice risk. Photos and screen representations of wood tones vary significantly between monitors.

    Should my wall panels match my flooring?

    They don’t need to match — and in many cases it’s better if they don’t. Aim for tonal coordination (same warm or cool family) rather than exact matching. A mid-tone walnut panel with a lighter oak floor, or a golden oak panel with a darker walnut floor, creates natural contrast that gives the room depth.

    Are darker panels harder to keep clean?

    Darker panels can show dust more readily than lighter ones. Regular dusting with a dry or lightly damp cloth is all that’s needed — the factory-sealed finish on our panels resists dust buildup and cleans easily without specialist products.

    Can I mix different panel colors in the same room?

    Yes — and this is increasingly popular. Keep the same panel profile consistent and vary only the tone. This gives the room depth and intention rather than a chaotic multi-material feel.

    Conclusion

    The right wall panel color comes down to three filters: your room’s light, your existing material palette, and the mood you want to create. When in doubt — order a sample, view it in your room at different times of day, and trust what you see in the real space over anything on screen.

  • Kitchen Wall Decor Ideas: From Bare Walls to Beautiful Spaces

    Kitchen Wall Decor Ideas: From Bare Walls to Beautiful Spaces

    The kitchen is one of the most-used rooms in the home, yet often one of the most under-decorated. Between cabinetry, countertops, and appliances, available wall space is limited — which makes what you do with it all the more important. This guide covers the best kitchen wall decor options for every style and budget.

    Feature Wall Panels

    The highest-impact kitchen wall upgrade, particularly on walls away from the cooking zone. Wood slat panels on a kitchen dining wall, behind a breakfast bar, or on a lounge-adjacent kitchen wall create warmth and texture that balances the hard, reflective surfaces of kitchen fit-out — stainless steel, tile, glass.

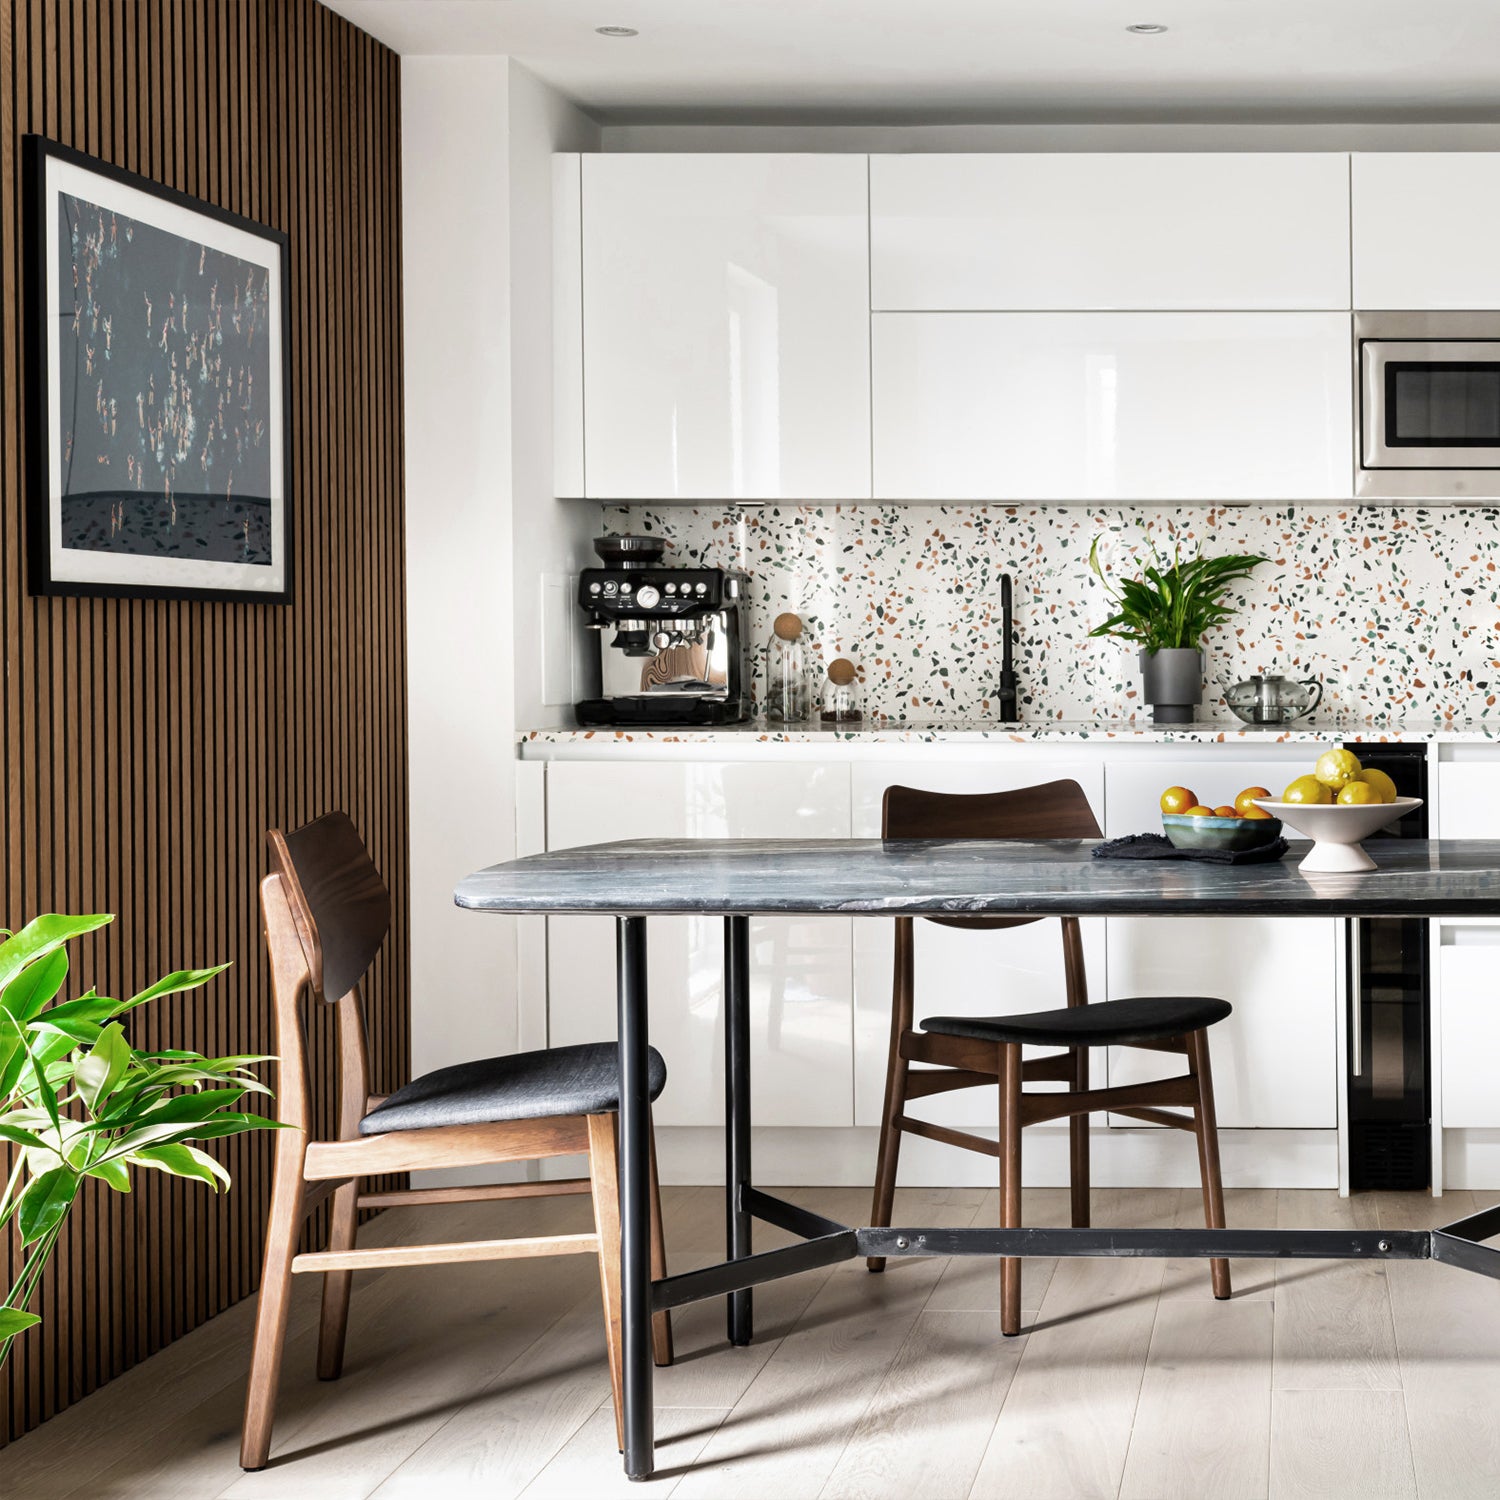
    Our SoundPanel™ acoustic slat panels in Golden Oak work exceptionally well in kitchen spaces — the warm natural wood tone softens the visual weight of cabinetry and adds a material warmth that kitchens often lack.

    SoundPanel™ wood slat panels in kitchen - The Panel Hub

    Note: Keep wood panels away from direct heat sources (hobs, ovens) and splashback zones. They’re ideal for dining walls, seating nooks, and kitchen-adjacent living areas. For waterproof splashback options, our kitchen wall paneling guide covers the right panel types for wet zones.

    Stone-Effect Feature Walls

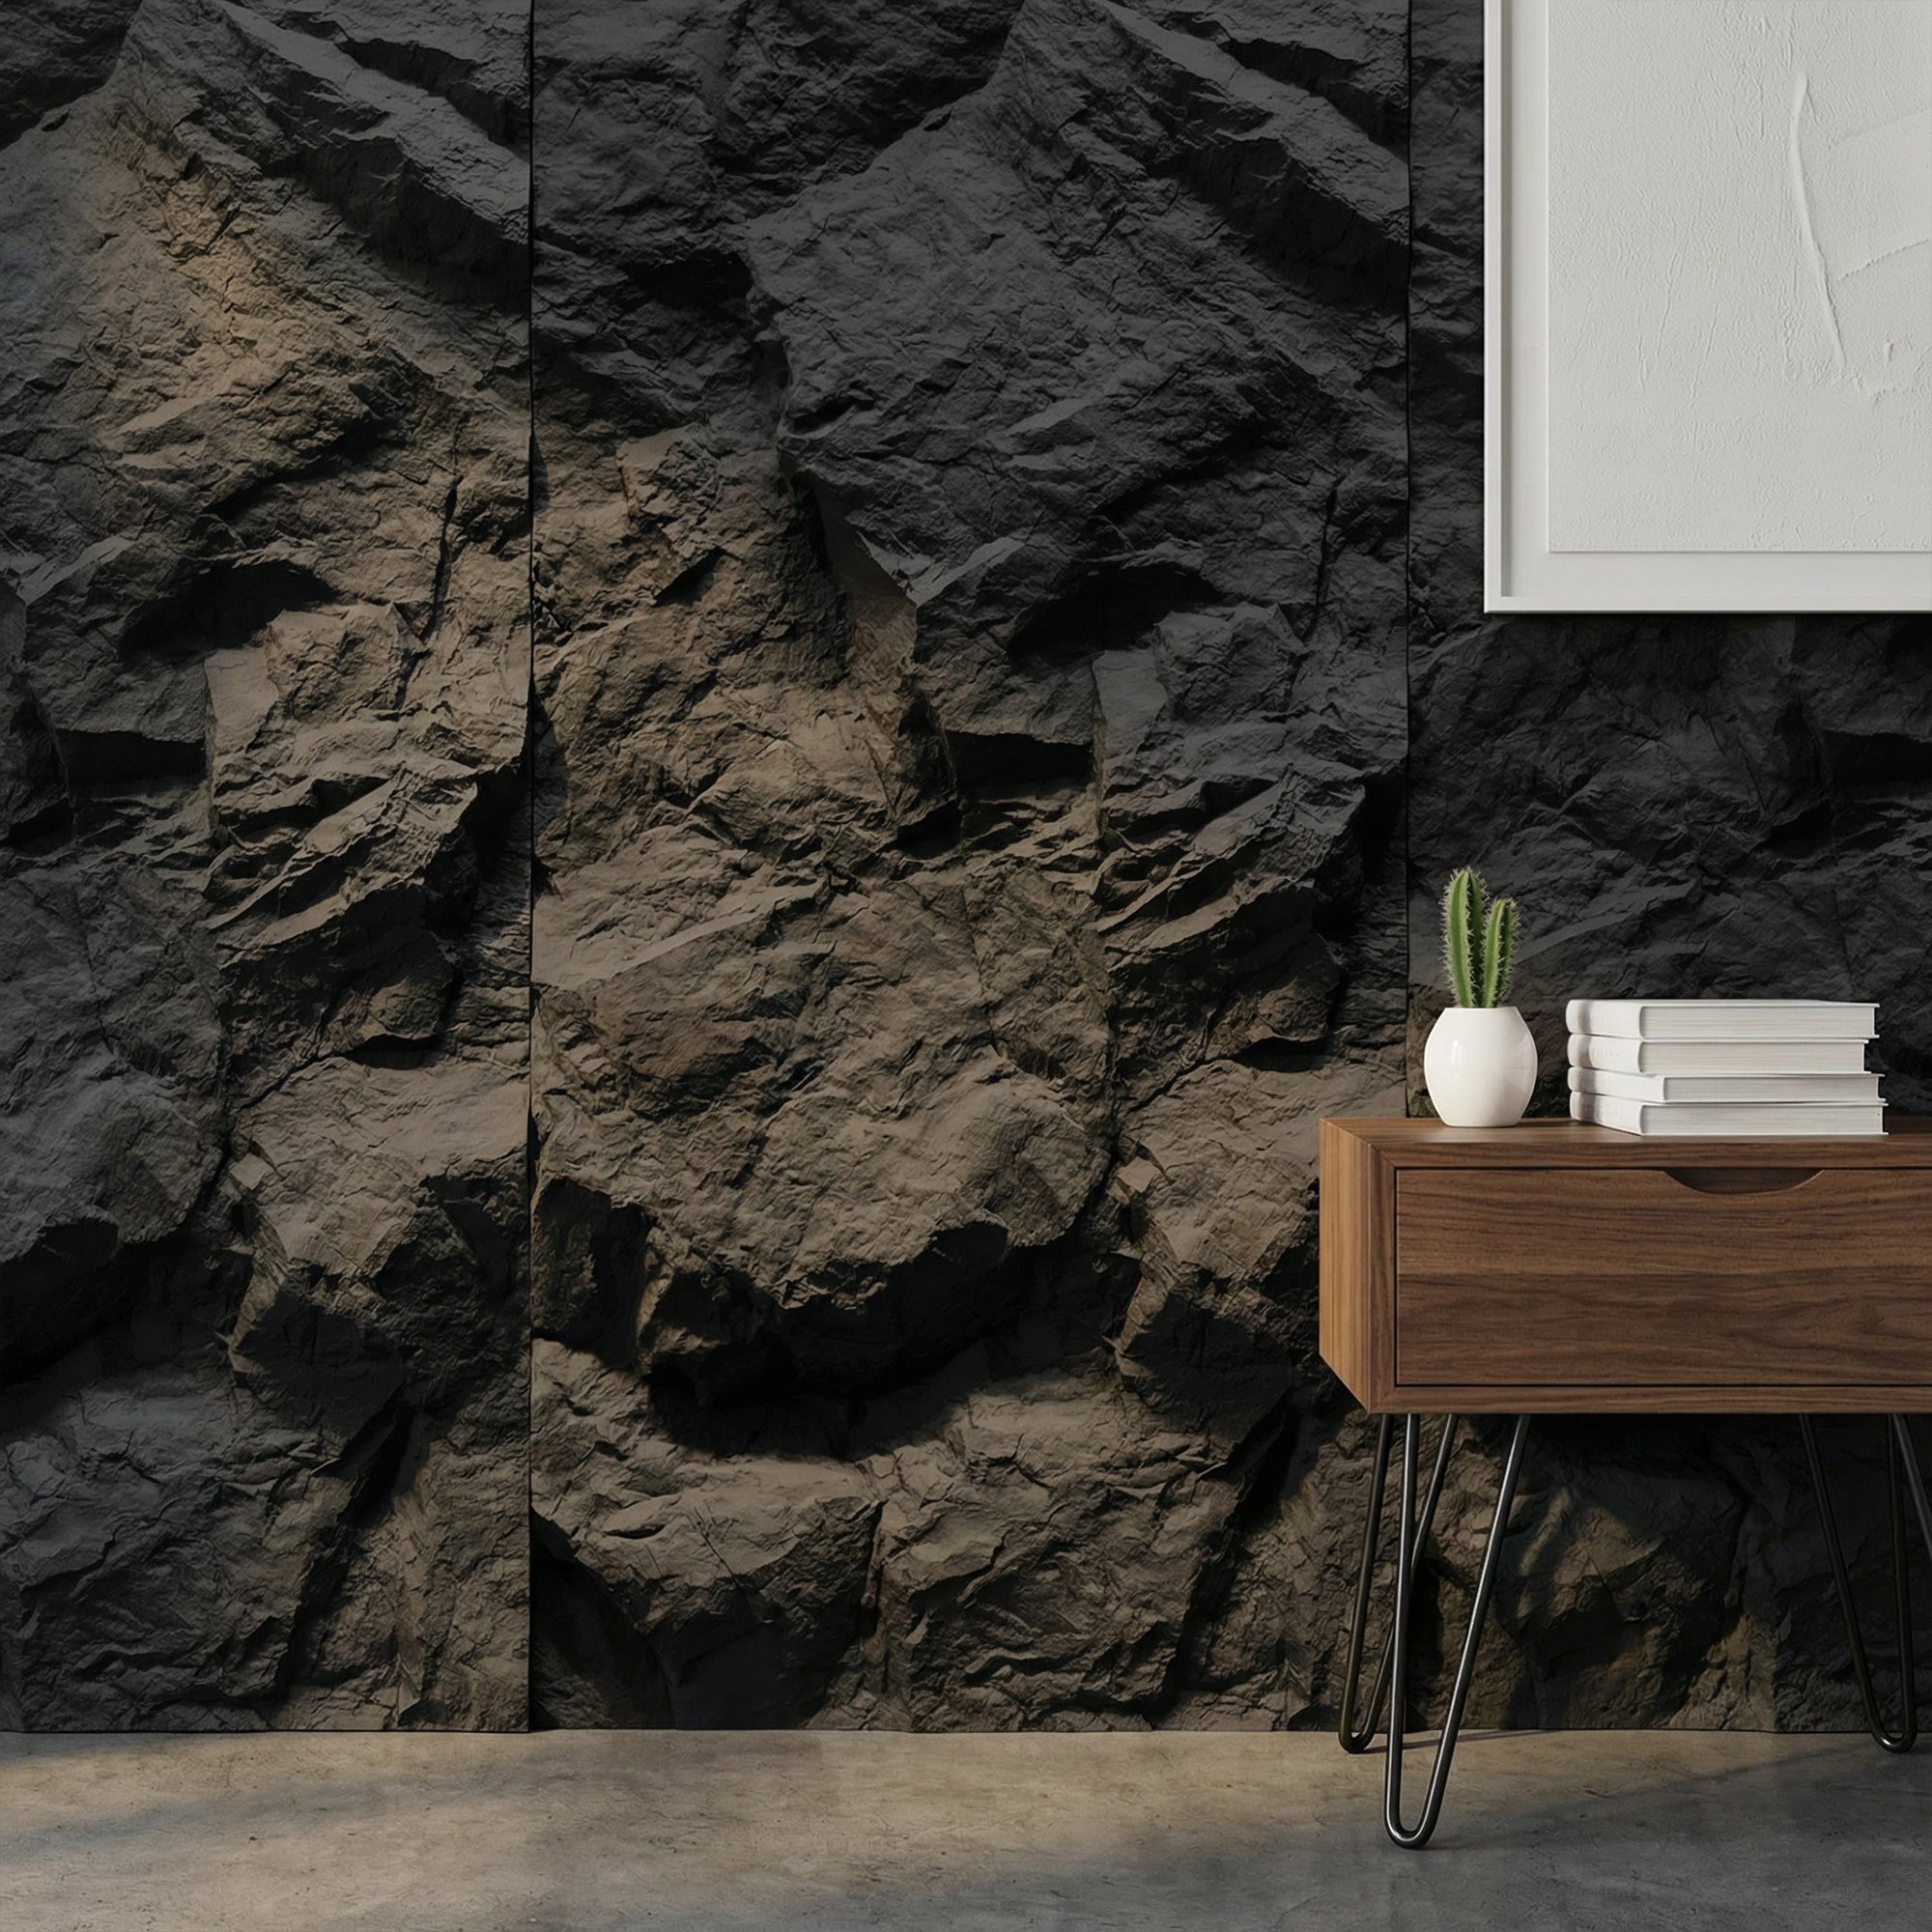
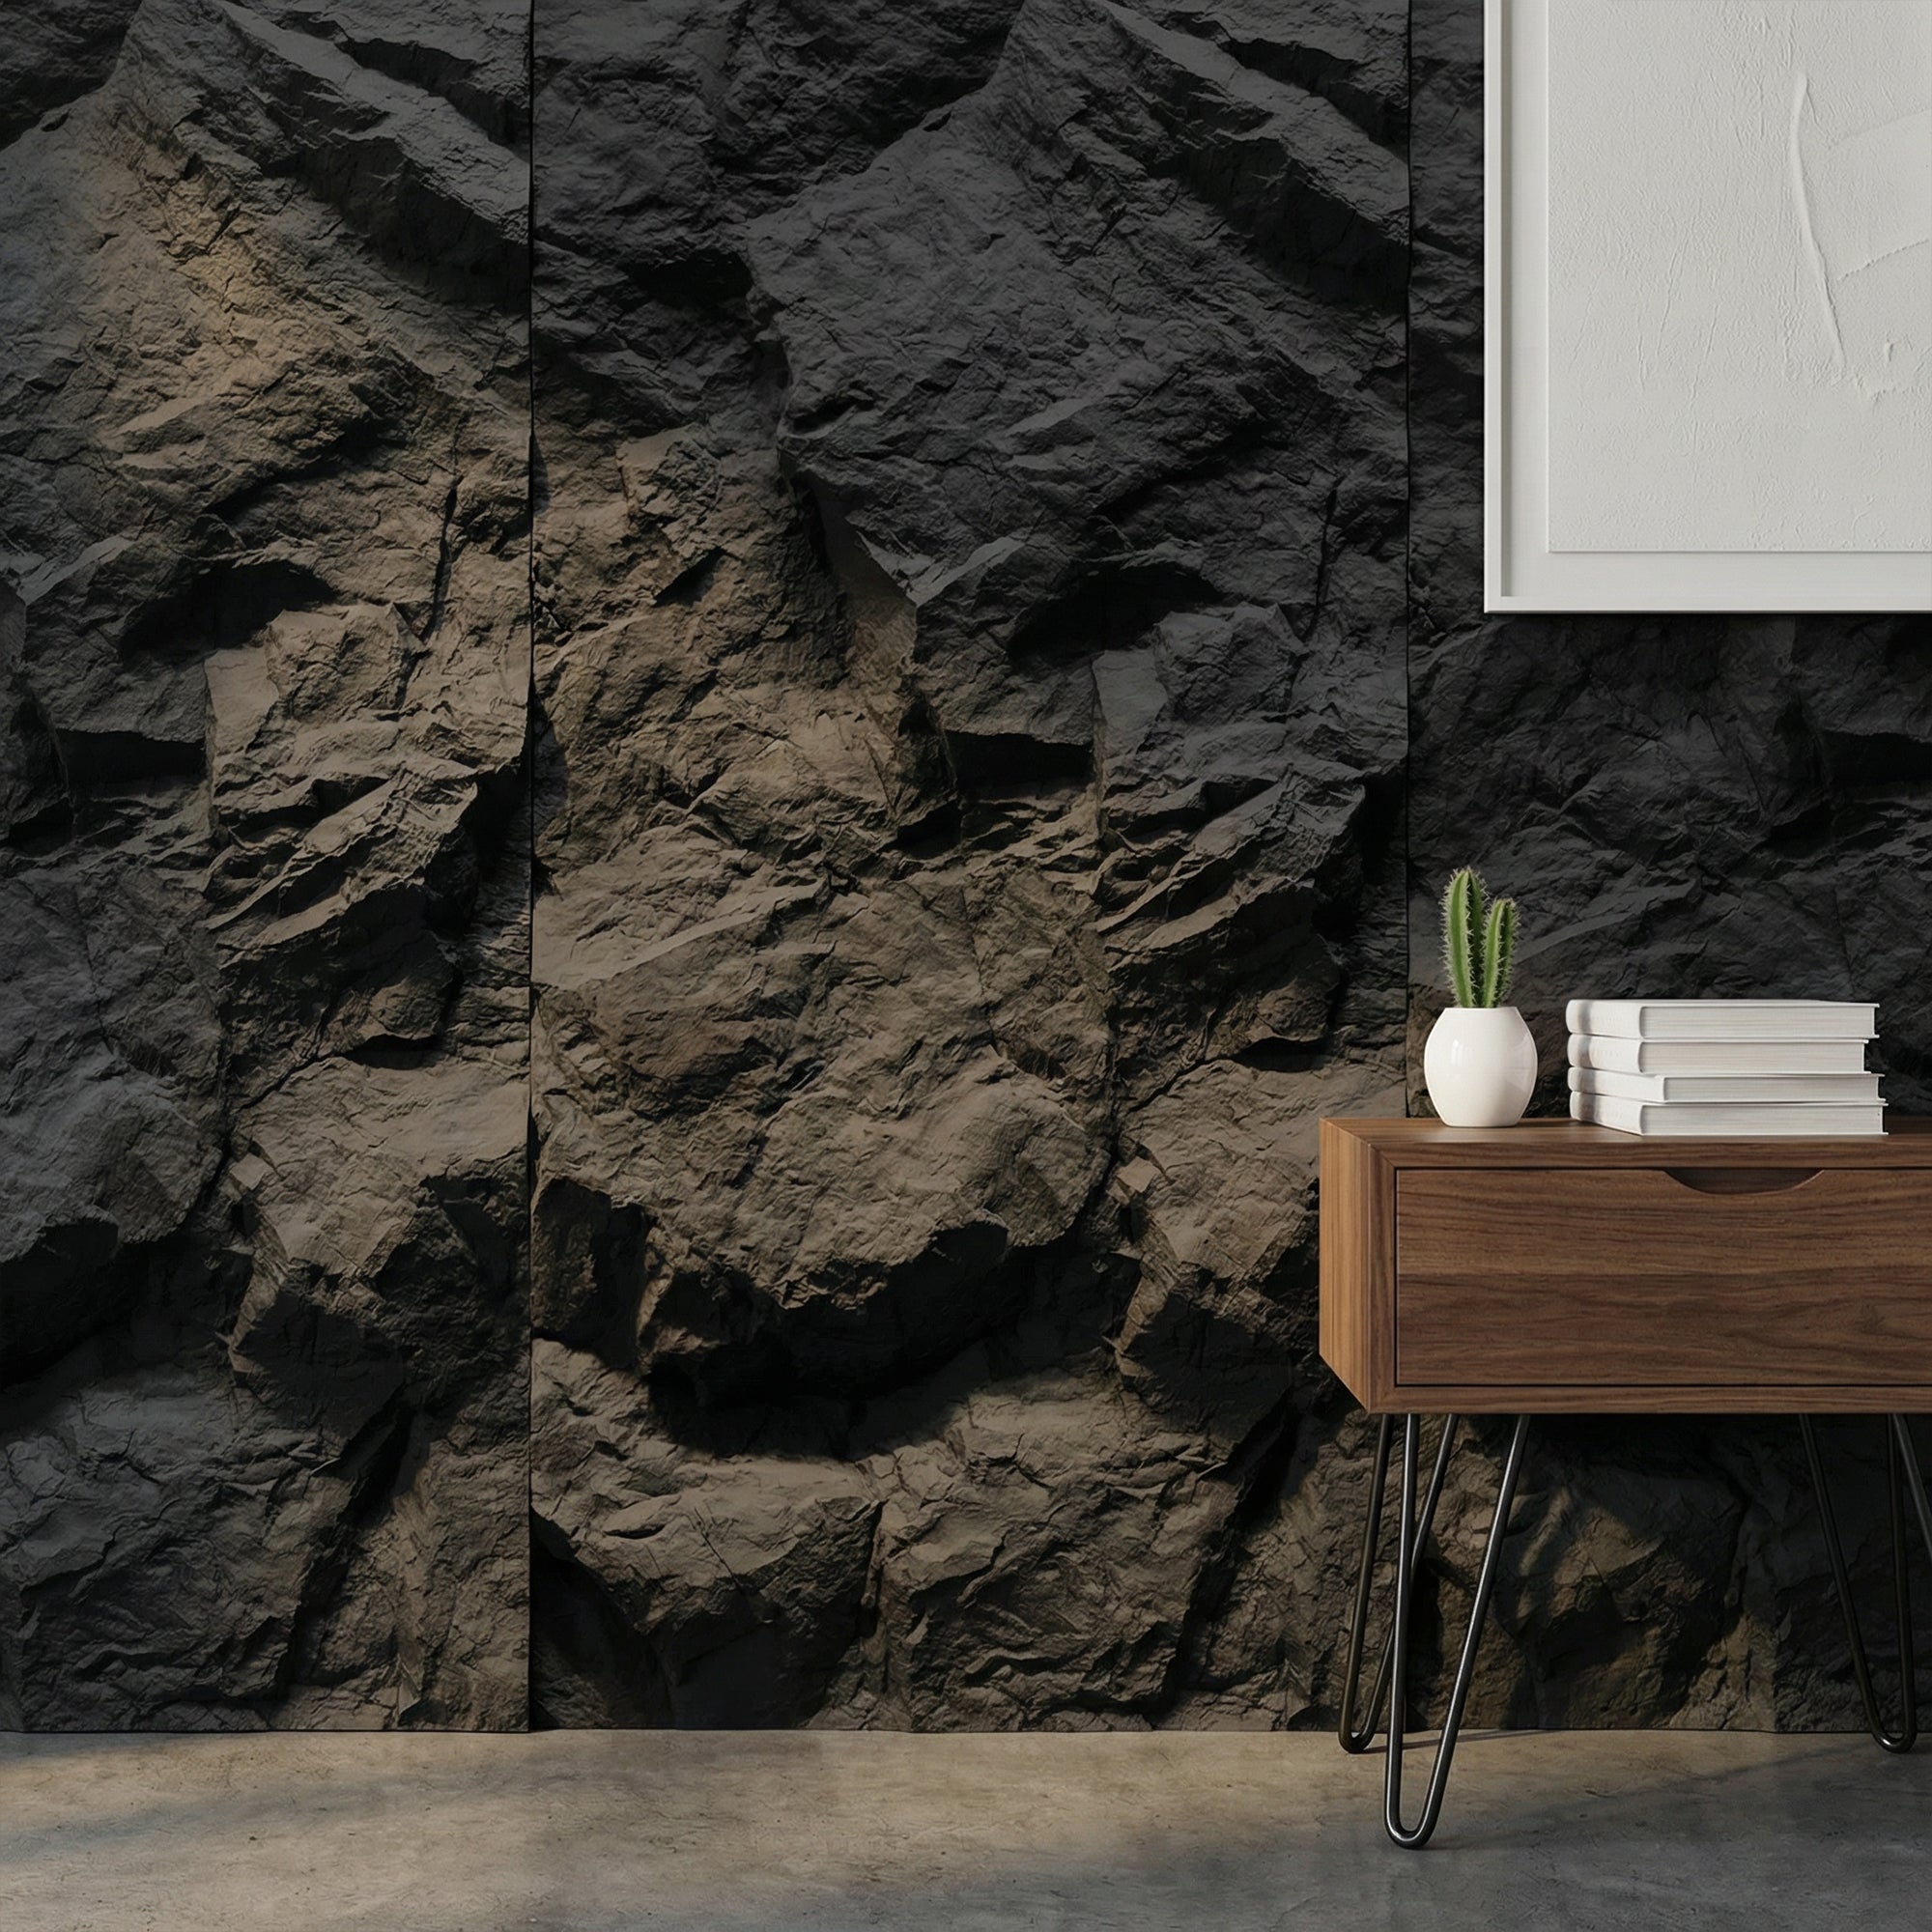
    For kitchens where a natural stone or brick aesthetic is desired, stone-effect panels deliver the look without the weight, cost, or installation complexity of real stone. Our Highland Rock Wall Panel | RockSurface® is fully waterproof and creates a striking textural backdrop behind a kitchen island or on a dining feature wall.

    Highland Rock Wall Panel - RockSurface® in kitchen setting - The Panel Hub

    Open Shelving

    Open timber shelving serves both function and aesthetics — storage, display, and visual warmth simultaneously. Float shelves in a wood tone that coordinates with cabinetry or countertops, styled with a mix of everyday items (plates, glasses, jars) and decorative pieces (plants, ceramics, small artworks). Paired with a wood panel on the adjacent wall, open shelving creates a coherent, warm material story across the kitchen.

    Artwork and Large-Format Prints

    Kitchen artwork has evolved well beyond the retro fruit print. A single oversized botanical illustration, abstract composition, or dramatic food photography print in a cohesive palette makes a strong visual statement. Frame in a finish that coordinates with fixtures and hardware — brushed brass, matte black, or brushed steel depending on the kitchen’s metal palette.

    Plants and Vertical Greenery

    A vertical herb garden or trailing plant display brings life and function to kitchen walls. Simple timber planter shelves near a window — accessible for daily watering and benefit from good light — are both practical and visually warm. A single large statement plant (a fiddle-leaf fig, olive tree, or trailing pothos) in a corner adjacent to a panel feature wall creates a styled, organic counterpoint to the panels’ geometric precision.

    By Kitchen Style

    Modern Minimal

    One or two large-format pieces rather than a gallery arrangement. Materials: stone, concrete, natural wood. Restraint is the principle.

    Warm Contemporary

    Wood panels on one wall, open shelving on another, a statement plant. Warm tones throughout — golden oak, terracotta, aged brass. Currently the most popular kitchen aesthetic.

    Industrial

    Stone-effect panels (RockSurface®), metal shelving, dramatic pendants. Dark tones: charcoal, dark walnut, brushed steel.

    Farmhouse

    Vertical timber panels, open plate racks, ceramic displays. Natural and aged finishes. Read our farmhouse wall decor guide for more specific ideas.

    Frequently Asked Questions

    What wall decor works best in a small kitchen?

    In small kitchens, avoid busy gallery walls or large dark panels — both can make the space feel smaller. A single large piece of artwork, light-toned open shelving, or a light wood panel on one wall works better than multiple competing elements.

    Can I put wood panels in a kitchen?

    Yes — on walls away from direct heat and water. Wood panels on dining walls, seating areas, and kitchen-adjacent walls are an excellent choice. For splashback areas and walls directly behind hobs, specify waterproof panel materials instead.

    Conclusion

    The best kitchen wall decor adds warmth and personality to a space dominated by functional elements. Wood panels, open shelving, and large-format artwork are the three highest-impact options — each individually transformative, and even more effective in combination.

  • Living Room Wall Decor Ideas: Inspirations for Every Style

    Living Room Wall Decor Ideas: Inspirations for Every Style

    The living room is the home’s most social space — and its walls set the tone for everything that happens within it. Whether you want a room that feels warm and intimate, bold and dramatic, or calm and minimal, the wall decor choices you make will define that atmosphere more than almost any other decision.

    Wood Panel Feature Walls

    The highest-impact single upgrade in any living room. A wood panel feature wall — behind the sofa, on the media wall, or across the room’s longest surface — adds warmth, texture, and acoustic improvement simultaneously.

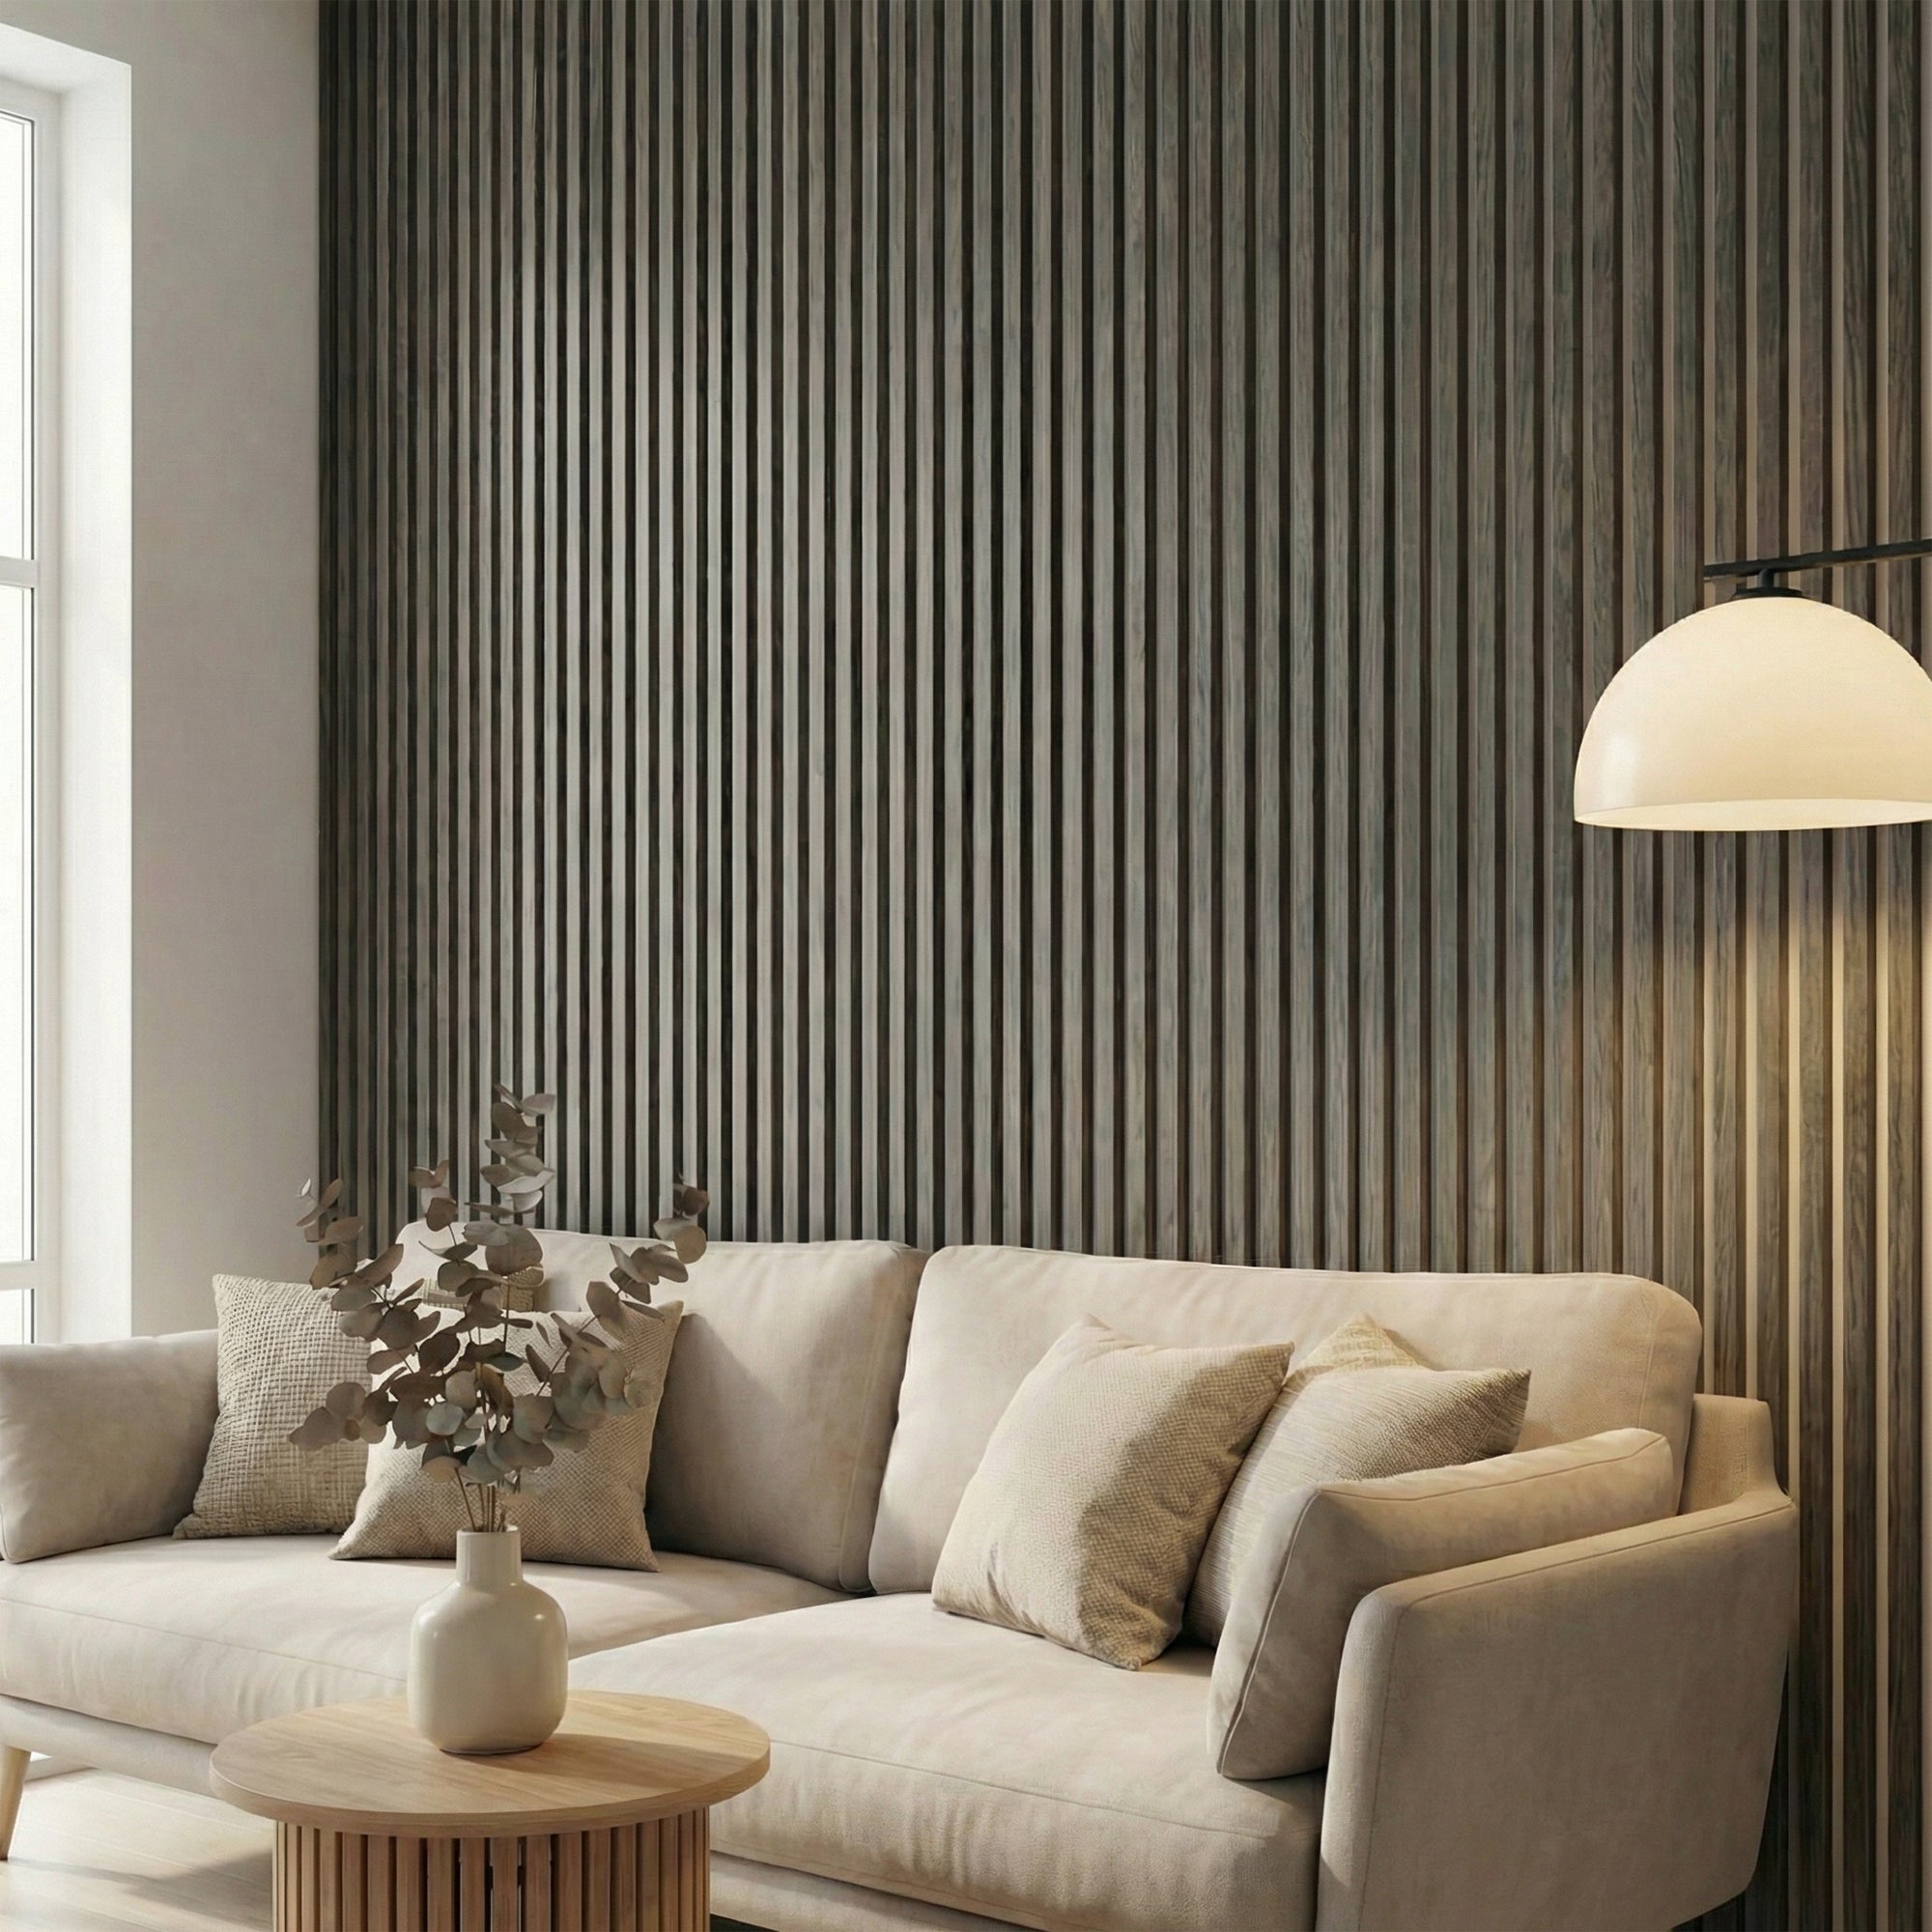
    For living rooms with hard floors, high ceilings, or open-plan layouts that suffer from echo, acoustic slat panels are the standout choice. Our American Acoustic Slat Wood Wall Panels | SoundPanel™ improve both the visual and acoustic quality of the room — the felt backing absorbs mid and high-frequency reflections that make conversation and TV dialogue muddy in reflective spaces.

    SoundPanel™ acoustic slat wall panels in living room - The Panel Hub

    For maximum visual drama, the geometric solid wood of our Crossing Lines Solid Wood Wall Panels | GroovePanel® creates a striking feature that reads as genuinely crafted rather than mass-produced.

    Crossing Lines Solid Wood Wall Panels - GroovePanel® in living room - The Panel Hub

    Read More: TV Wall Paneling Ideas: How to Design a Stunning Feature Wall

    A well-curated gallery wall — a collection of artwork, photography, prints, and objects arranged as a unified composition — adds personality and layered visual interest. The most common mistake is hanging pieces too high and too spread out. Gallery walls work best when pieces are hung close together (50–75mm between frames) and centred at eye level (approximately 1500mm to the centre of the arrangement). Anchor around one larger hero piece and build outward.

    Stone Effect Feature Walls

    For living rooms where a natural stone or textured plaster aesthetic is the brief, stone-effect panels deliver the visual richness of real stone without the weight, cost, or structural requirements. Our Highland Rock Wall Panel | RockSurface® creates a dramatic stone-textured feature wall that works especially well in industrial, rustic, and contemporary interiors.

    Highland Rock Wall Panel - RockSurface® as living room feature wall - The Panel Hub

    Large-Format Mirrors

    A large mirror on the living room wall is one of the most effective space-expanding and light-amplifying moves available. Position opposite a window to bounce natural light into the room, or above a fireplace as a traditional focal point. Oversized mirrors (floor-leaning, or wall-mounted to ceiling height) create the impression of an additional room beyond the glass.

    Built-In Shelving and Display

    Built-in shelving either side of a chimney breast or around a TV creates a designed, architecturally integrated feel. For a similar effect without the joinery cost, floating shelves in timber arranged symmetrically on either side of a focal point (fireplace, art piece, TV) create a structured display wall that reads as intentional and curated.

    Statement Lighting as Wall Decor

    Wall sconces, picture lights, and architectural wall-wash lighting serve both functional and decorative purposes. A pair of statement sconces flanking a large artwork elevates the piece and adds warmth to the room independently of ceiling lighting. For panel feature walls, our LED Light Strip Kit mounted at the top of the installation washes warm light down the panel surface — one of the most premium-looking effects achievable in a living room.

    By Living Room Style

    Modern Minimal

    One large-format artwork or a single panel feature wall. White walls, no clutter. The panels or artwork carry all the visual weight.

    Warm Contemporary

    Golden oak or walnut slat panels on the media wall, a gallery arrangement on an adjacent wall, LED strip lighting, indoor plants. Currently the most popular living room aesthetic.

    Industrial

    Stone-effect or raw-textured panels, exposed shelving, dark tones, dramatic pendant lighting.

    Eclectic / Maximalist

    Layered gallery wall, mixed textures (wood + stone + textile), plants, collected objects. Geometric mosaic panels as a statement feature.

    Frequently Asked Questions

    What is the most impactful living room wall upgrade?

    A panel feature wall — whether wood slat, stone effect, or solid wood mosaic — is the single highest-impact change you can make to a living room wall. It adds texture, warmth, and definition that paint, wallpaper, and artwork alone cannot replicate.

    How do I make a small living room wall feel larger?

    A large mirror on the main wall, light-toned panels (golden oak, natural), and vertical panel orientation all make a small living room feel larger. Avoid dark tones and busy gallery arrangements in confined spaces.

    Can I mix wall decor types in one room?

    Yes — mixing a panel feature wall with a gallery arrangement on an adjacent wall creates layered visual interest. The key is keeping the two zones clearly distinct rather than overlapping, and maintaining a consistent tonal palette across both.

    Conclusion

    Living room wall decor at its best creates a room that feels considered, warm, and genuinely personal. Wood panels, gallery walls, stone-effect features, and integrated lighting each offer a different character — the most effective living rooms combine two or three of these approaches, each on a distinct wall, to create a space with depth and variety that reveals itself gradually rather than all at once.

  • Outdoor Wall Decor Ideas: Transform Your Exterior and Garden Spaces

    Outdoor Wall Decor Ideas: Transform Your Exterior and Garden Spaces

    Outdoor walls — fence panels, rendered garden walls, exterior house walls, alfresco entertaining areas — are among the most underutilised design surfaces in any property. The right outdoor wall decor transforms a functional exterior into an extended living space, adding colour, texture, and visual depth to areas that are as important to your home’s character as any interior room.

    Outdoor Wall Panels — Durable, Weatherproof Texture

    For exterior walls, alfresco areas, and covered outdoor entertaining zones, stone-effect wall panels offer a dramatic textural upgrade that withstands the elements. Our RockSurface® range is crafted from polyurethane and fibreglass — fully waterproof, UV-stable, and lightweight enough to install without structural reinforcement.

    The Highland Rock Wall Panel | RockSurface® in dark charcoal creates a striking exterior feature wall — delivering the look of natural stone cladding at a fraction of the weight and installation cost.

    Highland Rock Wall Panel - RockSurface® outdoor feature wall - The Panel Hub

    The Ridge Rock Wall Panel | RockSurface® and Stone Rock Wall Panel | RockSurface® offer alternative stone textures — each delivering a different natural stone profile for exterior BBQ walls, garden feature walls, and pool surrounds.

    Ridge Rock Wall Panel - RockSurface® outdoor stone wall - The Panel Hub

    Read More: WPC Outdoor Wall Panels: A Complete Guide

    Vertical Gardens and Living Walls

    A living wall — a modular planting system mounted to an exterior wall surface — transforms a bare rendered wall into a lush, dynamic feature. Modular pocket systems allow for planting with a mix of foliage types at different heights. For a lower-maintenance alternative, trailing plants (ivy, jasmine, climbing roses) trained on a simple trellis structure create similar lushness at significantly lower ongoing maintenance cost.

    Outdoor Artwork and Wall Sculptures

    Weather-resistant wall art — in corten steel, powder-coated aluminium, ceramic, or treated timber — brings interior gallery sensibility to exterior walls. Large-format corten steel geometric pieces are particularly popular for their material warmth (the rust patina develops beautifully over time) and weather-resistance without any maintenance requirement. Position on a rendered garden wall or fence panel that provides a clean backdrop for the piece.

    Exterior Lighting as Wall Decor

    Exterior wall-mounted lights serve both functional and decorative purposes. Statement exterior sconces either side of a door or above a garage create an architectural focal point and improve property kerb appeal dramatically. For garden entertaining walls, LED strip lighting beneath a coping stone or along the top of a retaining wall creates warm upward-angled illumination that defines the outdoor space at night.

    Painted Murals and Colour-Blocked Walls

    An exterior wall painted in a bold colour — or featuring a hand-painted mural — creates a striking backdrop for outdoor furniture and planting. Popular approaches include a single colour-blocked section of rendered wall (in terracotta, sage green, or charcoal) behind a dining table; a geometric painted pattern on a fence; or a botanical mural on a garden wall that extends the planting palette beyond what the soil allows.

    Trellis, Screens, and Timber Cladding

    Timber or powder-coated metal screens installed on exterior walls serve multiple purposes: privacy from neighbouring properties, visual texture on a blank rendered surface, and a structure for climbing plants. Slatted timber screens in particular echo the interior slat panel aesthetic — creating a visual continuity between indoor and outdoor spaces that makes both feel more considered.

    For exterior timber cladding on house walls, our WPC (Wood-Polymer Composite) outdoor panels offer the visual warmth of timber with significantly better weather and UV resistance than natural wood, requiring no annual oiling or treatment.

    By Outdoor Space Type

    Alfresco Entertaining Area

    Stone-effect wall panels on the BBQ wall, outdoor pendant or string lighting overhead, vertical planting on the adjacent wall. Creates an outdoor room that reads as an extension of the interior rather than a separate afterthought.

    Garden Feature Wall

    A rendered garden wall finished with RockSurface® stone-effect panels, or colour-blocked in a bold paint, creates a destination within the garden — a backdrop for seating, planting, or water features.

    Pool Surrounds

    Waterproof stone-effect panels on the pool wall or fence — in charcoal or warm stone — create a resort-like backdrop that elevates the entire pool environment.

    Front Entrance

    Stone-effect panels either side of the front door, statement exterior lighting, and a single specimen plant in a large planter — the three elements that most dramatically improve exterior first impressions.

    Frequently Asked Questions

    Are RockSurface® panels suitable for outdoor installation?

    Yes — RockSurface® panels are crafted from polyurethane and fibreglass, making them fully waterproof and suitable for outdoor and covered outdoor applications. They are UV-stable and do not require the annual maintenance that natural stone or timber cladding demands.

    What outdoor wall decor requires the least maintenance?

    Stone-effect panels (RockSurface®) and powder-coated metal wall art require the least ongoing maintenance — neither needs painting, oiling, or protective treatment. Both weather well without degradation.

    How do I make a small garden feel larger with wall decor?

    A large mirror on a garden wall (specifically designed for outdoor use) doubles the apparent depth of a small garden. A vertical garden creates height without taking floor space. Light-coloured rendered walls with minimal decor make a small garden feel more open than dark colours or busy patterns.

    Conclusion

    Outdoor wall decor is the design opportunity that most homeowners leave on the table. Stone-effect panels, living walls, exterior artwork, and thoughtful lighting turn functional exterior walls into the visual anchors of a garden or outdoor living space — creating an outdoor environment that feels as considered and welcoming as any room inside the home.

  • Slat Wall Accessories: Everything You Need to Complete Your Installation

    Slat Wall Accessories: Everything You Need to Complete Your Installation

    Installing slat wall panels is only half the story. The right accessories — LED strips, panel adhesive, edge trim, and shelf hardware — are what take an installation from good to genuinely polished. More importantly, most accessories need to be planned and fitted before the panels go up. This guide covers every accessory worth considering, in the order you’ll need it.

    Plan Accessories Before You Order Panels

    The most common mistake in slat wall installations is treating accessories as an afterthought. Cable channels need routing before panels are installed. Shelf bracket positions need deciding before adhesive is applied. LED strip routes need planning from the outset. Deciding these things after installation means retrofitting through finished panels — expensive, time-consuming, and never invisible.

    Essential Accessories

    Panel Adhesive

    The right adhesive makes the difference between a panel that stays flat and one that lifts at the edges within six months. Standard construction adhesives can react with factory-sealed wood finishes or fail to bond adequately to the panel backing. A panel-specific adhesive is formulated for the correct open time, flexibility, and surface compatibility.

    Our Wood Panelling Adhesive is specifically formulated for SoundPanel™ and GroovePanel® installations — correct viscosity, correct open time, no reaction with factory lacquer finishes. Apply in a serpentine pattern across the full back of each panel for maximum contact area.

    LED Light Strips

    Backlighting is the single upgrade that most transforms a slat wall. Positioned along the top of a panel run and angled to wash light down the wall surface, LED strips reveal the depth and texture of slats in a way that ambient room lighting never achieves.

    Our LED Light Strip Kit is designed to integrate seamlessly behind SoundPanel™ and GroovePanel® installations.

    SoundPanel™ slat wall panels with LED backlighting - The Panel Hub

    Positioning options:

    • Top edge, angled down — grazes light across the slat profile (most common, most dramatic)
    • Behind the TV — bias lighting that reduces eye strain and adds cinematic depth
    • Between panel rows — creates a floating light effect within the slats
    • Bottom edge, angled up — dramatic uplighting for feature walls

    Edge and Corner Trim

    Where panels meet door frames, window reveals, or return walls, exposed cut edges need finishing. Options:

    • Timber edge strips — solid timber in a matching or contrasting tone, mitered at corners. The most seamless, professional finish.
    • Metal trim profiles — aluminium or brass edge profiles. Popular in contemporary installations where a metal accent adds to the design language.
    • Shadow gap detail — intentionally leaving a small gap between the panel edge and the adjacent surface creates a deliberate reveal that reads as designed rather than unfinished.

    Shelf Brackets and Floating Shelves

    A slat wall creates a natural visual opportunity for integrated shelving. Floating timber shelves at consistent heights — using concealed brackets drilled through the panel into wall studs — create a built-in look without joinery work. Plan shelf positions before installing panels. Mark stud locations, confirm bracket fixing positions, and leave those panel areas clear during installation. Retrofitting brackets through installed panels is possible but messy.

    Cable Management

    For media wall installations, cable channels must be planned before panels go up:

    • In-wall routing — cables chased into plasterboard before panels are installed. The cleanest finish — cables completely hidden.
    • Surface trunking behind panels — trunking adhered to the wall, panels installed over it. Hidden but accessible.
    • Matching timber trunking — at skirting level in a tone matching the panels, for situations where in-wall routing isn’t feasible.

    Touch-Up Kit

    A wood filler pen or touch-up wax in the matching panel tone lets you correct small edge chips or adhesive marks invisibly before completion. Order one with your panels — it’s much easier to use during installation than to source later.

    Laser Level

    For large installations, a laser level is worth hiring. Panel installations that drift off-level by even a millimetre per panel become visibly skewed across a full wall run. A laser line across the full wall length catches drift before it compounds.

    Accessory Checklist by Project Type

    Feature Wall Media Wall Full Room
    Panel adhesive Panel adhesive Panel adhesive
    Spirit level Cable management (pre-install) Internal + external corner trim
    Edge trim TV wall bracket Edge trim (ceiling + floor)
    LED strip (recommended) LED strip (essential) LED strip
    Edge trim Touch-up kit
    Shelf brackets (if needed)

    Frequently Asked Questions

    Can I use any construction adhesive for slat panels?

    Not all adhesives are compatible with sealed wood finishes. Some solvent-based products react with factory lacquer, causing surface bubbling or delamination. Use a panel-specific adhesive or confirm compatibility with your panel supplier before purchasing a generic product.

    Do LED strips get hot behind wood panels?

    Quality LED strips produce very little heat and are safe for use behind wood panels. Avoid cheap LED strips with high heat output — prolonged heat near wood can affect finishes over time.

    How do I fix shelves to a slat wall panel?

    Shelf brackets must be fixed into the structural wall behind the panels — not into the panel surface itself. Use a stud finder, drill bracket fixings through the panel and into wall studs or solid masonry behind.

    Conclusion

    The right accessories planned before installation make the difference between a result that looks DIY and one that looks professionally designed. Order adhesive and LED strips with your panels, plan cable and shelf positions on paper first, and your installation will be significantly faster and cleaner.

  • Sound Deadening Wall Panels: Do They Actually Work?

    Sound Deadening Wall Panels: Do They Actually Work?

    You’ve heard the claim: install acoustic wall panels and your room will feel noticeably quieter. But does it hold up? Do wood slat panels genuinely reduce sound — or is it mainly a marketing story attached to a decorative product?

    The short answer: yes, acoustic wall panels genuinely work — but understanding exactly what they do (and don’t do) will help you set realistic expectations and choose the right product for your situation.

    Sound Absorption vs. Soundproofing — The Key Distinction

    Most confusion around acoustic wall panels comes from conflating two different things:

    • Sound absorption reduces echo and reverberation inside a room. The room sounds cleaner — voices are clearer, music more defined, TV dialogue easier to follow.
    • Soundproofing prevents sound from travelling between rooms or from outside to inside. This requires mass, decoupling, and airtight seals — you cannot soundproof a room with decorative wall panels alone.

    Acoustic wall panels are sound absorbers. They will not stop your neighbours hearing you practice guitar. They will significantly improve how sound behaves within the room where they’re installed.

    How Acoustic Slat Panels Reduce Echo

    Hard, flat surfaces — bare plasterboard, glass, stone floors, ceilings — reflect sound waves. Every reflection adds a layer of audio information on top of the original sound. In excess, this reverberation makes rooms sound echoey, muddy, or fatiguing.

    Acoustic slat panels work in two ways simultaneously:

    1. Surface diffusion: The slat profile breaks up flat reflections, scattering sound waves in multiple directions rather than bouncing them directly back as a single clean reflection.
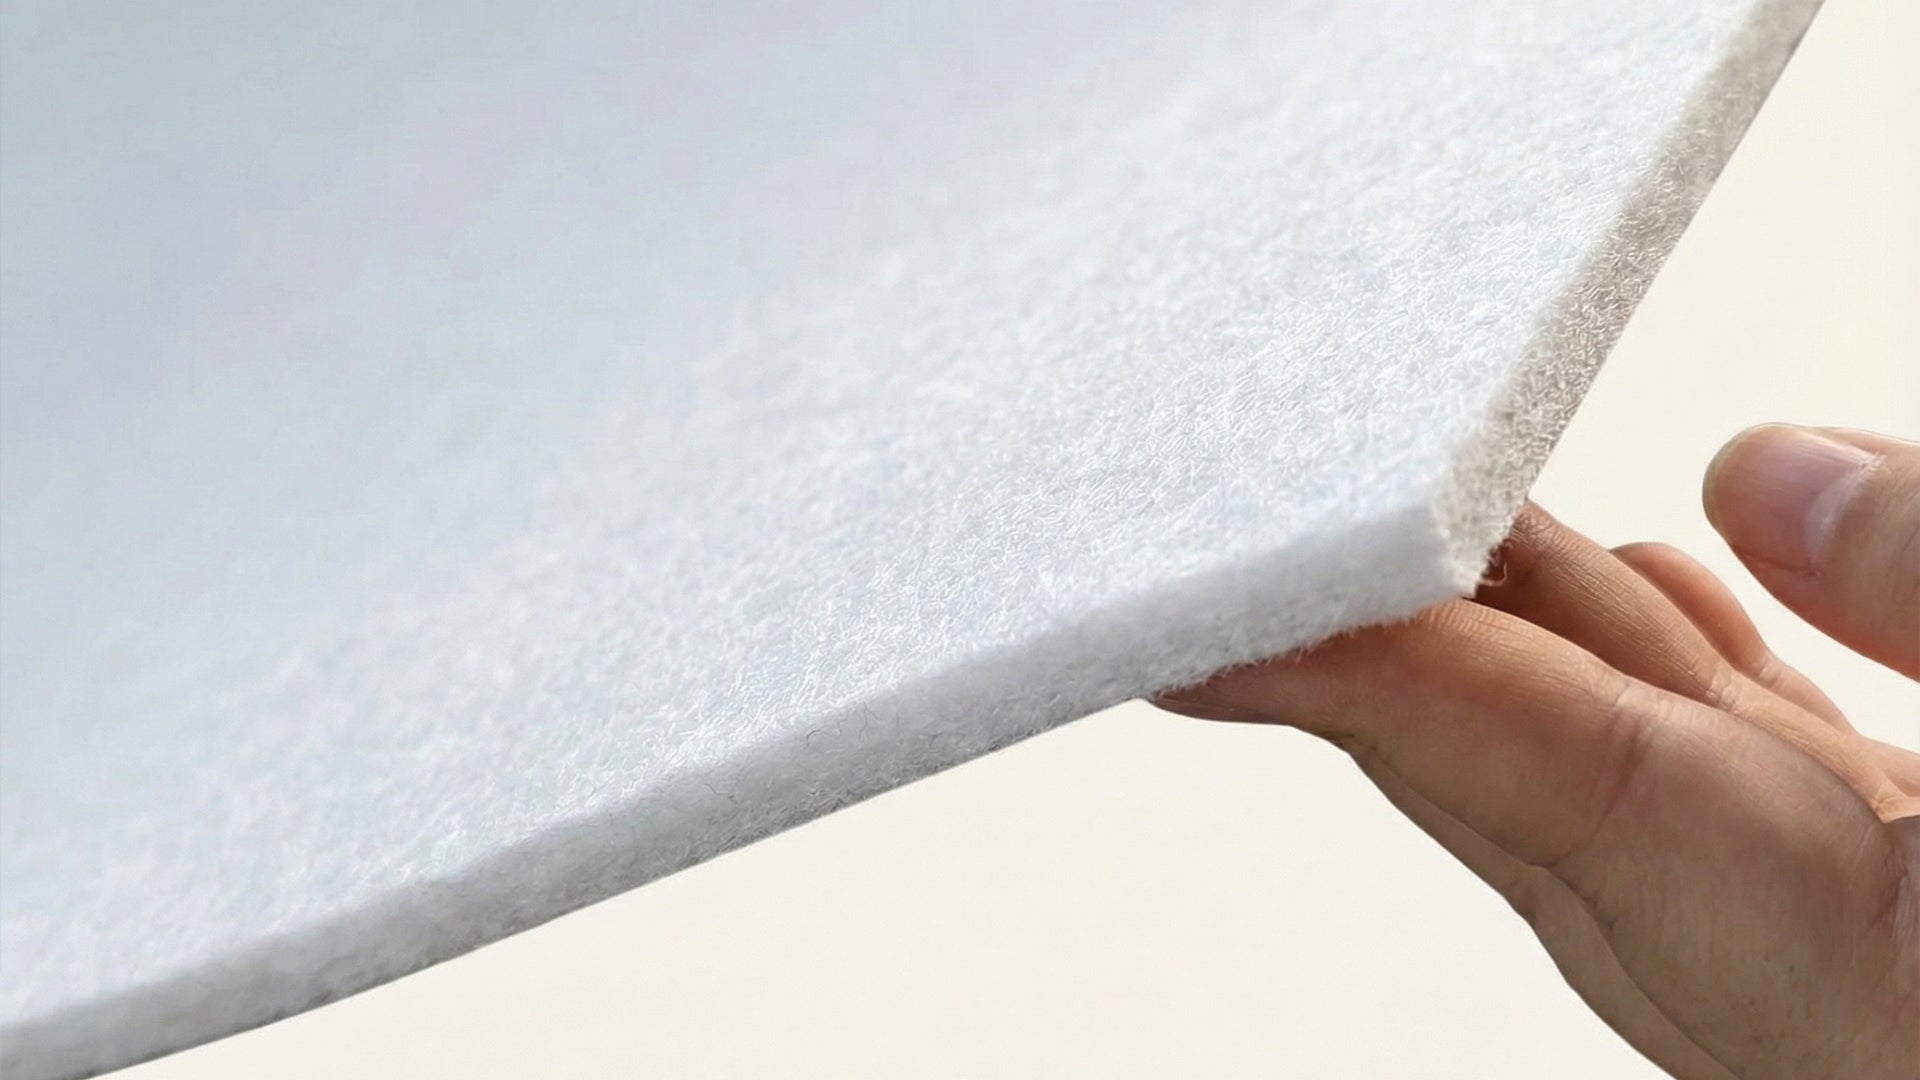
    2. Material absorption: The acoustic felt backing behind quality slat panels absorbs mid and high-frequency sound that passes through the gaps between slats — converting energy that would otherwise reflect back from the hard wall behind.

    What Is NRC and What Does It Mean for You?

    Noise Reduction Coefficient (NRC) is the standard measure of a material’s sound absorption, rated from 0 (perfectly reflective) to 1.0 (perfectly absorptive). Most acoustic slat panels with felt backing achieve an NRC of 0.45–0.75, meaning they absorb 45–75% of sound that strikes them at mid and high frequencies.

    For practical purposes: treating 25–40% of wall area in a room with acoustic panels creates a noticeably cleaner acoustic environment. A full recording studio requires additional treatment beyond panels alone.

    Where Acoustic Wall Panels Make the Biggest Difference

    • Living rooms with hard floors and high ceilings: The rooms most prone to echo. Even a single acoustic feature wall makes a perceptible difference to speech clarity and music definition.
    • Home cinemas and media rooms: Acoustic panels improve dialogue clarity and prevent reflections from muddying bass from a surround sound system.
    • Home offices: Reduce the reverberant tail that makes video calls sound echoey and fatiguing over long sessions.
    • Open-plan dining and kitchen spaces: Hard surfaces in open-plan areas compound reverberation. Panels on the dining or living portion significantly reduce ambient noise levels.
    • Bedrooms: Reducing reverberation through panels on the headboard wall creates a perceptibly calmer sleeping environment.

    How Much Coverage Do You Need?

    • Light improvement (reduce noticeable echo): 15–25% of wall area
    • Significant improvement (clear, comfortable acoustic environment): 25–40% of wall area
    • Near-studio performance (home cinema, recording space): 40%+ of wall area, combined with ceiling and floor treatment

    For most living rooms and bedrooms, a single SoundPanel™ feature wall (typically covering 25–35% of total wall area) delivers a clearly perceptible improvement in acoustic comfort.

    SoundPanel™ — Acoustic Performance Built In

    American Acoustic Slat Wood Wall Panels | SoundPanel™

    American Acoustic Slat Wood Wall Panels - SoundPanel™ - The Panel Hub

    SoundPanel™ combines real wood veneer slats with a high-density acoustic felt backing. The felt backing delivers genuine NRC-rated sound absorption; the slat profile contributes diffusion across the panel surface. Available in Golden Oak, Walnut, and Charcoal.

    Unlike decorative panels that simply look like acoustic panels, SoundPanel™ is engineered from the substrate up for measurable acoustic performance — with no visual compromise. The panels look identical to premium decorative wood slat panels.

    Read More: How to Build a Media Wall with Wood Panels

    Frequently Asked Questions

    Will acoustic wall panels stop my neighbours hearing me?

    No. Acoustic wall panels reduce echo inside your room — they do not provide meaningful sound isolation between rooms or from external noise. For that, you need structural changes: mass-loaded vinyl, decoupled stud walls, or specialist acoustic insulation.

    How many panels do I need?

    For a noticeable improvement in a standard living room (20–25 square metres of floor area), aim for one feature wall of SoundPanel™ — typically 6–10 square metres of wall area depending on ceiling height.

    Do acoustic panels work in open-plan spaces?

    Yes, though open-plan spaces require more coverage to achieve the same effect as a smaller enclosed room. Focus panels on areas where conversation and listening happen most, and combine with soft furnishings, rugs, and curtains for best results.

    Are acoustic slat panels safe for bedrooms?

    Yes. SoundPanel™ uses real wood veneers and a natural felt backing — no harmful chemicals or off-gassing materials. Fully safe for bedrooms, including children’s rooms.

    Can I install acoustic panels myself?

    Yes — SoundPanel™ is designed for DIY installation using panel adhesive. Clean the wall, apply adhesive to the panel back, press and hold. Full installation guidance is included with every order.

    Conclusion

    Acoustic wall panels genuinely work as sound absorbers and diffusers — improving the acoustic quality of the room they’re installed in. What they don’t do is soundproof a room from external noise or adjacent spaces.

    For most homes, a single feature wall of acoustic slat panels is enough to noticeably reduce echo, improve speech clarity, and make the room feel calmer and more comfortable. With SoundPanel™, that acoustic benefit comes in a genuinely beautiful wood finish.

    Shop: American Acoustic Slat Wood Wall Panels | SoundPanel™

  • TV Wall Paneling Ideas: How to Design a Stunning Feature Wall

    TV Wall Paneling Ideas: How to Design a Stunning Feature Wall

    A TV mounted on a bare white wall is functional. A TV mounted on a wood-panelled feature wall is a design statement. The difference is remarkable — and it’s one of the most achievable upgrades in a living room, requiring no structural work and no trade skills beyond a drill and a spirit level.

    This guide covers the best TV wall paneling approaches for different interior styles, how to choose the right panel and finish, and how to use lighting to take a TV wall from good to exceptional.

    Read More: How to Build a Media Wall: Full Step-by-Step Guide

    Why Panel the Wall Behind Your TV?

    Three reasons make a panelled TV wall worth doing:

    1. Aesthetics: A panel backdrop frames the TV as a considered design feature rather than a floating black rectangle mounted on white plasterboard.
    2. Acoustics: Acoustic slat panels behind and around a TV reduce the echo that makes dialogue harder to follow and bass frequencies muddier.
    3. Cable management: A panel installation creates a natural system for concealing cables — fed behind the panels rather than visible against the wall surface.

    TV Wall Panel Styles by Interior

    Modern Minimalist — Walnut Slat Panels

    For clean-line contemporary interiors, a full-width run of vertical walnut acoustic slat panels creates a striking backdrop. The regular rhythm of the slats complements the rectangular geometry of the TV without visual competition. Keep surrounding decor minimal. Finish with a recessed LED strip behind the TV for bias lighting — it reduces eye strain and casts a warm glow along the slat profile.

    Warm Transitional — Golden Oak with Floating Shelves

    Golden oak slat panels create a warmer, more inviting backdrop for transitional interiors. Combine the panel wall with floating timber shelves on either side of the TV for a built-in look that adds storage and display space without requiring joinery work.

    Bold Statement — Geometric Solid Wood

    For living rooms that lean maximalist or eclectic, a wall of geometric mosaic panels behind the TV creates a genuinely dramatic feature. The interlocking pattern of Crossing Lines Solid Wood Wall Panels | GroovePanel® frames the TV like a work of art.

    Industrial Loft — Stone-Effect Panels

    For spaces with exposed brick, concrete floors, or industrial-style furniture, a stone-effect panel backdrop creates a cohesive material language. The Highland Rock Wall Panel | RockSurface® delivers the look of natural stone at a fraction of the weight — ideal for feature walls where full stone cladding isn’t structurally feasible.

    How to Choose the Right Panel for Your TV Wall

    Tone and Contrast

    • Dark panels (walnut, charcoal) create maximum contrast against light walls — the TV reads as intentionally framed
    • Light panels (golden oak, natural) create a softer, more blended look — the wall feels warm rather than dramatic
    • Match the panel tone to existing timber elements — flooring, furniture, door frames — within the same tonal family rather than as an exact match

    Panel Orientation

    • Vertical slats draw the eye upward, making ceilings feel higher — better for rooms with standard ceiling heights
    • Horizontal slats emphasise wall width and create a grounded contemporary look — better for rooms with very high ceilings

    Coverage Width

    • Full wall (edge to edge): Maximum impact — the TV becomes part of a complete feature wall
    • Wide panel, partial height: Panels run full width but stop at a consistent height — works in rooms where full-height would feel overwhelming
    • TV zone only: Panels cover the section directly behind and around the TV — the most subtle approach, adds framing without committing to a full feature wall

    As a minimum, extend panels at least 400–600mm each side of the TV edge. Panels that stop less than 300mm from the TV edge can look like an afterthought rather than a deliberate design choice.

    Lighting Your TV Wall

    Lighting is what elevates a good TV wall to an exceptional one. The right position reveals panel texture in a way that ambient room lighting rarely achieves.

    • Bias lighting (behind the TV): An LED strip behind the TV creates a soft glow around the screen that reduces eye strain and adds a premium, immersive viewing feel. Use warm white (2700K–3000K) for a cinematic effect.
    • Top-down grazing light: A recessed LED strip along the top of the panel installation, angled to wash light down the wall, reveals every slat and texture detail dramatically. The most common approach in hospitality and high-end residential installations.
    • Integrated strip between rows: LED strips recessed into the gap between panel rows create a floating light effect — striking with acoustic slat panels.

    Shop: LED Light Strip Kit — designed to integrate seamlessly with SoundPanel™ and GroovePanel® installations.

    Our Top TV Wall Panel Picks

    American Acoustic Slat Wood Wall Panels | SoundPanel™

    American Acoustic Slat Wood Wall Panels - SoundPanel™ - The Panel Hub

    Our top recommendation for TV walls. The acoustic backing improves dialogue clarity and reduces echo that makes TV audio muddy in hard-surfaced rooms. The slat profile catches backlighting beautifully, creating a premium cinematic effect.

    Crossing Lines Solid Wood Wall Panels | GroovePanel®

    Crossing Lines Solid Wood Wall Panels - GroovePanel® - The Panel Hub

    For living rooms where the design statement matters most. The interlocking solid wood geometry creates a striking backdrop that makes the TV feel deliberately placed rather than incidentally mounted.

    Frequently Asked Questions

    Can I mount my TV directly on wood wall panels?

    The TV bracket must be fixed to the structural wall behind the panels — not to the panels themselves. Use a stud finder to locate wall studs and drill the bracket through the panel surface directly into them. The panels provide the visual frame; the wall carries the weight.

    What panel tone works best with a black TV?

    Dark TVs recede visually against dark panel backgrounds — the screen blends into the wall. For the TV to read clearly, lighter or mid-tone panels (golden oak, natural walnut) create better visual contrast. If you prefer dark panels, differentiate with finish — matte panel, satin TV frame — to maintain visual separation.

    Do I need to remove panels to reposition the TV bracket later?

    If future repositioning is likely, use a tilting or articulated bracket from the outset — it gives range of movement without panel removal. Otherwise, plan the bracket position carefully at the start and add additional stud fixings in a new location if needed, patching the old holes before reinstalling panels.

    Conclusion

    A panelled TV wall is one of the fastest, highest-impact upgrades a living room can receive — and with the right panel choice, it improves both the look and sound of your viewing experience. SoundPanel™ is the go-to where acoustic improvement matters alongside aesthetics; GroovePanel® is the choice when visual drama is the primary brief.

  • Where to Buy High-Quality Slat Wall Panels Online: A Buyer’s Guide

    Where to Buy High-Quality Slat Wall Panels Online: A Buyer’s Guide

    Shopping for slat wall panels online can be overwhelming. Search any retailer and you’ll find dozens of options ranging from genuine solid wood to cheap laminate imitations — often described in similar language and photographed to look nearly identical. This guide breaks down exactly what to look for, which red flags to avoid, and what distinguishes panels worth buying from panels worth skipping.

    What Are Slat Wall Panels?

    Slat wall panels are decorative wall coverings made from evenly spaced vertical or horizontal timber strips fixed to a backing board or felt substrate. The spacing between slats creates a repeating shadow line that gives the panel its distinctive depth and texture.

    High-quality slat panels use real wood veneers or solid wood slats. Budget panels use MDF with a printed wood-effect finish — these look convincing in photos but feel flat in person and don’t age gracefully.

    What to Look For When Buying Online

    Real Wood vs. Imitation

    The most important distinction when buying slat panels online is whether the slats are real wood or a printed finish on MDF. Look for:

    • Material description: Phrases like “real wood veneer”, “solid wood slats”, or “natural oak” indicate genuine timber. “Wood effect”, “wood finish”, or “wood look” almost always mean printed MDF.
    • Grain variation in photos: Real wood shows natural grain variation between slats. Printed finishes repeat the same pattern across every slat.
    • Weight per panel: Real wood panels are heavier. If the listing doesn’t mention weight or the panel appears suspiciously light, check the spec sheet.

    Backing Material

    The backing affects both acoustic performance and ease of installation:

    • Acoustic felt backing: Provides measurable sound absorption. Essential if acoustic benefit matters alongside aesthetics.
    • MDF backing: Rigid and easy to work with, but no acoustic benefit. Fine for purely decorative installations.

    Panel Dimensions and Coverage

    Before ordering, calculate your wall area and check how many square metres each panel covers. Add 10–15% for cuts and wastage. Convert everything to cost per square metre for a fair comparison across different panel formats.

    Check panel thickness too. Thicker panels (21mm+) look more substantial and have better acoustic properties than thinner alternatives.

    Finish Durability

    For high-traffic areas — hallways, commercial spaces — check whether the finish is factory-sealed or requires additional treatment. Pre-finished panels install straight from the box. Unfinished panels need oiling or sealing before installation.

    Red Flags When Shopping Online

    • No material specification: Reputable retailers state clearly what panels are made from. Vague descriptions like “premium quality” or “luxury finish” without material details are a warning sign.
    • Overly uniform grain in photos: Real wood grain is never perfectly uniform. If every slat in the product photo looks identical, the finish is almost certainly printed.
    • No returns policy: A supplier confident in their product quality offers clear returns terms or a sample service. No aftercare policy usually means no aftercare support.
    • No installation guidance: Quality suppliers provide adhesive recommendations, installation instructions, and customer support. If a listing offers none of these, expect the same after purchase.

    How to Measure Before You Order

    1. Measure wall width and height in metres
    2. Multiply to get total square metres
    3. Subtract windows, doors, and areas not being panelled
    4. Add 12% for wastage (15% for rooms with many corners or complex cuts)
    5. Check the panel listing for coverage per unit and divide accordingly

    If you’re unsure about a finish or tone, order a sample first. Seeing real wood grain in your actual room under your actual lighting is worth the extra step — wood tones look very different on screen versus in person.

    Shipping and Delivery

    Wood panels are bulky and fragile. When buying online, check:

    • Packaging: Panels should arrive in rigid cardboard with foam or bubble protection on corners and edges. Inadequate packaging causes transit damage that’s difficult to claim on.
    • Lead times: In-stock panels typically ship within 1–3 business days. Confirm lead times before ordering if you have an installation deadline.
    • Damaged delivery protocol: Photograph your delivery before opening. Photographic evidence of packaging damage is essential for any valid transit claim.

    Our Slat Wall Panel Range

    All slat wall panels at The Panel Hub are made from real wood — no printed finishes, no imitation grain.

    American Acoustic Slat Wood Wall Panels | SoundPanel™

    American Acoustic Slat Wood Wall Panels - SoundPanel™ - The Panel Hub

    Real wood veneer slats on an acoustic felt backing. Available in multiple finishes including Golden Oak, Walnut, and Charcoal. Pre-finished and ready to install straight from the box.

    Crossing Lines Solid Wood Wall Panels | GroovePanel®

    Crossing Lines Solid Wood Wall Panels - GroovePanel® - The Panel Hub

    100% solid wood — not veneer — in an interlocking geometric pattern. The most authentic natural material option for buyers seeking maximum visual texture and genuine solid wood feel.

    Read More: Interior Wood Slat Wall Ideas: Inspiration for Every Room

    Frequently Asked Questions

    Can I get samples before ordering?

    Yes — and we recommend it for any large order. Seeing the real wood grain and finish in your room under your lighting is the most reliable way to confirm your choice before committing to full quantities.

    What is the difference between slat panels and flat wall panels?

    Slat panels have individual timber strips spaced with visible gaps, creating a dimensional, textured surface with shadow lines. Flat wall panels have a smooth, uniform surface. Slat panels are more visually dynamic and offer acoustic absorption; flat panels are easier to clean and suit moisture-prone areas better.

    Are slat panels suitable for bathrooms?

    Standard wood slat panels are not recommended for direct water contact or sustained high humidity. For bathroom feature walls away from the shower zone, properly sealed panels can work well. For shower walls and wet areas, our waterproof wall panel range is a better fit.

    How do I install slat wall panels?

    Apply panel adhesive in a serpentine pattern to the back of each panel, press firmly to a clean dry wall, and hold for 30–60 seconds. For larger installations, perimeter screw fixings add additional security. Full installation guidance is included with every order.

    Conclusion

    Buying slat wall panels online comes down to one core question: is this real wood or a printed imitation? Reputable suppliers are transparent about materials, offer samples, and provide installation support. Those that aren’t should be approached with caution.

  • Wood Slat Ceiling Ideas: Transform Any Room from the Top Down

    Wood Slat Ceiling Ideas: Transform Any Room from the Top Down

    Wood slat panels are most commonly installed on walls — but the ceiling is where they make the most unexpected and dramatic impact. A wood slat ceiling adds warmth overhead in a way paint and plaster never can, wrapping the room in natural texture from above and creating an immersive, hotel-quality interior that visitors notice immediately.

    Why Install Wood Slat Panels on the Ceiling?

    • Warmth from above: Ceilings are typically the coldest visual surface in a room — white plaster recedes and reflects. Natural wood overhead immediately changes the character of a space, making it feel enveloping and intimate.
    • Acoustic benefit: Ceilings are a primary surface for sound reflection. Acoustic slat panels on a ceiling deliver measurable sound absorption directly at the surface where reverberation most commonly originates.
    • Design distinction: Wall panels are increasingly common. A ceiling installation remains relatively unusual — which means a well-executed slat ceiling creates a far stronger impression than the same panels used on a wall.

    Best Rooms for a Wood Slat Ceiling

    Living Room

    A full or partial slat ceiling above a seating area creates a sense of deliberate enclosure that makes the space feel more intimate and designed. Combined with a slat feature wall in the same or complementary tone, a living room slat ceiling creates a genuinely immersive environment. Position LED strips at the ceiling perimeter angled inward for a warm, diffused overhead glow that reveals every slat detail.

    Bedroom

    A slat ceiling above the bed — aligned with the headboard wall — creates a cocoon-like effect that is deeply calming. The warm overhead texture of real wood works especially well in bedrooms with white or light walls, adding warmth without adding visual complexity at eye level. Golden Oak on the ceiling with white walls below creates a Japandi-inspired, serene atmosphere.

    Dining Room

    Slat panels on the ceiling directly above the dining table create a natural “room within a room” effect — defining the dining zone in an open-plan space without physical partitions. The acoustic benefit is practically significant too: reducing the echo that makes conversation at dinner uncomfortable at volume.

    Home Office

    A slat ceiling creates a professional, considered aesthetic that reads well on video calls — the warmth of natural wood overhead changes the quality of ambient light reflected downward. The acoustic absorption also makes the home office more comfortable for long sessions and improves audio on calls.

    Bathroom

    A partially panelled ceiling above a bath creates a spa-like warmth that tiles and paint simply cannot match. Use panels specifically rated for higher-humidity environments, seal all edges before installation, and ensure adequate ventilation to prevent moisture buildup behind the panels.

    Panel Orientation on Ceilings

    • Parallel to the longest wall — creates a sense of elongation; the ceiling appears to stretch away from you
    • Perpendicular to the longest wall — emphasises width; better in narrow rooms
    • Diagonal — creates strong visual dynamism; best used where the diagonal runs toward a focal point (a window, a fireplace, a bed)

    Ceiling Installation: Key Differences from Wall Installation

    Fixing Method

    Adhesive alone is not recommended for ceiling panels. The overhead position creates constant downward peel force — what holds on a wall under shear can fail on a ceiling under tension over time. For ceilings, use panel adhesive for initial positioning combined with screw fixings through the panel surface into ceiling joists. Use a joist finder before beginning and mark all joist positions.

    Working Method

    Ceiling work requires two people — one to hold and position the panel overhead, one to check level and drive fixings. A prop brace (a length of timber cut to ceiling height, with a padded top) holds panels in position while adhesive sets. Work in small sections and take breaks — overhead work is physically demanding.

    Lighting Planning

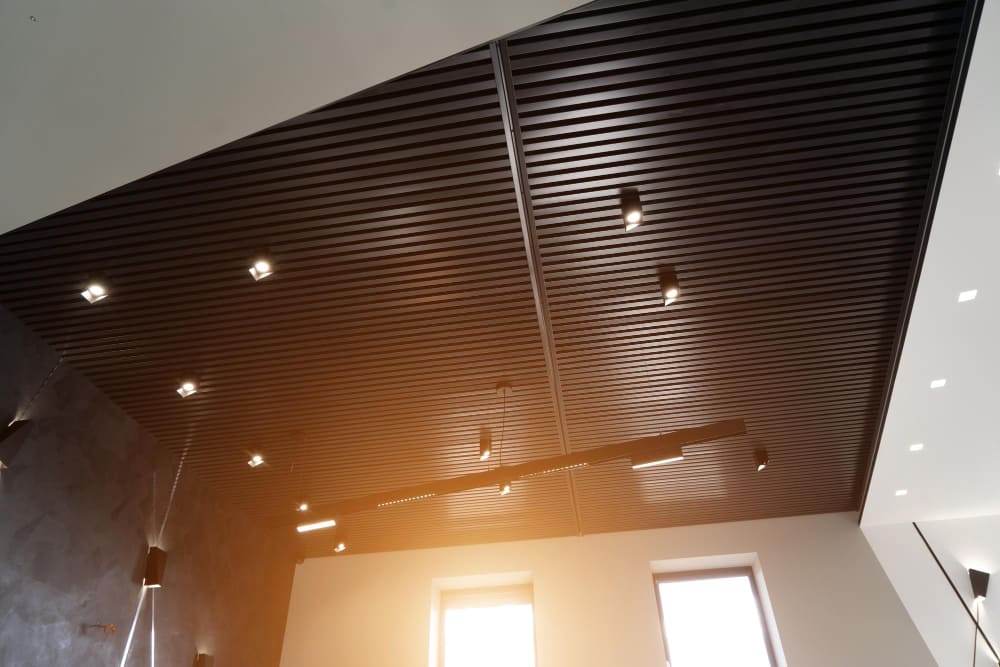
    Plan all lighting before panels go up. Recessed downlights need to be positioned and their fixing points confirmed before panel installation begins — retrofitting light positions through installed panels is difficult and risks surface damage. Mark light positions on the ceiling, cut panel openings to size before installation, and confirm fitting clearances. Our LED Light Strip Kit at the ceiling perimeter is a clean alternative that requires no in-panel cutting at all.

    American Acoustic Slat Wood Wall Panels | SoundPanel™

    American Acoustic Slat Wood Wall Panels - SoundPanel™ - The Panel Hub

    Our most popular choice for ceiling installations. The acoustic felt backing delivers sound absorption directly overhead where it makes the biggest difference. The slat profile creates beautiful shadow lines across the ceiling surface as light moves through the day — a dynamic, ever-changing texture that flat materials simply cannot offer.

    Read More: Interior Wood Slat Wall Ideas: Inspiration for Every Room

    Frequently Asked Questions

    Can wall panels be installed on ceilings?

    Yes — SoundPanel™ acoustic slat panels are suitable for ceiling installation when fixed correctly. The critical difference is fixing method: ceiling installations must use screw fixings into ceiling joists in addition to panel adhesive. Adhesive alone is not sufficient overhead.

    Will a slat ceiling make my room feel lower?

    A well-executed installation — especially with panels of 21mm thickness or less — has negligible impact on perceived ceiling height. The warmth of wood overhead typically makes the room feel more intimate and comfortable rather than lower. Lighter tones (Golden Oak, natural) minimise any sense of overhead weight.

    How do I find ceiling joists?

    Use a stud/joist finder — magnetic or electronic — that detects screws in the plasterboard above or changes in board density at joist positions. Most ceiling joists are spaced at 400mm or 600mm centres. Mark all positions before installation begins.

    Conclusion

    A wood slat ceiling is one of the most impactful and least expected design moves in interior renovation. It adds warmth, acoustic performance, and genuine design distinction to any room — and it’s achievable as a DIY project with the right preparation and fixing approach.