Author: The Panel Hub

  • Period Property Hallway Paneling: How to Add Character Without Overdoing It

    Period Property Hallway Paneling: How to Add Character Without Overdoing It

    Period properties — Victorian terraces, Edwardian semis, Georgian townhouses — have hallways that were designed with paneling in mind. The original architecture often included dado rails, picture rails, cornicing, and deep skirting boards: a layered approach to the wall that created depth and detail without pattern or colour. At The Panel Hub, we work with homeowners who want to respect this architectural language while making it work for contemporary living — using wood wall panels that complement rather than overwhelm a period hallway.

    The Challenge of Paneling a Period Hallway

    Period hallways are often narrow, dark, and already detailed. The challenge is adding to the architectural character without creating visual noise that makes the space feel crowded. The wrong panel choice — too busy, too contemporary, or too rustic — will clash with the existing features rather than enhance them. Getting it right means understanding which elements of the original architecture should be amplified, and which should be left to do their own work.

    What Looks Right in a Period Hallway

    Traditional dado and picture rail paneling

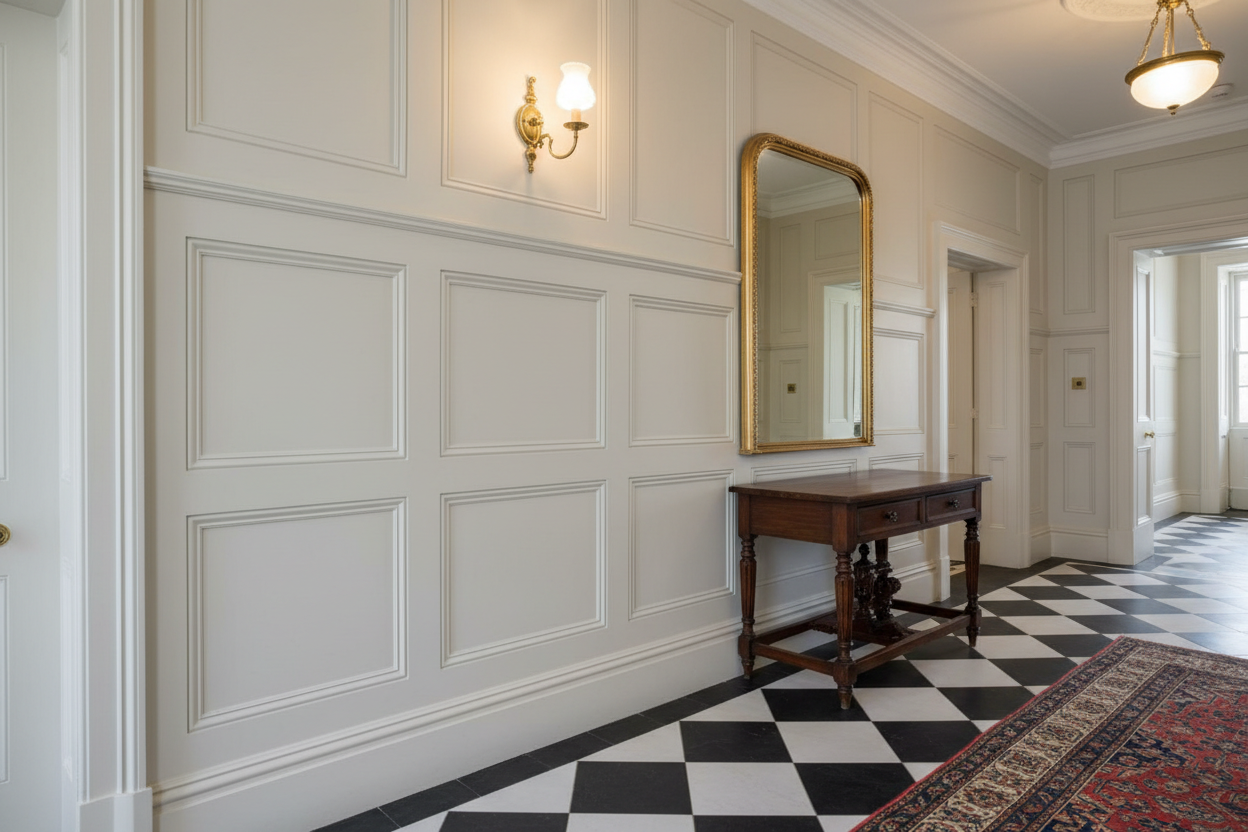
    The most historically accurate approach in a period hallway is to reinstate or augment the original dado rail scheme — paneling from skirting to dado height, with the upper wall treated differently. In Victorian and Edwardian properties, this often meant tongue-and-groove boarding below the dado painted in a deep, rich colour. This approach remains highly effective and is easily achieved with contemporary slat panels cut to dado height.

    Full-height wall paneling

    In wider period hallways — common in larger Victorian and Georgian properties — full-height paneling on the main wall (typically the longest wall or the wall facing the front door) creates a bold architectural statement that suits the scale of the space. Our SoundPanel™ slat panels in a natural oak or walnut finish work well here — they’re contemporary enough to feel intentional rather than reproduction, but warm enough to sit comfortably in a period setting.

    Choosing Materials That Match the Era

    Period properties benefit from natural materials — timber paneling feels appropriate in a way that PVC or heavily processed composites don’t. Real wood panels, or wood-veneered panels, read as honest and considered in a context where original materials are timber, plaster, and brick. The grain, warmth, and slight variation of natural wood are exactly what makes paneling feel right in an older property.

    Our hallway wall panels use real wood veneers and solid timber elements, making them well suited to period properties.

    Colour: Playing It Safe vs Making a Statement

    Period hallways reward confidence in colour. Deep greens, navy blues, dark terracottas, and rich plum tones all have historical precedents and work beautifully with natural wood paneling or painted paneling. The key is to treat the panel and the wall above as a deliberate two-tone scheme — a darker panel against a lighter upper wall, or vice versa — rather than defaulting to a single neutral throughout.

    For natural wood panels (rather than painted), allow the timber tone to contrast against the painted upper wall. A white or off-white upper wall above a warm oak panel creates a clean, elegant contrast that suits period and contemporary properties equally.

    Mixing Old and New

    Some of the most successful period hallway schemes mix original architectural features with contemporary paneling. Keeping the original cornice, picture rail, and deep skirting, but replacing the wall treatment with a clean slat panel, creates a thoughtful dialogue between old and new. The period features frame the contemporary material and give it context; the new panel brings freshness to what might otherwise feel like a preserved but static space.

    Listed Buildings and Conservation Areas

    If your property is listed or in a conservation area, internal alterations may require consent depending on their nature. Removable paneling fixed with adhesive rather than permanent fixings is unlikely to require consent, but it’s worth checking with your local planning authority if there’s any doubt. For listed buildings, avoid concealing or damaging original features — panels should be installed in a way that allows the original wall surface to be recovered if required.

    Explore the hallway wall panel collection and the full wood wall panel range to find styles that suit your property’s character.
  • Dark Wood Panels for Living Rooms: How to Use Them Without Losing the Light

    Dark Wood Panels for Living Rooms: How to Use Them Without Losing the Light

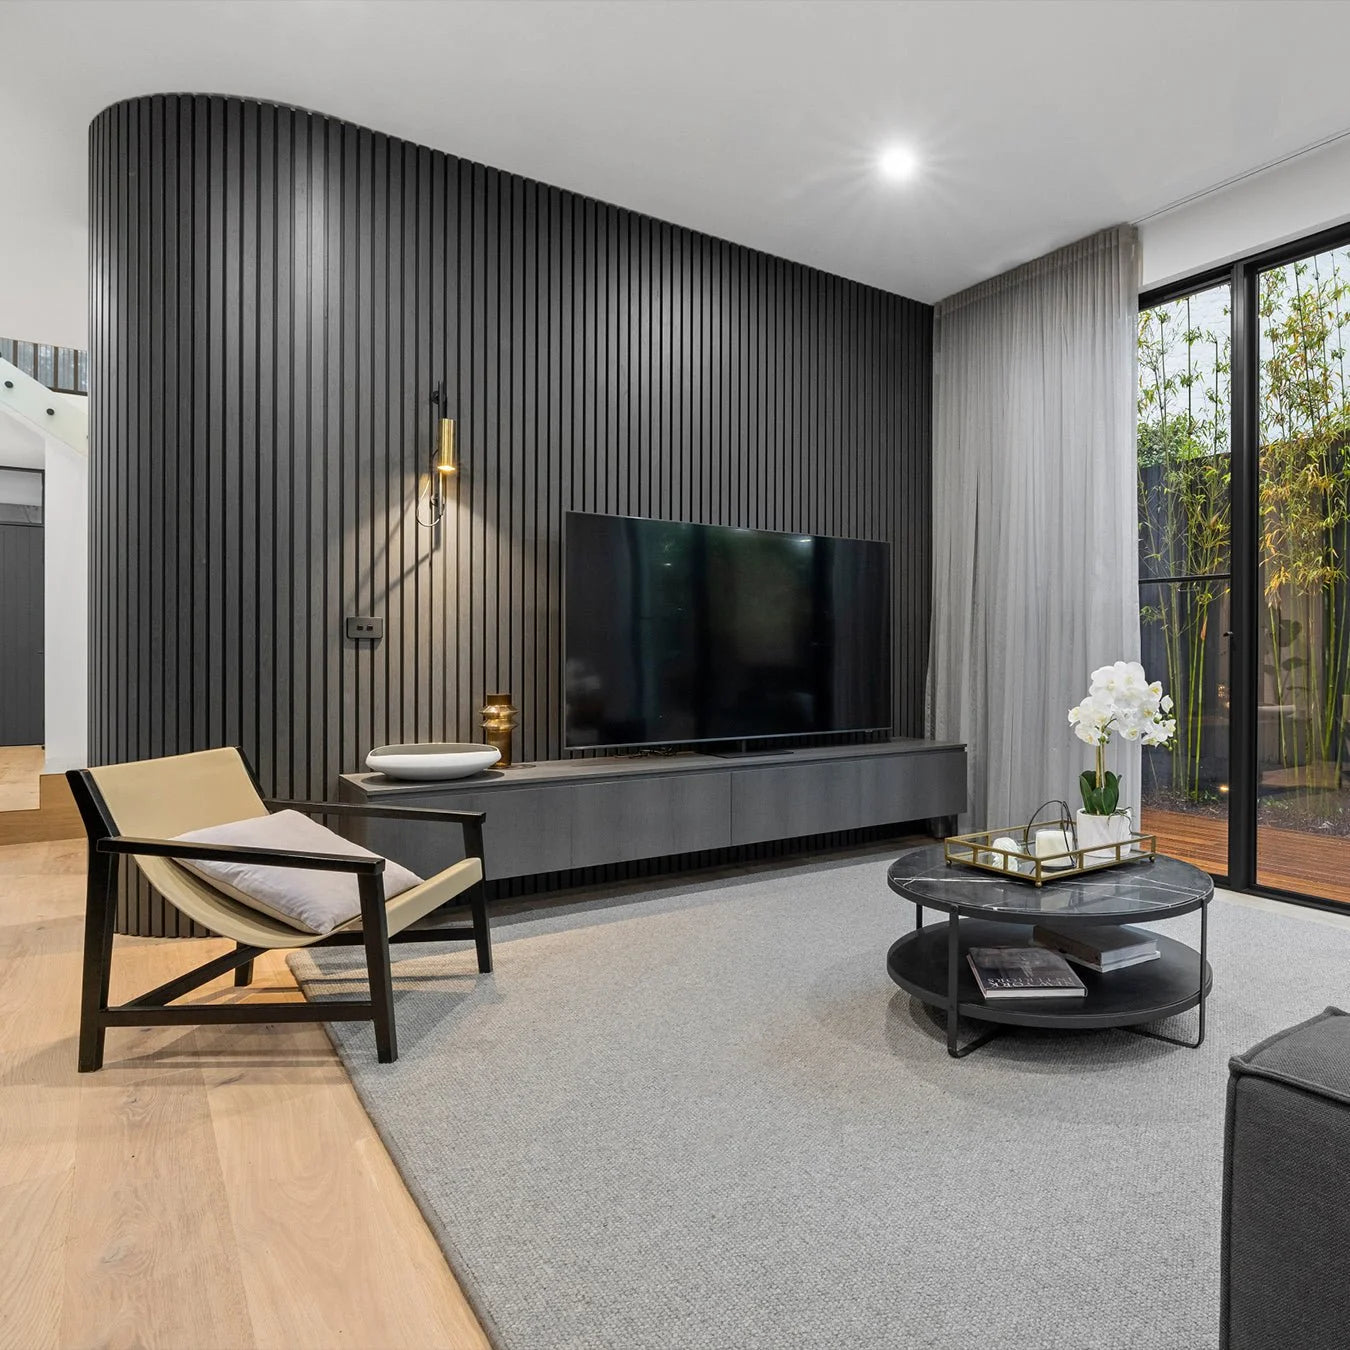
    Dark wood panels in a living room are one of the most impactful design choices you can make — but also one of the easiest to get wrong. At The Panel Hub, our dark wood panels are among our most searched finishes, and the questions we hear most often are about balance: how dark is too dark, which walls should be paneled, and what to pair them with. This guide covers all of it.

    Why Dark Wood Works in Living Rooms

    Dark wood panels add depth, drama, and a quality of visual weight that lighter finishes can’t replicate. In a living room — where the goal is a space that feels rich, considered, and inviting for spending time — that weight works in your favour. A dark wood panel on a feature wall creates a sense of enclosure and intimacy that makes a large living room feel more human in scale, and gives a smaller room a purposeful, designed quality rather than just feeling small.

    The key distinction is between using dark panels strategically — on one or two walls, with considered lighting and complementary materials — and using them everywhere, which creates a space that feels heavy and light-starved.

    Which Walls to Panel in Dark Wood

    The TV wall

    The TV wall is the most common location for dark wood paneling in a living room, and for good reason. A dark background recedes behind the screen, reducing the contrast that makes a TV look like a black rectangle mounted on a white wall. Dark walnut or deep oak panels create a backdrop that makes the TV appear integrated rather than prominent, and the wall becomes part of the room’s design rather than an afterthought.

    The fireplace wall

    A fireplace wall in dark wood paneling creates a focal point with real visual gravity. The depth of the panel finish complements the darkened interior of a fireplace opening and creates a cohesive, rich composition. This works best when the fireplace surround is in a contrasting lighter material — white plaster, stone, or painted timber — that prevents the whole wall from reading as uniformly dark.

    The wall behind the sofa

    In living rooms where seating faces a window, the wall behind the sofa is often backlit and benefits from a darker, more defined treatment. A dark wood panel here creates a strong horizontal backdrop that anchors the furniture arrangement and prevents the sofa from floating in space. It’s most effective in rooms with good natural light, where the panel’s darkness is balanced by light from the opposite side of the room.

    Choosing the Right Dark Wood Finish

    Walnut

    Walnut is the most versatile dark wood finish for living rooms — rich, warm, and with enough grain variation to feel organic rather than flat. Our walnut wall panels suit both contemporary and period living rooms and pair well with warm neutrals, deep greens, and burnt orange accent tones. Walnut reads as dark without being oppressive — it’s the right starting point if you’re unsure how much darkness the room can handle.

    Dark oak and espresso finishes

    Darker than walnut, espresso and dark oak finishes are for rooms where contrast is the brief. Pale walls, light upholstery, and bright lighting let these finishes perform without making the room feel closed in. In well-lit rooms with high ceilings, they create a dramatic, high-contrast result. Our dark wood panel collection includes several finishes in this range, from deep tobacco through to near-black ebony tones.

    Wenge and near-black tones

    The darkest finishes — wenge, ebony, very dark espresso — are for confident, deliberate interiors where the panel is clearly the dominant design statement. Limit these to a single feature wall, ensure the room has strong lighting, and pair with light or warm furnishings to prevent the room from reading as oppressive.

    Balancing Dark Panels in a Living Room

    The single most important rule: keep the remaining walls light. A dark feature wall and three plain light walls creates exactly the right balance — drama and depth without loss of space or light. If you panel two walls in dark wood, ensure they’re not adjacent (which creates a corner that feels closed) and keep the remaining walls very light.

    Scale also matters. In a living room under 4m wide, limit dark paneling to one wall. Larger rooms can carry more. Use our wood wall panel collection sample swatches to test proportions in your space before committing.

    Lighting Dark Wood Panels

    Dark panels absorb light, so the lighting in a paneled living room needs to be intentional. Uplighters or wall-grazing downlights positioned to skim across the panel surface reveal the texture and grain that make dark wood interesting. Picture lights, floor lamps positioned near the panel, and warm-toned LED strips can all be used to bring the panel to life in the evening. Avoid cold-toned lighting with dark panels — it makes the wood look grey and lifeless.

    What to Pair With Dark Wood Panels

    Dark wood panels pair best with: warm whites and creams for the remaining walls; warm-toned textiles (caramel leather, oatmeal linen, deep wool); brass and antique gold hardware and lighting; warm-spectrum area rugs; and natural textures (stone, jute, ceramics). They clash with: cool greys, stark whites under cool lighting, chrome and silver metals, and very pale or icy accent colours.

    Common Mistakes to Avoid

    Don’t panel more than one wall dark in a small room. Don’t choose a very dark finish in a room with limited natural light. Don’t pair with cool-toned décor. And don’t use dark panels as a substitute for thoughtful lighting — they need more light, not less, to perform well. With the right placement and lighting, dark wood panels are one of the most rewarding choices in interior design.

  • Exterior House Wall Cladding Ideas: Materials, Styles, and How to Choose

    Exterior House Wall Cladding Ideas: Materials, Styles, and How to Choose

    Exterior wall cladding changes how a house looks, how it performs, and how much it costs to maintain. Whether you’re updating a tired rendered elevation, adding material interest to a new build, or cladding an extension to tie it into the existing property, the material choice defines the result for decades. The Panel Hub supplies exterior-rated cladding panels for residential projects where durability, aesthetics, and value all matter.

    Why Clad an Exterior Wall?

    • Aesthetic transformation: Cladding changes the character of an elevation completely — from render to stone effect in a single installation
    • Weather protection: A well-installed cladding layer protects the substrate behind from UV, rain, and frost
    • Thermal improvement: Some cladding systems incorporate an insulation layer that improves the thermal performance of the wall
    • Low maintenance: Quality exterior panels require significantly less maintenance than painted render, which must be repainted every 5–10 years
    • Kerb appeal and value: External cladding is one of the most visible home improvement investments — its effect on first impressions and perceived value is immediate

    Exterior Cladding Materials: What to Consider

    Stone Effect Panels

    Our RockSurface® stone effect panels are one of the most practical exterior cladding choices for residential properties. They deliver the look of natural stone without the weight, foundation requirements, or installation complexity that real stone demands. Stone effect cladding suits period and contemporary properties equally — the range of profiles from highland rock to smooth slate means there is an option for virtually every architectural style.

    Composite and Exterior-Rated Panels

    Composite exterior panels from our outdoor wall paneling collection are engineered for long-term exposure. Unlike natural wood, they do not require periodic re-staining or sealing and resist the dimensional movement that causes natural timber cladding to split and gap over time.

    Exterior Cladding Ideas by Property Type

    Modern New Build or Extension

    Contemporary architecture benefits from cladding that creates contrast with render or glazing. A stone effect panel on the ground floor elevation, with render above, creates a classic split-level material palette that reads as considered and premium. For extensions, cladding the new structure differently from the existing house — rather than matching it — creates a deliberate architectural conversation between old and new.

    Period Property

    Traditional and period properties suit stone effect cladding that references the local vernacular — highland rock profiles for rural settings, smoother dressed stone for urban and suburban contexts. The key is choosing a panel profile and colour tone that reads as authentic to the setting, not as a facsimile of a different building tradition.

    Garden Room and Outbuilding

    Outbuildings and garden rooms benefit enormously from cladding that ties them visually to the house or garden. A stone effect panel on the garden-facing elevation of an outbuilding transforms it from a functional structure into a genuine landscape feature.

    Installation Principles for Exterior Cladding

    • Substrate preparation: The existing wall surface must be structurally sound, clean, and free of loose material before cladding. Any damp issues must be resolved first — cladding over a damp wall traps moisture and accelerates deterioration.
    • Fixing: All exterior cladding must use mechanical fixings appropriate to the substrate and panel weight. Adhesive alone is not adequate for exposed exterior applications.
    • Drainage: Install on a batten system where possible to allow ventilation and drainage behind the panel face.
    • Joints and edges: Seal all panel joints, window reveals, and terminations with an exterior-grade flexible sealant to prevent water ingress at vulnerable points.

    Planning Permission

    In most residential cases, exterior cladding falls within permitted development rights and does not require planning permission. However, properties in conservation areas, listed buildings, or those with Article 4 directions removing permitted development rights may need consent. Always check with your local planning authority before starting an exterior cladding project.

    Explore Exterior Cladding Options

    Browse our outdoor and exterior wall panel collection and our full range of wall panels at The Panel Hub.

  • Kitchen Splashback Panel Alternatives: Beyond Tiles for Kitchen Walls

    Kitchen Splashback Panel Alternatives: Beyond Tiles for Kitchen Walls

    Tiles have been the default for kitchen walls for decades, but they’re no longer the only option. At The Panel Hub, we’re regularly asked about using wood wall panels in kitchens — and for certain areas of a kitchen, they’re an excellent choice. This guide covers the main alternatives to traditional tile splashbacks and helps you work out where each material performs best.

    Why People Look Beyond Traditional Tiles

    Tiles work well behind hobs and sinks — they’re heat-resistant, waterproof, and easy to wipe clean. But grout is a maintenance issue, tile trends date quickly, and covering an entire kitchen wall in tiles can feel busy or cold. Many homeowners are looking for materials that give a more cohesive, contemporary result, especially in open-plan spaces where the kitchen wall is visible from a living or dining area.

    The Main Alternatives

    Glass panels

    Toughened glass splashbacks are seamless, easy to clean, and available in any colour. They work well behind hobs because they’re fully heat-resistant. The downside is cost — a bespoke glass panel can be expensive — and they can look stark without careful colour matching to the rest of the kitchen.

    Stainless steel

    Stainless steel is a professional kitchen staple that’s moved into domestic kitchens. It’s highly durable, heat-resistant, and hygienic. It suits industrial or contemporary kitchen styles but looks out of place in warmer, more traditional settings. Fingerprints and water marks are a constant maintenance consideration.

    Solid surface and laminate sheets

    Large-format laminate or solid surface sheets (Dekton, Corian, Silestone) are increasingly popular for kitchen walls. They’re seamless, available in a huge range of finishes including stone and wood effects, and easy to clean. Cost varies significantly depending on material.

    Wood wall panels for kitchen feature walls

    Wood panels are not suitable directly behind a hob or above a sink — the moisture, grease, and heat exposure would damage them. But for every other kitchen wall — behind open shelving, in the dining zone of an open-plan kitchen, or on the island-facing wall — they’re a highly effective choice. Our kitchen wall panels add warmth and texture to spaces that tiles or paint alone can’t achieve.

    Where Wood Panels Work in Kitchens

    The question isn’t whether to use wood panels in a kitchen — it’s where. The right locations are: behind open shelving where there’s no cooking activity directly below, the dining area wall in a kitchen-diner, the end wall of an island, or any wall that functions more as a visual backdrop than a cooking surface.

    In these zones, wood panels outperform tiles on warmth, visual interest, and ease of installation. They require no grouting, create a seamless look, and can be installed without professional tiling skills.

    How to Combine Materials in a Kitchen

    The most successful modern kitchen designs often mix materials intentionally. Tile or glass behind the hob and sink, wood panels on the feature wall or dining zone. This approach solves the practical requirements of the wet and heat zones while allowing a much warmer, more interesting finish elsewhere.

    The key is maintaining coherence between the materials — matching tones, keeping finishes in a similar register (all matte, or all with some sheen), and not using more than three distinct materials on the walls.

    Choosing a Panel for Your Kitchen

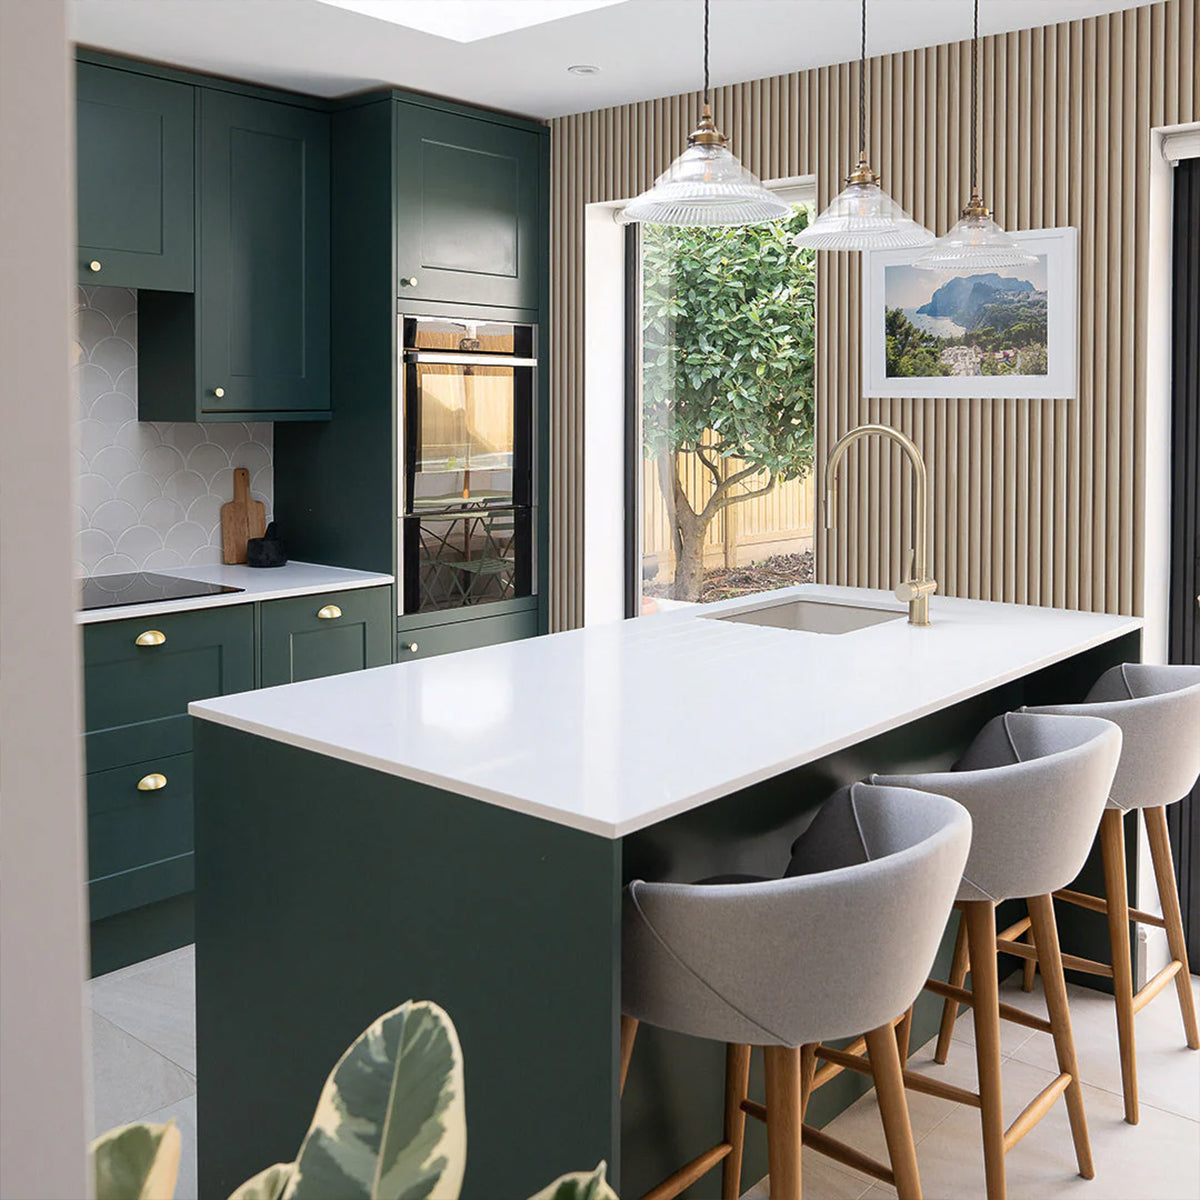
    For kitchens with white or light grey cabinetry, a natural oak or warm mid-tone panel adds contrast and warmth. For kitchens with dark or navy cabinetry, a lighter panel finish prevents the room from feeling too closed in. For timber-framed Shaker kitchens, a panel finish that echoes the timber tones creates a coherent, layered look.

    Browse our kitchen wall panels or explore the full wood wall panel range to find the right match for your kitchen.

  • Kitchen Feature Wall Ideas: How to Create a Focal Point That Actually Works

    Kitchen Feature Wall Ideas: How to Create a Focal Point That Actually Works

    Kitchens are the most-used room in most homes, but they’re rarely treated as spaces where design can make a real statement. At The Panel Hub, we’ve seen a growing number of homeowners and kitchen designers using wood wall panels to add warmth, texture, and character to kitchens that would otherwise feel cold or purely functional. A well-placed kitchen feature wall is one of the most impactful changes you can make without touching the cabinetry or flooring.

    What Makes a Good Kitchen Feature Wall

    A kitchen feature wall works when it anchors the room visually without competing with everything else. In practice, that usually means one wall — often the one behind open shelving, a dining area, or an island — treated with a material, colour, or texture that draws the eye. The wall becomes a backdrop that makes the rest of the kitchen look more considered.

    Wood paneling is effective here because it adds warmth and depth without requiring a full renovation. It sits behind cabinetry, appliances, and décor rather than clashing with them. The right panel finish reads as intentional, not decorative for its own sake.

    Where to Position a Kitchen Feature Wall

    The wall behind open shelving

    Open kitchen shelving has become a design staple, but the wall behind it matters as much as the shelves themselves. A paneled wall behind floating shelves gives depth and richness to what would otherwise be empty painted plaster. Oak slat panels work particularly well here — they add visual interest without overpowering the items on display.

    The island-facing wall

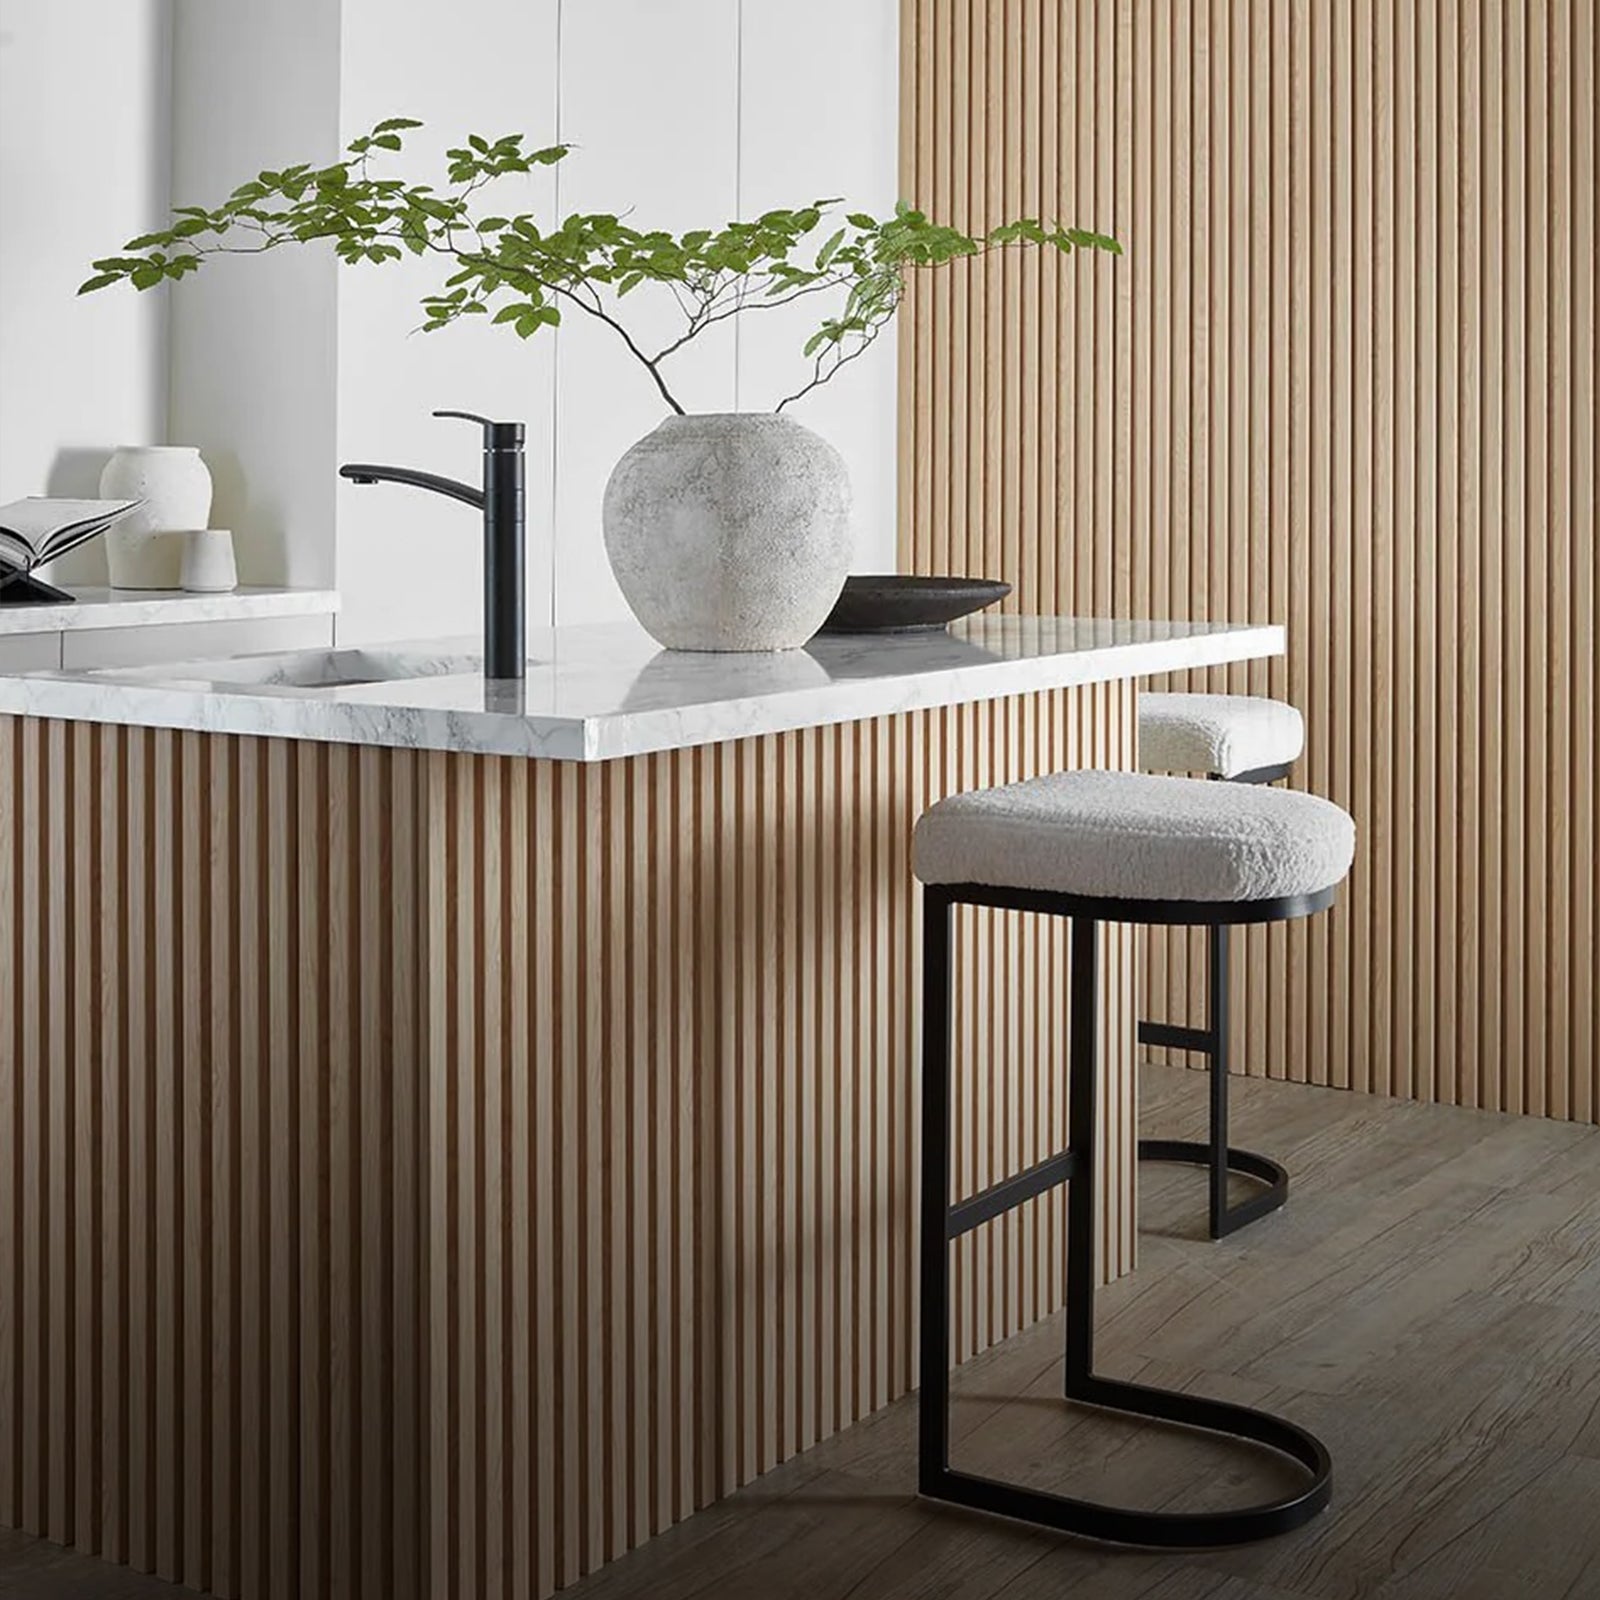
    In kitchens with a central island, the wall you face while cooking is often overlooked. Paneling this wall creates a backdrop that frames the island and makes the whole kitchen feel more designed. This is especially effective in open-plan spaces where the kitchen needs to hold its own visually against a living or dining area.

    The dining area wall in open-plan kitchens

    In open-plan kitchen-diners, the wall at the end of the dining table is a natural feature wall location. Paneling it defines the dining zone without building a wall and creates a visual anchor for the table and chairs. This is one of the most popular uses of wood paneling in contemporary kitchen design.

    Panel Styles That Work in Kitchens

    Slat panels

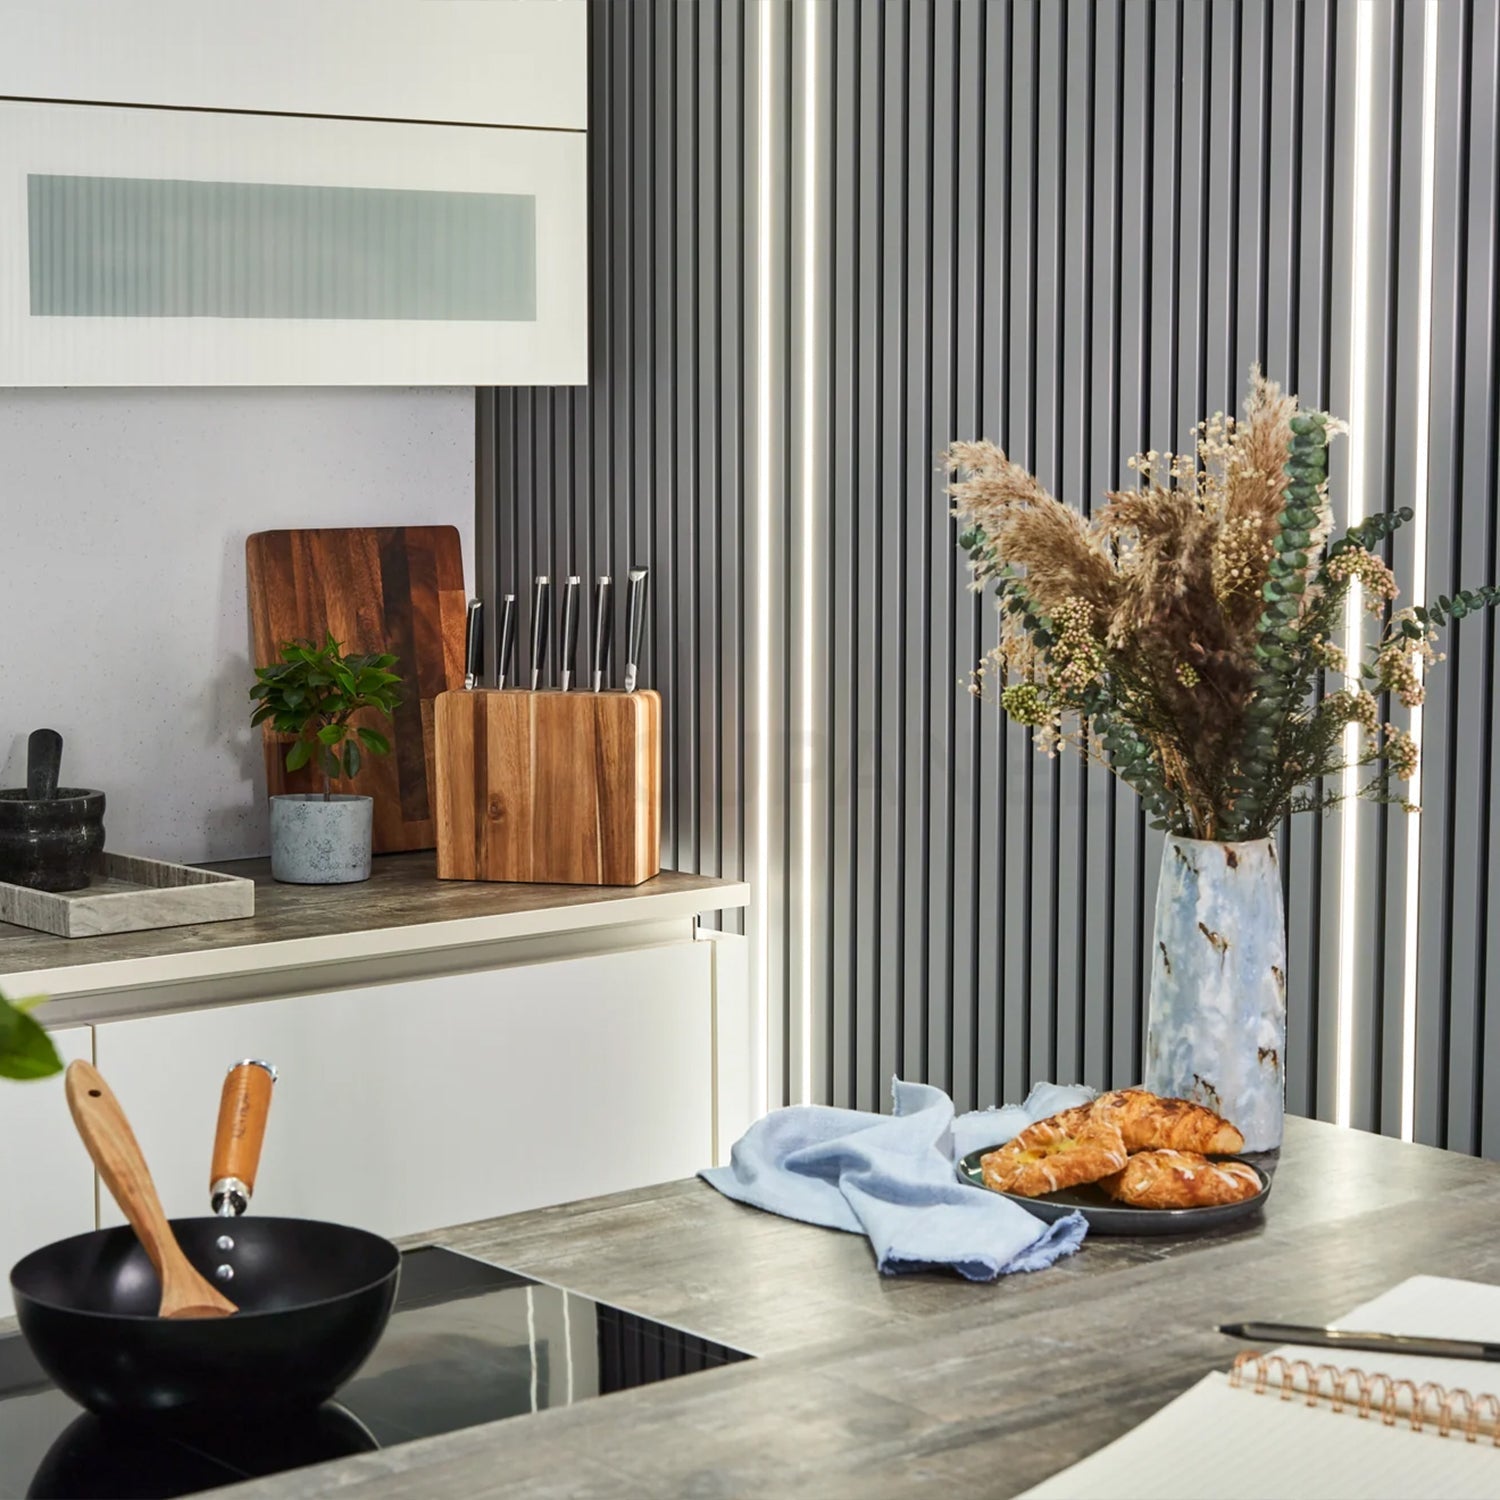
    Vertical slat panels are the most widely used style for kitchen feature walls. The clean linear lines complement both modern handleless kitchens and more traditional shaker-style cabinetry. Our SoundPanel™ acoustic slat panels work especially well in open-plan kitchen-diners where the dining area benefits from sound absorption too.

    Mosaic and grooved panels

    For kitchens with a more textural approach, mosaic-style panels add a different kind of depth. Our GroovePanel® mosaic panels suit kitchens with a more eclectic or warm-minimalist aesthetic and pair well with raw timber, concrete worktops, or dark cabinetry.

    How to Choose the Right Finish

    The finish of your kitchen feature wall panels should relate to something else already in the room — the flooring, worktop, or cabinet handles. If your kitchen has warm-toned timber flooring, an oak panel finish carries that warmth up the wall without feeling repetitive. If the kitchen is largely white or grey, a walnut or darker oak finish creates contrast and warmth without clashing.

    Avoid going so dark that the wall recedes too much, especially in smaller kitchens. Mid-tone oak finishes tend to be the most versatile — they read as warm without being heavy.

    Practical Considerations for Kitchen Panels

    The main practical question with kitchen wall panels is moisture and cleaning. Our kitchen wall panels are not intended for use directly behind hobs or sinks where water or grease splatter is a constant issue. For feature walls away from the cooking zone — behind shelving, in dining areas, or on island-facing walls — they perform well and are easy to maintain with a dry or lightly damp cloth.

    Panels should not be installed in areas subject to heavy steam or direct water contact. For those zones, tile or glass is still the right material. But for the majority of kitchen wall space, panels are a practical and durable choice.

    Kitchen Feature Wall Ideas by Style

    Modern minimal

    In a minimal kitchen with handleless cabinetry and a neutral palette, a pale oak slat panel on the dining wall adds warmth and texture without disrupting the clean lines. Keep the rest of the walls plain and let the panel do the work.

    Warm Scandi

    A Scandi-influenced kitchen — white cabinets, timber accents, simple shapes — benefits from a feature wall that adds the warmth the rest of the room is built around. A natural oak panel behind open shelving completes the look without adding clutter.

    Industrial

    Darker panel finishes — walnut, dark oak, or a panel with strong grain contrast — pair well with industrial kitchen elements: black metal frames, concrete worktops, exposed brickwork. The wood softens the harder materials without losing the industrial edge.

    Where to Start

    The easiest way to start is to identify the single wall in your kitchen that gets the most visual attention — usually the one you face most often or the first one you see when entering the room. Panel that wall first. Once it’s in place, you’ll have a much clearer sense of whether any other walls need treatment or whether that one change is enough.

    Browse our full range of kitchen wall panels or explore the complete wood wall panel collection to find the right finish for your space.

  • How to Panel a Hallway: A Practical Guide to Hallway Wall Paneling

    How to Panel a Hallway: A Practical Guide to Hallway Wall Paneling

    A paneled hallway makes a better first impression than almost any other single change you can make to a home’s interior. At The Panel Hub, hallways are one of the most common spaces where customers install wood wall panels — and for good reason. The results are dramatic, the installation is manageable for a competent DIYer, and the improvement to both aesthetics and acoustics is immediate. This guide covers everything from choosing the right panel to getting a clean finish.

    Why Hallways Benefit From Wall Paneling

    Hallways are transition spaces — the first room you see when you enter a home and the last before you leave. They’re often narrow, poorly lit, and acoustically hard (bare plaster, hard flooring, reflective surfaces). Wall paneling addresses all of these: it adds visual depth to narrow spaces, introduces warmth that artificial lighting can pick up, and absorbs the echo and footstep noise that makes a hallway feel echoey and clinical.

    Our hallway wall panels are designed to perform in exactly these conditions.

    Choosing the Right Panel for a Hallway

    Full-height vs half-height panels

    Full-height panels (floor to ceiling) make a dramatic statement and suit wider or taller hallways. Half-height panels (to dado height) work better in narrow hallways where floor-to-ceiling paneling on both walls can feel enclosed. In very narrow hallways — under 1m wide — consider paneling just one wall, typically the longest wall or the one directly facing the front door.

    Slat panels

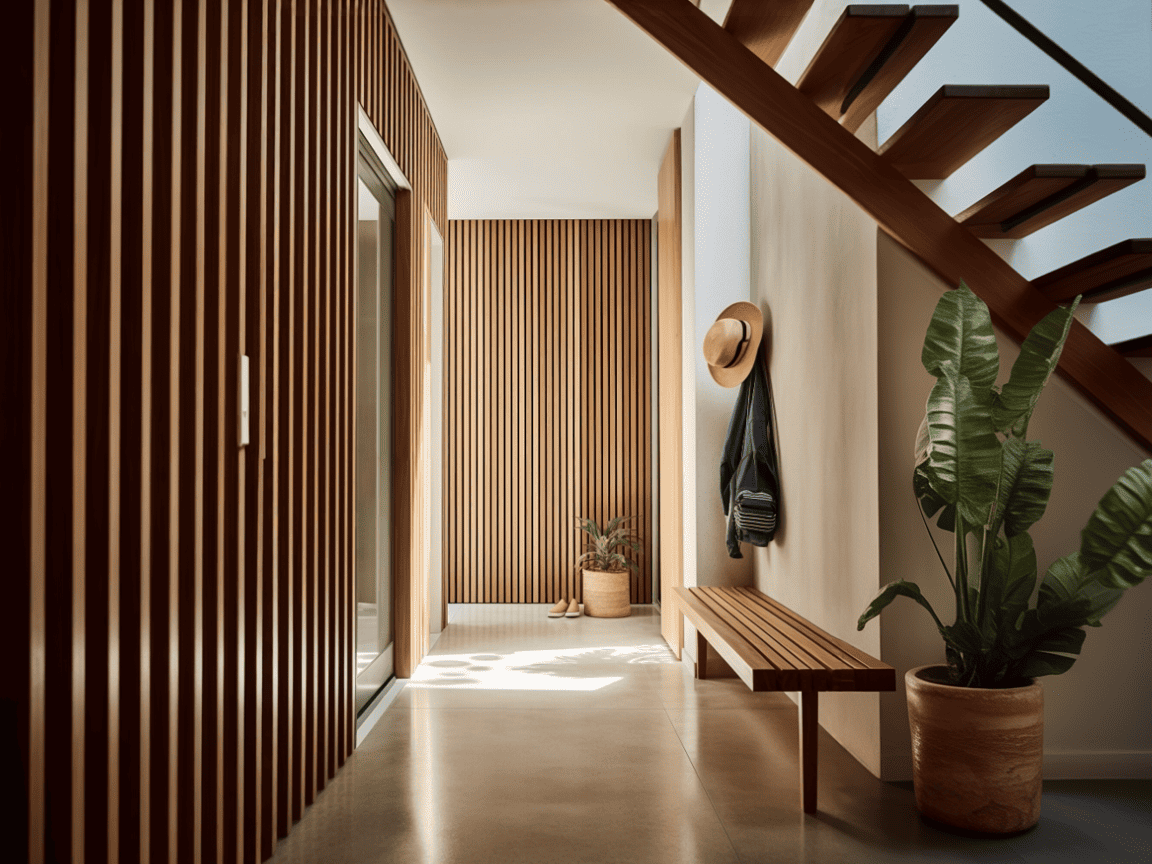
    Vertical slat panels are the most popular hallway choice. The vertical lines draw the eye upward and make the hallway feel taller. Fine-profile slats — narrow channels between the slats — add texture without visual bulk, which is important in confined spaces. Our SoundPanel™ acoustic slat panels are particularly effective in hallways because they reduce the echo and sound reflection common in bare-plaster hallways.

    Mosaic panels

    For a more textured, layered look, our GroovePanel® mosaic panels add depth and character and suit hallways where a more statement finish is desired. These work well in wider hallways or on a single feature wall (the wall facing the front door) rather than both sides.

    Preparing the Wall

    Panels need a flat, sound substrate. Fill any significant holes or cracks and allow filler to dry fully. In older properties, check that the plaster is firmly bonded — any loose or hollow sections should be repaired before installation. If the wall has significant undulation (common in older buildings), you may need to fix a timber batten framework first to create a flat surface for the panels to fix to.

    Remove skirting boards before installation if you’re installing floor-to-ceiling panels. If you’re installing half-height panels, you can often work over the skirting by cutting the panel to sit against the skirting face and then finishing with a cap rail above.

    The Installation Process

    Measure the wall height and width carefully and plan your panel layout before cutting. For slat panels, start from a plumb vertical line rather than working from the corner — corners are rarely perfectly square. Use panel adhesive and fixing pins for secure attachment. Butt panels tightly together (or with the specified gap depending on the panel type) and check for level frequently as you work across the wall.

    Finish the top edge with a cap rail or dado moulding. Fill any nail holes. Prime and seal the panels according to the manufacturer’s guidance if painting — for natural wood finishes, a clear hardwax oil is recommended.

    Common Hallway Paneling Mistakes

    The most common mistakes are: not checking for plumb on the first panel (errors compound across the wall); cutting panels too short and leaving gaps at the top or bottom; using too much adhesive and creating bleed-out between panels; and failing to finish the top edge cleanly. Take time over the first panel, use a spirit level constantly, and plan the finishing details before you start.

    Finishing Touches

    Hallway paneling benefits from complementary lighting. Picture lights, wall sconces, or downlights positioned to graze the panel surface enhance the texture and make the paneling perform far better visually. Pair with a warm-toned rug and natural-material accessories for a cohesive result.

    Browse our hallway wall panels and the full wood wall panel collection to plan your project.

  • How to Mix Wood Tones: A Practical Guide to Getting It Right

    How to Mix Wood Tones: A Practical Guide to Getting It Right

    Mixing wood tones is one of those design decisions that looks effortless when it works and immediately noticeable when it doesn’t. At The Panel Hub, we regularly help customers choose wood wall panels that will work alongside existing timber elements in their homes — flooring, cabinetry, furniture, staircases. This guide covers the principles that make mixed wood tones work and the mistakes that make them clash.

    Why Mixing Wood Tones Works — and Why It Sometimes Doesn’t

    The idea that all wood tones in a room must match is a myth. In nature, wood tones vary constantly — no forest is monochromatic — and rooms that use a single wood tone throughout can feel flat, monotonous, and overly designed. The aim isn’t matching; it’s coherence. The difference is significant: matching means same tone, same grain, same finish; coherence means the elements belong together without being identical.

    Mixed wood tones fail when the tones pull in different directions — one warm, one cool — or when the contrast between adjacent tones is too slight to read as deliberate. The goal is either clear contrast or clear harmony. Ambiguity is what creates the feeling that something is wrong.

    The Rules of Mixing Wood Tones

    Keep undertones consistent

    Every wood tone has an underlying warmth or coolness. Oak is warm (yellow-orange undertones); ash can go either way; some grey-washed tones are cool. The most reliable rule for mixing wood tones is to keep the undertones in the same direction — all warm, or all cool. Mixing a warm walnut with a cool grey-washed oak creates a clash that’s hard to resolve with other elements. Mixing warm walnut with warm honey oak, by contrast, creates a coherent layered scheme even though the tones are quite different.

    Vary depth, not warmth direction

    The most successful mixed wood tone interiors tend to vary along the depth axis — light, mid, and dark tones of the same warmth family — rather than mixing warm and cool. Light oak flooring, mid-oak furniture, walnut wall panels: these three elements share warm undertones but vary in depth, creating a layered effect that reads as natural and considered.

    Limit to three wood tones maximum

    Most rooms can handle two or three distinct wood tones. Beyond that, the space starts to feel visually busy and unresolved. In practice, most rooms have two existing wood tone commitments (flooring and cabinetry or flooring and furniture) — which means the wall panel should relate to one of those rather than introduce a third independent tone.

    How to Mix Wall Panels With Existing Wood in Your Room

    Working with wood flooring

    The most important relationship in most rooms is between the wall panel and the floor — because both are large surface areas and both are highly visible. The clearest options are: match the panel closely to the floor (unified, calm); contrast clearly (deliberate, layered); or go significantly lighter or darker on the panel relative to the floor. Avoid a panel finish that’s almost the same as the floor but slightly different — it reads as an error rather than a choice.

    Working with timber furniture

    Furniture tends to be a smaller surface area than walls or floors, so it has more flexibility. A warm walnut panel can work with both lighter oak furniture and darker mahogany furniture, provided the undertones are consistent. Think of the panel as the backdrop and the furniture as the foreground — they don’t need to match, but they should belong to the same tonal family.

    Working with kitchen or built-in cabinetry

    When paneling a wall in a room with substantial timber cabinetry — a kitchen, a study with built-in shelving, a bedroom with fitted wardrobes — the panel should either echo or deliberately contrast with the cabinet tone. A panel that’s almost the same as the cabinetry but not quite creates visual confusion. Aim for either a close match or a clear step in either direction.

    Common Combinations That Work

    Light oak floor + walnut wall panels: the warm undertones are shared, the depth contrast is clear, and the room reads as layered and rich. Natural oak panels + dark walnut furniture: the panels recede and the furniture stands out; a clean, contemporary combination. Mid-oak cabinetry + light ash panel: pale and warm throughout; airy and Scandinavian in character. Our oak wall panels and walnut wall panels cover the most commonly needed tones for these combinations.

    Common Mistakes When Mixing Wood Tones

    Mixing warm and cool tones in the same room — the most common cause of clashing. Choosing a panel that’s almost the same as the floor or cabinetry but not quite. Using more than three distinct wood tones in one space. And choosing a panel finish in isolation, without sampling it against the existing wood elements in the room. Always order samples and test them in your space before committing.

    Getting the Balance Right

    The simplest approach: identify the warmth direction of your existing wood (warm or cool), then choose a panel from the same warmth family. Vary the depth for interest. Test samples against your existing wood in the actual room under your actual lighting. Browse the complete wood wall panel range to explore the full spectrum of available finishes and find the right combination for your space.

  • Flexible Wall Panels Explained: What They Are and Where They Work

    Flexible Wall Panels Explained: What They Are and Where They Work

    Most wall panels are rigid — they’re designed for flat surfaces and installed as fixed sheets. But not every wall is flat. Curved walls, columns, arched recesses, and radius features present a challenge that rigid panels can’t solve. It’s important to choose the warmth and character of wood wall panels to surfaces that would otherwise have to be left plain or treated with a different material entirely.

    What Are Flexible Wall Panels

    Flexible wall panels are panels engineered to bend around curved surfaces without cracking, splitting, or buckling. Unlike rigid panels, which are fixed to flat walls in full sheets, flexible panels have a construction that allows them to conform to a radius — a gentle or tight curve — while maintaining the surface appearance of the panel design.

    They’re typically constructed with a flexible substrate — often a thin, pliable backer material — that allows the decorative face to curve without damage. The visual result is indistinguishable from a rigid panel on a flat wall; the flexibility is in the engineering, not the appearance.

    How Flexible Wall Panels Work

    The key measurement for flexible panel installation is the minimum bend radius — the tightest curve the panel can follow without damage. Different panels have different minimum radii, so it’s important to match the panel’s flexibility to the curve you’re working with. Gentle curves — large-radius walls, shallow bows — can be achieved with panels that have moderate flexibility. Tight curves — columns, circular rooms — require panels with a smaller minimum bend radius.

    Installation follows the same principles as rigid panels: clean, flat substrate (relative to the curved surface), appropriate adhesive, and fixing from the centre outward to maintain even contact across the curve. For tighter radii, it can help to pre-curve the panel by loosely rolling it in the direction of the bend before installation.

    Where Flexible Panels Are Used

    Curved walls and columns

    The most common application for flexible panels is wrapping columns and curved walls in both residential and commercial interiors. A structural column clad in a wood slat panel becomes a design feature rather than an obstacle. A curved wall in a reception area or open-plan living room can be paneled to the same standard as the flat walls, creating a cohesive, uninterrupted surface.

    Arched alcoves and recesses

    Arched alcoves — common in period properties and contemporary designs alike — benefit from flexible paneling that can follow the curve of the arch. Rather than tiling or plastering the arched surface, a flexible wood panel creates a warm, consistent material throughout the recess.

    Curved room features and bespoke joinery

    In bespoke interior projects — curved headboard walls, radius bar fronts, circular seating booths — flexible panels allow designers and installers to achieve curved timber-faced surfaces that would otherwise require specialist joinery. Our flexible panel range is used in both residential and commercial projects for exactly this reason.

    Flexible vs Rigid Panels: Which to Choose

    If the wall is flat — even if it has slight imperfections — a rigid panel is always the right choice. Rigid panels are more dimensionally stable, easier to install on flat surfaces, and available in a wider range of finishes. Flexible panels should be specified when the surface genuinely requires bending — not as a workaround for flat-wall installation challenges.

    For projects where both flat and curved surfaces exist in the same space, it’s worth checking whether the same panel design is available in both rigid and flexible formats — this allows a consistent visual result across the entire room.

    Installation Considerations for Flexible Panels

    Flexible panels require full-surface contact with the substrate to achieve the intended curve — leaving air gaps creates a risk of the panel pulling away over time. Use an appropriate contact adhesive or grab adhesive that maintains bond strength across the full area of the panel. For larger radius curves, temporary fixings or clamping during the adhesive cure period can be helpful.

    Always check the manufacturer’s minimum bend radius before ordering — attempting to bend a panel beyond its specification risks damaging the panel face and voiding any warranty.

    Design Ideas for Flexible Panels

    A column wrapped in matching panels creates continuity with the flat walls and transforms what would otherwise be an awkward interruption into a design feature. A curved bar front in a home bar or commercial hospitality space is an excellent application — the warm timber finish is visually appropriate and the flexible panel makes the complex geometry achievable. A radius headboard wall in a bedroom, where the curve sweeps from floor to ceiling behind the bed, creates an architectural statement that sets the room apart.

    Explore our flexible wall panels and the full wood wall panel range for your project.

  • Garden Wall Cladding Ideas: How to Transform Your Outdoor Space

    Garden Wall Cladding Ideas: How to Transform Your Outdoor Space

    The garden wall is one of the most overlooked surfaces in residential design — and one of the most transformative when treated well. Whether you’re working with boundary walls, the rear elevation of the house, or freestanding garden structures, cladding transforms a utilitarian surface into a genuine design feature. The Panel Hub stocks exterior-rated wall panels designed to handle the demands of outdoor exposure while delivering a finish that holds its quality season after season.

    What Garden Wall Cladding Can Do

    • Transform a plain rendered boundary wall into a textured feature
    • Create a focal point behind a planting bed, water feature, or garden sculpture
    • Clad the rear elevation of a house extension or outbuilding to tie it visually to the garden
    • Create a paneled garden room or alfresco entertainment area
    • Conceal unsightly concrete or blockwork with a surface that looks intentional

    Choosing the Right Panel for Outdoor Use

    Weather Resistance Is Non-Negotiable

    Not all wall panels are rated for outdoor use. A panel that performs perfectly indoors will deteriorate when exposed to UV, rain, frost cycles, and temperature variation. Always specify panels from our outdoor wall paneling collection for exterior applications — these are engineered or treated for the specific demands of exposed installations.

    Stone Effect Panels — The Most Versatile Outdoor Choice

    Our RockSurface® stone effect wall panels are a particularly strong choice for garden applications. The natural stone aesthetic integrates beautifully with planting, hardscaping, and water features — and the panel construction handles outdoor exposure without the weight, cost, or installation complexity of real stone. A stone effect feature wall behind a planting bed is one of the most effective garden design interventions available.

    Garden Wall Cladding Ideas by Application

    Boundary Wall Feature

    A rendered or block boundary wall gains enormous visual impact from cladding. Panel the full height of the wall in a stone effect finish — broken up with integrated planting pockets or wall-mounted lighting — and the boundary transforms from a barrier into a backdrop. This works particularly well for rear garden boundaries that form the backdrop to an outdoor seating area.

    House Rear Elevation Feature Panel

    Where a rear extension or bifold door opening creates a new relationship between house and garden, cladding the elevation immediately around the door creates a transition zone that anchors the architecture in the landscape. Stone effect or composite exterior panels define this zone and make the connection between inside and outside feel considered.

    Garden Room and Outbuilding Cladding

    Timber-framed garden rooms, studios, and outbuildings benefit from cladding that combines weather protection with visual quality. Exterior-rated panels applied to the outward-facing elevations of a garden structure transform it from a functional shed into a genuine garden feature.

    Freestanding Garden Wall

    A freestanding paneled wall — constructed on a concrete footing and clad on the garden-facing side — creates a sculptural element that defines garden zones, provides a backdrop for planting, and adds architectural interest to large open garden spaces.

    Installation Considerations for Garden Wall Cladding

    • Substrate: Ensure the wall surface is sound, clean, and dry before cladding. Render or blockwork must be free of loose material, efflorescence, and damp.
    • Fixing method: Use exterior-grade mechanical fixings in addition to adhesive for all outdoor applications. Adhesive alone is not sufficient for exposed installations subject to wind load.
    • Drainage gap: Where possible, install panels on a batten system to allow air circulation and drainage behind the panel face. This extends panel life and prevents moisture trapping.
    • Sealant at joints: Use an exterior-grade flexible sealant at all panel joints and terminations to prevent water ingress.

    Maintenance

    Exterior panels require minimal maintenance but benefit from an annual wash-down with a low-pressure hose to remove accumulated dirt and organic matter. Stone effect panels are particularly low-maintenance: their non-porous surface resists algae and moss growth better than natural stone.

    Start Your Garden Transformation

    Browse our dedicated outdoor wall paneling collection and our full range of wall panels at The Panel Hub.

  • Hotel Lobby Wall Paneling: How to Create a Premium First Impression

    Hotel Lobby Wall Paneling: How to Create a Premium First Impression

    The hotel lobby is the first physical experience a guest has of a property — and the last. It sets the expectation for the stay before a guest reaches their room, and it’s the memory they carry when they leave. The Panel Hub has supplied wall panels for hospitality projects where that first impression is the product. Here’s what makes lobby wall paneling work at a premium level.

    What Hotel Lobby Paneling Communicates

    Material quality signals property quality — instantly and unconsciously. A lobby finished with real wood panels or natural stone effect communicates permanence, investment, and care. It tells a guest that the property takes its physical environment seriously. A lobby finished with painted plasterboard, however carefully decorated, communicates something less — regardless of what the rooms look like.

    This is not about budget. A considered installation of acoustic slat panels on the primary lobby wall costs less than most guests would guess and delivers a quality signal disproportionate to its cost. The perception gap between a paneled lobby and an unpaneled one is significant.

    Best Panel Types for Hotel Lobbies

    Acoustic Slat Panels — Warmth at Scale

    Our SoundPanel™ acoustic slat wood wall panels deliver the combination hotel lobbies require: visual warmth, acoustic benefit, and a material quality that reads as premium without requiring bespoke joinery. The full-height installation — from floor to ceiling across the primary wall — creates the kind of considered backdrop that distinguishes a hotel’s lobby photography and the guest’s first impression equally.

    Stone Effect Panels — Authority and Permanence

    For lobbies where the design language references heritage, permanence, or architectural weight, RockSurface® stone effect panels deliver natural stone aesthetics without the structural requirements. Stone effect paneling at the reception desk wall or entrance column creates an immediate sense of authority that suits luxury and boutique hotel positioning equally.

    Geometric Solid Wood — Distinctive Brand Identity

    Hotels with a strong design identity use GroovePanel® geometric solid wood panels to create a lobby that is genuinely unique. The handcrafted quality of solid wood mosaic panels is difficult to replicate and photographs in a way that distinguishes the property across all its visual channels.

    Key Hotel Lobby Zones to Panel

    The Feature Wall Behind Reception

    The most critical surface in any hotel lobby. Staff stand in front of it for every check-in interaction. It is the backdrop to every arrival and departure photograph. Full-height paneling here — complemented by integrated LED lighting — creates the room’s defining moment. Walnut or dark oak slat panels with warm backlighting deliver a result that reads at the level of properties spending significantly more on their fit-out.

    The Entrance Corridor

    The transition from entrance to lobby sets the pace of the arrival experience. A paneled entrance corridor — even at dado height — creates a sense of enclosure and quality that a flat painted wall cannot. Stone effect panels handle the higher contact and traffic of this zone particularly well.

    Lift Lobby and Corridor Walls

    Often overlooked, lift lobby walls are a recurring touchpoint throughout every guest’s stay. Consistent paneling through these transitional spaces extends the quality signal of the main lobby throughout the property.

    Acoustic Benefit in Lobbies

    Hotel lobbies accumulate ambient noise from check-in activity, concierge conversations, luggage movement, and background music. Hard surfaces — polished stone floors, glazed facades, flat ceilings — compound this into a noise environment that can feel unwelcoming. Acoustic slat panels on the primary wall surface absorb those reflections and create a calmer ambient environment. For a premium property, this is not a minor detail: it is part of the arrival experience.

    Specification Checklist for Hotel Lobbies

    • Confirm fire rating requirements for your local building regulations and hospitality category
    • Plan cable management for LED strip lighting before any panels are installed
    • For floor-to-ceiling installations, ensure structural wall fixings are used at top and bottom in addition to adhesive
    • Specify panels with a surface finish appropriate for the cleaning regime of a commercial lobby

    Browse Hotel-Grade Paneling

    Explore our wall paneling for lobbies and our full range of wood wall panels — or contact The Panel Hub to discuss your project specification.