Category: Uncategorized

  • How to Reduce Noise in a Room: Simple Tips & Tricks

    How to Reduce Noise in a Room: Simple Tips & Tricks

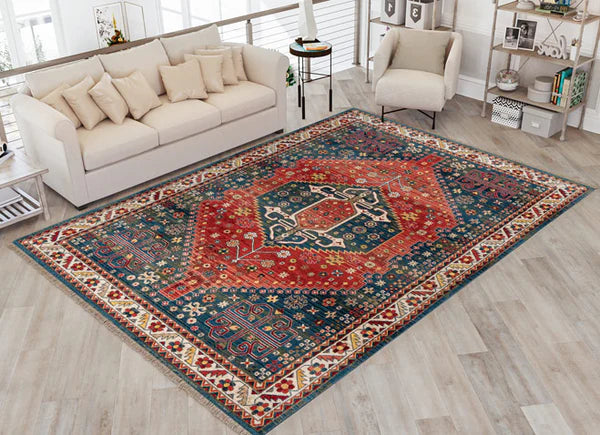
    When it comes to how to reduce noise in a room, you need proper sound absorbing features to minimize unwanted sounds. You can also use soft materials such as rugs, carpets, and upholstered furniture to absorb noise effectively.

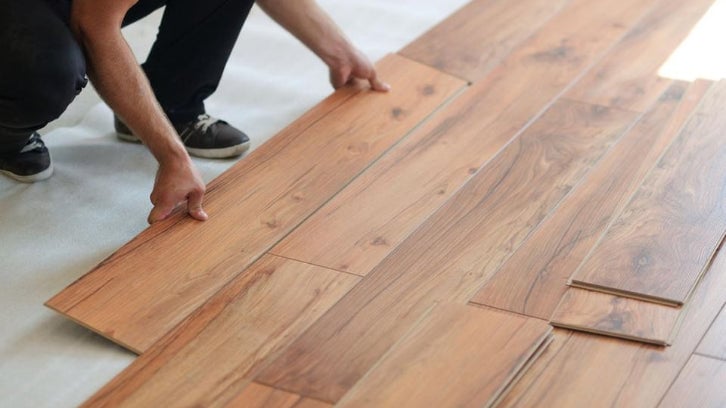
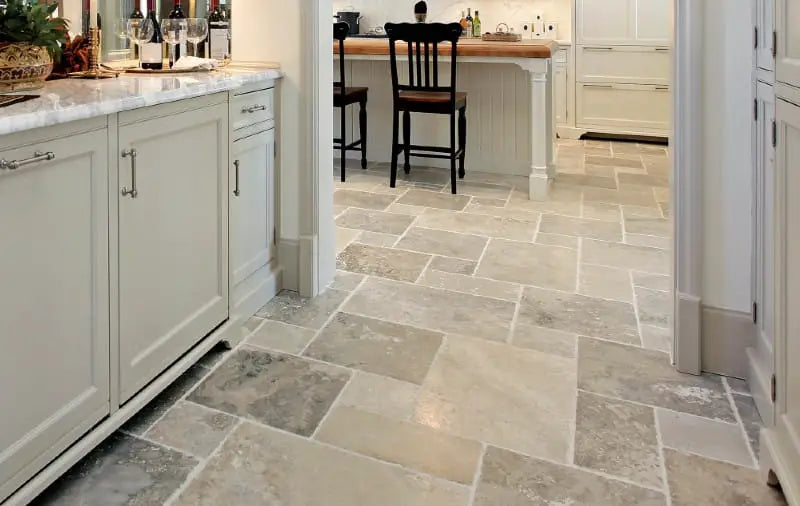
    On the other hand, hard flooring can create echoes that make a room feel noisier. Therefore, you can insulate your space and block out sound with thick curtains, which are especially useful when you’re sleeping or want more privacy.

    In addition, furniture can also act as a natural sound barrier, complementing its main purpose.

    Solutions for Reducing Noise in a Room
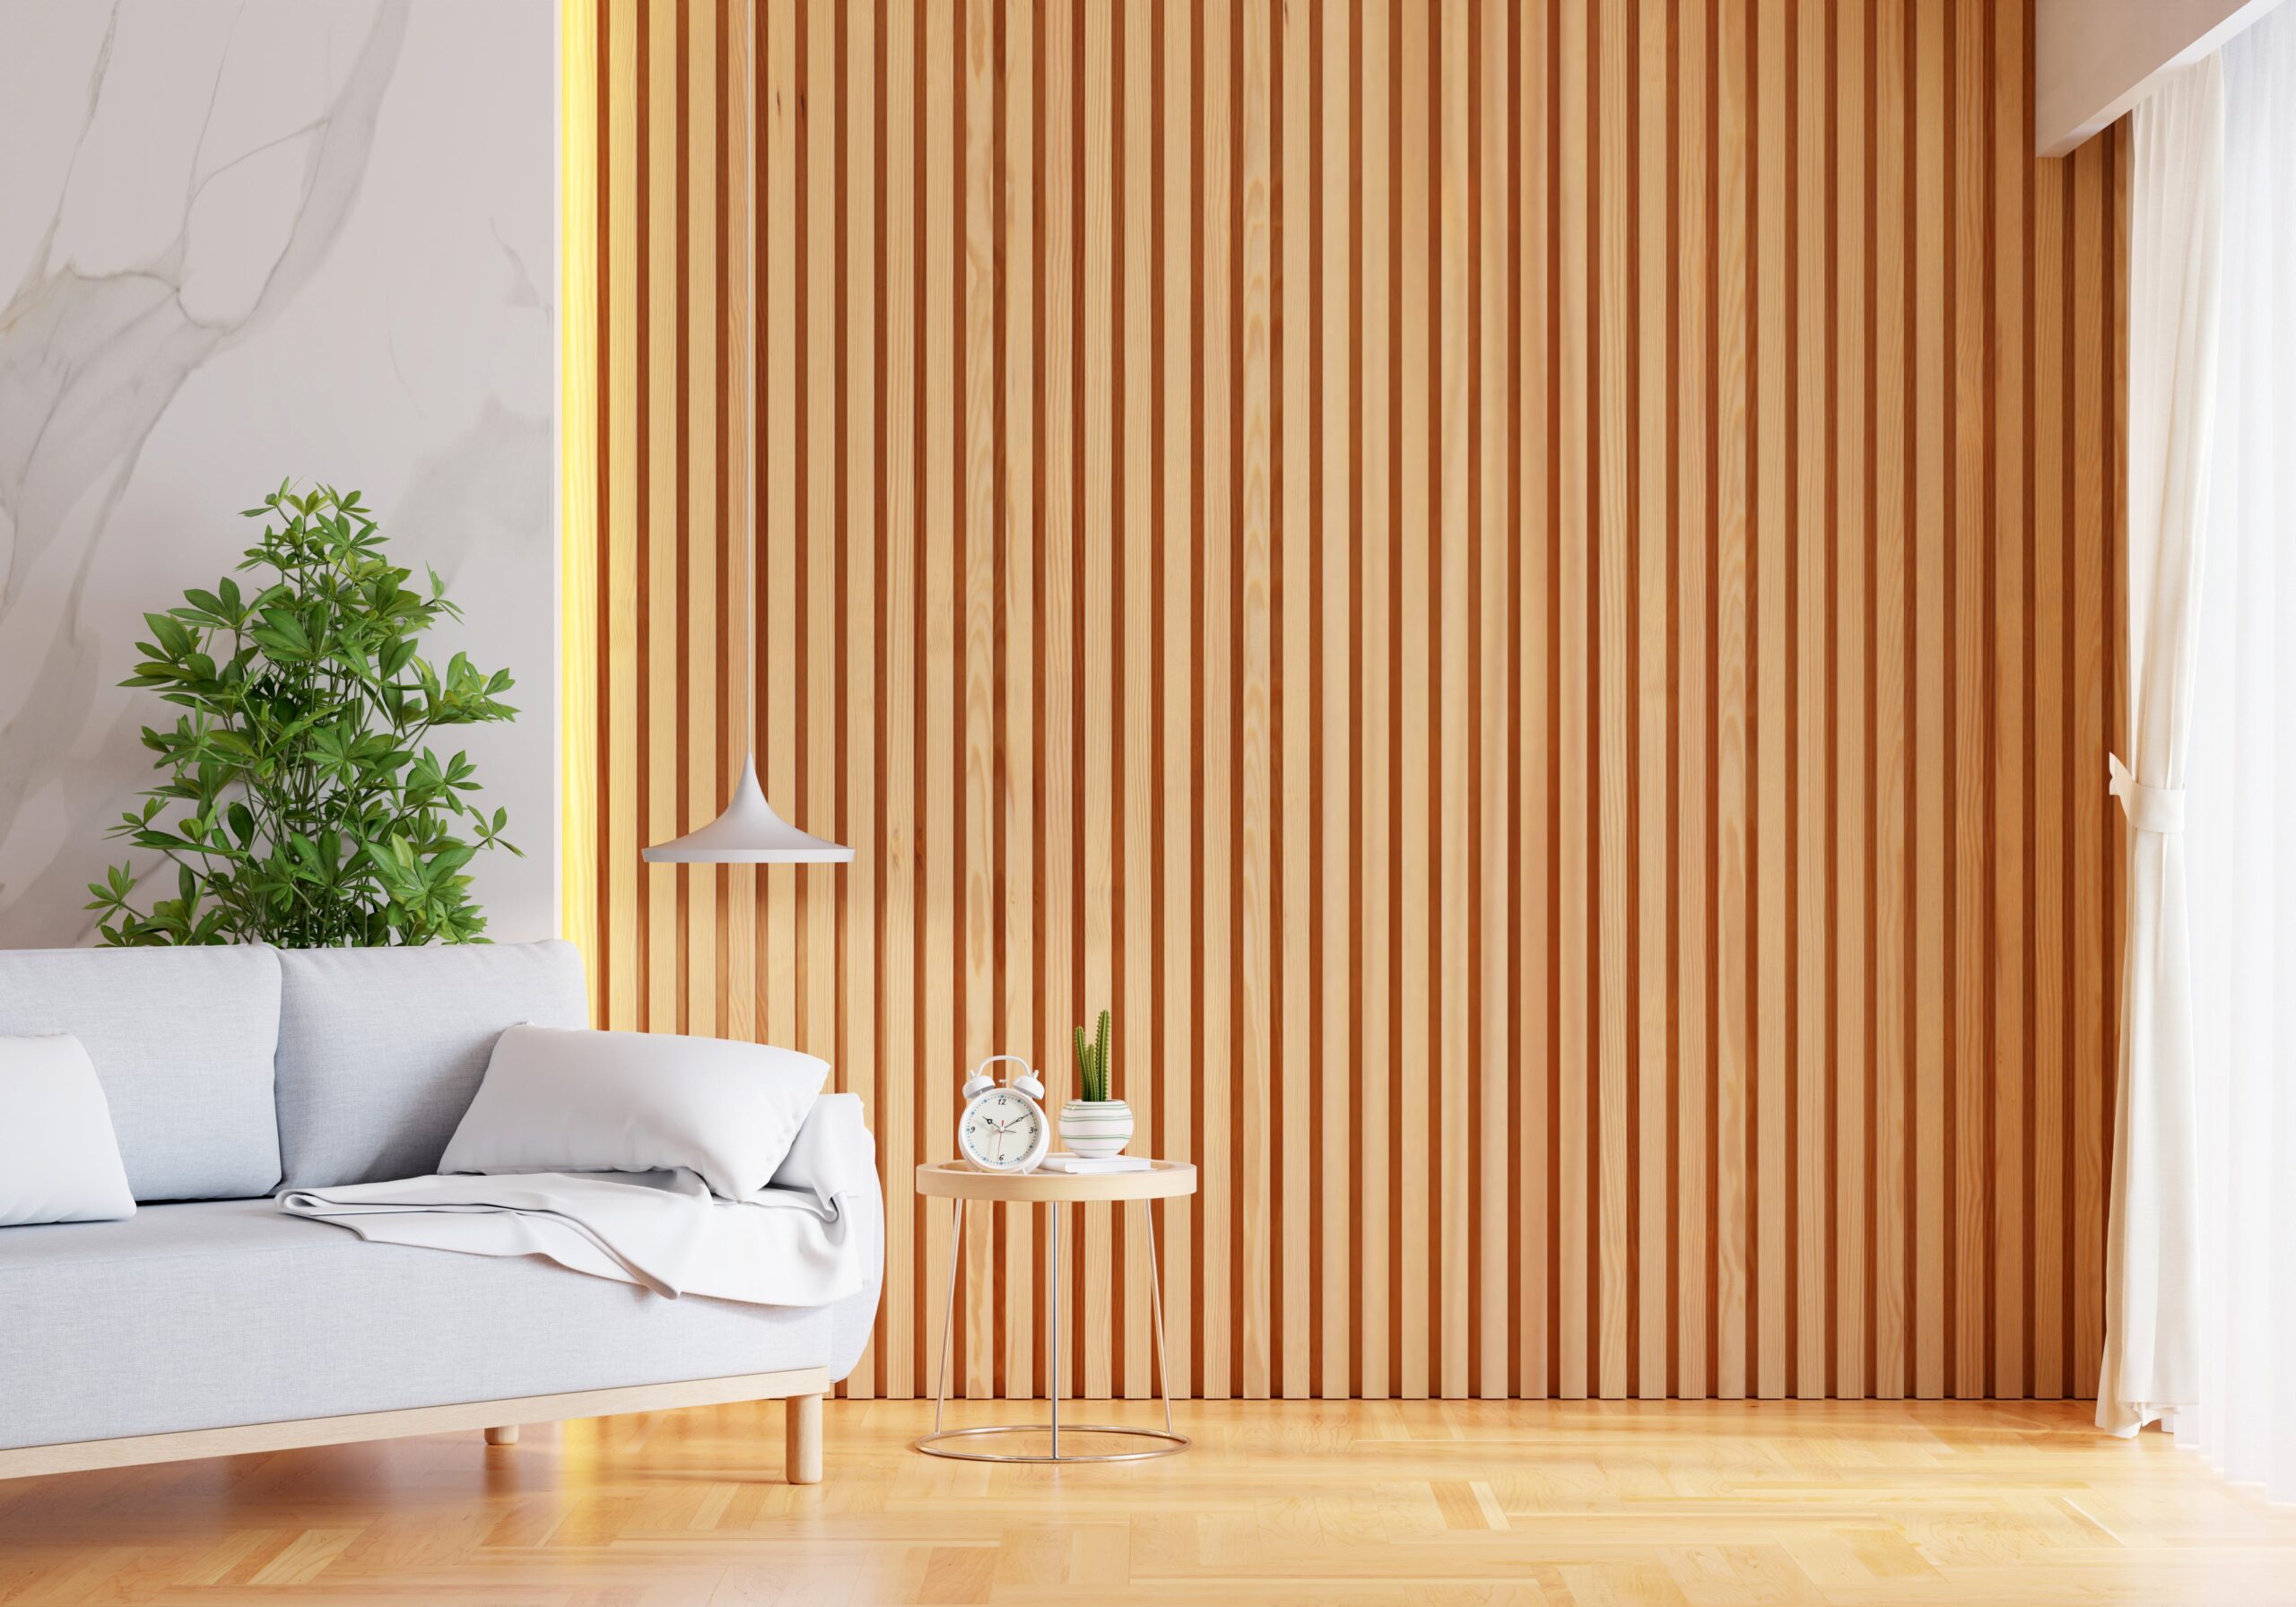
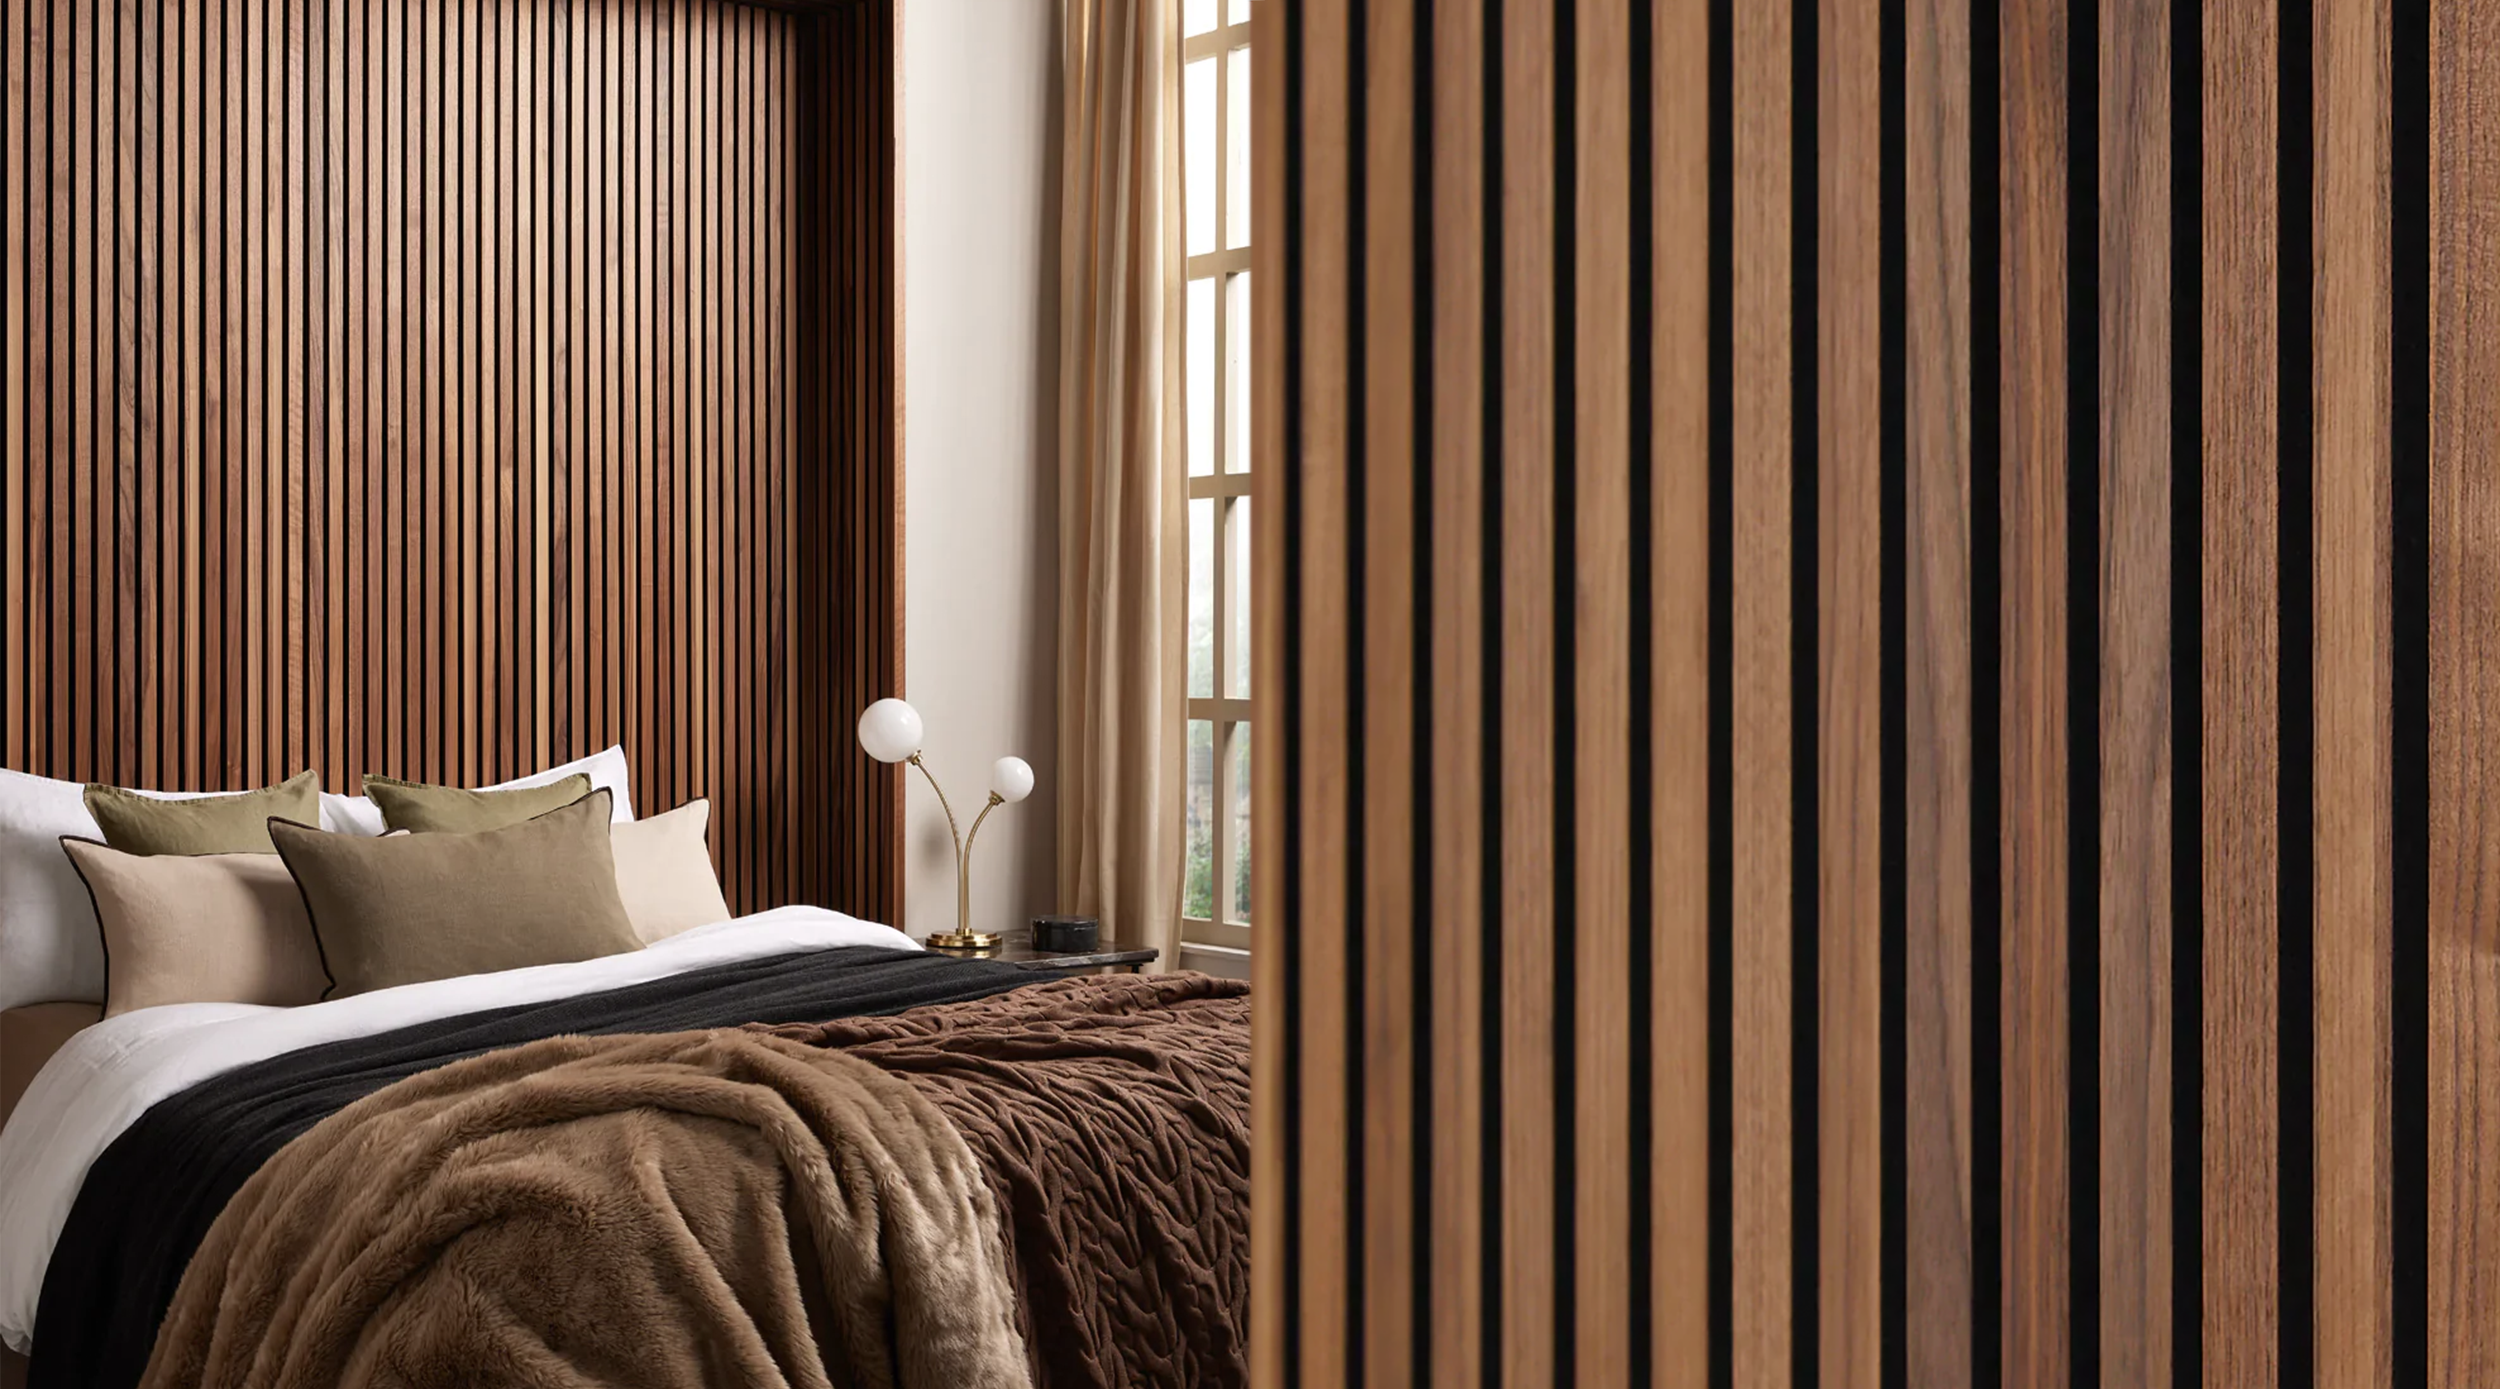
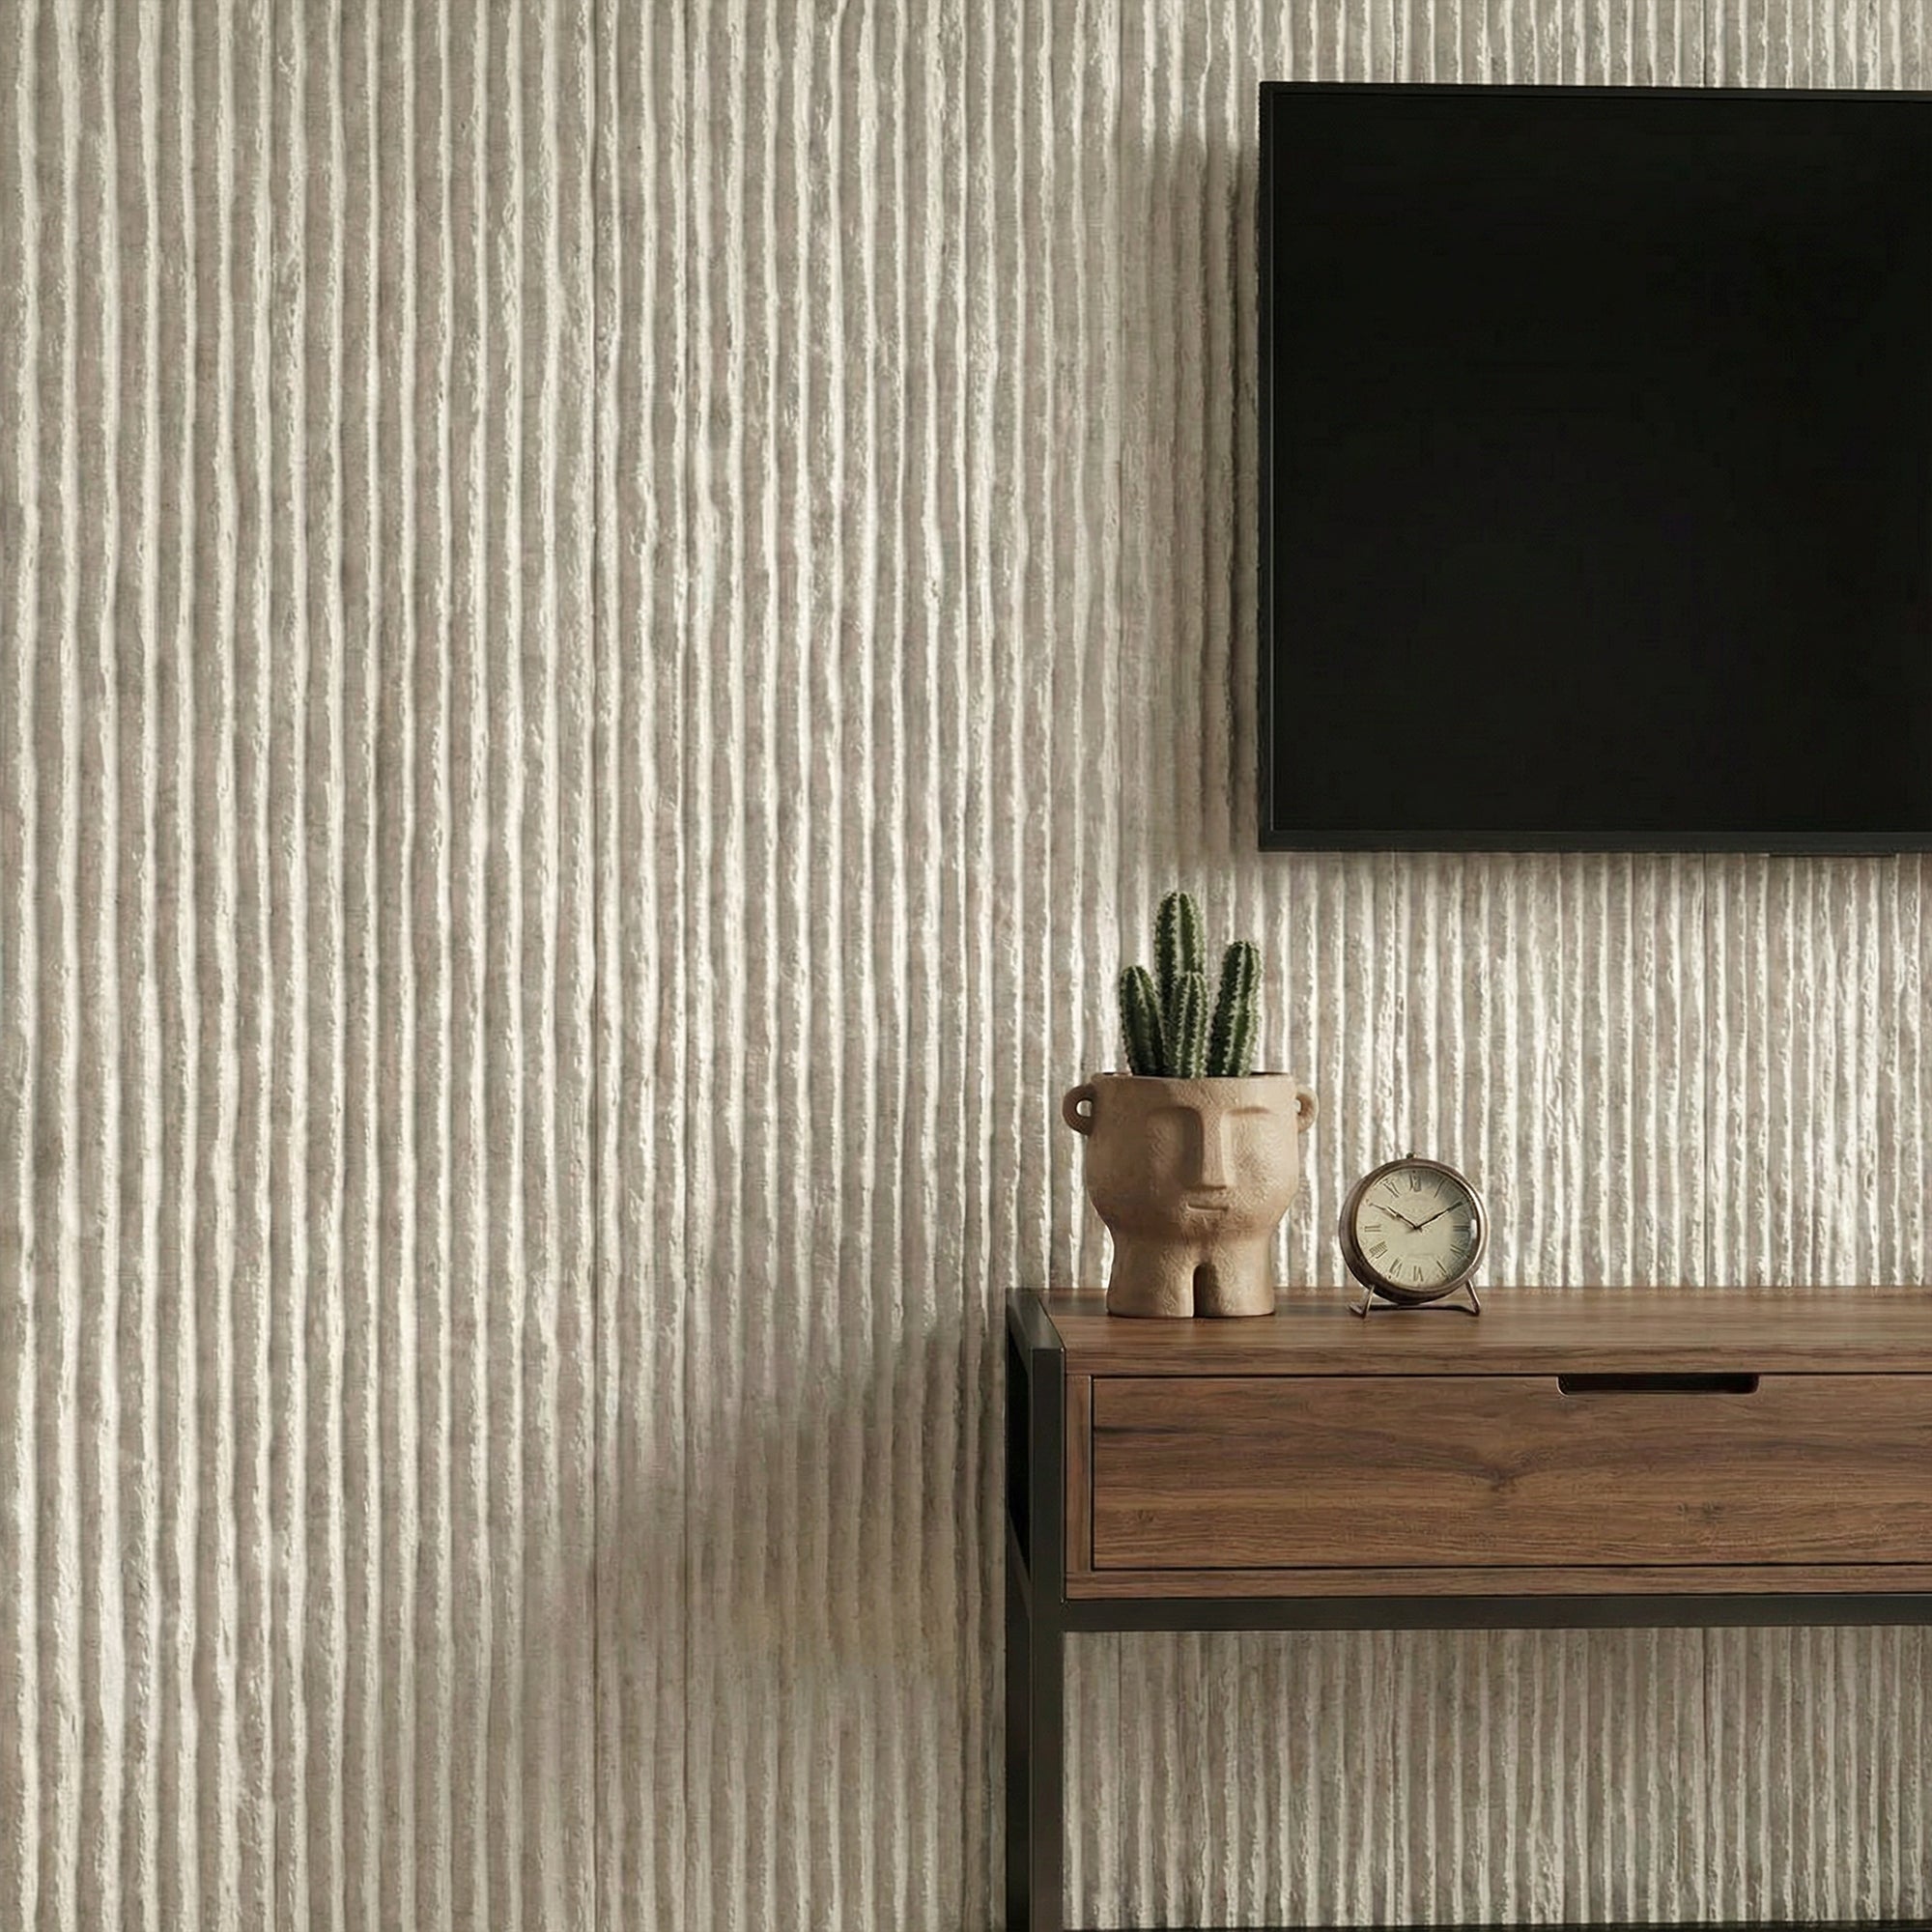
    Bright living room with a light wooden slat wall, gray sofa, indoor plant, round side table, and sheer white curtains.

    Some indoor spaces, such as city apartments or suburban homes tend to experience unwanted noise. That’s why managing sound with acoustic wall solutions can create a calm space and comfortable environment.

    To eliminate noise, you need soundproofing features in your room. However, many still think it requires a major renovation to adjust sound levels. In fact, small design changes can make a big difference.

    1. Install Sound-Absorbing Materials

    The first step to reducing noise is to utilize soft materials. Fortunately, you can easily find them, such as rugs, carpets, and upholstered furniture. On the other hand, using hard floors can create echoes that make a room feel noisier.

    Fabric wall hangings, acoustic panels, and padded headboards can also eliminate the unwanted noise, as their thick material is able to absorb sound. You can add them to any noisy area in your home.

    2. Use Heavy Drapes or Curtains

    The sound of traffic, construction, or neighborhood activity mostly enters through the window. To reduce it, you can replace your curtains with thicker ones, or use soundproof drapes for better noise control. With curtains, you can insulate your room and block out sound, which is useful when you’re sleeping or doing activities without anyone looking inside your home.

    If you’re on a budget, cushions or heavier curtains are a perfect choice to improve the acoustics of your space. They have a similar effect to other soft materials and fabrics, so you don’t need to worry.

    3. Place Furniture Strategically

    The larger furniture pieces, the more they can absorb and diffuse sound. Designed to fill and decorate a room, furniture can also act as a natural sound barrier in addition to its main function.

    Besides storing books, bookshelves can reduce echoes and prevent noise from travelling between rooms. When they’re placed against shared or thin walls, their solid surfaces absorb and block sound effectively.

    Another way to eliminate reflected noise is to move a cabinet against a wall facing the street or rearrange cushions like sofas. You just need to make minor changes to what you currently have.

    Acoustic Wall Solutions
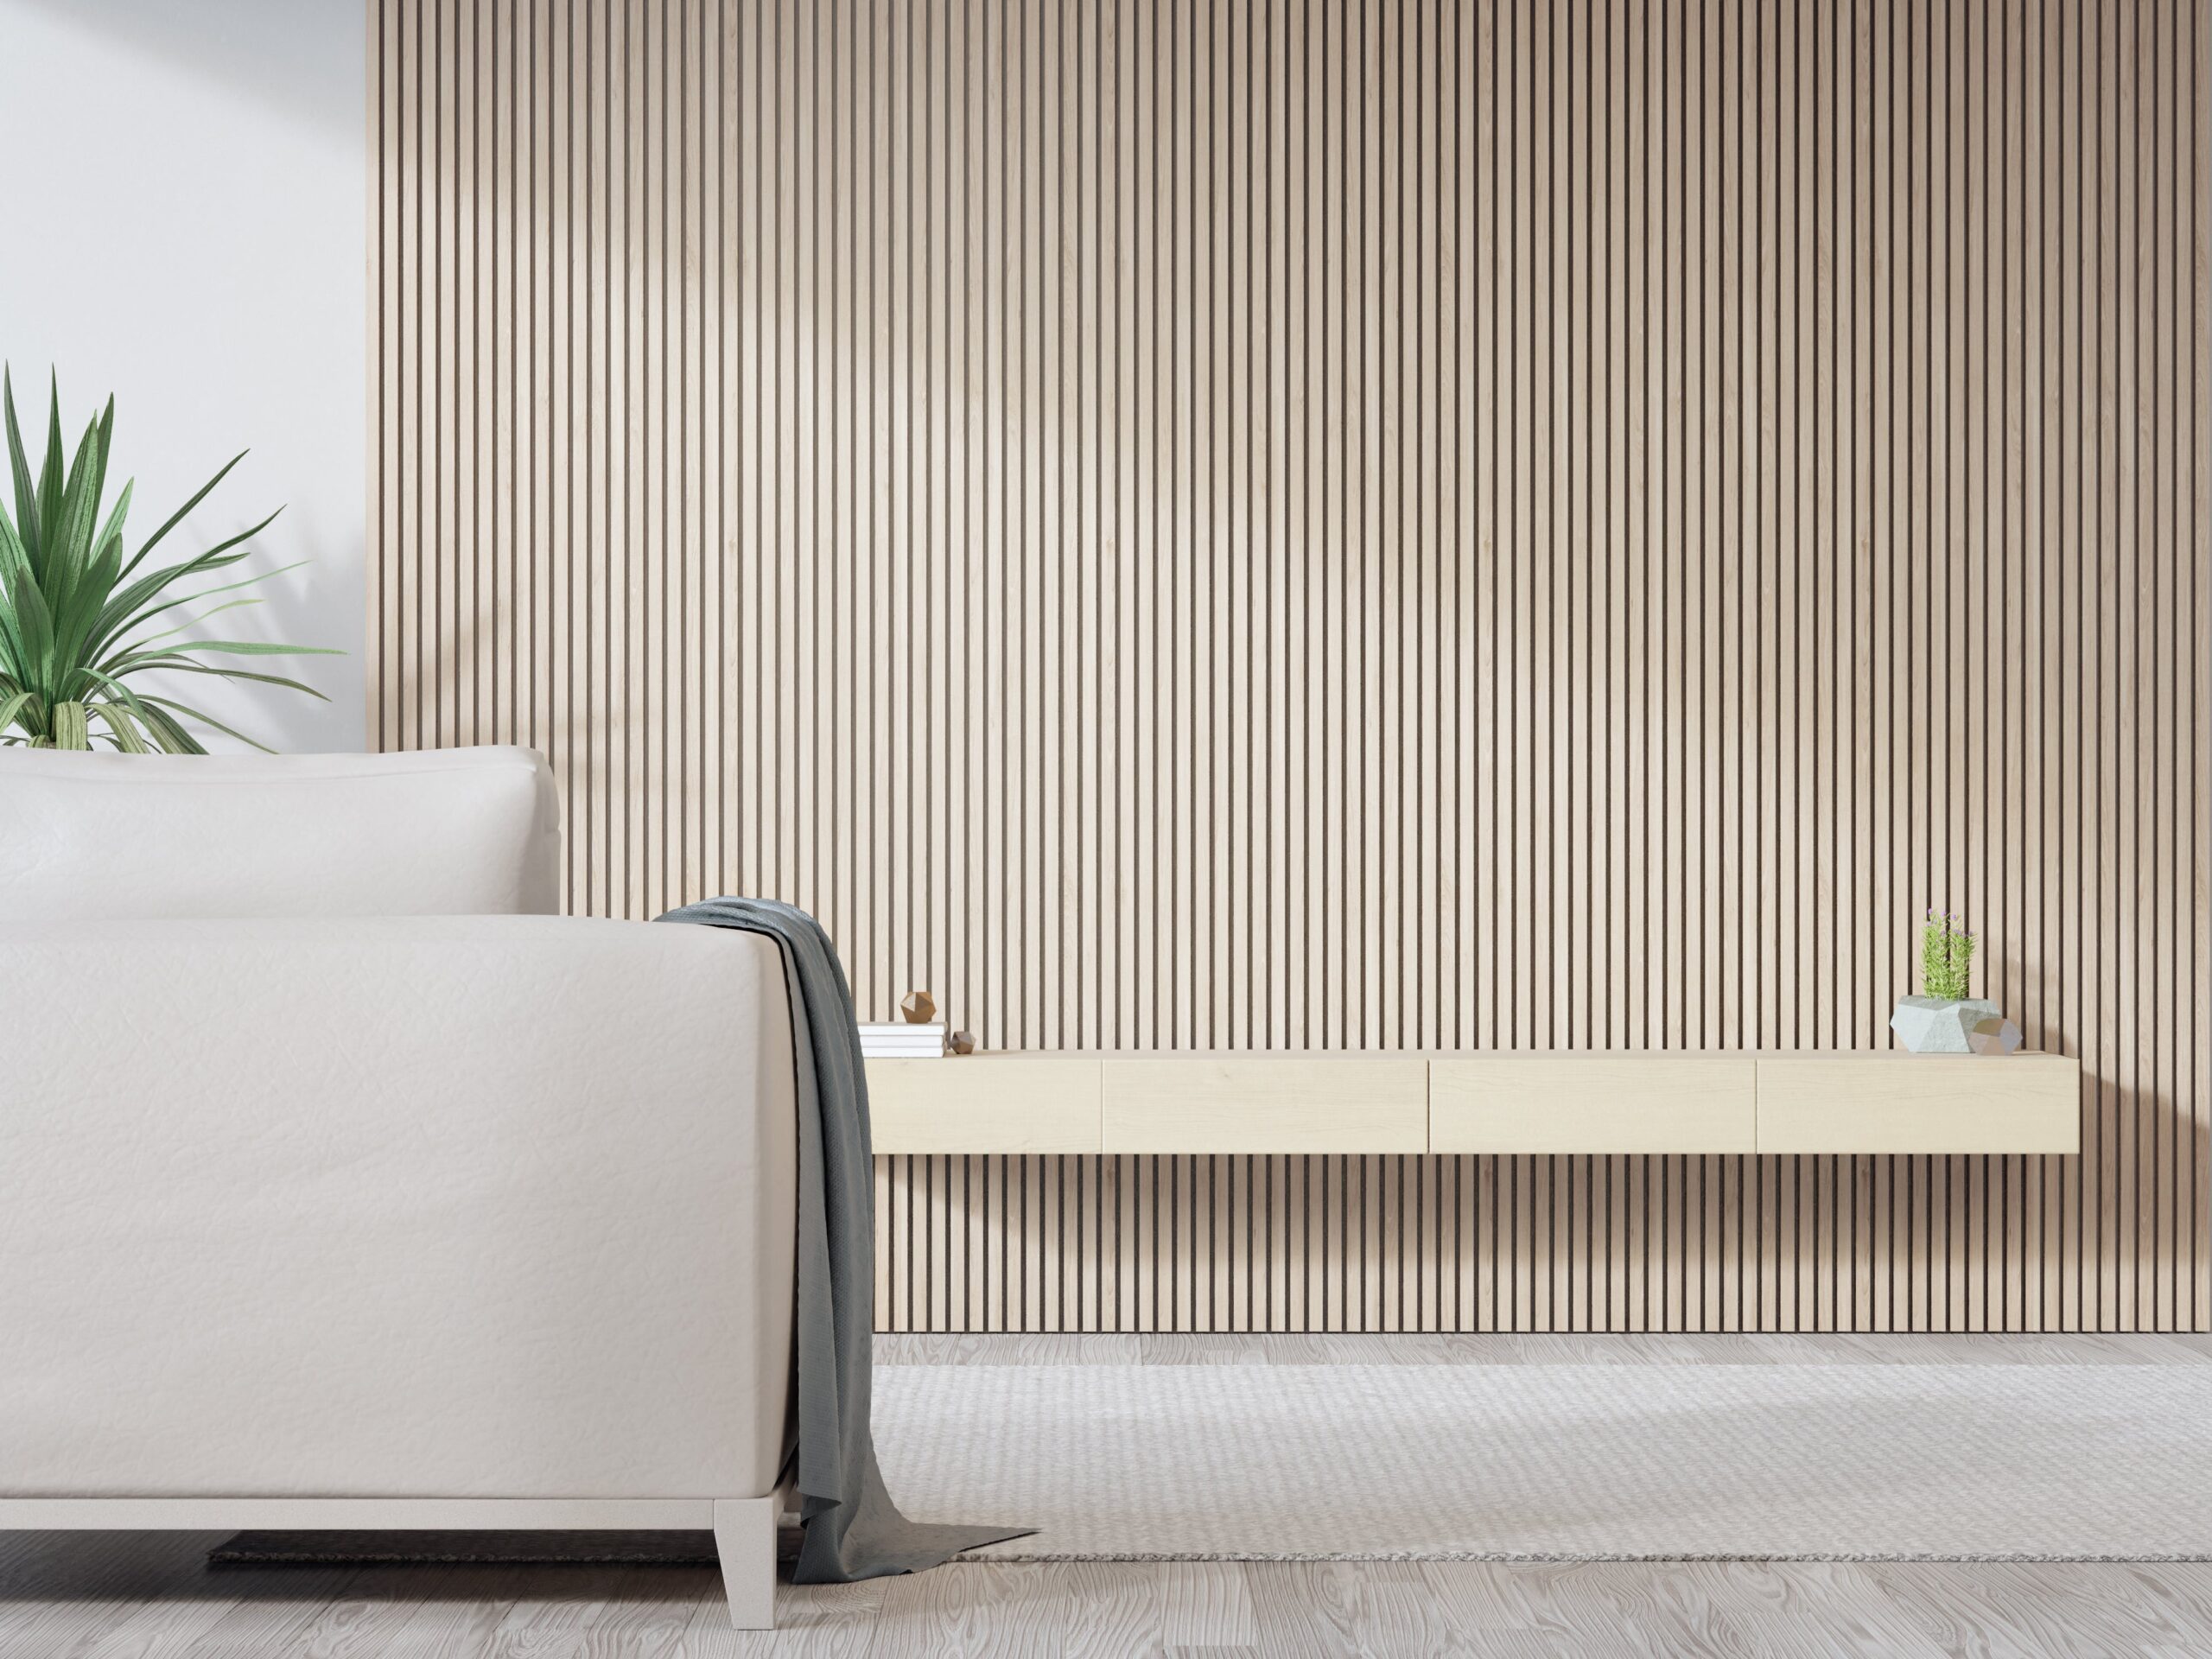
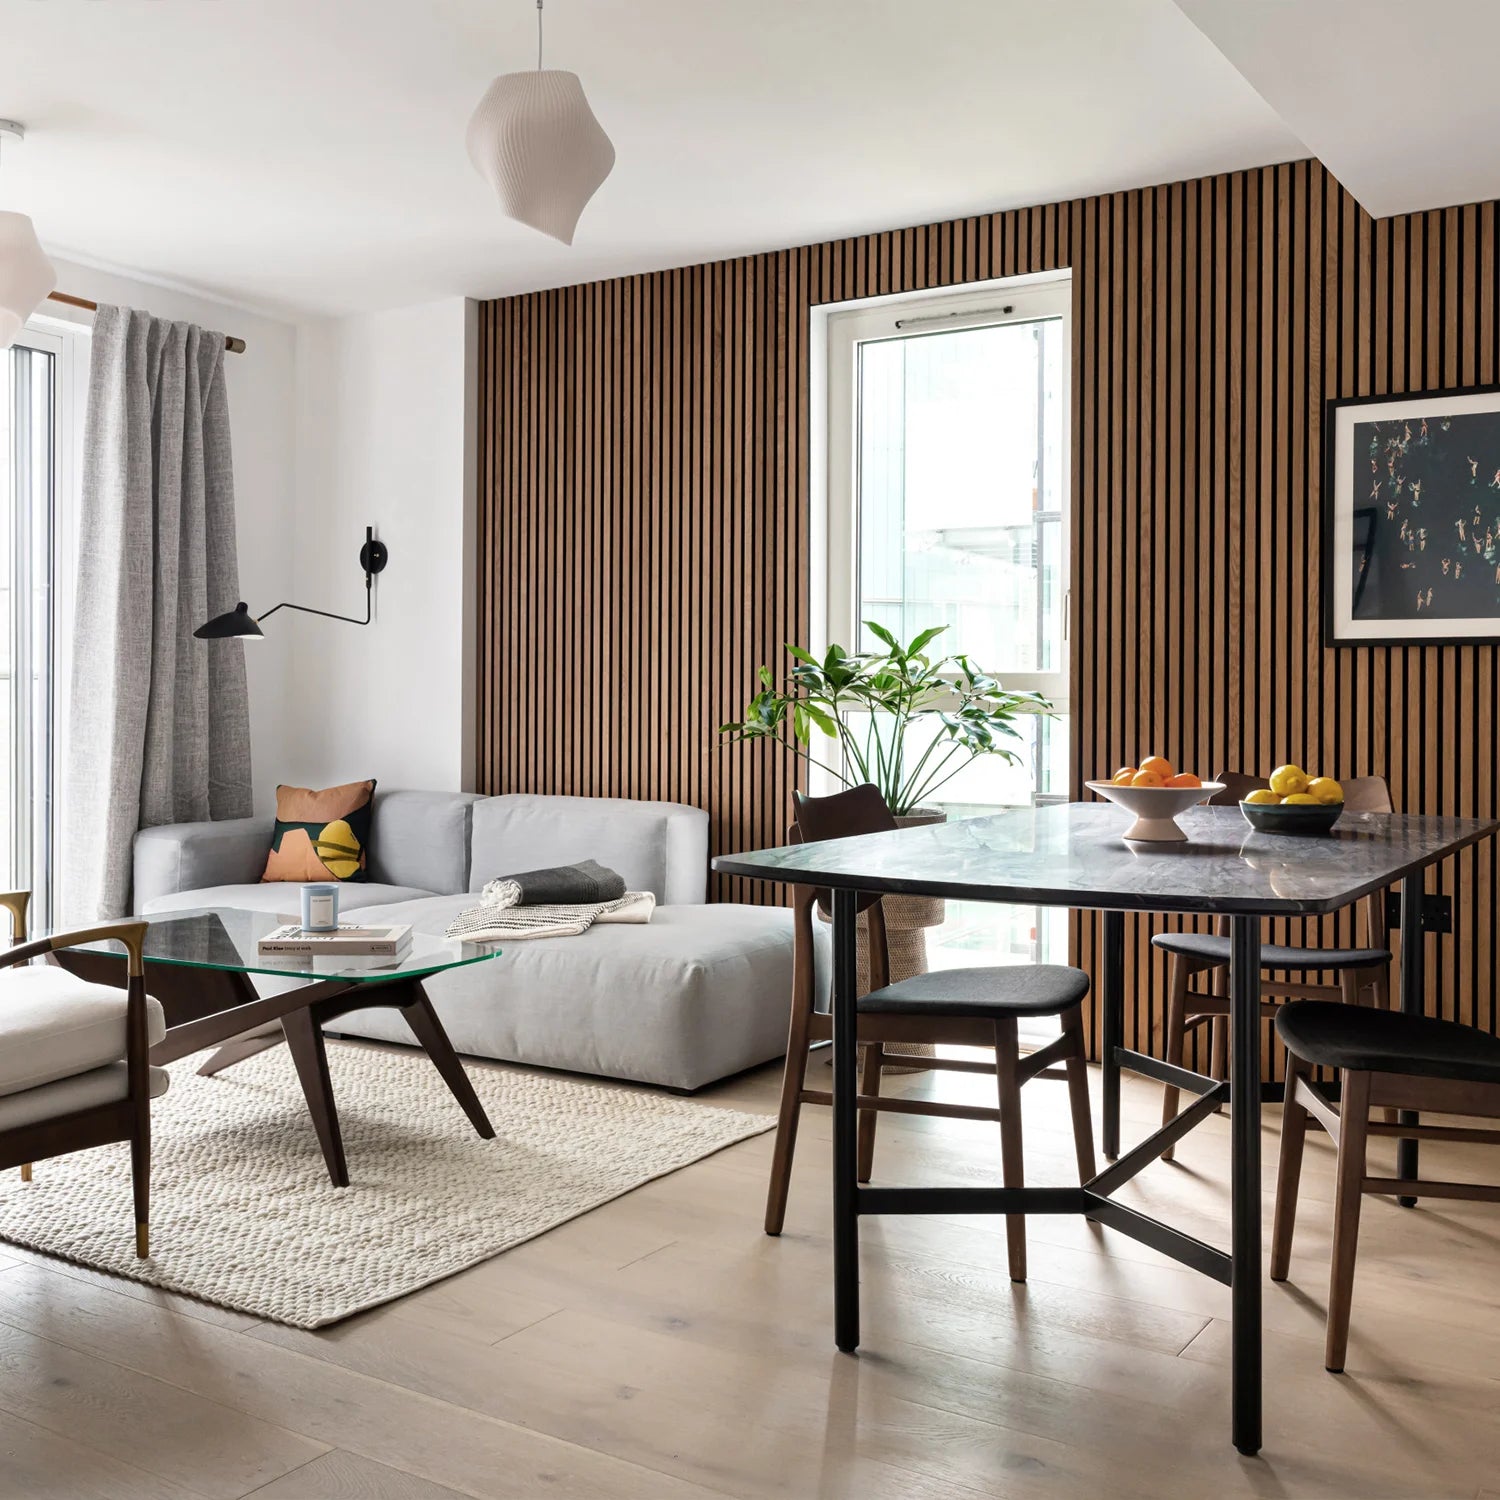
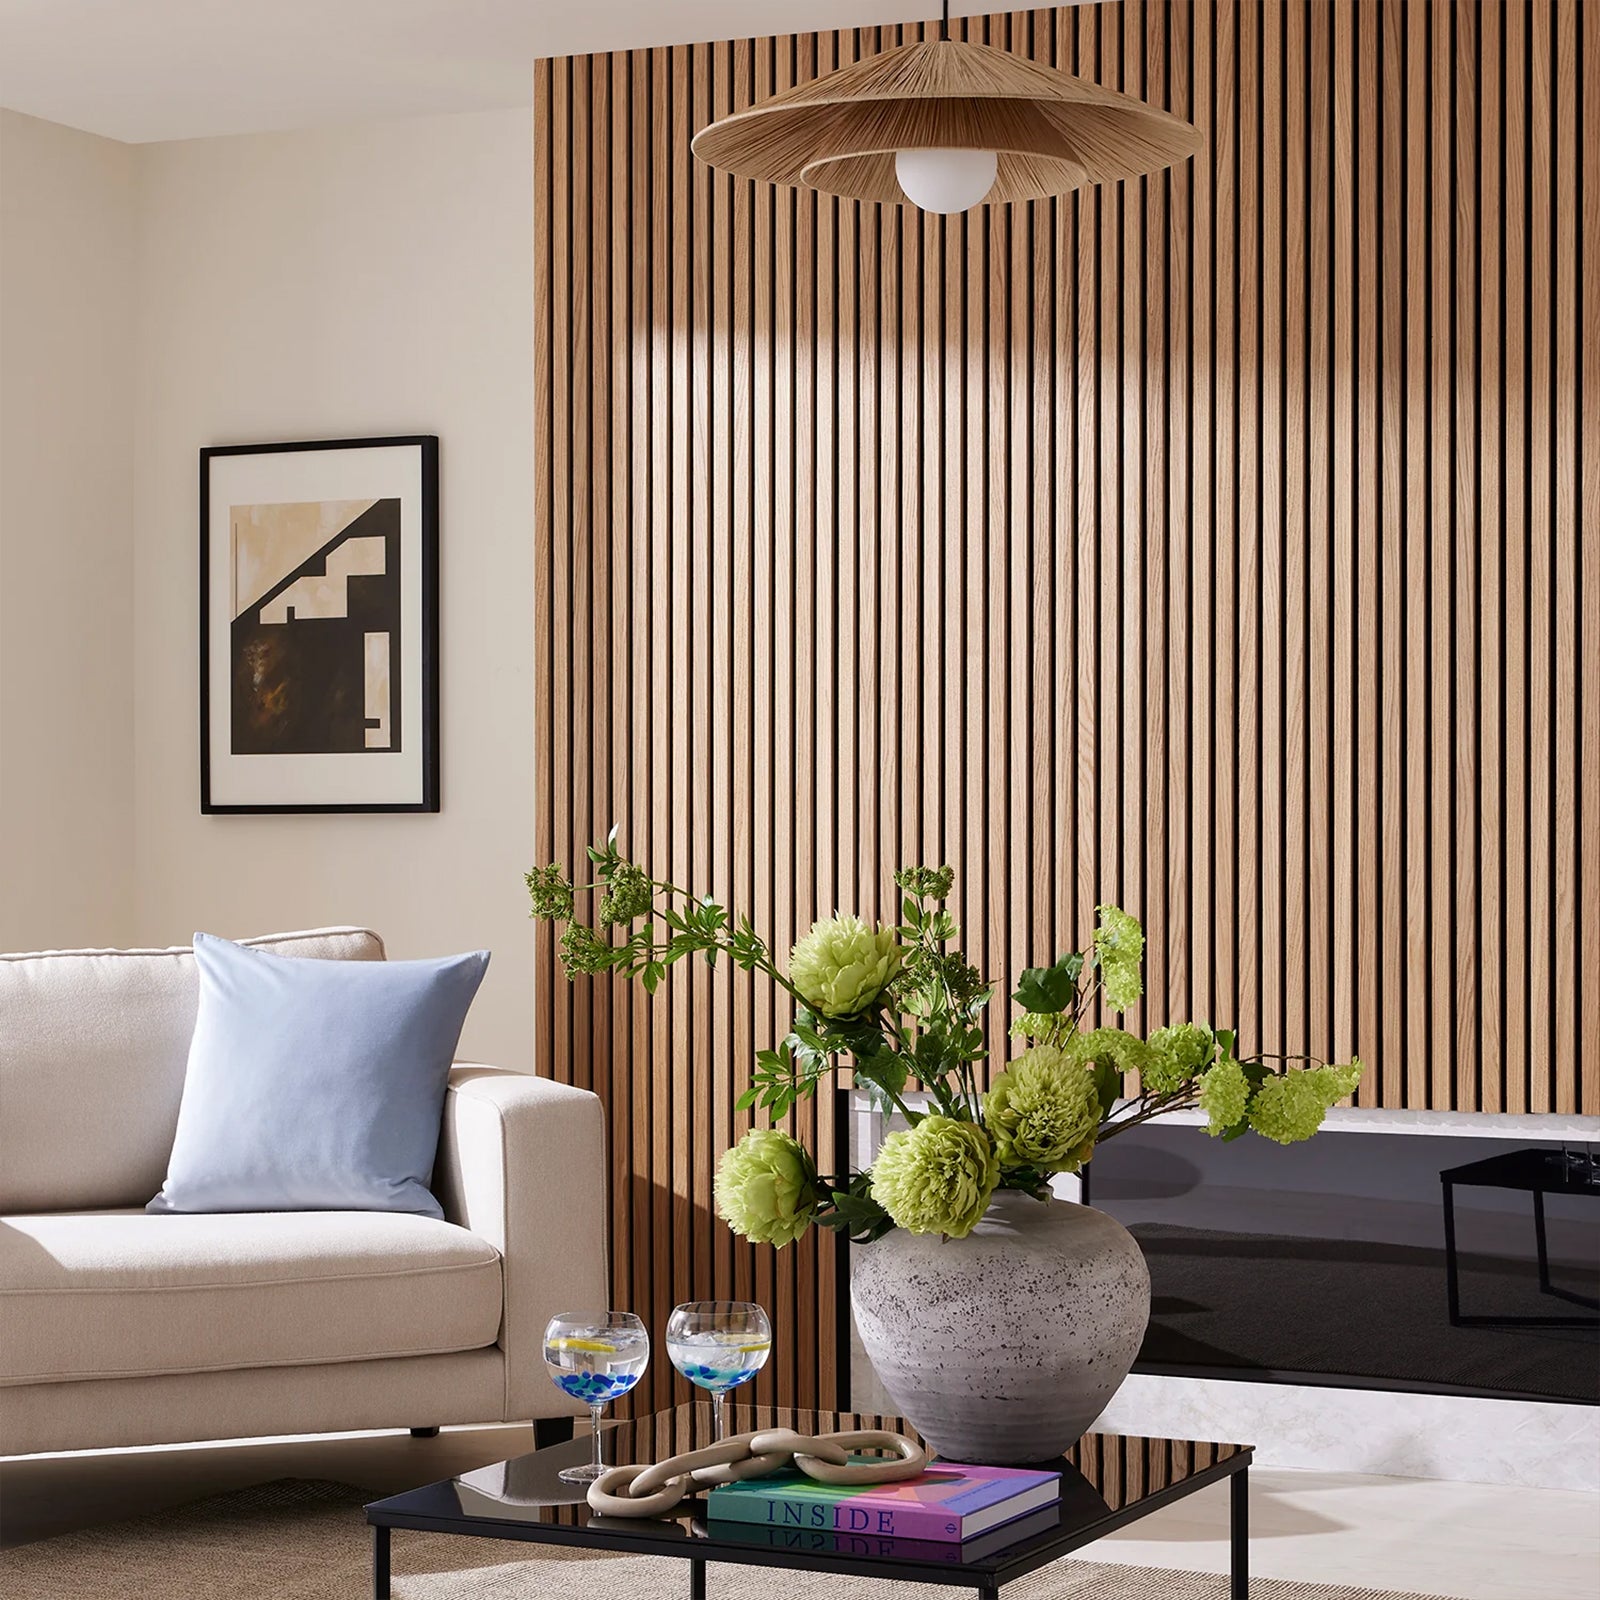
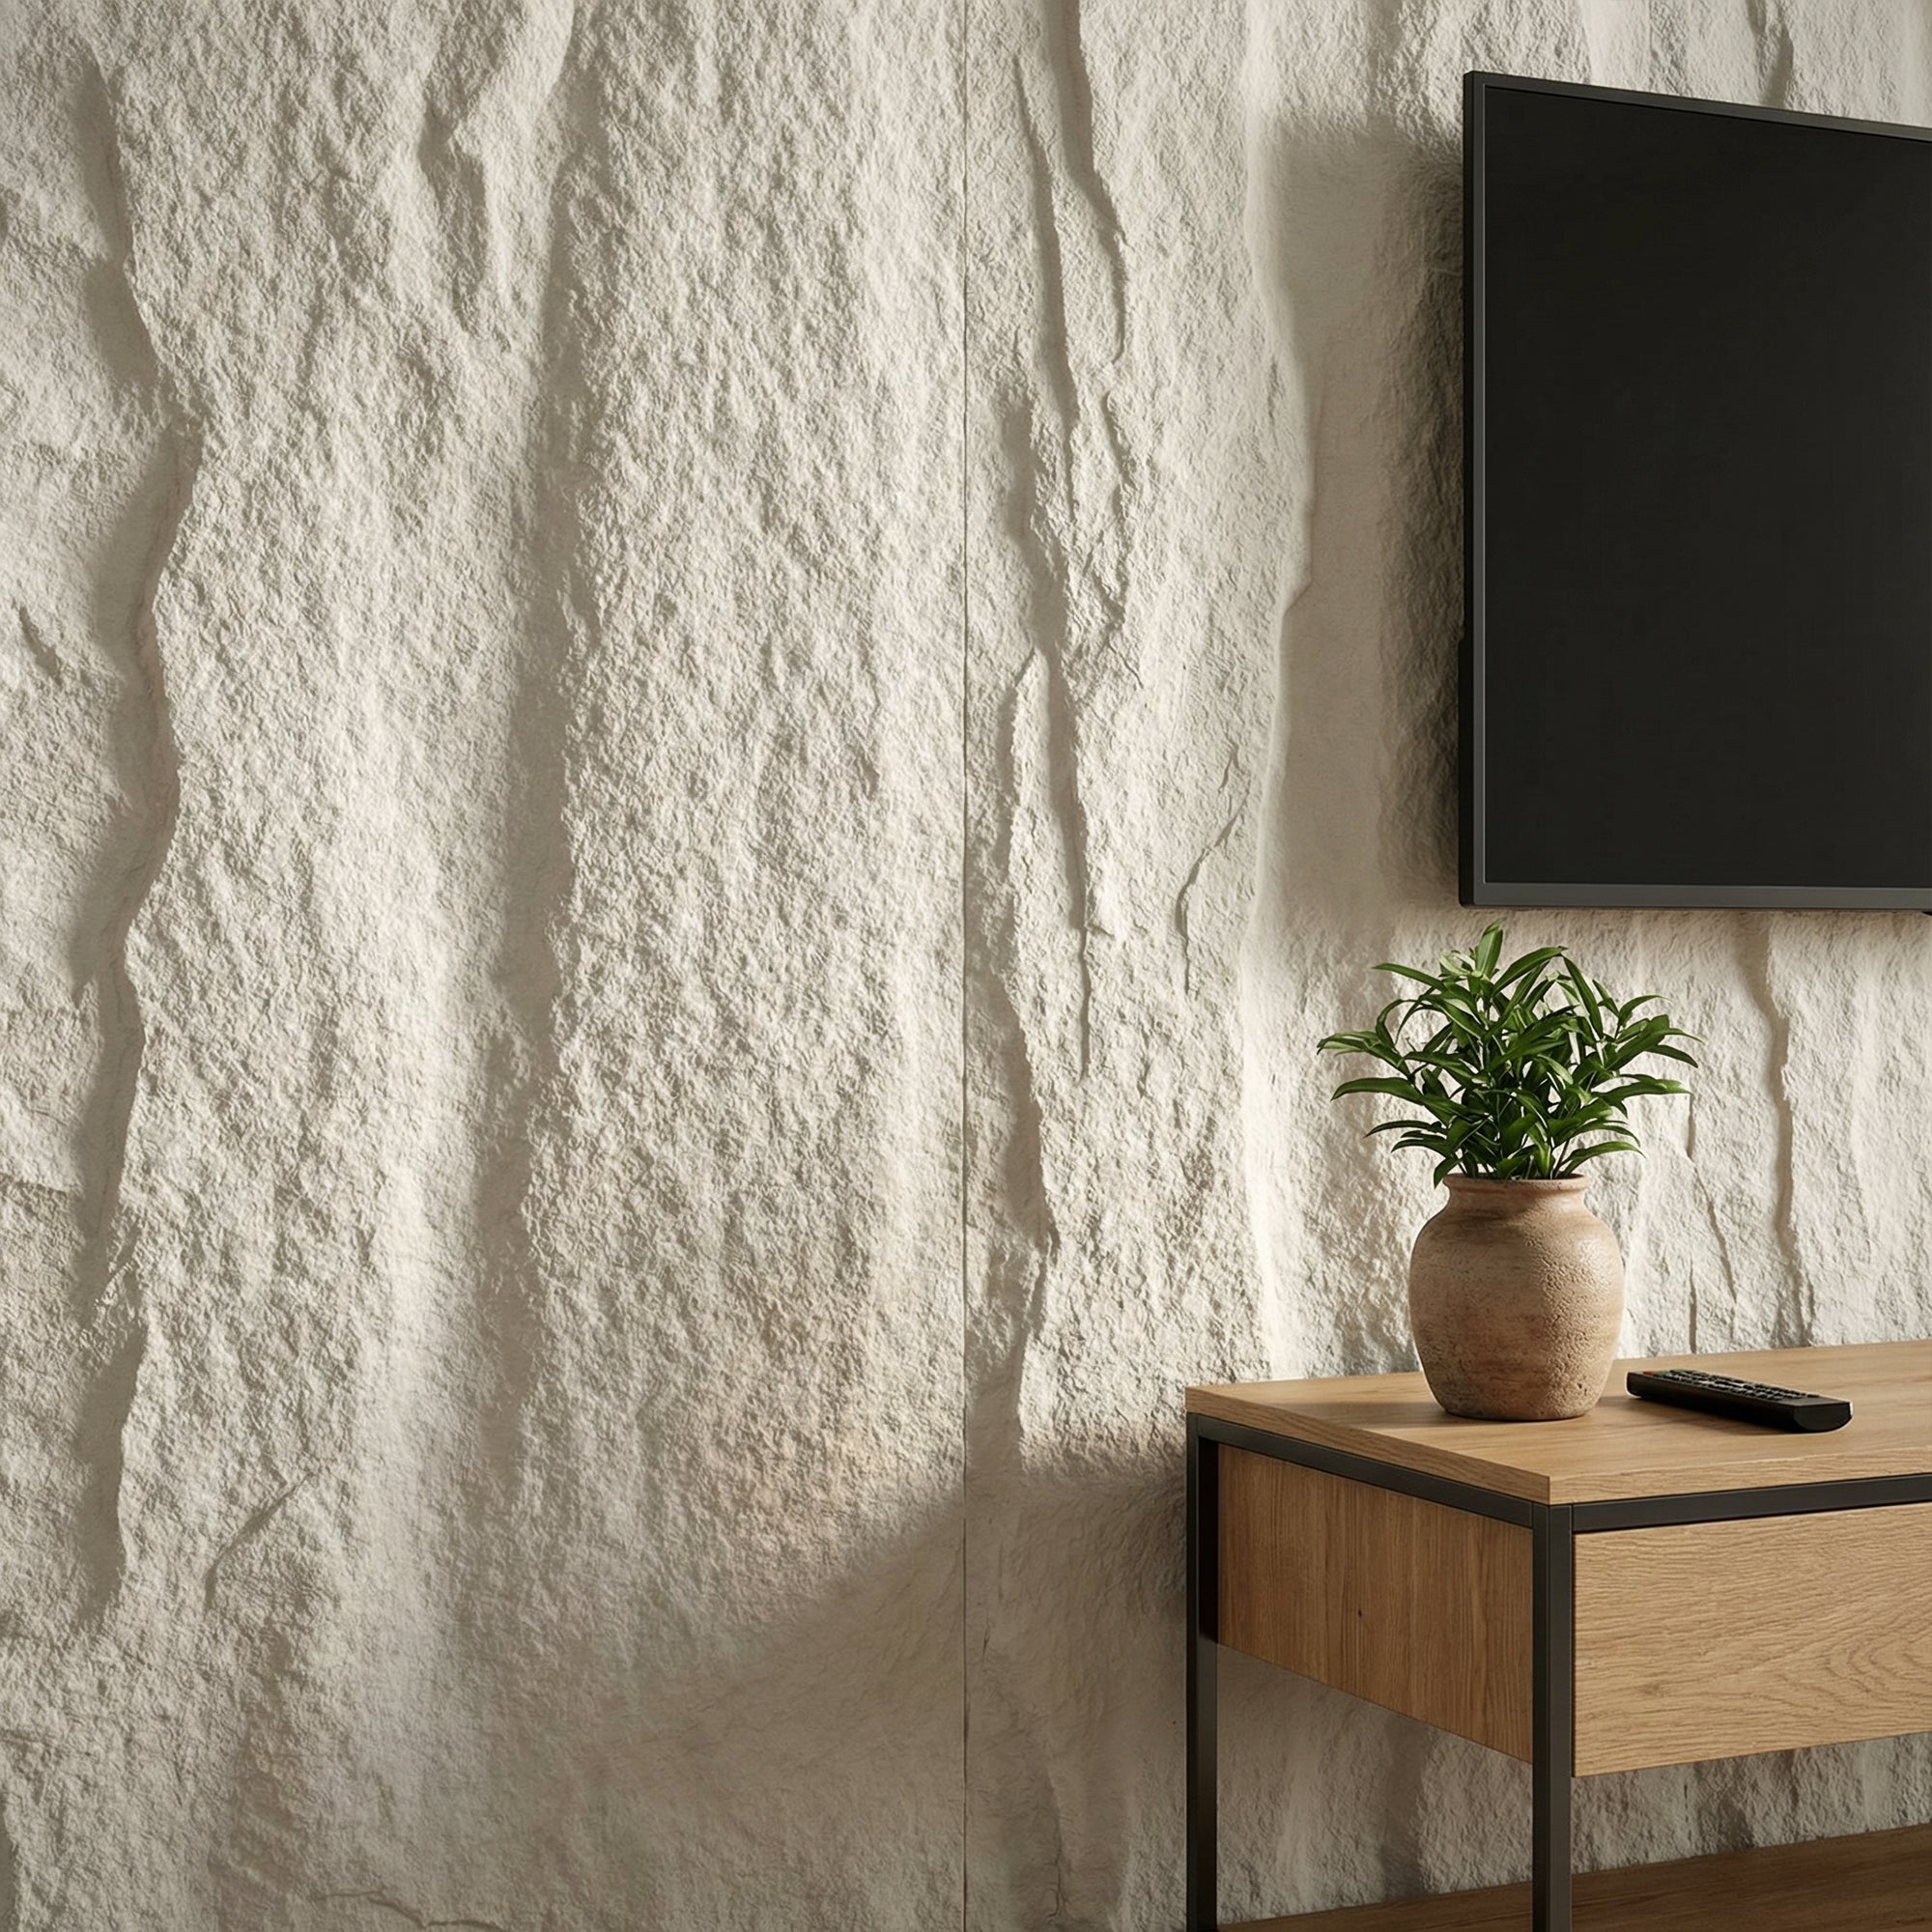
    Minimalist living room with light beige wooden slat wall, white sofa, floating cabinet, and indoor plant in soft natural lighting.

    Using acoustic wall panels and related materials can help manage noise over time. So, if you want to go beyond noise reduction, think about doing so. Furthermore, they can give any area an aesthetic touch.

    1. Install Acoustic Panels

    Acoustic panels not only improve how a room sounds but also how it looks. They’re designed to absorb mid- to high-frequency noise, helping to soften echoes and make any space feel calmer.

    At The Panel Hub, you can find acoustic wall panels that blend performance with design, which gives you both function and style. Even better, they’re customizable, so you can match them perfectly with your space and taste.

    2. Apply Soundproof Wallpaper and Acoustic Paint

    If you prefer something more subtle, try soundproof wallpaper or acoustic paint. These materials may not be as common as panels or foam, but they can still help reduce vibrations and noise traveling through your walls.

    Soundproof wallpaper works well in apartments, bedrooms, or offices. Made with several layers, it helps tone down noise without the need for a full renovation.

    Meanwhile, acoustic paint is a practical option if you want to minimize mid-range sounds such as chatter, TV noise, or general background hum. It’s an easy update that can make a noticeable difference in comfort.

    3. Use Acoustic Tiles or Ceiling Clouds

    Don’t overlook your ceiling. Hard, reflective surfaces can make a room feel louder and more echoey.

    Installing acoustic tiles helps capture sound waves before they bounce back, keeping the environment quieter. These are especially popular in open-plan homes, offices, or studios. For a more striking look, consider ceiling clouds, which not only absorb sound but also add a stylish touch to your space.

    Combination Approaches
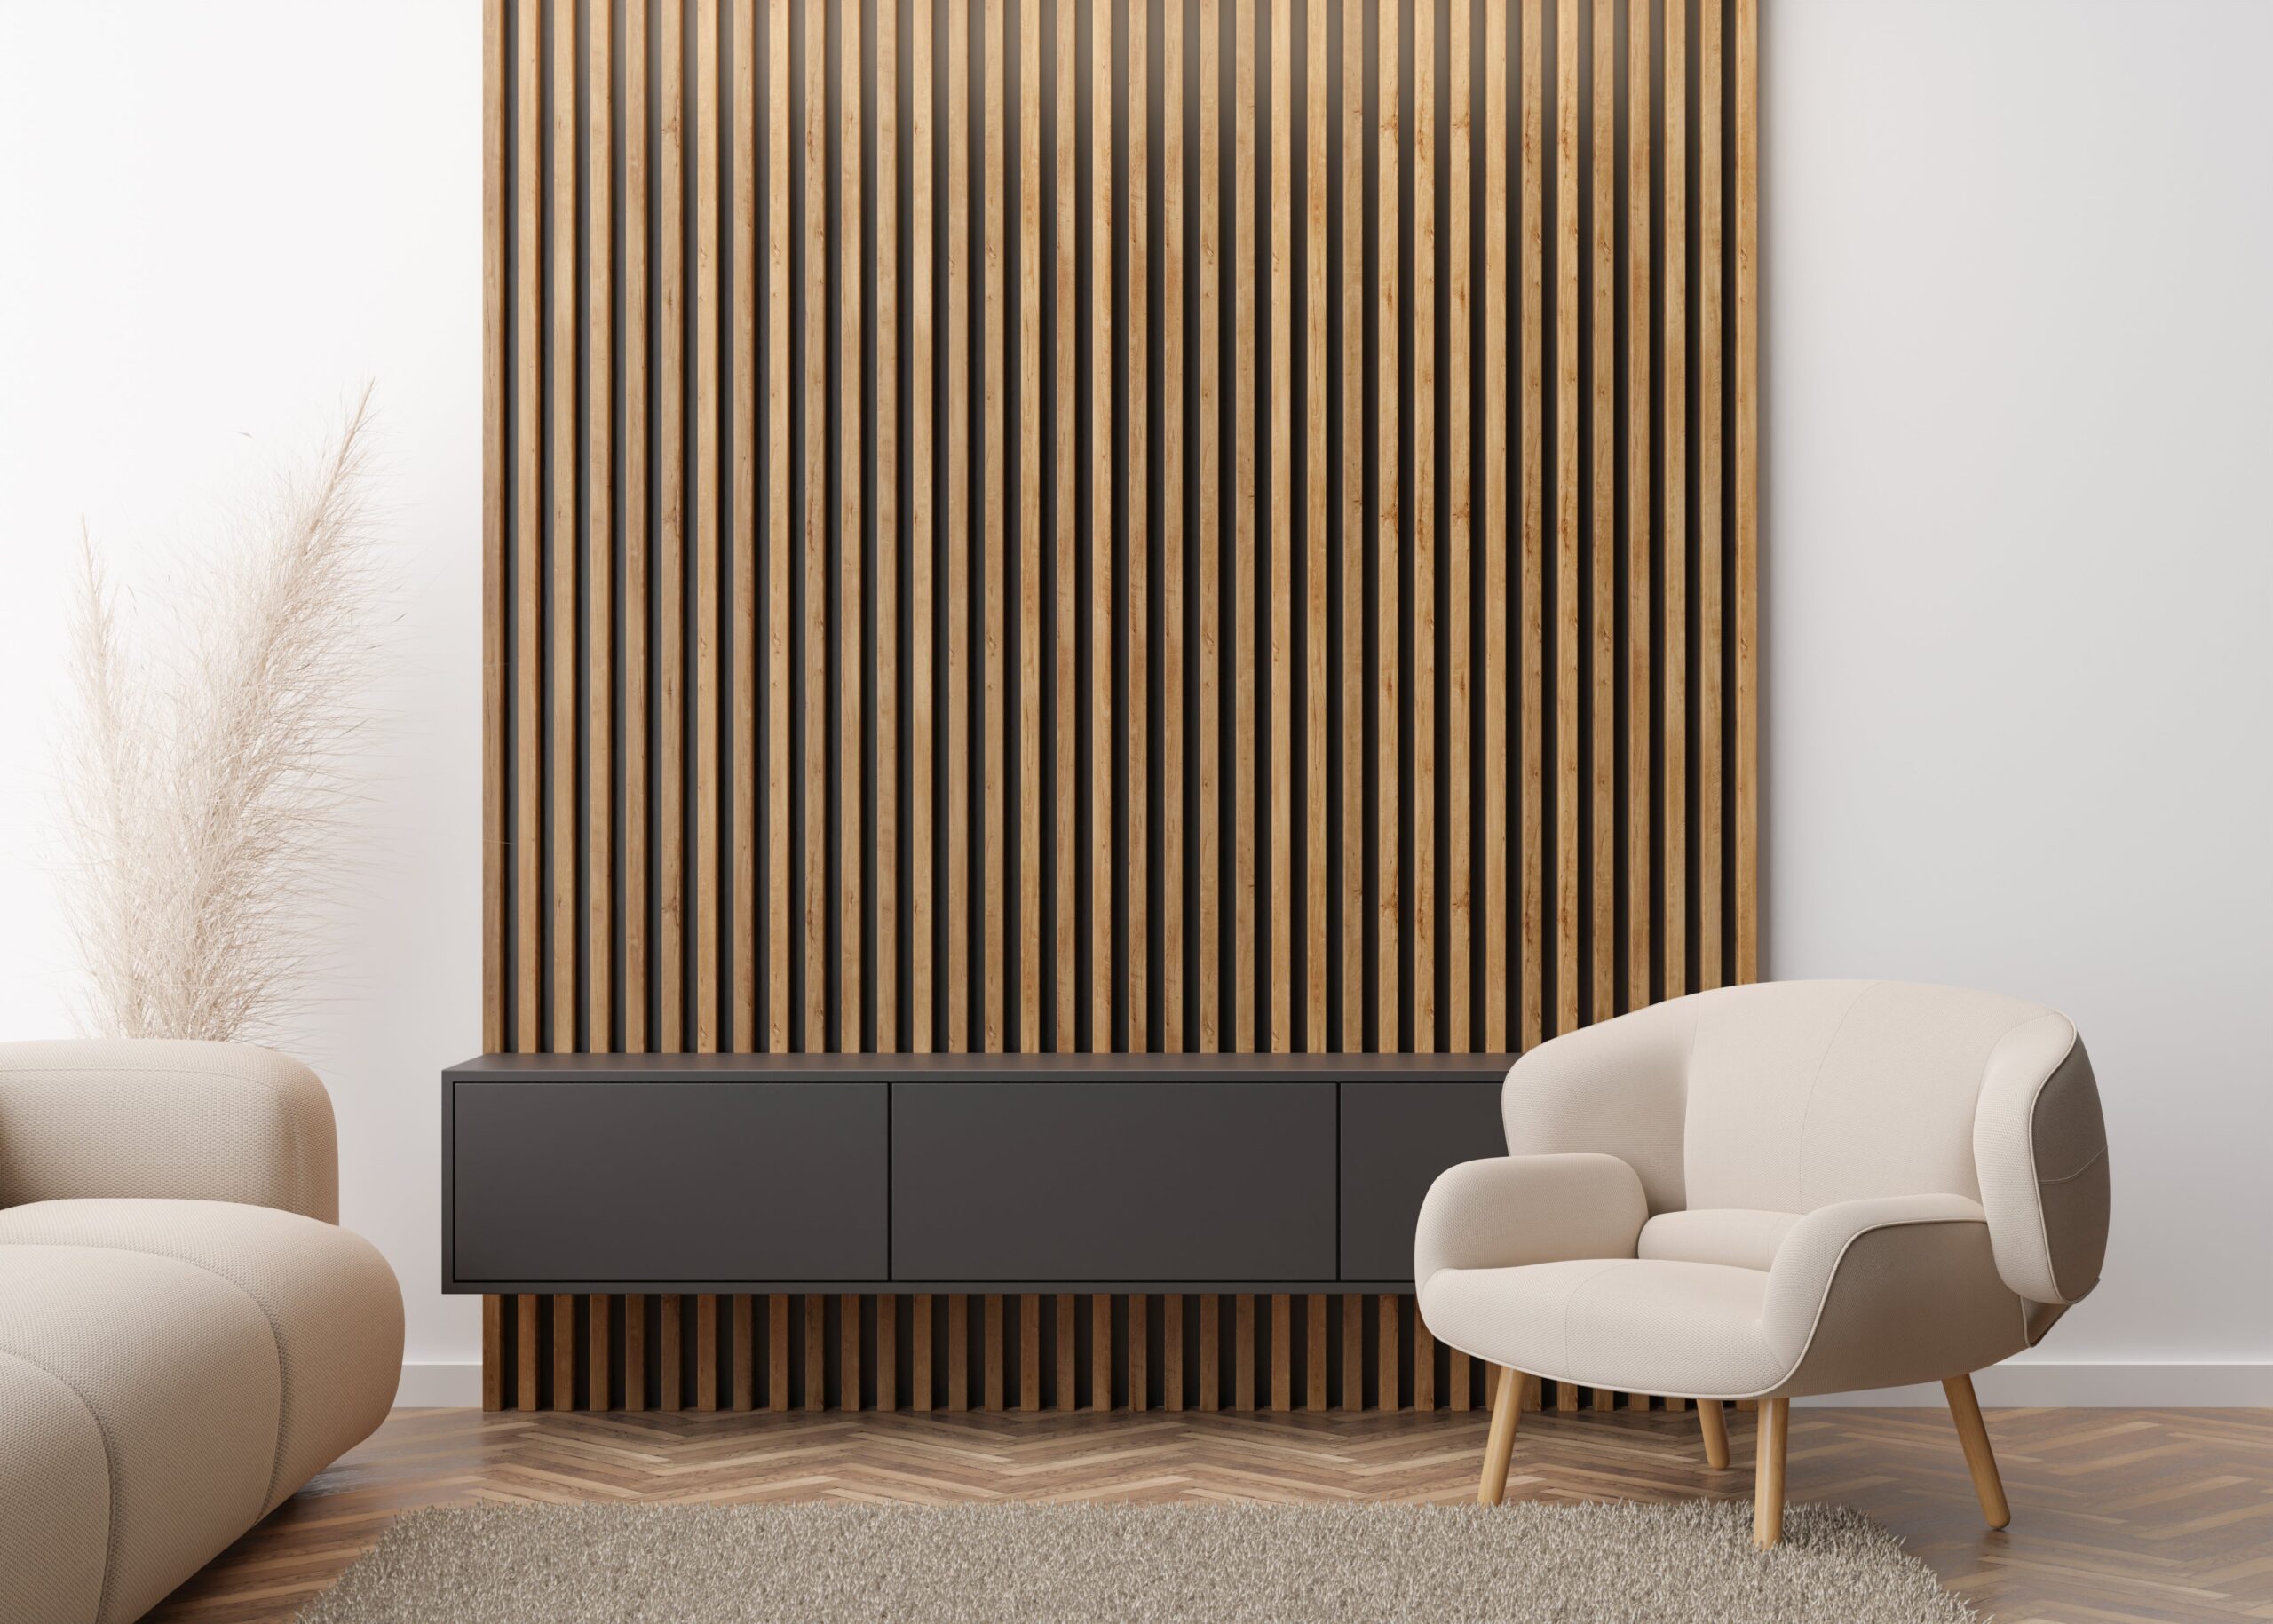
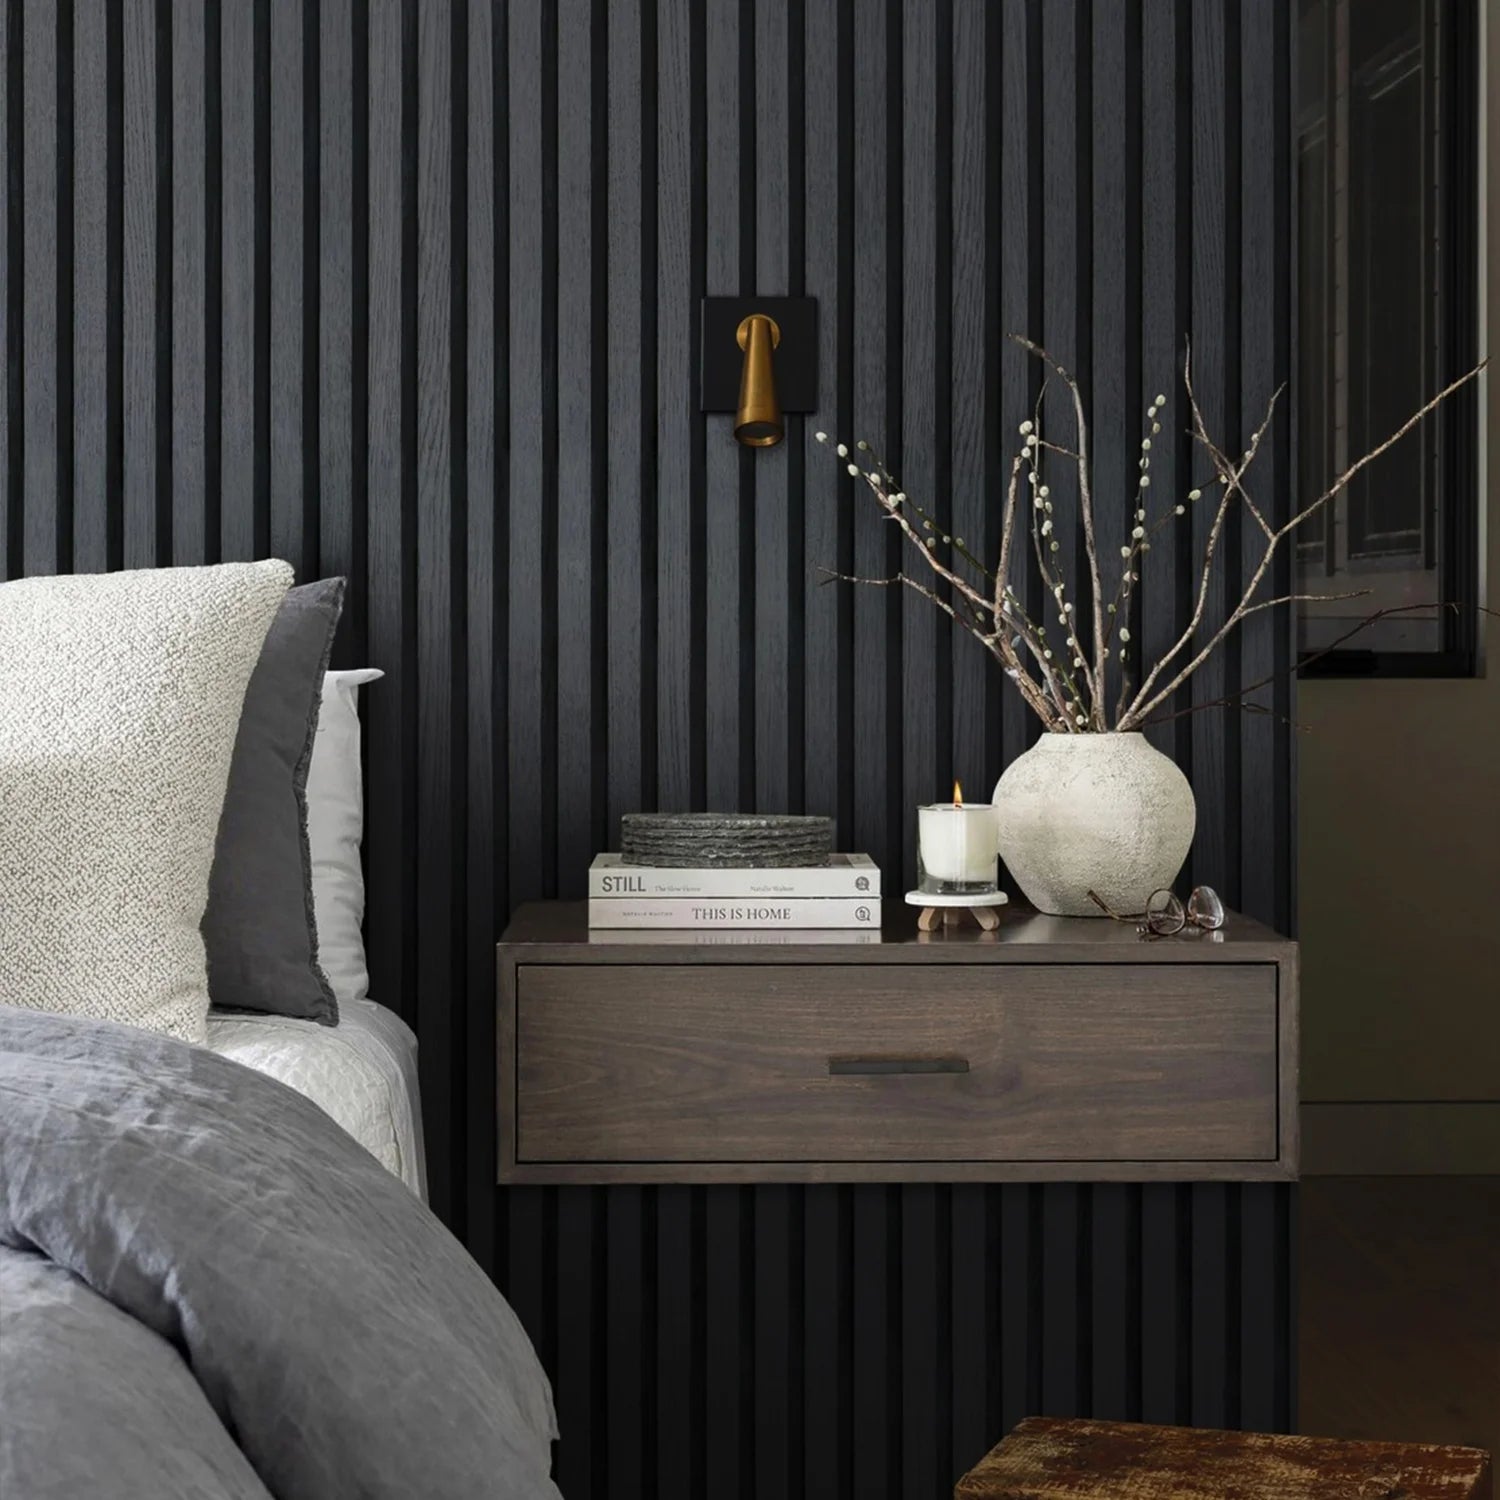
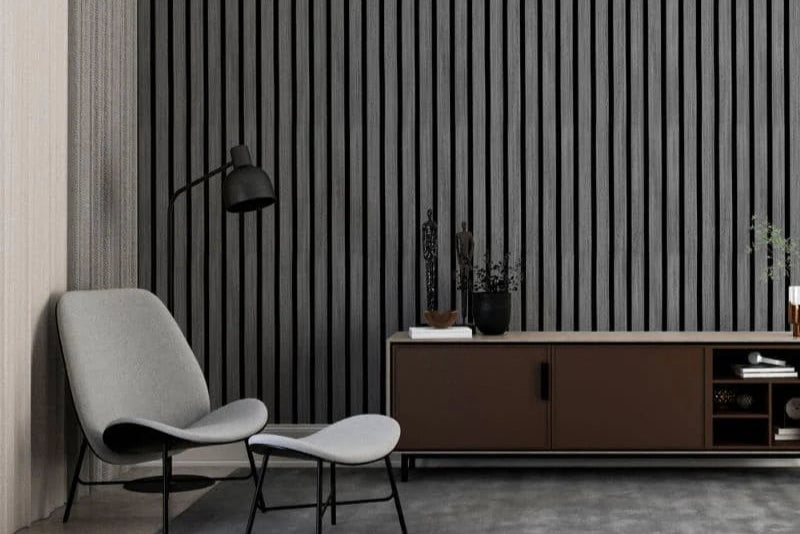
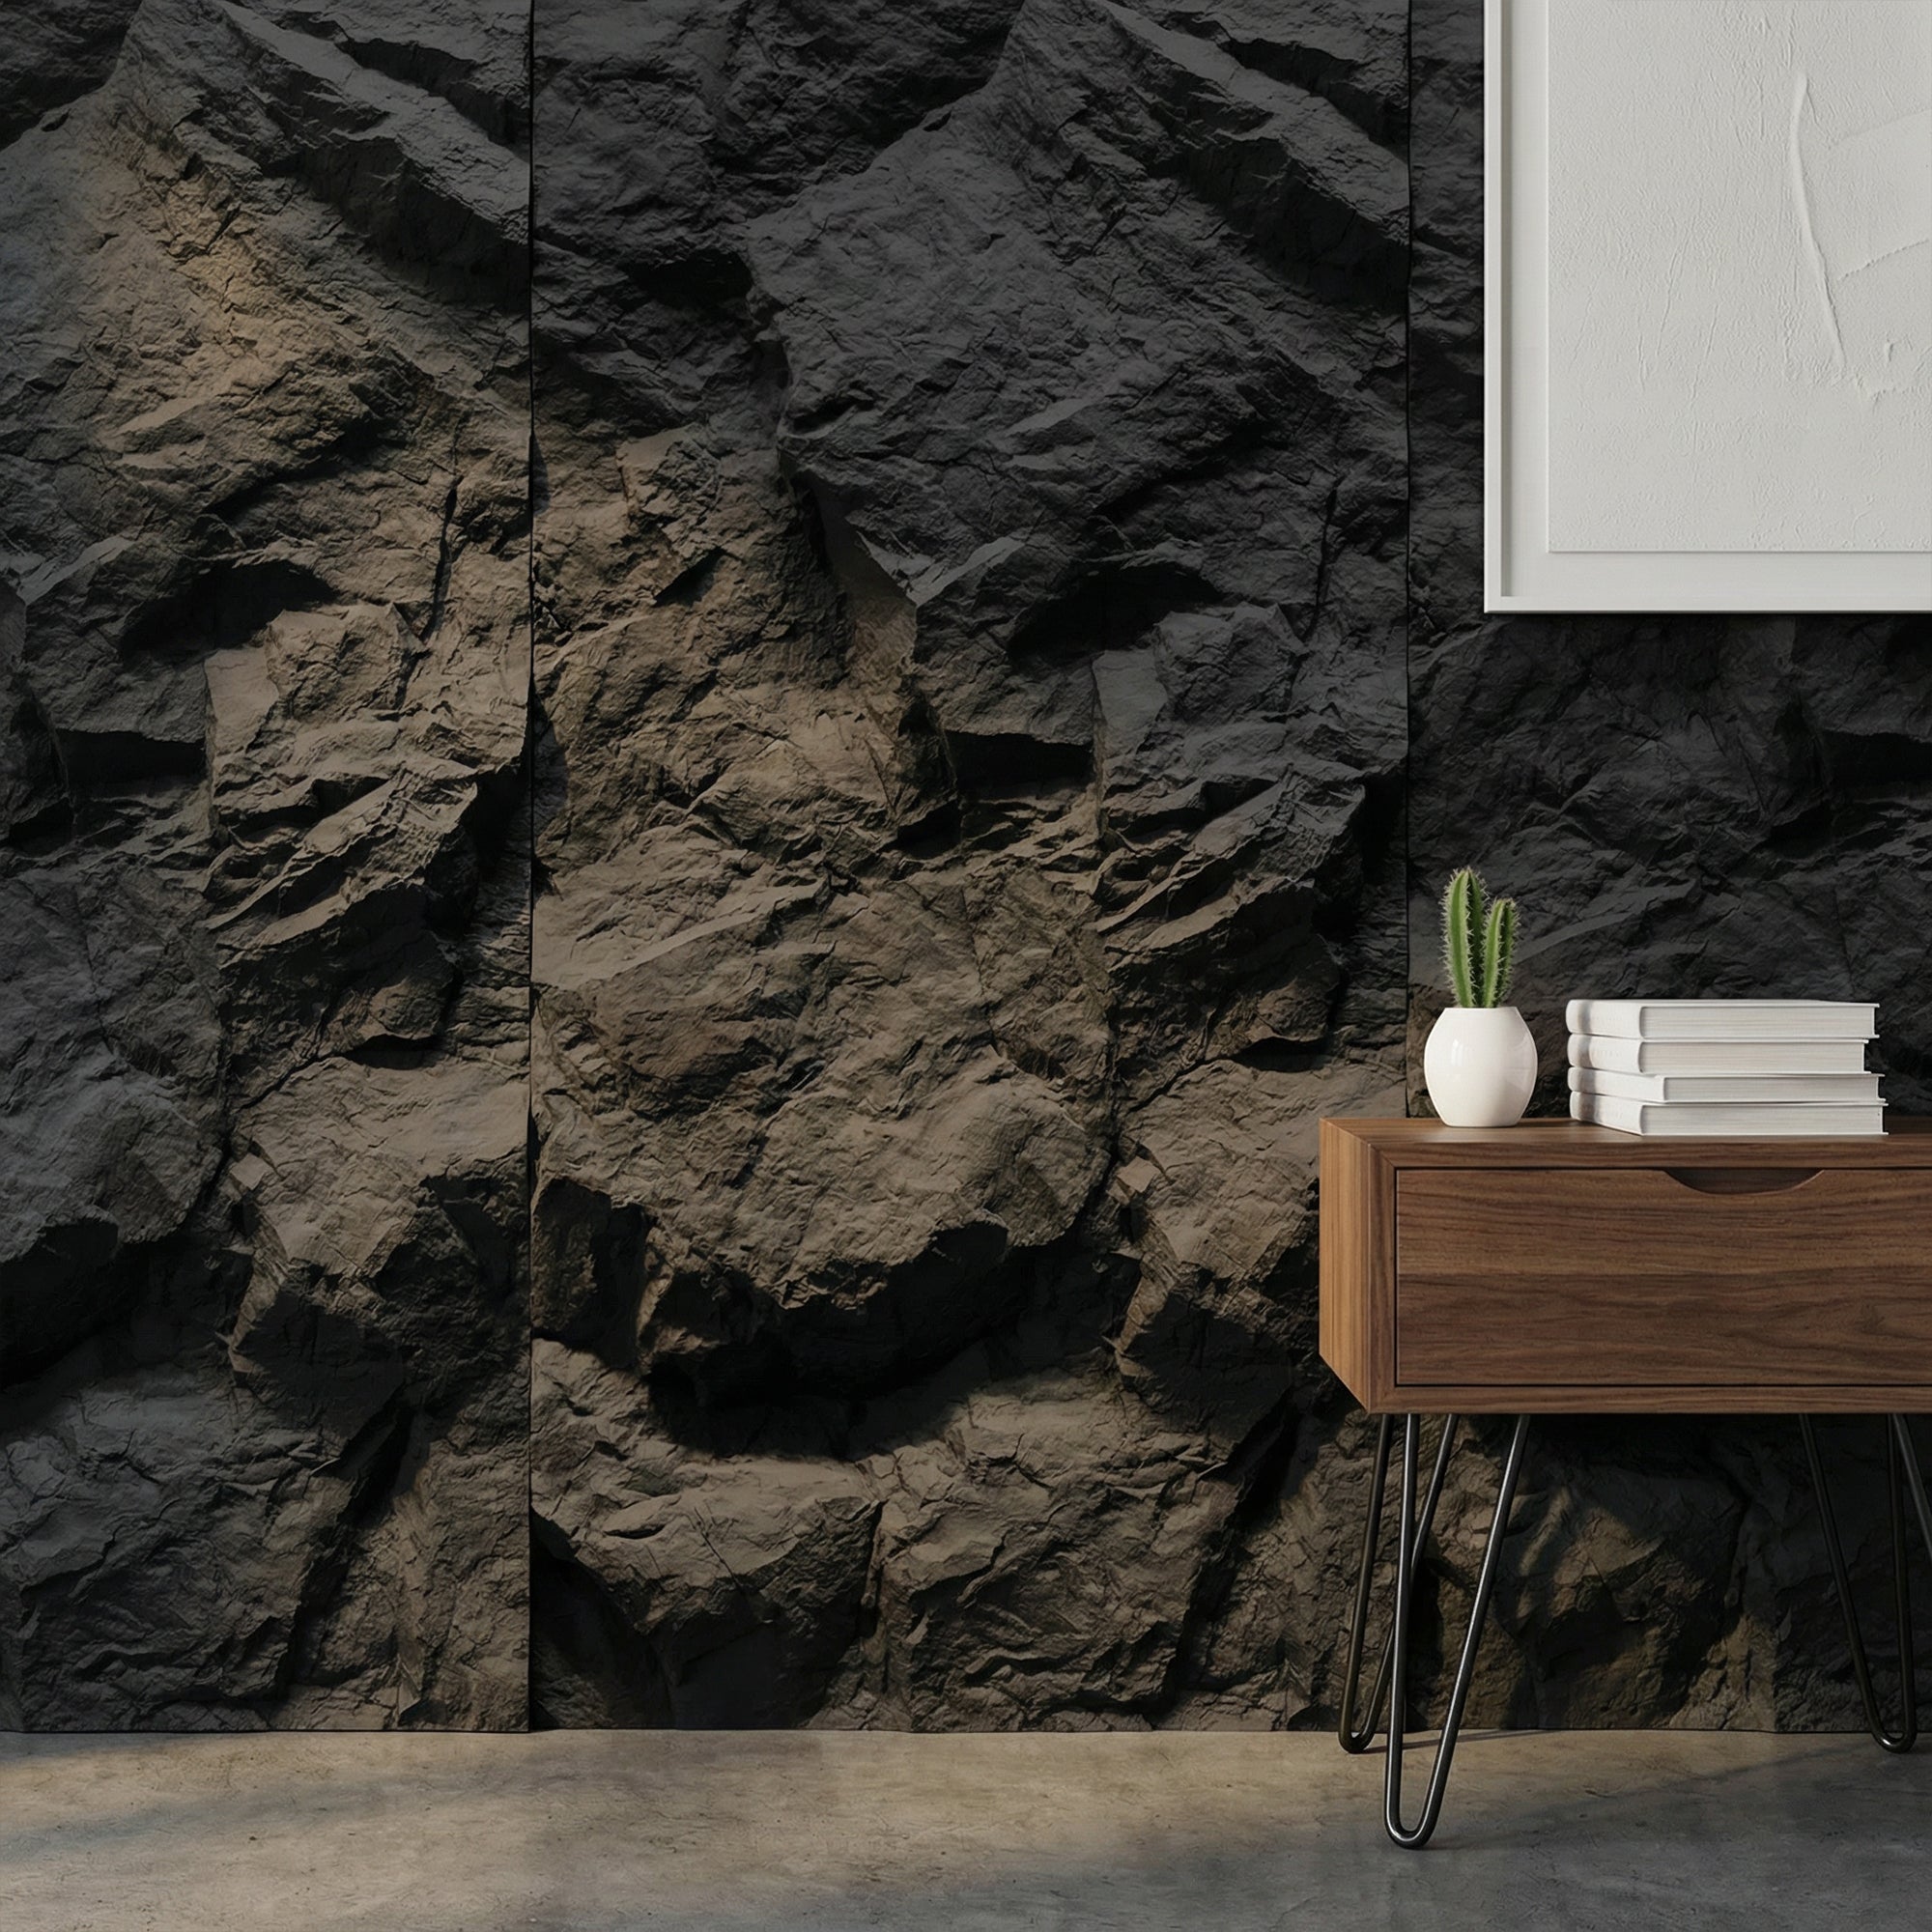
    Modern living room interior featuring a dark wooden slat wall, beige armchair, floating black cabinet, and light neutral decor.

    To answer the question “how to reduce noise in a room?”, the solution lies in the combination of multiple methods.

    For better noise control, start by incorporating soft furnishings like curtains, then add acoustic wall panels. Soft materials alone are difficult to manage more persistent noise, such as echo or TV sound.

    Then, move your sofas, wardrobes, or bookshelves to block and absorb sound waves. You can rearrange your furniture to reduce noise at no cost and without permanent changes. Keep in mind that you can always experiment with different setups to find the combination that works best for you.

    Most Common Noise Reduction Mistakes

    Most DIY noise reduction attempts either spend money in the wrong place or underestimate how much treatment a room needs. These are the patterns that appear most often.

    Buying products labelled “soundproof” without understanding what they do. No mass-market wall panel soundproofs a room. Acoustic panels reduce echo and reverberation within a room — a different and more achievable goal. Structural soundproofing (blocking sound from moving between rooms) requires mass, decoupling, and air-sealing — measures that typically involve the wall construction itself, not surface treatment. Buying acoustic panels expecting them to block external noise is the most common expensive mistake.

    Under-treating the room. Adding two or three small acoustic panels to a large, hard room and expecting a transformation. Meaningful acoustic improvement requires covering 25–40% of the total wall area with panels rated NRC 0.75 or higher. Small installations in large reverberant rooms have a barely perceptible effect. Calculate the required coverage area first, then size your budget accordingly.

    Treating only one surface type. Sound reflects off walls, floors, and ceilings. In a room with hard floors and a hard ceiling, wall panels alone address only a fraction of the reflection problem. Rugs on hard floors add meaningful absorption at the floor level. Curtains or soft furnishings contribute at the window plane. Acoustic panels complete the treatment. The combination approach delivers better results than maximising wall panel coverage alone.

    Using foam products in living spaces. Acoustic foam is effective but aesthetically incompatible with most domestic interiors. It degrades over 5–8 years and looks DIY from day one. In any room you spend meaningful time in, wood slat acoustic panels deliver the same absorption performance with a finish that’s designed for residential use.

    Not acclimatising panels before installation. Wood panels installed before they’ve adjusted to room conditions may develop gaps or warp slightly as they settle. Unboxing panels and leaving them flat in the room for 24–48 hours before installation eliminates this problem entirely.

    Frequently Asked Questions

    What is the most effective way to reduce noise in a room?
    For reducing echo and reverberation (making the room sound better from within), acoustic wall panels with NRC 0.80+ are the most effective single intervention. For reducing noise transmission from outside or from adjacent rooms, structural measures (mass, decoupling, air-sealing) are required — acoustic panels won’t solve transmission problems.
    Do rugs and soft furnishings reduce room noise?
    Yes, meaningfully — but not completely. Carpet and rugs absorb high-frequency sound at the floor level, reducing flutter echo. Heavy curtains absorb sound at window surfaces. Upholstered seating contributes additional absorption. For rooms that are only mildly reverberant, furnishings alone may be sufficient. For rooms with bare floors, large windows, and minimal soft furnishings, acoustic panels are needed to achieve a clear improvement.
    How do I reduce noise in a room without renovating?
    Surface-mounted acoustic panels (adhesive installation), rugs on hard floors, and heavy curtains are all non-structural, reversible interventions that meaningfully reduce room noise. None of these require structural work or professional installation. A combined approach — acoustic panels on the primary wall surfaces, rug on the floor, curtains on windows — typically achieves 50–70% of the acoustic improvement possible from a full renovation.
    Can I reduce room noise on a limited budget?
    Yes. Start with the highest-impact, lowest-cost intervention: a rug on a hard floor and a curtain on a bare window. Together these typically cost less than £200 and address the two most common surfaces where sound reflects in domestic rooms. Add acoustic wall panels on the most reflective wall as a second step — one feature wall of quality panels (8–12 tiles) typically costs £300–£600 and delivers a clear improvement in speech clarity and echo reduction.
    What causes noise in a room to get worse when other rooms are quiet?
    This is a psychoacoustic effect — when external ambient noise drops, the internal reverberation of the room becomes more noticeable. The room hasn’t changed; your perception of it has. This is why many people notice echo and acoustic problems most in quiet evenings or early mornings. Acoustic treatment addresses the underlying room characteristics that cause this.

    Conclusion

    While peace and quiet can feel like a luxury in today’s fast-paced world, you may struggle to figure out how to reduce noise in a room. Any kind of noise can affect productivity, sleep quality, and focus.

    Everybody wants to relax in a quieter space at their home, free from noise, and has peace of mind and comfort.

    Now that you know how to reduce noise in a room, visit the best-selling collections of wood wall panels and take the next step with The Panel Hub.
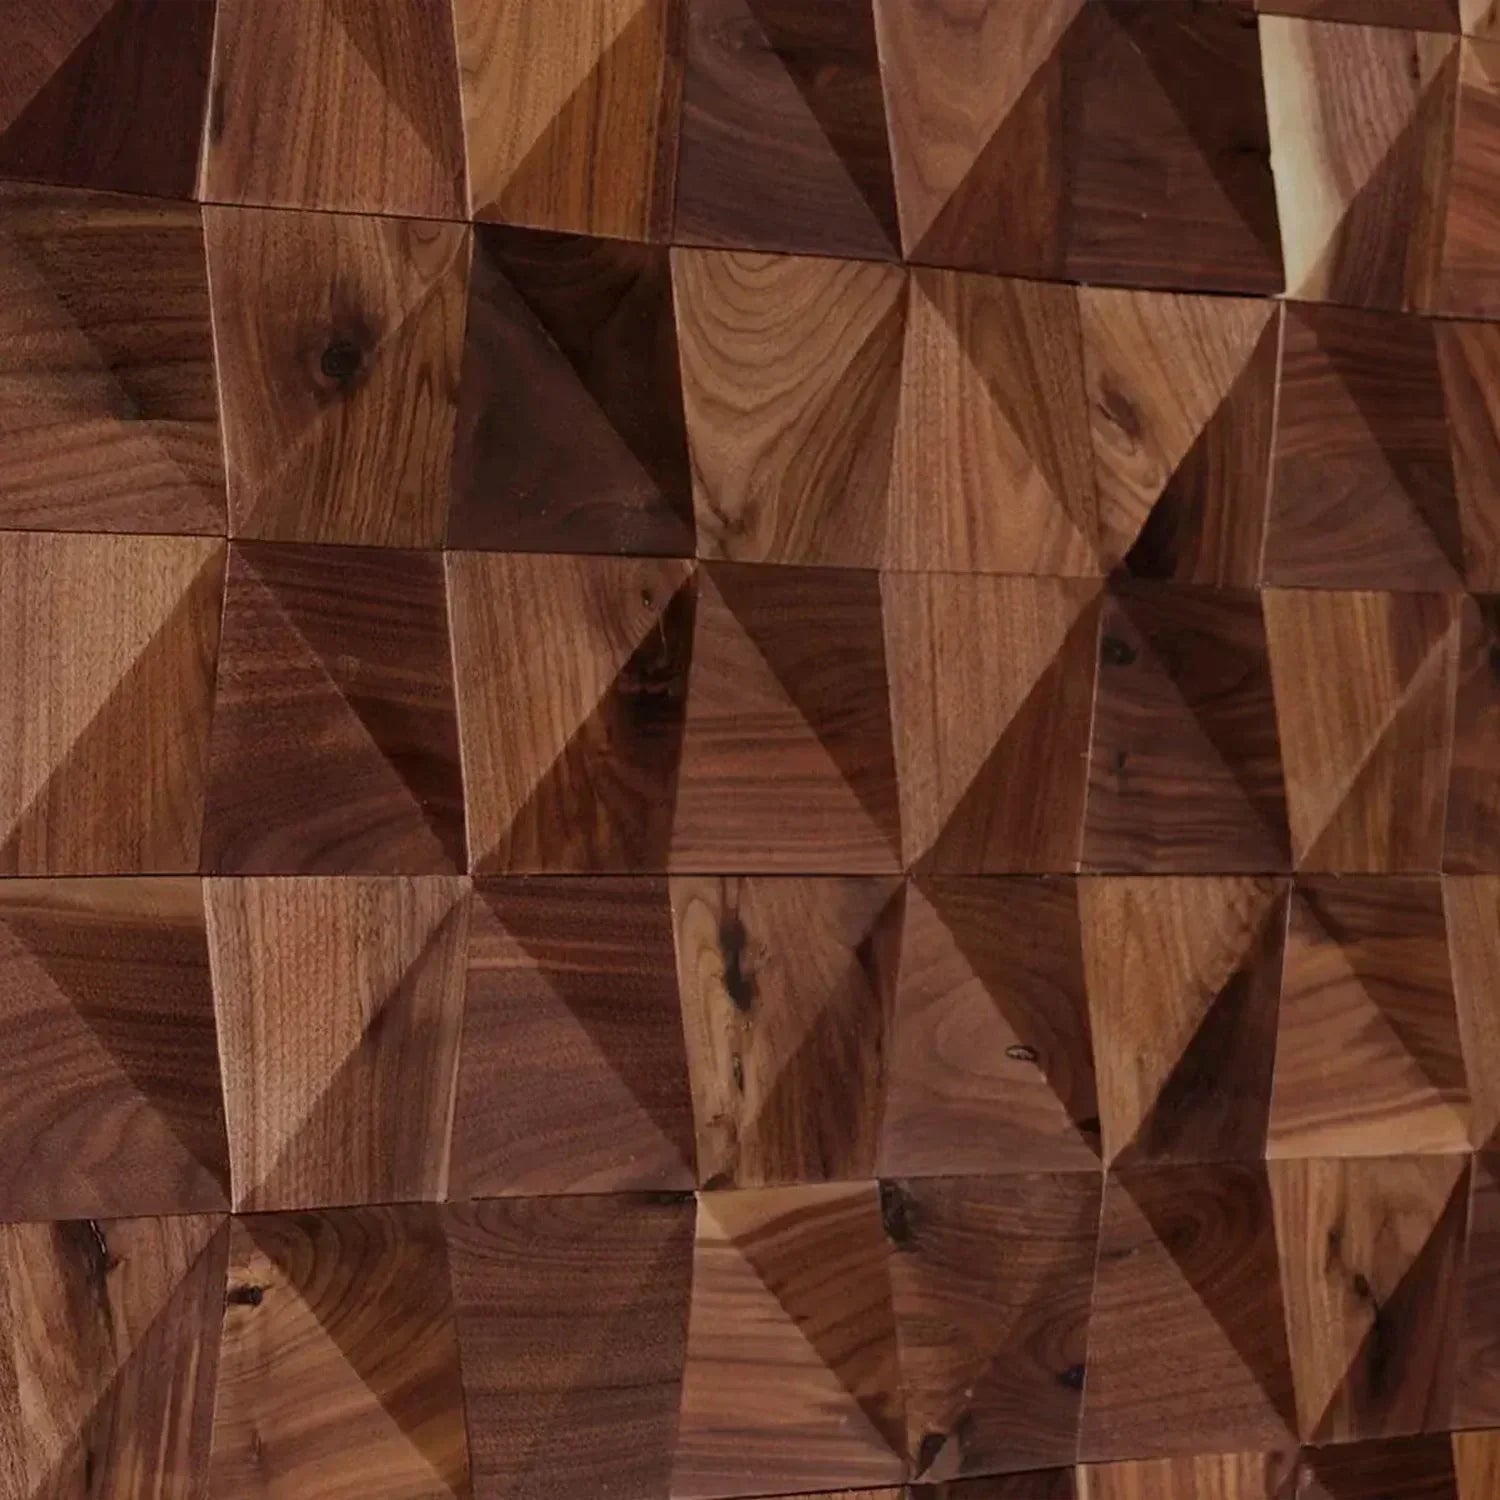
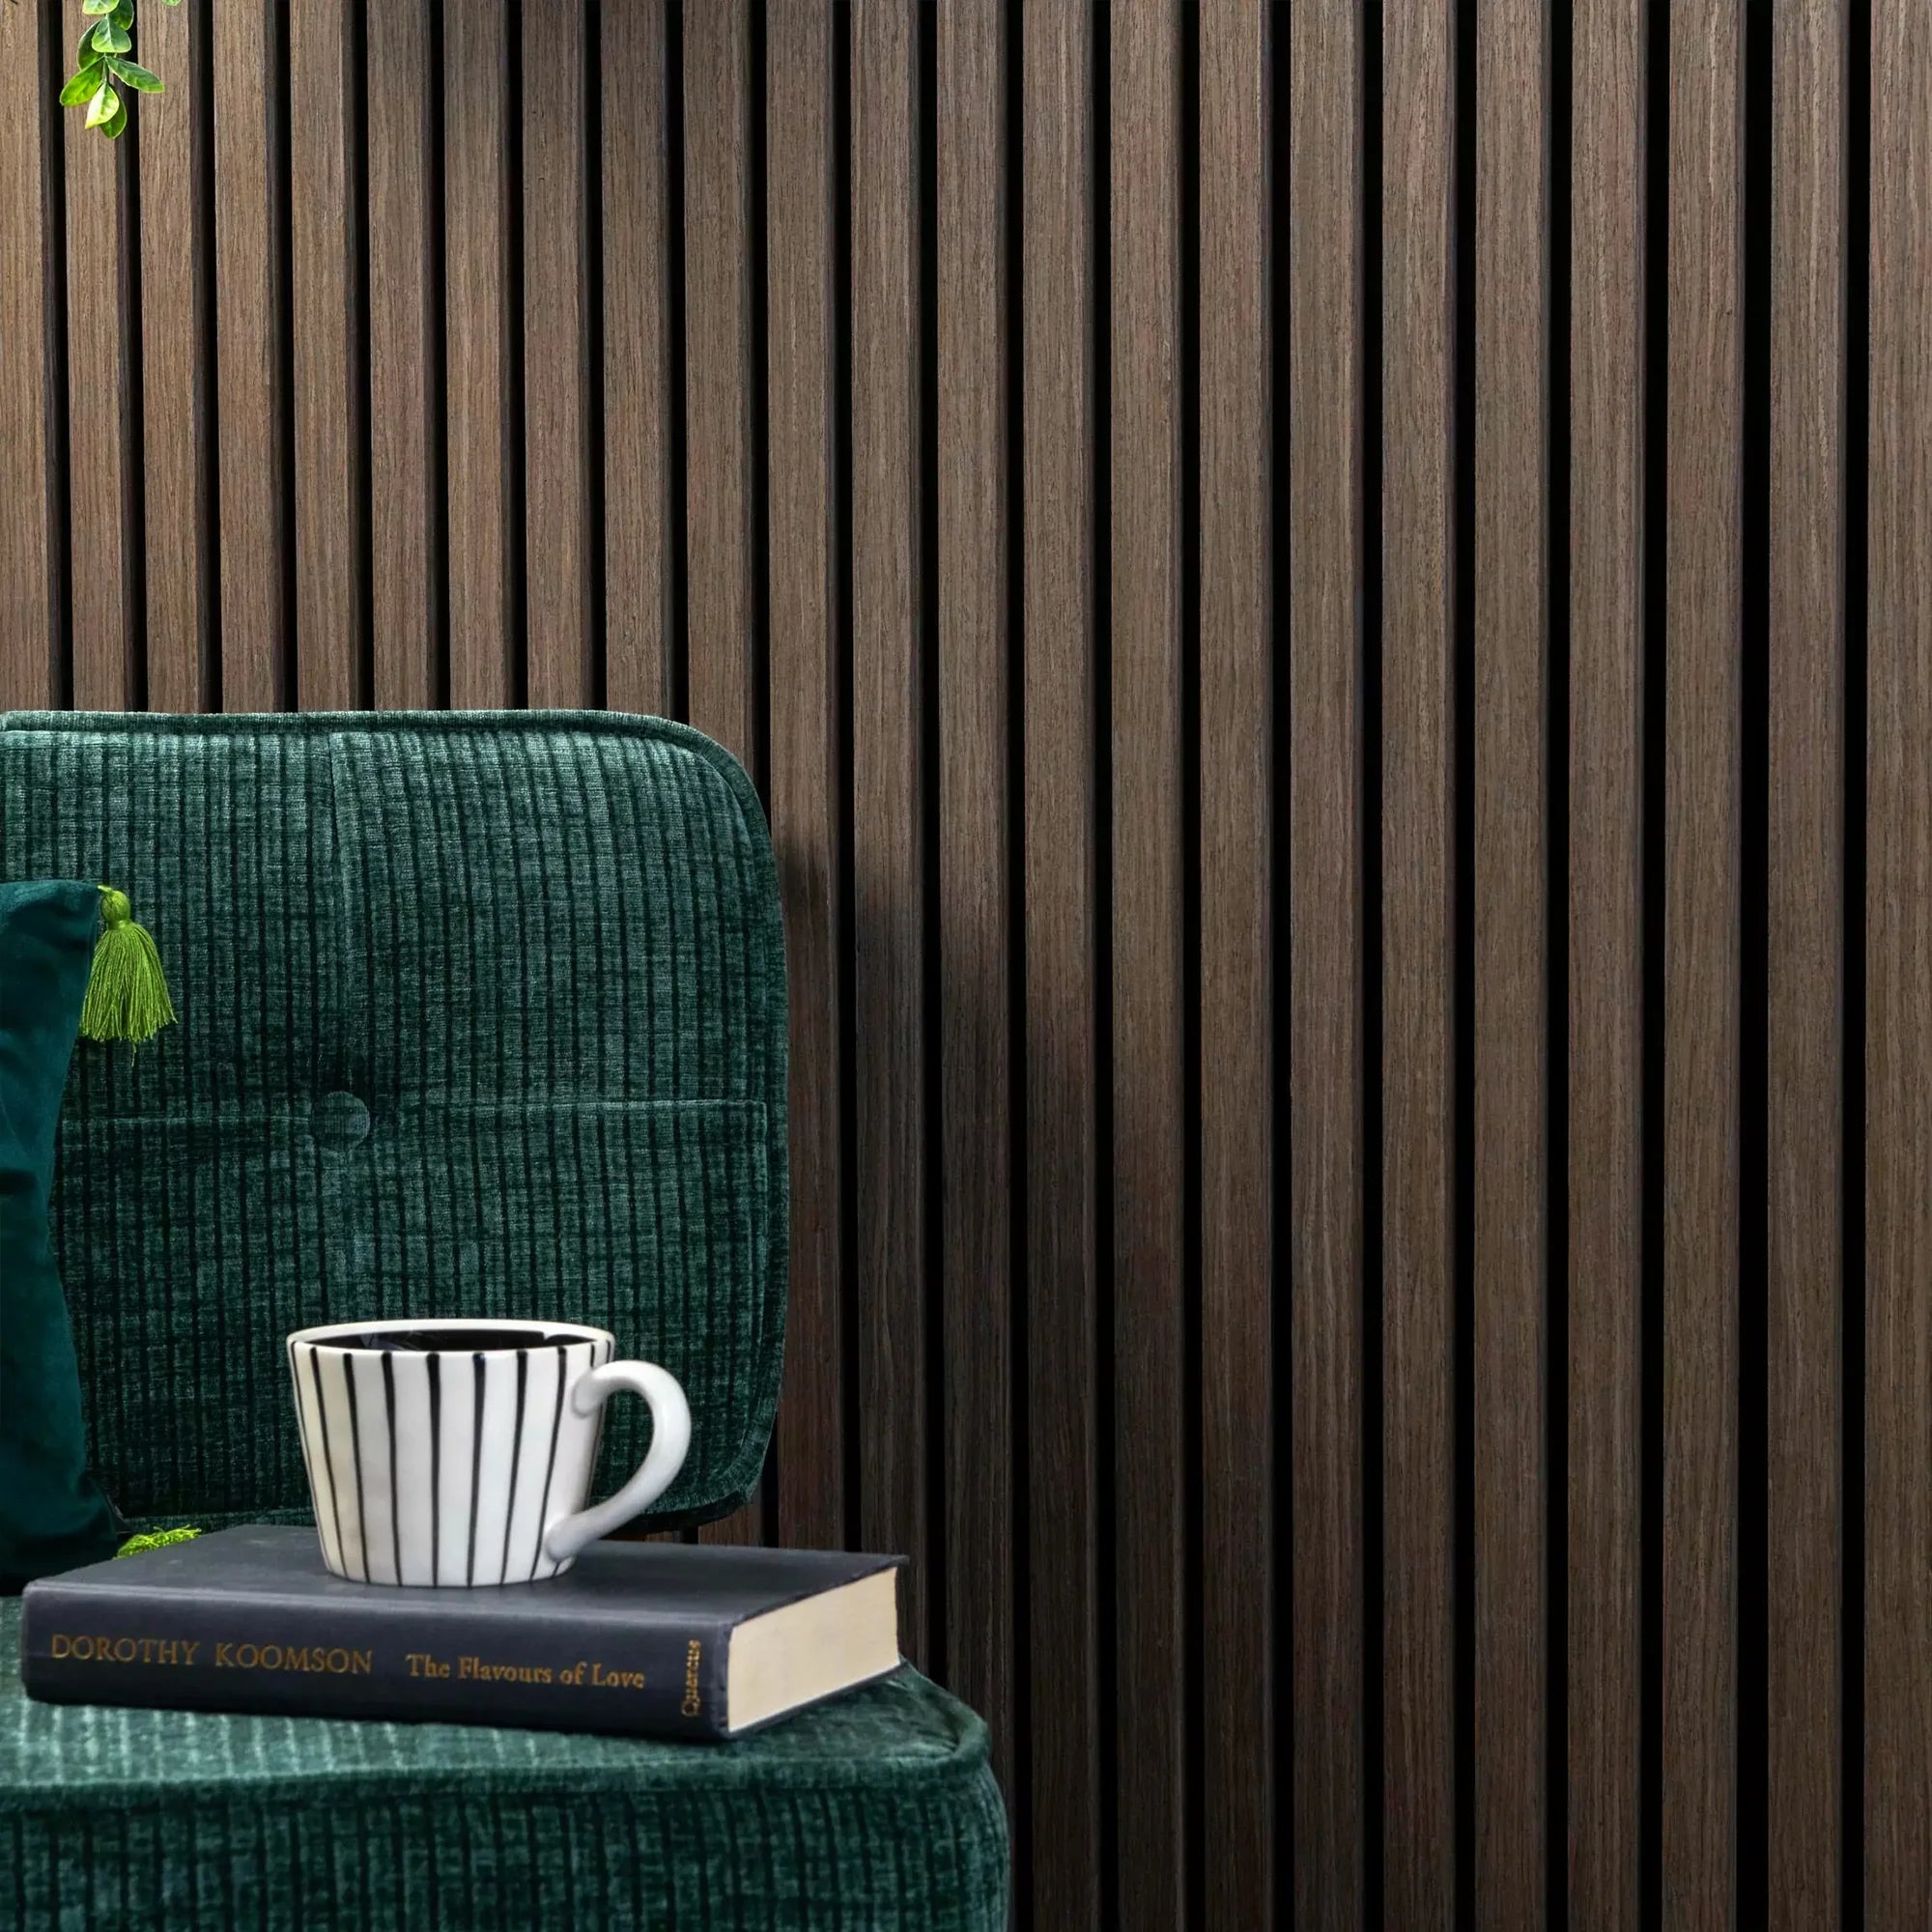
  • Solid Wood in Furniture: Types, Maintenance Tips, and Buying Guide

    Solid Wood in Furniture: Types, Maintenance Tips, and Buying Guide

    Solid wood is known for its resilience, beautiful natural grain, and timeless look in both interior or exterior design. This material is perfect for you who want to bring a sense of organic beauty to your room. 
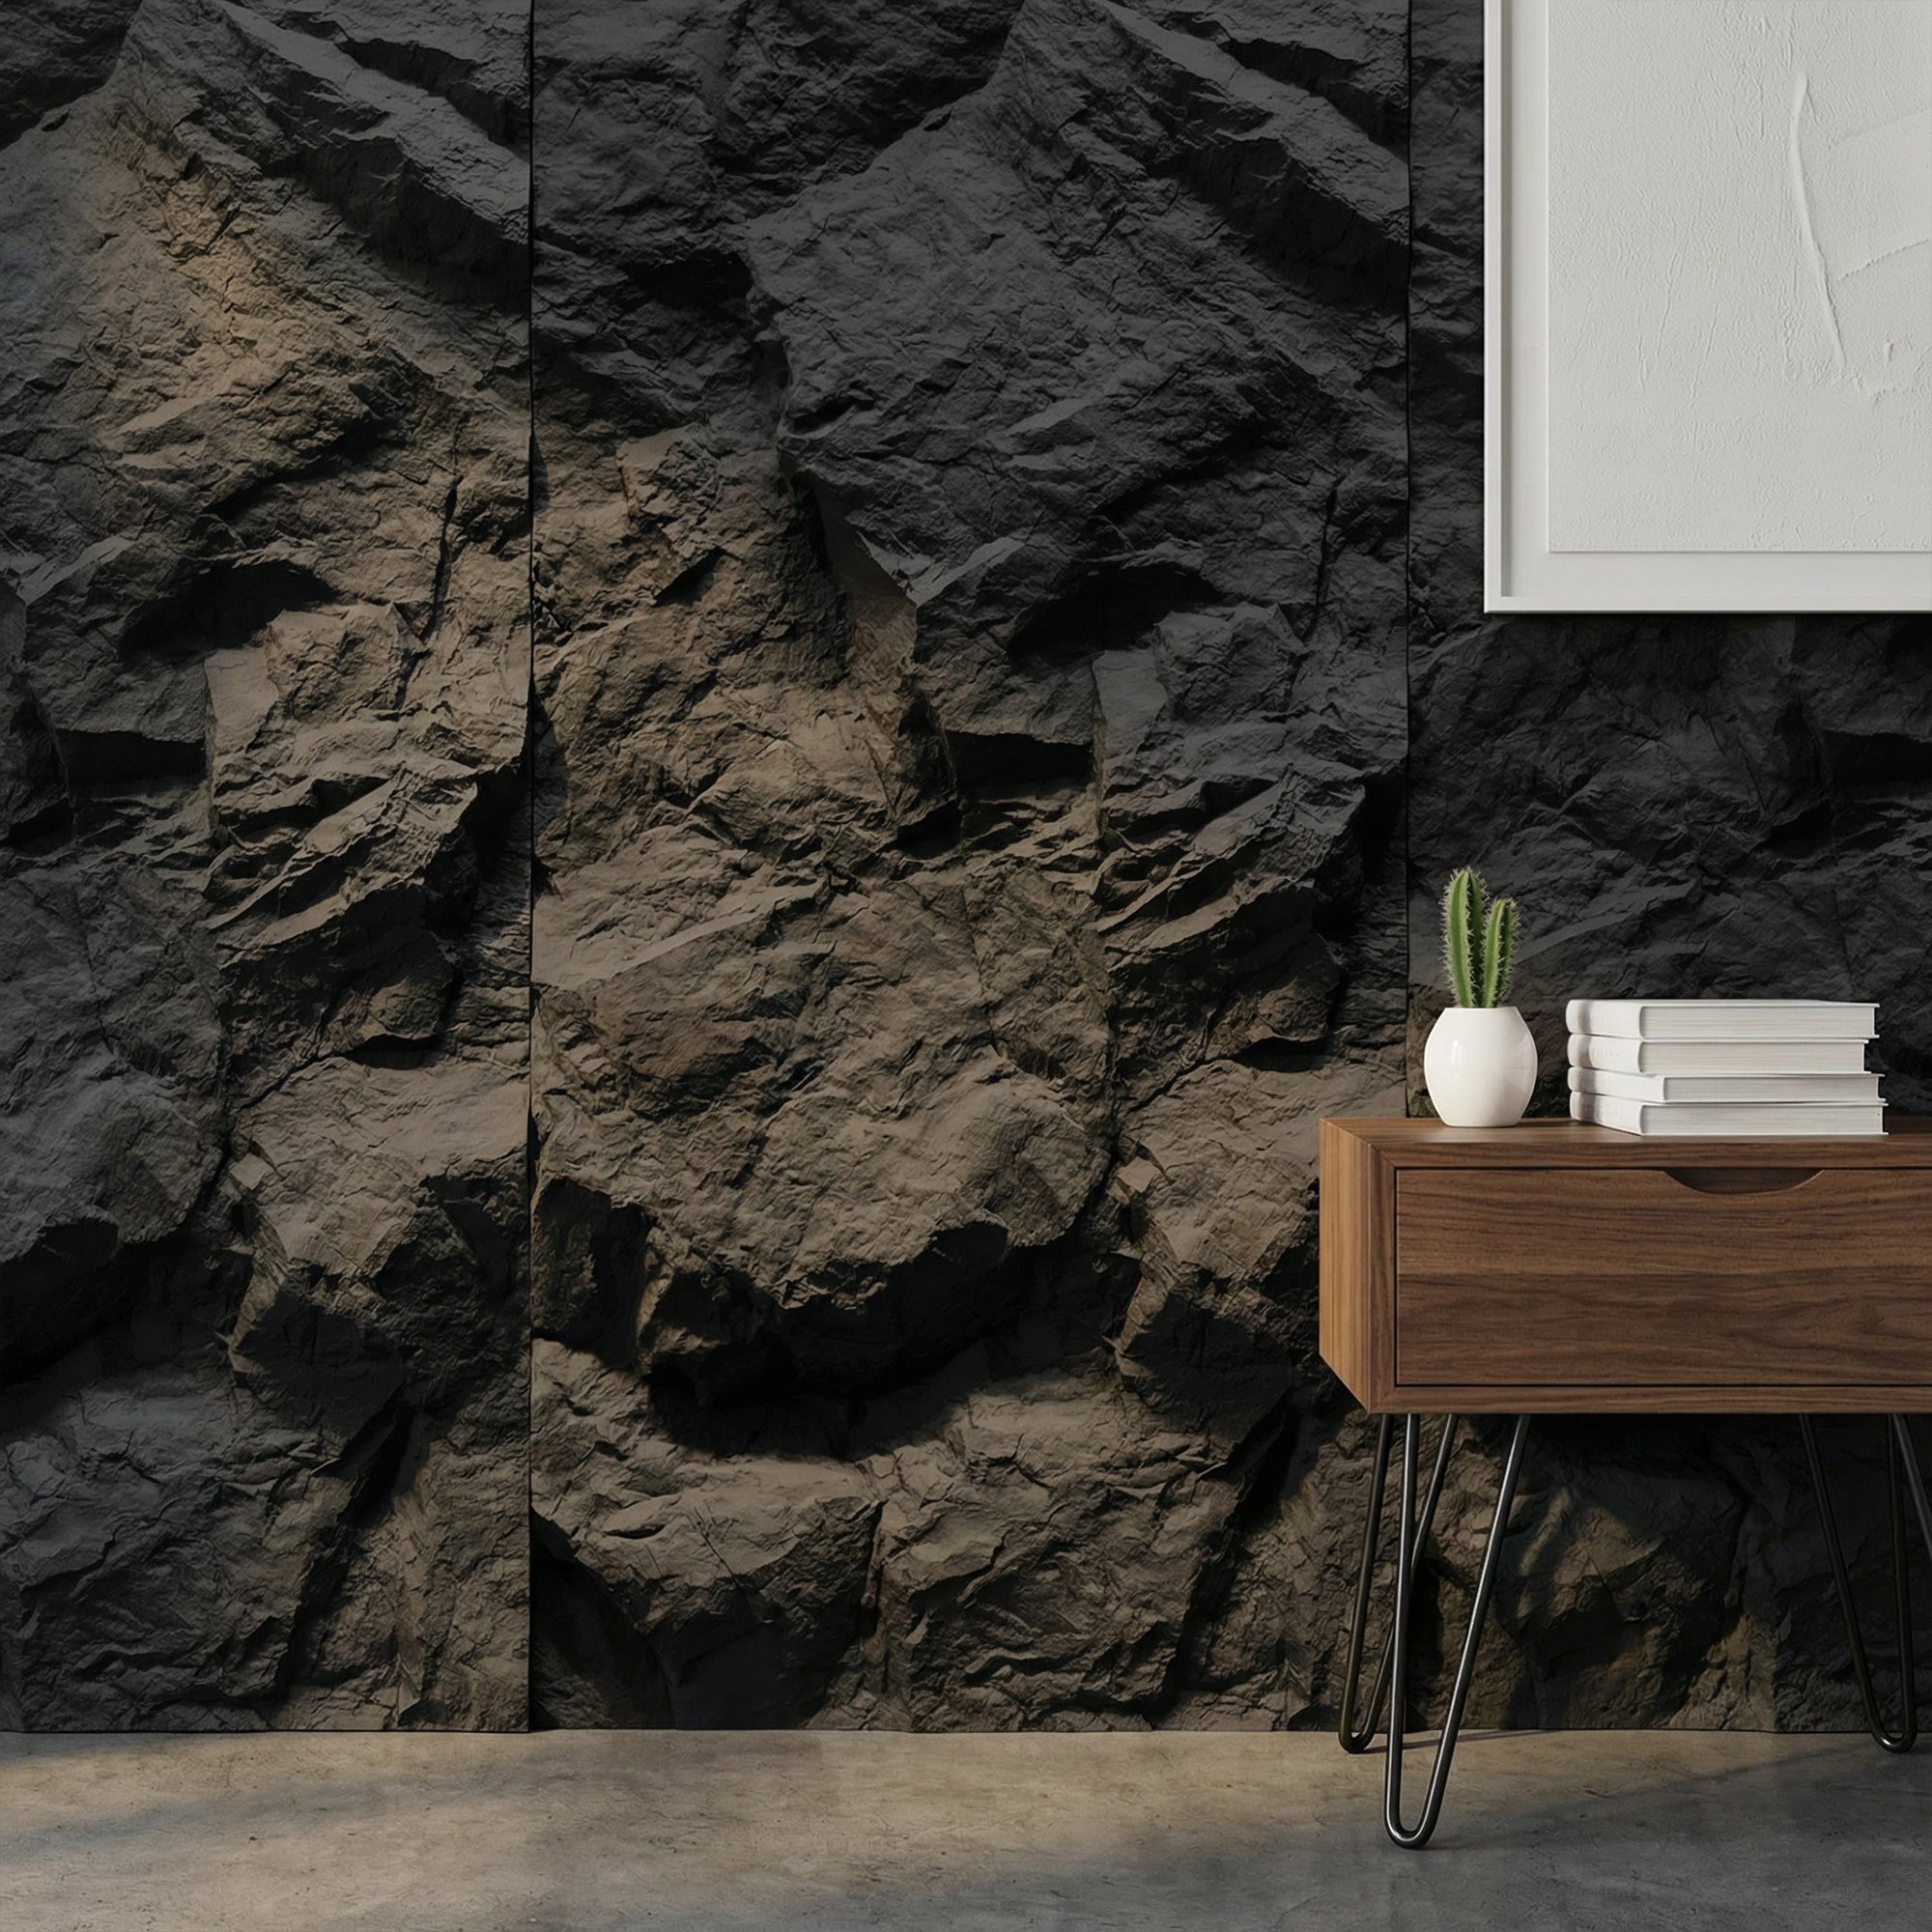
    This article reviews what solid wood is, its types and functions, and what makes solid wood highly desired by many. As a buyer, you must know how to choose quality wooden furniture that suits your style. Walk through this article to understand how to make a smart decision when buying wood furniture.

    What is Solid Wood?

    Solid wood is wood that comes directly from trees and is used in its natural form, without mixing it with other materials. Unlike engineered wood or veneer, solid wood is made from one piece of lumber. 

    The tree is grown primarily for its wood, which usually results in stronger and durable products while also looking elegant, natural, and modern. For that reason, solid wood is often used in interior designs, including homes, apartments, and even office spaces.

    Types of Solid Wood

    Generally, solid wood is classified into two main types: hardwood and softwood. Hardwood comes from trees that grow slowly and require more years to harvest. Some of the examples are oak or walnut.

    Meanwhile, softwood comes from faster-growing trees, which are usually lighter and easier to produce. These are more specific types of solid wood you need to know:

    • Oak: Strong and great for flooring or furniture
    • Walnut: Rich, dark color and high-end feel
    • Maple: Light color, often used in kitchen furniture
    • Teak: Water-resistant, great for outdoor use
    • Mahogany: Deep red tone, very elegant
    • Cherry:Smooth grain, darkens over time
    • Pine: Soft, light-colored, budget-friendly

    What is Solid Wood Used For?

    Solid wood is commonly used in both traditional and modern construction or design. This material is known for its strength and longevity. These are other examples of its applications:

    Furniture

    Manufacturing companies often use solid wood to create high-quality furniture pieces such as tables, chairs, cabinets, dressers, and bed frames. Its natural grain patterns and durability make it a preferred choice for many people, regardless of their style and design taste.

    Flooring

    Hardwood flooring is a popular choice for many residential and commercial interiors. People who aspire to create an organic modern aesthetic in their homes particularly favor it. Unlike engineered wood or laminate, hardwood floors can be refinished multiple times, which extends their lifespan significantly.

    Doors

    Solid wood is often used for making interior and exterior doors due to its strength and insulating properties. If you are looking for exterior doors, choose hardwoods like oak or mahogany which are more weather and moisture resistant. 

    Wall Panels

    Wood paneling adds texture and warmth to interiors. It is commonly used in homes, offices, and public spaces to create a warmer and more natural ambience. Wall panels can also bring out classic elegance to your space.

    Are you looking for wood wall panels? At The Panel Hub, we offer 100% real wood wall panels, with no lamination or plastic. We’re proud to be the only brand on the market providing panels with smooth, rounded edges, making them scratch-proof and secure for your home. Our unique 3-sided wood surface design also ensures a beautiful finish from every angle, no matter how you install it. Explore our products now!

    Wooden beams

    Structural and decorative beams made from solid wood are often used in construction to support ceilings or roofs. In addition to their structural role, exposed wooden beams are a prominent architectural feature in styles like rustic, farmhouse, and industrial design.

    Solid Wood vs Other Materials

    Here’s a detailed list of comparison between solid wood vs other commonly used materials in furniture:

    Solid Wood vs. Engineered Wood

    Solid wood is made from a single, natural piece of lumber, while engineered wood is manufactured by bonding together layers of wood veneers or fibers with adhesives. Solid wood is known for its superior strength and durability compared to engineered wood.

    Solid Wood vs. MDF/Particle Board

    Particle board and MDF (Medium-Density Fiberboard) are cheap alternatives made from compressed wood fibers or particles. When it gets wet, MDF can sometimes lose its structural strength and beauty because it swells or bumps.

    The wood wall panels from The Panel Hub, on the other hand, have a higher density, moisture-resistant MDF core with the CoreShield™ system. Our panels are less likely to swell, crack, or warp in different kinds of weather. Our natural grain and color are as good as solid wood because we use real wood. The CoreShield™ system probably makes the panel more resistant to dents and impacts than some softer solid woods when it comes to durability.

    Solid Wood vs. Veneer Furniture

    Veneer furniture is made by applying a thin slice of real wood over a core material like MDF or particle board. This allows for the look of wood at a lower cost. If you buy high-quality wood veneer furniture, it can be long-lasting just like genuine hardwood.

    Buying Guide: Choosing Solid Wood Furniture

    These are simple steps to choose the right solid wood furniture as an investment in both style and durability:

    1. Examine the finish. The easiest way to look into the quality of wooden furniture is to see whether the surface is protected well. A good finish protects the wood from excessive moisture and scratches over time.
    2. Pay attention to the type of joints. Avoid using staples or nails to hold chairs, sofas, or tables together. Traditional joinery like dovetail or dowel joints instead creates better craftsmanship.
    3. Consider the wood types. Hardwoods like oak, walnut, or maple are generally better known as the strongest species. They are more resistant to wear than other types of wood.
    4. Determine where to buy. When it comes to purchasing solid wood furniture, both online and local retailers offer advantages and disadvantages. Online stores offer more competitive pricing, while offline shops allow you to assess the product in person. Always check the reviews before buying.

    Conclusion

    Solid wood has long been celebrated for its timeless beauty, strength, and natural character, making it a top choice for furniture, interiors, and architectural elements. However, with today’s advancements in material technology, modern alternatives like high-density moisture-resistant MDF can now offer comparable durability, stability, and aesthetics.

    Browse our best-selling wood wall panels to bring a natural, organic touch to your space, without compromising on quality, durability, or an authentic wood grain look. Choose SoundPanel for sound absorption and a quieter environment, or GroovePanel for a decorative, textured finish that adds depth and elegance.

    Enjoy free U.S. shipping and a 60-day satisfaction guarantee; shop now!

  • 12 Ceiling Beam Covering Ideas that Work for Any Room and Style

    12 Ceiling Beam Covering Ideas that Work for Any Room and Style

    To make the most of your space, discover more about ceiling beam covering ideas that truly match your style and design taste. Ceiling beams can sometimes look rough and out of place. Covering it will turn your ceiling into a beautiful design feature that is also functional.

    This article provides an overview of 12 different ceiling beam covering ideas you can explore. It helps you create a more polished ceiling design that complements your overall room style. Learning about these different options will allow you to choose the right products that not only stay within your budget, but are also suitable for your taste.

    Why Ceiling Beam Covering Matters in Design

    Ceiling beams can give your home or office character and charm. A lot of people choose to keep the authentic beams made from rough wood or steel as they are. Unfortunately, not all beams look good. Some may be old, damaged, or just don’t match the style of the room. That’s where the covering ideas come in.

    These ceiling beam covering ideas help you hide flaws and make the space feel more modern or cozy. It also allows homeowners to match the beams with the rest of their decor without needing a full renovation. Whether you’re going for a rustic, modern, or traditional look, the right beam covering can make a big difference in how your room feels.

    12 Ceiling Beam Covering Ideas for a Seamless Look

    From painting the beams to adding a set of lighting, let’s explore these wide range of options for your room.

    1. Painted Beams

    The easiest way to cover your beams is to paint it. A fresh coat of paint can make beams blend in or stand out, depending on your choice. For example, if you want it to stand out, choose a color that contrasts with your ceiling. You can also choose brown, light orange, or other earthy tones if you want to add warmth.

    2. Wood Wraps

    Wanting to keep your original wood beams, but make it more polished? Try covering your beams with thin wood planks. This option is also perfect if you want a natural and warm finish. Additionally, wood wraps can be great for rustic or farmhouse styles.

    3. Drywall Covering

    This is your best choice when you want to entirely cover your beams. Drywall and paint hide the beam completely for a clean line and surface. These ceiling beam covering ideas are the most commonly used, especially in minimalist, modern, and contemporary homes.

    Read More: What is Rubberwood? Key Advantages, Limitations, and Comparisons

    4. Box Beams

    Box beams create hollow beams using wood around the existing ones. This gives the look of solid wood that kind of creates frames or boxes on your ceiling. Designers would typically use blocks of woods to make it feel more earthy and rustic.

    Ceilings and walls meet closely, so coordinating their materials creates a harmonious space. If your beams and coverings use wood, pair them with matching wood panels. The Panel Hub offers best-selling wood panels with a unique 3-sided finish for a seamless look, made from 100% genuine wood and designed for easy DIY installation. Explore our wide range of colors and materials to elevate your living space.

    5. Faux Wood Beams

    Faux generally means fake or artificial. This can be your alternatives if you want to create box beams with lighter and cheaper wood. They look real but are easier to install. Typically, faux wood beams are made from fiberboard or polyurethane.

    6. Coffered Ceiling Design

    Coffered ceiling design transforms your ceiling look with smaller 3D blocks or grids. After that, the grid is covered with molding or panels for a classic, elegant look. The final result will make your room feel more dimensional, dramatical, textured, and luxurious.

    7. Plaster Finish

    If you want a traditional vibe often seen in Mediterranean-style homes, plaster finishes are great ceiling beam covering ideas. This method uses a fine layer of smooth cement to create an even, polished surface. It is quite similar to the painting methods, but gives your beam a more seamless and blended look with the ceiling.

    8. Fabric Wraps

    Fabric wraps are acoustic fabric used to cover the beam surfaces to achieve not only decorative look, but also sound-proof rooms. This is great for bedrooms or cozy spaces. It can be the most flexible option, as the fabrics can be printed with designs or patterns that you desire. 

    For ultimate soundproofing, pair your ceiling wraps with The Panel Hub Sound Panels. With a 0.85 NRC rating, our wood panels absorb up to 85% of mid/high-frequency noise. Our wood panels help you achieve an unmatched peaceful bedroom, living room, or home theater.

    9. Metal Cladding

    For a modern or industrial look, cover beams with metal sheets or panels. You can choose the metal cladding made from aluminum, steel, or copper. These ceiling beam covering ideas help you create a more futuristic look, while also making the structure stronger and long-lasting.

    10. Shiplap or Paneling

    Using shiplap or other types of wood paneling to wrap your ceiling beams is a fantastic way to create a unified look in your living rooms or offices. Shiplap consists of wooden boards that overlap, creating clean horizontal lines and a classic textured effect.

    11. Beam Lighting

    Incorporating lighting into your ceiling beam coverings not only brightens the room but also creates an inviting atmosphere. It adds both beauty and function. Furthermore, it relatively requires lower effort compared to covering beams with cement, paint, or even metal cladding.

    12. Decorative Molding

    Decorative molding works by applying crown molding, rope molding, or other decorative trims along the edges of the beams, framing them nicely and adding depth. This type of molding adds more style and depth to prevent your ceiling from looking too plain. 

    Read More: 10 Bold Large Wall Decor Ideas for a Modern Living Room

    Achieving a Cohesive Design and Style for Your Space

    Some people choose to leave their beam ceiling open, natural, and authentic as they are. There are many inspirations for exposed load-bearing beam ideas and modern exposed beam ceilings. However, the ceiling beam covering ideas are also plentiful for those who prefer a more seamless, blended, or decorative ceiling.

    Whether you decide to cover your beams or leave them exposed, the key is to find a style that fits your home’s overall design. Don’t forget to coordinate your ceiling beams with your wall treatments and designs. If you are planning to match your wood ceiling, explore The Panel Hub’s wide selection of sound-proof and decorative wood wall panels. Add elegance, warmth, and natural look to your space that only real wood can provide.

  • How to Install Slat Wall Panels in Any Room

    How to Install Slat Wall Panels in Any Room

    Slat wall panels are one of the easiest ways to upgrade any room. They bring warmth, texture, and sound control without the need for a full renovation. What do you want? a modern accent wall, a quieter office, or a stylish upgrade for your living room? Installing slat wall panels is a project you can tackle with confidence.

    This guide walks you through every step. From planning and measuring to installing and finishing. You’ll learn exactly how to install slat wall panels and enjoy the results for years to come.

    Step 1: Plan and Visualize Your Design

    Before picking up a tool, start with a clear vision. Slat wall panels can transform a space in many ways. Some people add a single accent wall, while others cover an entire room. The layout you choose makes a big difference.

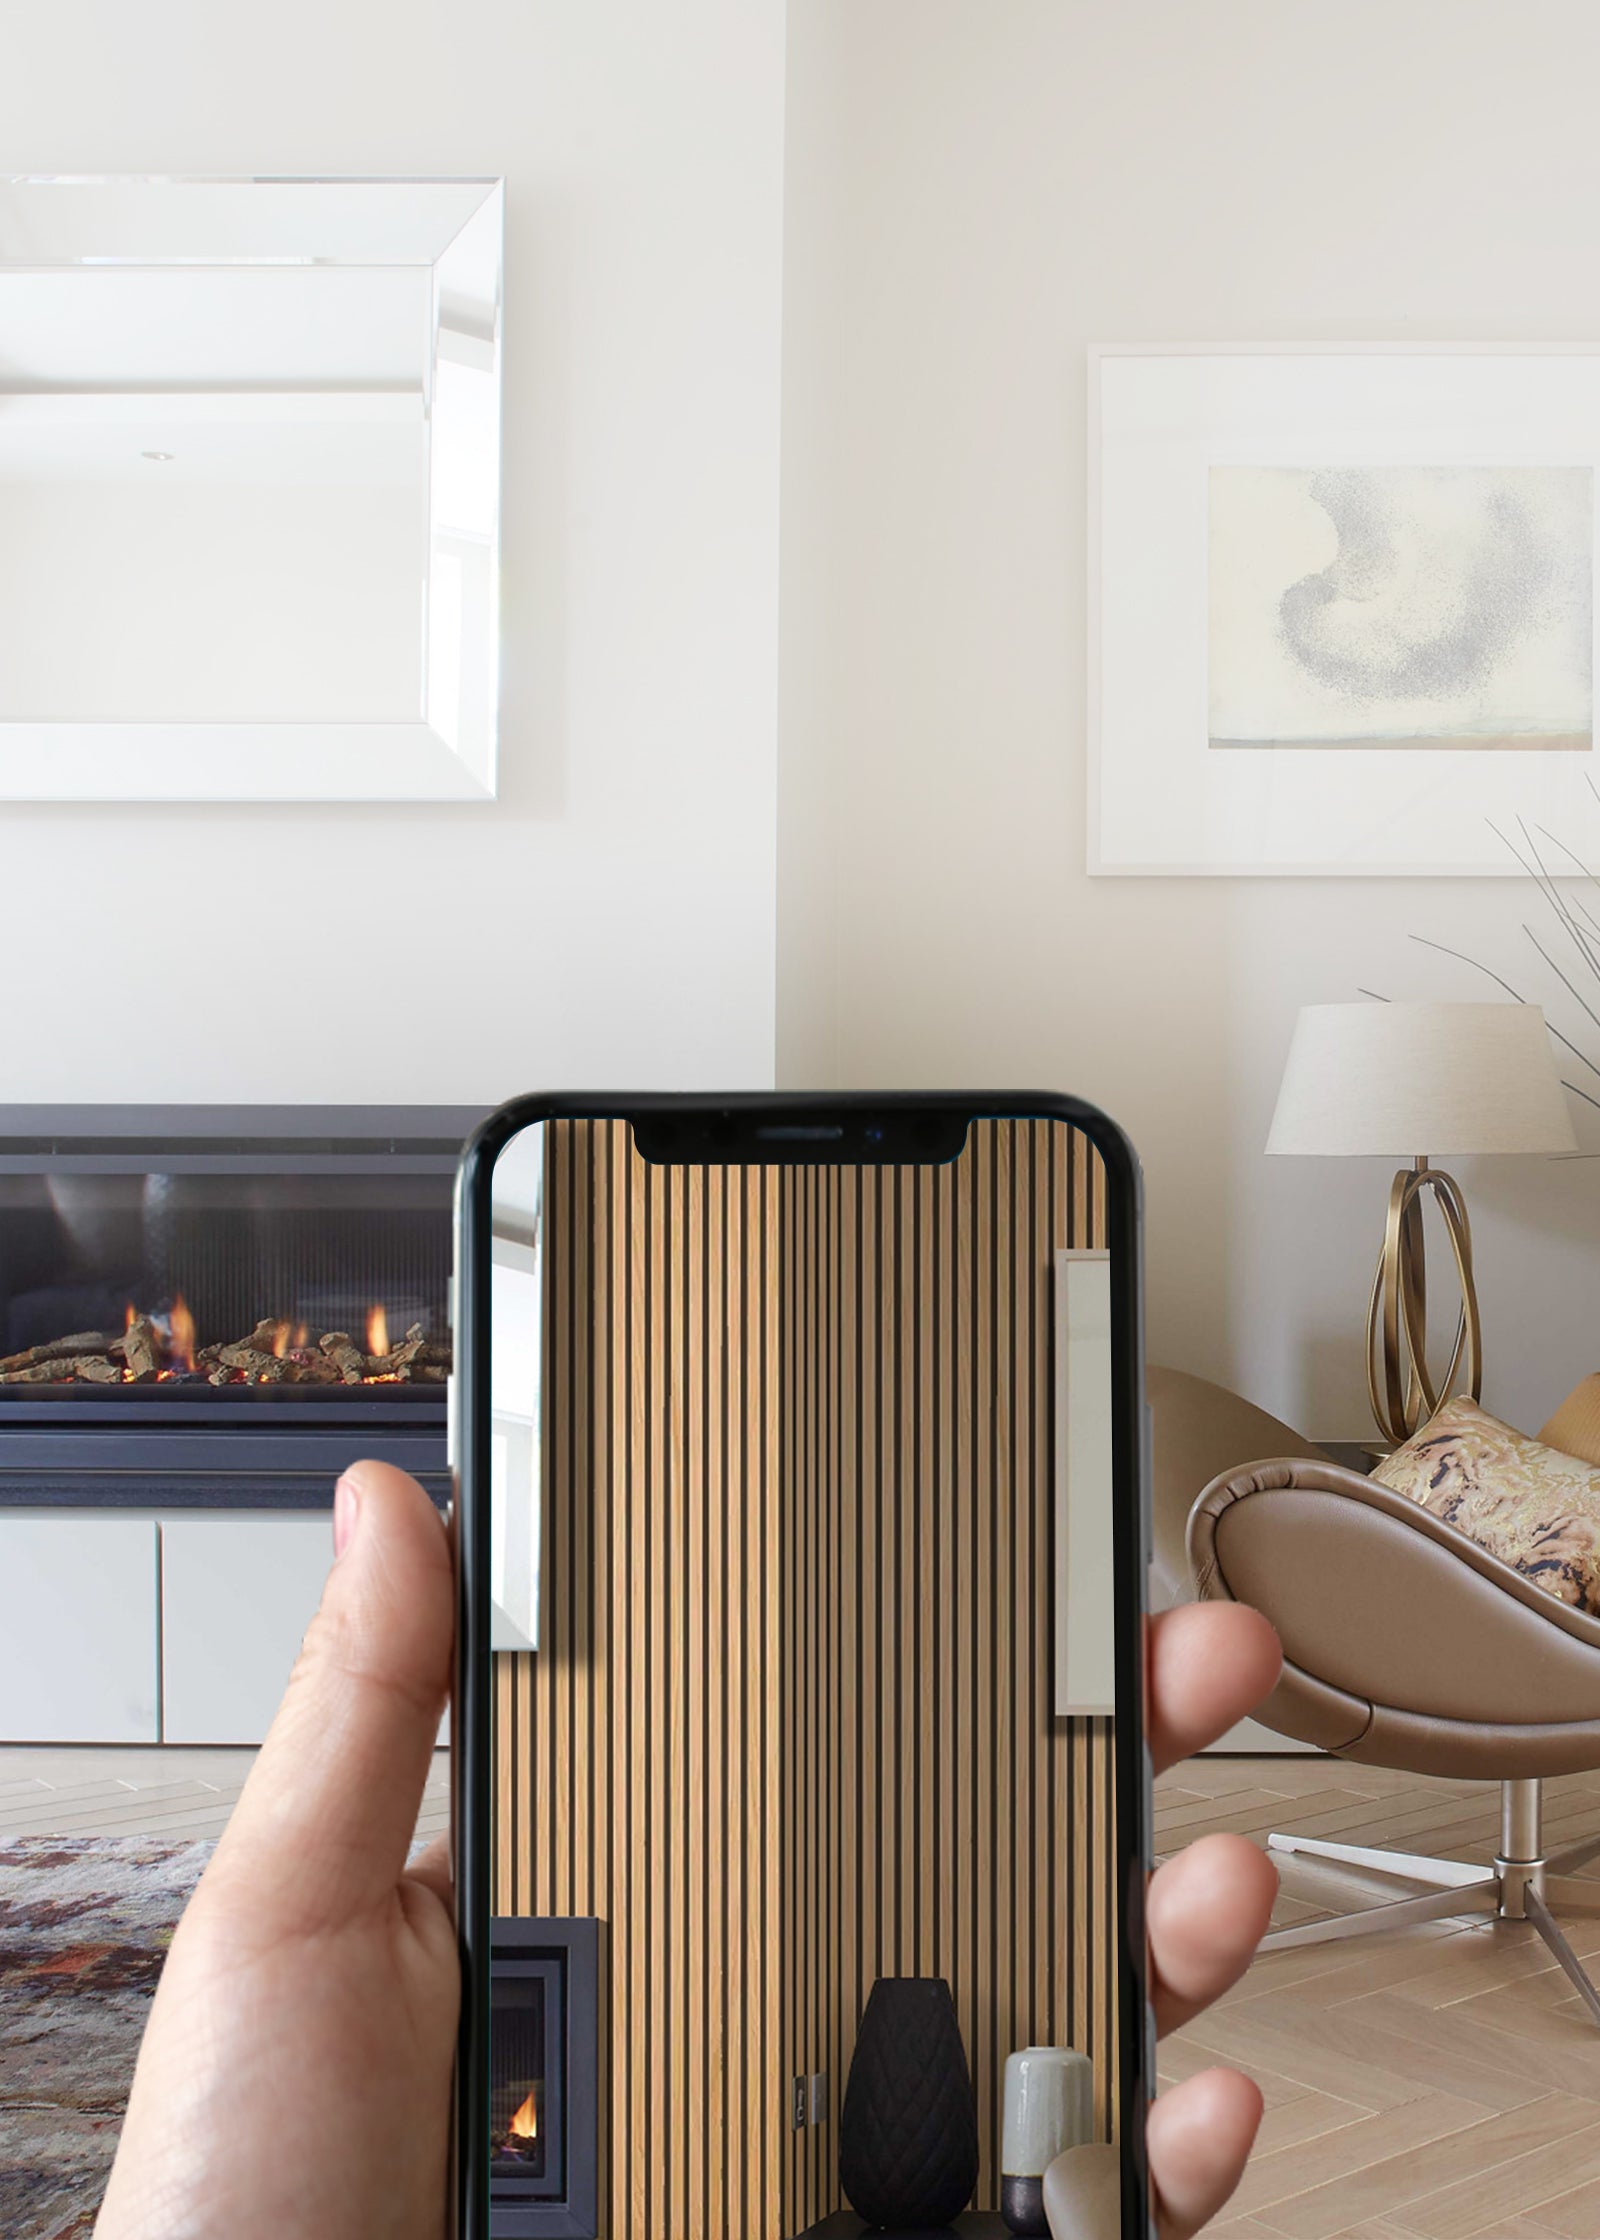
    The_Panel_Hub_-_Visualizer_Mobile_a5676d21-c7d6-43d0-9a41-ccf26e1f233a-The Panel Hub

    To make the process easier, The Panel Hub offers a Room Visualizer. This tool lets you preview real wood slat panels in your space before you order. You can test colors, finishes, and layouts until you find the perfect match. Planning with a visual reference helps you avoid second-guessing and ensures you order exactly what you need.

    Step 2: Gather Tools and Materials

    Installing wood slat wall panels is simple when you have the right tools ready. Most projects can be handled with basic items you already own. You’ll need:

    • Oscillating multi-tool (12-volt)

    • Cordless drill

    • Box cutter

    • Sandpaper sheets

    • Hand saw

    • Finish nails

    • Hot glue

    • Construction adhesive

    The panels from The Panel Hub arrive ready to install. Thanks to their 3-sided edge finish, you won’t need trims or extra carpentry to achieve a polished look.

    Step 3: Measure and Order Panels

    Accurate measurements save time, money, and frustration. Start by measuring the width and height of the wall you want to cover. Multiply those numbers to find the total square footage.

    order slat wall panel

    To make this step even easier, The Panel Hub provides a Box Calculator. Enter your wall dimensions and it tells you exactly how many boxes to order. If your project has unique angles or tricky corners, you can also speak directly with a Panel Specialist for advice.

    Step 4: Install the Slat Wall Panels

    Now comes the fun part. Whether you’re installing wood slat wall panels for looks or acoustic performance, the process is straightforward.

    install slat wall panels

    Prepare the Surface

    Start with a clean and smooth wall. Remove dust, old wallpaper, or peeling paint. The better the surface, the stronger your panels will hold.

    Mark the Layout

    Use your spirit level and pencil to mark guide lines. This keeps every panel straight. Begin from the center of the wall or from one corner, depending on your design.

    Mount the Panels

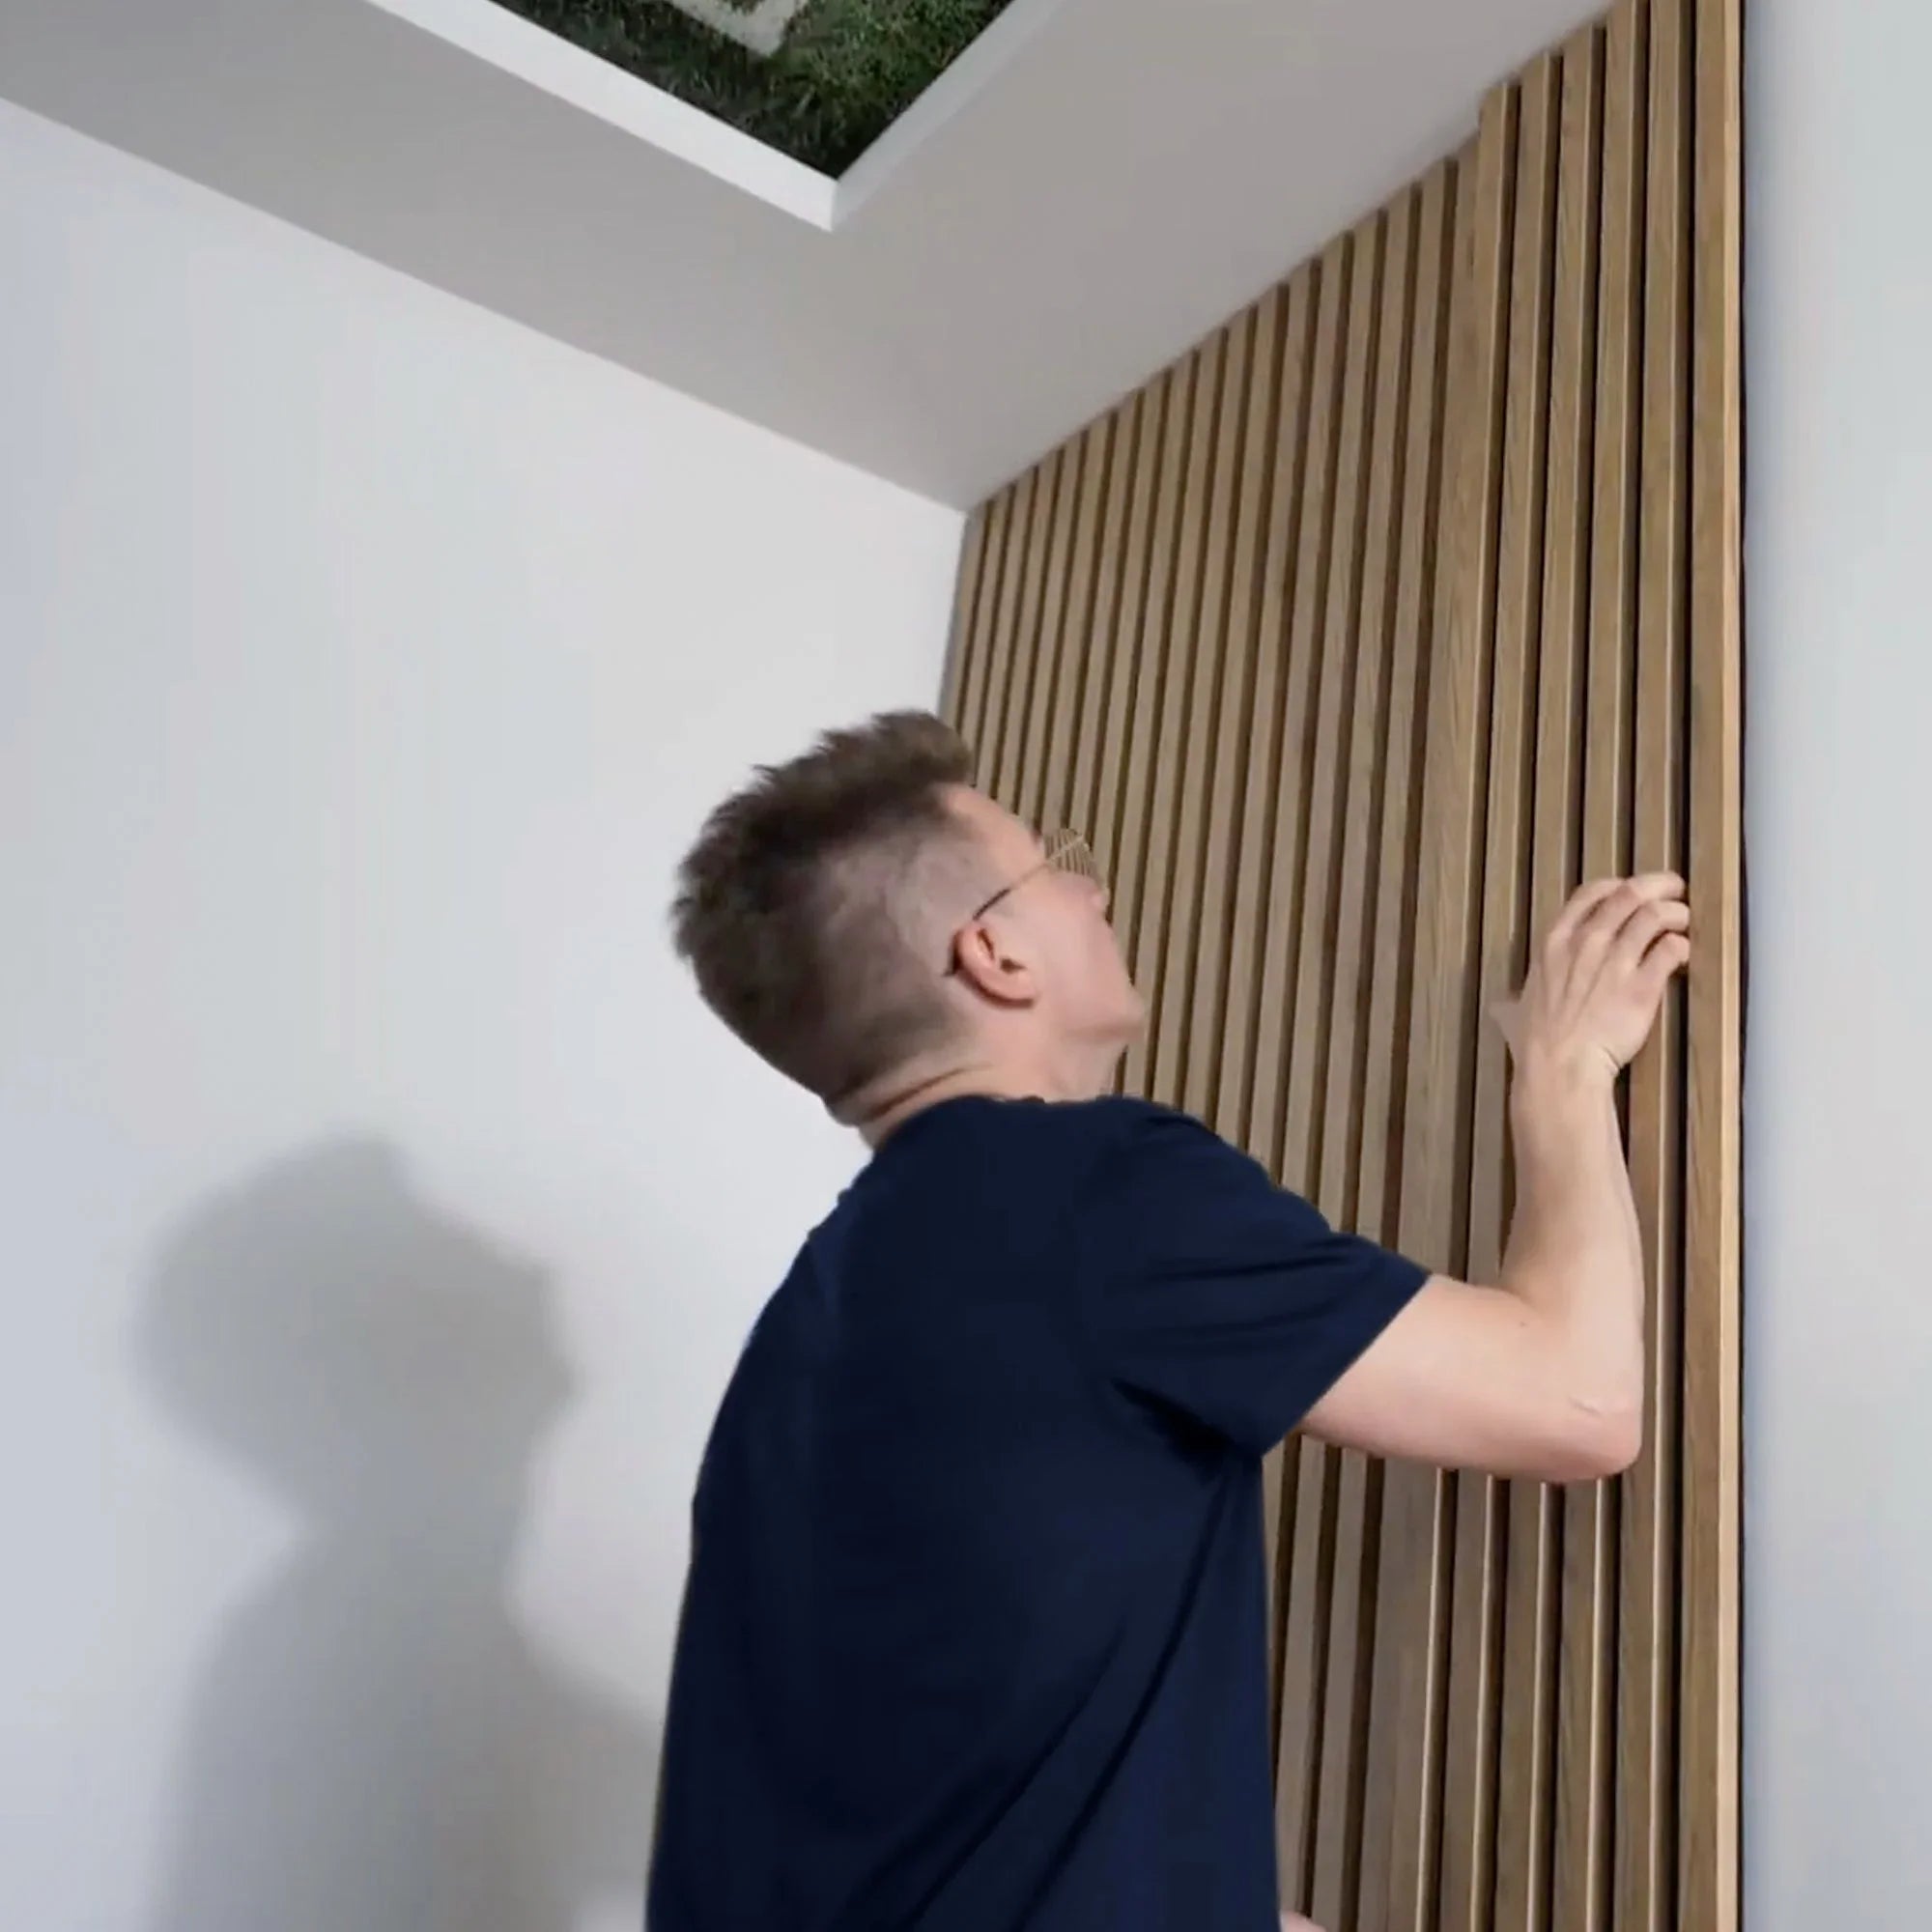
    Apply adhesive to the back of the panel. Press it firmly onto the wall. For extra security, use screws or nails along the edges. Keep checking alignment with your level as you continue across the wall.

    Installing Acoustic Slat Wall Panels

    The process is the same, but these panels include AcoustiCore™ felt backing. This adds impressive sound absorption, reducing echo and improving privacy. If you’re working in a bedroom, office, or media room, acoustic slat wall panels are a smart choice.

    Step 5: Finish and Enjoy Your New Space

    One of the biggest advantages of The Panel Hub panels is the seamless finish. Thanks to the 3-sided edge design, you don’t need trims or cover strips. The look is clean and continuous, just like a built-in feature wall.

    The transformation is instant. Your room feels warmer, quieter, and more refined. You gain style, comfort, and privacy without the mess of a renovation.

    Common Installation Mistakes and How to Avoid Them

    Most slat wall panel installation problems trace back to a small number of preventable errors. These are the ones that come up most often.

    Skipping acclimatisation: Timber is hygroscopic — it absorbs and releases moisture in response to the room’s humidity. Installing panels straight from delivery without allowing 48–72 hours of acclimatisation in the installation room leads to post-install movement, gaps, and in severe cases, buckling. This step is non-negotiable.

    Not checking the wall for plumb: A wall that’s slightly out of plumb or has a bow across its surface will cause installed panels to drift out of vertical over a run of several panels. Check with a spirit level before the first panel goes up and shim where necessary.

    Applying too little adhesive: Construction adhesive works by surface area contact. Thin beads with large gaps between them create a panel that feels secure until it doesn’t. Apply adhesive in full serpentine patterns across at least 60% of the panel back surface for a reliable bond.

    Cutting too close to the edge: When trimming panels around sockets and switches, measure twice and cut conservatively. A 1–2mm gap around an electrical fitting can be covered by the fitting’s faceplate; a 5mm gap cannot. Slow, careful cuts with a fine-tooth saw give cleaner results than rushing.

    FAQs: Installing Slat Wall Panels in Any Room

    What adhesive should I use for slat wall panels?
    A grab adhesive or construction adhesive rated for timber and plasterboard is standard. Avoid PVA or general-purpose adhesives — they lack the initial grab needed to hold panels in position while curing. Products like Gripfill, CT1, or equivalent grab adhesives work well.

    Can slat wall panels be installed without drilling?
    Yes, in most residential applications. Construction adhesive alone provides sufficient bond strength for slat wall panels on smooth plasterboard. Drilling is typically only necessary on tiled surfaces, ceilings, or when the substrate is irregular.

    How long does adhesive take to cure with slat wall panels?
    Initial grab occurs within 15–30 minutes. Full cure strength is reached in 24–48 hours depending on the adhesive product and ambient temperature. Avoid applying load or stress to panels in the first 24 hours.

    Do slat wall panels need to be sealed after installation?
    Most factory-finished panels come pre-sealed and don’t require additional sealing. In high-humidity rooms, a light additional coat of the manufacturer’s recommended finish oil may extend surface life, but this is optional rather than essential.

    Final Thoughts

    Installing slat wall panels is a project almost anyone can do. With the right tools and a little planning, you can transform a plain wall into a feature that feels custom-made. For small projects, DIY is quick and satisfying. For larger spaces, The Panel Hub has everything you need to achieve a professional result.

    If you’re ready to see how real acoustic wood panels will look in your home, try the Room Visualizer today. Once you see the difference, you’ll know exactly why so many people are choosing slat wall panels to refresh their interiors.

  • Transform Your Home with Decorative Wood Panel Walls

    Transform Your Home with Decorative Wood Panel Walls

    Wood paneling has never truly gone out of style. What has changed is the way designers and homeowners use it. Today’s decorative wood panels are lighter, smarter, and easier to install, making them an accessible upgrade for anyone who wants to bring warmth and architectural character into their home.

    At The Panel Hub, we have worked with interior designers, Airbnb hosts, and everyday homeowners who all share the same challenge: turning plain drywall into something memorable. With the right panels, you can achieve professional results in just a few hours without the need for major renovations.

    Why a Wood Panel Feature Wall Changes Everything

    Creating a wood panel feature wall is one of the simplest ways to transform a room. Unlike paint, which only changes color, wood paneling adds dimension and texture that immediately feels more refined. Whether you prefer vertical wood panels that draw the eye upward or wide panels that bring a grounded look, feature walls work in living rooms, bedrooms, and even home offices.

    Solid Wood Wall Paneling vs. Wood Effect Wall Panels

    Many homeowners ask us whether they should choose solid wood wall paneling or wood effect wall panels. Both have their strengths. Solid wood offers the authenticity of real grain and long-term durability, while wood effect panels provide the same stylish appearance with lighter construction and easier installation. Both options can be trusted to create a timeless design, and the right choice often comes down to budget, lifestyle, and project size.

    Modern Wood Paneling for Walls

    Modern design has embraced paneling in ways that feel fresh and uncluttered. Modern wood paneling for walls typically features slim slats, clean lines, and finishes that range from light oak to deep walnut. This contemporary look works well in open-plan living spaces or bedrooms where you want calm and elegance without overwhelming the room.

    Decorative Wood Panel Walls

    Decorative Wooden Wall Panels for Every Room

    The versatility of decorative wooden wall panels makes them a favorite for designers. Bedrooms benefit from panels used as headboard backdrops, living rooms gain instant sophistication with an accent wall, and dining rooms feel more intimate when wrapped with warm wood textures. For small apartments, even a single decorative wood panel wall can make the entire space feel more intentional.

    The Simple Way to Upgrade

    One of the best things about today’s paneling is how straightforward it is to install. Many homeowners complete projects in a single afternoon. For larger projects, The Panel Hub® even provides free professional installation on qualifying orders, ensuring every detail is perfectly aligned.

    If you are ready to explore the possibilities, visit our Wood Wall Panels collection. You will find carefully curated finishes that balance design, performance, and ease of installation, all made to order and shipped free within the continental U.S.

  • How to Clean Wall Panels Fast: 5 Types, 30-Minute Fix

    How to Clean Wall Panels Fast: 5 Types, 30-Minute Fix

    How can you clean wall panels without damaging their finish or sacrificing your entire weekend? Yup, it’s possible! and way easier than you think. Whether your panels are covered in dust, kitchen grease, or mysterious marks (we’ve all been there), this guide breaks down everything you need to know, from tools and Amazon-approved products to step-by-step methods that actually work. 

    Let’s make those walls look brand new, without the stress.

    How Long Does It Take to Clean Wall Panels?

    On average, cleaning a full wall of panels takes about 10–15 minutes for a basic wipe-down and 20–30 minutes if you’re doing a deep clean. The actual time depends on the size of the wall, type of panel, and how long it’s been since your last cleaning session.

    Keeping up with light weekly cleaning can actually reduce how often you’ll need deep maintenance, saving you time and effort in the long run.

    How to Clean Different Types of Wall Panels

    Different materials have different needs. Let’s break it down by panel type so you can clean with confidence.

    1. MDF Decorative Panels

    MDF (Medium-Density Fiberboard) panels are sturdy and stylish, but they’re sensitive to moisture. Over-wetting them can cause warping or swelling, so gentle cleaning is key.

    Steps:

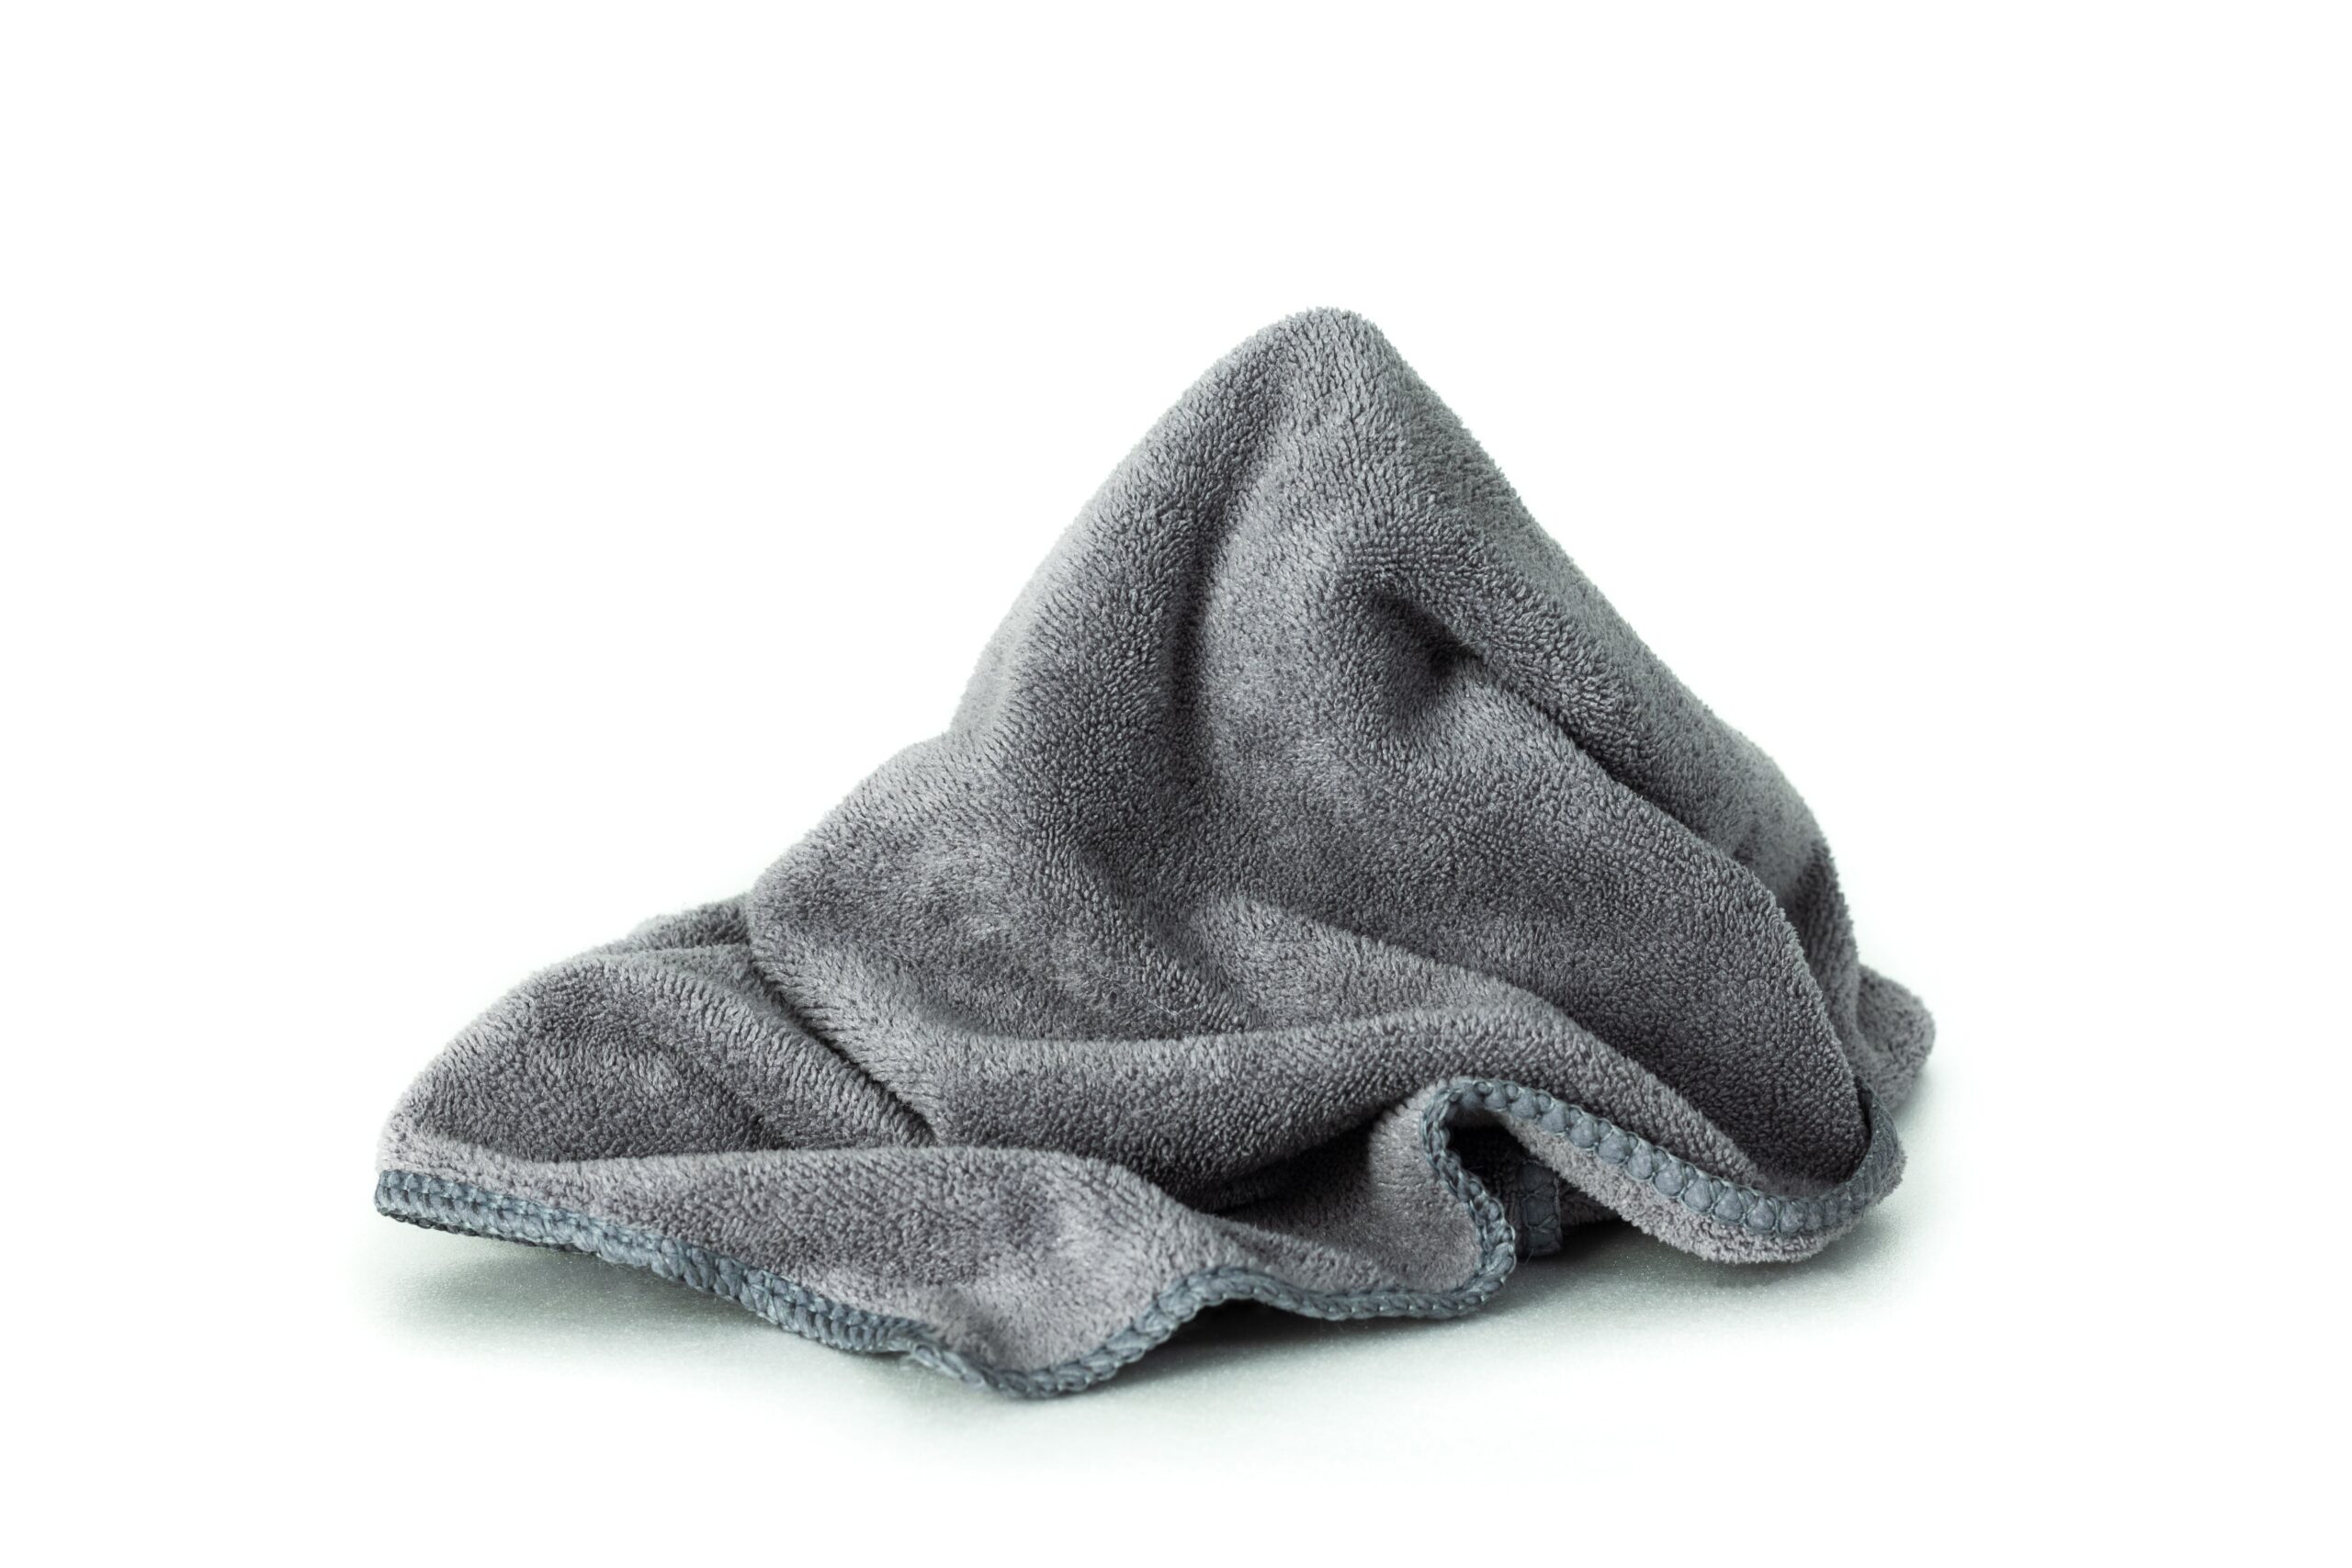
    1. Dust with a dry microfiber cloth or soft brush.

    2. Mix 1 tsp of mild dish soap + 2 cups warm water.

    3. Dampen (not soak!) a microfiber cloth and gently wipe the panel.

    4. Immediately dry with another clean cloth.

    Extra Tip: Use a vacuum with a soft brush attachment for grooves and slats.

    2. 3D PVC Wall Panels

    clean wall panels with dry cloth

    PVC panels are water-resistant and low-maintenance. It’s perfect for kitchens, bathrooms, or busy entryways. They handle moisture better than MDF and are ideal for frequent wipe-downs.

    Steps:

    1. Wipe off dust with a dry cloth.

    2. Spray a vinegar-water mix (1:1) or all-purpose cleaner.

    3. Wipe using a microfiber cloth in circular motions.

    4. For sticky areas, use a soft brush and soap water mix.

    DIY Hack: Add a few drops of lemon essential oil for a fresh scent.

    3. WPC Slat Panels

    man cleaning wpc wall panels with small brush

    WPC (Wood Plastic Composite) slats combine style and structure. Their grooved texture collects more dust, so a mix of dry and damp cleaning works best.

    Steps:

    1. Use a vacuum brush or handheld duster between slats.

    2. Mix water + a dash of mild detergent in a spray bottle.

    3. Lightly spray and wipe down with a microfiber cloth.

    4. For deep clean, use a small brush dipped in soapy water and follow with a dry wipe.

    Maintenance Tip: Wipe down once a week to prevent dust buildup in grooves.

    4. Slat Acoustic Panels

    American Acoustic Slat White Felt Wood Wall Panels - Oak - View 29

    When cleaning slat acoustic wall panels, it’s important to keep your panels looking sharp without damaging the felt backing or veneer.

    • Dust regularly
      Use a microfiber cloth or a soft duster to remove surface dust along the slats.
    • Vacuum between slats
      Use a vacuum with a brush attachment to clean inside grooves and remove trapped dust.
    • Spot clean gently
      For marks, lightly wipe with a damp (not wet) cloth and mild soap solution.
    • Dry immediately
      Use a clean dry cloth to prevent moisture from soaking into the felt backing.
    • Avoid harsh chemicals
      Stay away from abrasive cleaners, bleach, or excessive water.

    5. Solid Wood Wall Panels

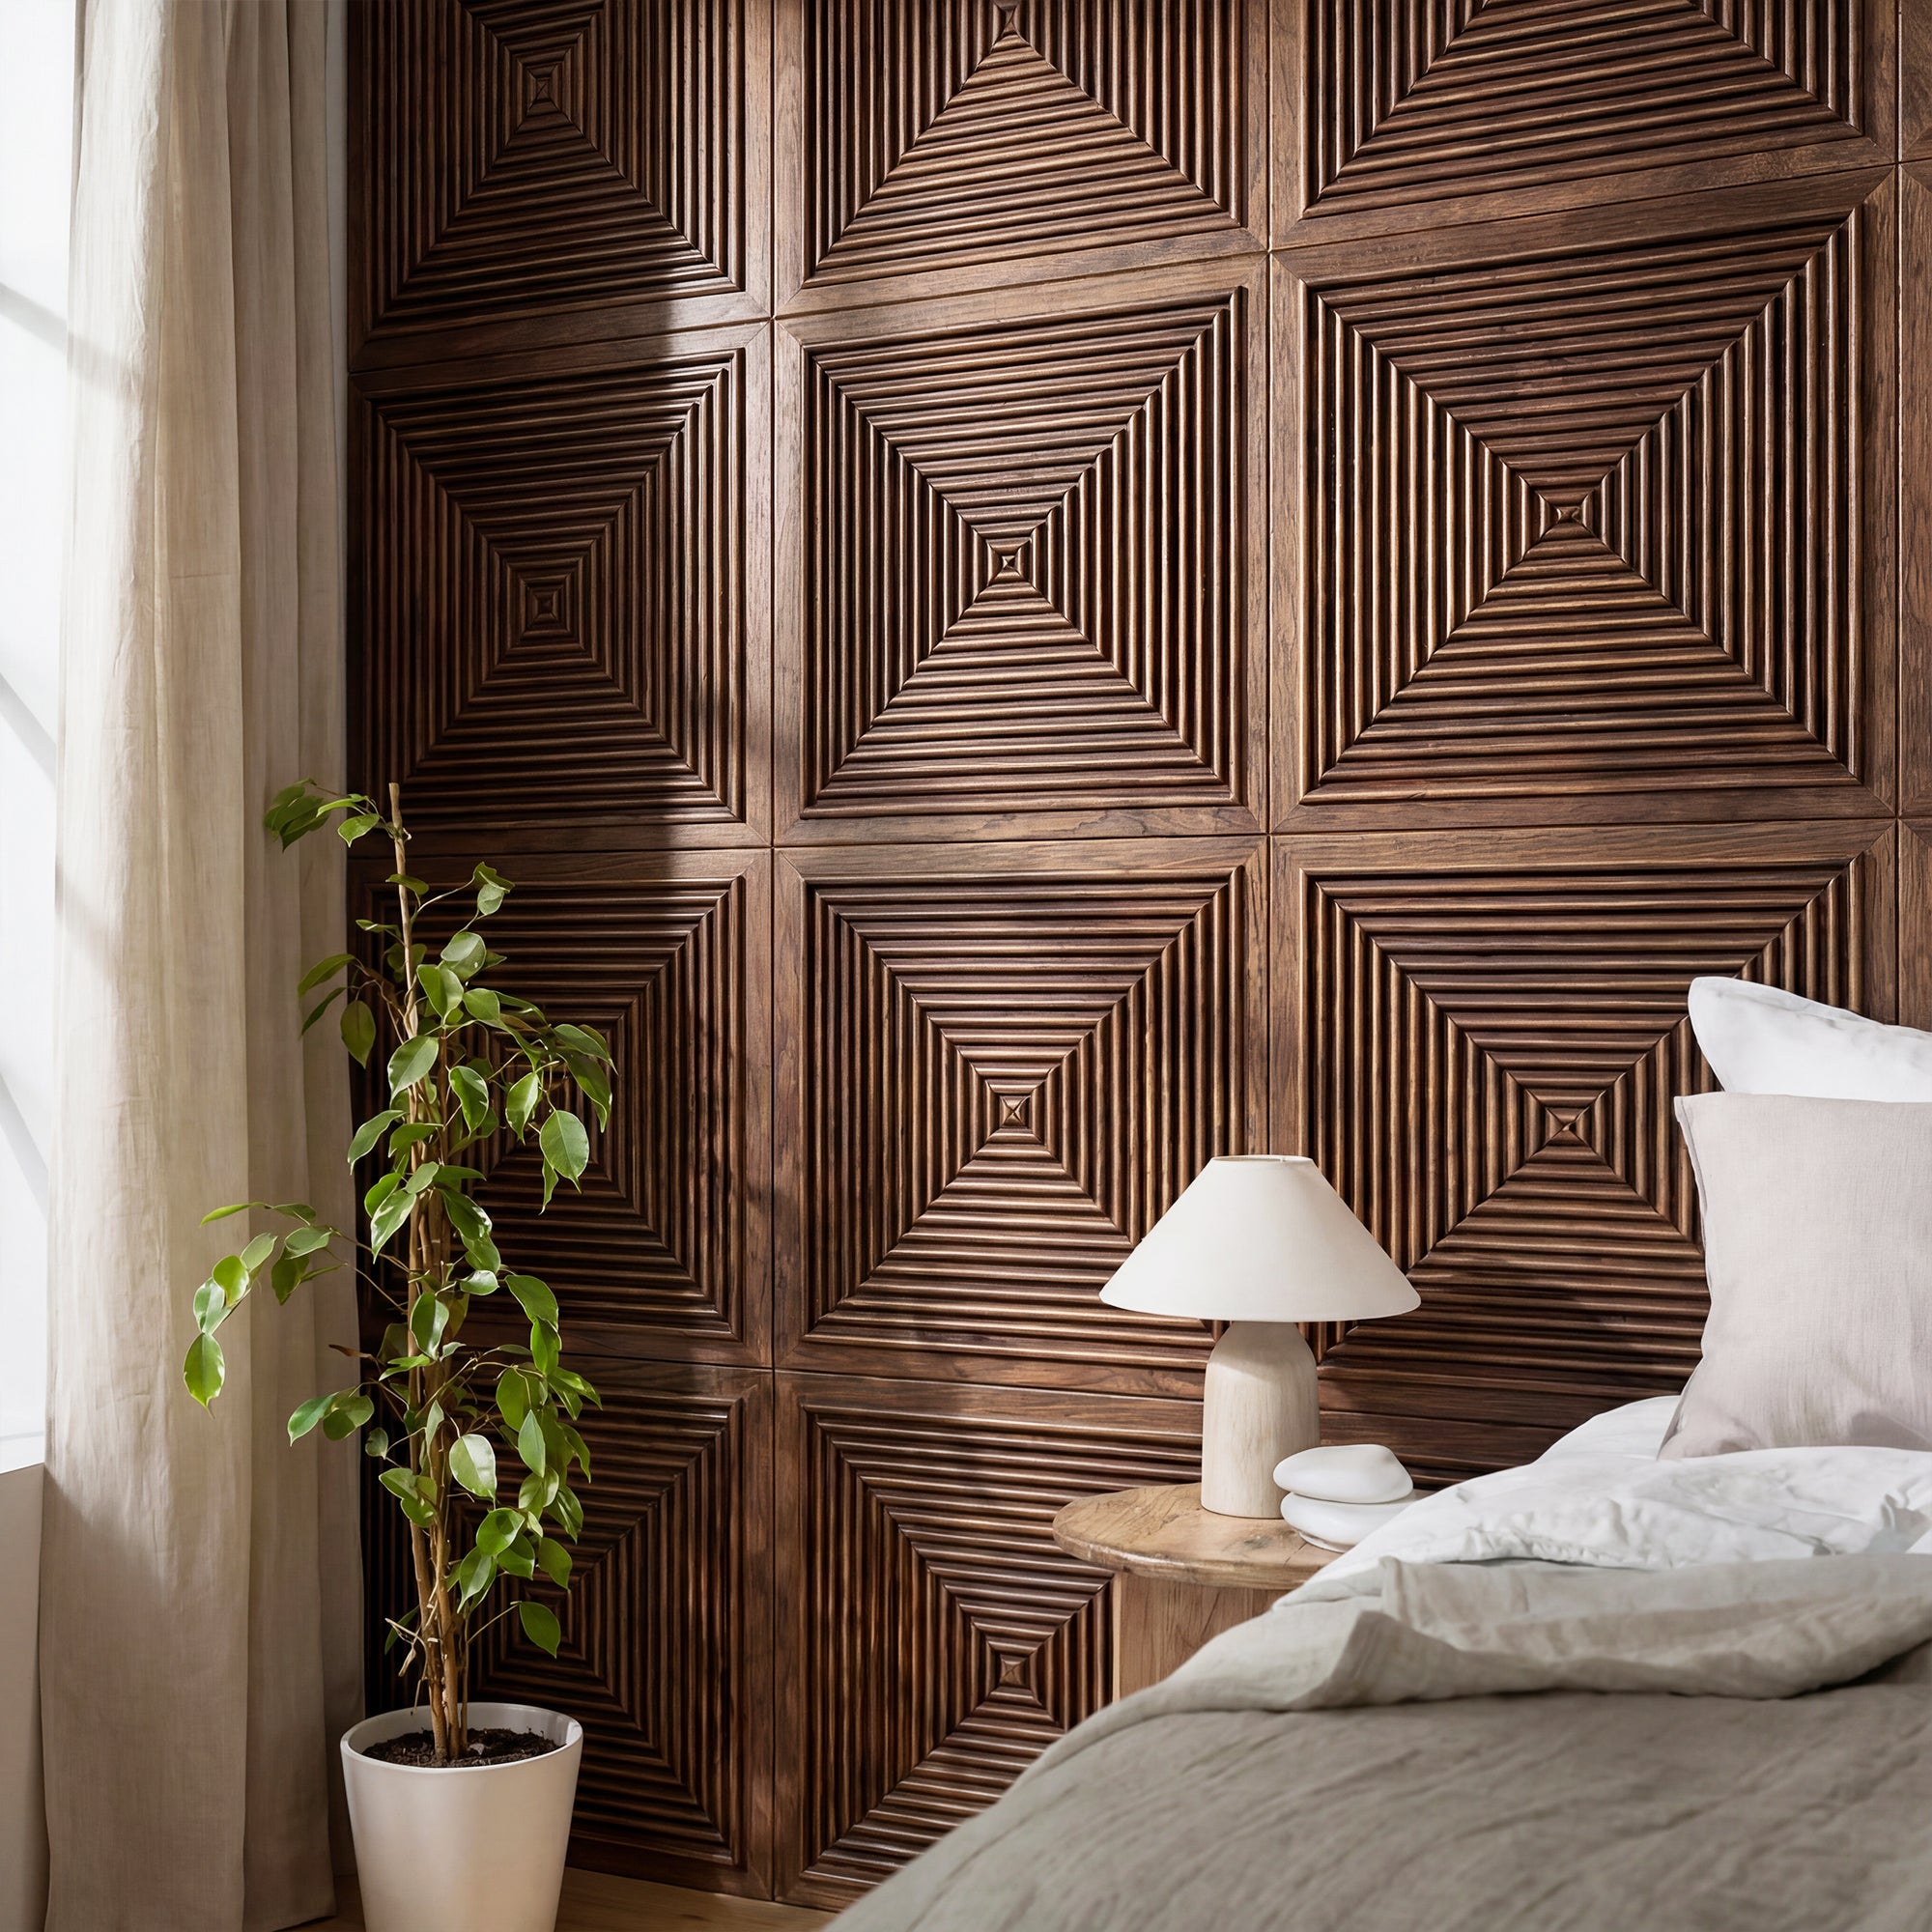
    3D Concentric Square Wood Wall Panel - Walnut - View 2Simple maintenance is key to preserve texture and finish of your solid wood wall panels.

    1. Remove loose dust
      Wipe with a dry cloth or use a soft brush for textured surfaces.
    2. Use a mild cleaning solution
      Mix water with a small amount of gentle soap.
    3. Wipe the surface
      Clean using a soft cloth or sponge, following the panel’s texture.
    4. Rinse lightly (if needed)
      Wipe again with a clean damp cloth to remove any residue.
    5. Dry thoroughly
      Prevent water spots or damage by drying with a soft towel.
    6. Avoid abrasive tools
      Do not use scrub pads or harsh chemicals that can damage the finish.

    DIY Natural Cleaning Spray (Safe for All Panel Types)

    Want a gentle, all-natural cleaner you can use anytime? Try this simple DIY mix:

    You’ll Need:

    • 1 cup warm water

    • 1 cup white vinegar

    • 1 tsp dish soap

    • (Optional) 5–6 drops of essential oil (e.g., lavender or tea tree)

    Shake well and spray lightly onto a cloth before wiping. Avoid spraying directly on the panels, especially MDF.

    Why it works: Vinegar cuts grease, soap lifts grime, and essential oils leave a fresh, clean scent.

    For wood panel surfaces, be sure to follow specific care instructions to avoid damage. Check out our How to Clean Wood Panel Walls: Eco-Friendly Guide for more detailed tips and wood-safe methods.

    How Often Should You Clean Wall Panels?

    Keeping a schedule helps extend the life of your panels and keeps your walls looking like new:

    • Light dusting: Weekly

    • Wipe-down with cleaner: Every 2–4 weeks

    • Deep clean (kitchen, bathroom, or high-touch areas): Monthly

    Pro Care Tip from The Panel Hub: Consistent light maintenance is more effective, and safer, than waiting for a full-on scrub fest.

    Tools & Products You’ll Need (All Easy to Find)

    Having the right tools makes all the difference. Gentle cleaners and soft materials help you avoid damaging the surface or finish of your wood wall panels, especially if they’re decorative or textured.

    Basic Tools for Any Wall Panel Type:

    • Microfiber Cloths (gentle on all surfaces)

    microfiber cloths

    • Soft Bristle Brush (great for grooves/textured panels)

    soft bristle brush

    • Spray Bottle (for DIY cleaning solution)

    spray bottle

    Gentle Cleaning Solutions:

    • Mild Dish Soap (like Dawn or Method)

    • White Vinegar + Water Mix (for natural cleaning)

    • Panel-safe all-purpose cleaner

    Note: Method All-Purpose Cleaner—French Lavender is one of my go-to picks for safe and effective everyday cleaning. It’s plant-based, non-toxic, and gentle enough to use on wall panels, whether they’re MDF, PVC, or WPC. What’s most appealing to me about it? It cuts through grease and dust without the harsh chemicals, and the soft lavender scent makes cleaning feel a little more calming (and way less like a chore). This product is ideal for maintaining the cleanliness, polish, and freshness of your panels, particularly in areas with heavy traffic.

    Avoid:

    • Abrasive scrubbers

    • Strong chemical cleaners (especially for MDF or PVC panels)

    • Bleach or ammonia (can discolor and damage panel surface)

    Important: Strong chemical cleaners or abrasives can strip finishes or damage sensitive surfaces. Always test a small area first.

    Eco-Friendly Way to Clean Wood Panel Walls

    Natural Cleaning Solutions

    Using the power of natural substances is a great way to get clean without leaving a chemical mark. Vinegar and water, which are both common household items, can work wonders. In a spray bottle, mix equal parts water and white vinegar. Using this solution works as a mild but effective cleaner that gets rid of dirt without bringing any chemicals that could be harmful into your home or the area around it.

    Reusable Cleaning Tools

    The tools we use to clean in an environmentally friendly way are a big part of the process.  Instead of using paper towels or wipes that you throw away, use old t-shirts or microfiber cloths that you can wash and use again.  The environment is better off because of them.  Another benefit of using these materials is that they not only work well to get rid of dirt and dust, but they can also be cleaned and used again and again, which cuts down on the amount of trash that is made.

    Mindful Water Usage

    Even though water is needed for cleaning, it is important to use it wisely because it is a valuable resource. When washing walls with wood paneling, you should dampen your cloth instead of soaking it. Too much water can hurt wood by warping it or making mold grow.

    Being aware of how much water you use goes beyond just cleaning, which is another interesting point. While you wash the cleaning supplies or cloths, don’t leave the taps running. Another great way to make sustainability a reality is to collect rinse water in a bucket and use it again for cleaning or watering plants.

    Biodegradable Soaps

    Sometimes, a little soap is needed to tackle stubborn stains or built-up grime. In such cases, it’s vital to choose soaps that are biodegradable and free from harmful chemicals. These soaps break down naturally, ensuring that they don’t pollute waterways or harm aquatic life.

    There are many eco-friendly products that clean wood and are good for the environment as well. You might be able to find a product that fits your goals for eco-friendly cleaning by reading the labels and doing some research. Remember that a little bit goes a long way, so be careful how much you take.

    The Last Sweep: Keep Your Panels Looking Fresh

    Cleaning wall panels doesn’t have to be a chore. With the right tools and gentle techniques, you can keep them looking fresh, elegant, and dust-free all year round.

    If you’re using wall panels from The Panel Hub, rest assured, our wood wall panel collections are made to be easy-care, long-lasting, and perfect for real-life messes. 

    FAQs: How to Clean Wood Panel Walls (Eco-Friendly Guide)

    What is the best natural cleaner for wood panel walls?

    A simple mix of warm water and mild soap (like castile soap) works well for everyday cleaning. For a more natural solution, you can use diluted white vinegar—but always test on a small area first to avoid affecting the finish.

    Can vinegar damage wood wall panels?

    Yes, if used improperly. Vinegar is acidic and can dull or damage certain finishes if used in high concentrations or too frequently. Always dilute it with water and avoid soaking the surface.

    How often should I clean wood panel walls?

    Light dusting can be done weekly, while deeper cleaning should only be done every few months or as needed. Over-cleaning with moisture can wear down the finish over time.

    What’s the safest way to remove stains from wood panels naturally?

    Use a damp microfiber cloth with a mild soap solution and gently wipe the affected area. For tougher stains, a paste of baking soda and water can help—but apply lightly and avoid scrubbing too hard.

    Can I use essential oils to clean wood panel walls?

    Yes, small amounts of essential oils (like lemon or tea tree) can be added to natural cleaning solutions for fragrance and mild antibacterial properties. Just be careful not to leave oily residue on the surface.

    How do I clean wood panels without damaging the finish?

    Always use a soft cloth, minimal water, and gentle cleaning solutions. Wipe in the direction of the wood grain and dry immediately after cleaning to protect the finish.

    Are eco-friendly cleaners effective for grease or kitchen buildup?

    Yes, natural solutions like diluted vinegar or a mild soap mixture can effectively cut through light grease. For heavier buildup, you may need to repeat the process or use a slightly stronger (but still gentle) natural cleaner.

    Can I use a steam cleaner on wood panel walls?

    It’s not recommended. Steam can force moisture into the wood, potentially causing warping, swelling, or damage to the finish over time.

  • Stone Wall Panels and Why People Are Crazy About Them

    Stone Wall Panels and Why People Are Crazy About Them

    Is stone really practical for interior walls or just something we admire in castles and luxury retreats?

    Stone wall panels are changing the game. Forget the mess and cost of traditional masonry. Today’s panels bring the natural look of stone into homes with less effort, more flexibility, and just as much wow factor. Whether you’re aiming for rustic, industrial, or ultra-modern, this article explores how stone wall panels can dramatically enhance your space—while keeping things budget- and installation-friendly. Let’s dive into the design ideas, benefits, and smart tips that make these panels one of the most stylish and functional wall upgrades around.

    Types of Stone Wall Panels

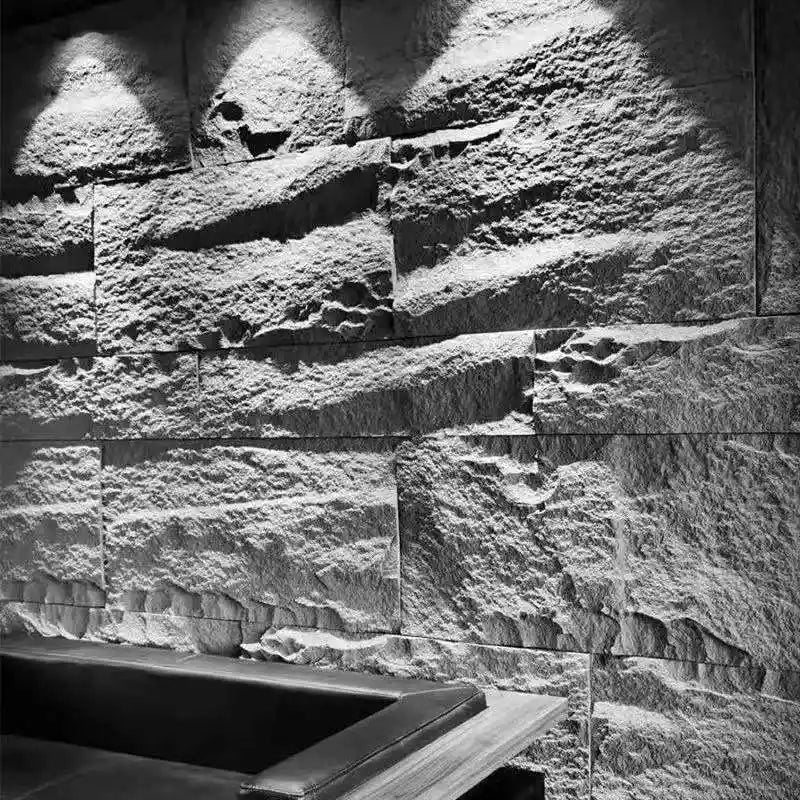
    Highland Rock Wall Panel | RockSurface®

    Not all stone wall panels are created equal—and that’s a good thing. There’s a wide variety to match different design tastes, budgets, and installation needs. Here’s a quick breakdown of the most popular types:

    Natural Stone Panels
    Made from real stone like slate, quartzite, or granite, these panels offer an authentic, timeless look. They’re heavier and often more expensive, but perfect for making a bold statement wall that feels high-end and permanent.

    Faux Stone Panels
    Lightweight and budget-friendly, faux panels are crafted from polyurethane or other composites. Thanks to modern manufacturing, they mimic the texture and look of real stone—without the structural demands.

    Stacked Stone Panels
    A favorite for adding dimension, stacked panels layer slim pieces of stone or stone-look material. Ideal for fireplaces or feature walls, they bring a natural, rugged texture that still feels clean and modern.

    Ledger Stone Panels
    These panels come with a rough, uneven surface that highlights natural textures and shadows. Great for rustic, Mediterranean, or earthy aesthetics.

    Where Should You Use Stone Wall Panels

    Stone Rock Wall Panel (set of 6) | RockSurface®Stone wall panels aren’t just for fireplaces or exterior facades anymore. Here are some top locations where they truly shine indoors:

    Living Room Centerpiece
    Turn a plain living room wall into a showstopper with stone panels as a backdrop for your TV, fireplace, or shelving. The natural texture adds depth and warmth, creating a grounded yet elevated ambiance.

    Spa-Like Bathrooms
    Yes—stone wall panels work in bathrooms too! Faux or sealed natural stone behind bathtubs or vanities adds a serene, spa-inspired touch. Just make sure to choose moisture-resistant materials.

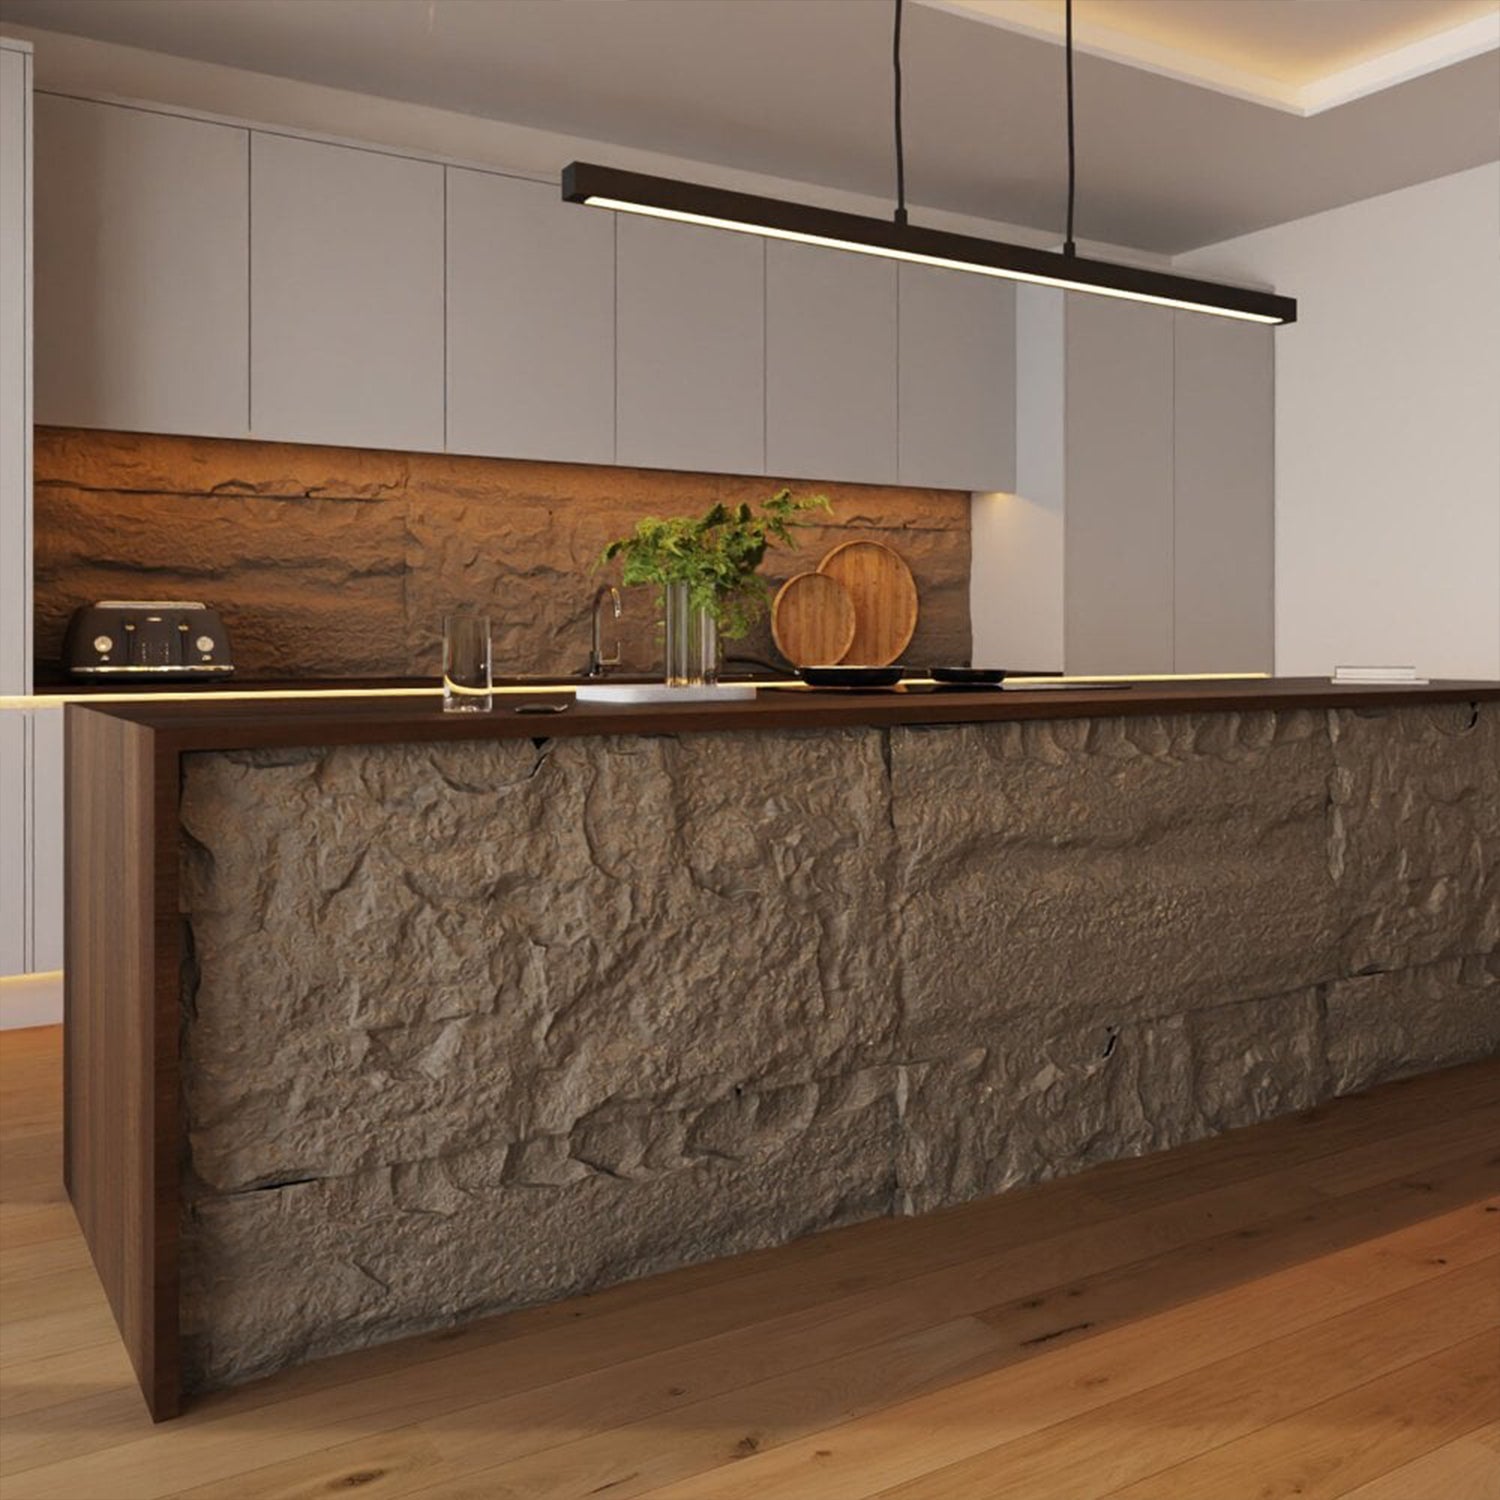
    Kitchen Backsplash
    Skip the traditional tile. Stone panels as a backsplash offer a rugged, natural vibe, especially in farmhouse, industrial, or organic-modern kitchens.

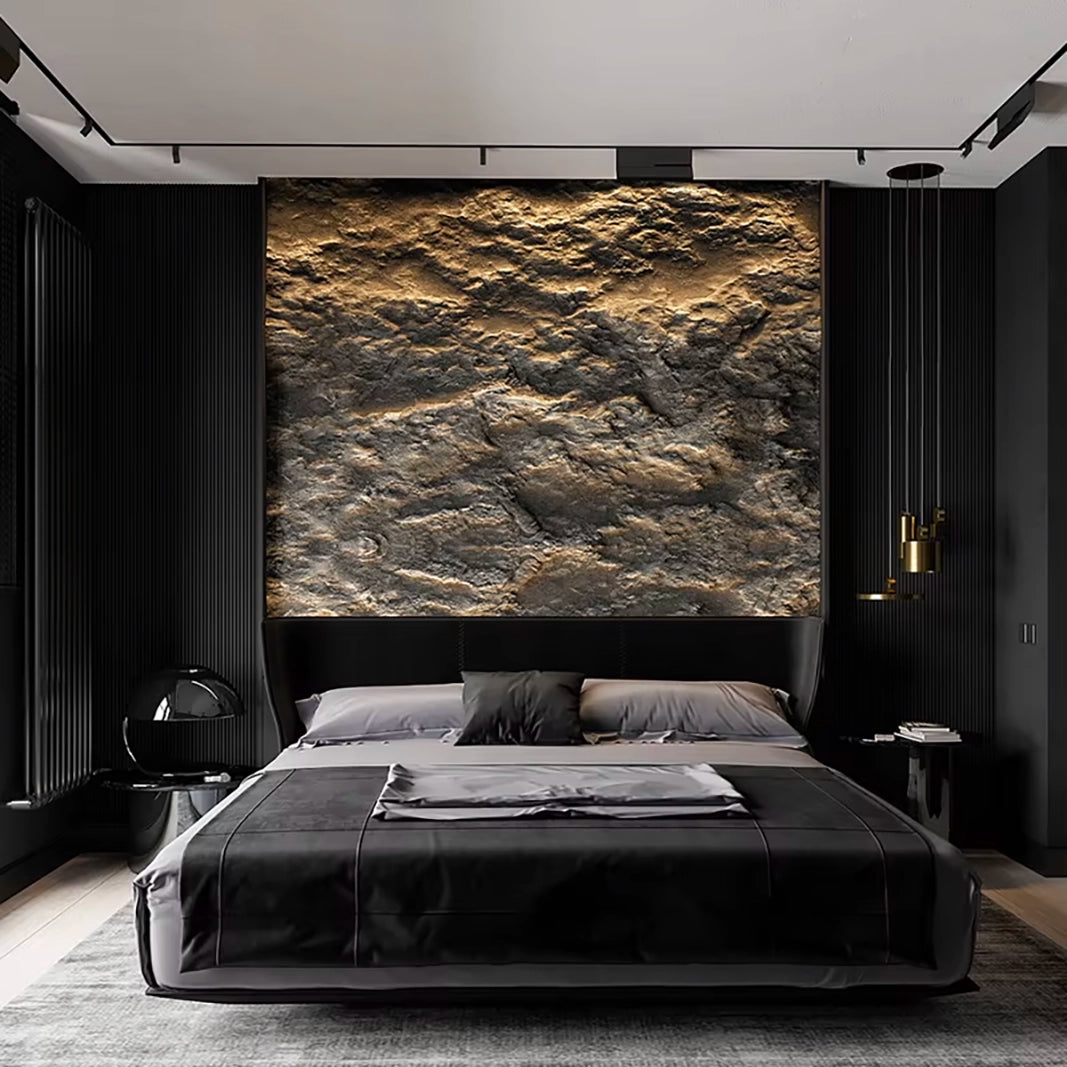
    Bedroom Feature Wall
    Bring texture and tranquility to your sleeping space with a stone-accented wall behind the bed. It adds character without the need for extra décor.

    Entryways and Hallways
    Want to impress guests the moment they walk in? A stone-paneled wall in your hallway or foyer immediately sets the tone for your home’s style.

    Benefits of Stone Wall Panels (Beyond the Obvious)

    Ridge Rock Wall Panel | RockSurface®

    Stone wall panels are more than just pretty. They’re a smart choice because they look good and are useful. One of the best things about them is how simple they are to put together. Many modern panels have edges that fit together or come with mounting hardware. This makes it faster and easier to set up with fewer tools or work.

    Both real and fake stone are very tough and can handle dents, scratches, and the normal wear and tear that happens in everyday life. They are also known for making homes more energy-efficient because stone naturally insulates and helps keep the temperature inside stable.

    Stone panels are great because they don’t need a lot of care. You only need to dust or clean them every so often to keep them looking new. They are probably so popular because their design is timeless and they can be used in a lot of different ways.

    Stone looks good in all kinds of homes, from rustic to industrial to modern to minimalist. It never goes out of style. In short, stone wall panels are pretty and useful for a long time.

    The Pros and Cons

    Stone wall panels are a powerful way to add instant character to any interior, but like any design choice, they come with both strengths and trade-offs. 

    ✅ Pros ❌ Cons
    Visually impactful – Adds texture, depth, and a natural element that instantly elevates any interior. Natural panels can be heavy and costly – Often require structural support and professional installation.
    Highly versatile – Suitable for living rooms, bedrooms, kitchens, and even bathrooms (depending on the material). Faux stone may lack realism up close – Especially in high-end or well-lit settings.
    DIY-friendly – Lightweight, interlocking designs make installation quick and simple. Moisture sensitivity – Faux panels need proper sealing in damp environments.
    Durable – Resists scratches, fading, and wear better than paint or wallpaper. Dust-prone textures – Rough surfaces may require more frequent cleaning.
    Timeless appeal – A classic look that adds long-term value to any home. Not easily replaceable – More permanent than wallpaper or paint.


    Real-Look, Minus the Hassle

    Stone Rock Wall Panel (set of 6) | RockSurface®

    People who want the rough look of real stone without the weight, mess, or high cost often choose faux stone wall panels. They are made of high-density polyurethane and are shaped like real stone to get the right textures and color variations. The end result is a light, cheap option that looks very real, even up close.

    One of the best things about them is how easy they are to put together. Most panels come in pieces that fit together, and you can use glue or screws to put them up. You don’t need to know how to do masonry. This makes them great for quick projects, accent walls, or upgrades that renters can use.

    Faux panels are also very useful. They look good in bathrooms, living rooms, offices, and even hallways (if they are sealed properly). They come in a lot of different styles and colors, like stacked stone and river rock, so they can fit in with a lot of different types of decor. Also, because they are light, they can be used on upper floors and in temporary buildings.

    Faux panels may look like real stone, but they may not feel like it and may not look as real in high-end settings. They still offer a great mix of style, ease of use, and low cost for most home projects.

    Final Thoughts: Is It a Smart Move?

    Stone wall panels combine style, practicality, and just the right amount of drama. They’re easier to install than traditional stone, easier to maintain than you might expect, and endlessly versatile across different spaces in the home. Whether you’re designing a cozy cabin feel or aiming for upscale elegance, these panels offer a shortcut to high-impact design—no demolition required. We’d highly recommend using faux stone wall panel as they are a lot easier to install and maintain.

  • Tile Alternatives for Bathrooms & Showers | No-Tile Ideas

    Tile Alternatives for Bathrooms & Showers | No-Tile Ideas

    Tile alternatives for bathrooms have advanced considerably — today’s options are just as water-resistant, far easier to install, and often significantly cheaper than traditional ceramic or porcelain tiles.

    Mia, a first-time homeowner in Portland, wondered this as she started restoring the 1970s bathroom in her craftsman-style house. “I love the concept of something different,” she remarked. “Tiles are nice, but I wanted my bathroom to feel warmer, simpler to maintain, and less… predictable.

    Thus started her exploration into tile substitutes—a universe rich with beautiful materials, inventive finishes, and more pragmatic choices than one would expect.

    This post is for you if, like Mia, you are looking for bathroom tile replacements for the walls, shower, or flooring.

    Why Skip the Tile?

    Tiles are timeless, sure. But they come with their set of challenges:

    • Grout can discolor and crack over time.

    • Installation is labor-intensive and expensive.

    • Moisture issues are common if tiles aren’t sealed or maintained properly.

    • And let’s face it—everyone’s bathroom looks the same.

    Homeowners and designers alike are searching for tile substitutes for bathroom walls, showers, and floors that represent beauty and utility in the era of personalization—without the inconvenience.

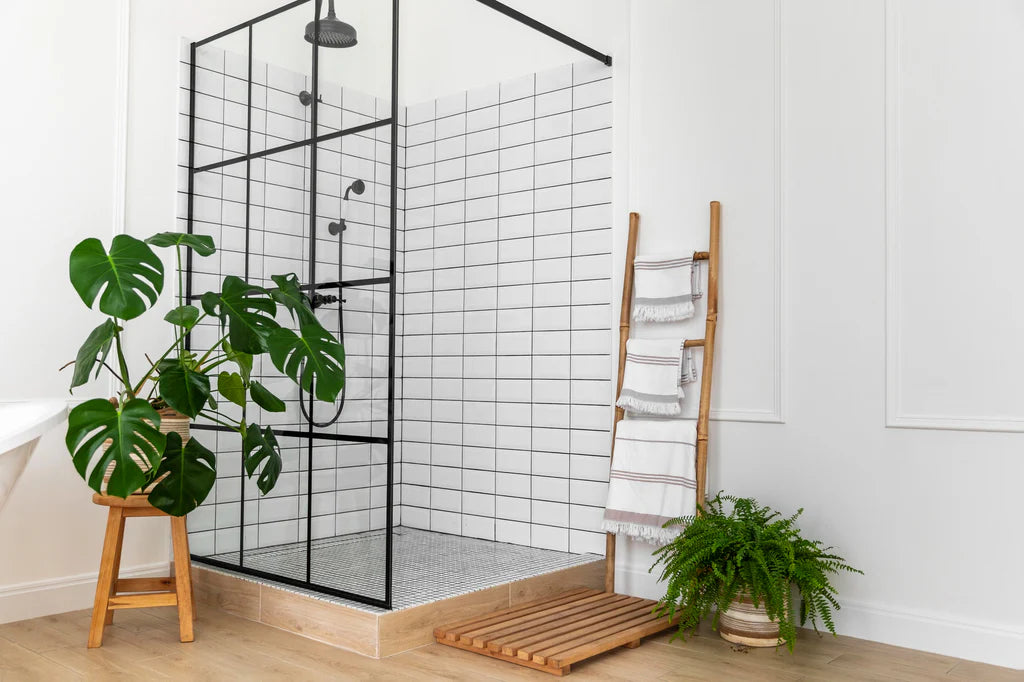
    1. Bathroom Wall Panels Instead of Tiles

    Instead of tiles, bathroom wall panels are among the most useful and fashionable choices. Designed to imitate the texture of actual stone, concrete, marble, or even wood, these large-format panels are constructed from waterproof materials such as PVC, WPC, laminate, or high-pressure compact boards.

    Mia ultimately selected waterproof panels with a soft oak finish. She remarked, “It made the room feel like a spa.” And no grout, too!

    • Waterproof bathroom without tiles

    • Easy installation

    • Modern, seamless look

    • Cheaper alternative to bathroom tiles

    Wall panels offer one major advantage: they cover large areas quickly, reducing installation time and long-term maintenance. They’re also perfect for showers without tile, especially when you want that clean, continuous surface.

    2. Shower Panels as Tile Alternatives

    Are you seeking alternatives to the tiles that are used in showers? We recommend that you opt for shower wall panels instead of tiles. These were manufactured with the express purpose of being resistant to excessive humidity and water exposure.

    The alternatives are magnificent, ranging from high-gloss acrylic panels to matte concrete textures, and they are frequently more cost-effective than other types of showers, such as tiled showers.

    Some trending shower wall ideas apart from tile:

    • Stone-effect panels for a natural vibe

    • Marble-look PVC for luxury on a budget

    • Textured matte finishes for modern minimalism

    Bonus: many alternative shower walls come in large sizes, which means fewer seams, less mold, and a sleek aesthetic.

    3. Concrete & Microcement Walls

    If you’re going for a contemporary, industrial look, microcement or polished concrete might be your dream finish. They’re seamless, waterproof when sealed properly, and give the bathroom a warm, tactile feel.

    Concrete is a non-tile shower wall option that feels elevated and earthy—perfect for minimalist or boho interiors. Just make sure it’s professionally installed and sealed.

    4. Waterproof Paint and Wall Sheeting

    For budget-conscious remodels or rental-friendly upgrades, waterproof paint or bathroom sheeting instead of tiles can be surprisingly effective. While it won’t give you the depth of real panels or tile, it can create a clean and simple aesthetic that’s quick to refresh.

    Pair it with attractive lighting, floating vanities, or warm-toned accessories for a modern twist.

    5. Wood-Look Panels (Yes, Even in the Bathroom!)

    You might be surprised, but wood wall panels are becoming a popular tile alternative for bathroom walls—especially when using engineered products like PVC or WPC slats. These panels are moisture-resistant, simple to wipe down, and available in finishes like walnut, teak, or bleached oak.

    It’s the perfect solution for those wanting a natural look without worrying about warping or water damage.

    These are also ideal if you’re aiming for a bathroom without tile yet still want a warm, luxurious feel.

    6. Vinyl Flooring for the Shower or Bath Area

    Need shower floor ideas apart from tile? Try waterproof luxury vinyl planks (LVP) or stone polymer composite (SPC). Both offer high water resistance and slip-resistant textures, and they’re much easier to install than ceramic or stone tile.

    Vinyl comes in hundreds of designs—from weathered wood to terrazzo—and it’s one of the most affordable tile alternatives for bathroom floors.

    Designing a Bathroom That’s Uniquely Yours

    Whether you’re remodeling a small guest bath or doing a total master suite overhaul, there’s no rule that says you need tile to make your bathroom beautiful. With today’s range of materials, you can:

    • Build a shower without tile

    • Install stunning bathroom panels instead of tiles

    • Create a waterproof bathroom without tiles

    • Choose finishes that reflect your style and creativity

    And the best part? You get a space that’s easier to clean, faster to install, and just as durable—if not more—than traditional tile.

    No-Tile Bathroom Ideas in Action

    Mia’s final bathroom design included:

    • Wood-look wall panels on the vanity wall

    • Matte grey acrylic panels in the shower

    • White microcement on the ceiling and floors

    • Warm LED lighting and brass fixtures for contrast

    The result? The result is a bathroom that evokes the atmosphere of a boutique hotel, even without the use of any tiles.

    “I didn’t want something ordinary,” she says. “Now, it feels like me.”

    Comparing the Main No-Tile Options: A Quick Reference

    For a bathroom renovation decision, having the main tile alternative options side by side makes the choice faster. Here’s a compact comparison of the most popular options covered in this guide.

    Option Water resistance DIY difficulty Lifespan Maintenance
    Bathroom wall panels Excellent (specified correctly) Moderate 20+ years Low — wipe clean, no grout
    Shower panels Excellent Easy–Moderate 20–30 years Very low — silicone joints only
    Microcement Good (when sealed) Difficult (professional) 10–15 years Moderate — resealing required
    Vinyl wall panels Good Easy 10–15 years Low

    The standout choice for most bathroom renovations is large-format bathroom wall panels — they combine the best water resistance, the longest lifespan, the lowest ongoing maintenance, and the widest range of finish options. The main reason to choose an alternative is cost (vinyl is the most affordable entry point) or aesthetic preference (microcement suits minimalist interiors where visible panel joins are undesirable).

    FAQs: Tile Alternatives for Bathrooms

    What is the most popular tile alternative for bathrooms in 2026?
    Large-format bathroom wall panels — particularly composite-core and acrylic panels in stone, marble, and concrete effects — are the dominant tile alternative in current bathroom renovations. They offer comparable water resistance without grout maintenance, faster installation, and a wider range of visual effects than standard ceramic tile ranges at equivalent price points.

    Are tile alternatives cheaper than tiles?
    On material cost alone, quality tile alternatives are broadly comparable to mid-range tiles. The cost saving comes primarily from installation: panel systems install faster and require fewer specialist tools than tiling. For professional installation, the reduced labour time saves cost. For DIY, the lower skill threshold and simpler tools make panel installation more accessible than DIY tiling.

    Can tile alternatives be used in a shower?
    Yes — shower-rated panels are specifically designed for continuous wet contact. Look for panels with a fully waterproof core (not just a waterproof surface), join systems that seal without grout, and a minimum 10-year warranty against water ingress. Install with waterproof silicone at all joints and the base line. Avoid vinyl or paper-backed products in direct shower contact — they are not rated for this use.

    Do no-tile bathrooms add value to a home?
    When properly specified and installed, contemporary bathroom wall panels are a neutral-to-positive factor in property value assessments. The grout-free aesthetic appeals to buyers who are aware of tile maintenance requirements. Budget vinyl panels or poorly installed products can have the opposite effect. The key factors are material quality and installation standard — the same criteria that determine whether any bathroom renovation adds value.

    Ready to Explore Your No-Tile Bathroom?

    The world of tile alternatives for showers and bathrooms is more exciting than ever. Whether you’re seeking an alternative to tiles on bathroom walls, a non-tile shower finish, or panels for bathrooms instead of tiles, there’s an option that fits your taste, budget, and lifestyle.

    Your bathroom doesn’t have to obey the rules. It just has to feel like home.

  • What Floors Look Best with Wood Paneling? 6 Ways to Decide!

    What Floors Look Best with Wood Paneling? 6 Ways to Decide!

    Wood paneling is back in style, and it’s adding a touch of warmth and character to homes everywhere! But with a resurgent trend comes a design dilemma: what floors look best with wood paneling? Choosing the right flooring can make or break your wood-paneled space.

    Fear not, design enthusiasts! In this post, we’ll explore 7 stunning combinations of wood paneling and flooring that will leave you inspired. We’ll also provide expert tips to help you decide what floors look best with wood paneling in your unique space, considering factors like style, budget, and traffic.

    So, whether you’re just starting to brainstorm ideas or ready to make a decision, keep reading for all the inspiration and information you need!

    Perfect Floor Types to Match Wood Paneling

    Wood paneling shows a certain charm and elegance that can easily be enhanced with the right flooring choice. But with a lot of options available, how do you decide which floor is the perfect match?

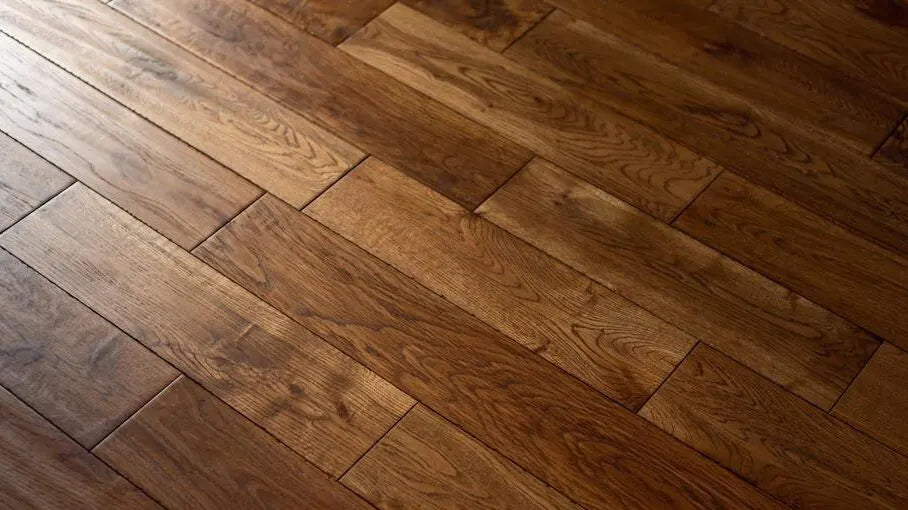
    Hardwood Floors

    what floors look best with wood paneling

    Choose a shade that complements or contrasts with your wood paneling, depending on the desired effect. Dark wood panels with light hardwood floors can create a striking contrast, while similar shades can produce a warm, cohesive look.

    Laminate Flooring

    what floors look best with wood paneling

    For those seeking a cost-effective yet stylish option, laminate flooring is a great choice. Available in a variety of colors and patterns, it can mimic the look of real wood, stone, or tile.

    Stone or Tile Flooring

    what floors look best with wood paneling

    If you want to add a touch of luxury and sophistication, stone or tile floors are the way to go. They provide a cool, sleek contrast to the warmth of wood paneling, creating a balanced ambiance.

    Carpet

    While not the first choice for some, carpet can actually work well with wood paneling, especially in intimate spaces like bedrooms or libraries. Choose a low-pile carpet in a neutral color or a subtle pattern to complement the wood without overwhelming it.

    Read more: Wood Wall Panelling Sheets: The Secret to Stunning Interiors

    Finding the Perfect Color to Complement Wood Paneling

    The color palette of a room plays a crucial role in setting the mood and enhancing the aesthetic appeal. When paired with wood paneling, choosing the right floor color can create a harmonious and inviting space.

    • Neutral Tones: You can never go wrong with neutral tones like beige, gray, or white. They make the wood paneling shine, creating a balanced look. These tones are versatile and can adapt to various decor styles, making them a stylish choice.
    • Earthy Hues: To enhance the natural appeal of wood paneling, opt for floors in earthy hues like browns, greens, or warm yellows. They are perfect for those aiming to create a nature-inspired space.
    • Bold Contrasts: choosing a floor color that contrasts with your wood paneling can create a striking visual impact. Dark wood panels with light-colored floors or vice versa adding depth and interest to the space.
    • Soft Pastels: If you prefer soft pastels like blush pink, light lavender, or baby blue can work beautifully with wood paneling. These colors add a touch of whimsy and charm, creating a gentle contrast that is both appealing and comforting.

    What to do with Wood Paneling

    Wood paneling is a versatile design element that can be used in various innovative ways to elevate your interior space.

    Creating Accent Walls

    Use wood paneling to create a stunning accent wall that adds depth and character to your space. This focal point can be enhanced with the right floor choice, ensuring a balanced and cohesive look.

    Mixing and Matching

    Don’t be afraid to mix and match different types of wood paneling and flooring for a unique and eclectic look. Ensure there is a common color or texture that ties the elements together for a harmonious result.

    Incorporating Modern Elements

    Wood paneling can be paired with modern furniture and decor to create a chic and contemporary space. Choose sleek and minimalistic floor options to complement this look. For a cutting-edge finish, our SoundPanel acoustic slat wood wall panels deliver clean lines and a sophisticated texture that pairs beautifully with minimalist flooring.

    Playing with Patterns

    Experiment with different paneling patterns and floor layouts to add visual interest and dynamic appeal to your space. Herringbone or chevron patterns can create a sophisticated and eye-catching look.

    Read more: How to Clean Wall Panels: Tips, Tricks, and Top 3 Recommendations

    Ensuring the Longevity of Wood Panel

    Investing in wood paneling requires commitment to maintenance and care to ensure their longevity and aesthetic appeal. These tips and tricks on how to keep your wood elements in top-notch condition, and will keep their beauty for years to come.

    • Regular Cleaning: Establish a regular cleaning routine to remove dirt, dust, and debris that can cause scratches and damage over time. Use gentle cleaning products and avoid excessive water to protect the wood.
    • Protecting from Sunlight: Prolonged exposure to sunlight can cause fading and discoloration. Use curtains or blinds to protect your wood paneling and floors from harsh UV rays.
    • Addressing Scratches and Dents: Address any scratches or dents promptly to prevent further damage.
    • Seasonal Care: Wood is sensitive to changes in humidity and temperature. Use humidifiers or dehumidifiers as needed to maintain a stable environment.

    Incorporating Patterns and Textures

    Incorporating patterns and textures in your flooring can add depth and interest to your space. Here are some ways to do this effectively:

    Herringbone Patterns: A herringbone pattern in wood or tile can introduce a sophisticated and timeless element to your space. This pattern breaks up large wooden surfaces and adds a touch of elegance and complexity to the room, making it more visually engaging.

    Mosaic Tiles: Using mosaic tiles in specific areas like the kitchen or bathroom can add a playful and artistic touch. Mosaic tiles come in various colors and designs, allowing you to create intricate patterns that can serve as a focal point in the room, adding a layer of visual interest. For a wood-based mosaic alternative, our GroovePanel mosaic wood wall panels bring the same artistic appeal with the warmth of natural wood.

    Textured Finishes: Opt for textured flooring materials, such as hand-scraped wood or textured tiles, to enhance the tactile experience and visual appeal. Textured finishes add a sense of depth and richness, making the floor look more interesting and inviting. These finishes also help in hiding minor scratches and wear, maintaining a fresh look longer.

    Dark Wood Paneling with Light Wood Floors: A Timeless Contrast

    Pairing dark wood paneling with light wood floors creates a striking balance between depth and brightness in your space. The rich, moody tones of dark wood paneling bring warmth and sophistication, while light wood floors provide an airy, open feel, preventing the room from feeling too heavy or enclosed.

    Why This Combination Works

    • Contrast that Pops – The stark difference in tones makes architectural details and decor stand out.
    • Balanced Aesthetic – Light floors reflect more natural light, preventing the space from feeling too dark.
    • Versatile Styling – Works with various design themes, from rustic farmhouse to modern minimalism.

    Best Light Wood Flooring Options

    1. White Oak – A durable and neutral-toned wood that pairs beautifully with dark paneling.
    2. Maple – Offers a subtle grain and a clean, bright look.
    3. Ash Wood – Features a slightly gray undertone, perfect for a contemporary aesthetic.

    If you’re aiming for a luxurious and inviting space, dark paneling with light floors is a foolproof design choice that stands the test of time. A standout option is the SoundPanel American Acoustic Slat Wood Wall Panel, which pairs beautifully with both light and dark floors to create a refined, textured feature wall.

    Wood Paneling for Floors: Should You Try It?

    While wood paneling is traditionally used for walls, it’s gaining traction as a unique flooring option that adds texture and character. Wood paneling for floors isn’t just about aesthetics—it also offers durability and warmth underfoot.

    Pros of Using Wood Paneling for Floors

    ✅ Distinctive Look – Creates a seamless, cozy feel when paired with matching wall panels.
    ✅ Sustainable Choice – Many wood paneling options are made from reclaimed or responsibly sourced materials.
    ✅ Varied Textures & Finishes – From glossy varnishes to matte finishes, you can customize the look.

    Things to Consider

    • Durability: Opt for high-quality sealed wood panels to prevent scratches and water damage.
    • Maintenance: Regular polishing and protective coatings are necessary for longevity.
    • Room Suitability: Best used in low-traffic areas like bedrooms, offices, or lounges.

    If you’re looking for an unconventional flooring choice, wood paneling for floors can be an elegant and eco-friendly option.

    Conclusion

    It’s pretty clear that nailing the “what floors look best with wood paneling?” question can totally transform your space. With the right wood panels, you’re not just choosing décor, you’re choosing a vibe, a statement, and a whole mood!

    So, pick panels that talk to you, and watch your space go from “just okay” to “oh, wow!” in a snap!

  • Faux Stone Wall Panels in 2026: Buying Guide for a Modern Elegance

    Faux Stone Wall Panels in 2026: Buying Guide for a Modern Elegance

    Transforming your home’s look without the high costs and hassle of natural stone is possible with faux stone wall panels. These lightweight, versatile panels imitate the texture and appearance of real stone, making them a great option for both exterior and interior use.

    Of course, I love home decor and DIY projects. I’ve worked with faux stone wall panels and have seen firsthand how they can instantly elevate the style of any space.

    Whether you’re creating a stunning feature wall inside your living room or upgrading your home’s curb appeal, faux stone panels offer beauty, practicality, and affordability. Let’s explore their benefits, applications, and how to use them effectively.

    What Are Faux Stone Wall Panels

    Faux stone wall panels are made from high-density polyurethane or other durable materials designed to replicate the look of natural stone. These panels are lightweight, easy to install, and available in a variety of styles and colors, making them suitable for almost any design aesthetic.

    Unlike real stone, they are:

    • Easier to install (DIY-friendly)
    • More affordable
    • Lightweight and versatile

    This makes them ideal for interior accent walls, fireplaces, and even commercial spaces.

    What’s great about faux stone wall panels is their versatility; they can be used for both faux stone panels exterior projects, like cladding a home’s facade, and faux stone wall interior applications, such as a feature wall in your living room or bedroom.

    Why Choose Synthetic Stone Wall Panels?

    There are several reasons why homeowners and designers are opting for faux stone over natural stone:

    Benefits of Fake Stone Wall Panels

    • Cost-Effective: Faux stone is significantly cheaper than natural stone, both in material and installation costs.

    • Lightweight: Unlike natural stone, faux stone panels are easy to handle and don’t require structural reinforcements.

    • Easy Installation: Many panels are designed for DIY installation with simple tools, saving you time and money.

    • Durable: Faux stone is weather-resistant and can withstand moisture, making it perfect for exterior and interior use.

    • Low Maintenance: Unlike natural stone, faux panels don’t require sealing and are easy to clean.

    For ideas on waterproof options, read Waterproof Faux Stone Shower Panels: Elegant and Long-Lasting.

    Artificial Stone Wall Panels for Exteriors

    Faux Stone Wall Panels for Exteriors

    Transform Your Curb Appeal with Faux Stone Panels

    Adding faux stone panels exterior can instantly upgrade the look of your home. Whether it’s cladding your entire facade or accenting specific areas like columns or entryways, faux stone adds sophistication and texture.

    Popular Exterior Applications:

    • Home facades and siding

    • Outdoor kitchens

    • Garage exteriors

    • Garden walls

    • Porch or patio accents

    If you’re considering exterior projects, check out Transforming Exteriors: The Magic of Fake Rock Wall Panels.

    I recently installed faux stone panels on my front porch columns, and the transformation was incredible. The project was easy to complete over a weekend, and the panels added a modern, welcoming touch to my home’s exterior.

    Faux Stone Wall Panels for Interiors

    Create Stunning Feature Walls Indoors

    Faux stone wall panels are equally effective for faux stone wall interior projects, bringing warmth and character to your home. They work perfectly in various rooms, adding a rustic or modern charm depending on your style.

    Popular Interior Applications:

    • Living room feature walls

    • Fireplace surrounds

    • Kitchen backsplashes

    • Bathroom walls

    • Accent walls in bedrooms or hallways

    Learn how rock wall panels can elevate your interiors with The Beauty of Rock Wall Panels: A Solution for Luxurious Interiors.

    I used faux stone wall panels to create a feature wall in my living room, and it quickly became the centerpiece of the space. Paired with soft lighting and cozy furniture, the wall added depth and texture, making the room feel like a designer showroom.

    Faux Stone Wall Panels Recommendations

    Highland Rock Wall Panels

    The highland rock wall panels are one of the most popular choices for living rooms because they offer a clean yet textured look.

    They work especially well:

    • Behind TVs
    • As a feature wall behind sofas
    • In modern or transitional interiors

    Their linear design adds depth without overwhelming the space, making them ideal for everyday living environments.

    Bold Ridge Rock Panels

    If you want your wall to stand out, ridge rock-style panels deliver strong texture and visual impact.

    They’re perfect for:

    • Accent walls
    • Entryways
    • Large, open spaces

    These decorative stone panels create dramatic shadows and dimension, instantly elevating the room.

    Natural Stone Rock Wall Panels

    The stone rock wall panels bring a more organic and natural feel, making them great for cozy interiors. For modern homes, go for faux stone wall panels in neutral tones like gray, beige, or soft white.

    These styles:

    • Keep the space clean and minimal
    • Pair well with wood, metal, and glass elements
    • Enhance natural light without overpowering the design

    How to Choose the Right Faux Stone Wall Panels

    Choosing the right faux stone wall panels isn’t just about looks, it’s about finding the right balance between style, quality, and functionality for your space. Here’s what to consider before making a purchase:

    Panel Material & Durability

    Most faux stone panels are made from polyurethane, PVC, or composite materials. High-density polyurethane panels like the ones from The Panel Hub are often the best choice because they offer a more realistic stone texture, better durability, and resistance to moisture.

    If you’re installing in areas like living rooms or near entryways, prioritize panels that are impact-resistant and long-lasting.

    Thickness & Realism

    Thickness plays a major role in how authentic the panels look. Thicker faux stone wall panels create deeper shadows and textures, making them nearly indistinguishable from real stone.

    • Thin panels → flatter, less realistic appearance
    • Thick panels → premium, high-end finish

    If your goal is a luxury look, always go for thicker, high-quality panels.

    Color & Tone Matching

    The color of your decorative stone wall panels should complement your existing interior.

    • Light tones → make rooms feel larger and brighter
    • Dark tones → create depth and a dramatic focal point
    • Neutral blends → offer versatility and timeless appeal

    Also consider how the panels will look under natural and artificial lighting, as texture and color can shift throughout the day.

    Panel Size & Coverage

    Larger panels mean fewer seams and faster installation, which improves the overall finish. Smaller panels may require more effort and can make seams more visible if not installed carefully.

    Always calculate your wall coverage and order an additional 10-15% extra to account for cuts and adjustments.

    Indoor vs Outdoor Use

    Not all fake stone wall panels are designed for exterior use. If you’re considering outdoor installation, make sure the panels are UV-resistant and weatherproof.

    For indoor use, focus on lightweight, easy-to-handle panels with realistic finishes.

    How to Install Faux Stone Wall Panels

    Step-by-Step Installation Guide

    Installing faux stone wall panels is easier than you think, especially for DIY enthusiasts:

    1. Prepare the Surface: Ensure the wall is clean, dry, and free of debris.

    2. Measure and Plan: Measure the area and plan the layout to minimize cuts and waste.

    3. Cut the Panels: Use a saw to cut the panels to fit your space.

    4. Apply Adhesive: Use a strong adhesive designed for wall panels.

    5. Secure with Screws: Attach the panels to the wall for extra security.

    6. Finish the Edges: Use matching trim pieces or caulk for a seamless look.

    Maintenance Tips for Faux Stone Panels

    Faux stone wall panels are low-maintenance, but a little care goes a long way:

    • Dust Regularly: Use a soft brush or cloth to remove dust.

    • Spot Clean: Wipe stains with mild soap and water.

    • Inspect Annually: Check for any loose panels or damage, especially on exterior applications.

    For waterproof options in bathrooms, read Waterproof Wall Panels for Bathrooms: Say Bye to Blandness.

    Keep Exploring: Stone & Rock Panel Guides

    Why Homeowners Love Faux Stone Wall Panels

    As someone who loves DIY projects and interior design, faux stone wall panels have been a game-changer. They allowed me to achieve a high-end look without breaking the bank. Whether it’s creating a cozy living room or elevating my home’s exterior, these panels offer endless possibilities.

    A Worthwhile Investment

    Faux stone wall panels are a versatile, cost-effective way to enhance both your home’s interior and exterior. From upgrading your curb appeal with faux stone panels exterior to creating stunning indoor feature walls with faux stone wall interior designs, the possibilities are endless.

    Not only are these panels easy to install, but they’re also durable and low-maintenance, making them a favorite for DIYers and homeowners alike. Whether you’re tackling a big renovation or a small decor update, faux stone wall panels provide the perfect blend of style and practicality.

    Ready to transform your space? Explore the beauty and versatility of faux stone wall panels today!