Tag: GroovePanel

  • Wood Wall Panel Maintenance: How to Clean and Care for Your Panels

    Wood Wall Panel Maintenance: How to Clean and Care for Your Panels

    Wood wall panel maintenance is actually very handy these day. These panels have a reputation for being high-maintenance — an impression inherited from hardwood flooring, outdoor decking, and traditional painted joinery that needs regular attention. The reality for contemporary engineered wood wall panels is quite different. A quality wood panel installation requires a fraction of the maintenance of hardwood flooring and far less than tiled surfaces with grout joints.

    Routine Cleaning

    Dusting

    Wood slat and fluted panels accumulate dust in their grooves and gaps more readily than flat walls. A soft brush attachment on a vacuum cleaner, or a microfibre duster, removes surface dust without scratching the finish. In bedrooms and living rooms, monthly dusting is typically sufficient. In kitchens where airborne grease deposits are a factor, more frequent cleaning is recommended.

    Wiping Down

    A lightly damp microfibre cloth handles most surface marks on finished wood wall panels. Wipe along the grain of the wood or in the direction of the slat profile. Use minimal moisture — wood panels should never be saturated, even those with moisture-resistant surface treatments.

    Stubborn Marks

    For marks that don’t respond to a damp cloth, a mild solution of washing-up liquid in warm water applied with a soft cloth handles most household marks. Rinse with a clean damp cloth immediately and dry with a soft towel. Avoid leaving soapy residue on the surface.

    Dealing with Specific Issues

    Moisture and Humidity

    Wood is hygroscopic — it absorbs and releases moisture from the surrounding air. In spaces with variable humidity (bathrooms, kitchens), this can cause minor expansion and contraction of individual slats or panels. Quality engineered wood panels like the GroovePanel® and SoundPanel™ are designed to manage this movement, but good ventilation in moisture-prone rooms is the best mitigation.

    Scratches and Surface Marks

    Fine surface scratches in oiled or brushed wood finishes can often be addressed using a small amount of matching wood touch-up oil applied with a soft cloth, worked along the grain direction. For deeper marks, a touch-up pen matched to the panel colour can conceal damage effectively.

    Loose Panels or Slats

    If an individual slat or panel section becomes loose, re-adhere it using the same type of adhesive used in the original installation. Clean both surfaces before re-gluing and allow adequate curing time before putting the surface back in use.

    What to Avoid

    • Harsh chemical cleaners: Bleach, ammonia, and solvent-based products can strip the surface finish and cause permanent discolouration.
    • Abrasive pads or brushes: Steel wool, scouring pads, and stiff brushes scratch wood surfaces.
    • Excess moisture: Wet cloths, steam cleaners, and standing water are all harmful to wood panels regardless of surface treatment.
    • Direct sunlight without UV protection: Prolonged direct sun causes wood finishes to fade. UV-filtering window film or window treatments help protect panels in south-facing rooms.

    Long-Term Care Schedule

    • Monthly: Light dust with microfibre cloth or soft brush
    • Quarterly: Wipe down with damp cloth; check for any loose slats or panels
    • Annually: Apply maintenance oil or wax if the surface finish requires it — check manufacturer guidance

    For specific care guidance for your panels, contact The Panel Hub directly or read our care & maintenance guide — maintenance requirements vary by panel type and surface finish.

  • Slat Panels vs Fluted Panels: What’s the Difference and Which Should You Choose?

    Slat Panels vs Fluted Panels: What’s the Difference and Which Should You Choose?

    If you are considering between slat panels vs fluted panels, this guide is for you. “Slat panels” and “fluted panels” are used interchangeably in many product listings, social media posts, and interior design articles. They’re not the same thing — and choosing between them affects the appearance, acoustic performance, and practical behaviour of the finished wall.

    What Are Slat Panels?

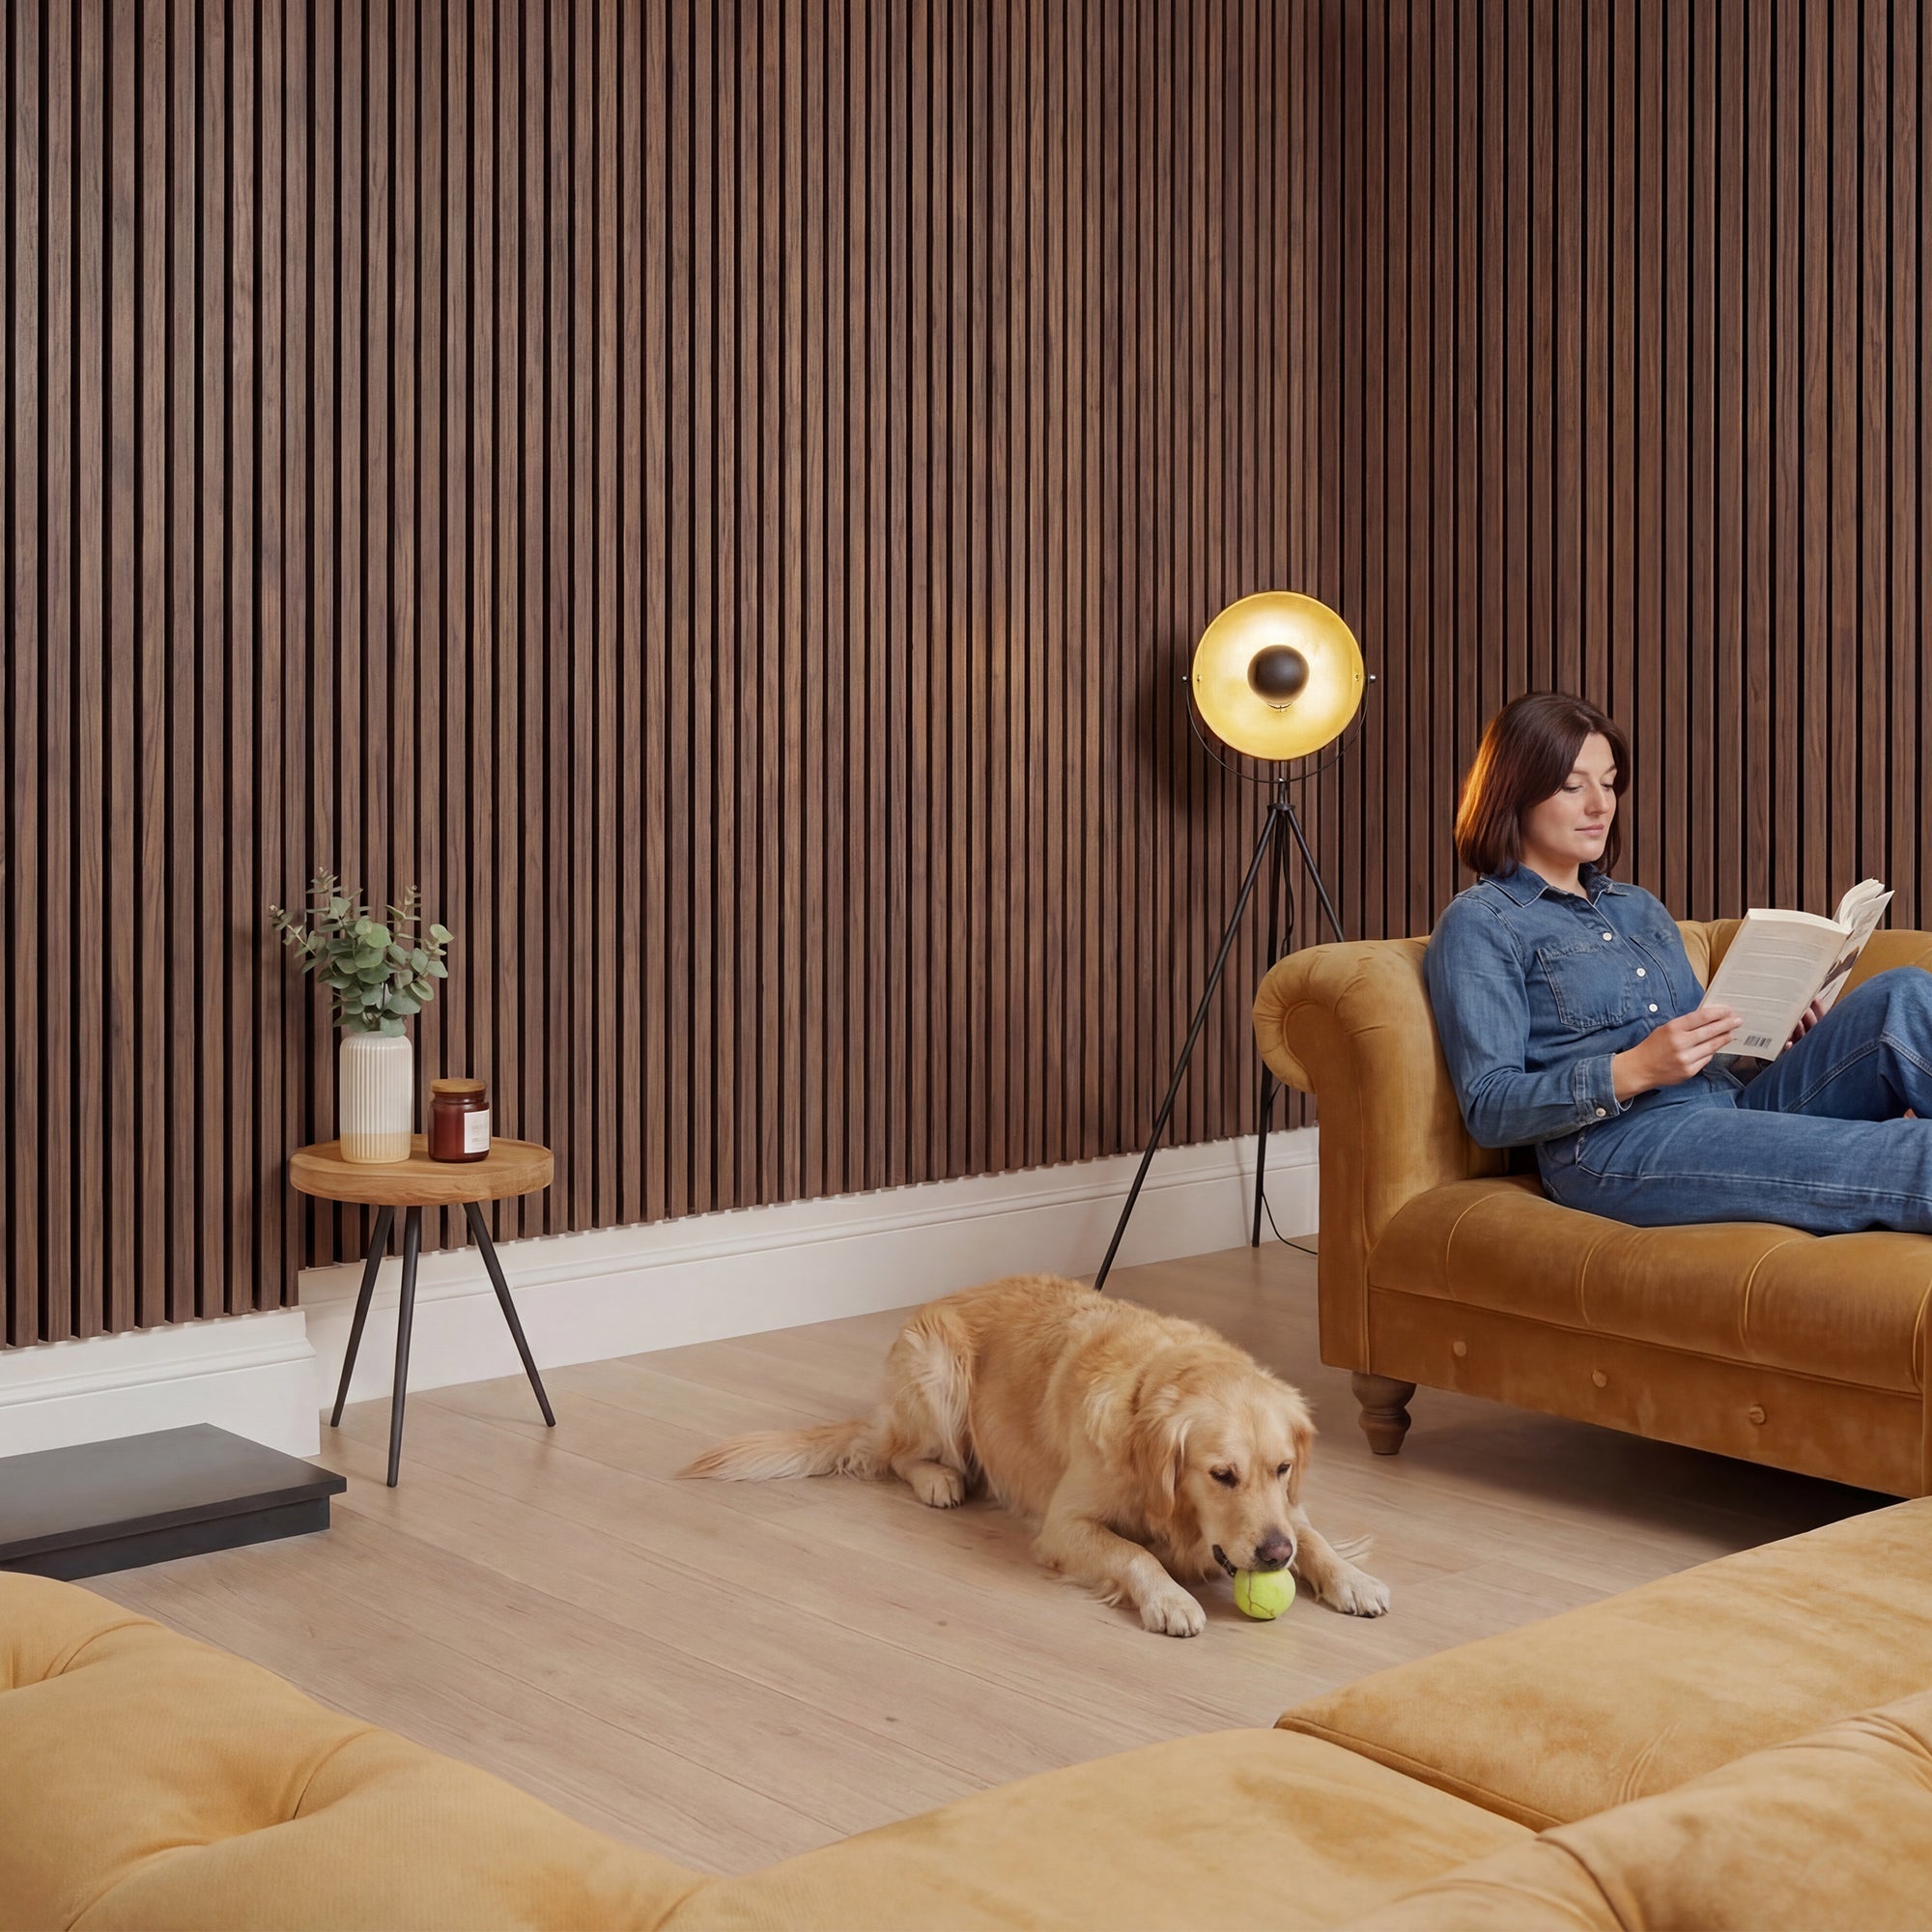
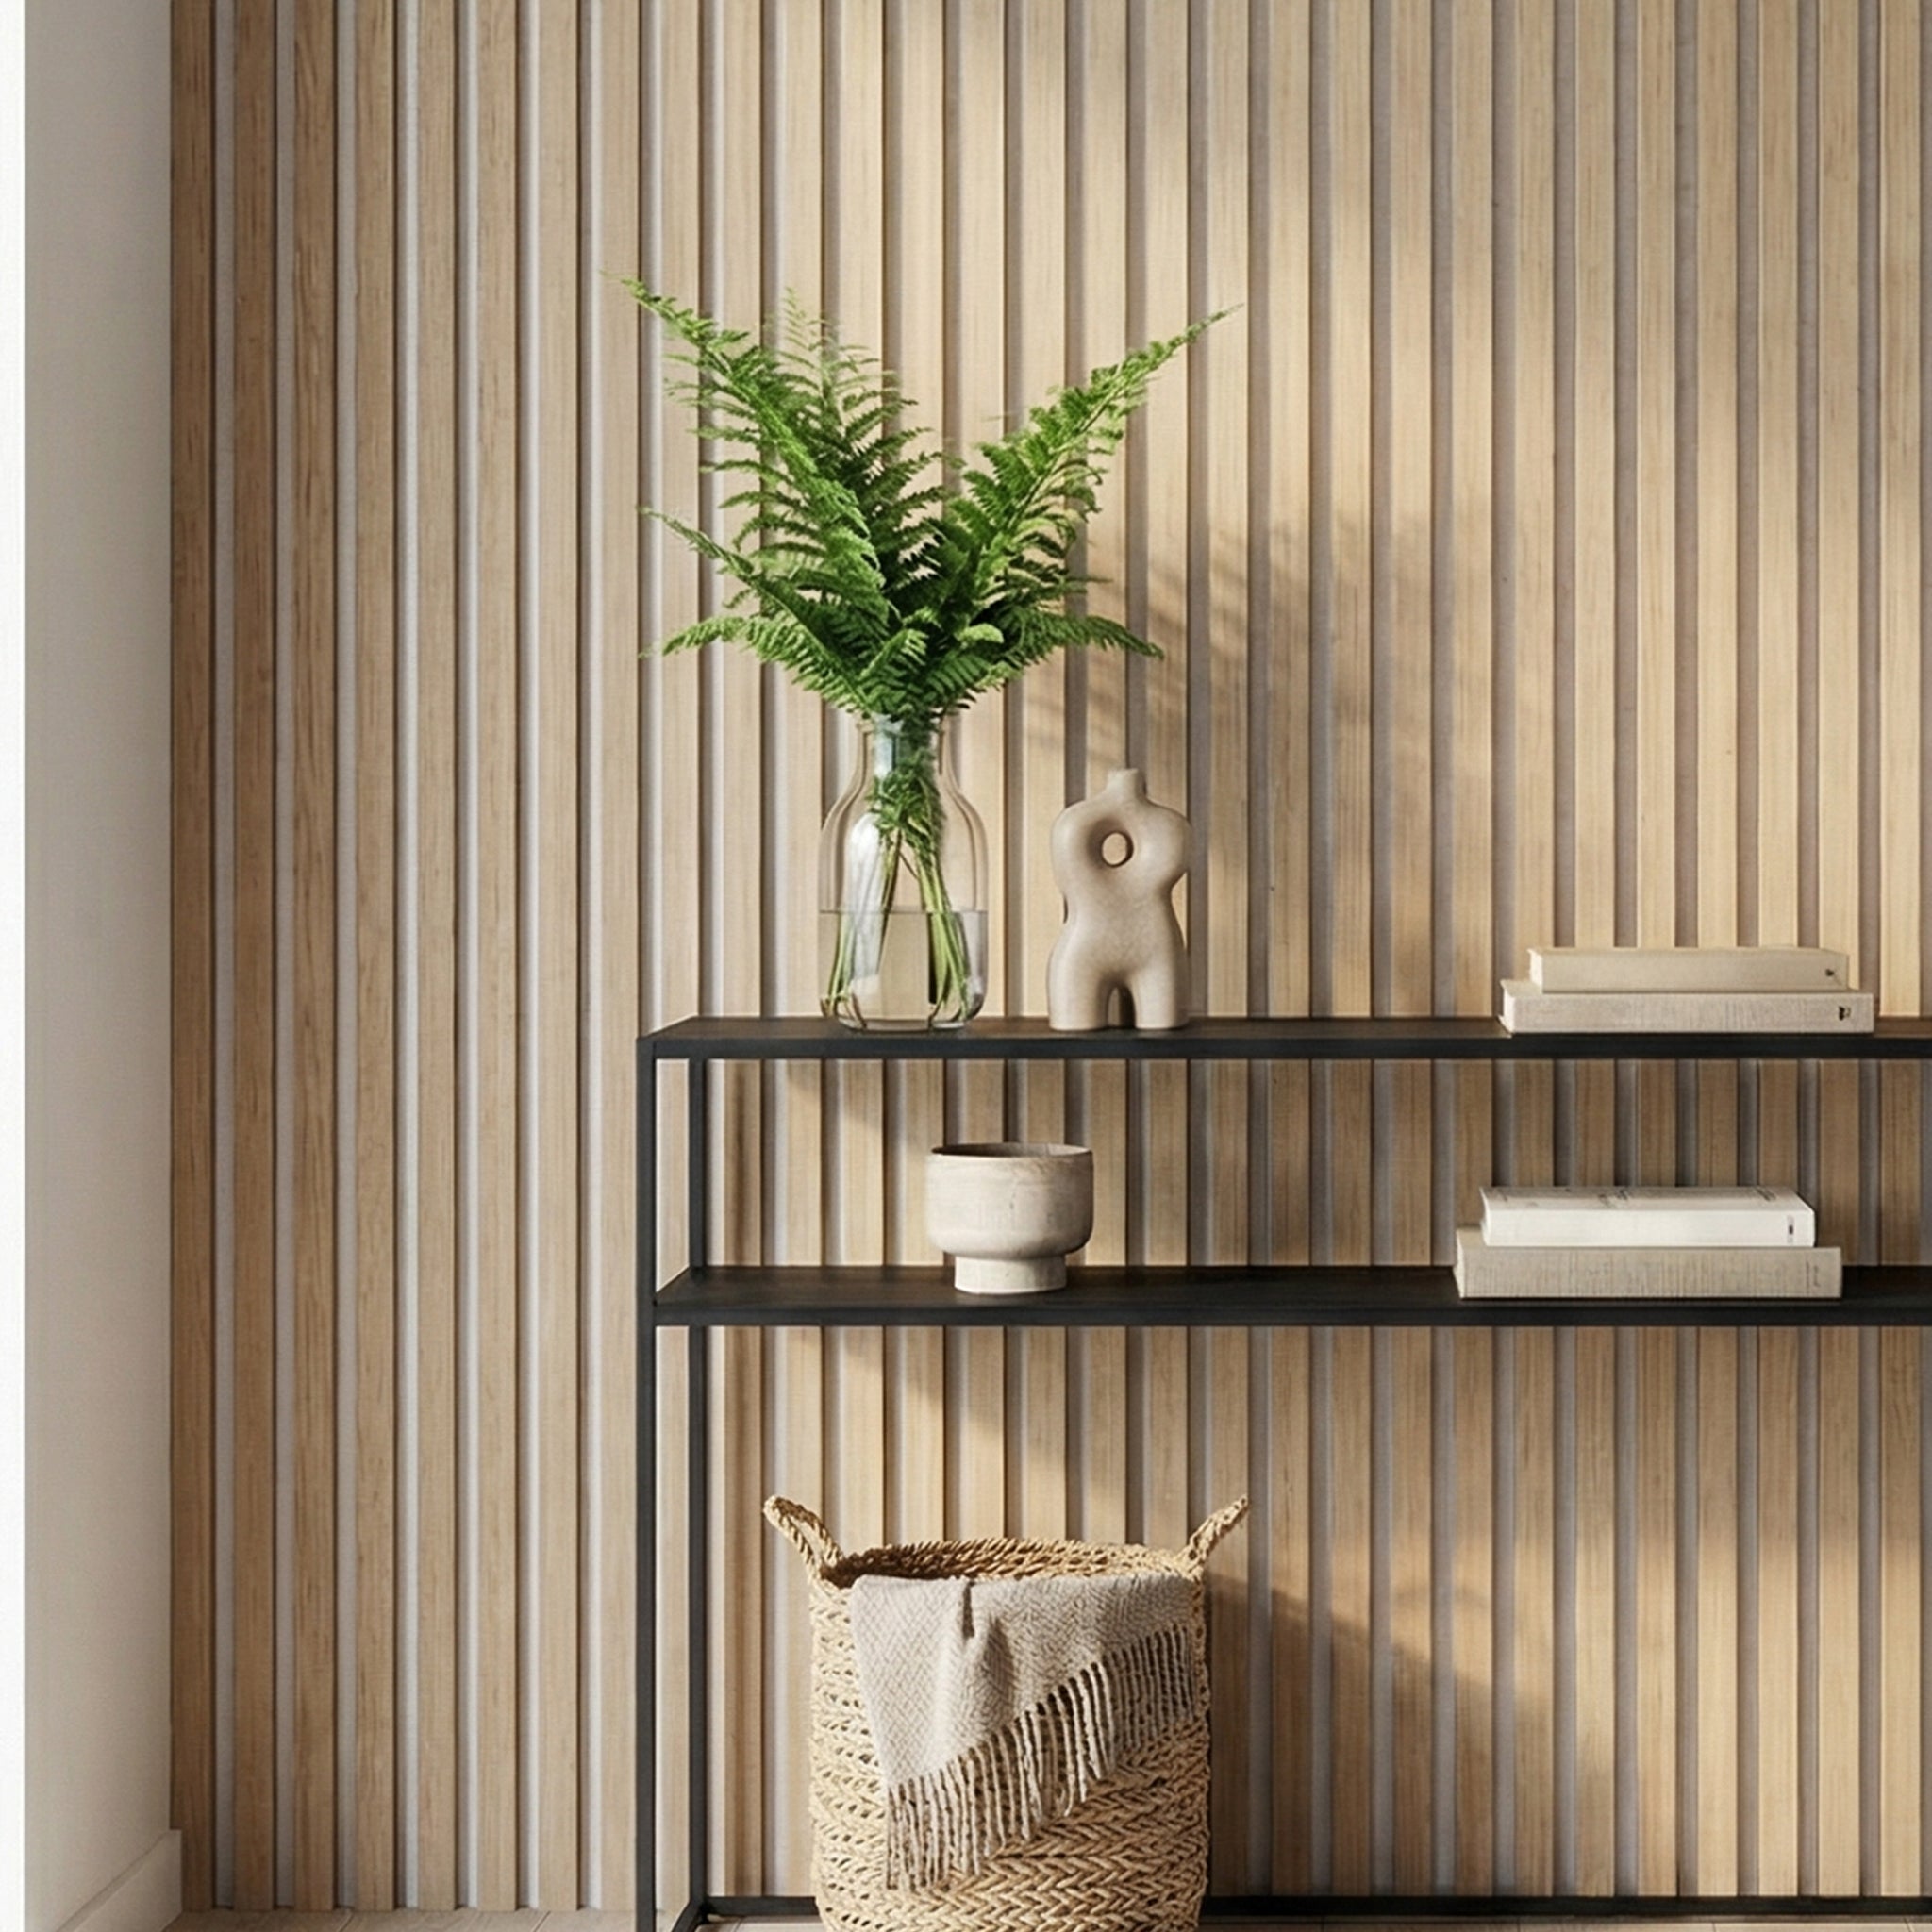
    Slat panels consist of individual timber slats — narrow strips of wood — attached to a backing panel, typically a felt or MDF substrate. The slats stand proud of the backing, creating gaps between them. These gaps are part of the design: they allow sound to pass through to the backing material, which absorbs it.

    The defining characteristic of slat panels is the negative space between the slats. The gaps are visible and intentional — part of both the aesthetic and the acoustic function. The SoundPanel™ acoustic slat collection from The Panel Hub is a good example: timber slats mounted on acoustic felt backing with precisely engineered gaps for both visual rhythm and sound absorption.

    What Are Fluted Panels?

    Fluted panels are solid panels with a routed or moulded profile — raised ridges running along the surface. Unlike slat panels, there are no gaps: the surface is continuous, with the three-dimensional profile creating the visual rhythm of light and shadow.

    The GroovePanel® solid wood collection includes fluted profiles — solid wood panels with routed channels that create a pronounced vertical texture without any gaps between elements.

    Key Differences

    Acoustic Performance

    Slat panels with acoustic backing perform measurably better for sound absorption. The gaps allow sound to reach the absorptive backing material. Fluted panels have no gaps and provide minimal sound absorption — they’re a purely aesthetic product. If acoustic performance is a requirement, specify acoustic slat panels.

    Visual Character

    Slat panels create a rhythm of solid and void — the eye alternates between the slat surface and the darker gap behind it. The effect is graphic and structured. Fluted panels create a rhythm of highlight and shadow across a continuous surface — subtler, more tactile, and more appropriate in spaces where a softer texture is the goal.

    Durability and Maintenance

    Fluted panels are more robust. The continuous surface is more resistant to impact damage, easier to wipe clean, and doesn’t accumulate dust in gaps the way slat panels can. In high-traffic areas or commercial environments, fluted panels are often the more practical choice.

    Which Should You Choose?

    • Choose slat panels if acoustic performance is required, or if you want the graphic negative-space aesthetic of visible gaps between slats.
    • Choose fluted panels if you want texture without gaps, maximum durability, or a subtler three-dimensional effect on a continuous surface.
    • Use both of these wood wall paneling in the same space to create distinct zones — acoustic slat panels where sound control matters, fluted panels where the aesthetic takes precedence.

    Explore both options at The Panel Hub: the SoundPanel™ acoustic slat range and the GroovePanel® fluted solid wood collection.

  • MDF Wall Panels vs Solid Wood: Which Is Worth the Investment?

    MDF Wall Panels vs Solid Wood: Which Is Worth the Investment?

    MDF (Medium Density Fibreboard) and solid wood are the two primary substrate options for wood wall panels. Both can deliver excellent results. Both have genuine weaknesses. The choice between them matters — not just for budget, but for durability, appearance, environmental impact, and long-term performance in your specific application.

    What Is MDF and What Is Solid Wood?

    MDF Wall Panels

    MDF is an engineered wood product made from wood fibres, resin, and wax compressed under high pressure and heat. It’s dimensionally stable — it doesn’t expand, contract, or warp the way solid timber does — and has a smooth, consistent surface that takes paint, veneer, and surface finishes well. Most painted or foil-wrapped wall panels use MDF cores.

    Solid Wood Panels

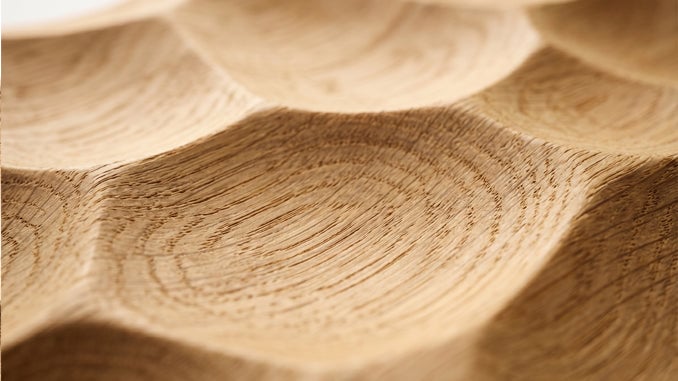
    Solid wood panels use real timber — often oak, pine, walnut, or other hardwoods — as the primary material. The GroovePanel® and SoundPanel™ ranges from The Panel Hub use solid wood construction. Real wood brings visible grain, natural colour variation, and authentic warmth that engineered materials cannot replicate.

    Appearance and Finish

    Solid wood has the advantage for visible grain and natural authenticity. The grain, knots, colour shifts, and texture of real timber create a surface that looks and feels genuinely organic. In slat and fluted profiles, the grain of real wood creates visual depth that printed or foil-wrapped MDF cannot match.

    MDF has the advantage for painted finishes. Its smooth, consistent surface provides a flawless base for paint — no grain telegraphing through the finish. For painted panel applications, MDF is often the better material choice.

    Durability

    Solid wood is more durable in general use. It’s harder to dent, holds fixings well, and can be sanded and refinished if damaged. Solid wood panels, with appropriate maintenance, can last decades.

    MDF is less impact-resistant and has a critical weakness: moisture. MDF swells and disintegrates when exposed to sustained moisture. For bathroom or kitchen applications, only moisture-resistant (MR) MDF cores should be specified, and even then direct water exposure should be avoided.

    Cost

    MDF panels are generally less expensive than solid wood panels of equivalent dimensions. For painted applications where the material character isn’t visible in the final finish, MDF offers good value. For applications where the natural wood surface is part of the design — stained, oiled, or natural finishes — solid wood delivers an appearance that MDF cannot replicate.

    Environmental Considerations

    Solid wood from certified sustainable sources (FSC or PEFC) is renewable and stores carbon. MDF uses wood waste fibres but the resin binders are synthetic and typically non-recyclable. Look for certification claims when evaluating any wood panel product.

    Which Should You Choose?

    • Choose solid wood if natural grain and material character are important, if long-term durability is a priority, or if the application is in a dry environment where solid wood’s properties are best preserved.
    • Choose MDF if you’re painting the panels, if cost is the primary constraint, or if the application is in a dry interior environment where MDF’s moisture weakness is not a factor.

    For solid wood wall panels that deliver genuine material quality, explore the GroovePanel® and SoundPanel™ collections at The Panel Hub.

  • Luxury Wall Panels: What Separates Premium Quality from Budget

    Luxury Wall Panels: What Separates Premium Quality from Budget

    Not all wall panels are equal. The difference between a budget panel installation and a premium one is visible — in the quality of the material, the precision of the finish, the depth of the surface detail, and the way the panel performs over time. Understanding what separates premium from budget is the starting point for any buyer who wants results that last.

    Material Quality: What to Look for

    Solid Wood vs Engineered Alternatives

    Premium wood panels use real timber or high-quality engineered wood with genuine hardwood veneers. The grain, colour variation, and surface texture of solid wood creates a material depth that printed foils, vinyl wraps, and low-cost laminates cannot replicate. The GroovePanel® and SoundPanel™ ranges from The Panel Hub use real wood construction — the material reads and feels different from engineered alternatives at every level of interaction with the panel.

    Stone Effect Panel Composition

    Premium stone effect panels use mould casts derived from real stone samples. The natural irregularity of real stone — no two faces identical, no machine-perfect edges — is captured in the mould and reproduced in each panel. Budget panels use simplified or repeating geometric moulds that create a pattern that reads as manufactured rather than natural at close range. The difference is immediately visible when you hold samples side by side.

    Surface Finish and Treatment

    The surface finish on a premium panel is applied with precision and durability in mind. For wood panels this means:

    • Multiple coats of oil or lacquer, each sanded between applications
    • Edge treatment that matches the face finish — a common economy measure is to leave panel edges poorly finished
    • UV stability — premium finishes resist fading in rooms with significant natural light
    • Surface hardness — the finish withstands daily contact without marking

    For stone effect panels, premium surface treatment includes colour depth (multiple tones across the surface rather than a single flat colour), textural variation within the surface, and sealed finishes that resist moisture and staining.

    Profile Precision and Manufacturing Tolerances

    Premium panels are manufactured to tight tolerances. Slat widths, groove depths, and panel dimensions are consistent from one panel to the next. This matters for installation — inconsistent dimensions create visible variation in the finished wall. Budget panels often show variation that becomes apparent across a large installation, with some slats appearing wider or narrower than others, or joints between panels that are visibly inconsistent.

    What Budget Panels Compromise On

    • Material: Thinner veneers, basic MDF substrates, or lower-density composite materials
    • Finish: Single-coat finishes, edge-matching omitted, limited UV stability
    • Tolerances: Visible variation in slat widths and panel dimensions
    • Surface detail: Simplified moulds for stone panels, less colour variation, shallower relief
    • Longevity: Budget finishes degrade faster and substrates are less stable over time

    How to Assess Quality Before Buying

    The best way to assess panel quality before purchasing is to request samples. A full-size sample allows you to examine the surface finish under your specific lighting, assess the construction quality, and compare the material against your existing finishes. The quality difference between premium and budget panels is immediately apparent when you hold them.

    The Panel Hub provides samples across the full range — GroovePanel®, SoundPanel™, and RockSurface®. Request samples before committing to your order — the quality difference is immediately apparent when you hold a panel in your hands.

  • How to Build a Media Wall: Step-by-Step Guide with Wood Panels

    How to Build a Media Wall: Step-by-Step Guide with Wood Panels

    A media wall transforms an ordinary living room into a cinematic focal point — combining your TV, storage, lighting, and feature wall into one seamless design statement. When finished with wood panels, the result sits somewhere between a luxury hotel lounge and a high-end interior showroom.

    This guide walks you through every step: from planning your layout to mounting your TV and adding the lighting touches that make a media wall truly stand out.

    Read More: 5 Media Wall Ideas and Designs for Inspiration

    What Is a Media Wall?

    A media wall is a purpose-built feature wall designed to house your TV, AV equipment, and often integrated shelving or cabinetry — all unified behind a single decorative surface treatment. Unlike a standard TV mounted on a plain wall, a media wall is a considered design element that becomes the room’s centrepiece.

    Wood panels are the most popular finishing material for media walls — they add warmth, texture, and acoustic benefit while complementing both modern and transitional interior styles.

    Planning Your Media Wall

    Good planning separates a media wall that looks professionally designed from one that feels improvised. Before ordering materials, work through these decisions.

    Wall Dimensions and TV Size

    Measure your wall from floor to ceiling and decide how much of it the media wall will cover. As a general guide:

    • A full-height, floor-to-ceiling installation creates the most dramatic impact but requires careful cable management
    • A two-thirds height configuration works well in rooms with lower ceilings
    • For TV sizing, the ideal viewing distance is approximately 1.5–2.5x the screen diagonal — a 65″ TV suits a room depth of roughly 2.5–4 metres

    Cable Management

    Plan cable routing before any panels go up. Surface-mounted trunking can be hidden behind panels, or cables can be chased into the wall if you have access. Decide upfront where your power points and media connections will sit — retrofitting these after panels are installed is expensive and disruptive.

    Fireplace Integration

    Many media walls incorporate an electric fireplace beneath the TV. If that’s your plan, choose a fireplace with sufficient safety clearance distance, and check that your wall panels carry an appropriate fire-safety rating for proximity to heat sources.

    Choosing the Right Wood Panels for a Media Wall

    Not all wood panels suit a media wall equally well. Here’s how to match panel type to your design goals.

    Acoustic Slat Panels — Best for Reducing Echo

    If your living room suffers from echo or has hard surfaces (stone flooring, glass, high ceilings), acoustic slat panels are the ideal choice. The textured surface and acoustic backing absorb sound reflections, improving audio clarity from your TV and sound system.

    Our American Acoustic Slat Wood Wall Panels | SoundPanel™ are particularly well suited to media walls — the deep slat profile creates a rich shadow-play effect that looks exceptional with backlighting, while the real wood veneers deliver genuine warmth.
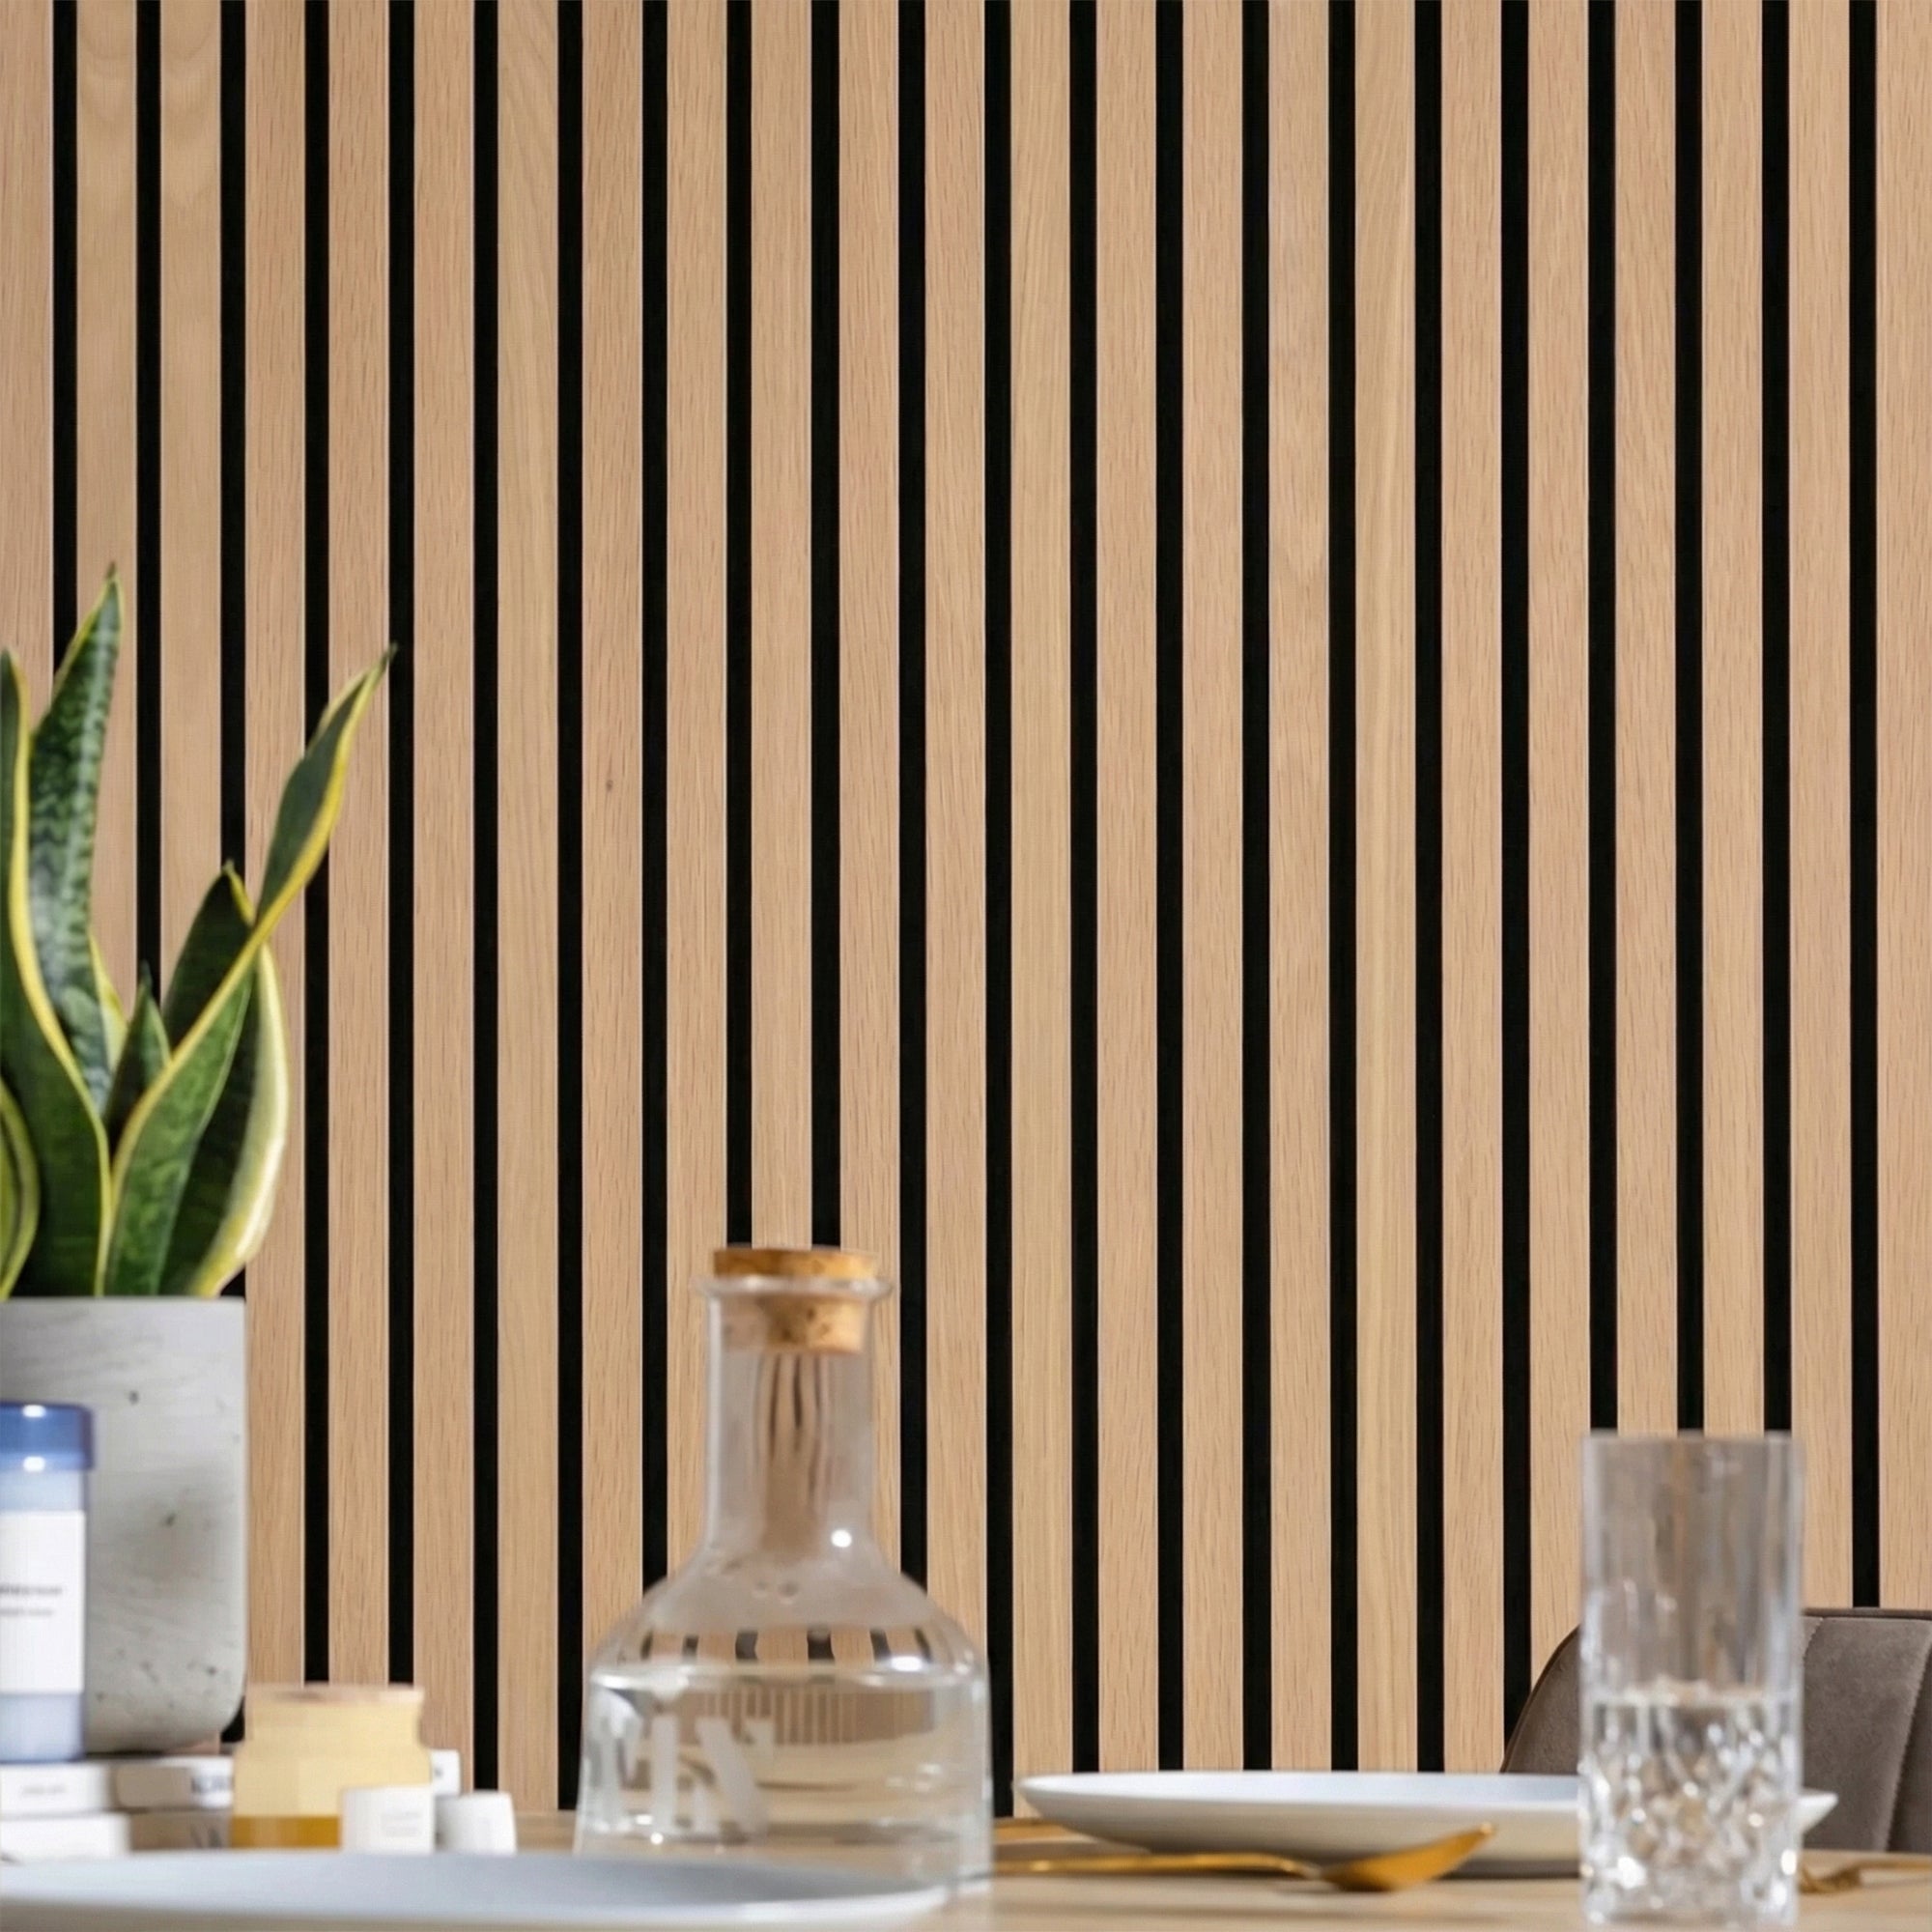
    American Acoustic Slat Wood Wall Panels - SoundPanel™ - The Panel Hub

    Solid Wood Mosaic Panels — Best for Visual Drama

    For a media wall where the design statement is the priority, solid wood mosaic panels deliver extraordinary texture. The interlocking geometric patterns of our Crossing Lines Solid Wood Wall Panels | GroovePanel® create a sophisticated visual rhythm that frames the TV without competing with it.
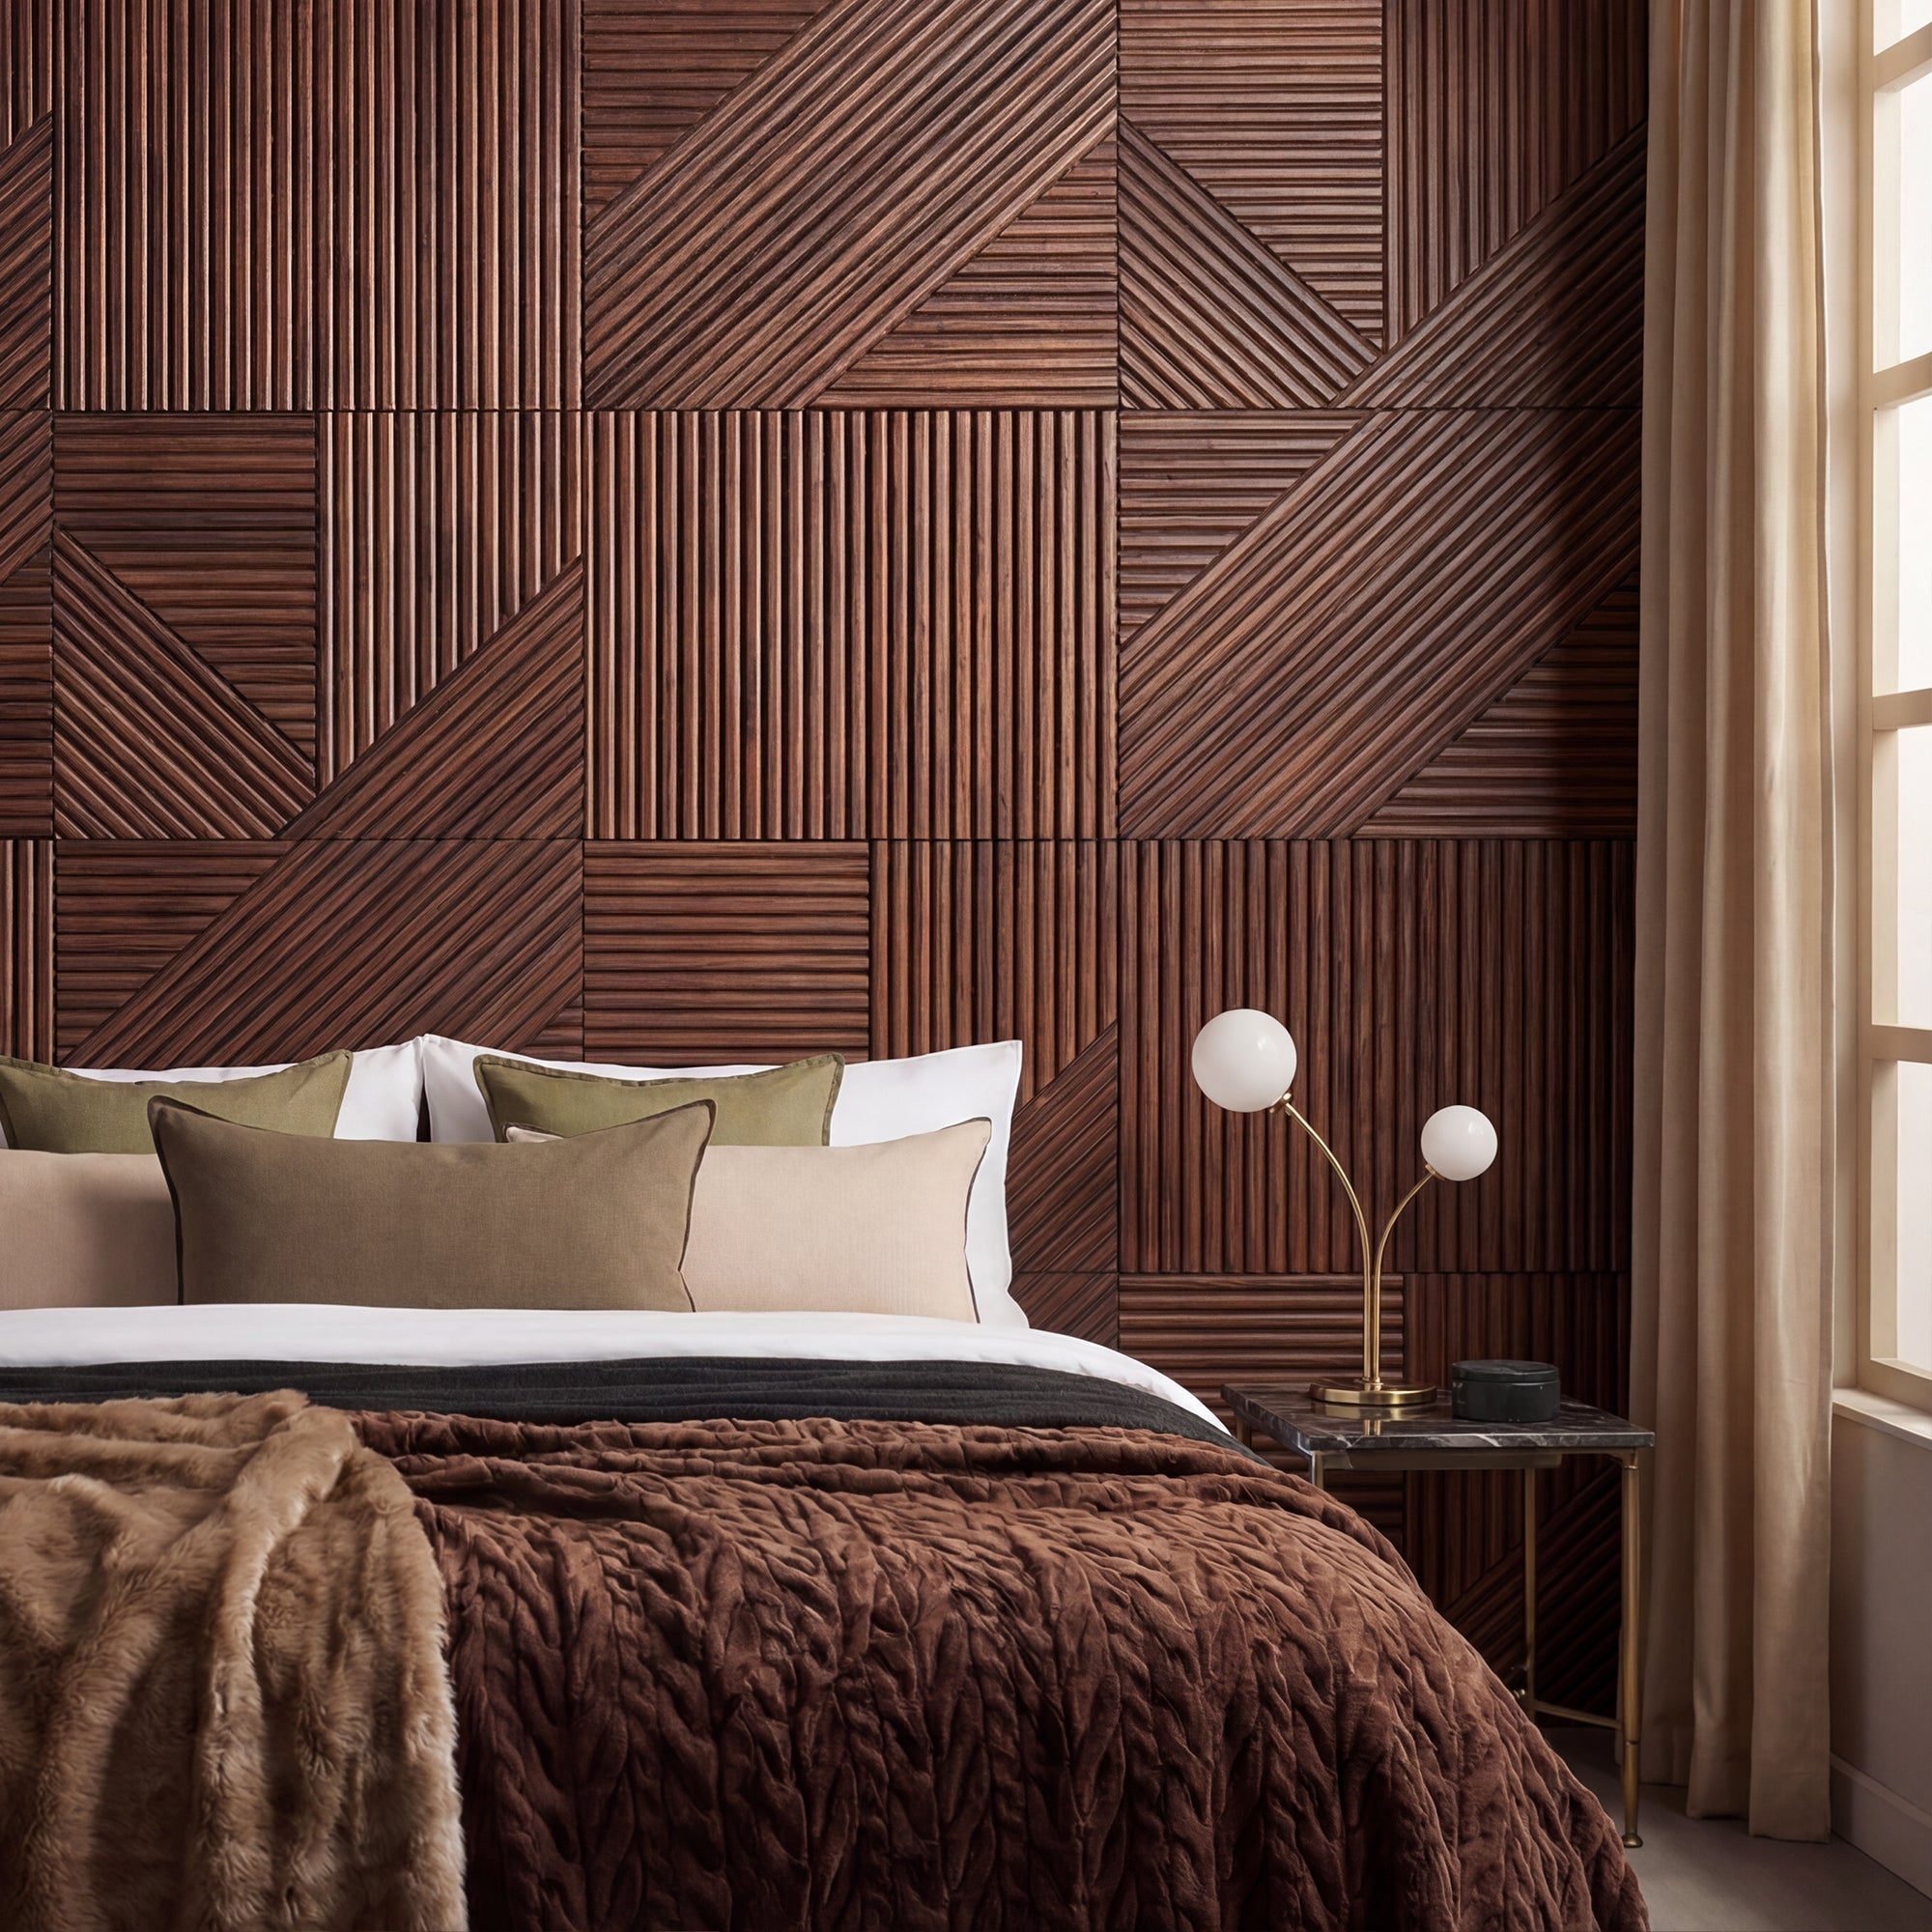
    Crossing Lines Solid Wood Wall Panels - GroovePanel® - The Panel Hub

    Choosing Your Finish

    Consider the rest of the room when selecting a finish:

    • Walnut / Dark tones — dramatic and cinematic; suits modern and industrial interiors with contrasting light furnishings
    • Golden Oak / Light tones — warm, Scandinavian feel; suits neutral interiors and rooms with natural light
    • Mixed tones — combining a dark panel directly behind the TV with lighter panels on surrounding sections adds depth without visual chaos

    Read More: Interior Wood Slat Wall Ideas: Inspiration for Every Room

    Tools and Materials You’ll Need

    • Wood wall panels (measure your wall and order with 10–15% extra for wastage and cuts)
    • High-quality panel adhesive
    • Spirit level
    • Tape measure and pencil
    • Fine-tooth handsaw or circular saw with fine-tooth blade
    • Drill and drill bits
    • Wall plugs and screws (for perimeter fixing on larger installations)
    • Sandpaper (120 and 180 grit, for cut edges)
    • Stud finder
    • LED light strip kit (optional but highly recommended)
    • TV wall mount bracket (low-profile or tilting, depending on viewing angle preference)

    Step-by-Step: How to Build a Media Wall with Wood Panels

    Step 1 — Prepare the Wall Surface

    The wall must be clean, dry, and structurally sound before any panels are applied. Remove existing artwork, shelving, or fixtures. Fill any holes or cracks and allow filler to fully cure. If the wall has a glossy painted surface, lightly sand it to improve adhesion. Wipe down with a dry cloth to remove dust.

    Mark the centre of your wall with a vertical pencil line — this is your reference point for ensuring the panel layout is symmetrical around the TV position.

    Step 2 — Mark Out Your Layout

    Using your centre line as a reference, mark where each panel row will start and end. Use a spirit level to draw horizontal guide lines. Decide whether panels will run full height or to a specific panel-height mark. Mark the TV bracket position and confirm it aligns with a wall stud for safe mounting.

    Dry-lay a few panels on the floor to confirm your pattern direction and starting point before applying any adhesive.

    Step 3 — Install the Panels

    Apply panel adhesive in a serpentine pattern to the back of each panel — enough to create solid contact across the full surface, but not so much that it squeezes out the sides on contact. Press the panel firmly to the wall and hold for 30–60 seconds. Check alignment with your spirit level before the adhesive sets.

    Work from your centre line outwards in both directions, maintaining consistent spacing between panels. For edges and corners, measure and cut panels with a fine-tooth saw, then lightly sand cut edges before installation.

    Tip: Leave the panels in the TV zone unmounted until after the TV bracket is secured to the wall.

    Step 4 — Mount the TV Bracket

    With panels in place everywhere except the TV zone, mark and drill your TV bracket fixing points into the wall studs. Feed your HDMI, power, and other cables through the wall or trunking channel before mounting. Then complete the panel installation around the bracket. The panels should sit flush to, or slightly proud of, the bracket base plate — this creates a clean floating appearance once the TV is hung.

    Step 5 — Add LED Strip Lighting

    Backlighting transforms a media wall. Our LED Light Strip Kit is designed to mount directly behind SoundPanel™ and GroovePanel® installations. Position strips along the top edge of the panel run, down the sides, or behind the TV for a bias-light effect that reduces eye strain during viewing.

    LED strips run horizontally between panel rows also work well — they highlight the slat or pattern depth and create a layered lighting effect that photographs exceptionally well.

    Step 6 — Final Touches

    Hang the TV. Dress any exposed cable runs with matching cable trunking in a tone that complements the panel finish. Add shelving, cabinetry, or decorative elements either side of the TV if desired.

    Stand back and review the panel alignment from a distance — minor adjustments are still possible within the first few hours before the adhesive fully cures. Once satisfied, panels reach full bond strength within 24 hours.

    Media Wall Design Ideas

    Full-Height Slat Panel Wall with Central TV

    A floor-to-ceiling installation of SoundPanel™ acoustic slat panels creates a bold, hotel-grade media wall. The TV mounts on a low-profile bracket, sitting flush within the panel surface. LED backlighting grazes down the slat texture for a warm, diffused glow that accentuates the wood grain.

    Mixed Tone — Dark Centre, Light Perimeter

    Use walnut-tone panels directly behind the TV, transitioning to golden oak on the surrounding panels. The contrast creates a natural frame for the TV without any additional moulding or trim — the tonal shift does all the work.

    Geometric Mosaic Feature Wall

    A media wall built from Honey Mosaic Wood Wall Panels | GroovePanel® creates a genuinely unique installation — the warm, handcrafted aesthetic works especially well in living rooms that lean eclectic or transitional.
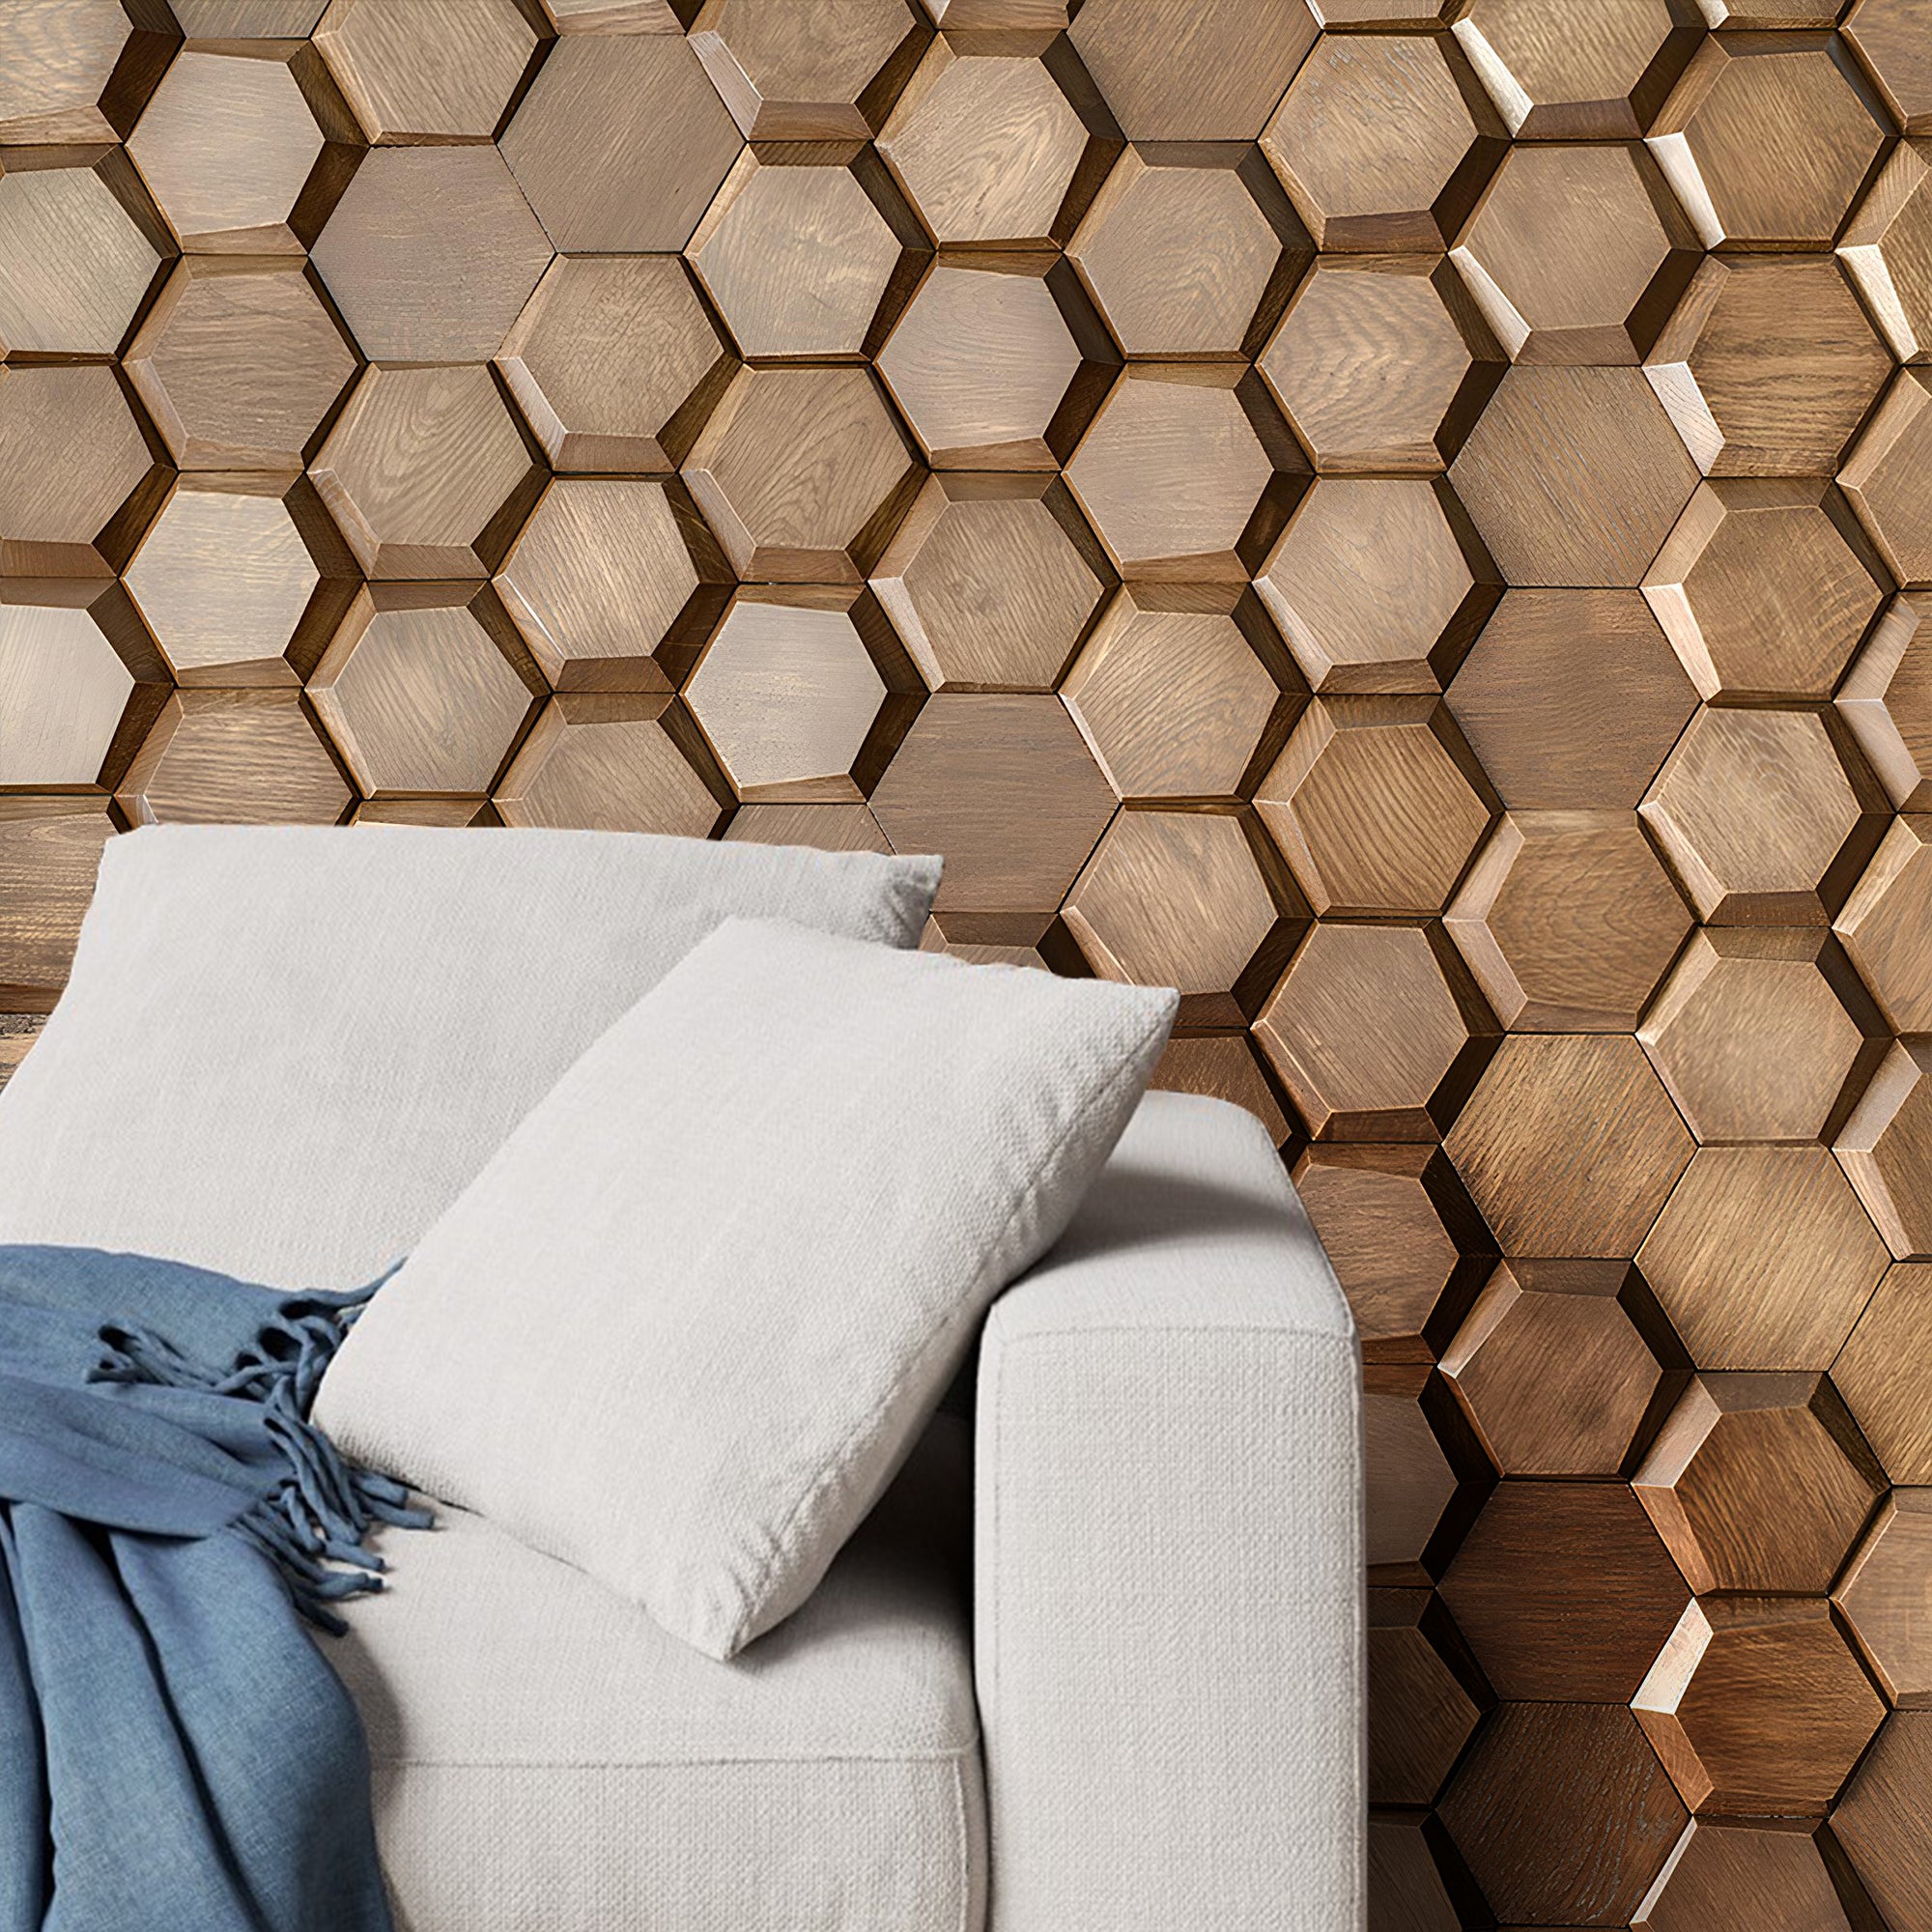
    Honey Mosaic Wood Wall Panels - GroovePanel® - The Panel Hub

    Common Mistakes to Avoid

    • Skipping the stud finder: Always locate and mark wall studs before mounting the TV bracket. A TV falling from the wall is dangerous and expensive.
    • Ignoring cable management until the end: Retrofitting cable channels through installed panels is difficult. Plan routes before the first panel goes up.
    • Applying adhesive to a dusty wall: Dust acts as a release agent. A single wipe-down before installation dramatically improves adhesion.
    • Not checking for level frequently: Check with a spirit level after every third or fourth panel, not just at the end of each row. Errors compound.
    • Ordering exactly the right amount of material: Always add 10–15% for wastage. Running short mid-installation and waiting for a new batch risks visible colour variation between batches.

    Frequently Asked Questions

    Do I need to hire a tradesperson to build a media wall?

    For the panelling itself, no — our panels are designed for DIY installation. However, if you’re adding new power sockets, chasing cables into the wall, or integrating a gas or flued fireplace, you’ll need a qualified electrician or gas engineer for those elements.

    Can I mount a TV on wood wall panels?

    Yes, but the bracket must be fixed into the structural wall behind the panels — not the panels themselves. Panels are decorative and not load-bearing. Use a stud finder to locate wall studs and drill the bracket fixings through the panel surface directly into them.

    How long does it take to build a media wall?

    A typical DIY media wall with wood panels can be completed over a weekend: half a day for preparation and planning, a full day for panel installation, and a few hours for TV mounting and finishing.

    What’s the best wood panel for a media wall?

    SoundPanel™ acoustic slat panels are our top recommendation — the acoustic backing reduces echo from the TV and sound system, while the slat profile creates a premium, tactile finish that looks exceptional with backlighting.

    Do wood panels work with an electric fireplace?

    Yes, provided you maintain the manufacturer’s specified clearance distance between the fireplace and any combustible material. Most electric fireplaces specify a minimum clearance of 100–200mm. Always check the fireplace spec sheet before finalising your panel layout.

    Conclusion

    A well-built media wall is one of the most impactful single upgrades you can make to a living room — and with the right wood panels, it’s entirely achievable as a DIY project over a weekend.

    The keys: plan your layout before touching a panel, manage cables before they become a problem, and choose your panel type to match both the aesthetic and acoustic goals of the space.

    Ready to start? Explore our most popular media wall panels:

    Shop: LED Light Strip Kit — designed to integrate seamlessly with SoundPanel™ and GroovePanel® installations for effortless ambient lighting behind your media wall.

  • Solid Wood Wall Panels: Why 100% Solid Wood Is Worth the Investment

    Solid Wood Wall Panels: Why 100% Solid Wood Is Worth the Investment

    The wall panel market is full of options that sound like solid wood but aren’t. Veneer panels, MDF-core panels, HDF panels, PVC panels with wood-effect printing — all of these are sold alongside genuine solid wood products, often at similar price points. For buyers who haven’t navigated the category before, it’s genuinely confusing.

    This article explains what 100% solid wood wall panels actually are, how they differ from every engineered alternative, and why — for feature walls where quality and longevity matter — they’re consistently worth paying more for.

    What Counts as 100% Solid Wood?

    A solid wood panel is made entirely from cut timber with no composite core. Every millimetre of depth is real wood. The grain runs through the full thickness of the piece. If you cut a corner off, what you see at the cut face is identical to the front face — uniform grain, no layers, no adhesive core.

    This distinguishes solid wood from:

    • Veneer panels: A thin slice of real timber (0.6–3mm) bonded to an MDF, HDF, or plywood core
    • Laminate panels: A photographic print of wood grain under a clear protective layer, bonded to a composite core
    • Engineered wood panels: Multiple thin plies of timber bonded in alternating grain directions, similar to plywood

    All of these are legitimate products with valid applications. But they are not solid wood, and they don’t behave like solid wood over time.

    The Practical Differences That Matter

    Surface repair

    Solid wood panels can be sanded, refinished, and oiled if they’re scratched or dented. Because the material is uniform throughout, removing 0.5mm of surface restores it. Veneer panels cannot be sanded — the veneer layer is too thin. Laminate panels cannot be repaired at all; a deep scratch exposes the composite core underneath.

    Ageing

    Solid wood develops a natural patina over years. Walnut lightens slightly; oak deepens. The character of the wood increases with time. Veneer panels fade more uniformly, and laminates can yellow or delaminate with age and UV exposure.

    Edge quality

    In geometric mosaic panels, the cut edges are highly visible — they form the boundary lines between pieces. Solid wood shows clean grain at every edge. MDF-core veneer panels show the grey composite core at cut edges, which requires painting or masking.

    Environmental credentials

    Solid wood wall panels can be genuinely FSC-certified, meaning the timber supply chain is verified. Some composite panels carry partial certifications, but the adhesive binders and composite fillers complicate the environmental picture. Solid wood is simpler: it’s timber, and it came from a tree.

    Where Solid Wood Panels Make the Most Difference

    Not every application requires solid wood. For utility spaces or short-term installations, engineered alternatives may be the pragmatic choice. But for:

    • Geometric mosaic panels where cut edges are visible
    • Feature walls in main living areas or master bedrooms
    • Long-term installations where refinishing is a realistic expectation
    • Design projects where material authenticity matters to the brief

    …solid wood is the right answer.

    GroovePanel®: Solid Wood Geometric Panels

    Our GroovePanel® Geometric Wood Wall Panels are 100% solid timber throughout. The range includes triangle mosaics, concentric square patterns, crossing lines, and honey mosaic formats — all cut from FSC-certified solid wood with EPD verification.

    The 3D Geometric Pattern Wooden Panel is one of the clearest demonstrations of why solid wood matters for this product type. The three-dimensional relief is formed by routing and carving actual timber — the depth and shadow lines that give the pattern its visual impact come from physical material, not printed effect. You can’t replicate that with veneer.

    Similarly, the Walnut Triangle Panel shows rich end grain at every triangle boundary — something only possible with full-depth solid timber.

    Solid Wood vs MDF: The Full Comparison

    For a detailed breakdown of how solid wood and MDF compare across strength, moisture resistance, workability, and cost, read our guide to MDF vs Solid Wood Wall Panels.

    What to Look for When Buying

    When a product claims to be solid wood, check:

    1. Species specification: Genuine solid wood panels specify the timber species (oak, walnut, pine, etc.), not just “wood”
    2. FSC certification: Look for a verifiable FSC licence number on the product listing
    3. Edge photos: Ask for photos of the panel edge — MDF core shows as a different colour and texture
    4. Weight: Solid wood panels are heavier per square metre than composite alternatives
    5. Country of manufacture: Solid wood milling requires more skilled production than composite lamination

    Styling Solid Wood Geometric Panels

    The warmth and grain variation of solid timber means it works across a wide range of interior styles. For contemporary and Japandi aesthetics, the natural grain is left unfinished. For a more dramatic or Art Deco-influenced space, a dark walnut stain deepens the contrast between pattern elements.

    For styling inspiration, see our guide to geometric wood wall panel patterns and styles, which covers placement, pattern selection, and room-by-room recommendations.

    Browse the full solid wood collection at GroovePanel® Geometric Wood Wall Panels, or order a sample to check grain and colour in your own space before ordering.

  • Triangle Wood Wall Panels: The Geometric Shape Designers Are Using Everywhere

    Triangle Wood Wall Panels: The Geometric Shape Designers Are Using Everywhere

    Of all the geometric shapes used in interior design, the triangle is the most dynamic. Where squares suggest order and hexagons suggest nature, triangles carry direction and energy. A wall covered in precision-cut solid wood triangles doesn’t just add texture — it commands the room.

    Triangle wood wall panels have appeared in high-end hotel lobbies, Scandinavian-influenced residential projects, and contemporary living rooms for the past several years. They’re now accessible enough to be a realistic choice for any home renovation, and the right product makes installation straightforward.

    Why Triangles Work So Well on Walls

    The triangle is the most structurally stable shape, and that stability translates visually. A mosaic of triangles feels intentional and precise without being cold. The grain of each individual timber piece runs in a different direction relative to its neighbours, creating subtle micro-contrast even within a single colour species.

    Triangles also respond to light differently than squares or linear slats. As daylight tracks across a triangle-tiled wall, the shadow lines shift, giving the installation a quality that changes through the day.

    The Walnut Triangle Panel: A Closer Look

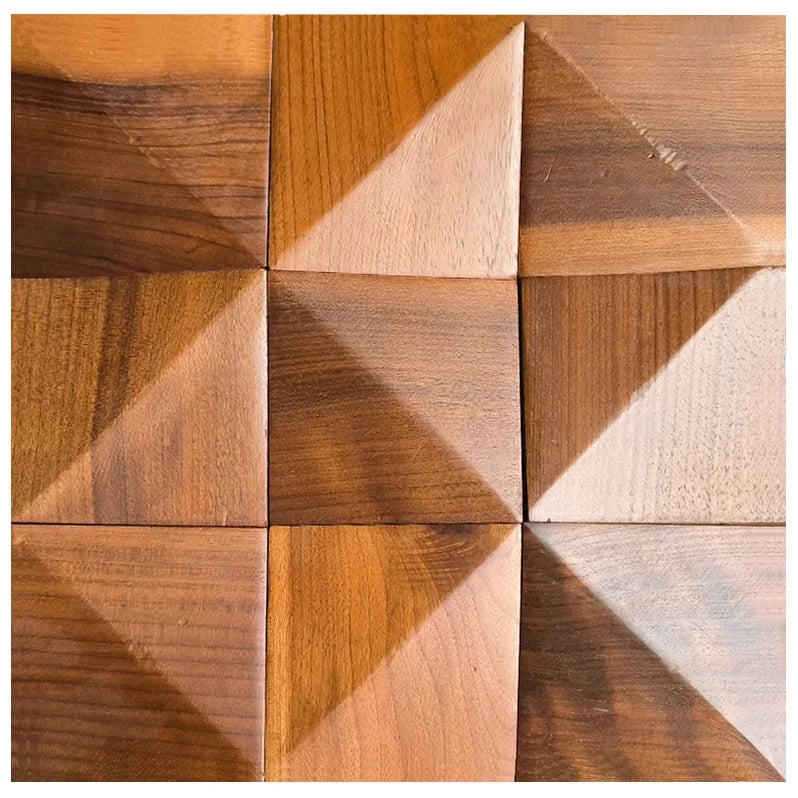
    Our Walnut Triangle Solid Wood Wall Panel is part of the GroovePanel® Geometric range. Each panel is composed of solid walnut triangles — not veneer, not laminate, but full-depth solid timber. The walnut species gives a naturally dark, rich brown tone with the irregular grain figuring characteristic of the species.

    Because the panels are 100% solid wood, the grain pattern at the edge of each cut triangle is visible, adding depth to the tile boundary. This is something engineered panels cannot replicate — their edges show the composite core.

    The panels are FSC-certified, meaning the timber is sourced from responsibly managed forests, and they carry an Environmental Product Declaration (EPD) for buyers who need verified sustainability credentials.

    Design Ideas: How to Use Triangle Wall Panels

    The full feature wall

    The most impactful use. Cover an entire wall — behind a bed, sofa, or dining table — in triangle panels from floor to ceiling. Keep the rest of the room minimal: white or off-white on the remaining walls, furniture in complementary tones. The walnut triangle wall becomes the artwork.

    Half-wall or dado treatment

    Apply triangle panels to the lower half of a wall, terminating at a timber batten or picture rail. This works particularly well in hallways and dining rooms, where floor-to-ceiling pattern can feel oppressive in a narrow space.

    Recessed alcoves and chimney breasts

    Panel the inside of a recess or the face of a chimney breast. The contained geometry of the triangle pattern is perfectly suited to a bounded surface — the edges of the alcove act as a natural frame.

    Ceiling panels

    Triangle mosaic panels work on ceilings too, particularly in rooms with lower ceiling heights where a striking overhead surface creates drama without the visual weight of a dark paint colour.

    Mixing Triangle Panels with Other Materials

    Walnut triangle panels pair naturally with:

    • Brushed brass hardware — the warm metal tone complements walnut’s dark brown without competing
    • Concrete and plaster finishes — rough industrial texture next to precision-cut timber creates contrast
    • White oak furniture — light wood furniture against a dark walnut triangle wall is a classic high-contrast pairing
    • Stone and faux stone panels — use triangle wood panels on one wall and a RockSurface® stone panel on the adjacent surface for a layered material palette

    Triangle Panels vs Other Geometric Formats

    The triangle is one of several geometric formats in the GroovePanel range. Here’s how it compares:

    • Triangle vs concentric square: Triangles create directional energy; concentric squares create depth and a hypnotic focal point. Concentric square panels tend to work better as a single centred feature; triangle mosaics cover a full wall more comfortably.
    • Triangle vs crossing lines: The Crossing Lines panel is more architectural and graphic — better for rooms where you want pattern without strong directional movement.
    • Triangle vs honey mosaic: The Honey Mosaic panel is warmer and more organic. Triangles are sharper and more contemporary.

    For a broader comparison of geometric panel types, see our guide to geometric wood wall panel patterns and styles.

    Installation Notes

    Triangle mosaic panels are installed tile by tile using panel adhesive on a flat, clean wall surface. The key is establishing a true horizontal datum before you start — because triangles form directional rows, a single misaligned tile propagates the error across the full installation.

    Allow the wall to dry fully before starting if you’ve recently plastered or skimmed. For walls with slight undulation, our guide on installing wall panels on uneven surfaces covers preparation methods that ensure a flat result.

    Order a Sample First

    Walnut varies naturally in tone from piece to piece. Before ordering a full quantity, it’s worth seeing the actual timber colour in your own space. Order a sample from our sample collection and live with it for a day or two under your room’s lighting conditions — artificial light changes warm wood tones significantly.

    Browse the full triangle and geometric range in the GroovePanel® collection.

  • Pattern Wall Panels vs Plain Wood Panels: Which Makes a Better Feature Wall?

    Pattern Wall Panels vs Plain Wood Panels: Which Makes a Better Feature Wall?

    When planning a feature wall, one of the most fundamental decisions is whether to use a patterned panel — geometric mosaic, 3D relief, or crossing lines — or a plain, flat timber panel such as a wood slat wall or smooth veneer board. Both are legitimate choices. They produce entirely different results, and the decision should be deliberate rather than defaulted to whichever option you’ve seen most recently.

    This comparison breaks down when pattern panels win, when plain panels win, and what determines the right choice for a given room.

    What We Mean by Pattern vs Plain

    Pattern panels have a designed surface geometry — triangle mosaics, concentric squares, crossing line grids, 3D relief profiles. The visual interest comes from the pattern itself rather than purely from the wood grain. Examples: the GroovePanel® Geometric range, including the 3D Concentric Square and Crossing Lines panels.

    Plain panels have a flat or relatively flat surface where the visual interest comes from the timber grain, species colour, and material quality. Examples: wood slat panels, wide plank veneer boards, smooth MDF panels with painted finishes.

    When Pattern Panels Win

    When the room is otherwise visually quiet

    If your room has plain walls, simple furniture, and a minimal palette, a pattern panel gives the space its visual focus. A plain timber panel in the same context can read as understated to the point of being uninteresting — the grain alone doesn’t create enough differentiation from a well-painted wall.

    When you want the wall itself to be the artwork

    In rooms where you’re not planning to hang art or display objects, a geometric pattern panel fills the role of the artwork. The pattern, shadow, and texture of a solid wood mosaic or 3D panel provide the same kind of sustained visual interest as a large-format print — without requiring anything to be hung or lit.

    When the architecture is simple and needs character

    Plain rectangular rooms in new-build houses often lack inherent architectural character. A geometric panel wall creates it — the pattern becomes the room’s defining feature in the way that an ornate cornice or arched window would in an older property.

    When you’re designing for shadow and light dynamics

    3D geometric panels and mosaic patterns respond to changing light conditions in a way that flat panels don’t. If the wall receives natural side-light or has directional artificial lighting, a pattern panel becomes a different surface at different times of day. A flat panel doesn’t have this quality.

    When Plain Panels Win

    When the room is already visually complex

    In rooms with patterned upholstery, decorative rugs, multiple artworks, or strong architectural features, adding a geometric panel wall can tip the space into visual overload. A plain timber slat panel or smooth board adds material warmth and texture without competing.

    When the goal is material quality rather than graphic impact

    In rooms where the design brief is about luxury materials and quiet refinement rather than bold statements, the subtlety of a plain panel often communicates more sophistication than a strong geometric pattern. Wide oak planks or a smooth walnut veneer board can be just as high-end as a mosaic — they just make their case differently.

    When the wall is in a functional zone

    Behind a kitchen cabinet run, in a utility room, or as a splashback behind a sink (with appropriate waterproofing), a plain panel is more appropriate than a geometric one. The functional context doesn’t call for visual drama.

    The Hybrid Approach

    Pattern and plain panels can coexist in the same room — and often the combination is stronger than either alone. A common approach: geometric pattern panel on the main feature wall (behind a sofa, bed, or dining table), plain wood slat panels on the adjacent walls for material consistency without competing pattern. The variety of texture and surface within the same timber palette creates depth without conflict.

    Making the Decision

    The quickest test: hold a sample of your intended panel against the wall in question and ask whether the room needs more visual complexity or less. If it needs more — choose pattern. If it needs less — choose plain. Most rooms have a clear answer if you look honestly at what’s already there.

    Browse patterned geometric options at GroovePanel® Geometric Wood Wall Panels. For slat and acoustic panels, see the SoundPanel® acoustic panels. Order a sample of both to compare in your space before deciding. For context on how pattern types differ within the geometric category, read our guide to geometric wood wall panel patterns and styles.

  • Mosaic Wood Wall Panel Ideas: 8 Rooms That Get Pattern Right

    Mosaic Wood Wall Panel Ideas: 8 Rooms That Get Pattern Right

    The best way to understand how mosaic wood wall panels work in a real space is to see them in context — not as product shots against a blank background, but in finished rooms with furniture, lighting, and the full complexity of a real interior. These eight room ideas each demonstrate a different approach to using mosaic wood panels, from maximalist feature walls to restrained single-panel accents.

    1. The Living Room Anchored by a Full Walnut Triangle Wall

    Walnut Triangle Solid Wood Wall Panels - View 2

    A large open-plan living room can feel undefined — too much space, too many directions to look. Installing Walnut Triangle Mosaic Panels floor to ceiling behind the main sofa creates a powerful anchor. The dark walnut grounds the space and makes the furniture feel intentionally placed against it. The rest of the room — white walls, pale oak floor, light linen upholstery — defers to the walnut wall as the room’s defining element.

    2. The Bedroom That Replaced Art with a Honey Mosaic Headboard Wall

    HoneyMosaicWoodWallPanel_4_1200x1200_d545fc44-7aa0-435f-b925-3b50e64a6eff-The Panel Hub

    Rather than hanging prints or a headboard above a bed, a full wall of Honey Mosaic Solid Walnut Panels covers the entire surface behind the bed. The organic, irregular pattern of the honey mosaic reads more like a material statement than a decoration — it’s more sophisticated than art and requires nothing else on that wall. The bedding is plain linen; the bedside tables are simple plywood. The mosaic wall is enough.

    3. The Hallway That Announces Its Intentions

    A narrow hallway with a single pendant light and bare plaster walls feels like an afterthought. Covering the end wall — the wall you face as you walk in — in 3D Concentric Square Panels transforms it into a statement. The pendant light falls across the panel and the shadow lines shift depending on where you stand in the hallway. A console table and mirror sit in front of the panelled wall, completing the composition. Read more in our full guide to geometric wall panels for hallways.

    4. The Dining Room Where Walnut Triangle Panels Play Against White

    In a dining room with white-painted joinery and a concrete floor, a wall of walnut triangle mosaic is the room’s entire warmth source. The white table and chairs read as clean and minimal against the deeply toned timber backdrop. An industrial pendant above the table creates raking light across the triangle pattern, making the grain directions visible within each piece. The room would look cold and unfinished without the panel wall.

    5. The Home Office Backed by a Crossing Lines Grid

    Crossing Lines Solid Wood Wall Panels - Oak - View 12

    A home office where the desk faces a Crossing Lines Panel wall benefits from two things at once: a visually interesting backdrop for video calls, and a subtle warmth that reduces the corporate blankness of a standard white office. The geometric grid of the crossing lines pattern is precise and calm — appropriate for a workspace, unlike busier mosaic patterns that can feel distracting in a task environment. See our full guide to geometric wall panels for home offices.

    6. The Kitchen End Wall That Replaced a Blank White Surface

    In a white galley kitchen, the end wall — opposite the cooking run, visible from the dining table — is usually painted to match everything else and forgotten about. Installing a panel of 3D Geometric Pattern Wooden Panels here introduces the only warm, textured surface in the room. The geometric pattern is visible from the dining space as well as the kitchen, and it transforms what was a functional non-space into the room’s focal point.

    7. The Bathroom Where Walnut Meets White Marble

    On the wall behind a freestanding bath, a honey mosaic walnut panel creates a material contrast with the white marble floor and white ceramic basin: dark, warm, and irregular against pale, cool, and smooth. The mosaic pattern reinforces the handcrafted, spa-like quality of the room. Important note: panels here are not in direct water contact — the bath stands away from the wall and the panel surface is sealed with a protective oil. For safe bathroom panel installations, see our guide to bathroom wood wall panels.

    8. The Children’s Bedroom That Uses Geometry as a Learning Environment

    Triangle and concentric square mosaics aren’t just for adult rooms. In a children’s bedroom, geometric patterns on a single wall stimulate spatial and mathematical thinking as well as providing an interesting visual environment. The solid timber material is safer than synthetic panel options, and FSC-certified wood means the sourcing is environmentally responsible — relevant for families who care about both design and sustainability. Browse the full range in the GroovePanel® collection.

    Plan Your Own Mosaic Panel Installation

    For pattern selection guidance, read our guide to wood mosaic wall panels. For layout planning, see how to create a geometric feature wall. Browse all mosaic formats at the Wood Mosaic Wall Panels collection or the wider GroovePanel® range.

  • How to Mix Geometric Wall Panels with Stone, Metal, and Other Materials

    How to Mix Geometric Wall Panels with Stone, Metal, and Other Materials

    A room that uses only one material on its walls is a safe choice that rarely produces a memorable result. The interiors that feel genuinely designed — in hotels, high-end residential projects, and professionally executed homes — almost always involve a considered mix of materials on the same surface or adjacent surfaces. Geometric wood panels are one of the most versatile anchors for a mixed-material wall composition.

    Here’s how to mix geometric wood panels with stone, metal, plaster, and other materials successfully.

    The Principle of Material Contrast

    Material mixing works on contrast. The juxtaposition of different textures, temperatures, and visual weights creates interest that no single material achieves alone. The contrasts that work best are those between opposites:

    • Warm vs cool: timber warmth against stone or concrete coolness
    • Hard vs soft: rigid wood geometry against fluid plaster or fabric
    • Rough vs smooth: raw stone texture against precision-cut timber pattern
    • Natural vs industrial: organic wood grain against metal or glass

    Geometric wood panels work well as the “warm and natural” element in most of these pairings.

    Mixing Geometric Wood Panels with Stone

    This is one of the most effective material combinations in contemporary interior design. Solid walnut geometric panels on one wall, faux stone panels on an adjacent wall — different textures, different tones, but both natural material references in the same space.

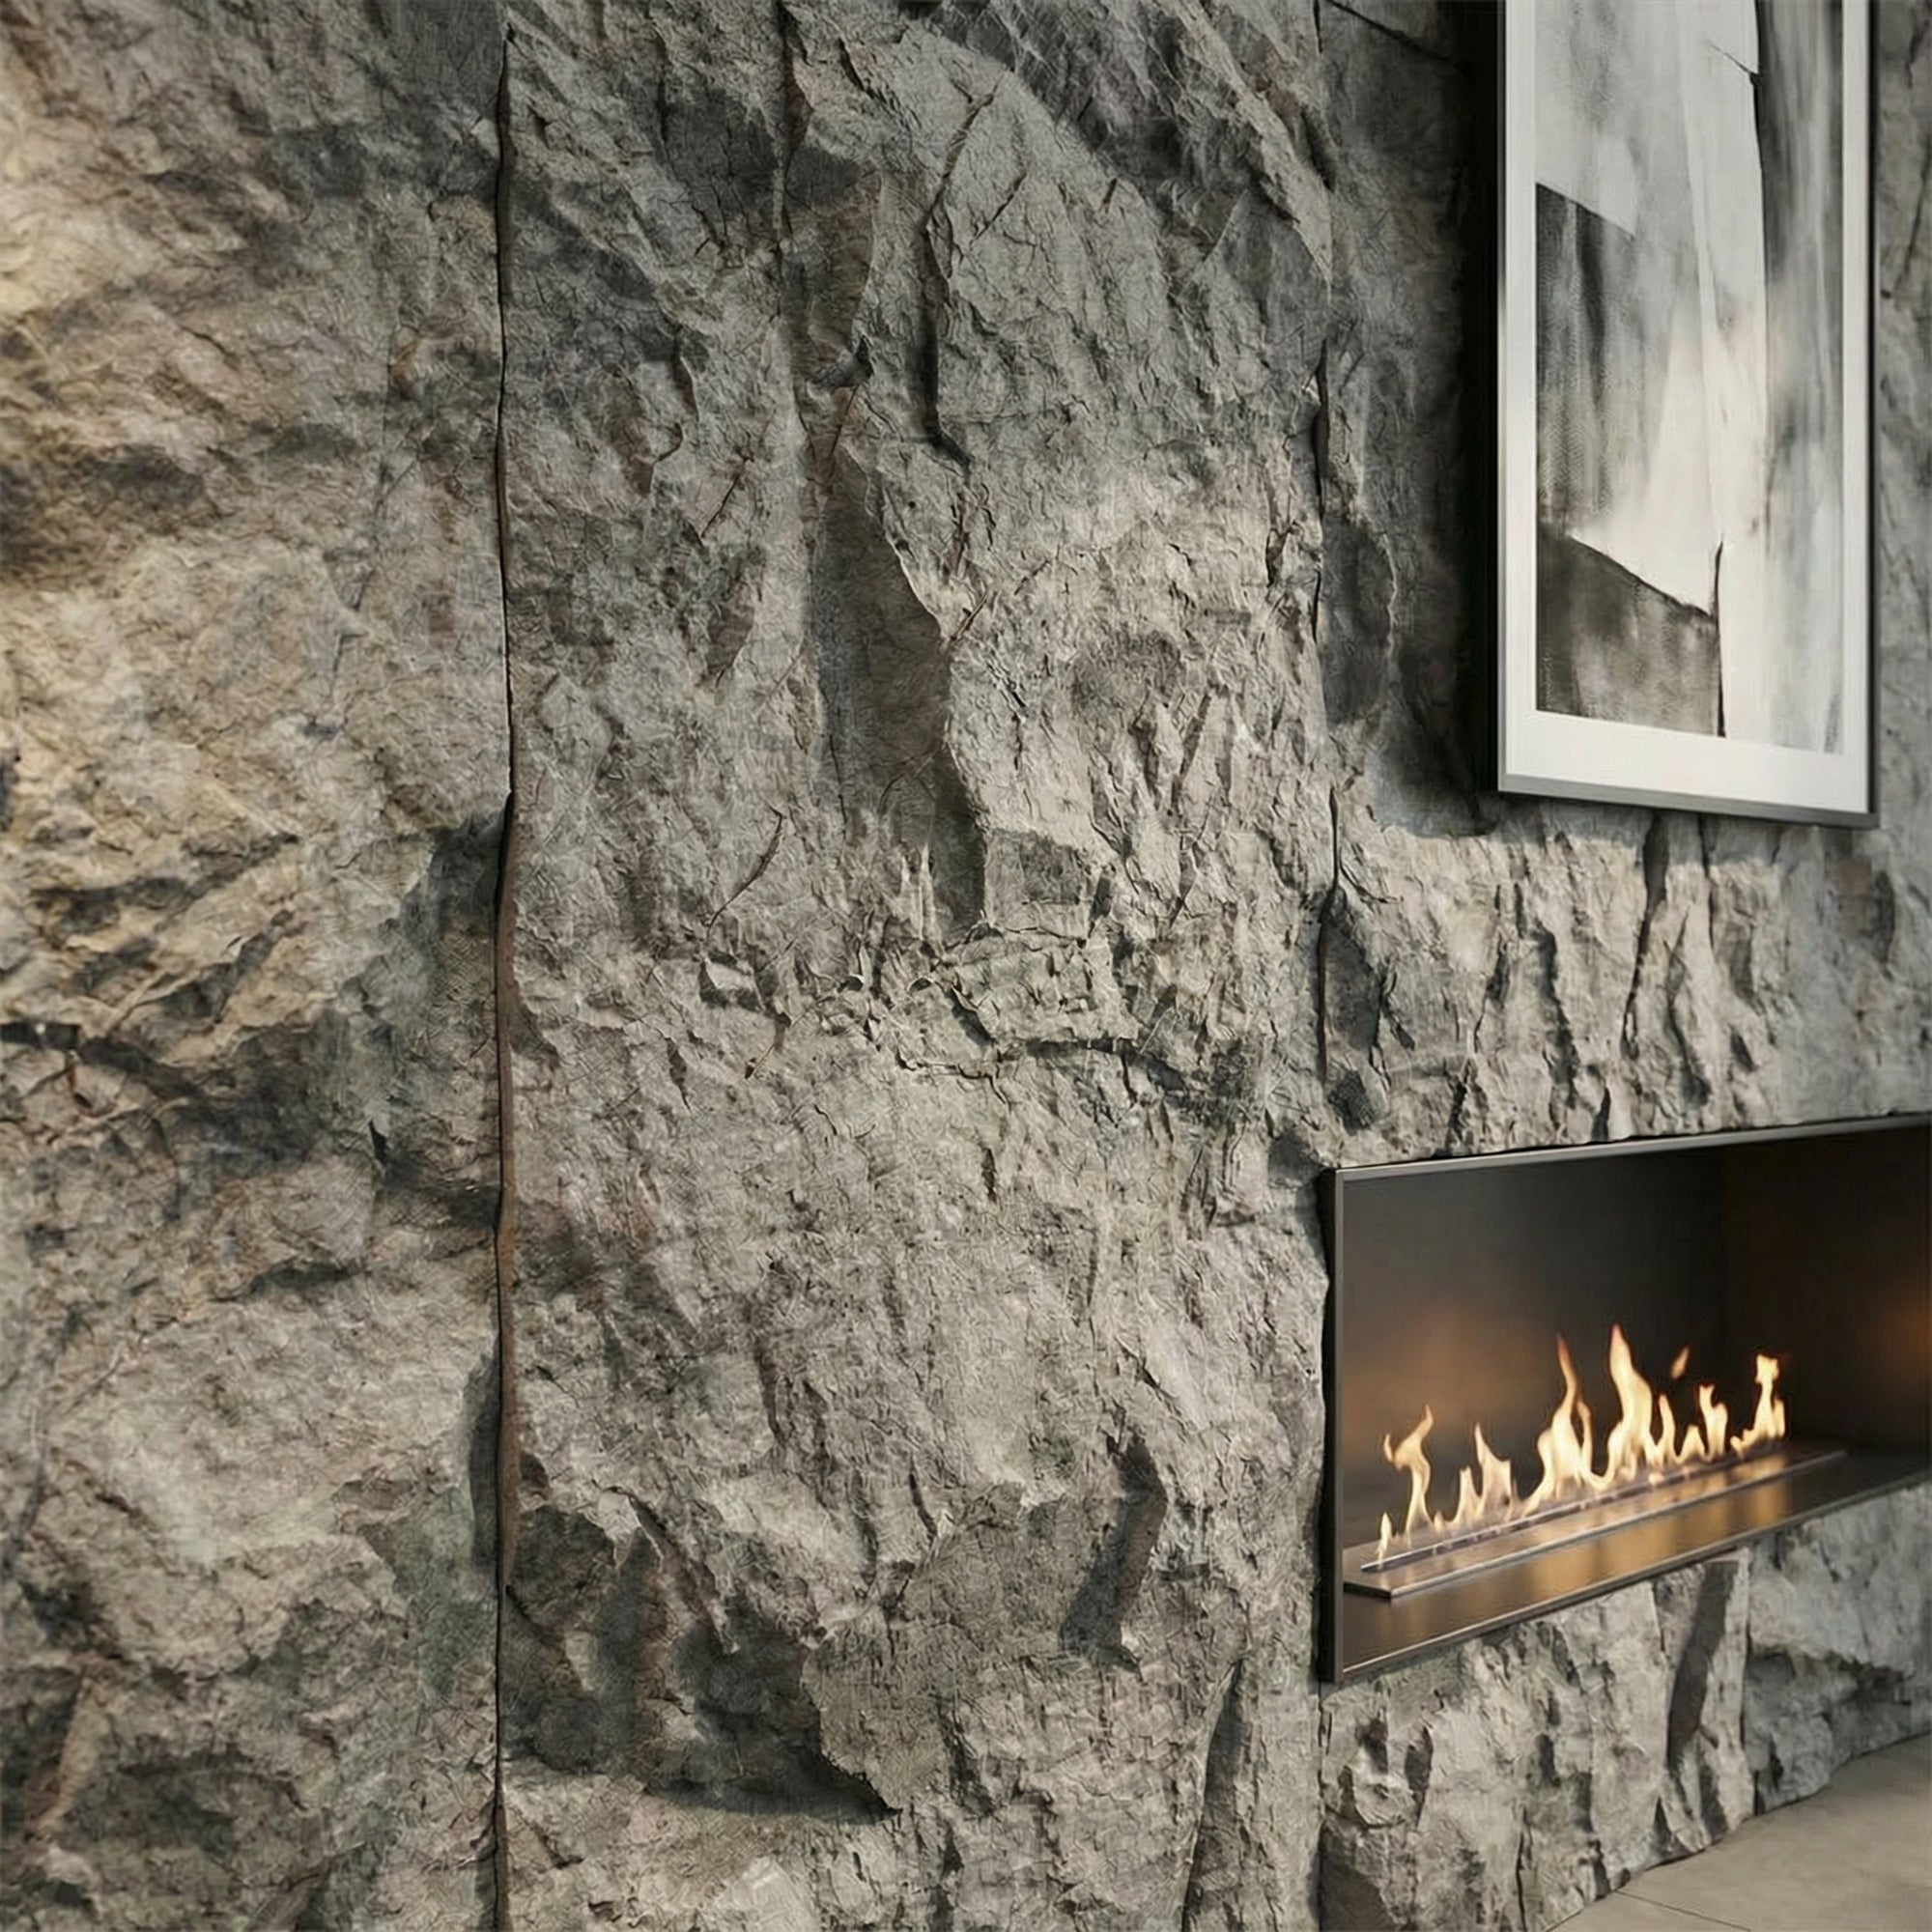
    At The Panel Hub, the GroovePanel® Geometric range and the RockSurface® Faux Stone range are designed to coexist in the same interior. A common application: stone panels on the chimney breast or fireplace surround, geometric timber panels on the flanking walls. The two materials share a natural, textured quality but offer completely different visual and tactile experiences.

    When combining timber and stone, keep the colour temperatures compatible: warm walnut works with warm stone tones (Highland Rock, sandy limestone). Lighter, cooler timber species (ash, light oak) pair better with cooler stone (slate, blue-grey basalt).

    Mixing Geometric Wood Panels with Plaster and Paint

    The simplest and most common combination. Plain painted plasterboard on surrounding walls, geometric timber panel on the feature wall. The painted surface recedes; the panelled surface advances. The key decisions are:

    • How much contrast in tone? Dark walnut panels against white walls: maximum contrast, maximum impact. Natural oak panels against warm grey walls: more integrated, more subtle.
    • What finish on the plaster? Flat matte paint is the most appropriate for rooms with textured panel walls — gloss finishes compete for attention. Limewash or polished plaster on surrounding walls creates an interesting dialogue with the panel’s structured geometry.

    Mixing Geometric Wood Panels with Metal

    Metal wall panels — perforated steel, brushed aluminium, corten steel — are increasingly used in residential interiors for their industrial, contemporary quality. Mixed with timber geometric panels, the contrast between hard metal and organic wood produces a sophisticated industrial-luxury result.

    Practical applications:

    • Corten steel (weathered orange-brown) panels alongside walnut geometric panels — warm tones that reinforce each other
    • Brushed brass inlay strips between geometric panel tiles — a detail that reads as intentional joinery rather than a gap
    • Metal framing or edge profiles around a timber panel installation — gives the panel a framed quality that emphasises it as a composed element

    Mixing Geometric Wood Panels with Tile

    In kitchens and bathrooms, the combination of ceramic or porcelain tile in functional zones (splashback, shower surround) and geometric timber panels in dry zones (dining wall, bath wall feature) is highly effective. The tile handles the water; the timber handles the aesthetic.

    For the best results, choose a tile with a large, plain format rather than a small mosaic — small-scale tile and small-scale timber mosaic compete if they’re in close proximity. A large-format limestone tile alongside a triangle timber mosaic produces clear material distinction; two competing small patterns create visual noise.

    The One Rule: Each Material Needs Space to Read

    The most common mistake in mixed-material wall design is crowding. Each material needs enough continuous surface area to establish its character before it meets the next material. A 3D geometric panel needs at least a full wall width to make its pattern legible; a stone panel needs at least 1.2m of surface to establish its texture.

    Browse geometric panel options at GroovePanel® Geometric Wood Wall Panels and stone panel options at RockSurface® panels. For styling the geometric panel formats themselves, see our guide to geometric wood wall panel patterns and styles. Order a sample of both materials to trial the combination in your space.