Author: The Panel Hub Design Studio

  • How to Remove Wood Wall Panels: A Step-by-Step Guide

    How to Remove Wood Wall Panels: A Step-by-Step Guide

    Before You Start: Assess the Installation Method

    How your panels were installed determines how difficult removal will be and how much wall damage to expect. The two main installation types require different approaches:

    • Adhesive-only installation: Panels bonded directly to the wall with construction adhesive. The adhesive bond must be broken, which typically causes some paint and plaster damage behind the panels.
    • Mechanical fixings (screws/nails) plus adhesive: Remove fixings first, then break the adhesive bond. Usually causes more damage at fixing points but allows more controlled panel removal.
    • Batten system: Panels fixed to battens that are fixed to the wall. Remove panels first, then unscrew the battens. The cleanest removal option — battens are typically screwed rather than glued.

    Tools You’ll Need

    • Flat pry bar or large palette knife
    • Rubber mallet
    • Utility knife
    • Screwdriver or drill (for mechanically fixed panels)
    • Heat gun (optional — softens adhesive)
    • Protective eyewear and gloves
    • Drop cloth to protect the floor

    Step-by-Step Removal: Adhesive-Fixed Panels

    Step 1: Score the Perimeter

    Run a sharp utility knife along all four edges of the first panel — through any caulk, paint, or edge trim that bridges the join between panel and adjacent surface. This severs the surface connection and prevents the trim or plaster from tearing when the panel is levered away.

    Step 2: Find the Starting Edge

    Begin at a corner, edge, or any point where the panel has the least adhesive contact — typically near a socket cutout or at the wall edge. Insert a flat pry bar or palette knife between the panel and the wall with gentle lateral pressure.

    Step 3: Apply Heat (If Needed)

    For panels with particularly strong adhesive bonds, apply a heat gun set to low heat across the panel surface. The heat softens the adhesive slightly, reducing the force required to break the bond and reducing the risk of large chunks of plaster being pulled away with the panel. Keep the heat gun moving — don’t hold it in one place.

    Step 4: Lever and Work Along the Panel

    Work the pry bar progressively along the panel edge, levering gently and increasing the gap incrementally. Avoid trying to pull the panel off in one motion — this maximises wall damage. Patient, progressive levering at multiple points produces a much cleaner separation.

    Step 5: Repeat Across the Wall

    Remove panels sequentially. Once the first panel is removed, subsequent panels are easier — you have access to the full edge of each panel from the side rather than having to start blind at a corner.

    Repairing the Wall After Removal

    Adhesive-fixed panels almost always leave adhesive residue and some paint/plaster damage on the wall behind them. Typical repair sequence:

    1. Remove adhesive residue: Scrape away any remaining adhesive with a wide scraper. Softening with a heat gun first makes this significantly easier.
    2. Fill damage: Fill pulled areas, holes, and gouges with interior filler. Sand flush when dry.
    3. Prime: Apply a coat of wall primer to seal the repaired areas and provide a uniform base for paint or new panels.
    4. Redecorate: The wall is now ready for paint, new panels, or any other finish.

    If you’re removing old panels to replace with a new installation, our step-by-step installation guide covers the full process from a prepared wall. And for the new product range, browse The Panel Hub’s wood wall panel collection to find your next installation.
  • Interior Design Trends 2026: Wood Panels Take Center Stage

    Interior Design Trends 2026: Wood Panels Take Center Stage

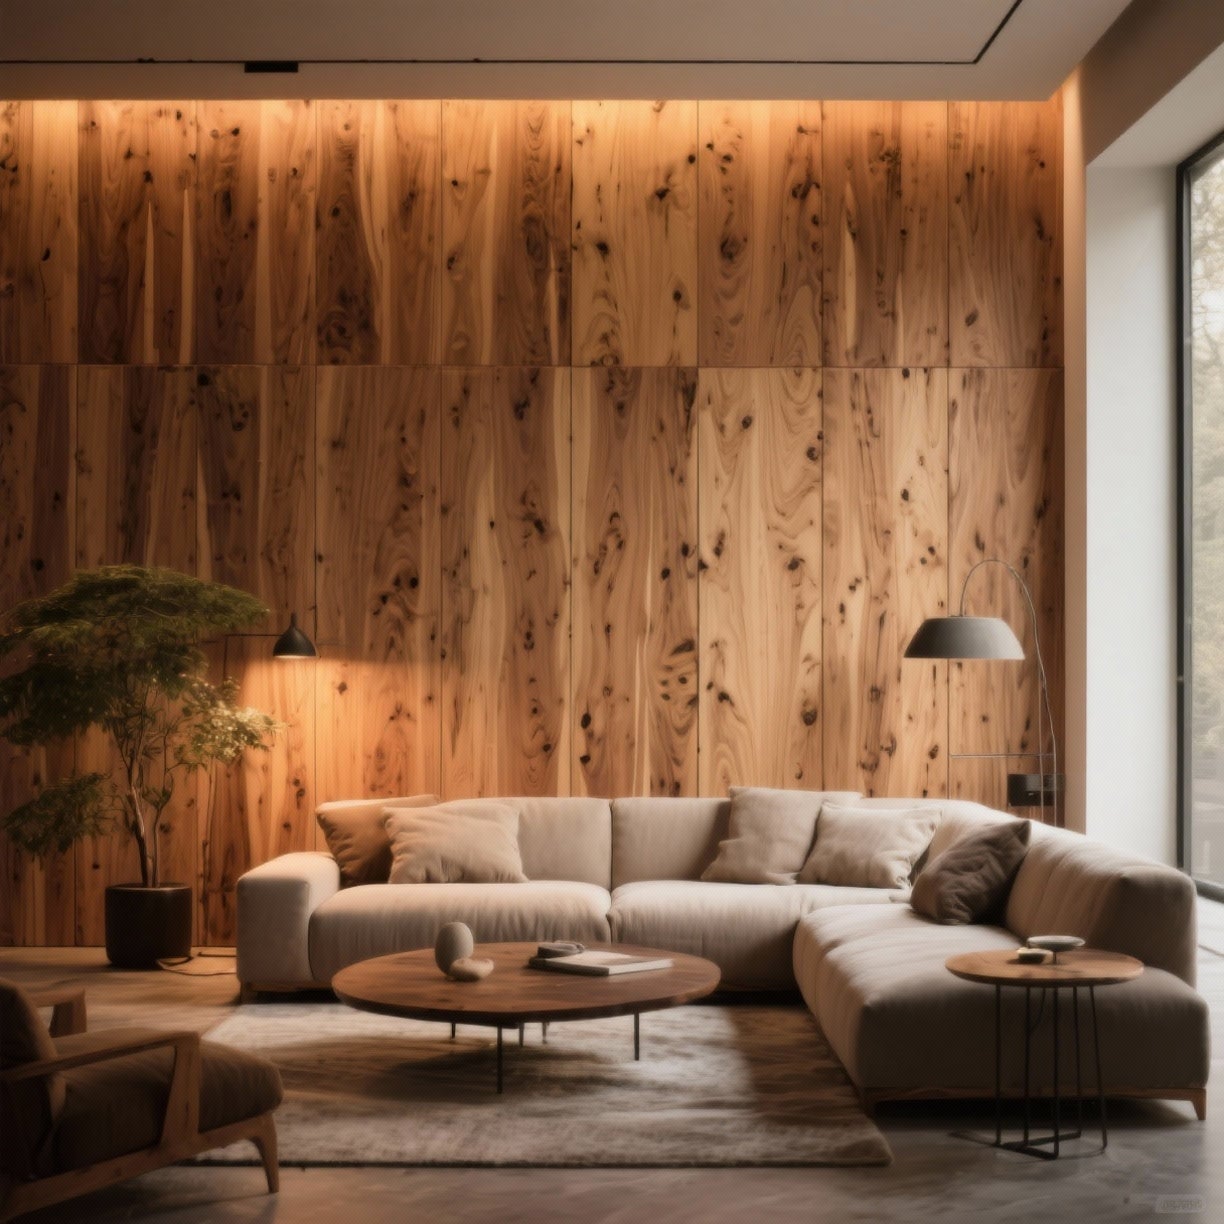
    Scroll through any design feed in 2026 and you’ll notice the same thing. Bare walls are out. Textured, warm, layered walls are everywhere. The biggest shift in interior design trends 2026 wood panels are pulling to the front, and for good reason. They turn a flat room into something people actually want to sit in.

    Here’s what’s driving the shift and how to get the look yourself.

    Why wood panels are everywhere right now

    Three things changed at once. People are home more, Zoom backgrounds matter, and open-plan living made echo a real problem. Wood wall panels solve all three. They add warmth on camera, absorb sound, and make a plain room feel designed.

    The other reason is honesty. Designers moved away from printed laminates and painted feature walls. Real wood veneer on a real MDF core reads as quality even from across the room. You can spot the difference in a photo.

    The four looks defining 2026

    1. Floor-to-ceiling slat walls

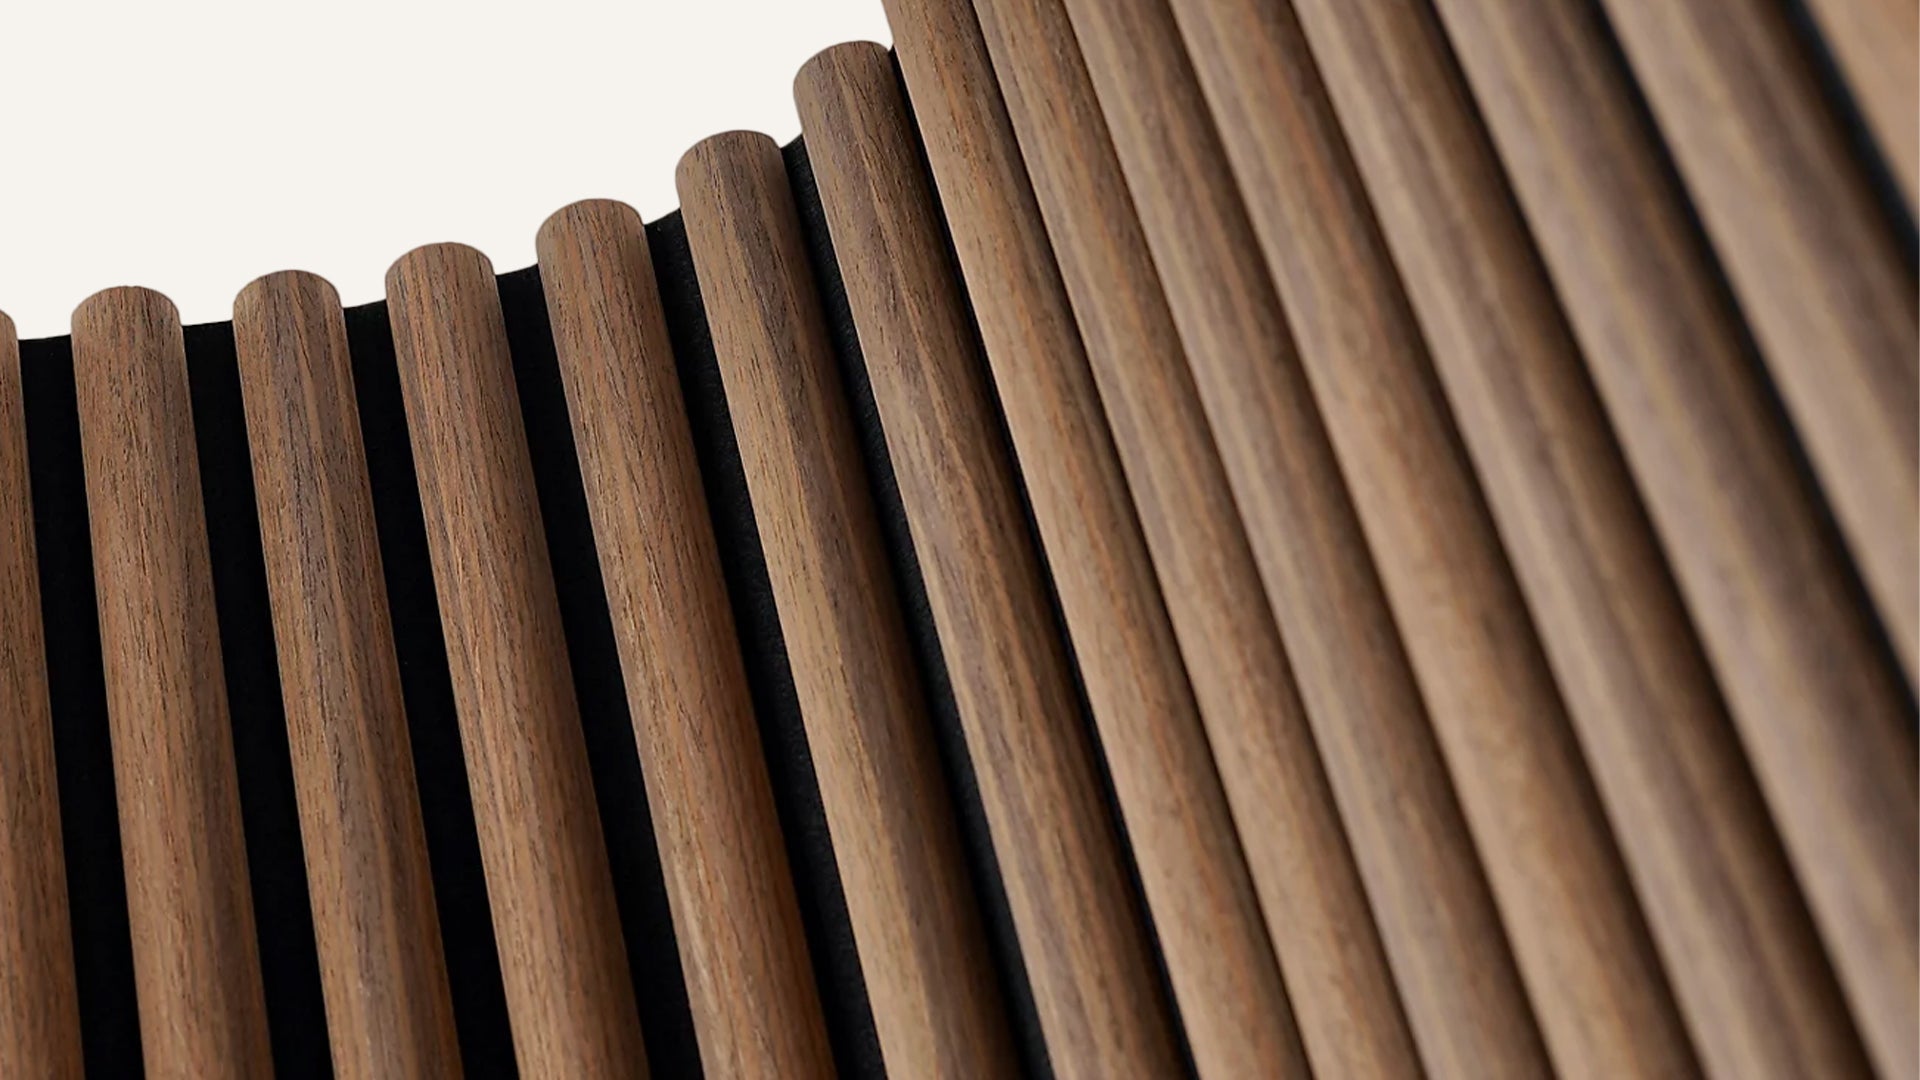
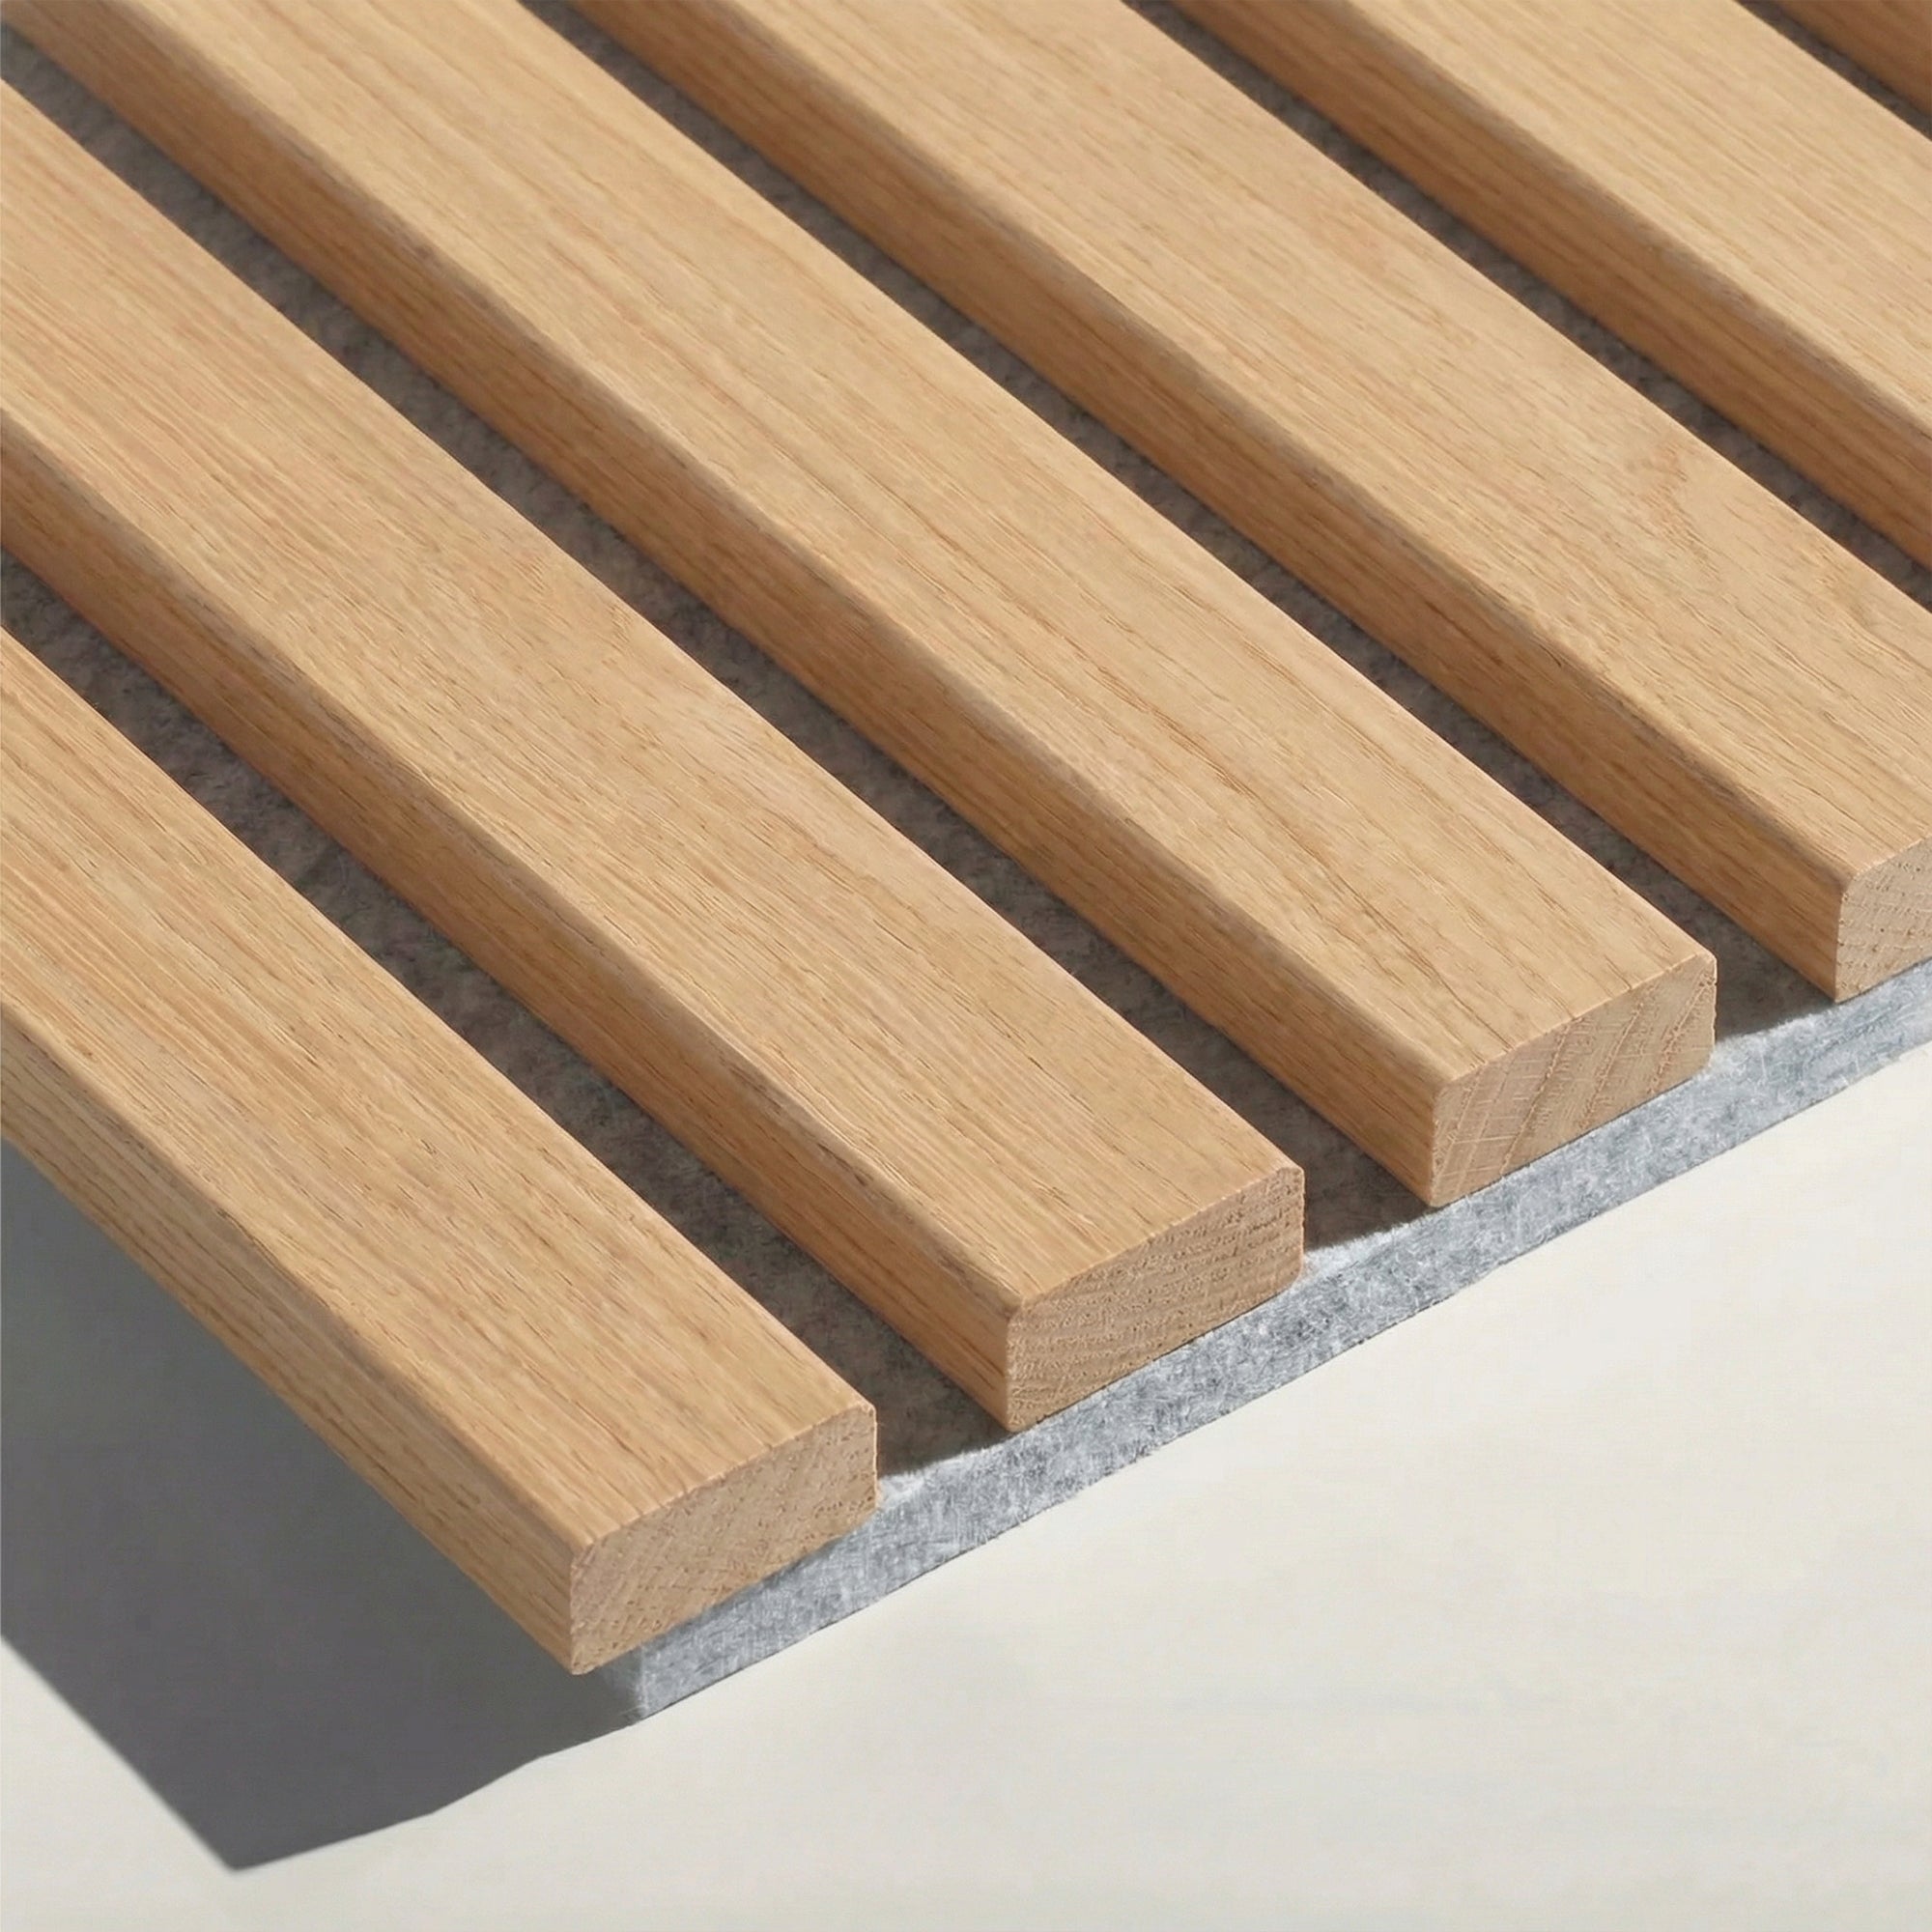
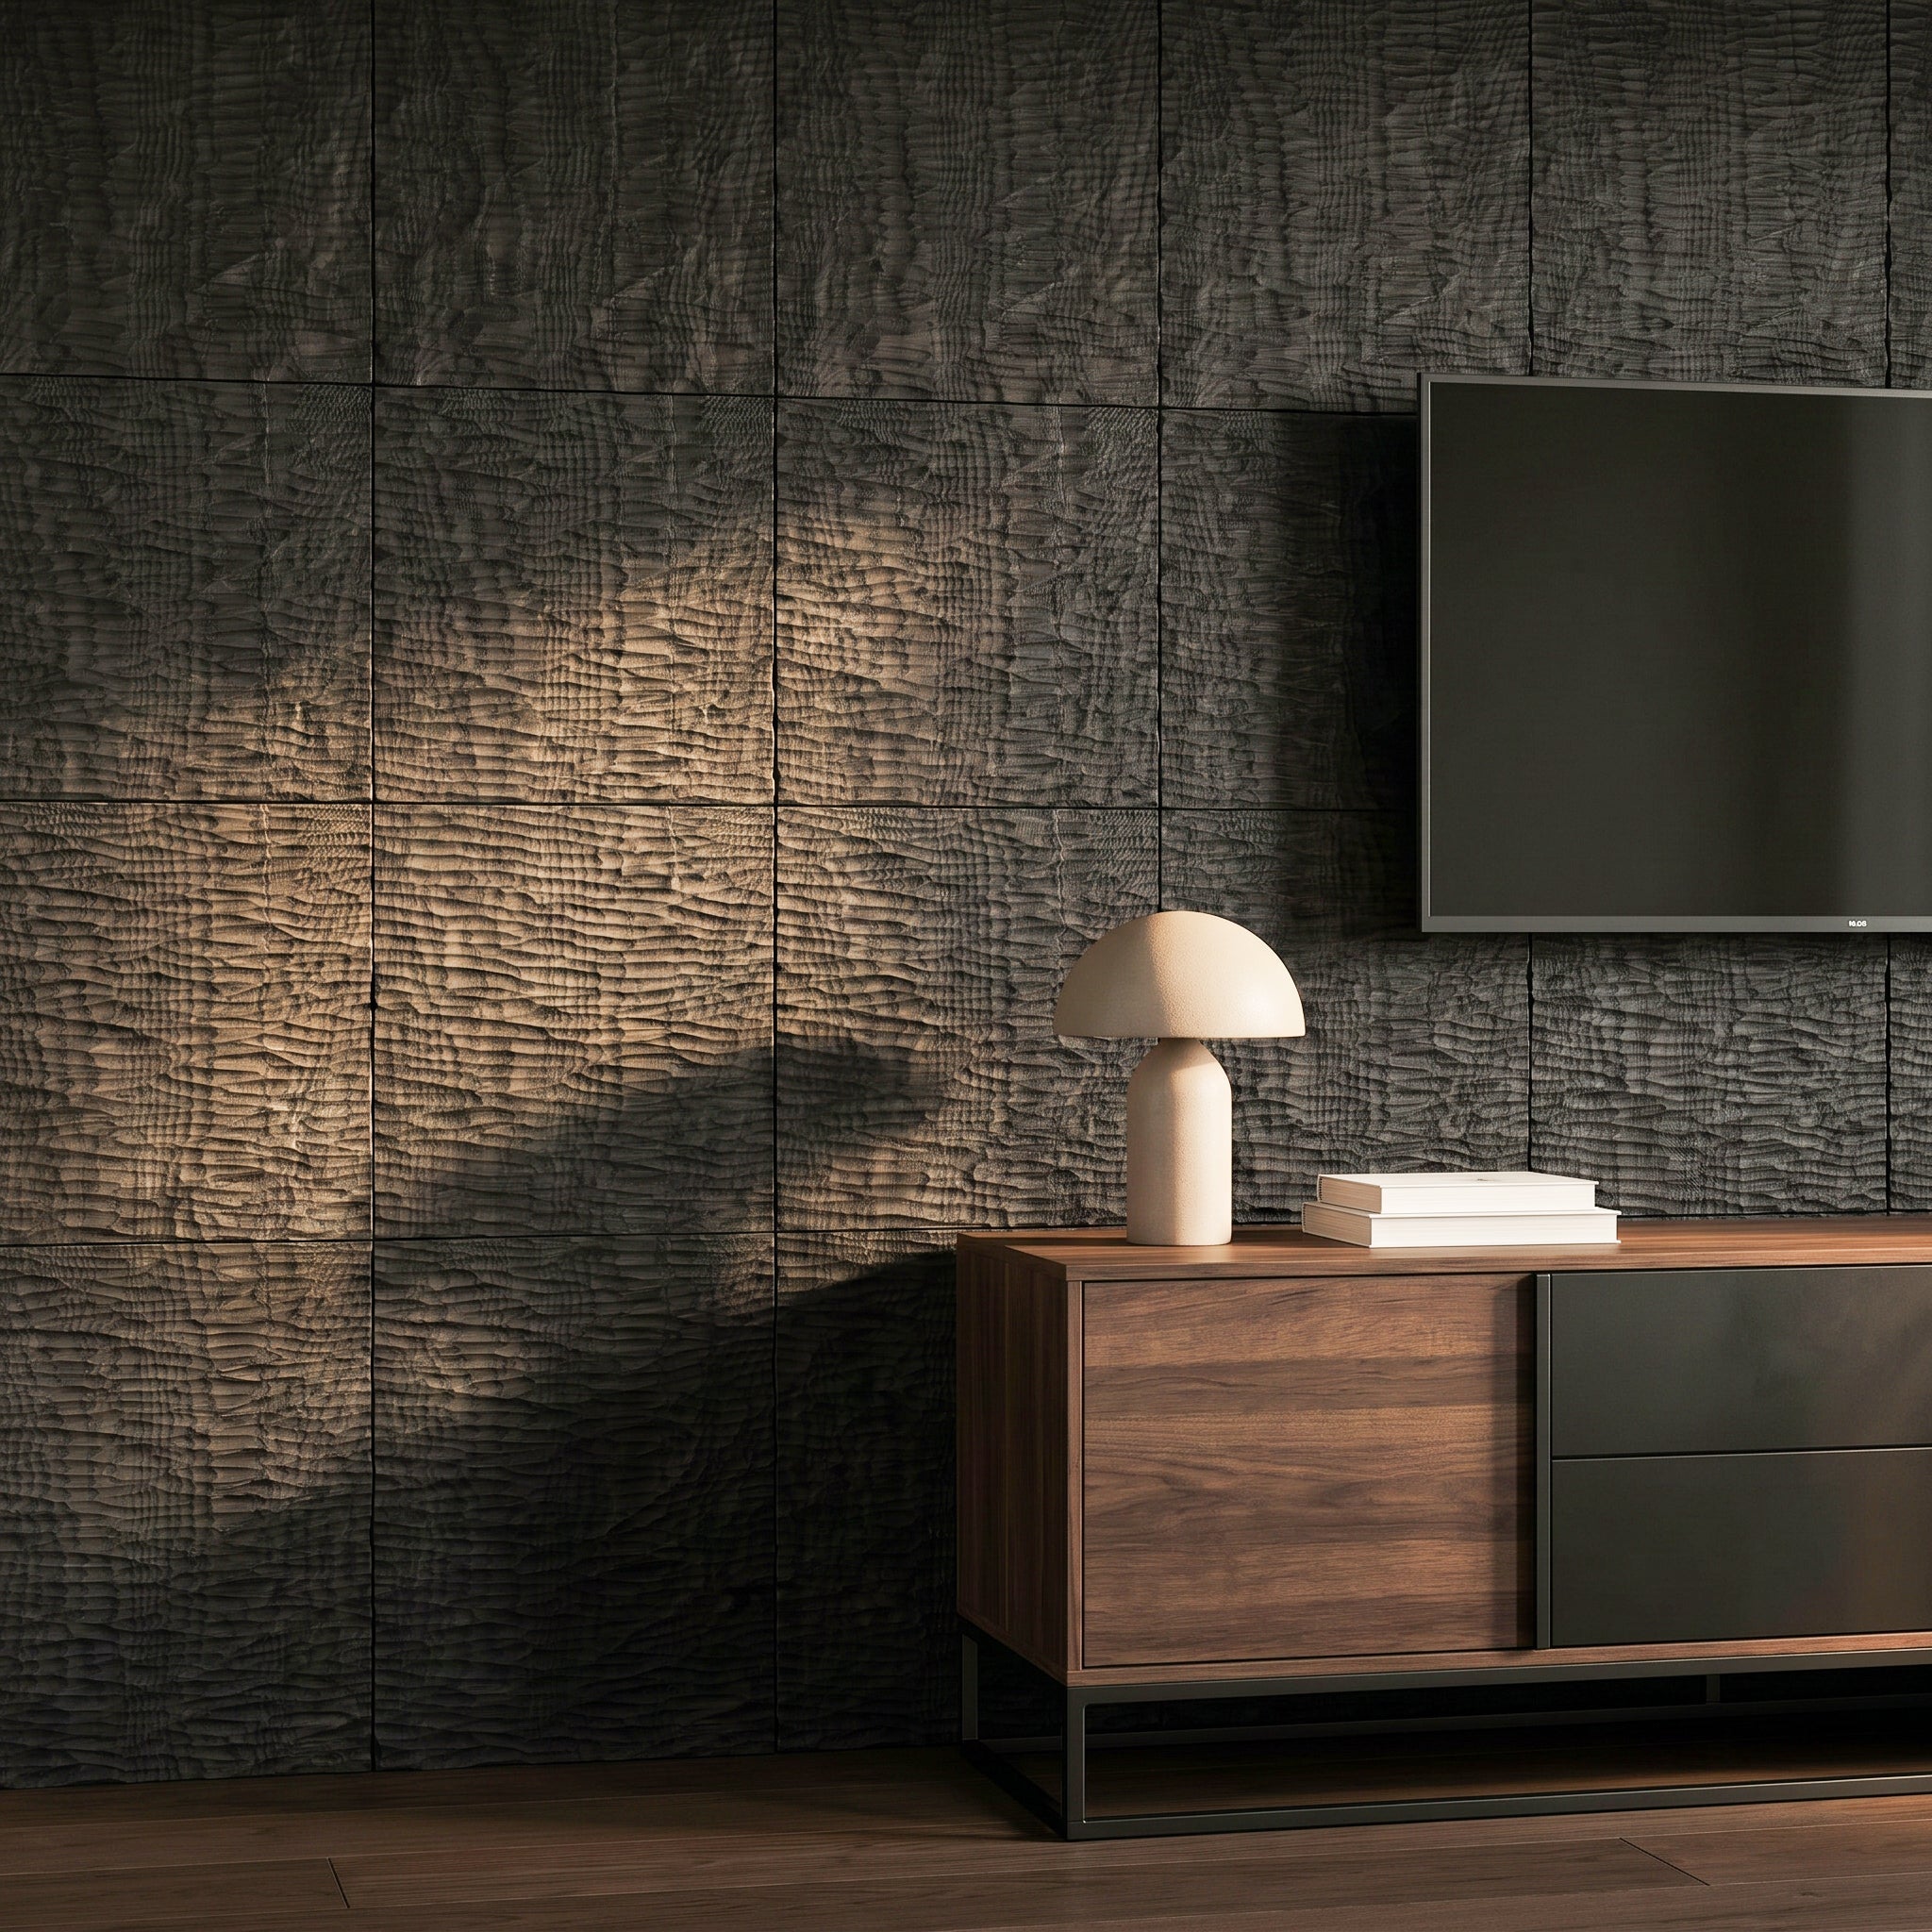
    Long vertical slats behind the bed, the sofa, or the TV. This is the single biggest look of the year. It adds height, rhythm, and quiet to the room. Acoustic slat panels with felt backing do the visual and acoustic work at once, which is why they’re showing up in so many renovations.

    2. Geometric and mosaic feature walls

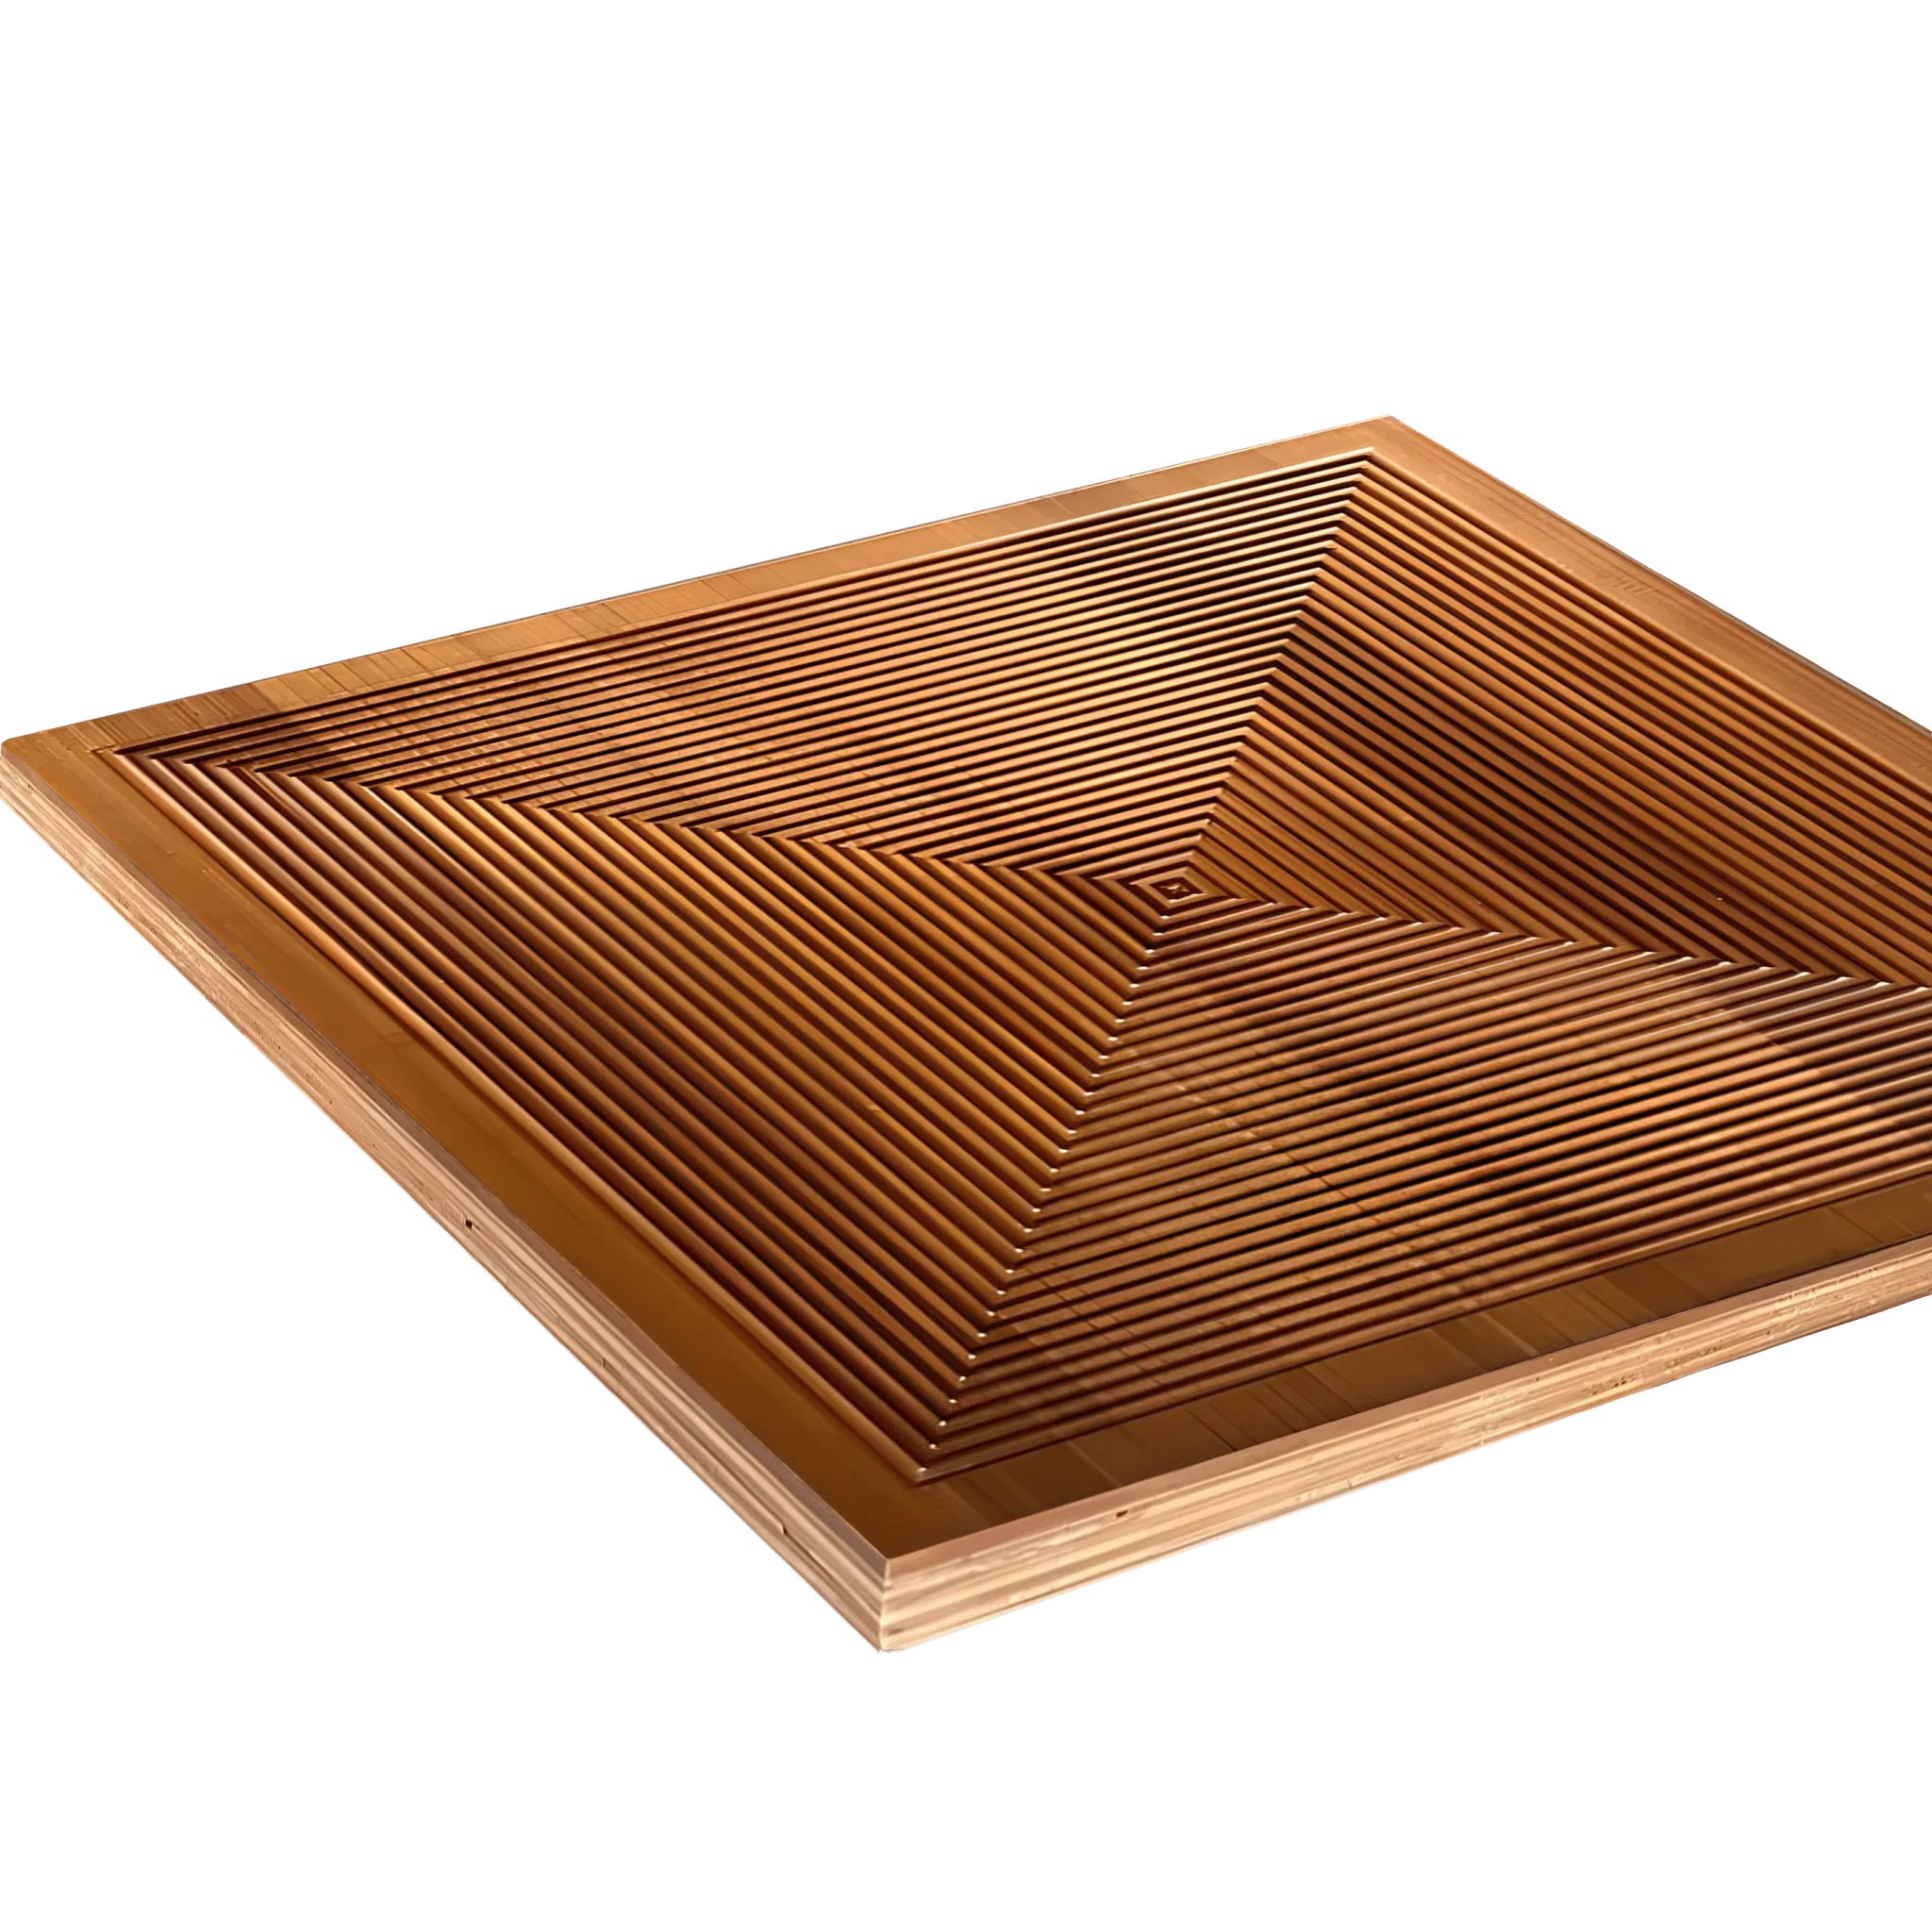
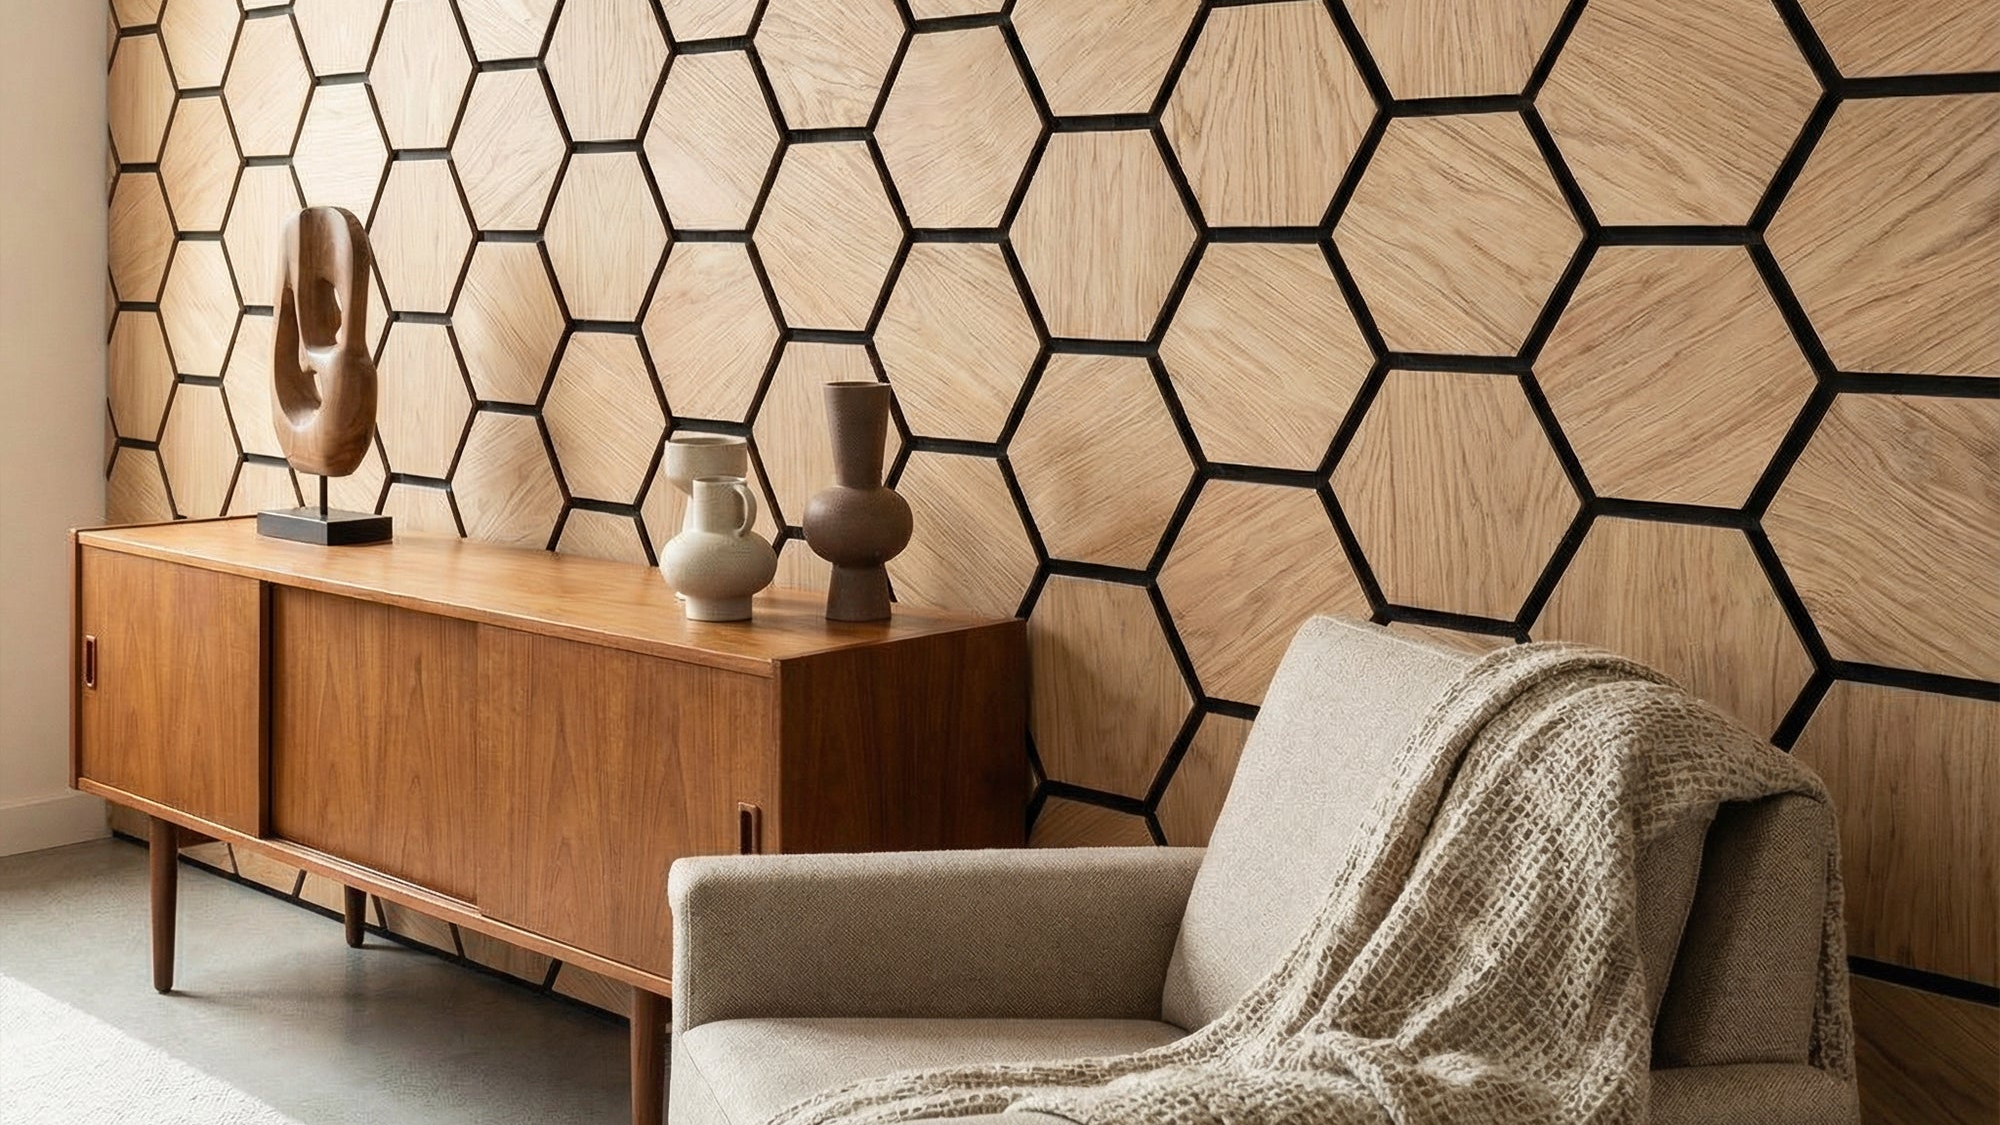
    Triangles, diamonds, concentric squares. These are replacing the old shiplap and board-and-batten trend. The GroovePanel mosaic collection is built exactly for this, with 23.6 x 23.6 inch panels that tile into bigger patterns.

    3. Natural wood on kitchen islands and built-ins

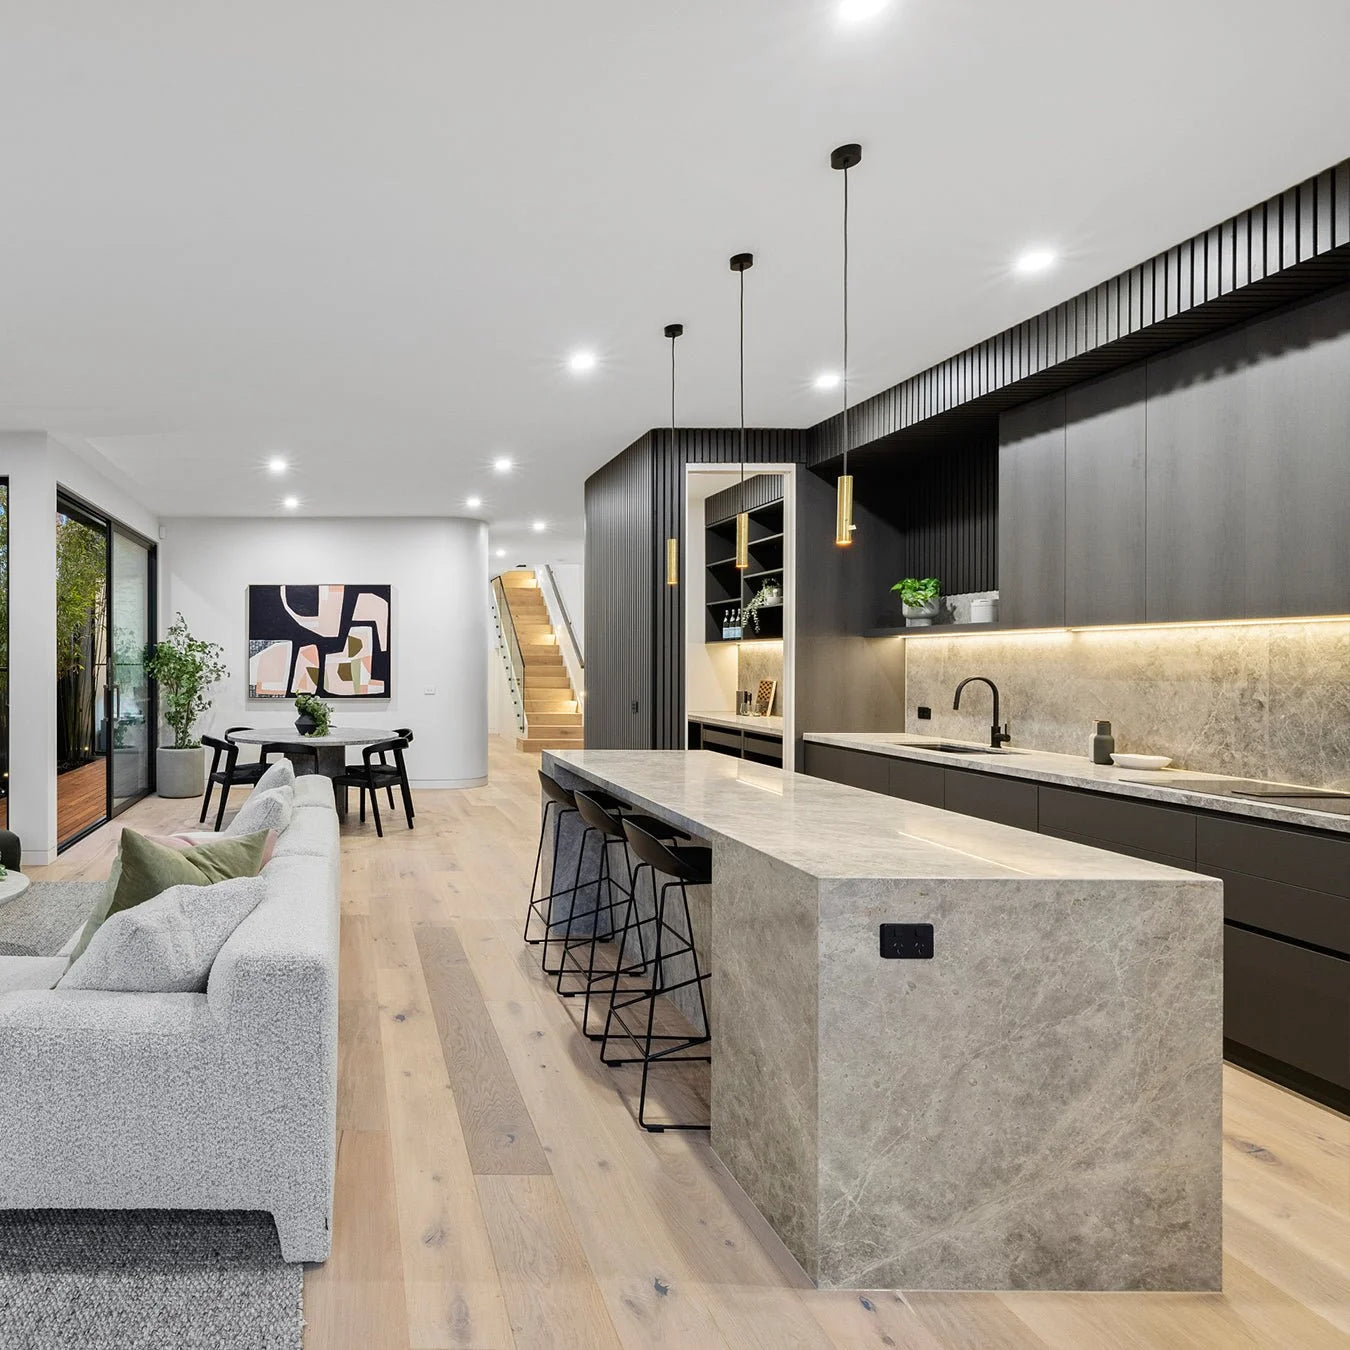
    Not just walls anymore. Designers are wrapping islands, TV consoles, and built-in bookshelves in panel material. It ties the room together in a way paint never could.

    4. Mixed textures on one wall

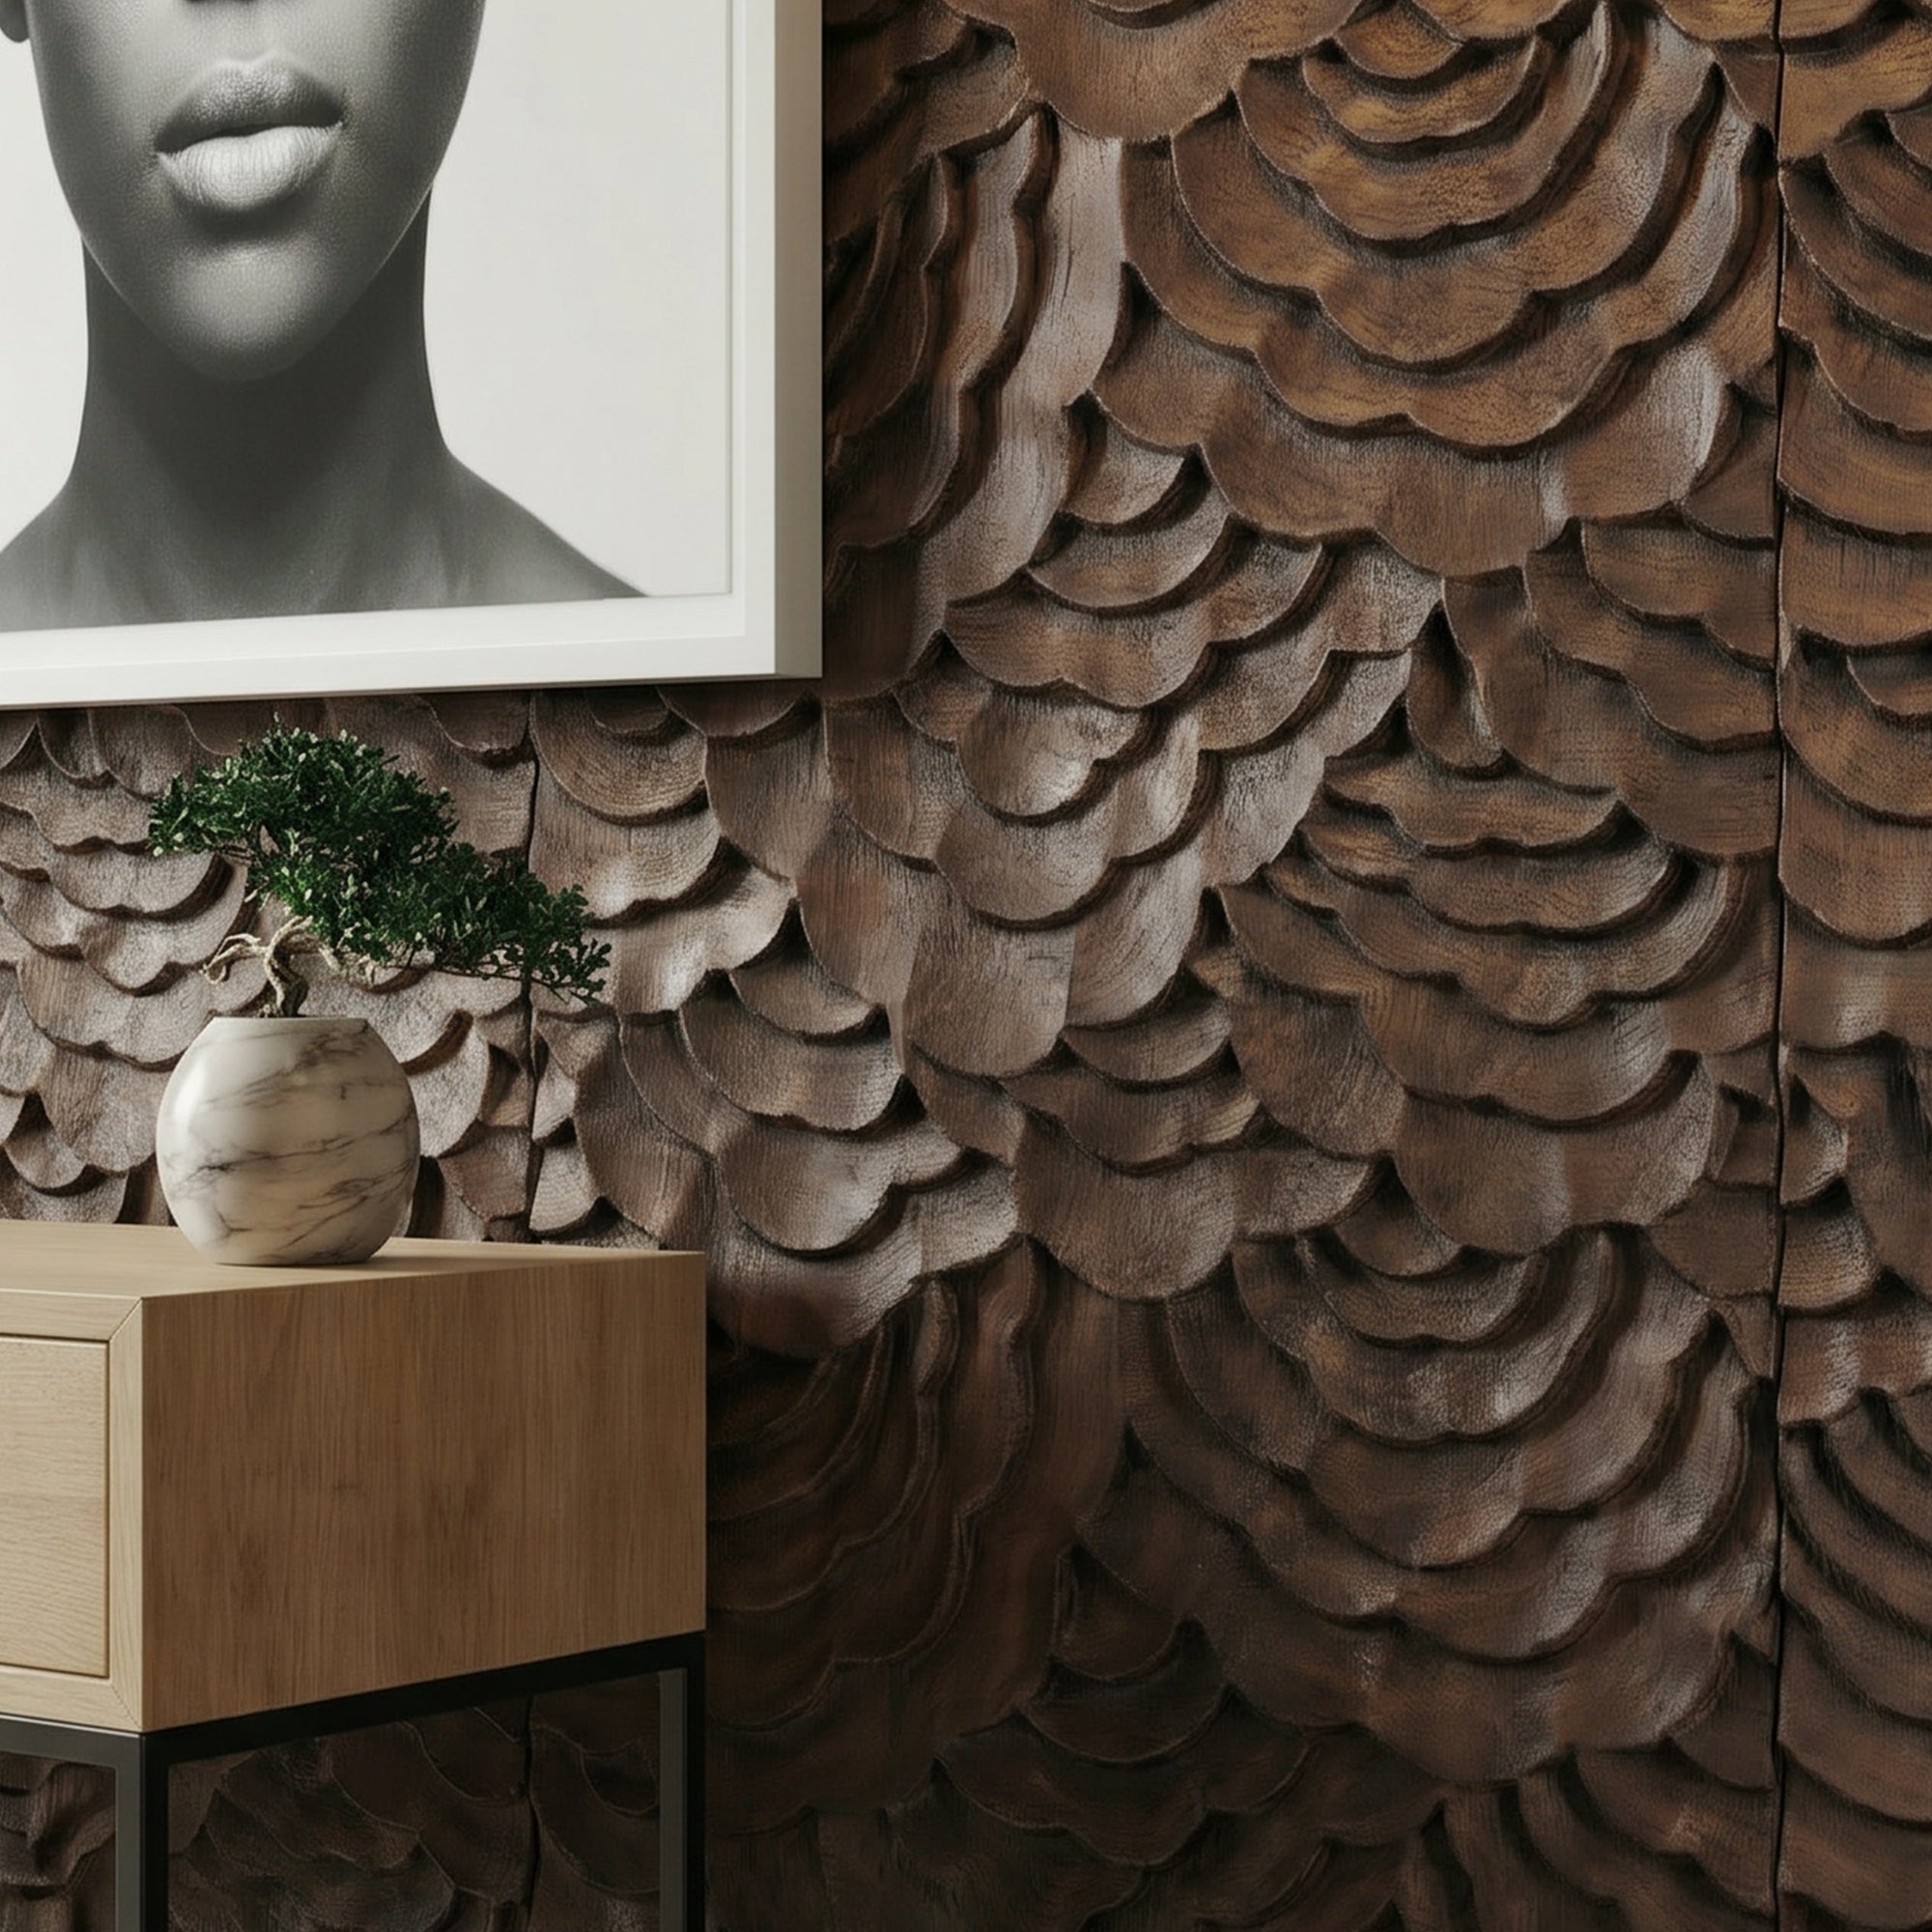
    Smooth veneer next to slatted sections next to a band of 3D geometric pattern. One wall, three textures. It’s the 2026 version of what a gallery wall used to do.

    What’s leaving the trend list

    Stark all-white walls are fading. So are chevron wallpapers, barn doors, and heavy black accent paint. Anything that feels flat or printed reads as dated in 2026.

    How to get the look without a full renovation

    You don’t need a contractor. Most modern wood panels install in under 2 hours with adhesive or a few finish nails. Panels come pre-finished with 3-sided rounded edges, so there’s no sanding, staining, or trim work.

    Three steps make it work:

    1. Pick the wall. One feature wall is almost always better than four accent walls.
    2. Pick the style. Vertical slats for calm, mosaic for personality, faux stone for drama.
    3. Measure, order, install. A 10 x 9 foot wall takes roughly six boxes and one afternoon.

    If your room echoes or feels cold on camera, start with acoustic slat panels. If it just looks flat, go decorative. See the full wood wall panel collection to compare finishes side by side.

    Not sure which style fits your room? Start with the Room Visualizer and see three finishes on your own walls before you buy.

    Understanding what is trending is useful context — but the real value of trend awareness is in translating it into decisions that make sense for a specific home, budget, and lifestyle. The four looks that are defining 2026 wall panel design (warm minimalism, nature-led materiality, tonal layering, and textured sculptural surfaces) are not mutually exclusive. Most resolved interiors in 2026 draw from more than one of these directions simultaneously.

    A practical approach: identify the look that most closely matches your existing interior’s character, then use that as the anchor. If your home already has pale wood floors and white walls, the warm minimalism direction reinforces rather than fights what you have. If you have darker finishes and mixed materials, tonal layering — bringing the panel, wall colour, and textiles into the same warm tonal family — is a lower-risk way to introduce panels without needing to change the rest of the room.

    Budget realism matters when chasing trends. The most trend-forward materials — fine-pitch fluted panels in solid hardwood, hand-finished sculpted surfaces, premium veneer in unusual species — are expensive. The same trend direction can be delivered at different price points: a wide-pitch slat panel in engineered oak veneer achieves the warm minimalist look at a fraction of the cost of solid walnut. The key is to invest in the material that will be seen most clearly, and economise on elements that are less visible.

    2026 Wood Panel Interior Design FAQs

    Are painted wood panels still fashionable in 2026?
    Painted panels remain popular, particularly in classic profiles like raised panel, shaker flat panel, and board-and-batten, where paint allows the architectural form to be the design statement rather than the material. However, the direction of travel in 2026 is towards natural wood — unpainted, oiled, and grain-forward — which is displacing painted MDF as the aspirational finish. Painted panels remain the dominant choice in traditional and heritage properties where natural wood would look out of period.

    What rooms are most impacted by 2026 wall panel trends?
    Living rooms and bedrooms are where the 2026 trend energy is most concentrated, driven by social media content that centres on home sitting rooms and bedroom designs. Bathrooms are a growing area — PVC panels in realistic wood and stone finishes are rapidly displacing traditional tiles in contemporary new-builds and renovation projects. Hallways and staircases are less trend-sensitive but respond well to classic panel profiles that add architectural quality without requiring a specific trend alignment.

    How long will the current wood panel trend last?
    Natural wood in interior design has a cyclical rather than linear trend pattern — it goes through phases of peak popularity followed by periods of relative dormancy, then returns. The current cycle, which accelerated in the mid-2010s and has strengthened through the 2020s, is supported by genuine consumer demand for natural materials rather than just a surface aesthetic preference. This suggests the direction has more durability than a simple fashion trend. The specific profiles and species within wood panelling will continue to evolve, but natural wood as a wall material is likely to remain highly relevant through the late 2020s.

    What is the fastest way to update a room using 2026 panel trends?
    A single feature wall in the most trend-forward material you can afford in the room’s dominant colour direction. This approach works because it changes the character of the space significantly without requiring a whole-room renovation, can be completed in a day or less, and gives you a clear reference point against which to update the rest of the room over time. The feature wall approach also means you can experiment with a trend direction without committing the entire interior to something that may not suit the space once installed.

  • Japandi Wall Panels: How to Get the Look Right

    Japandi Wall Panels: How to Get the Look Right

    What Japandi Actually Means

    Japandi is the design fusion of Japanese wabi-sabi and Scandinavian hygge — two philosophies that share more than they differ. Both prioritise natural materials, functional simplicity, and spaces that feel calm rather than curated. The result is an aesthetic that’s minimal without being cold, restrained without being bare, and deeply rooted in the character of natural wood.

    Wall panels are one of the defining elements of a Japandi interior. The vertical line and warm grain of acoustic wood slat panels suit the aesthetic almost perfectly — they add texture and warmth without decoration, visual interest without noise. The White Felt edition — pale timber with white backing felt — aligns particularly well with the Japandi emphasis on intentional restraint and tonal precision.

    Choosing the Right Species for Japandi

    The wood species matters enormously in a Japandi interior. The wrong tone undermines the entire composition:

    • Light ash: The quintessential Japandi choice — pale, even grain, slightly cool undertone that reads as calm and considered. Works in any light condition.
    • Natural oak: Warmer than ash, with more visible grain character. Leans slightly more Scandinavian than Japanese, but works well in warmer Japandi interpretations.
    • Smoked or light-smoked oak: Adds the grey-brown tone that echoes Japanese aged wood aesthetics without going fully dark. A sophisticated middle ground.
    • Walnut: Too warm and rich for a strict Japandi palette — better suited to mid-century modern. Use only in small doses as an accent in an otherwise restrained scheme.

    Our walnut vs oak panel comparison and guide to wood species for wall panels cover the specific characteristics of each option in detail.

    Layout and Scale: Less Panel, More Impact

    Japandi interiors resist excess. Where maximalist schemes might panel every wall, a Japandi approach panels one — and leaves the rest bare or in a carefully chosen muted tone. This restraint is the point. A single wall of slim acoustic slat panels in pale ash against walls finished in warm white or soft greige creates the kind of considered tension that makes Japandi feel intentional rather than sparse.

    Scale matters too: slimmer slat profiles (20–30mm slat width with proportional gaps) suit Japandi better than chunky profiles. The visual rhythm should be fine and regular, not bold and dominant.

    Complementary Materials

    Wall panels in a Japandi scheme work alongside:

    • Natural linen and cotton textiles — undyed or softly toned cushions, throws, and curtains
    • Matte ceramics in earthy off-white, sage, or clay tones
    • Low, unadorned furniture — a platform bed, a simple dining table, furniture without visible hardware
    • Indoor plants — a single large statement plant (fiddle leaf, olive tree) rather than a collection
    • Warm-white or amber artificial light — avoid cool white LED in any Japandi scheme

    What to Avoid

    The most common Japandi mistakes with wall panels:

    • Paneling too many walls: One panel wall is Japandi. Three is rustic cabin.
    • Wrong species: Cherry, pine, or heavily grained exotic species break the visual calm.
    • High-gloss finish: Japandi finishes are matte, satin, or natural oil — never lacquered to a shine.
    • Decorating the panel wall: Don’t hang art, shelves, or accessories on the panel wall. Let the wood be the statement.

    For broader design context on using slat panels in living spaces, our wood slat panels for living room guide and accent wall ideas guide are useful companions to this piece.

    Japandi Wall Panels: Getting the Balance Between Japanese and Scandinavian

    Japandi is a synthesis rather than a style with its own independent vocabulary — which makes it easy to misapply. The balance between the Japanese and Scandinavian elements requires conscious attention. Japanese interiors prioritise emptiness as an active quality — ma, the meaningful pause — and materials that show the marks of natural process. Scandinavian interiors prioritise functional beauty and the amplification of natural light. When these two sensibilities combine well, the result is a space that is both warm and deeply quiet.

    For wall panels in a Japandi scheme, the Japanese influence dictates restraint in coverage: one panel wall, chosen carefully, rather than panels on multiple surfaces. The Scandinavian influence dictates the material — pale ash or whitened oak that maximises light — while the Japanese influence might modulate this towards a slightly darker, more wabi-sabi-appropriate species like lightly smoked oak or natural cedar. The finish should be matte or very softly satin — nothing that reflects light in a way that feels engineered or artificial.

    Proportion is the final critical variable. Japanese aesthetic tradition is highly sensitive to scale and the relationship between elements. Slat panels in a Japandi interior should have carefully considered pitch — not so narrow that the shadow gaps create visual busyness, not so wide that individual boards read as heavy or blunt. A pitch in the 50–80mm range (board width plus gap) achieves the quiet visual rhythm that characterises genuinely resolved Japandi interiors.

    Japandi Wall Panel FAQs

    What is the key difference between Japandi and Scandinavian panel design?
    Both traditions use natural wood and restrained palettes, but Japandi brings a Japanese sensitivity to emptiness and imperfection that Scandinavian design does not always include. In Japandi, the space between panels is as considered as the panels themselves, and natural imperfections in the wood — slight grain variation, occasional knots in appropriate woods — are valued rather than minimised. Scandinavian design tends more towards clean, flaw-free surfaces.

    Can dark woods work in a Japandi interior?
    Yes — this is one area where the Japanese influence differs from the typically lighter Scandinavian approach. Darker woods like walnut or smoked oak carry the wabi-sabi reference to aged, well-used materials that Japanese interior design values. In a Japandi scheme, a single walnut panel wall can anchor the room in warmth while the remaining surfaces stay light. The contrast between dark panel and pale wall is characteristic of authentic Japandi rather than a departure from it.

    What furniture best complements Japandi wall panels?
    Low-profile furniture with clean lines and natural materials — solid wood with exposed joinery, linen upholstery in neutral tones, simple ceramic objects. Avoid upholstered furniture with heavy pattern or strong colour, which conflicts with the Japandi emphasis on tonal restraint. The floor-to-ceiling proportion is important in Japandi: low furniture that leaves more wall visible amplifies the panel’s visual presence and maintains the sense of considered emptiness the style depends on.

    Do Japandi panels work in a contemporary new-build apartment?
    Yes — and new-builds are well-suited to Japandi design because their clean architectural surfaces and large windows provide the blank canvas and natural light that both Japanese and Scandinavian design traditions require. The challenge in new-builds is often the opposite: avoiding the temptation to fill all the available surface. A single Japandi panel wall in an open-plan living space, left to breathe with minimal furniture and no competing decorative layers, is the approach most likely to succeed.

  • Kitchen Island Fluted Panel Ideas: How to Elevate the Heart of Your Home

    Kitchen Island Fluted Panel Ideas: How to Elevate the Heart of Your Home

    Why Kitchen Islands Are Perfect for Fluted Panels

    The kitchen island is the piece of furniture most people see first when entering an open-plan kitchen-dining space. Unlike a wall — which needs a deliberate design decision to treat — the island is already there, already prominent, already the functional centrepiece of the room. Fluted panels on the island cladding upgrade it from functional box to architectural statement.

    The vertical groove profile of fluted panels adds texture and shadow depth to what is typically a flat, plain-fronted piece of furniture. It adds material interest at a cost and complexity far lower than replacing cabinetry, and it works in almost every kitchen aesthetic from modern Scandi to transitional traditional.

    Design Ideas

    Full Island Cladding in Fluted Oak

    The most popular application: all four visible faces of the island clad in vertical fluted oak panels. In a light natural oak or blonde finish, this suits Scandinavian, organic modern, and contemporary kitchens where warmth and natural material are the design brief. Pair with white or warm grey worktops and brass hardware for a cohesive look.

    Fluted Walnut Island as a Dark Contrast

    In kitchens with light-coloured cabinetry (white, sage, warm cream), a walnut-fluted island creates a strong material contrast that makes the island feel like a separate, deliberate piece of furniture rather than just another cabinet run. The rich brown tones of walnut read as premium and sophisticated — particularly effective in larger kitchen spaces where the island is genuinely the room’s centrepiece.

    Fluted Panels on One Face Only

    For smaller islands where full cladding would feel heavy, or as a budget-conscious approach, panel the primary face only — the long side facing the living or dining area. Leave the working faces (the side adjacent to the cooktop, the breakfast bar end) in the existing kitchen finish. The effect is a textural accent rather than a full material change.

    Fluted Panel Waterfall End

    Panel the short end of the island that faces the room — the “waterfall” end — in fluted panels that continue from the worktop edge to the floor. This creates a framed, architectural end detail that’s visible when entering the room. Works particularly well when the worktop is a contrasting stone that can be seen wrapping over the island end.

    Mixed Materials: Fluted Panel Base with Painted Cabinetry Above

    If the island has upper cabinetry or a breakfast bar overhang, combine fluted panels on the base with painted or plain-fronted upper units. The panels read as a plinth-level material change — similar to the principle of wainscoting — that adds richness at eye level without overwhelming the space above.

    Material Considerations

    Kitchen islands are food-adjacent and subject to more splashing, wiping, and general wear than wall panels elsewhere in the home. Consider:

    • Pre-oiled or lacquered veneer finishes: Provide basic moisture resistance and easy wiping. Suitable for most kitchen environments where the island isn’t directly adjacent to the sink or cooktop splash zone.
    • Painted MDF fluted panels: Completely sealed surface, easy to wipe, available in any colour. Less premium visual character than veneer but more practical in high-contact areas.
    • Moisture-resistant MDF core (MR-MDF): Essential if the island is near the sink. Standard MDF swells dramatically if repeatedly exposed to moisture — MR-MDF holds up significantly better.

    For a full comparison of fluted and reeded panel profiles, our fluted vs reeded panels guide explains the key differences in aesthetic and application. And for the broader context of how wood panels work across different areas of the home, the wood panel wall complete guide has the full picture.

    Installation Tips for Island Cladding

    • Clean the island surface thoroughly: Remove any grease, wax, or polish before applying adhesive. Kitchen surfaces accumulate a fine grease film that will prevent adhesive bonding.
    • Check that the island surface is flat: Fluted panels are rigid. If the island carcass has a bowed face, the panel won’t sit flat. Sand or pack the surface level before installing.
    • Use a construction adhesive rated for MDF and wood: Avoid solvent-based adhesives that can damage veneer finishes. A hybrid polymer or PU-based adhesive is the right choice.
    • Measure twice, cut once: Kitchen islands often have overhangs, electrical sockets, and worktop supports that require precise notching of the panel edges. Template with cardboard before cutting the final panel.

    Colour, Finish, and Profile: Making the Right Choice for Your Kitchen

    Kitchen island fluted panel selection comes down to three decisions: the timber tone, the finish, and the flute profile width. Getting these right relative to the rest of the kitchen determines whether the island reads as a designed element or an afterthought.

    Timber tone: The island panels don’t have to match the upper cabinets exactly — contrast is often more interesting than uniformity. A dark walnut or charcoal fluted island base against pale oak or white upper cabinets is a popular treatment that gives the island visual weight. For a more cohesive look, use the same timber species throughout at different tones (natural oak uppers, oiled dark oak island).

    Finish specification: Kitchen environments introduce oil, moisture, and contact that other applications don’t. For island cladding, lacquered or hard-wax oiled finishes are more durable than raw or lightly oiled surfaces. A satin or semi-matte lacquer wipes clean easily and resists minor water marks. Avoid high-gloss finishes on fluted panels — the profile catches the gloss light at multiple angles, which can look busy rather than refined.

    Profile width and kitchen scale: Narrow flute profiles (10–15mm ridge width) suit smaller kitchens and compact islands — the finer rhythm doesn’t overwhelm the space. Wide flute profiles (25–40mm ridge width) suit larger islands where the bold profile can be proportionate to the surface area. In a standard kitchen with a 1,200–1,800mm island, a medium profile (18–22mm) typically reads best.

    Countertop pairing: The material contrast between the fluted panel and the countertop is part of the visual composition. Natural stone countertops (quartz, marble, granite) against oiled timber fluting creates a warm material pairing. Concrete or steel countertops against painted or lacquered fluted panels reads as more contemporary. Avoid matching the countertop material precisely to the panel species — the contrast is the point.

    FAQs: Kitchen Island Fluted Panels

    Can fluted panels be used on the full height of a kitchen island?
    Yes. Floor-to-worktop cladding on all visible sides of the island is the most common application. If the island has a breakfast bar overhang, the fluted panels typically run to the underside of the overhang. For islands with storage drawers or doors on one side, the fluted panel treatment usually covers only the closed panel sections — not the drawer fronts themselves, unless the drawers are also fluted.

    How do I attach fluted panels to a kitchen island?
    Construction adhesive applied to the back of each panel provides sufficient bond for standard island cladding. For heavy-use kitchens or where the island base is not flat timber (e.g., existing tiled base), additional mechanical fixing — pin nailing or small screws through the panel backing at top and bottom — is recommended. Allow adhesive to cure fully before applying worktop pressure.

    Are fluted kitchen island panels heat-resistant?
    Timber fluted panels are not rated for direct heat contact. Keep panels away from induction hob edges and ensure adequate clearance from any rangehood or extraction unit that exhausts heat downward. Standard kitchen activity — hob use, steam from pots, splashes — won’t damage properly finished fluted panels.

    What is the typical cost of fluting a kitchen island?
    Material cost for a standard island (four sides, approximately 4–6m² of panel) ranges from £400–£900 depending on panel quality, species, and finish. Professional installation adds £200–£400 typically. DIY installation eliminates the labour cost; the skill requirement is moderate — accurate measuring, straight cuts, and clean adhesive application are the main demands.

    Shop Kitchen Island Panels

    Browse the complete wood wall panel collection at The Panel Hub for fluted, reeded, and slat panel options suited to kitchen island cladding. The GroovePanel® mosaic tile range is also worth considering for island fronts where a smaller-format, more detailed surface treatment suits the scale. For design inspiration beyond the kitchen — showing how panel profiles translate across the home — our interior slat wall ideas guide covers 50+ real-room applications. The acoustic panel buyer’s guide explains the full panel range in detail.

  • Light Wood Wall Panels: Airy, Modern, and Timeless

    Light Wood Wall Panels: Airy, Modern, and Timeless

    Why Light Wood Panels Work Everywhere

    If dark wood panels are specific in their demands — the right room, the right lighting, the right scale — light wood panels are the opposite. Pale oak, ash, and birch-toned panels suit almost any room, any style, and any light condition. They don’t dominate; they enhance. They don’t date; they evolve with the surrounding scheme. And crucially, they make rooms feel larger and brighter rather than smaller and heavier.

    This versatility explains why light wood panels — particularly in natural oak and pale ash finishes — are consistently the best-selling options across the panel market.

    Best Light Wood Species for Wall Panels

    Natural Oak

    The most popular light wood panel choice. Oak has enough grain character to read as genuinely premium without being overtly rustic. Its warm honey tones sit between cool and warm — matching with grey, white, greige, and coloured walls equally well. Available in a wide range of surface treatments, from smooth veneer to wire-brushed for additional texture.

    Pale Ash

    Cooler and finer-grained than oak, ash gives a more restrained, Scandinavian quality. The near-white sapwood and subtle grain suit minimalist and Japandi interiors particularly well. A lighter overall tone than oak, which makes it the better choice for rooms where you want to maximise brightness.

    Birch

    Very pale, with a fine, even grain and minimal figure. Almost white in tone — the lightest of all commercially available panel woods. Suits contemporary and minimalist interiors where the panel should recede rather than assert itself.

    Light-Stained or Whitened Oak

    Natural oak treated with a white or lime wash gives a coastal, relaxed aesthetic. The grain remains visible through the white pigment, giving depth without warmth. Works particularly well in bedrooms, coastal-inspired living rooms, and children’s rooms.

    Design Approaches for Light Wood Panels

    Light Panels, Coloured Walls

    One of the most effective uses of light wood panels: a natural oak or ash slat panel feature wall combined with a richly coloured adjoining wall. The pale wood acts as a visual break between the colour and the ceiling, preventing the colour from feeling overwhelming while grounding it warmly. Try with deep sage green, dusty blue, or warm terracotta.

    Full-Wall Light Wood in a Small Room

    Counter-intuitively, light wood panels on a full wall of a small room often make the space feel larger rather than smaller. The vertical lines of slat panels draw the eye upward (elongating perceived ceiling height), and the warm, reflective quality of pale wood bounces ambient light rather than absorbing it. See our guide on whether wall panels make rooms look smaller for the full explanation.

    Light Wood + White: The Nordic Formula

    Pale ash or whitened oak panels against bright white walls and ceiling, with white or natural linen soft furnishings — the foundational Scandinavian interior formula. Clean, calm, and endlessly adaptable. The key: the wood must be genuinely pale (not yellow-toned or orange-tinged) for the white+wood pairing to work.

    Maintenance of Light Wood Panels

    Light wood panels show marks and dust more readily than darker species — the trade-off for their brightness. A panel with a hard lacquer or durable oil finish is significantly easier to maintain than one in a soft natural oil. For regular care, our guide to cleaning wood wall panels covers the routines that keep light panels looking fresh long-term.

    For help choosing between species and understanding what affects colour over time, our guide to wood species for wall panels covers ageing, maintenance, and what each species looks like a decade after installation.

    Design Pairings That Make Light Wood Panels Look Their Best

    Light wood panels are naturally versatile, but certain pairings bring out their best qualities. Against warm white or pale cream walls, light oak and ash panels glow with natural warmth. Against cooler greys or blue-whites, Scandinavian-style birch or pine takes on a clean, contemporary edge.

    For flooring, deliberate contrast is available: pairing light wood wall panels with mid-to-dark flooring creates a layered tonal range that gives the room depth without heaviness. All-light combinations — light walls, light panels, light floor — work beautifully in bright, generous rooms but can feel flat in rooms with limited natural light.

    Textiles and soft furnishings in earthy, mid-toned neutrals — warm sand, sage green, terracotta, dusty blue — sit beautifully against light wood. They add colour without competing with the natural warmth of the timber.

    Brushed brass, aged bronze, and warm gold hardware complement light wood tones almost universally. Cool silver and chrome can work in more clinical Scandinavian settings but feel disconnected from warmer light wood tones.

    Light Wood Wall Panel FAQs

    Do light wood wall panels show dust easily?
    Less than dark panels, but they are not maintenance-free. In areas with high air circulation, a light dry dusting every few weeks keeps the surface looking fresh. Textured surfaces with grooves may collect more dust and benefit from occasional vacuuming with a soft brush attachment.

    Can I use light wood panels in a bathroom?
    Yes, with a sealed, moisture-resistant finish or WPC core panels rather than solid wood. Light oak and ash tones are among the most popular choices for bathroom feature walls because they complement white sanitaryware and natural stone tiles without overwhelming the space.

    Do light wood panels yellow with age?
    Some species, particularly pine, can yellow slightly with UV exposure over several years. Oak, ash, and birch are significantly more stable. To minimise yellowing, avoid direct prolonged sunlight on untreated panels, and choose panels with a UV-resistant lacquer or oil finish in well-lit rooms.

    What is the most popular light wood species for wall panels?
    American White Oak is the most widely used light wood panel species in the UK and Europe. It has a warm, even grain, takes stain and oil well, and works across both contemporary and traditional interiors. Ash and Maple are popular alternatives for a cleaner, more uniform grain pattern.

    As a general rule, the lighter the wood species and the paler the finish, the more forgiving the panel is in rooms of any size or orientation — making light wood panels the most universally applicable choice in the panel range. For acoustic performance alongside the light aesthetic, the White Felt acoustic slat panel from the SoundPanel™ acoustic wood wall panels pairs pale timber face with white backing felt — NRC 0.85 performance in one of the lightest available colourways.

  • Maximalist Wall Panels: More Is More — If You Do It Right

    Maximalist Wall Panels: More Is More — If You Do It Right

    The Maximalist Design Challenge

    Maximalism is not the same as excess. Genuine maximalist design is highly curated — more elements, each chosen precisely, combining into a composition that is deliberately abundant rather than accidentally cluttered. The difference between a maximalist wall panel scheme that works and one that doesn’t comes down to the quality of the curation: what you choose to include, what you choose to leave out, and whether the elements have a coherent logic between them.

    When Multiple Panel Walls Make Sense

    The minimalist approach — one panel wall, restrained — is correct for most contexts. But there are rooms where multiple panel walls are not just acceptable but actively better:

    • Cinema rooms and dark rooms: Paneling all four walls creates an immersive, cocooning environment appropriate to the function of the space. Our home theater panel guide shows how full-room treatment serves both acoustic and aesthetic purposes.
    • Bars and games rooms: Social, playful spaces benefit from environments that feel wrapped and deliberate rather than open and neutral.
    • Library/study rooms: Full-wall panel treatment, particularly combined with integrated shelving, creates the archetypal lined-room character of a traditional library.
    • Bedrooms with a strong design brief: Where the bedroom has a deliberate character — maximalist botanical, eclectic mid-century, dramatic jewel-box — multiple panel walls can support rather than overwhelm the scheme.

    Mixing Panel Types in a Maximalist Scheme

    Maximalism doesn’t require using a single panel system everywhere. Combinations that work:

    • Acoustic slat panels on the primary walls + faux stone on the fireplace chimney breast: Two textures that don’t compete because they occupy different architectural elements.
    • Dark walnut slat panels on three walls + lighter reeded panels on the fourth: Tonal variation within a consistent profile family.
    • Wainscoting on the lower half of all walls + slat panels on two upper feature walls: A layered approach that adds architectural complexity without visual chaos.

    The Coherence Rules for Maximalist Panels

    1. Limit the species palette: Multiple panel types, one species (or at most two complementary species). Walnut slat panels, walnut mosaic tiles, and walnut fluted panels in one room create abundant maximalism. Walnut slat panels, light ash tiles, and whitened oak fluted panels in the same room look confused.
    2. Share a tone family: All panel materials should sit within the same warm or cool tone family. Mixing warm walnut with cool grey panels creates a tonal conflict that prevents the scheme from reading as composed.
    3. Let the ceiling be a relief: In heavily paneled rooms, an unpaneled, light ceiling provides visual relief and stops the space from becoming claustrophobic. The one exception: cinema rooms where a dark, paneled ceiling intentionally creates an immersive environment.

    For the broader context on how to choose between panel types and understand what each contributes visually, our slat panel ideas guide and complete wood panel guide cover the material and design principles in detail.

    Colour and Scale in Maximalist Panel Schemes

    Maximalist design is not about randomly adding more — it is about deliberate abundance with an internal logic. Colour is the connective tissue. In a maximalist panel scheme, the panel itself can be a bold statement: deep-toned walnut, heavily grained oak, or a stained panel in a strong colour like forest green or midnight blue creates a surface with real visual weight that earns its prominence.

    Scale matters equally. A maximalist room with small, busy panels risks looking cluttered rather than rich. Wide-format boards — 120mm or broader slats, or large-format 3D panels with pronounced geometry — read as confident rather than fussy. The physical scale of the panel should match the ambition of the scheme. In a room with high ceilings (2.7m or above), full-height panels — floor to ceiling without a break — create the architectural presence that maximalist interiors demand.

    Pattern mixing is one of the defining freedoms of maximalism. A panelled wall with deep horizontal grooves can sit against a wallpapered adjacent wall without conflict, provided both share a common tone or material reference. The discipline is in the colour palette: keep it warm-on-warm or cool-on-cool, and let pattern and texture vary freely within that envelope. The result is a room that feels deliberately abundant rather than accidentally busy.

    Maximalist Wall Panel FAQs

    How many panel walls can a room have without becoming overwhelming?
    Two is the practical maximum in most rooms. A primary feature wall with full treatment, and a secondary wall with lighter panelling (perhaps just a waist-height run or a narrower slat profile) provides the richness maximalism requires without boxing in the space. Rooms with very high ceilings and strong architectural bones can carry three panel walls, but this requires careful planning and a confident hand with colour.

    Can maximalist panels work in a small room?
    Counterintuitively, yes — but the execution is different. In a small room, one dramatically treated wall creates the impact of a maximalist interior without consuming the space. Use the most textured, most characterful panel you would consider in a larger room, and keep the three remaining walls in a tonal plain finish that references the panel’s palette. The small-room maximalist effect is concentrated rather than expansive.

    What lighting works with maximalist panels?
    Directional lighting that rakes across the panel surface — wall uplights, adjustable spotlights, or picture lights positioned to graze the wall — amplifies the tactile texture of the panels and creates the shadow depth that maximalist schemes depend on. Flat, even overhead lighting neutralises texture and defeats the purpose of a rich panel wall.

    Do maximalist panels require professional installation?
    Not necessarily. Slat panels and tongue-and-groove boards are suitable for confident DIY installation. However, 3D geometric panels — particularly those with complex interlocking profiles — benefit from professional fitting to achieve the clean alignment that distinguishes a well-executed maximalist scheme from a busy one. The difference between maximalist and messy often comes down to the precision of installation.

    Shop the Full Panel Range

    For maximalist schemes that use more than one panel type, browse the complete wood wall panel collection at The Panel Hub — including the SoundPanel™ acoustic slat range, the GroovePanel® mosaic tiles, and the RockSurface® faux stone panels. Combining panel types from a single supplier ensures consistent quality across the full installation. Our interior slat wall ideas guide shows multi-panel applications across room types, and the acoustic panel buyer’s guide covers how acoustic performance scales with coverage.

  • MDF vs Solid Wood Wall Panels: Which Core Material Is Better?

    MDF vs Solid Wood Wall Panels: Which Core Material Is Better?

    Why the Core Material Matters

    Most people focus on the surface of a wall panel — the veneer species, the colour, the profile — and overlook the core. But the core material determines how the panel behaves over time: whether it warps, how it responds to humidity, how much it weighs, and how well it holds fixings. For a product that’s going on your wall for the next decade, it’s worth understanding.

    What Is MDF?

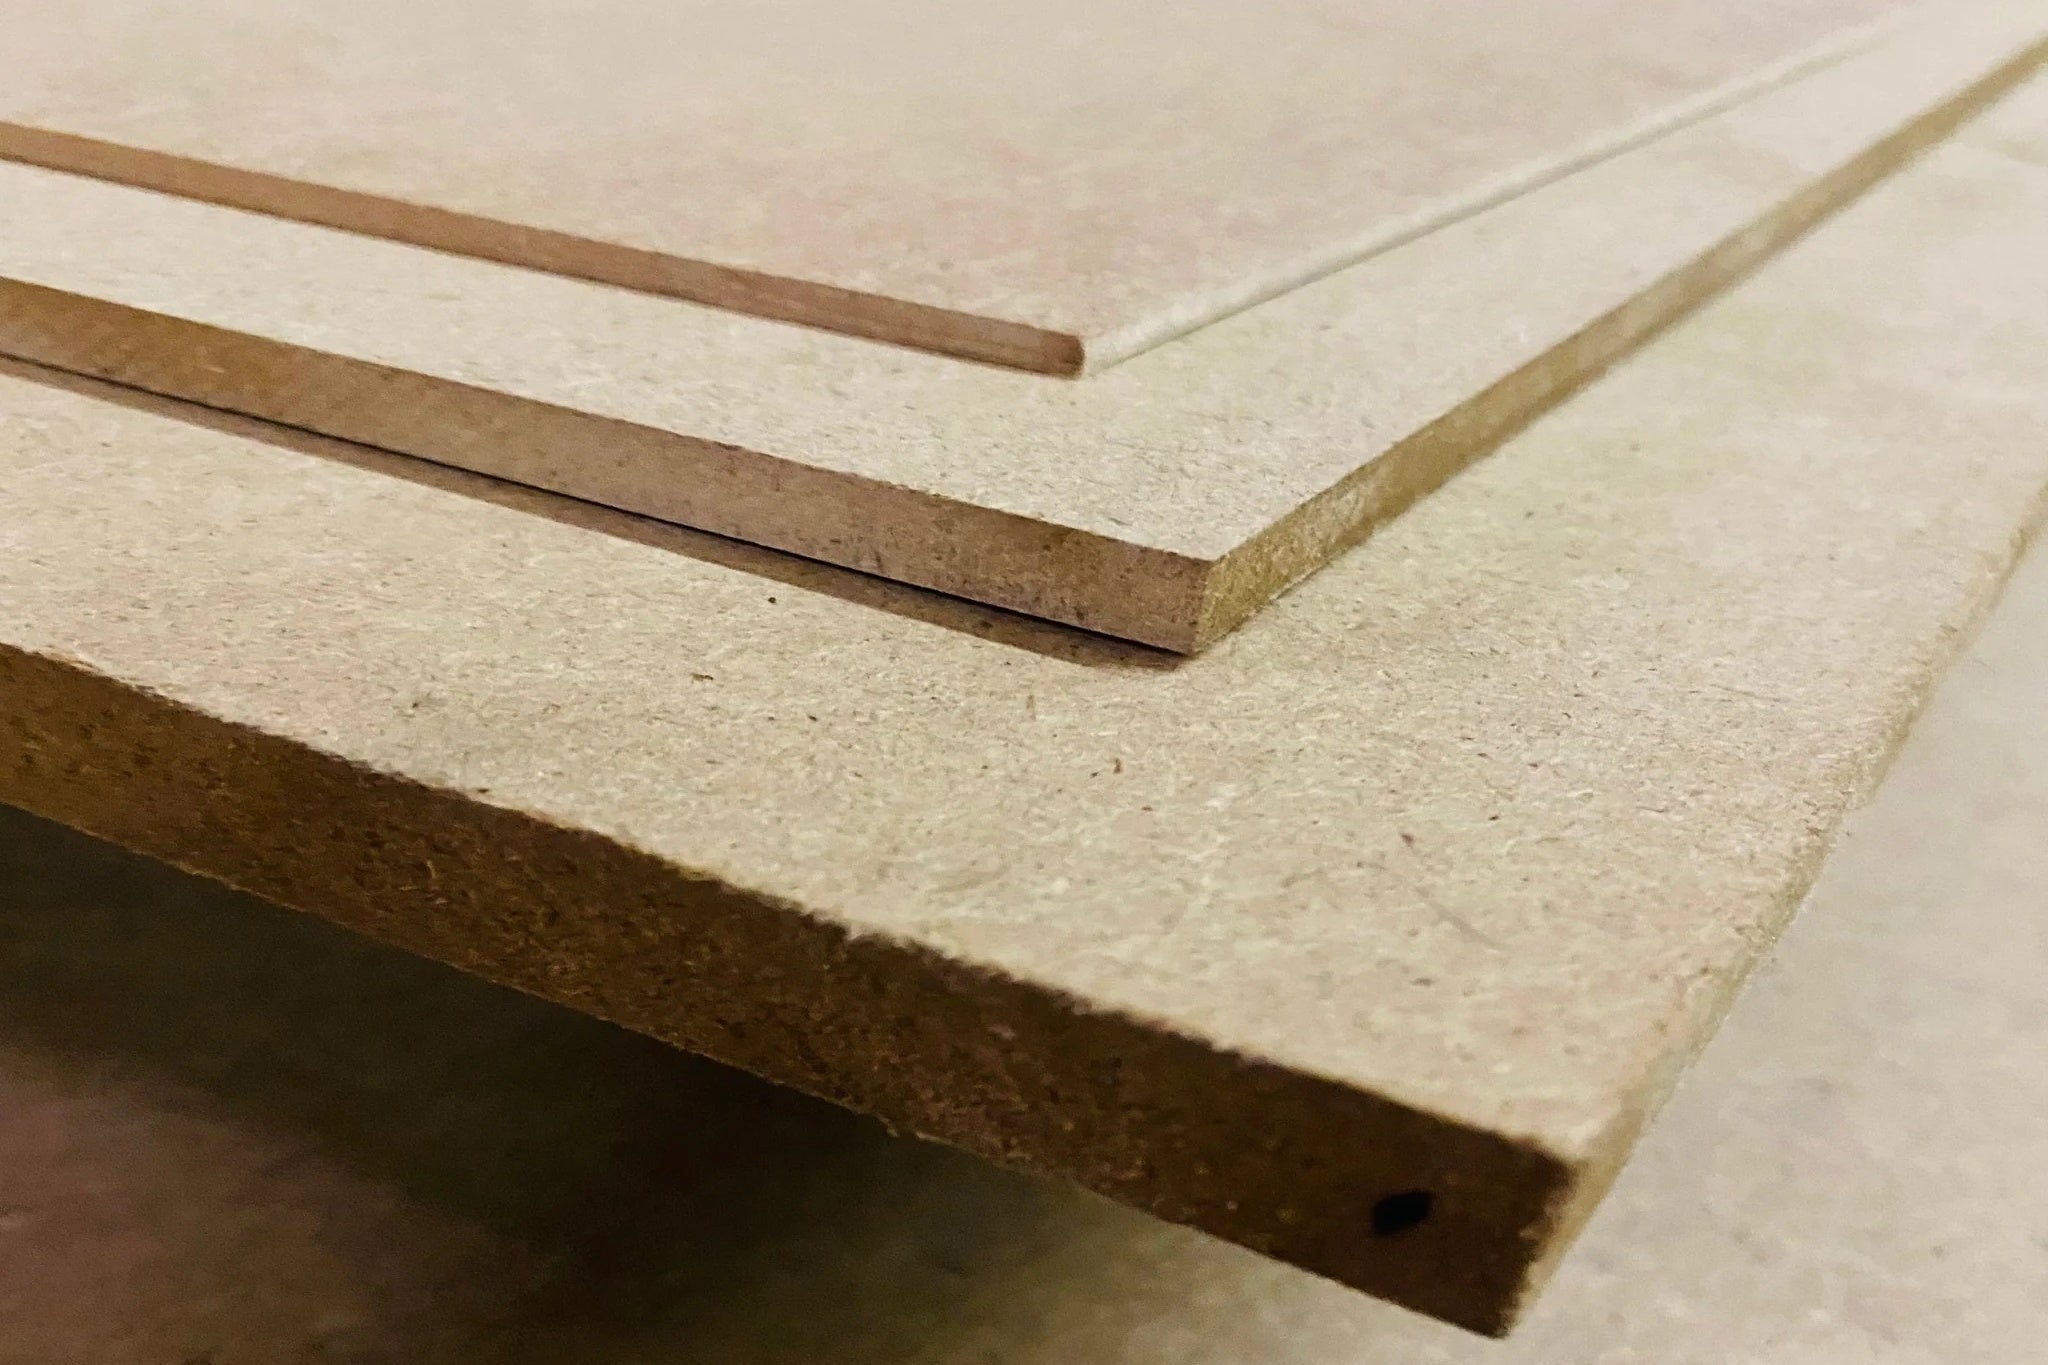
    MDF — Medium Density Fibreboard — is an engineered wood product made from wood fibres compressed with resin under high heat and pressure. The result is a dense, uniform, smooth-surfaced board with no grain direction. It doesn’t expand and contract with humidity the way solid timber does, which makes it dimensionally stable — ideal for panels where flat, consistent surfaces are critical.

    Most quality wood wall panels use MDF as their core, with real wood veneer bonded to the face.

    What Are Solid Wood Panels?

    Solid wood panels — or solid timber panels — are made from real timber throughout, with no engineered core. They can be single wide planks, edge-glued boards, or finger-jointed strips. The wood character runs all the way through the panel.

    Head-to-Head Comparison

    Dimensional Stability

    • MDF core: Highly stable. Minimal movement with seasonal humidity changes. Panels stay flat.
    • Solid wood: Expands and contracts with humidity. Can warp, cup, or crack if not properly acclimated and installed. Requires more careful management in rooms with variable humidity (kitchens, bathrooms).

    Winner: MDF core

    Surface Quality

    • MDF core: Perfectly flat, smooth surface — ideal for veneering. The veneer bonds evenly with no grain telegraphing through.
    • Solid wood: Surface texture and character depend on the species and cut. More variable, which is either a feature or a problem depending on your preference.

    Winner: Draw (depends on preference)

    Weight

    • MDF core: Heavy for its size — denser than most solid timber species. Full wall panels can be heavy to manoeuvre during installation.
    • Solid wood: Varies by species. Lighter species (pine) are easier to handle; hardwoods (oak, walnut) comparable to or heavier than MDF.

    Winner: Draw

    Moisture Resistance

    • Standard MDF: Swells significantly when exposed to moisture. Not suitable for wet areas unless specified as MR-MDF (moisture-resistant).
    • MR-MDF core (CoreShield™): Engineered for improved moisture resistance — suitable for most domestic interior applications.
    • Solid wood: Naturally variable. Oily species (teak, cedar) perform better in moist environments; most hardwoods still require sealing.

    Winner: MR-MDF core (for most applications)

    Cost

    • MDF core with veneer: Lower cost than solid wood at equivalent coverage area. Veneer makes premium wood species accessible at reasonable prices.
    • Solid wood: Significantly more expensive per square foot, especially in premium species.

    Winner: MDF core

    Repairability

    • MDF core with veneer: Veneer can be re-oiled and lightly sanded, but deep scratches reaching the MDF core cannot be repaired in-place.
    • Solid wood: Can be sanded, planed, and refinished — scratches and marks can often be removed entirely.

    Winner: Solid wood

    What Most Quality Wall Panels Use

    The vast majority of quality acoustic and decorative wood wall panels on the market use an engineered MDF or MR-MDF core with real wood veneer. This combination delivers the visual authenticity of real wood with the dimensional stability and surface consistency that makes a clean, professional installation possible.

    Pure solid wood panels exist — particularly in the form of solid wood tile mosaics and solid timber planks — and they offer an unmatched sense of material authenticity. But for most wall panel applications, the veneer-over-MDF construction is the practical and economic choice.

    See our guide to installing wall panels for advice on working with both panel types. And if you’re just starting your panel research, the complete wood panel wall guide gives a full overview of the category.

    MDF vs Solid Wood Wall Panel FAQs

    Is MDF strong enough for wall panels?
    Yes — MDF is an appropriate substrate for wall panel applications in all normal interior environments. It provides a flat, consistent surface for veneer or paint finishes, machines cleanly for precise edge profiles, and is dimensionally stable enough for fixed-in-place wall installations where it is not subject to load-bearing stress or heavy impact. Its weakness is moisture: standard MDF degrades in high-humidity environments, so moisture-resistant MDF should be specified for kitchens, bathrooms, and basement rooms.

    Can MDF wall panels be refinished?
    Painted MDF panels can be repainted indefinitely — lightly sand the existing surface, apply a fresh coat of primer if the existing finish is chalky or peeling, and apply new topcoat. MDF panels with real wood veneer faces can be lightly sanded if the surface develops fine scratches, but cannot be refinished to the same depth as solid wood panels — the veneer is typically 0.6–1.0mm thick, which allows one or two light sandings before the substrate becomes visible. Solid wood panels can be planed, scraped, or sanded back multiple times over their lifetime.

    Which is easier to cut: MDF or solid wood?
    MDF is significantly easier to cut cleanly than solid wood. It is dimensionally consistent, has no grain direction to cause splitting, and requires no special technique to achieve clean edges. Solid wood requires sharper blades (to prevent splintering along grain lines), more careful feed rate, and attention to cutting direction relative to grain. For DIY installations, MDF is more forgiving to cut and work with. The trade-off is the fine dust produced by cutting MDF — always wear appropriate respiratory protection and work in ventilated conditions.

    How do I fix MDF wall panels to a wall?
    The standard method is a combination of panel adhesive and mechanical fixings. Apply adhesive to the back of the panel in a zigzag pattern, press to the wall and secure with panel pins or screws until the adhesive cures. For heavier panels (above 8kg), use mechanical fixings as the primary method with adhesive as a supplement. Always ensure fixings penetrate either wall studs, masonry plugs, or battens rather than just plasterboard — plasterboard alone will not hold the weight of a panel over time.

    Browse by Core Material

    Explore both core material options in the complete wood wall panel collection at The Panel Hub — and order samples to compare the difference in hand before committing to a full order. The SoundPanel™ acoustic slat range uses an engineered MDF core with real wood veneer face — the most practical combination for residential panel installations. For panels that are 100% solid timber throughout — no MDF core, no veneer face — the GroovePanel® geometric range is the definitive solid wood option, available in crossing lines, concentric square, mosaic, and 3D relief formats. For design inspiration, our interior slat wall ideas guide covers 50+ room applications. The acoustic panel buyer’s guide explains how core material choice interacts with acoustic performance.

  • Mid-Century Modern Wall Panels: The Details That Make It Work

    Mid-Century Modern Wall Panels: The Details That Make It Work

    The MCM-Panel Connection

    Mid-century modern design (roughly 1945–1970) was obsessed with wood. Walnut, teak, and rosewood appeared on every surface — furniture, ceilings, walls, and floors. The use of vertical timber battens and slat screens as room dividers and feature walls was a defining architectural detail of the period. Today’s acoustic wood slat panels are a direct contemporary evolution of this tradition.

    Getting MCM wall panels right isn’t about copying period interiors — it’s about understanding the principles that made them work and applying them with contemporary materials.

    Species: Walnut Is Non-Negotiable

    Mid-century modern design is built on walnut. The rich chocolate tones with warm reddish-brown undertones are inseparable from the aesthetic — they appear in virtually every authentic MCM interior. Oak is too light; teak is too specific in its associations; pine is too rustic.

    For MCM wall panels: walnut is the first choice. A walnut acoustic slat panel wall immediately reads as MCM-adjacent without any other contextual cues. Our walnut vs oak comparison covers the specific visual differences that make walnut the MCM choice, and our wood species guide covers walnut’s characteristics in detail.

    Profile: Vertical Slats or Horizontal Planks

    MCM interiors used two primary panel orientations:

    • Vertical battens: Slender vertical slats, often in walnut or teak, creating the screen-like room dividers and feature walls seen in mid-century architecture. Contemporary acoustic slat panels in a walnut finish are essentially a faithful reproduction of this detail.
    • Horizontal planks: Wide horizontal timber cladding — like shiplap but in premium species — used for feature walls in living rooms and bedrooms. More rustic in character than vertical slat panels.

    For the most authentic MCM result, vertical slat panels in walnut at a proportionally slim slat width (20–30mm) are the correct choice.

    Scale and Placement

    MCM wall panels work best in rooms with enough scale to carry them. A full floor-to-ceiling walnut slat wall in a living room with generous ceiling height (2.6m+) is one of the most striking MCM-influenced results you can achieve in a contemporary home. In a room with lower ceilings, limit the panel to the primary feature wall only and ensure the slat profile is slim enough to avoid making the wall feel heavy.

    Complementary Elements

    The walnut panel wall works best alongside:

    • Furniture with tapered legs and clean lines — the essential MCM silhouette
    • Warm amber and ochre tones in soft furnishings
    • Brass or brushed gold hardware and light fixtures — the quintessential MCM metal
    • Abstract art in warm tones hung directly on the panel wall (MCM interiors were not shy about art on wood walls)
    • Terrazzo, statement tile, or polished concrete floors — contrasting hard surfaces that highlight the warmth of the walnut

    What Breaks the MCM Effect

    • Grey tones of any kind — grey panels, grey furnishings, grey flooring all conflict with the warm amber palette
    • Industrial or raw materials — exposed concrete walls, visible steel — the wrong direction entirely
    • Chrome hardware — silver metal tones undercut the warmth of walnut; brass and bronze are the correct metal family

    For how to source and specify walnut panels specifically, the complete wood wall panel guide covers material specifications and what to look for in a quality walnut veneer product.

    Fitting MCM Panels: What to Get Right on Installation Day

    Mid-century modern design is unforgiving of imprecision. The aesthetic is built on honest construction and the deliberate expression of how things are made — so panels that are visibly poorly fitted or that have inconsistent gaps undermine the entire premise. When fitting MCM wall panels, invest time in the preparation: true the wall before installation begins, use a laser level to establish a perfectly plumb first board, and work from the centre of the wall outward to balance any variations at the edges.

    For vertical slat panels (the most authentic MCM choice), ensure each slat is independently plumb rather than assuming the adjacent slat is correct. Over a 2.4m run, a single slat that is 2mm out of plumb will visually deviate from the panel line enough to be noticeable at normal viewing distances. Take the time to check each board independently — this is the work that separates professional-looking MCM installations from amateur attempts.

    Finish the installation with a compatible skirting and ceiling trim in walnut or stained timber that relates to the panel species. MCM interiors typically avoid painted white trim — it breaks the tonal continuity of the wood. A stained timber skirting that matches the panel species creates the seamless, cohesive transition that MCM design requires. If you are installing panels in an older property where the existing skirting cannot be changed, paint it in a deep, warm neutral (charcoal, warm grey) rather than white.

    Mid-Century Modern Wall Panel FAQs

    What is the most important panel specification for a genuine MCM result?
    Species. Walnut is the single most important decision in an MCM panel scheme — no other wood carries the same tonal association with 1950s and 1960s American and Scandinavian interiors. If walnut is beyond budget, a mid-toned, well-grained oak stained to a warm brown is the next best option. Avoid pale ash, dark ebonised finishes, or painted panels, which all push away from the authentic MCM palette.

    Do MCM wall panels work with modern furniture?
    Yes — and this is one of the design advantages of MCM panelling. The aesthetic reads as timeless rather than period-specific, which means it integrates well with contemporary furniture that has MCM-adjacent proportions (low profiles, tapered legs, simple upholstery). Where it conflicts is with very high-gloss contemporary furniture or with ultra-minimalist pieces that have no material warmth.

    Can MCM panels be installed in a 1970s or 1980s home?
    Absolutely. The materials and proportions of MCM design translate naturally into homes built in any decade with similar ceiling heights and room volumes. The key is to avoid referencing the dated aspects of 1970s panelling (dark, heavy, wall-to-wall coverage in small rooms) and instead apply the MCM approach selectively: one feature wall, properly proportioned, in an appropriate species.

    How do I integrate MCM panels with a fireplace wall?
    A fireplace wall is an ideal location for MCM slat panelling. Carry the panel across the full width of the wall, with the fireplace sitting as an inset element within the panelled surface. Ensure the panel runs continuously through the chimney breast, over the fireplace opening (using fire-resistant boards in any zone immediately adjacent to the firebox), and down to floor level on both flanking walls. This treatment is the most direct reference to the integrated MCM interior design of the 1950s Californian Case Study houses.

    Shop Mid-Century Modern Wall Panels

    Browse the full wood wall panel collection at The Panel Hub — the SoundPanel™ acoustic slat range in walnut is the most direct contemporary expression of the mid-century timber batten tradition. For room-by-room inspiration showing how walnut slat panels translate into finished MCM interiors, our interior slat wall ideas guide covers 50+ real-room applications. The acoustic panel buyer’s guide explains the acoustic felt backing system that gives modern slat panels a performance dimension the original MCM batten screens never had.

  • Minimalist Wall Panels: Less Is More, Done Right

    Minimalist Wall Panels: Less Is More, Done Right

    The Minimalist Paradox

    Minimalism is harder to execute well than maximalism. When there’s more on a wall, individual flaws disappear into the composition. When there’s only one element — a single panel wall, a single material, a single colour — every detail is exposed. Getting minimalist wall panels right means choosing carefully, specifying precisely, and finishing immaculately.

    What “Minimalist” Means for Wall Panel Choice

    Minimalist wall panel design has specific characteristics:

    • One material, used well: A single panel system on a single wall, in a single species and finish. Not a combination of panel types, not multiple feature walls.
    • No decorative details beyond the material itself: The grain is the decoration. The slat profile is the decoration. No inlays, no colour contrasts, no hardware.
    • Clean edges and transitions: Where the panel meets the ceiling, floor, or adjoining wall, the junction must be perfectly clean — no visible trim if possible, or the most minimal trim available.
    • Flat, matte, or satin finish: High gloss reads as decorative and draws attention to the surface rather than the material. Minimalism uses finishes that recede.

    Best Panel Types for Minimalist Interiors

    Acoustic Slat Panels in a Single Species

    The slim, regular vertical lines of acoustic slat panels suit minimalist interiors well. The rhythm is repetitive — and repetition, in minimalism, creates calm rather than monotony. Choose a species with fine, even grain (ash, pale oak) over one with dramatic figure (walnut, olive). Keep the slat profile slim — 20–25mm slat width with proportionate gaps. For the most restrained palette, the White Felt acoustic slat panel pairs pale timber with white backing felt — the felt remains visible through the slat gaps and reinforces the light, minimal character.

    Large-Format Smooth Panels

    For the most minimal possible wall treatment, large-format smooth panels (either solid colour or subtly grained veneer) with minimal or concealed joints create a wall surface that reads as a single, uninterrupted plane. The scale eliminates the visible pattern of smaller panel systems, leaving only tone and texture.

    Reeded Panels

    Reeded panels — with their soft, rounded parallel ridges — offer texture without pattern. The surface catches light differently at different times of day, creating subtle visual interest without adding colour or form. In white or off-white paint, reeded panels are one of the most successful minimalist wall treatments available. See our reeded panel guide for style and installation details.

    The One-Wall Rule

    Minimalist interiors typically work with one panel wall per room — the primary feature wall that anchors the space. Additional panel walls dilute the impact and create visual complexity that contradicts the minimalist brief. Choose the right wall (usually the wall you face from the primary seating position, or the wall behind the bed) and execute it perfectly.

    Colour in Minimalist Panel Schemes

    Minimalist doesn’t mean colourless — but it usually means restrained. The most successful minimalist panel schemes work in one of two directions:

    • Natural wood against neutral walls: Natural oak or ash panels against warm white, soft grey, or greige walls. The wood is the only colour statement; the walls support rather than compete.
    • Tone-on-tone: Wood panels in a muted tone — warm grey, soft green, pale terracotta — against walls in a very similar but slightly different tone. The wall reads as nearly monochrome but with a subtle textural layer from the paneling.

    For a broader look at how to make a feature wall work without adding visual clutter, our accent wall ideas guide covers the design principles behind restraint in feature wall design.

    Getting Minimalist Panels Right: The Practical Details

    Minimalist panel design is more demanding to execute well than maximalist schemes, because there is no complexity to hide imperfection behind. Every join, every gap, every board end is fully visible. This means minimalist panel installations reward investment in quality: quality boards with consistent dimensions, quality installation with laser-level precision, and quality finishing with properly filled nail holes and cleanly caulked joints.

    The installation sequence matters in a minimalist interior. Mark the wall centre before the first board goes up, work outward symmetrically, and set the height of any horizontal cap rail or floor-to-ceiling boundary with a spirit level rather than by eye. In a minimalist room, a cap rail that is 3mm off level over a 3-metre run is visible. In a maximalist room, it disappears in the visual complexity. Minimalism makes the craftsperson’s precision either the quality or the failure of the installation.

    Material selection should be equally considered. In minimalist spaces, the panel is the decoration — which means it needs to be genuinely interesting to sustain visual attention on its own. A bland, featureless panel in a non-descript species reads as emptiness rather than restraint. Choose species with quiet but genuine character: straight-grained ash with fine movement, pale oak with a soft figure, or smoked eucalyptus with subtle tonal depth. The material should be interesting enough to hold a room without any help.

    Minimalist Wall Panel FAQs

    Can I have patterns in a minimalist panel scheme?
    Yes — restraint in a minimalist interior refers to quantity and complexity, not the complete absence of visual character. A board-and-batten pattern in a single tone, for instance, creates rhythm and visual interest through geometry without adding colour or material contrast. The discipline is in executing the pattern cleanly and keeping everything else — furniture, textiles, accessories — very simple.

    What colour should minimalist wall panels be?
    Natural, unlacquered wood tones work well in warm minimalist schemes. For cool minimalism, white or off-white painted panels on a white wall — tonal, low-contrast, almost invisible — create architectural definition without visual noise. Avoid strong panel colours in a minimalist interior unless the panel is the only deliberate colour statement in the entire room.

    How many panels are too many in a minimalist home?
    One feature wall per room is the standard minimalist approach. In an open-plan layout, this might mean one panel wall visible from the main living zone, with nothing on the adjacent kitchen or dining areas. In a bedroom, the headboard wall. In a hallway, a single side. The discipline is in choosing which wall most benefits from the treatment and having the confidence to leave the others bare.

    Do minimalist panels require special maintenance?
    Minimalist panels in natural oiled finishes require annual re-oiling to maintain the finish and prevent the wood from drying out. Painted minimalist panels need touch-up painting every few years or when visible wear develops, and benefit from a full repaint every seven to ten years. The maintenance regime is the same as for any quality panel — the minimalist aesthetic simply makes the condition of the finish more visible.

  • Natural Wood vs Engineered Wood Wall Panels: Which Should You Choose?

    Natural Wood vs Engineered Wood Wall Panels: Which Should You Choose?

    Defining the Terms

    The “natural vs engineered” distinction in wood wall panels causes more confusion than almost any other product specification. Here’s a clear definition of each:

    • Natural (solid) wood panels: Panels made entirely from real, solid timber — no engineered core. The wood is genuine all the way through. Can be sanded, planed, and refinished repeatedly.
    • Engineered wood panels: Panels with a real wood veneer (typically 0.6–2mm of genuine timber) bonded to an engineered core — usually MDF, plywood, or HDF. The face is genuine wood; the core is manufactured.

    Note: “engineered” doesn’t mean “fake.” The veneer is real wood — genuine grain, genuine character, genuine timber species. The core is engineered for stability and consistency.

    The Case for Engineered Wood Panels

    Dimensional Stability

    Solid wood expands and contracts with humidity changes — significantly. A 600mm-wide solid oak panel can expand or contract by 3–6mm across its width between summer and winter. At scale across a wall, this movement creates gaps, cupping, and cracking if expansion joints aren’t managed correctly.

    Engineered wood panels (veneer over MDF) have dramatically less movement because the cross-layered or uniform engineered core restricts the veneer from expanding and contracting freely. The result is a more stable, gap-free installation over time.

    Surface Consistency

    MDF-core panels have a perfectly flat, consistent face — ideal for veneering and producing panels that install with no variation in surface plane. Solid wood panels have natural bow, twist, and surface variation that requires more careful installation management.

    Cost

    Solid wood panels are significantly more expensive than veneer-over-MDF at equivalent coverage. Premium species like walnut and oak in solid timber form are luxury products; the same species in veneer-over-MDF are accessible at a fraction of the price while delivering the same surface appearance.

    Acoustic Compatibility

    Engineered panels pair naturally with acoustic felt backing systems — the flat, consistent back surface bonds perfectly to felt layers. Solid timber’s natural variation makes consistent felt bonding more difficult.

    The Case for Solid Wood Panels

    Authenticity

    Real solid timber all the way through. A scratch goes into wood — repairable with sanding and re-oiling. The texture, weight, and resonance of solid timber is genuinely different from veneer — experienced hands and eyes recognise it.

    Repairability

    Solid timber panels can be sanded, planed, and refinished repeatedly over their lifetime. Veneer panels can be re-oiled and lightly sanded within the veneer layer depth — but deep scratches that reach the MDF core cannot be repaired in-place.

    Character Over Time

    Solid timber ages differently than veneer — it develops a patina, colour depth, and character over decades that veneer approximates but doesn’t fully replicate. For installations intended to last 50+ years, solid timber is the more authentic long-term choice.

    The Honest Verdict

    For most domestic wall panel installations — living rooms, bedrooms, home offices — engineered wood panels (real veneer over MDF) are the better practical choice. They’re more stable, more affordable, acoustically compatible, and in all honesty, look identical to solid wood in normal domestic use conditions.

    Solid wood panels are the right choice when authenticity matters absolutely, when the installation is truly permanent and long-term, or in commercial and heritage contexts where the material specification is part of the brief.

    The SoundPanel™ range uses real wood veneer over a moisture-resistant engineered core — the optimal specification for domestic acoustic panel installations. For a broader look at material options, our MDF vs solid wood comparison and veneer vs laminate guide cover the full landscape. Browse the complete panel collection to find your specification.

    Natural vs Engineered Wood Panels: Application-by-Application Guide

    The right choice between natural and engineered wood wall panels depends significantly on where you are installing them and what performance demands the space places on the material.

    Living rooms and bedrooms: Both natural and engineered panels perform well in these stable indoor environments. Natural solid wood panels in species like oak, ash, or cedar provide authentic material character and tactile richness. Engineered veneer panels offer the same visual result at a lower price point and with better dimensional stability across varying temperatures. In most living room and bedroom installations, engineered veneer panels are the better-value choice without any meaningful visual compromise.

    Kitchens: Humidity variation from cooking makes this a less forgiving environment for wood. Engineered panels with a moisture-resistant MDF or plywood core are significantly more stable than solid wood in a kitchen environment. Look for panels specifically rated for kitchen use or use PVC-cored panels in areas closest to the sink and cooking zones.

    Bathrooms: Solid natural wood in a bathroom requires careful sealing on all six faces and good ventilation to prevent moisture ingress and movement. Engineered panels with moisture-resistant cores perform better. For wet wall applications, PVC-composite panels with a realistic wood veneer finish are the practical specification — fully waterproof and indistinguishable from real wood at normal viewing distances.

    Hallways and commercial spaces: High-traffic areas benefit from the durability and impact resistance of solid natural wood in appropriate species. Harder species like oak, ash, and maple resist denting better than softer species like pine. In commercial applications, engineered panels with hardwood veneers offer the visual quality of hardwood at lower cost and with easier sourcing of consistent batch quantities.

    Natural vs Engineered Wood Panel FAQs

    Can you tell the difference between natural and engineered wood panels visually?
    Not reliably. A quality engineered panel with a 0.6mm+ real wood veneer face shows authentic grain character, natural colour variation, and realistic texture that is visually indistinguishable from solid wood at normal viewing distances. The distinction becomes apparent only at very close inspection, where the edge of the panel reveals the engineered core beneath the face veneer.

    Do natural wood panels expand and contract more than engineered panels?
    Yes — significantly. Solid wood panels move with seasonal changes in humidity, expanding across the grain in summer and contracting in winter. In a room with typical humidity variation of 20–50%, a solid oak board 100mm wide may move 1–3mm seasonally. Engineered panels, with their cross-ply or MDF cores, move at a fraction of this rate — typically less than 0.5mm across the same width. This is why engineered panels are preferred for applications where consistent joint widths and surface flatness are critical.

    Which is more sustainable: natural or engineered wood panels?
    This depends on the supply chain rather than the product type. Natural solid wood from certified sustainable sources (FSC, PEFC) has excellent environmental credentials. Engineered panels extend the yield from each tree trunk — a veneer-faced panel uses a thin layer of valuable species over a substrate of less-valuable engineered wood, so the same volume of premium species goes significantly further. Both can be produced responsibly; ask your supplier for certification documentation to verify the specific product’s credentials.

    Are natural wood panels harder to install than engineered panels?
    Solid wood panels generally require more care during installation — pre-drilling to avoid splitting, allowances for seasonal movement at panel ends, and more careful handling of long boards that can warp if stored incorrectly. Engineered panels are more dimensionally stable and consistent, making them more forgiving for first-time installers. Adhesive-fixed engineered slat panels, in particular, are designed for straightforward installation without specialist tools or skills.