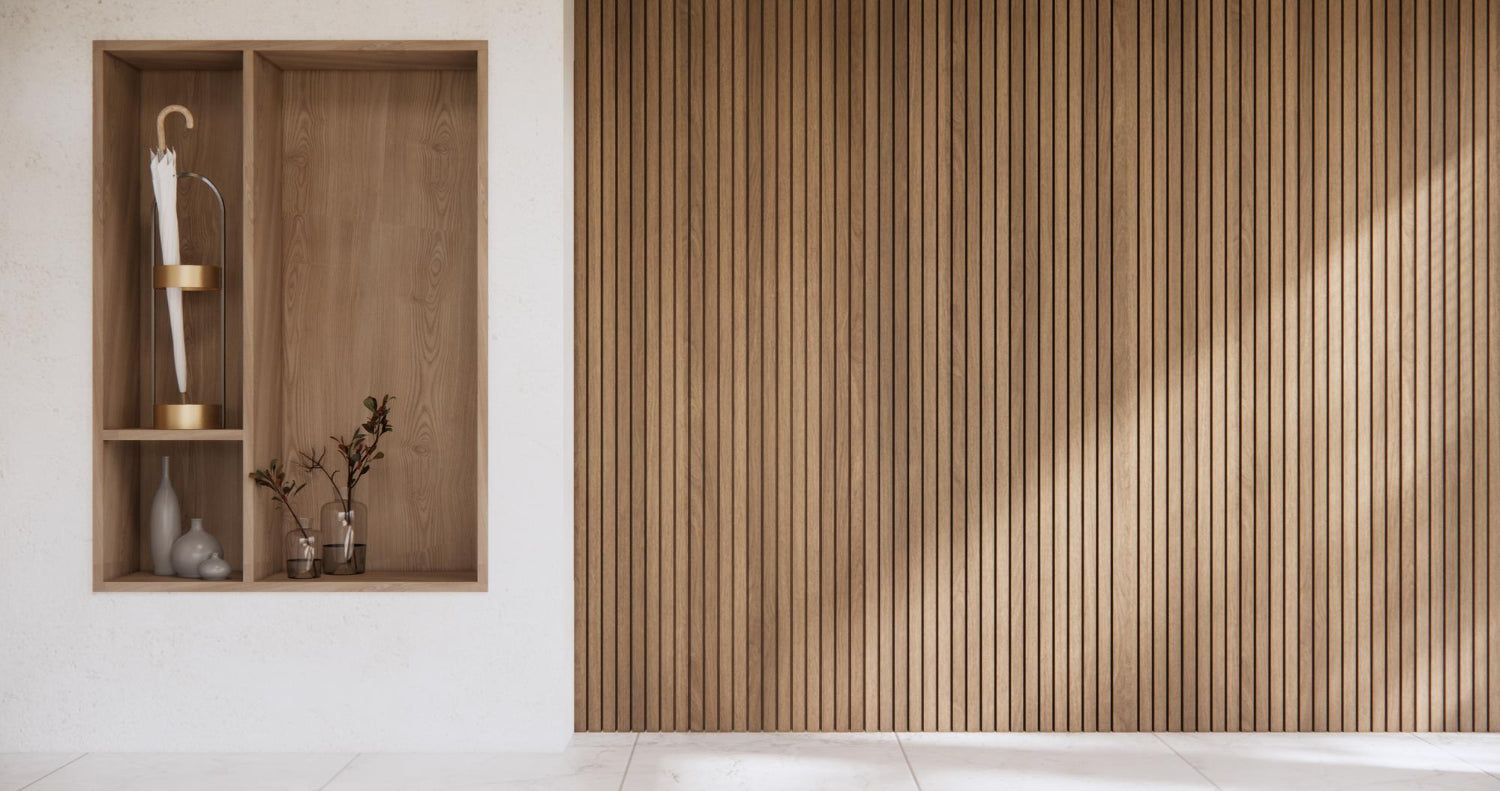
Author: The Panel Hub Design Studio

  • Wood Accent Wall Ideas: Transform Your Space with a Modern Touch

    Wood Accent Wall Ideas: Transform Your Space with a Modern Touch

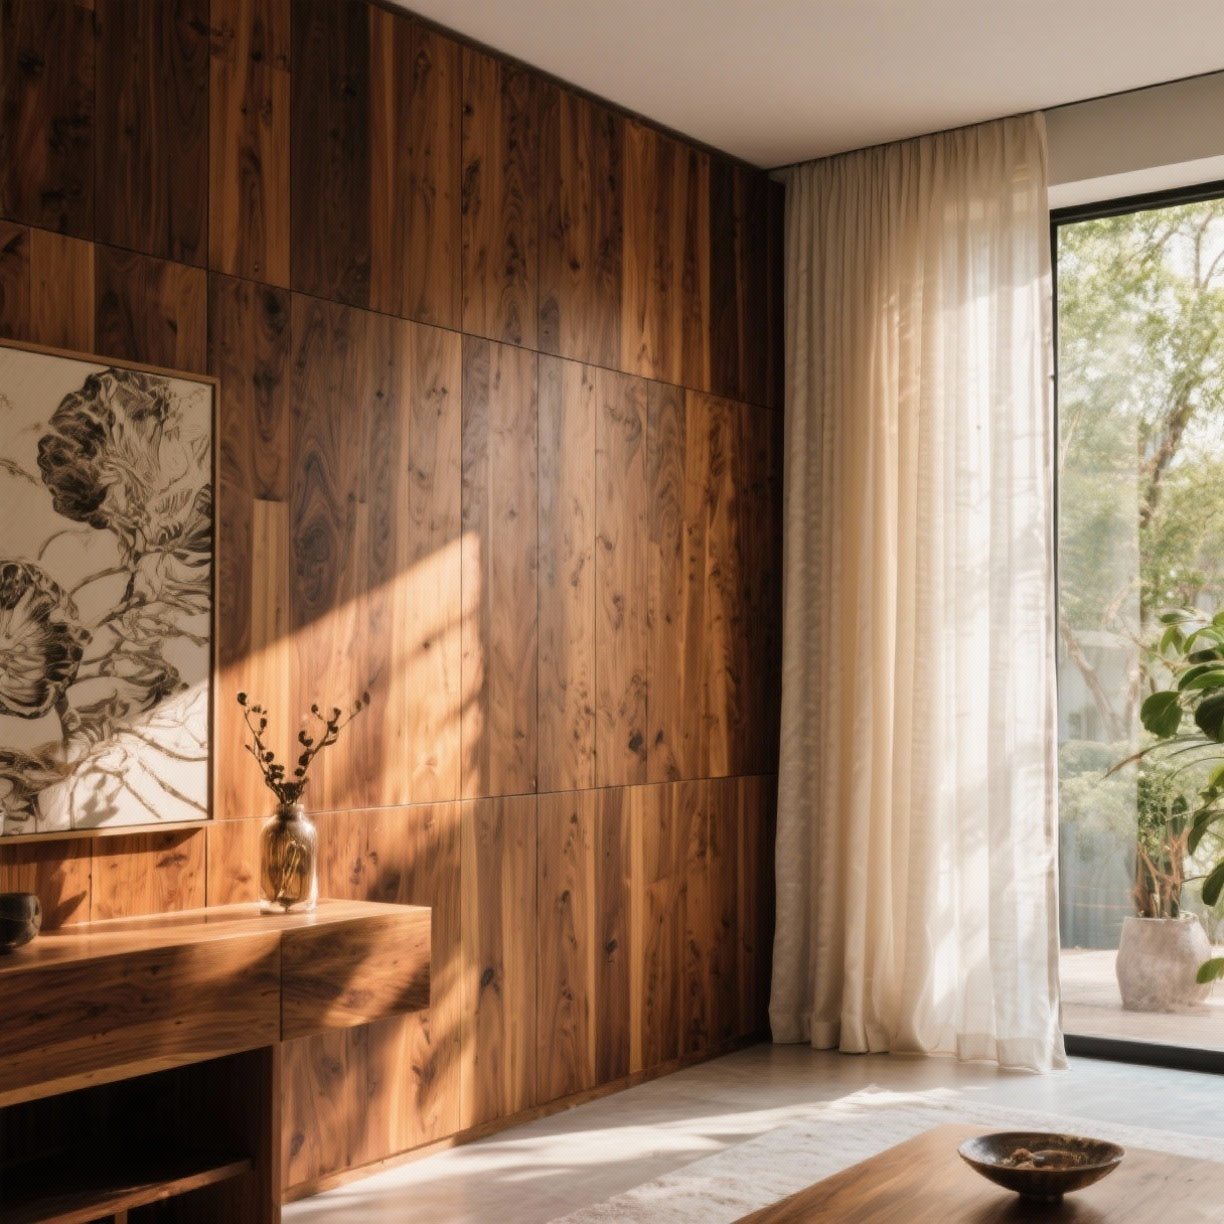
    A wood accent wall can instantly add warmth, texture, and elegance to any room. Whether you’re looking to create a focal point in your living room, enhance your bedroom with a cozy vibe, or make your hallway more inviting, a wooden accent wall can transform the atmosphere. With its versatility and timeless appeal, a modern wood accent wall is an easy way to elevate your interior design.

    In this guide, we will explore various wood accent wall ideas, design tips, and different styles of wooden accent walls to inspire your next home improvement project.

    Why a Wood Accent Wall is a Smart Design Choice

    A wood accent wall can completely transform a room by creating visual interest and enhancing the overall ambiance. Its natural texture adds depth, while its ability to complement any style makes it a perfect fit for modern, rustic, or contemporary spaces.

    Benefits of wood accent walls include:

    • Aesthetic appeal: A wooden accent wall brings sophistication and elegance to any space.

    • Warmth: Wood naturally adds warmth to rooms, making it perfect for spaces like bedrooms.

    • Sound insulation: A wood wall accent can help reduce noise, especially when placed in bedrooms or office spaces.

    • Customization: Wood can be stained, painted, or left natural, allowing for a variety of styles.


    Stunning Wood Accent Wall Ideas

    1. Wood Accent Wall Bedroom

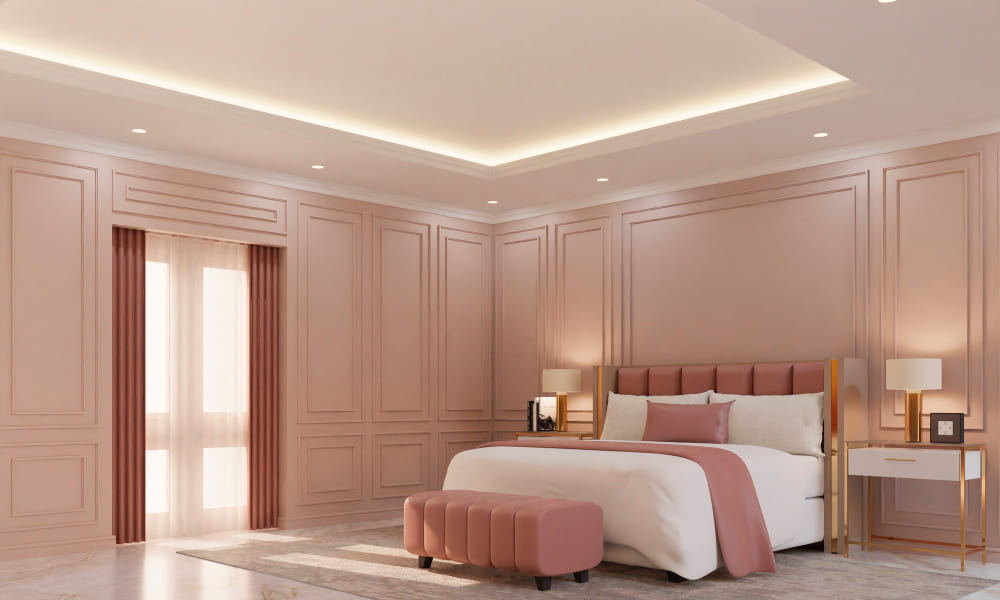
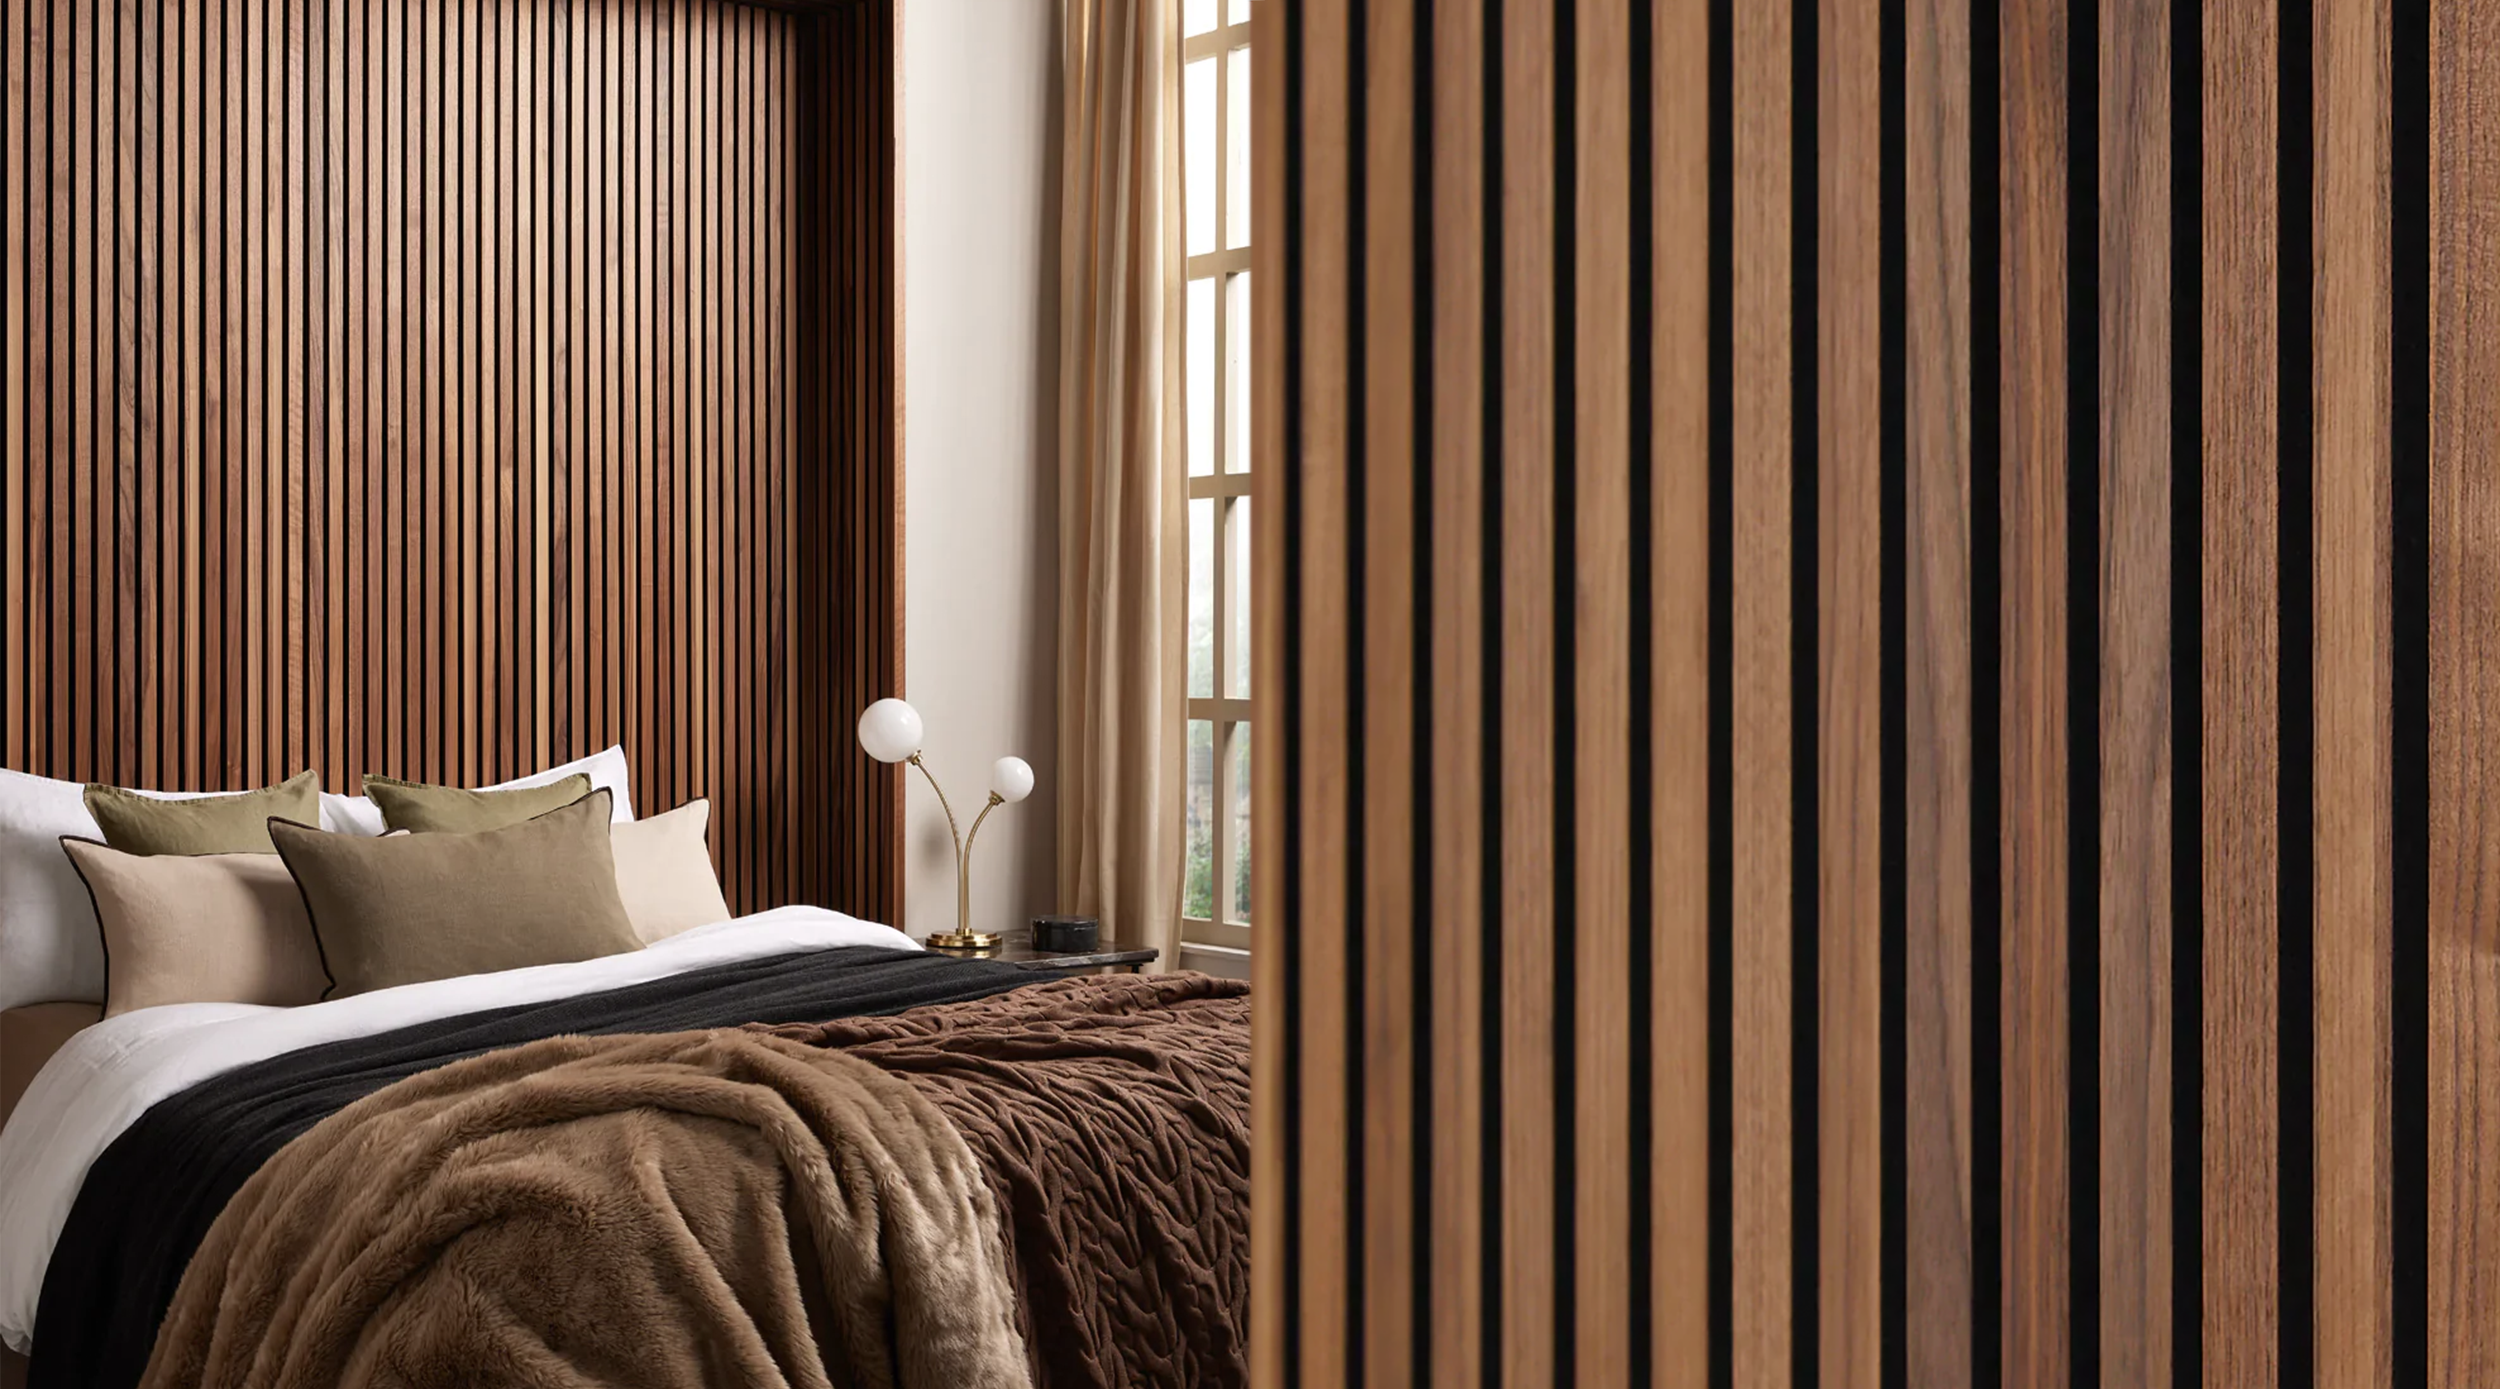
    One of the most popular ways to use a wood accent wall is in the bedroom. A wooden accent wall behind the bed creates a striking focal point, making the room feel cozy and inviting.

    Modern bedroom with a wooden accent wall, large windows offering a scenic view, and a cozy bed with warm-toned bedding and pillows

    Ideas for a wood accent wall bedroom:

    • Behind the headboard: Use a rich, dark wood to create a luxurious and intimate setting.

    • Vertical slats: A modern take with vertical wood slats or boards adds height and sophistication.

    • Whitewashed wood: For a lighter, more airy look, opt for whitewashed or light oak wood to keep the room feeling open and bright.

    2. Modern Wood Accent Wall

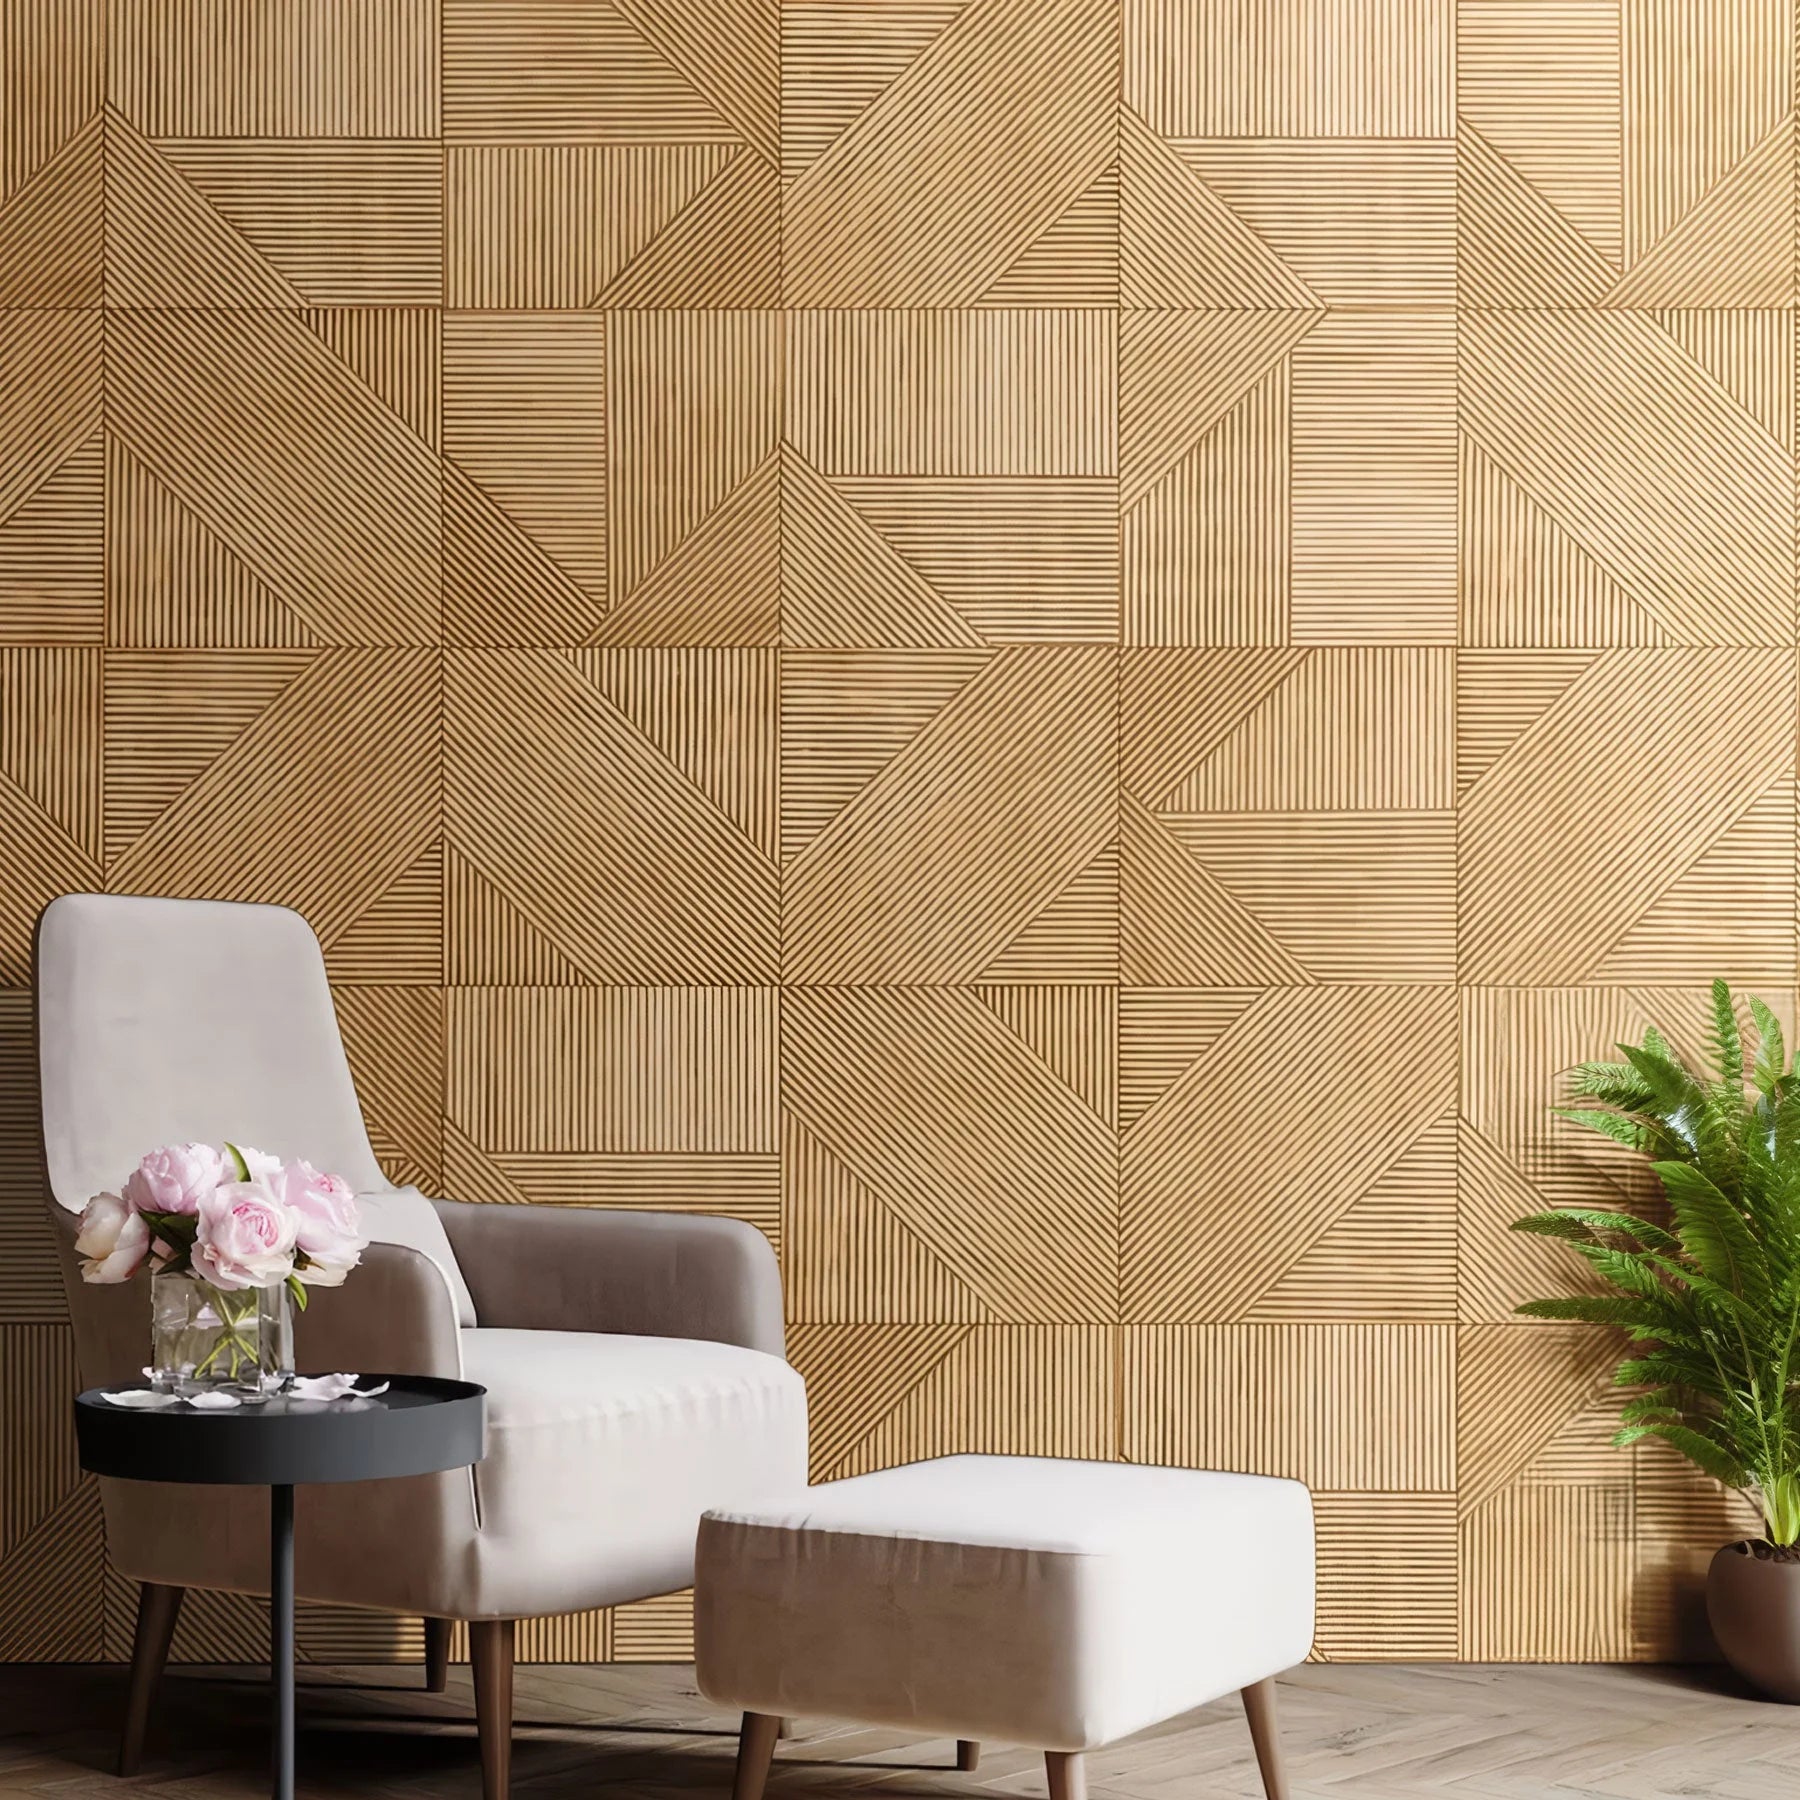
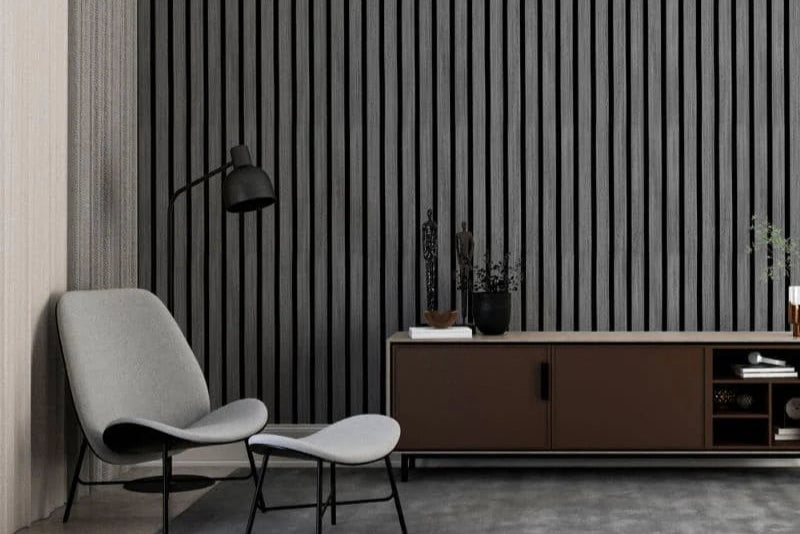
    For a modern wood accent wall, sleek lines, geometric patterns, and minimalist designs are key. A modern wood accent wall is not just about the material—it’s also about the design.
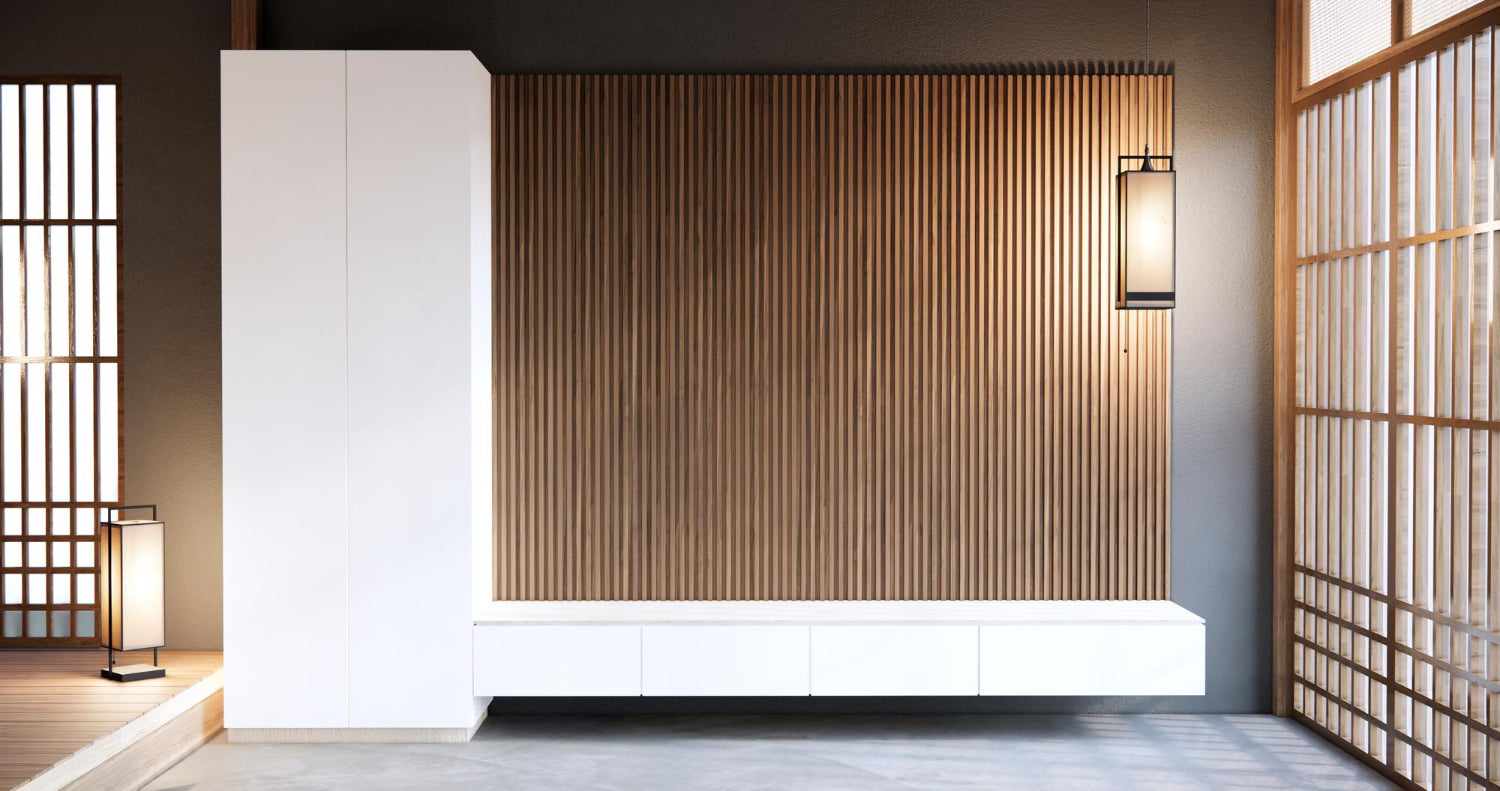
    Minimalistic interior featuring a wooden accent wall paired with white furniture and soft lighting.

    Ideas for a modern wood accent wall:

    • Geometric patterns: Combine square or triangular panels for an edgy and artistic look.

    • Natural finishes: Keep the wood in its natural state to highlight its grain and texture.

    • Contrast with other materials: Pair your wood accent wall with concrete, glass, or metal for a striking contrast.

    Creative Uses for Wood Accent Walls

    1. Living Room Wood Accent Wall

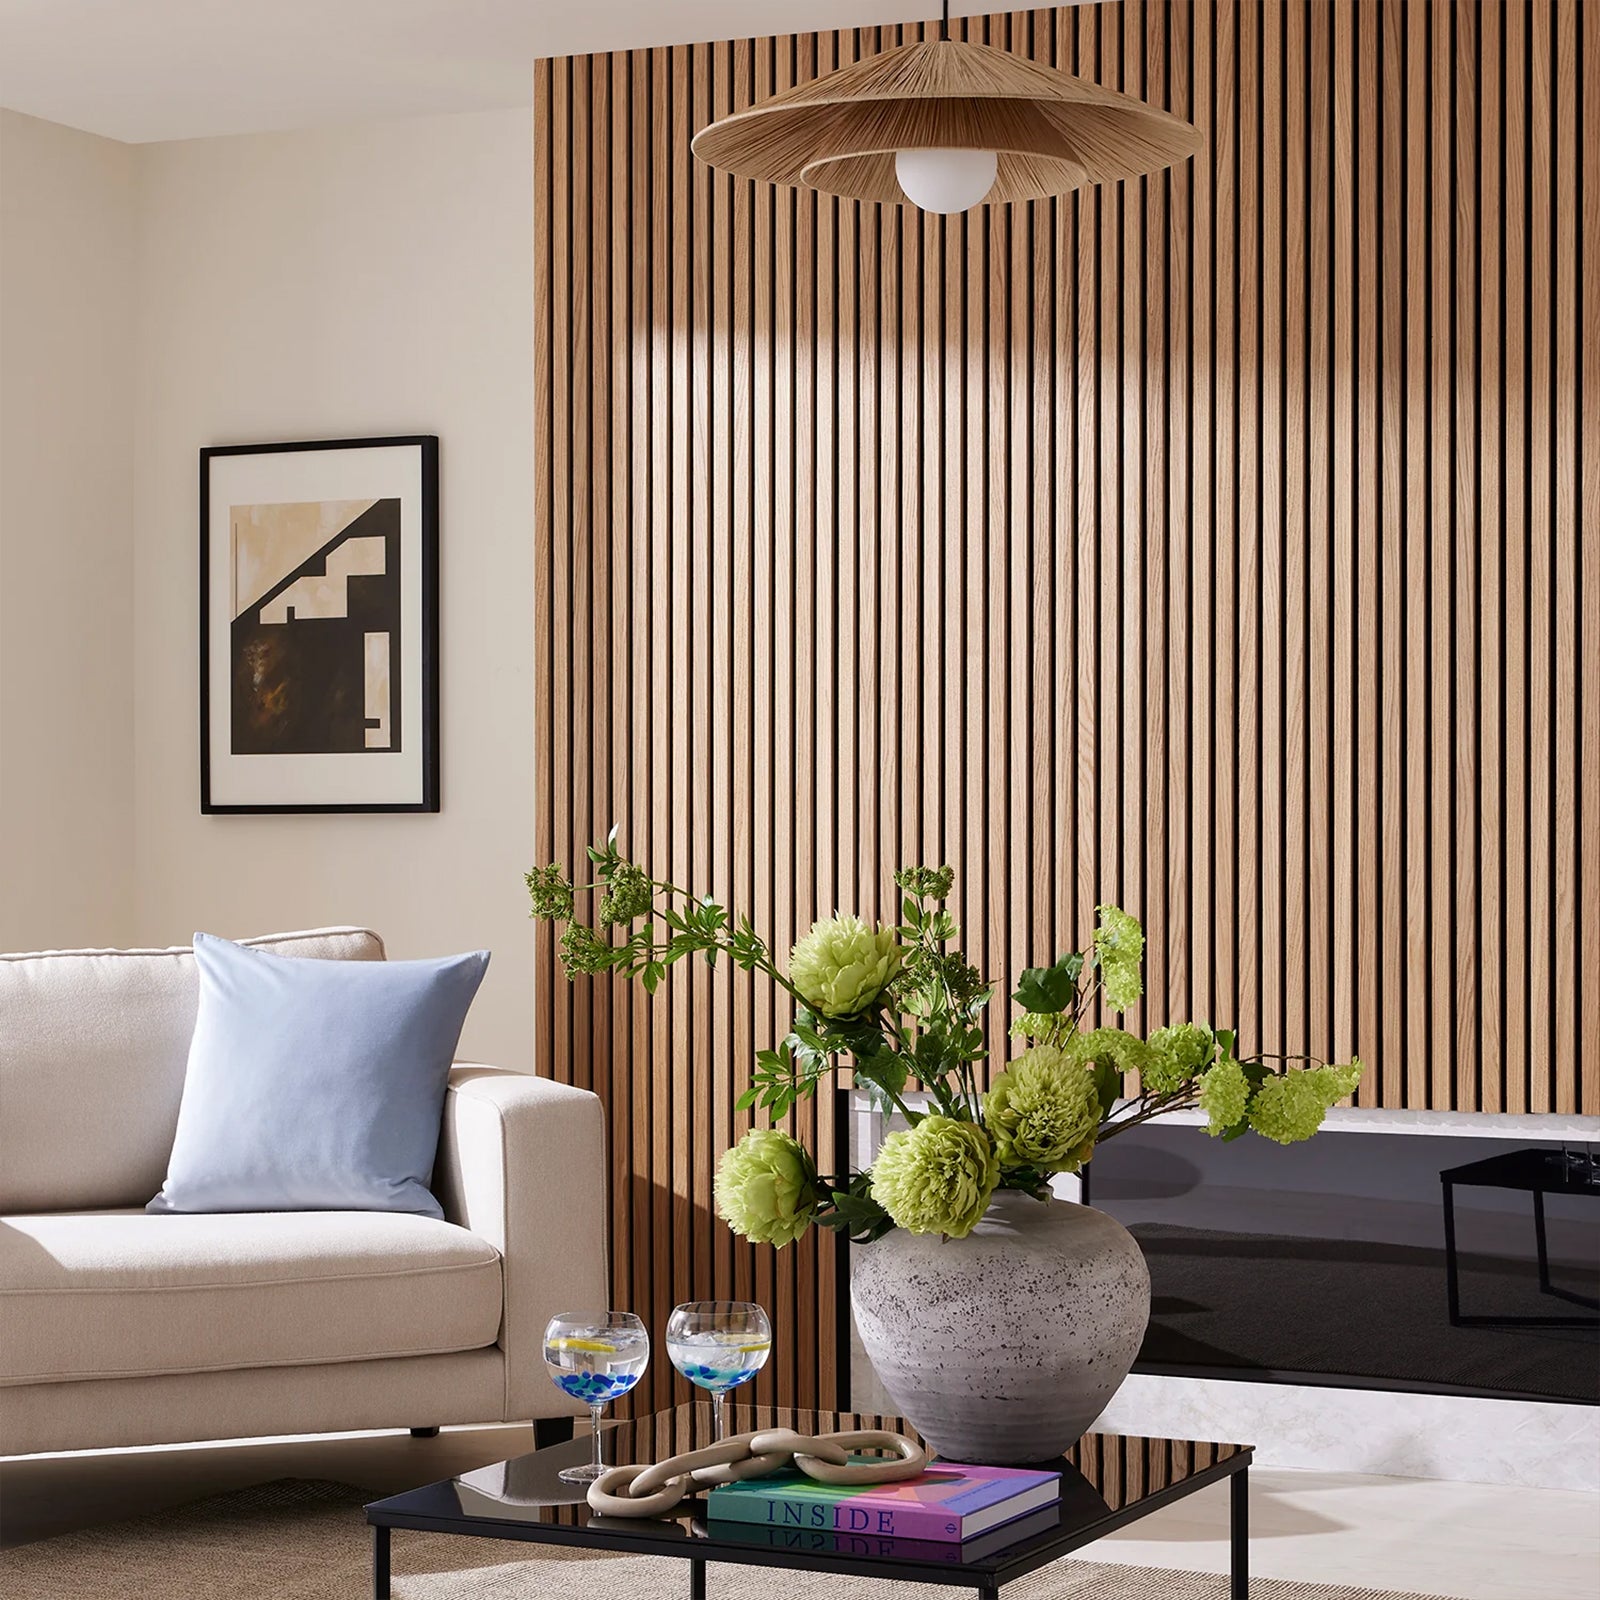
    Transform your living room into a welcoming space with a wood accent wall that complements your furniture and décor. Whether it’s a statement wall behind the TV or a feature wall with a fireplace, a modern wood accent wall will add warmth and character to the space.
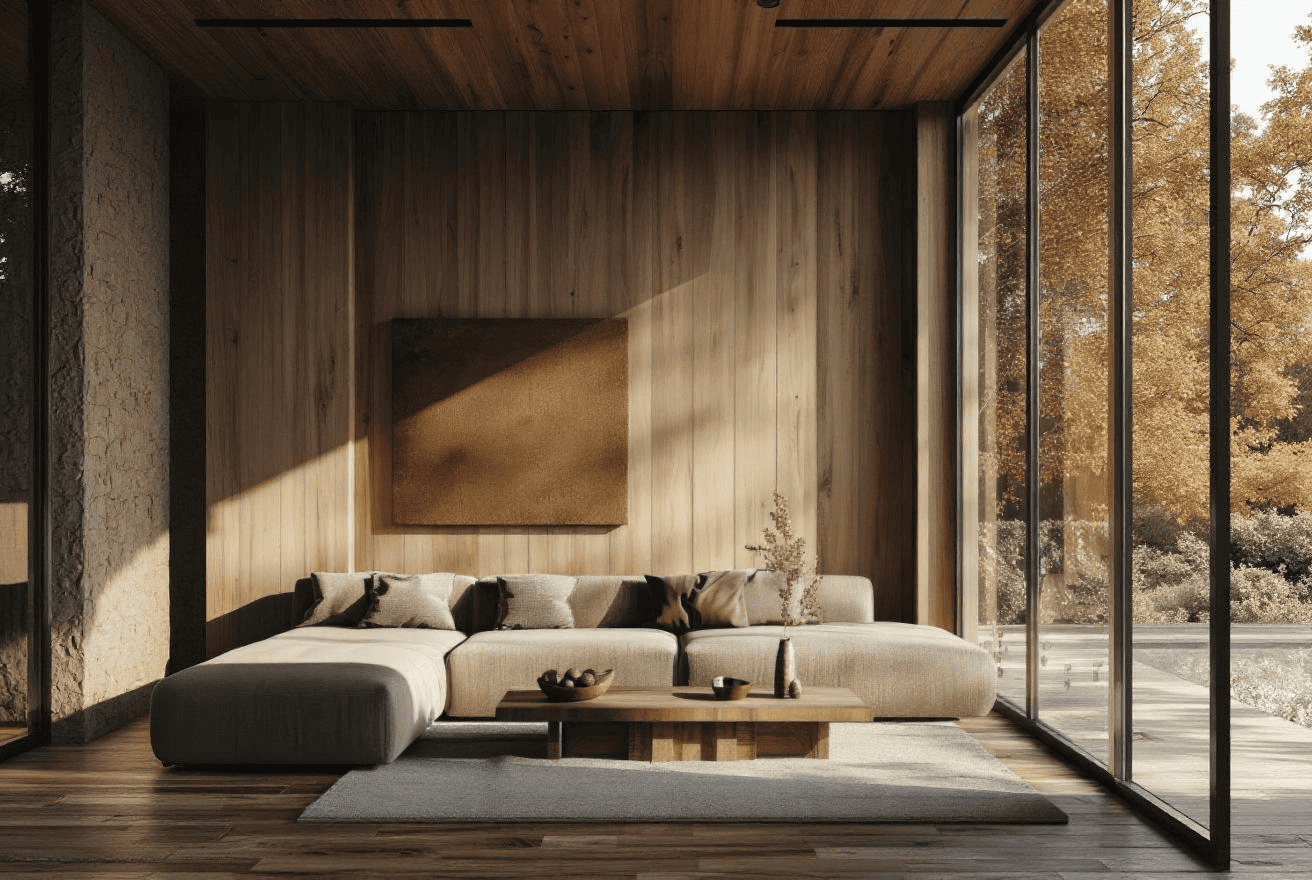
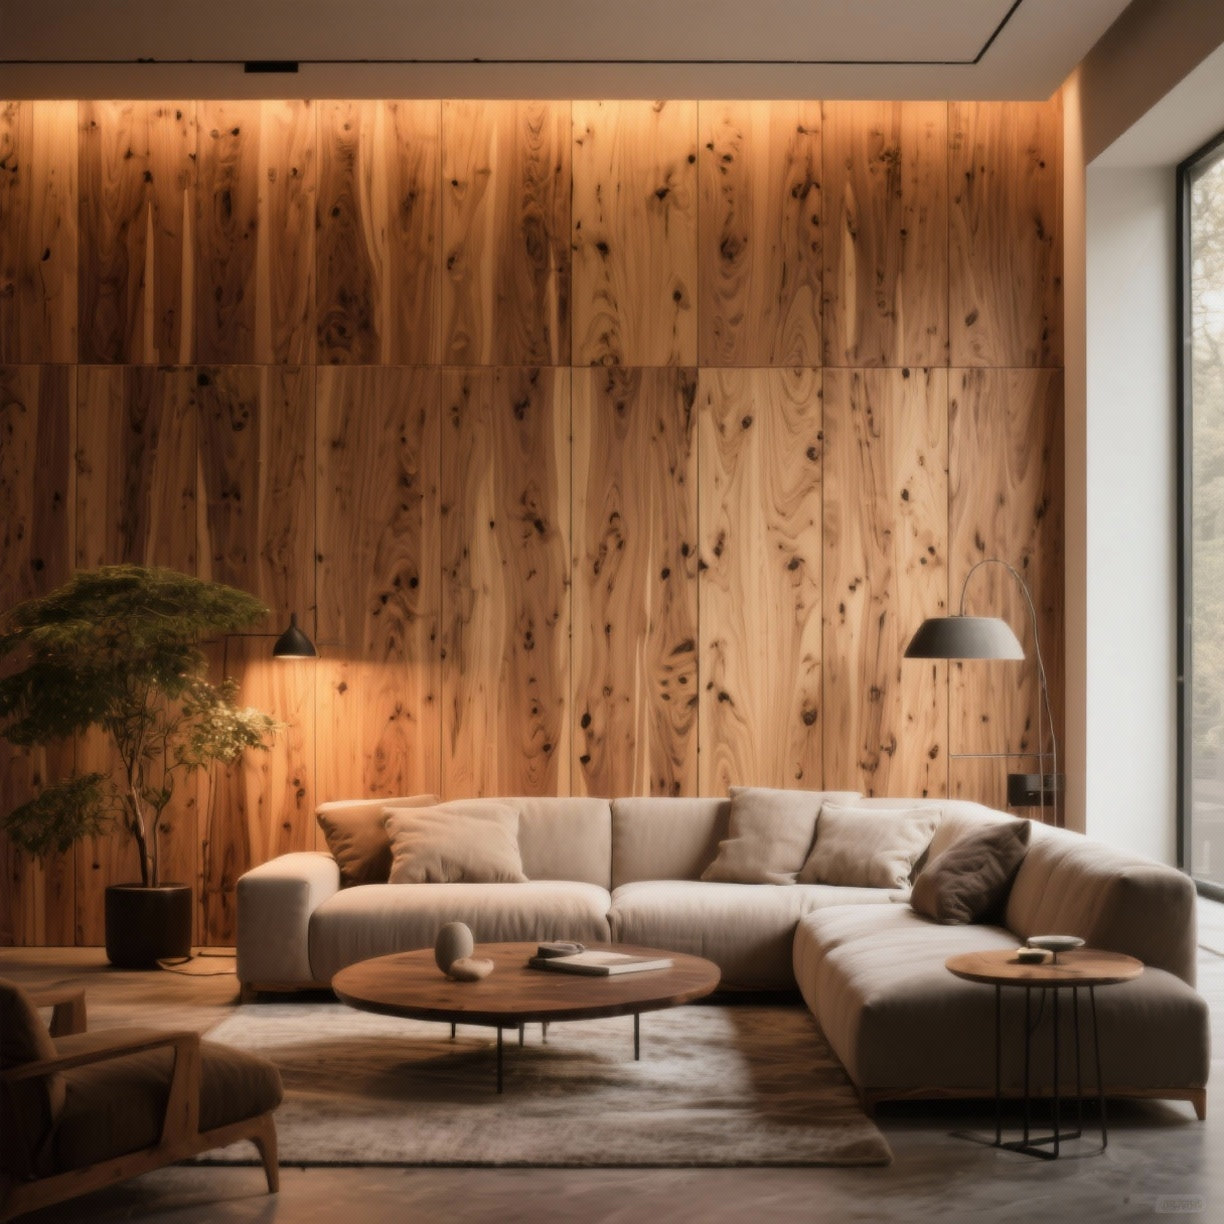
    Stylish living room with a wooden accent wall, large windows, a neutral-colored sofa, and natural lighting.


    2. Entryway Wood Accent Wall

    Make a bold first impression by adding a wood accent wall in your entryway. This design choice immediately sets the tone for the rest of your home, combining elegance and coziness.
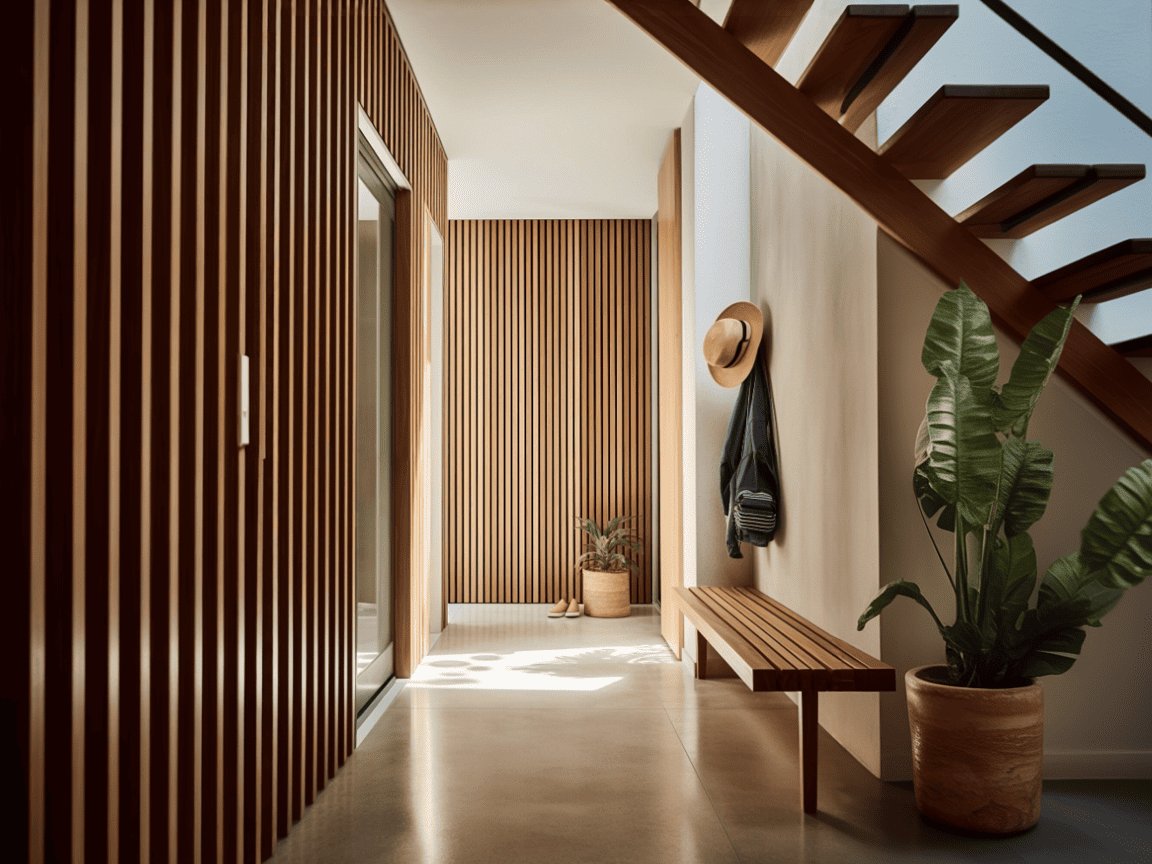
    Elegant entryway featuring a wooden accent wall, a modern bench, and potted plants.


    3. Office Wood Accent Wall

    For a home office or study, a wooden accent wall can create a calming and focused environment. Choose light wood tones for a bright, airy feel or dark woods for a more traditional, executive look.
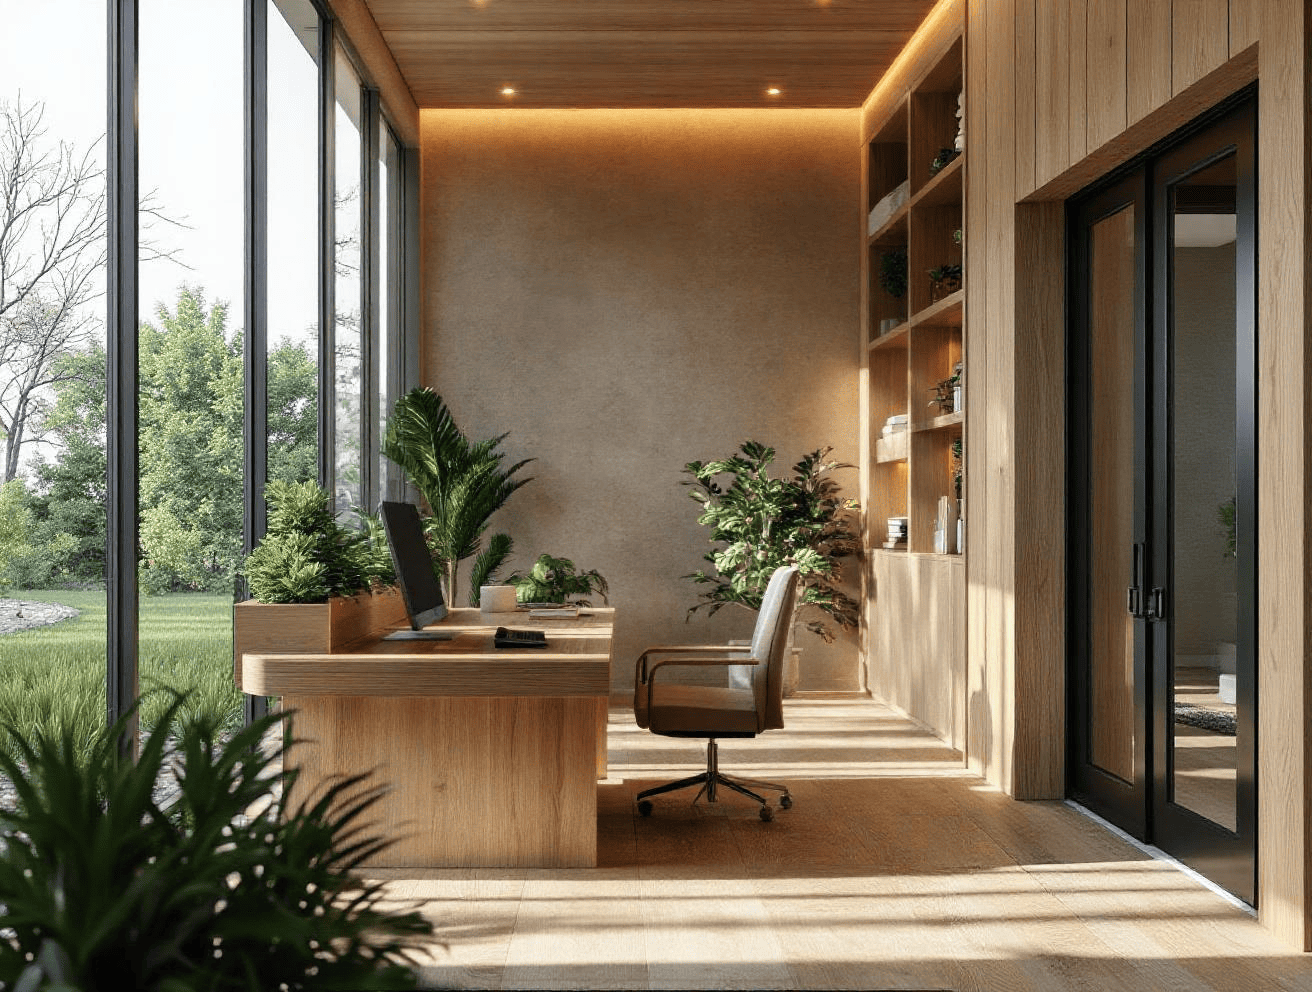
    Modern office with wooden walls, large windows letting in natural light, and greenery adding a touch of freshness to the space.


    How to Install a Wood Accent Wall

    Materials You’ll Need:

    • Wood panels: Choose between reclaimed wood, shiplap, or wood slats.

    • Measuring tape: Accurate measurements are essential.

    • Adhesive or nails: Secure the wood panels to the wall.

    • Tools: A saw to cut the panels, a level to keep everything straight, and a hammer or nail gun for installation.

    Steps to Install a Wood Accent Wall:

    1. Measure the wall: Determine the area you want to cover and calculate how many panels you will need.

    2. Prepare the wall: Clean the surface and ensure it is smooth and level for easy installation.

    3. Cut the panels: Depending on the design, cut your wood to the correct size.

    4. Install the panels: Begin from one corner and work your way across the wall, securing each panel with adhesive or nails.

    5. Finish the edges: Add trim around the edges of the panels for a polished, professional look.

    Maintaining Your Wood Accent Wall

    Wood is a natural material that requires minimal maintenance, but a few simple steps can help keep your wood accent wall looking its best:

    • Dust regularly: Use a soft cloth to dust the surface to prevent buildup.

    • Clean spills immediately: Wood is susceptible to staining, so be sure to wipe up spills promptly.

    • Refinish or reseal: Depending on your wood’s finish, you may need to reapply a wood sealant to maintain its color and texture.

    Where to Buy Wood Accent Wall Materials

    When looking for materials to create a modern wood accent wall, many reputable suppliers provide high-quality wood panels, shiplap, and wood slats. For a wide variety of options, consider purchasing from:

    • Home improvement stores like Home Depot and Lowe’s

    • Specialty suppliers like The Panel Hub® for premium, prefinished wood panels

    • Online marketplaces such as Amazon or Wayfair for budget-friendly options

    Keep Exploring: Accent & Feature Wall Ideas

    Final Thoughts: Create Your Perfect Wood Accent Wall

    A wood accent wall is a versatile design element that can be customized to fit any room in your home. Whether you’re aiming for a wood accent wall bedroom or looking for a modern wood accent wall in your living space, this trend is a great way to bring natural warmth and style into your home.

    Start with one of these wood accent wall ideas, and soon you’ll have a stunning focal point that adds both beauty and value to your space.


    Frequently Asked Questions

    You can add a wood accent wall in your bedroom by placing wood paneling behind your bed to create a stunning focal point. Opt for wood finishes for a cozy feel.

    For a modern wood accent wall, walnut, oak, or reclaimed wood are popular choices, offering a sleek yet warm aesthetic.

    Yes! A wood accent wall can be installed as a DIY project using basic tools and wood panels. It’s a great weekend project.

    To maintain your wood accent wall, regularly dust it, clean up spills immediately, and reseal or refinish the wood when needed.

    Yes! Wood accent walls are a timeless design choice that continues to be popular in 2025 due to their versatility and natural beauty.


  • Wainscoting Panels: Types, How to Install, and Design Inspirations

    Wainscoting Panels: Types, How to Install, and Design Inspirations

    If you’re renovating your room or entire house, wainscoting panels are one of the simplest ways to elevate any room beside a wood wall panel or wallpapers. Many people think this option is also timeless and versatile, fit in any interior styles and designs.

    Choosing the right wainscoting design and knowing how to install it properly can make your walls truly stand out and durable. This article provides a complete guide to understanding what is wainscoting panels, its types, how to-s, do(s) and don’t(s) you must know.

    What Are Wainscoting Panels?

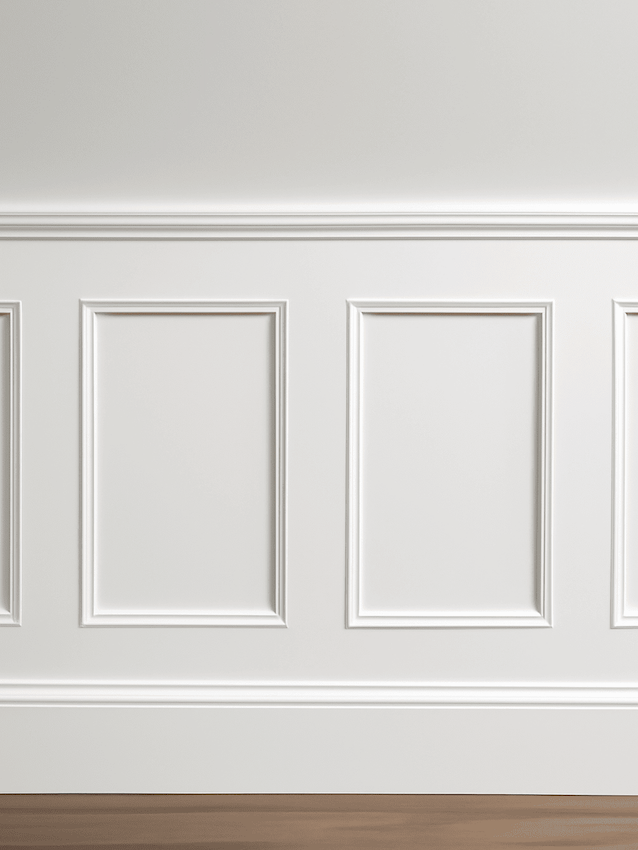
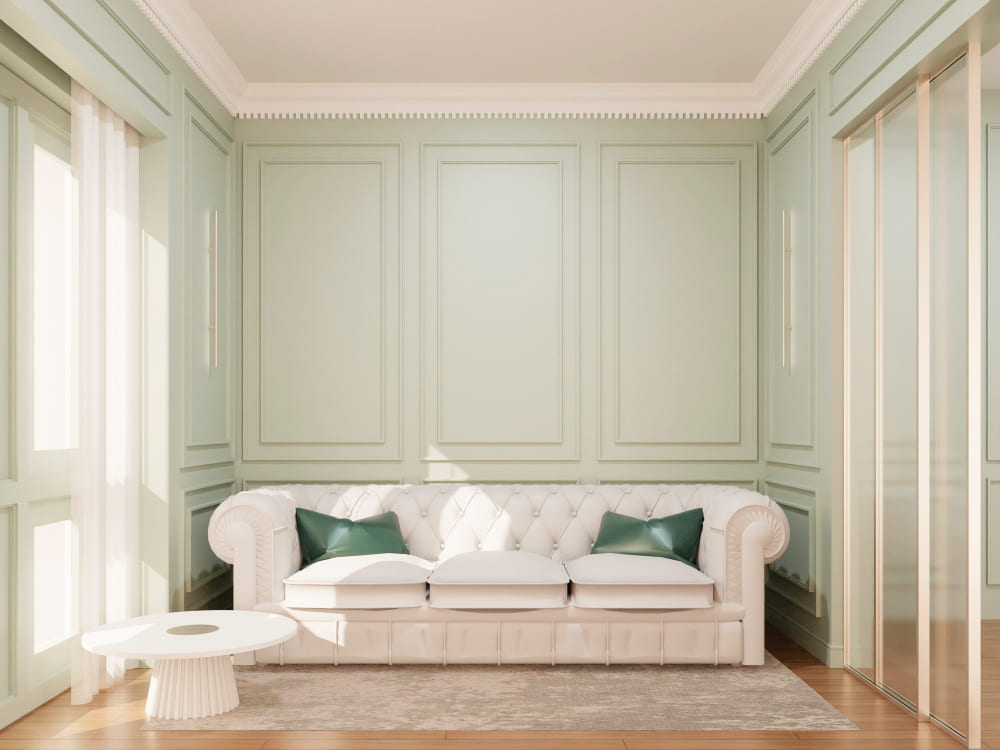
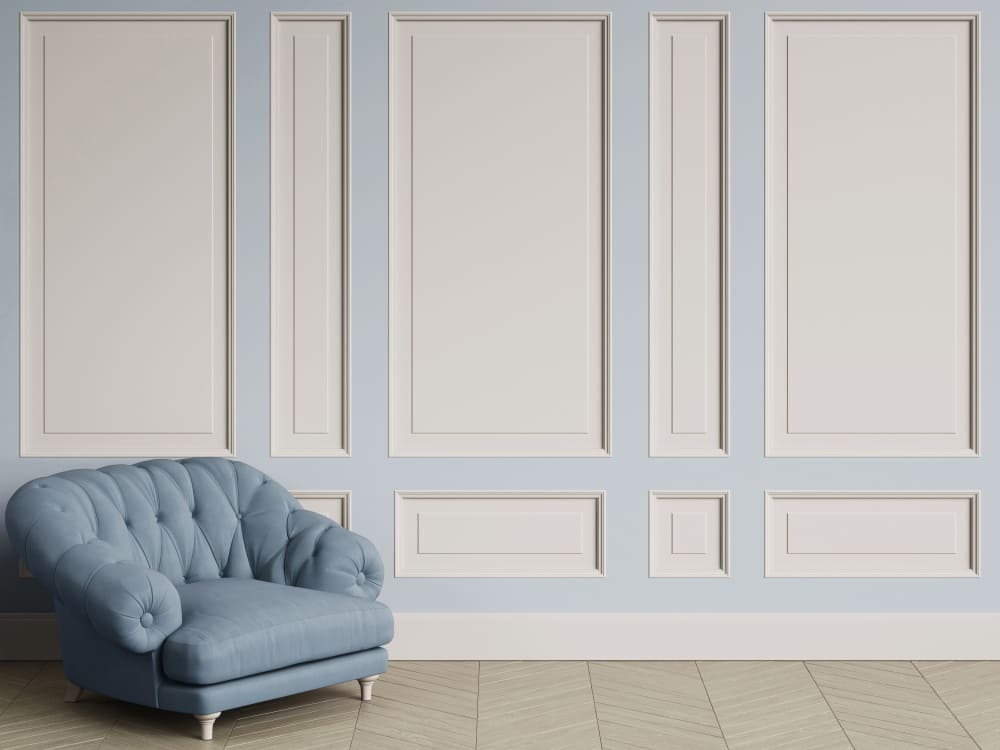
    Wainscoting panels are decorative wall coverings made of wood, MDF, or PVC with various designs, generally form rectangular or square shapes. However, some types don’t have that boxy design at all and instead have narrower or wider sections.

    Traditionally, wainscoting was used to protect walls from scuffs and scratches, especially in busy areas like hallways and dining rooms. Today, it’s widely treated as design and function. You may find these panels in a classic, elegant, modern, or simple house style.

    Types of Wainscoting: From Classic to Contemporary

    There are several styles of wainscoting panels you can consider to match different tastes and home designs:

    Beadboard

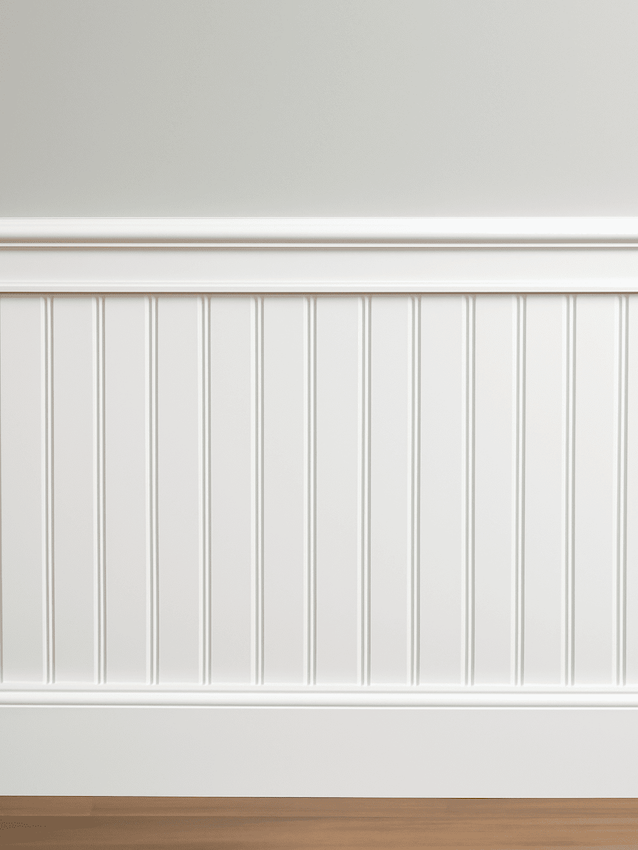
    Beadboard wainscoting is made of narrow vertical planks with small grooves, which are called beads between them. This type of panel is perfect for a cozy cottage, farmhouse, or coastal look.

    Board and Batten

    Board and Batten have a larger box or rectangular shape on the surface. It features wide panels with thin strips (battens) covering the seams. You can choose this type over the beadboard if you want to go for bolder geometric lines.

    Raised Panel

    This type of wainscoting panels are more traditional and elegant, with raised central panels framed by molding. It results in deep shadows and more dimension. Common in formal dining rooms or classic interiors.

    Flat Panel (or Shaker Style)

    The flat panel is very similar to a raised panel if you look briefly. However, as the name suggests, the flat panel doesn’t have raised central panels. Therefore, they have a flatter, more sleek, and smoother surface. Flat wainscoting panels are favorites for minimalist spaces.

    Overlay Panel

    The overlay panel combines flat panels with decorative trim layered on top for extra depth. This design works on walls in traditional architecture.

    Read More: Get Started Today: 30 Easy Half Wall Paneling Ideas for Beginners

    Choosing the Right Wainscoting Style for Your Space

    When selecting wainscoting panels, consider these key factors before making your purchase decision:

    1. Room Purpose: Use wainscoting beadboard for casual rooms like bathrooms or mudrooms, and raised panels for formal areas. This is because the raised panels tend to be more decorative and well-fitting for rooms that need formality and better impression.
    2. Ceiling Height: Higher ceilings can handle taller wainscoting, while lower ceilings look best with shorter panels. If you choose panels that are too tall, it would make your space feel smaller.
    3. Home Style: Match your wainscoting design with your home’s architecture. The classic, decorative panels suit traditional homes best, while clean lines are typically popular choices for modern ones.
    4. Color and Finish: White wainscoting brightens a room, while darker tones add warmth and depth. You can match with your ceiling or flooring. If the ceiling has brighter shades, then darker colors to absorb light and create a beautiful contrast.

    Wainscoting Installation: Step-by-Step Guide for Homeowners

    Wainscoting panels are not really DIY-friendly, especially if you are a beginner in home improvement projects. However, these are general guides and the right tools to install the panels on your own.

    1. Measure and Plan

    First of all, measure your wall to identify the height of panels you’re gonna buy. If necessary, mark a level line across the wall to guide you during installation. After that, choose which types of wainscoting that suit your design taste the best.

    2. Cut Panels to Size

    Measure carefully the panels based on the wall size you want to cover. Cut panels or boards to fit your wall sections. Use miter saws to cut baseboards and mold at precise angles. On the other hand, a jigsaw or oscillating tool can be used for cutting around outlets, vents, or window trim.

    3. Attach Panels

    When it comes to paneling, you can always use construction adhesive and finishing nails to secure panels to the wall. To speed up installation, use a nail gun or hammer & nail set. 

    4. Add Trim and Molding

    Install baseboards, chair rails, or cap molding to finish the edges. Wainscoting panels without molding would typically look a bit off and unfinished.

    5. Fill, Sand, and Paint

    This is the last part of the wainscoting installation steps. Fill nail holes, sand smooth, and apply paint or stain for a polished look. This step is optional because most people choose to leave the color and finish as it is. 

    If you want more DIY-friendly wall panels options, explore The Panel Hub acoustic or decorative wood wall panels! Our 100% real wood wall panels are crafted with FSC® certified E1 MDF and finished with a premium full-cover veneer that resists moisture. Get free shipping within continental US, only 4-7 days delivery!

    Explore Wall Panels

    Wainscoting Dos and Don’ts: Common Mistakes to Avoid

    Here’s some wainscoting do(s) and don’t(s) you should pay close attention to when installing wainscoting panels:

    Do(s):

    • Measure twice before cutting.
    • Use quality materials suited for moisture-prone areas (like PVC or MDF in bathrooms).
    • Paint or seal wood for extra protection.

    Don’t(s):

    • Install panels too high, because it can make a room feel smaller.
    • Forget to account for outlet and switch placement.
    • Skip the caulking as it makes seams look seamless and professional.

    Wainscoting Cost, Materials, and Maintenance

    Wainscoting panels typically cost $5-$15 per square foot, depending on material and design. If you need professional installation, the service fee can range from $10–$30 per square foot. 

    The price can also depend on the materials and wainscoting style you choose. Here’s a brief explanation of each characteristic of different materials:

    • Wood: Classic and durable but pricier.
    • MDF (Medium-Density Fiberboard): Affordable and smooth for painting.
    • PVC or Vinyl: Moisture-resistant and ideal for bathrooms and basements.

    To maintain the panels, wipe with a damp cloth regularly. Over time, the color may fade and scratches could start forming. Repaint or touch up as needed to keep it looking new and refreshed.

    Read More: What Floors Look Best with Wood Paneling? 6 Ways to Decide!

    You can bring these stunning ideas to your space. From bedroom wainscoting to living room makeover, you may take inspiration from its color choices, placements, or wainscoting types.

    In conclusion, wainscoting panels is a popular option for wall transformation for traditional or modern house styles. You must know which type of panels that not only suit your overall room color palettes, but also architectures. If you are looking for other wall panel options, browse The Panel Hub now! Available in elegant, earthy, and natural color selections that would instantly upgrade your space. Enjoy free shipping today!

    Shop Now!

  • Where to Buy Wall Panels: Your 2026 Home Design Guide

    Where to Buy Wall Panels: Your 2026 Home Design Guide

    Wall panels have become one of the top home design upgrades in 2025. From modern apartments to cozy home offices, wall paneling can instantly enhance a space with texture, warmth, and sound control. But with so many online options available, knowing where to buy wall panels that balance quality, design, and value can feel overwhelming.

    This guide will help you locate the best sources for real wood and acoustic wall panels, understand what to look for before purchasing, and ensure you invest in panels that last for years.

    Why Choosing the Right Wall Panel Supplier Matters

    Not all wall panels are created equal. Some may look appealing online but lack real wood finishes, durability, or sound insulation quality. Choosing a trusted supplier ensures your panels perform well, look professional, and meet your design expectations.
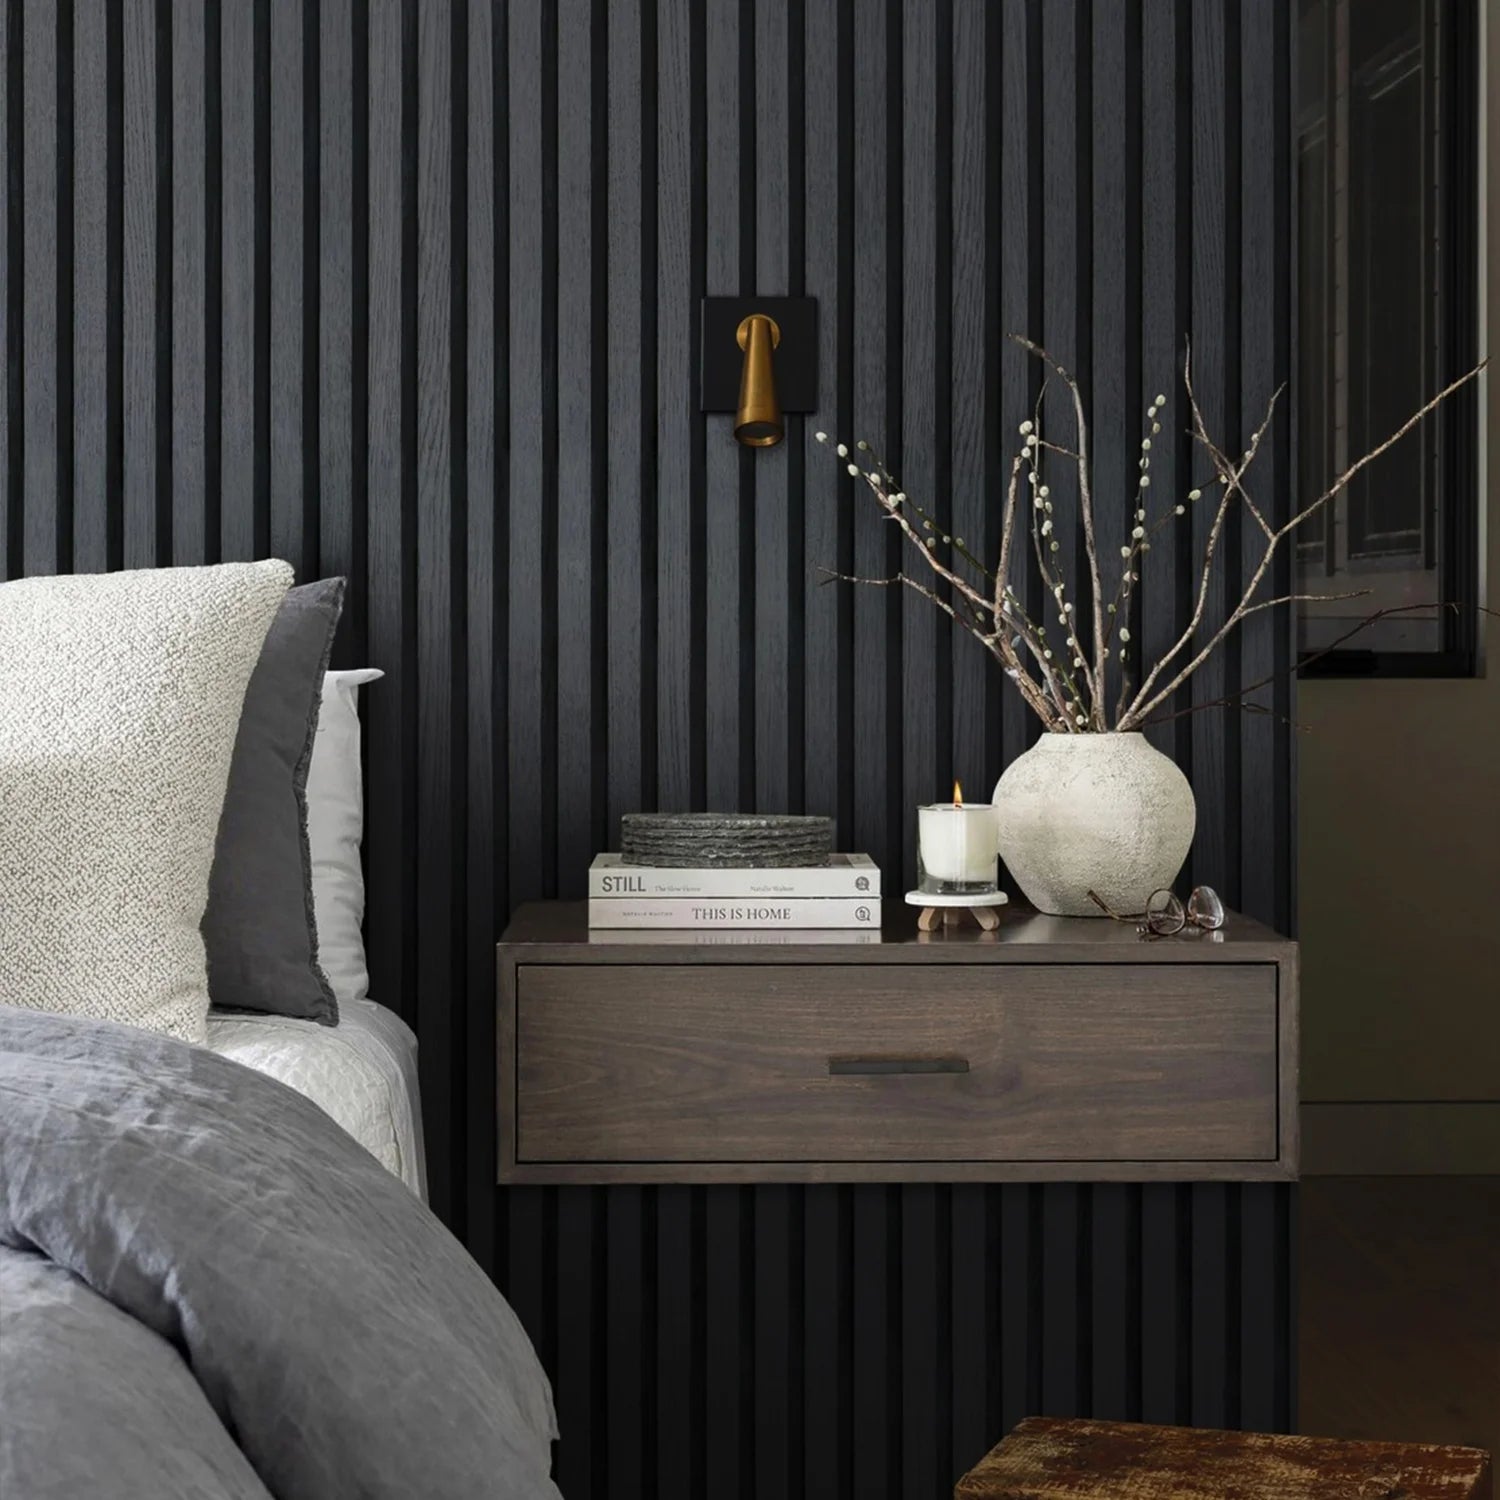
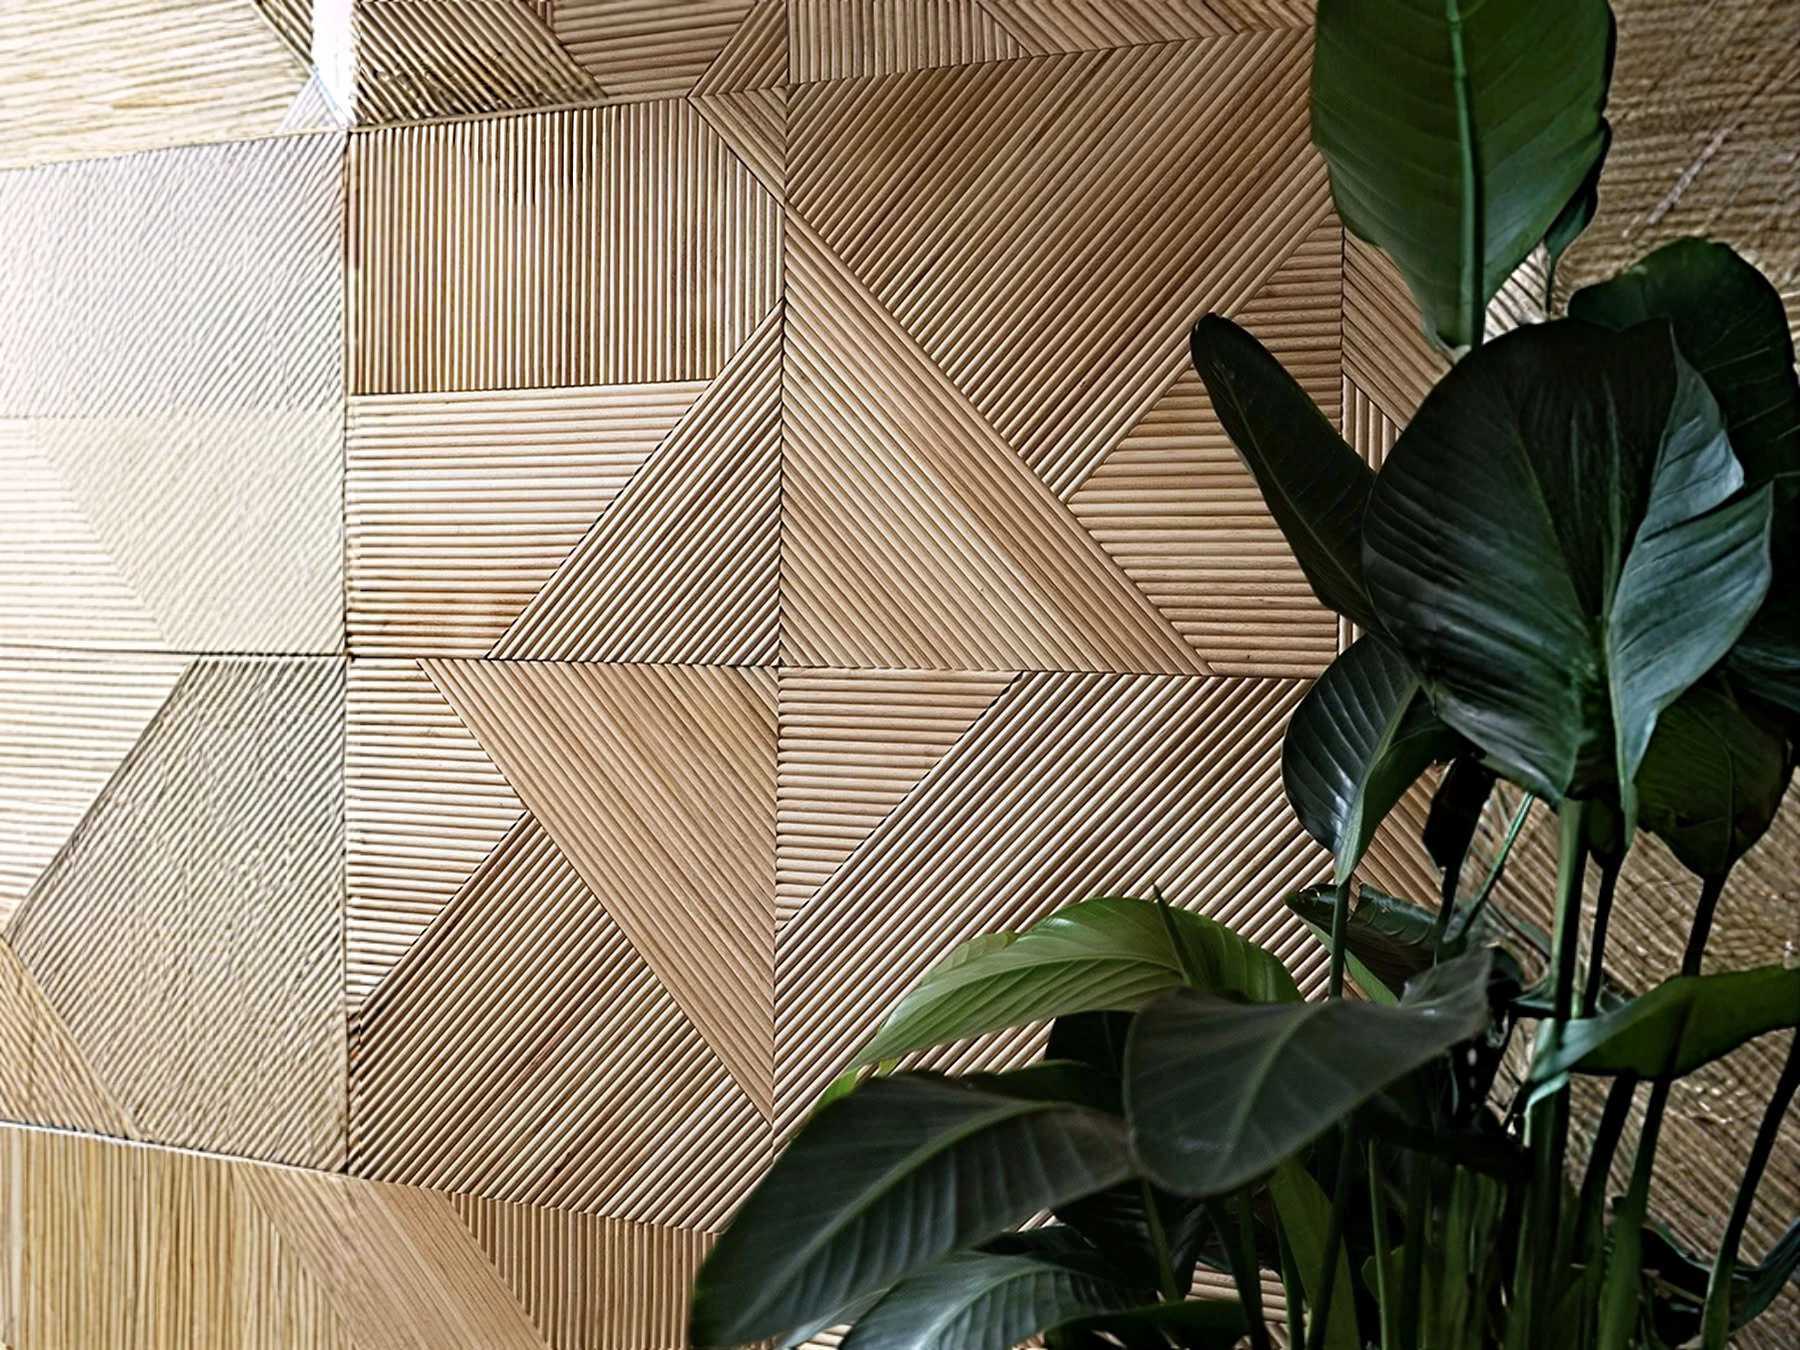
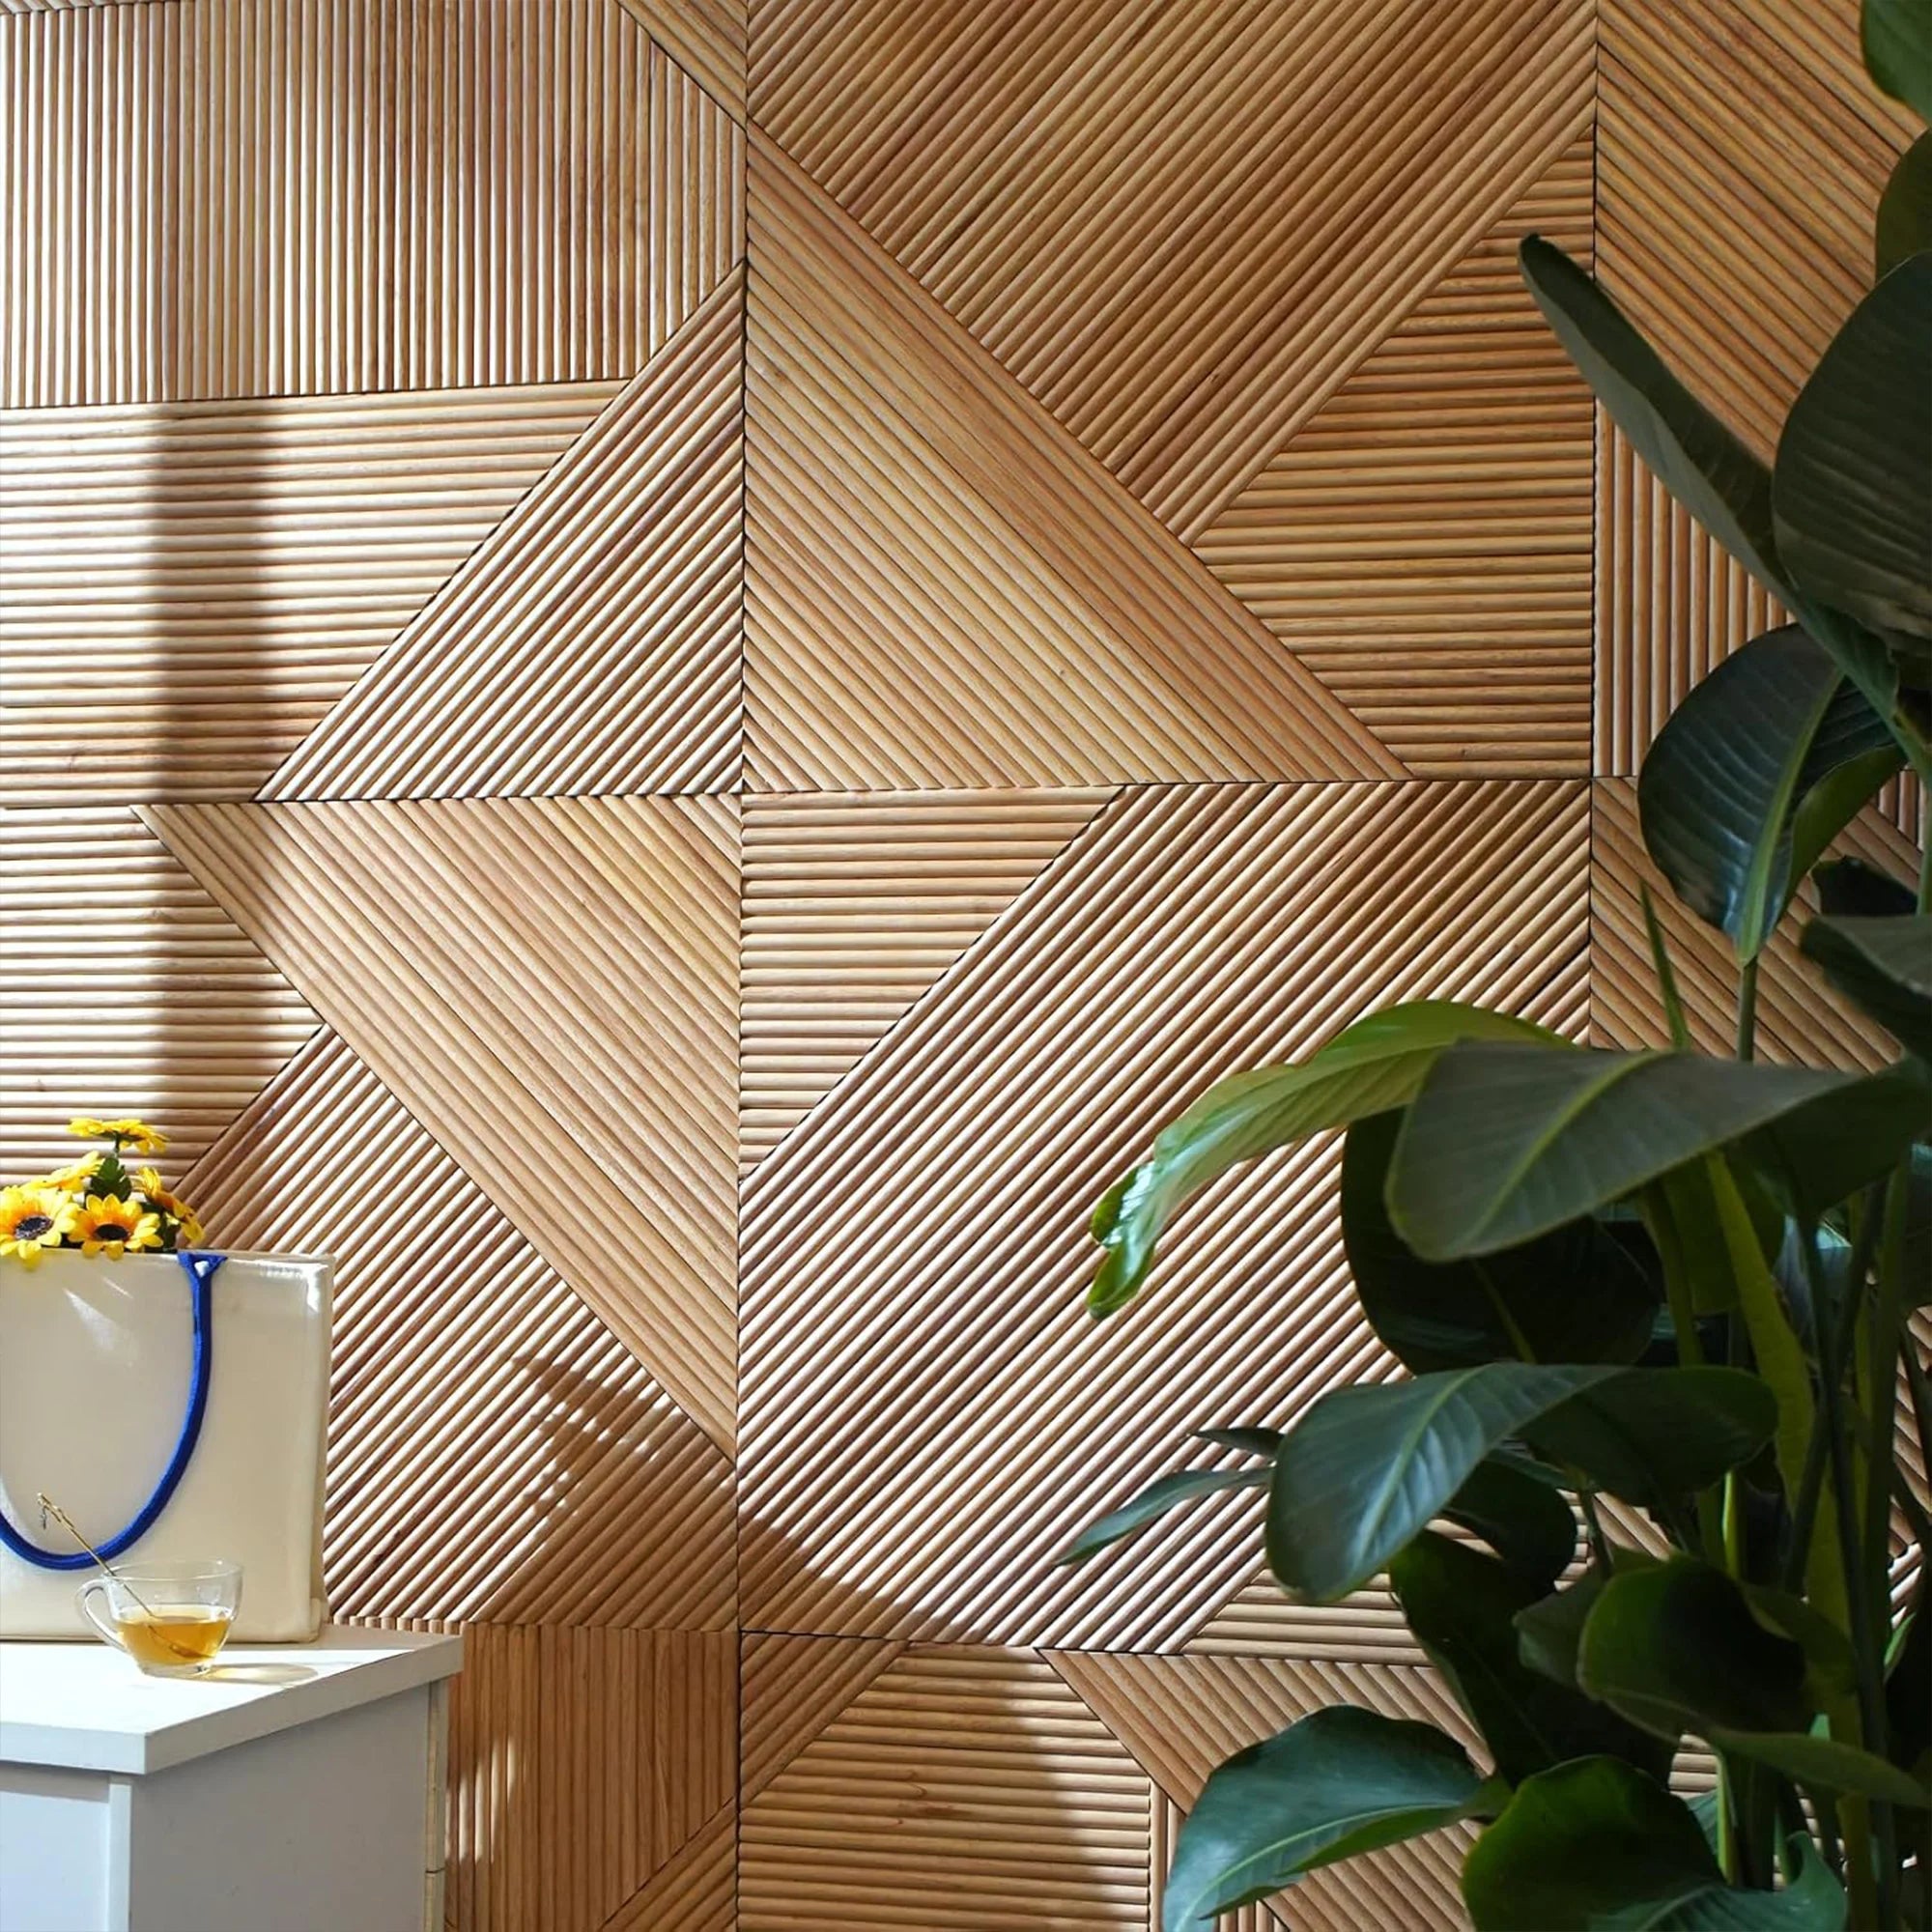
    Stylish wooden wall paneling with a modern geometric pattern and green plant accent.

    A reliable supplier should offer:

    • Verified real wood veneer or acoustic-quality materials

    • Accurate product dimensions and finish samples

    • Fast and secure shipping

    • Warranty coverage and after-sale support

    • Clear return and replacement policies

    When you buy from a certified brand like The Panel Hub®, you know you are investing in craftsmanship, sustainability, and long-lasting value.

    Best Places to Buy Wall Panels in 2025

    The Panel Hub® is a U.S.-based wall panel brand known for premium real wood acoustic panels and effortless installation services. The company focuses on high-end finishes, water-resistant MDF cores, and professional edge detailing.

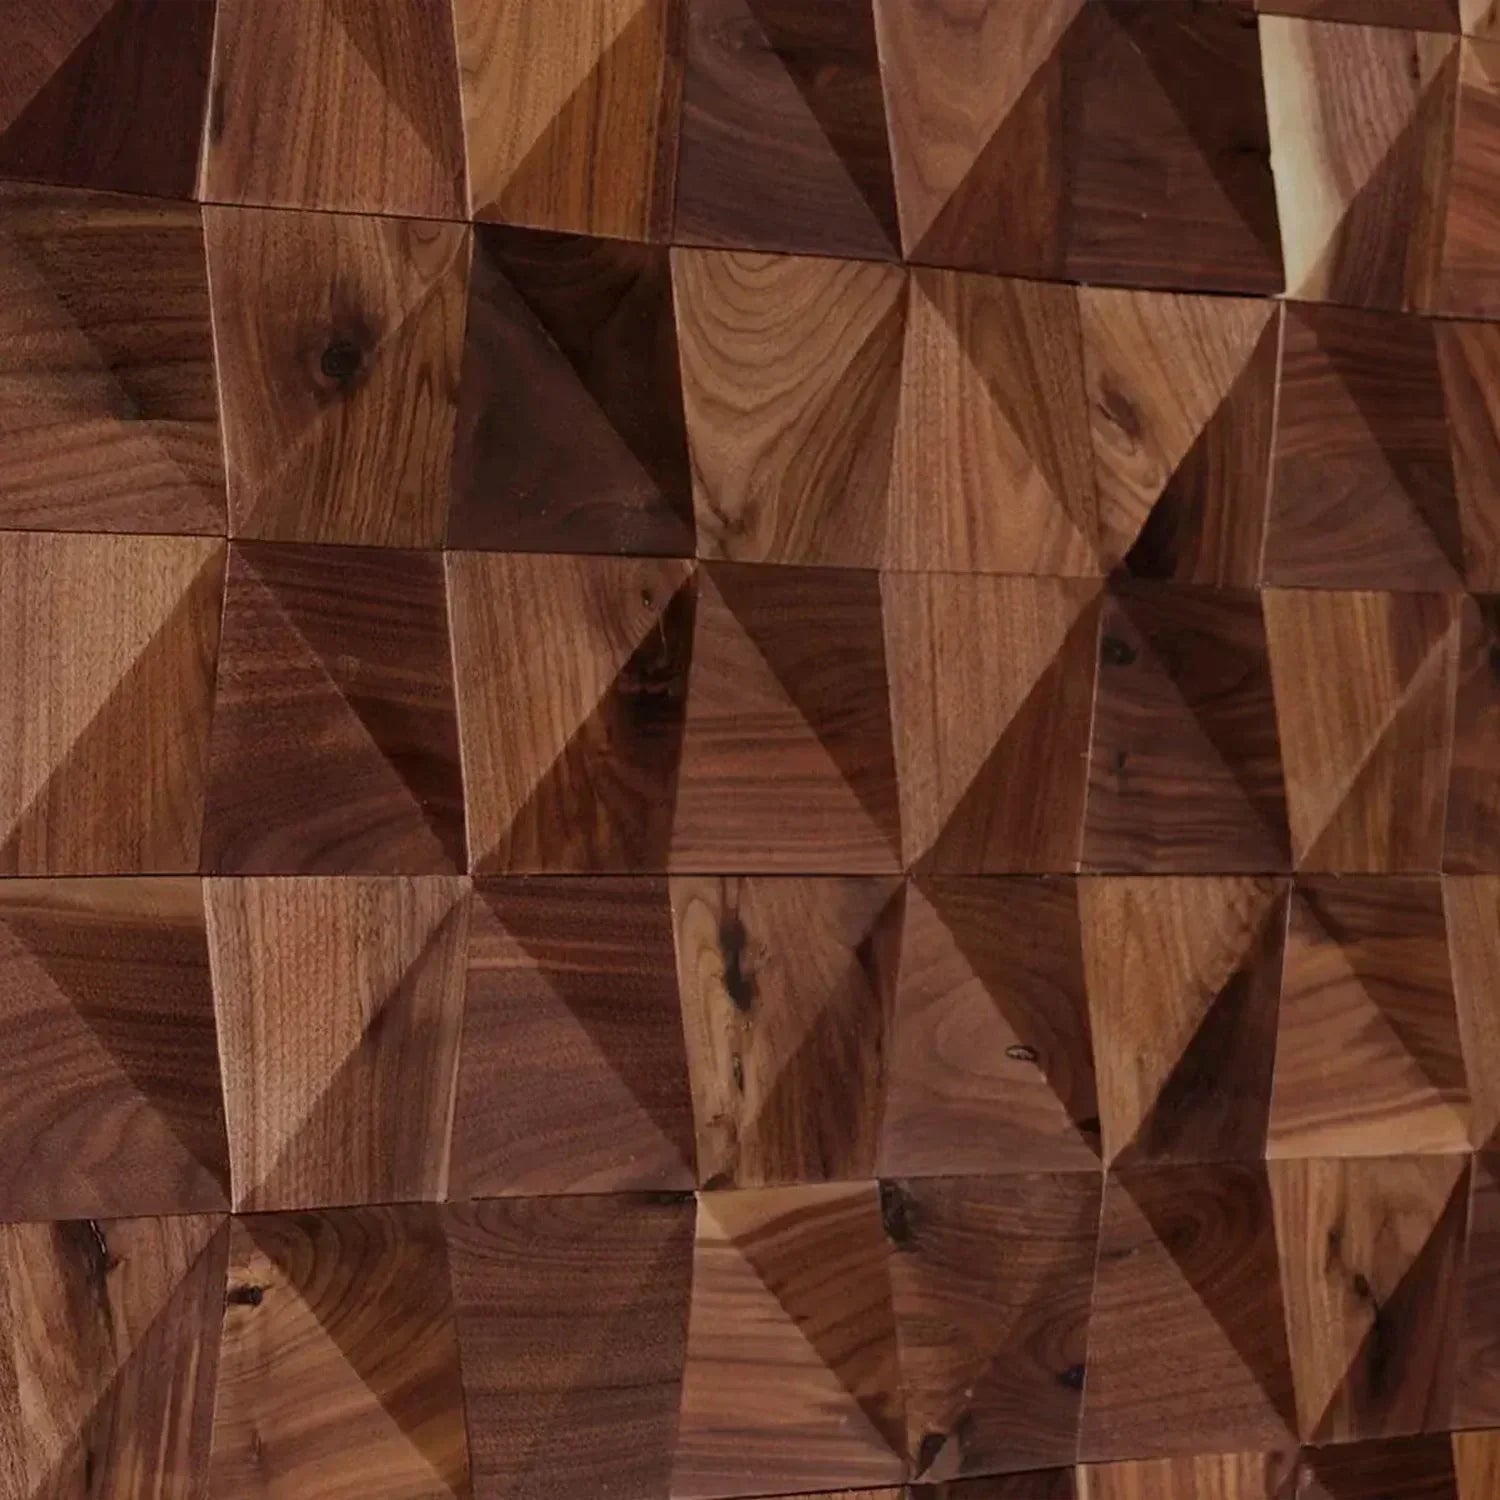
    Close-up of a modern geometric wood panel design from The Panel Hub.

    Why customers love it:

    • Real wood veneer with designer-grade texture

    • NRC 0.85 sound absorption for quieter spaces

    • Free professional installation on orders above two thousand dollars

    • Fast nationwide shipping (4 to 7 days)

    • Five-year product warranty

    👉 Browse The Panel Hub® Collection.

    2. Local Home Improvement Stores

    If you prefer in-person shopping, local retailers such as Home Depot or Lowe’s offer a variety of wall panels. You can physically inspect material samples, though the selection may be limited compared to specialized suppliers.

    Large home improvement store with neatly stacked shelves and products ready to buy.
    Pros:

    • Instant access to inventory

    • In-person quality check

    • Immediate pickup availability

    Cons:

    • Limited premium wood veneer options

    • Fewer acoustic panel choices

    • May require manual installation or third-party contractors

    3. Online Marketplaces
    Websites like Amazon and Wayfair provide convenient access to various wall panel brands. These platforms are ideal for budget-friendly options, though quality and authenticity can vary widely.

    A person browsing an online store on a laptop.

    Tips for safe online buying:

    • Read verified reviews and buyer images

    • Check for warranty and brand authenticity

    • Avoid listings with unclear specifications or no return policy

    4. Direct Manufacturer Websites

    Many homeowners prefer ordering directly from manufacturers to ensure product authenticity. This approach often comes with better support, faster customization, and more consistent quality control.

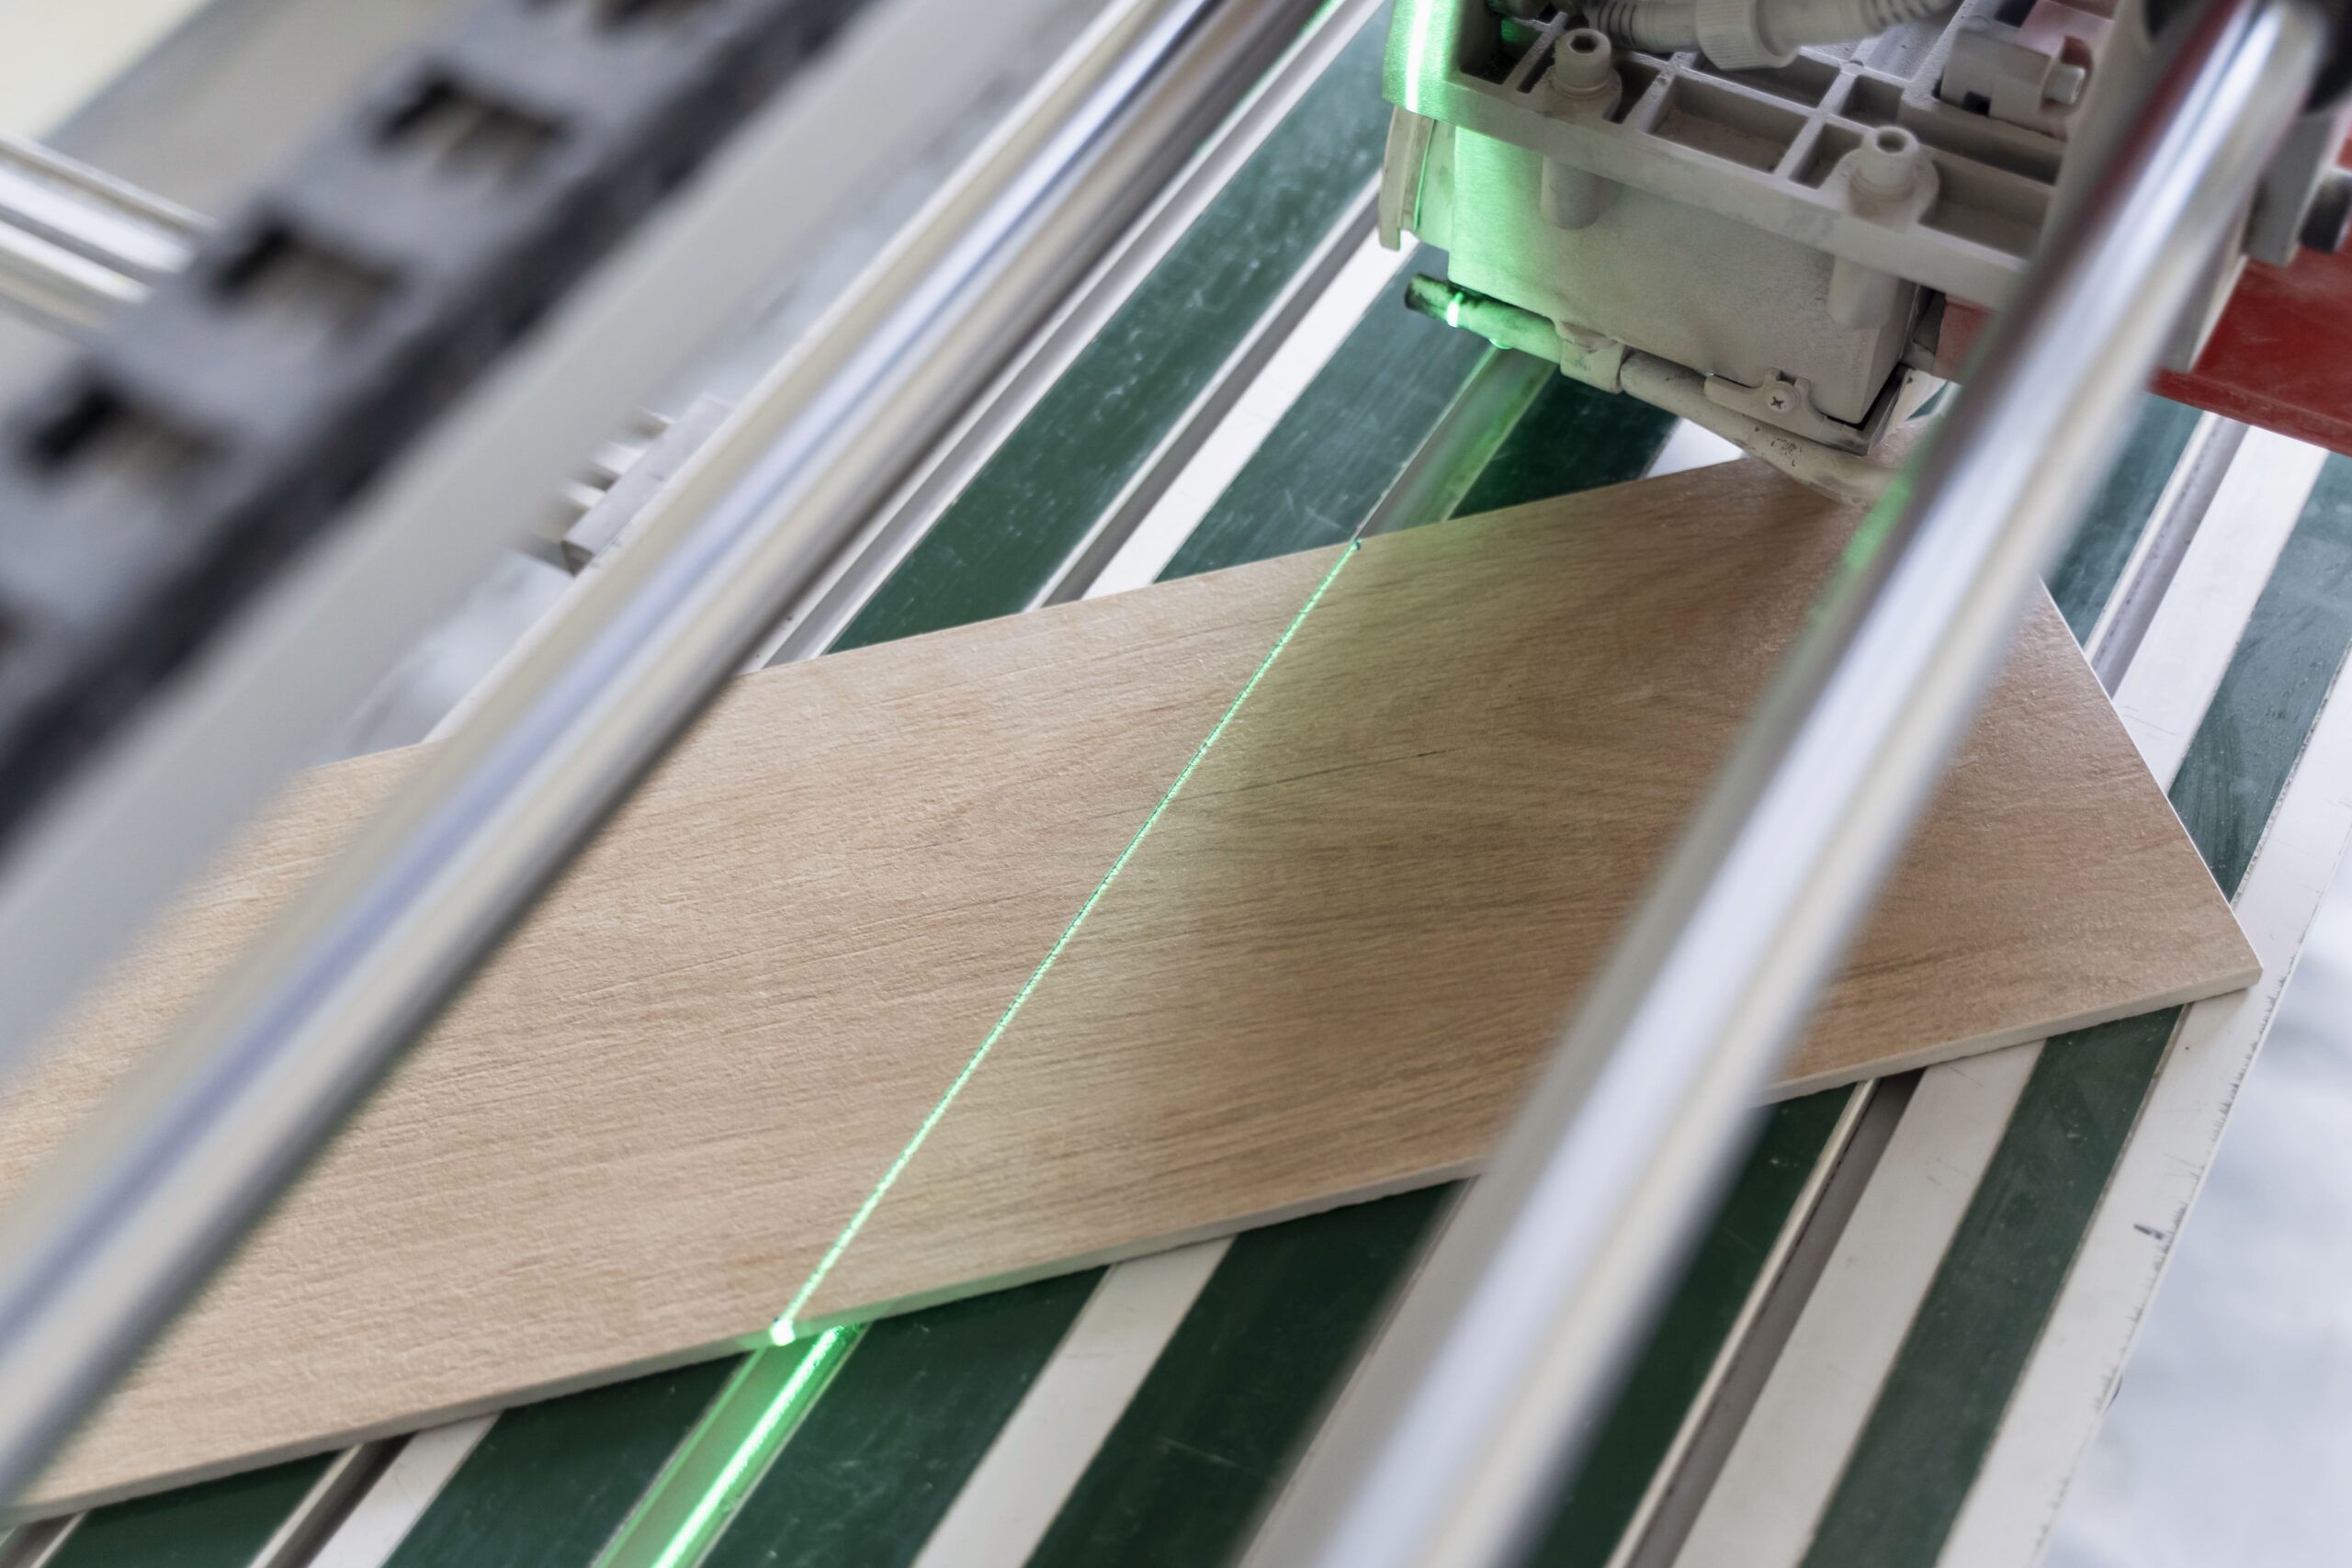
    Laser cutting machine working on a real wood panel in a workshop.

    Advantages include:

    • Access to exclusive collections and finishes

    • Custom sizing options

    • Direct technical assistance from the brand

    What to Look for Before Buying Wall Panels

    Before you make your purchase, review these important factors:

    • Material: Choose real wood veneer for long-term quality

    • Acoustic Rating: Look for NRC 0.85 or higher for sound control

    • Edge Finish: Rounded edges prevent chipping and ensure seamless installation

    • Installation: Prefer suppliers that offer DIY guides

    • Warranty: Look for a five-year guarantee or longer


    Why The Panel Hub® Is the Best Place to Buy Wall Panels

    The Panel Hub® stands out because it offers both premium materials and professional service. Every panel is designed to meet modern interior standards while simplifying the buying process for homeowners and designers alike.

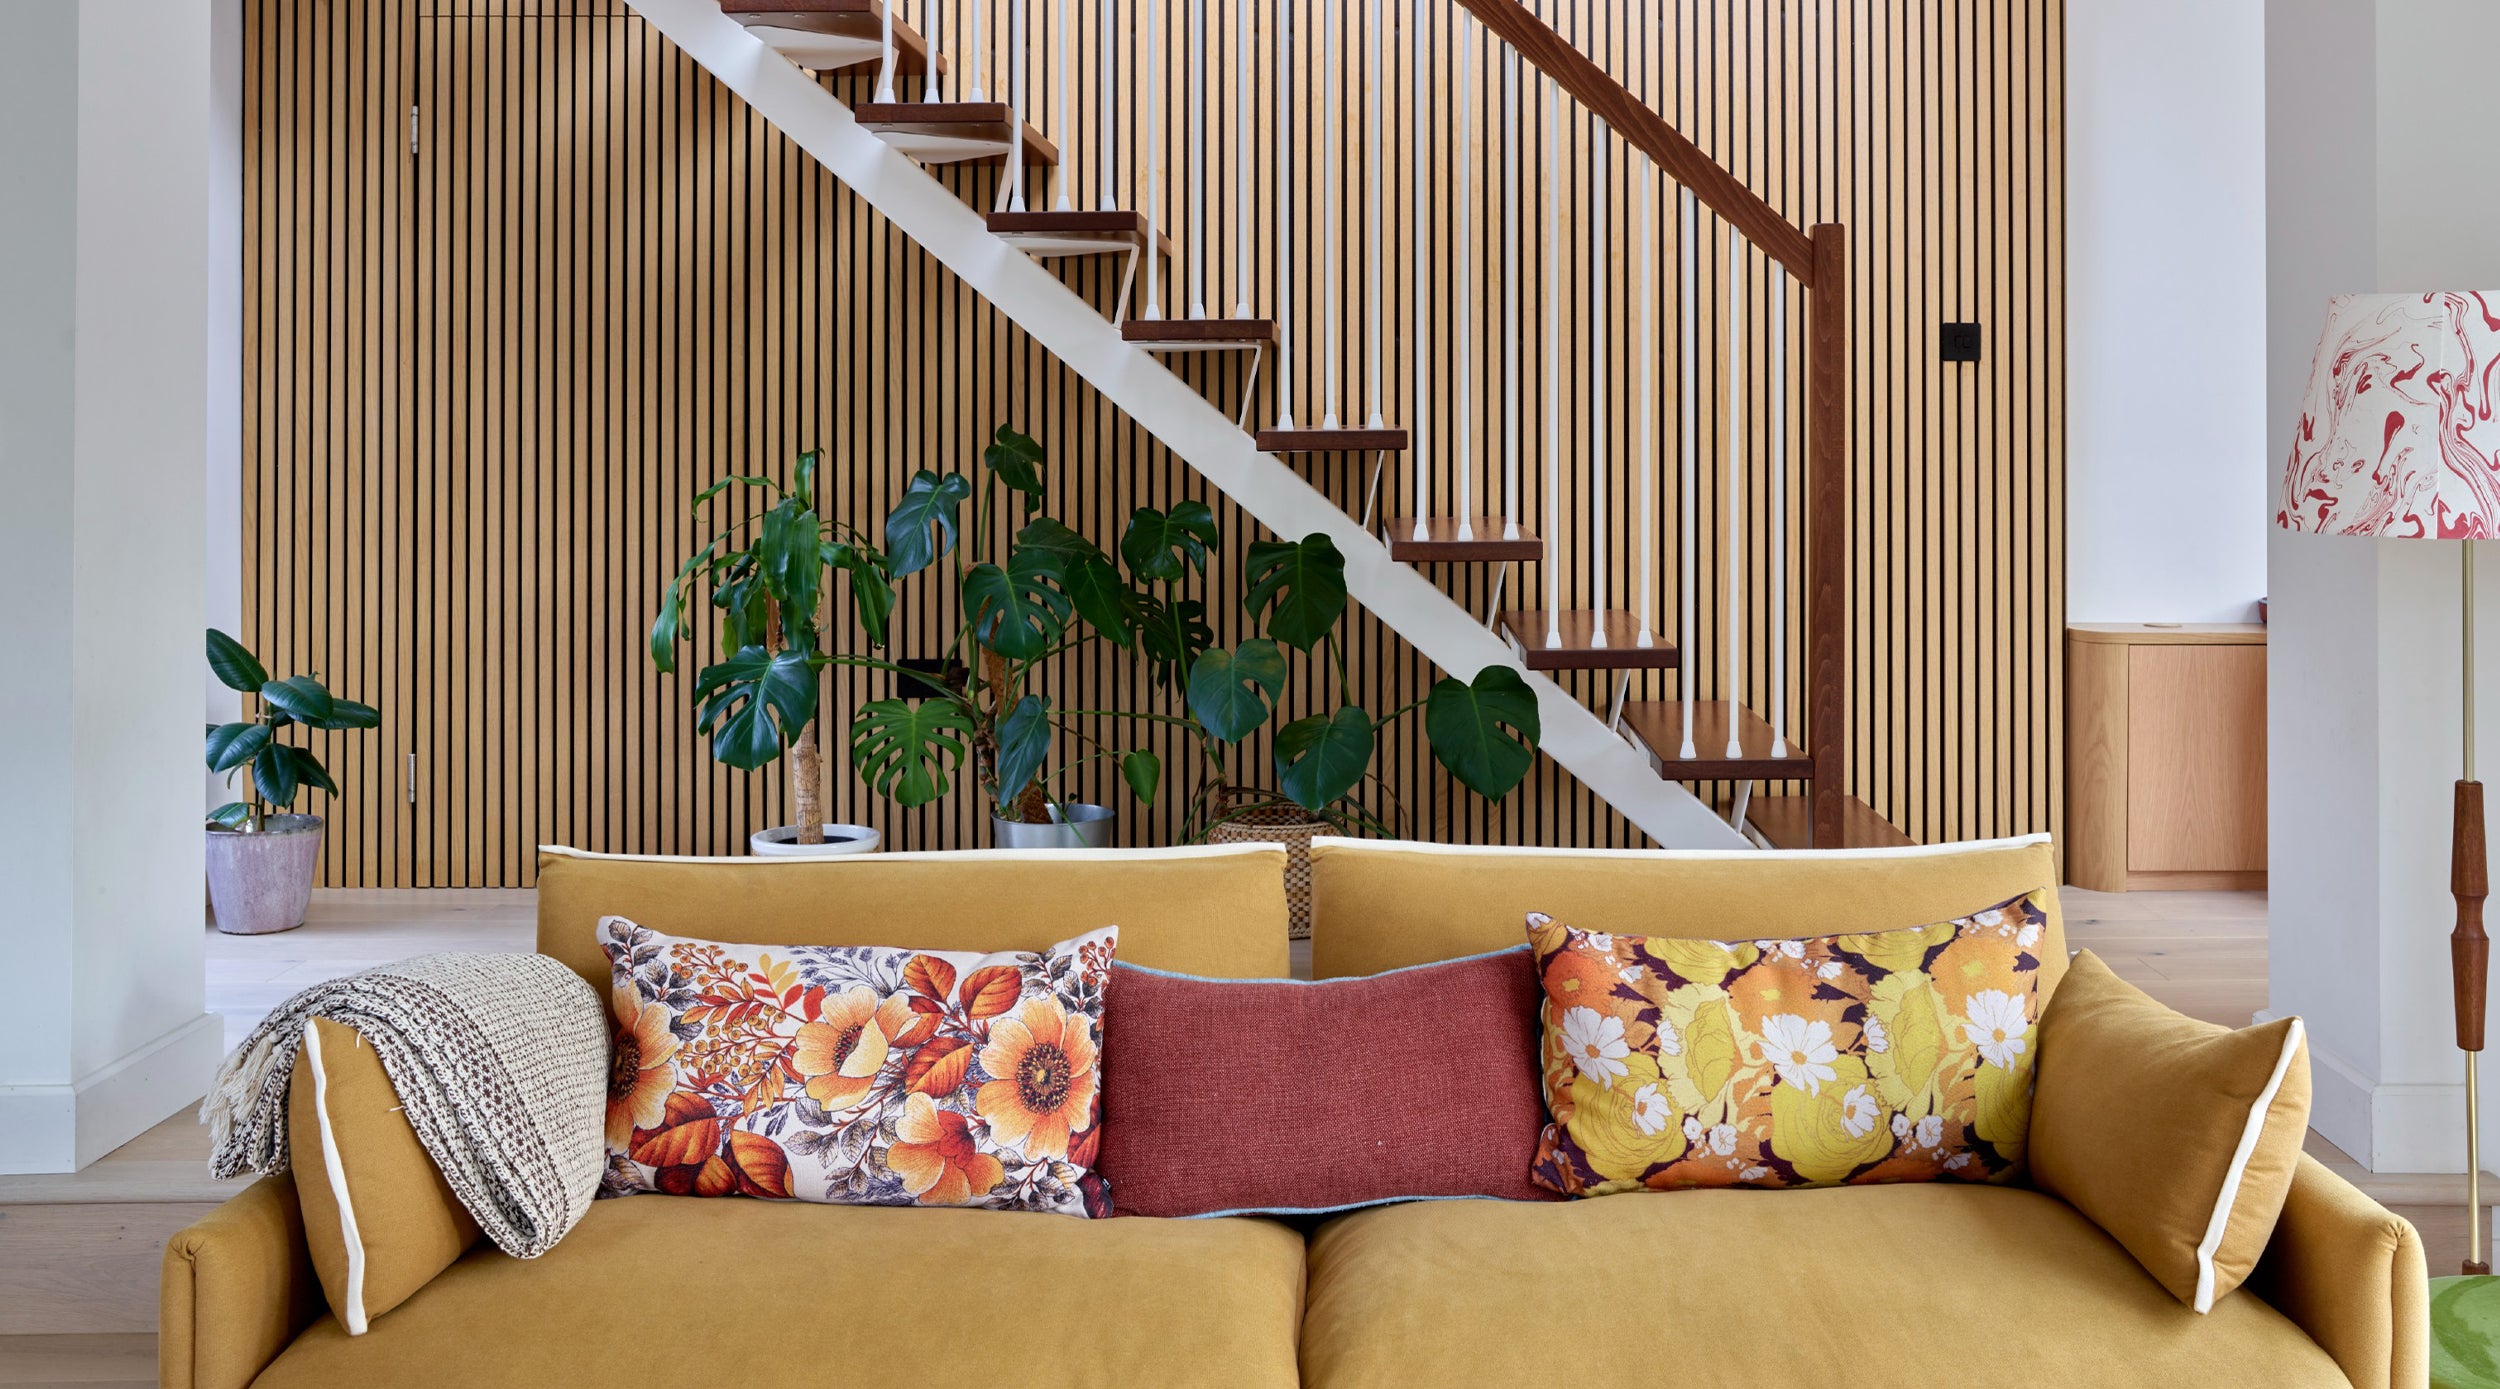
    Stylish living room with yellow sofa, floral pillows, and a striking wooden wall panel feature from The Panel Hub behind a staircase.

    Key advantages:

    • 100 percent real wood veneer

    • Water-resistant CoreShield™ MDF

    • Sound-absorbing design with NRC 0.85

    • Free visualization tools for design planning

    • Free installation on qualifying orders

    👉 Try our free Room Visualizer.

    When you buy from The Panel Hub®, you are choosing a trusted brand that combines design excellence with technical performance, creating an interior upgrade that lasts for years.

    What to Ask Before You Buy: A Quality Checklist

    Buying wall panels is not a purely price-driven decision — the quality of the material you receive, and the reliability of the supplier delivering it correctly, determines whether your project succeeds or fails. These are the questions worth asking before you commit to any significant order:

    Are samples available? Any quality panel supplier should offer samples at no charge or a nominal fee. If samples are unavailable, the supplier has limited confidence in their product holding up to close inspection — or their fulfilment process is not geared towards individual buyers. Samples allow you to check the species colour in your specific lighting, confirm the dimensional accuracy, and feel the quality of the finish.

    What is the returns policy for unused panels? Projects rarely use exactly the amount ordered. A 10–15% overorder is standard practice to account for cuts and waste. You need to know whether unused panels can be returned for credit, and on what terms. Suppliers who do not accept returns push all the risk of over-ordering onto the buyer.

    Are panels dimensionally consistent across a production run? Width and thickness variation between panels in the same order creates visible problems during installation — particularly with slat panels where gaps are supposed to be uniform. Ask specifically whether panels are sanded to a consistent thickness, and check reviews for comments on dimensional consistency.

    What is the lead time and can it be confirmed in writing? Renovation projects are time-sensitive. A supplier who can confirm a delivery date in writing before order acceptance is worth more than one who gives an estimated week and then misses it. Ask specifically about current stock levels for your chosen panels rather than accepting a generic lead time.

    Where to Buy Wall Panels FAQs

    Should I buy wall panels online or visit a showroom?
    For large orders or high-specification projects, visiting a showroom or requesting samples is strongly recommended. Colour rendering on screens varies significantly between devices, and the tactile quality of a panel — grain depth, surface texture, weight — is impossible to assess from a photograph. For smaller projects or when you have already used the supplier’s products before, online ordering is perfectly reliable.

    Is it safe to buy wall panels from marketplace platforms?
    Marketplace purchases can work for commodity products, but wall panels carry specific risks: dimensional inconsistency, colour variation between production batches, and returns processes that are far less straightforward than buying direct from a specialist supplier. For a project where panels need to match across a room, buying from a single specialist supplier who can guarantee batch consistency is significantly more reliable than marketplace purchasing.

    How do I verify a wall panel supplier’s quality before ordering?
    Check for independent reviews on platforms where reviews cannot be altered by the seller. Look specifically for comments on dimensional consistency, colour accuracy versus website images, and how the supplier handled any problems with orders. A supplier with a high volume of detailed, positive reviews over multiple years is more reliable than one with a large number of short, generic positive reviews over a short period.

    Can I buy wall panels that are already cut to size?
    Some specialist suppliers offer a cut-to-length service, which eliminates on-site cutting for a straightforward installation and reduces material waste significantly. This service is particularly valuable for projects with non-standard ceiling heights or specific layout requirements where standard panel lengths would create significant waste. The additional cost of a cut-to-length service is typically recovered in reduced waste and simplified installation.

    Final Thoughts: Buy Once, Enjoy for Years

    Buying wall panels is more than a home improvement project. It is an investment in comfort, elegance, and timeless design. Whether you prefer DIY installation or full-service support, selecting the right supplier will make all the difference in your results.

    Start your transformation today with a brand that blends authenticity, sustainability, and style.

  • Wood Maintenance Guide: Protecting and Preserving Your Wall Panels

    Wood Maintenance Guide: Protecting and Preserving Your Wall Panels

    Wood wall panels bring a sense of sophistication to any room in your home, which is why you need to understand wood maintenance to keep them beautiful and always bring warmth to your space.

    Taking care of your panels preserves their appearance and protects them from moisture and discoloration. Without proper care, panels can crack or warp, which loses their functionality as well.

    Cleaning and Dusting

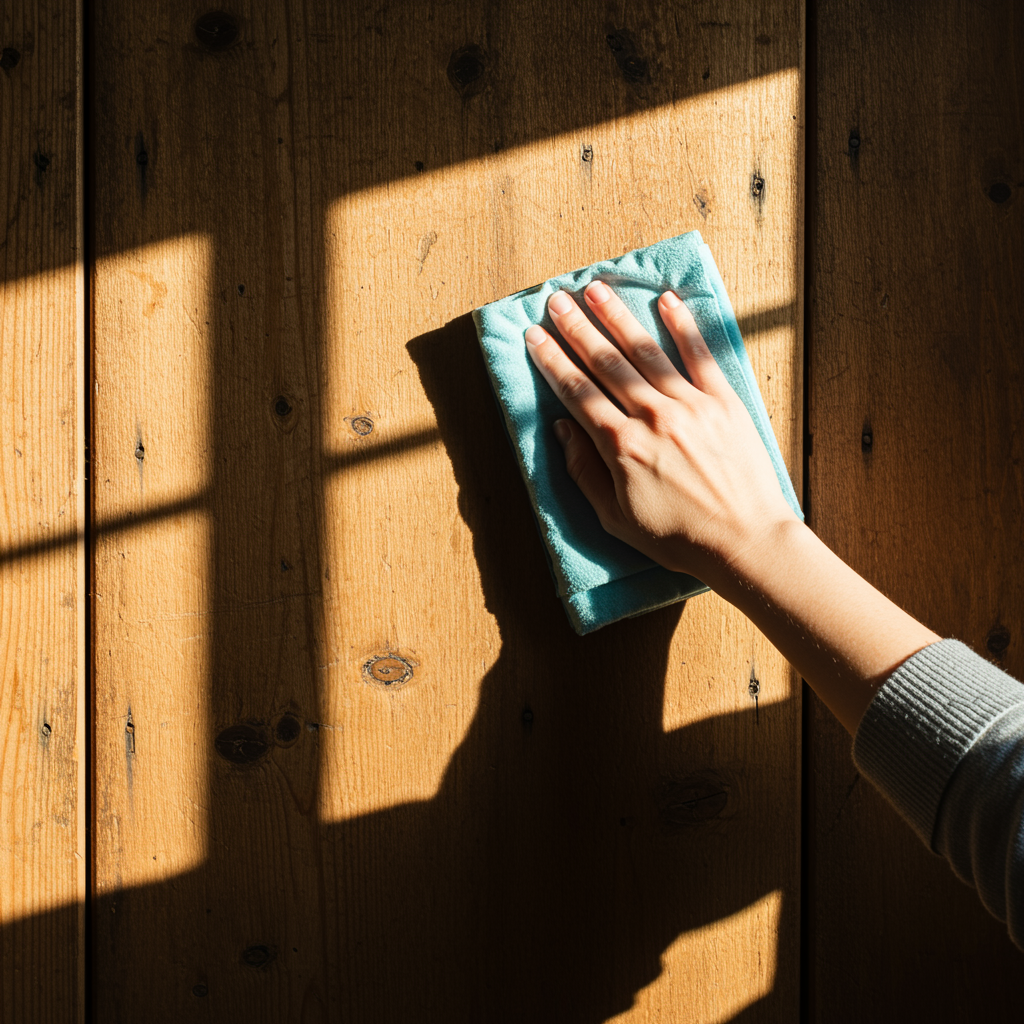
    Person wiping wood wall panels with a soft cloth.Always underestimate dust and dirt. They may seem insignificant, but dust and dirt can diminish the wood’s natural glow over time.

    Start with simple cleaning. You can use a soft cloth or feather duster to sweep away dust on the surfaces without scratching the finish. Avoid rough fabrics or sponges, since they can leave tiny marks on the wood.

    Go for a gentle wood cleaner, or you can simply use warm water and a few drops of mild dish soap, which you already have in your kitchen. Never use alcohol-based cleaners, as they can damage the wood.

    Consistency is key. To keep wood wall panels in great shape, schedule a quick dusting at least once a week and a deeper clean every month. This routine can prevent grime from building up around windows or near the kitchen.

    Polishing and Sealing

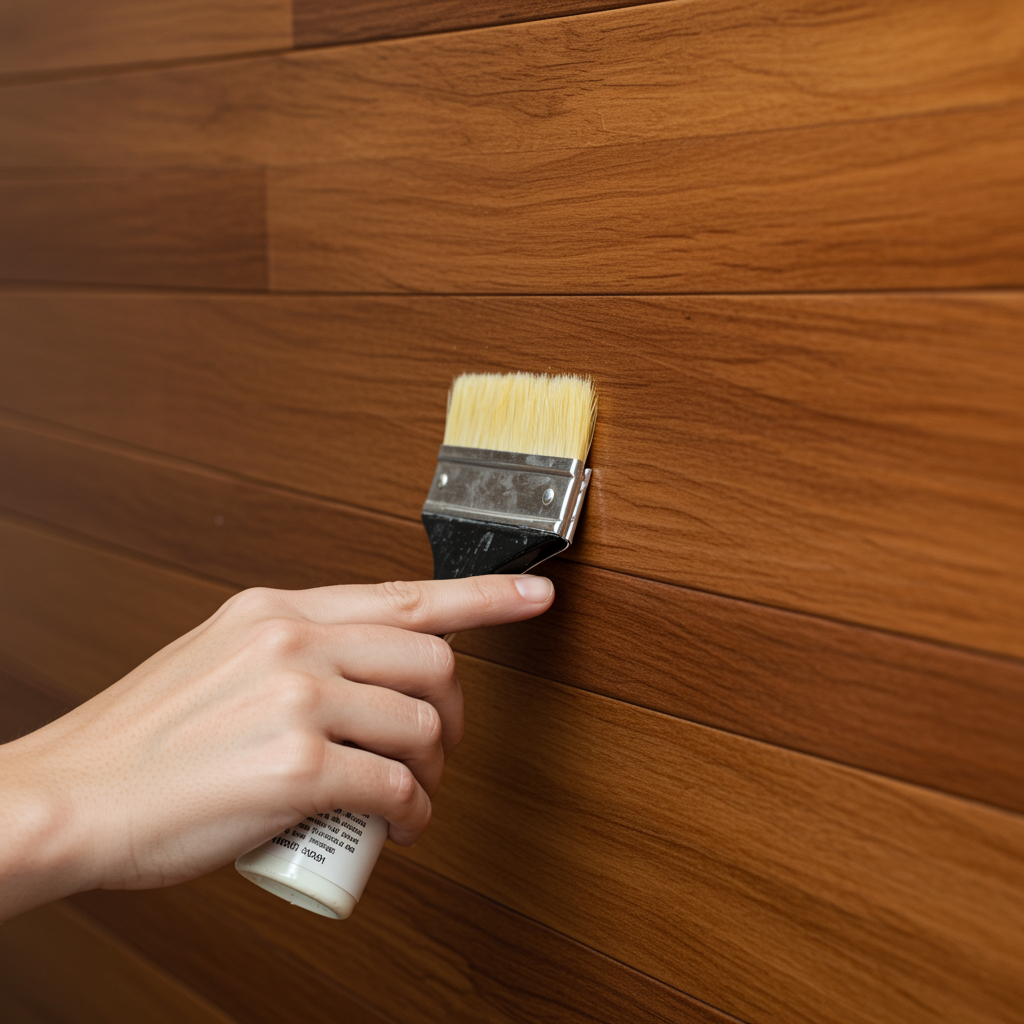
    Applying natural wood polish to wall panels to enhance shine and protect the surface.

    After you make sure your panels are clean, you can bring back their natural glow to protect the wood and keep it looking good. You can also explore our wood panel collection for more options with a natural finish.

    You can choose a high-quality wood polish or wax to make your panels shine and add more protection. Apply it with a soft cloth and buff along the grain until the surface is smooth and refreshed.

    If you live in a place where the humidity is high, you need to pay more attention to your wall panels. Apply a wood sealant or polyurethane, since moisture can lead to warping, swelling, and mold growth.

    Humidity also can cause dull patches, fading, or uneven color. If you notice one of them, it’s a sign that your panels need a fresh coat. A regular polishing and sealing routine keeps your woods protected for years to come.

    How to Repair and Restore?

    Using wood filler to repair cracks and scratches on a wooden wall panel.

    Some things are inevitable, and natural wear and tear is one of them. But don’t worry, as long as the damage is minor, you can easily repair it.

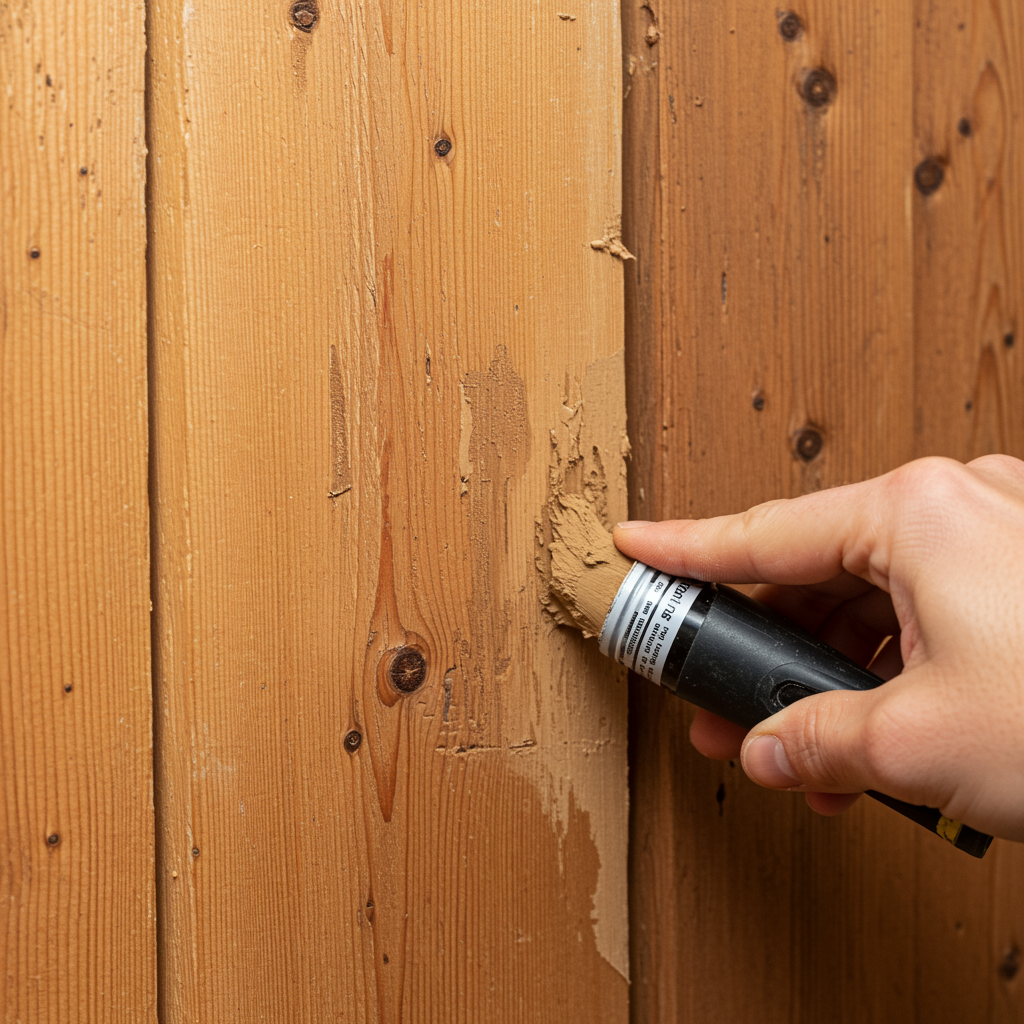
    Use a wood touch-up marker that matches your panel’s tone for small scratches, or fill them with wood filler and let it dry for deeper dents or cracks. This step restores the original glow and preserves the wood grain. When you notice that the panels are starting to lose their shine, act as soon as possible. Use sandpaper to smooth out any uneven spots, then reapply polish or stain. This step brings back the original glow and preserves the wood grain.

    There might be a time for you to get inspired and want to change the decor to refresh your wood wall panels. You can either restain the panels to give them a richer tone or paint them to completely modernize the space. 

    How to Prevent Damage?

    Wood wall panels protected from direct sunlight with light curtains to prevent fading.

    IIt is undeniable that the most effective wood maintenance involves preventing damage before it occurs. KKeep your wood wall panels looking elegant before damage occurs.

    The position of your furniture or curtains matters, as it can protect wood wall panels from sunlight. Otherwise, your wood wall panels can be exposed to direct light, which can lead to fading or uneven discoloration.

    IIf areas such as your living room or bedroom receive sunlight easily, you can apply a UV-protective finish to safeguard the wood and maintain its color.

    SThe season plays a more important role than you might realize.  Without the right temperature, wood wall panels will expand due to humidity and contract when the air gets too dry. You can maintain indoor humidity at 40–60%.

    Always be mindful of how furniture can cause scratches and scuffs. That’s why the position of your furniture matters, as it can unintentionally damage wood wall panels. If your wood wall panels are installed in high-traffic areas, consider using felt pads, coasters, or bumpers behind chairs or decorative items.

    There’s nothing better than excellent airflow, as it keeps your wood panels dry and healthy. If you plan to install wood wall panels in humid areas like kitchens or bathrooms, make sure there is proper ventilation available. MMake sure there is some space between the panels and the wall.

    Conclusion

    Wood maintenance starts with your habits. Always treat your wood wall panels as an investment, for which you have to keep their natural beauty and protect them from daily wear and environmental changes through regular care.

    A Always pay attention to the condition of your wall panels over time. You can also explore our collection page to find the best wood wall panels that make your home feel warm.

  • Americana Interior Design: Where Timeless Comfort Meets Modern Character

    Americana Interior Design: Where Timeless Comfort Meets Modern Character

    Some styles go viral, others simply feel like home. If modern design ever got a comfort reboot, it would look like Americana interior design — part Taylor Swift’s Folklore, part small-town diner nostalgia, part Yellowstone grit. It’s cozy without kitsch, rugged yet refined, timeless and perfectly in tune with today.

    There’s something grounding about a home that feels built to last — where leather softens with time and light carries the warmth of a long night’s end.That’s the core of Americana: honest craft, real materials, and stories you can feel.

    Step into an Americana-inspired space, and you’ll know it. The warmth. The weight. The calm. Everything feels right.

    What Defines Americana Interior Design

    Americana interior design celebrates authenticity at its finest. It’s built on the strength, craftsmanship, and imperfect beauty of the American spirit. Every detail tells a story, from a chipped enamel mug to a weathered flag and a handmade quilt. The Americana theme blends rustic textures, vintage finds, and heritage colors to create a home that feels grounded, personal, and honest.

    Brief History

    Americana design started from practicality. In the 18th and 19th centuries, American settlers built homes using what they had — wood, metal, and simple woven fabrics. Every piece had a purpose, and its beauty came from age and use. It showed resilience, hard work, and pride in craft.

    As time went on, the style changed with the country. Colonial simplicity turned into farmhouse warmth, then industrial strength, and later mid-century charm. But one thing never changed: comfort rooted in honesty.

    Today, Americana design is more than a look back. It brings back real materials, quality craftsmanship, and meaning in a world full of throwaway trends.

    Modern Americana

    Modern Americana blends those frontier roots with today’s clean, contemporary lines. Picture reclaimed barn wood under a soft glow of modern lighting, a vintage map hanging above a minimalist desk, or a leather armchair paired with a handwoven throw that looks straight out of a Yellowstone set.

    It’s where heritage meets modern living, with old oak floors beneath LED lamps, brass fixtures beside linen drapes, and natural imperfections treated like art.

    Think of it as an aesthetic with backbone—practical, proud, and personal. A design style that’s evolved from humble craftsmanship to a confident, lasting expression of home, timeless as denim and familiar as your favorite Springsteen song.

    Whether you live in a city loft or a countryside cottage, Americana interior design thrives on texture, tone, and storytelling. Its foundation begins with what feels real, with enduring materials and comforting colors that bring warmth to every space.

    Americana Interior Design Core

    1. Natural Materials, Honest Craft

    Classic Americana interior design with oak wall panels, reclaimed wood, and aged leather furniture in rustic tones.

    Every great Americana space starts with what feels real. Choose natural materials like classic oak wood wall panels, reclaimed timber, brushed metal, stone, and aged leather. These textures tell the story of the American spirit — imperfect, enduring, and full of life

    Furniture should feel built to last, not mass-produced. A solid oak table, iron bed frame, or linen slipcovered sofa instantly sets the tone. You’re not chasing trends here, you’re honoring craftsmanship that endures and only gets better with time.

    If you are exploring options of wood wall panels, explore decorative and acoustic wood paneling for walls from The Panel Hub, available in 10+ designs and 5+ elegant earthy colors!

    2. Heritage Color Palette

    Living room in Americana interior design with muted red, denim blue, and farmhouse white for a cozy vintage feel.

    Color is where Americana interior design truly shines. The palette draws from the American landscape — muted reds, denim blues, farmhouse whites, and weathered browns. Think prairie sunsets, antique barns, and stormy coastlines.

    Modern interpretations soften these tones with warm neutrals and soft grays, allowing the space to feel timeless rather than themed. The goal is to nod to the past while staying firmly grounded in the present.

    3. Vintage Finds, Repurposed Pieces

    Americana design featuring vintage trunks, repurposed ladder shelves, and rustic metal accents for a nostalgic look.

    One of the charms of Americana design lies in its resourcefulness. Hunt for vintage furniture, antique trunks, or metal signage from flea markets and estate sales. Repurpose them creatively — an old ladder becomes a towel rack, a crate turns into a bookshelf.

    Read more: What Floors Look Best with Wood Paneling? 6 Ways to Decide!

    This isn’t just decor, it’s storytelling through objects. Each piece connects your home to history, to craftsmanship, to memory.

    4. Stars, Stripes, and Stories

    Americana theme decor with framed vintage flag, patchwork quilts, and subtle star motifs for heritage-inspired interiors.

    You can’t talk about the Americana theme without mentioning its iconic symbols. The American flag, stars, eagles, and patchwork patterns all play their part — but subtlety is key.

    Instead of draping a flag across a wall, frame a vintage version or use a muted, deconstructed print on textiles. Incorporate these motifs through handmade quilts, throw pillows, or rustic artwork that whispers, not shouts, “heritage.”

    5. Handmade Craftsmanship

    Cozy Americana interior with handwoven quilts, braided rugs, and artisanal decor celebrating American craftsmanship.

    The heart of Americana interior design lies in things made by hand. Quilts, needlepoint, woven throws, and braided rugs embody the craft traditions that shaped early American homes.

    Today, that translates into tactile comfort — layers of fabric, texture, and pattern that invite touch. A handwoven blanket over a leather armchair or a patchwork runner across a reclaimed dining table adds soul to the space.

    Supporting local artisans and makers deepens the authenticity, turning your decor into a small act of cultural preservation.

    6. Warm Lighting and Comfort-Driven Layouts

    Americana interior design with warm amber lighting, stripe wall panels, and natural textures for an inviting home.

    Light plays a quiet but powerful role in Americana interiors. Layer soft table lamps, sconces, and shaded overhead fixtures to create a gentle, lived-in glow.

    Avoid harsh white light. Choose amber tones that echo candlelight or late-afternoon sun — the kind that makes oak floors and brass accents glow. Stripe wall panels can enhance that effect, catching light in subtle patterns that add both texture and comfort.

    Arrange your furniture with conversation and ease in mind. Americana design celebrates connection — the table where family gathers, the chair by the window where stories unfold, and the light that makes it all feel like home.

    7. Balancing Nostalgia with Modern Simplicity

    Modern Americana design blending rustic wood, clean white walls, and brass fixtures for timeless, balanced interiors.

    The beauty of the Americana theme is that it grows with time. You don’t have to live in a farmhouse to bring it to life. Pair vintage wood with modern lighting, or set antique decor against clean, white walls for contrast.

    Modern Americana is evolution. It respects heritage without getting stuck in it. A mix of old and new makes your space personal.

    When your home is built with care, it doesn’t just look beautiful — it feels like it belongs to you. That’s the heart of Americana design: timeless, grounded, and made to last through every decade.

  • How to Reduce Noise in a Room: Simple Tips & Tricks

    How to Reduce Noise in a Room: Simple Tips & Tricks

    When it comes to how to reduce noise in a room, you need proper sound absorbing features to minimize unwanted sounds. You can also use soft materials such as rugs, carpets, and upholstered furniture to absorb noise effectively.

    On the other hand, hard flooring can create echoes that make a room feel noisier. Therefore, you can insulate your space and block out sound with thick curtains, which are especially useful when you’re sleeping or want more privacy.

    In addition, furniture can also act as a natural sound barrier, complementing its main purpose.

    Solutions for Reducing Noise in a Room

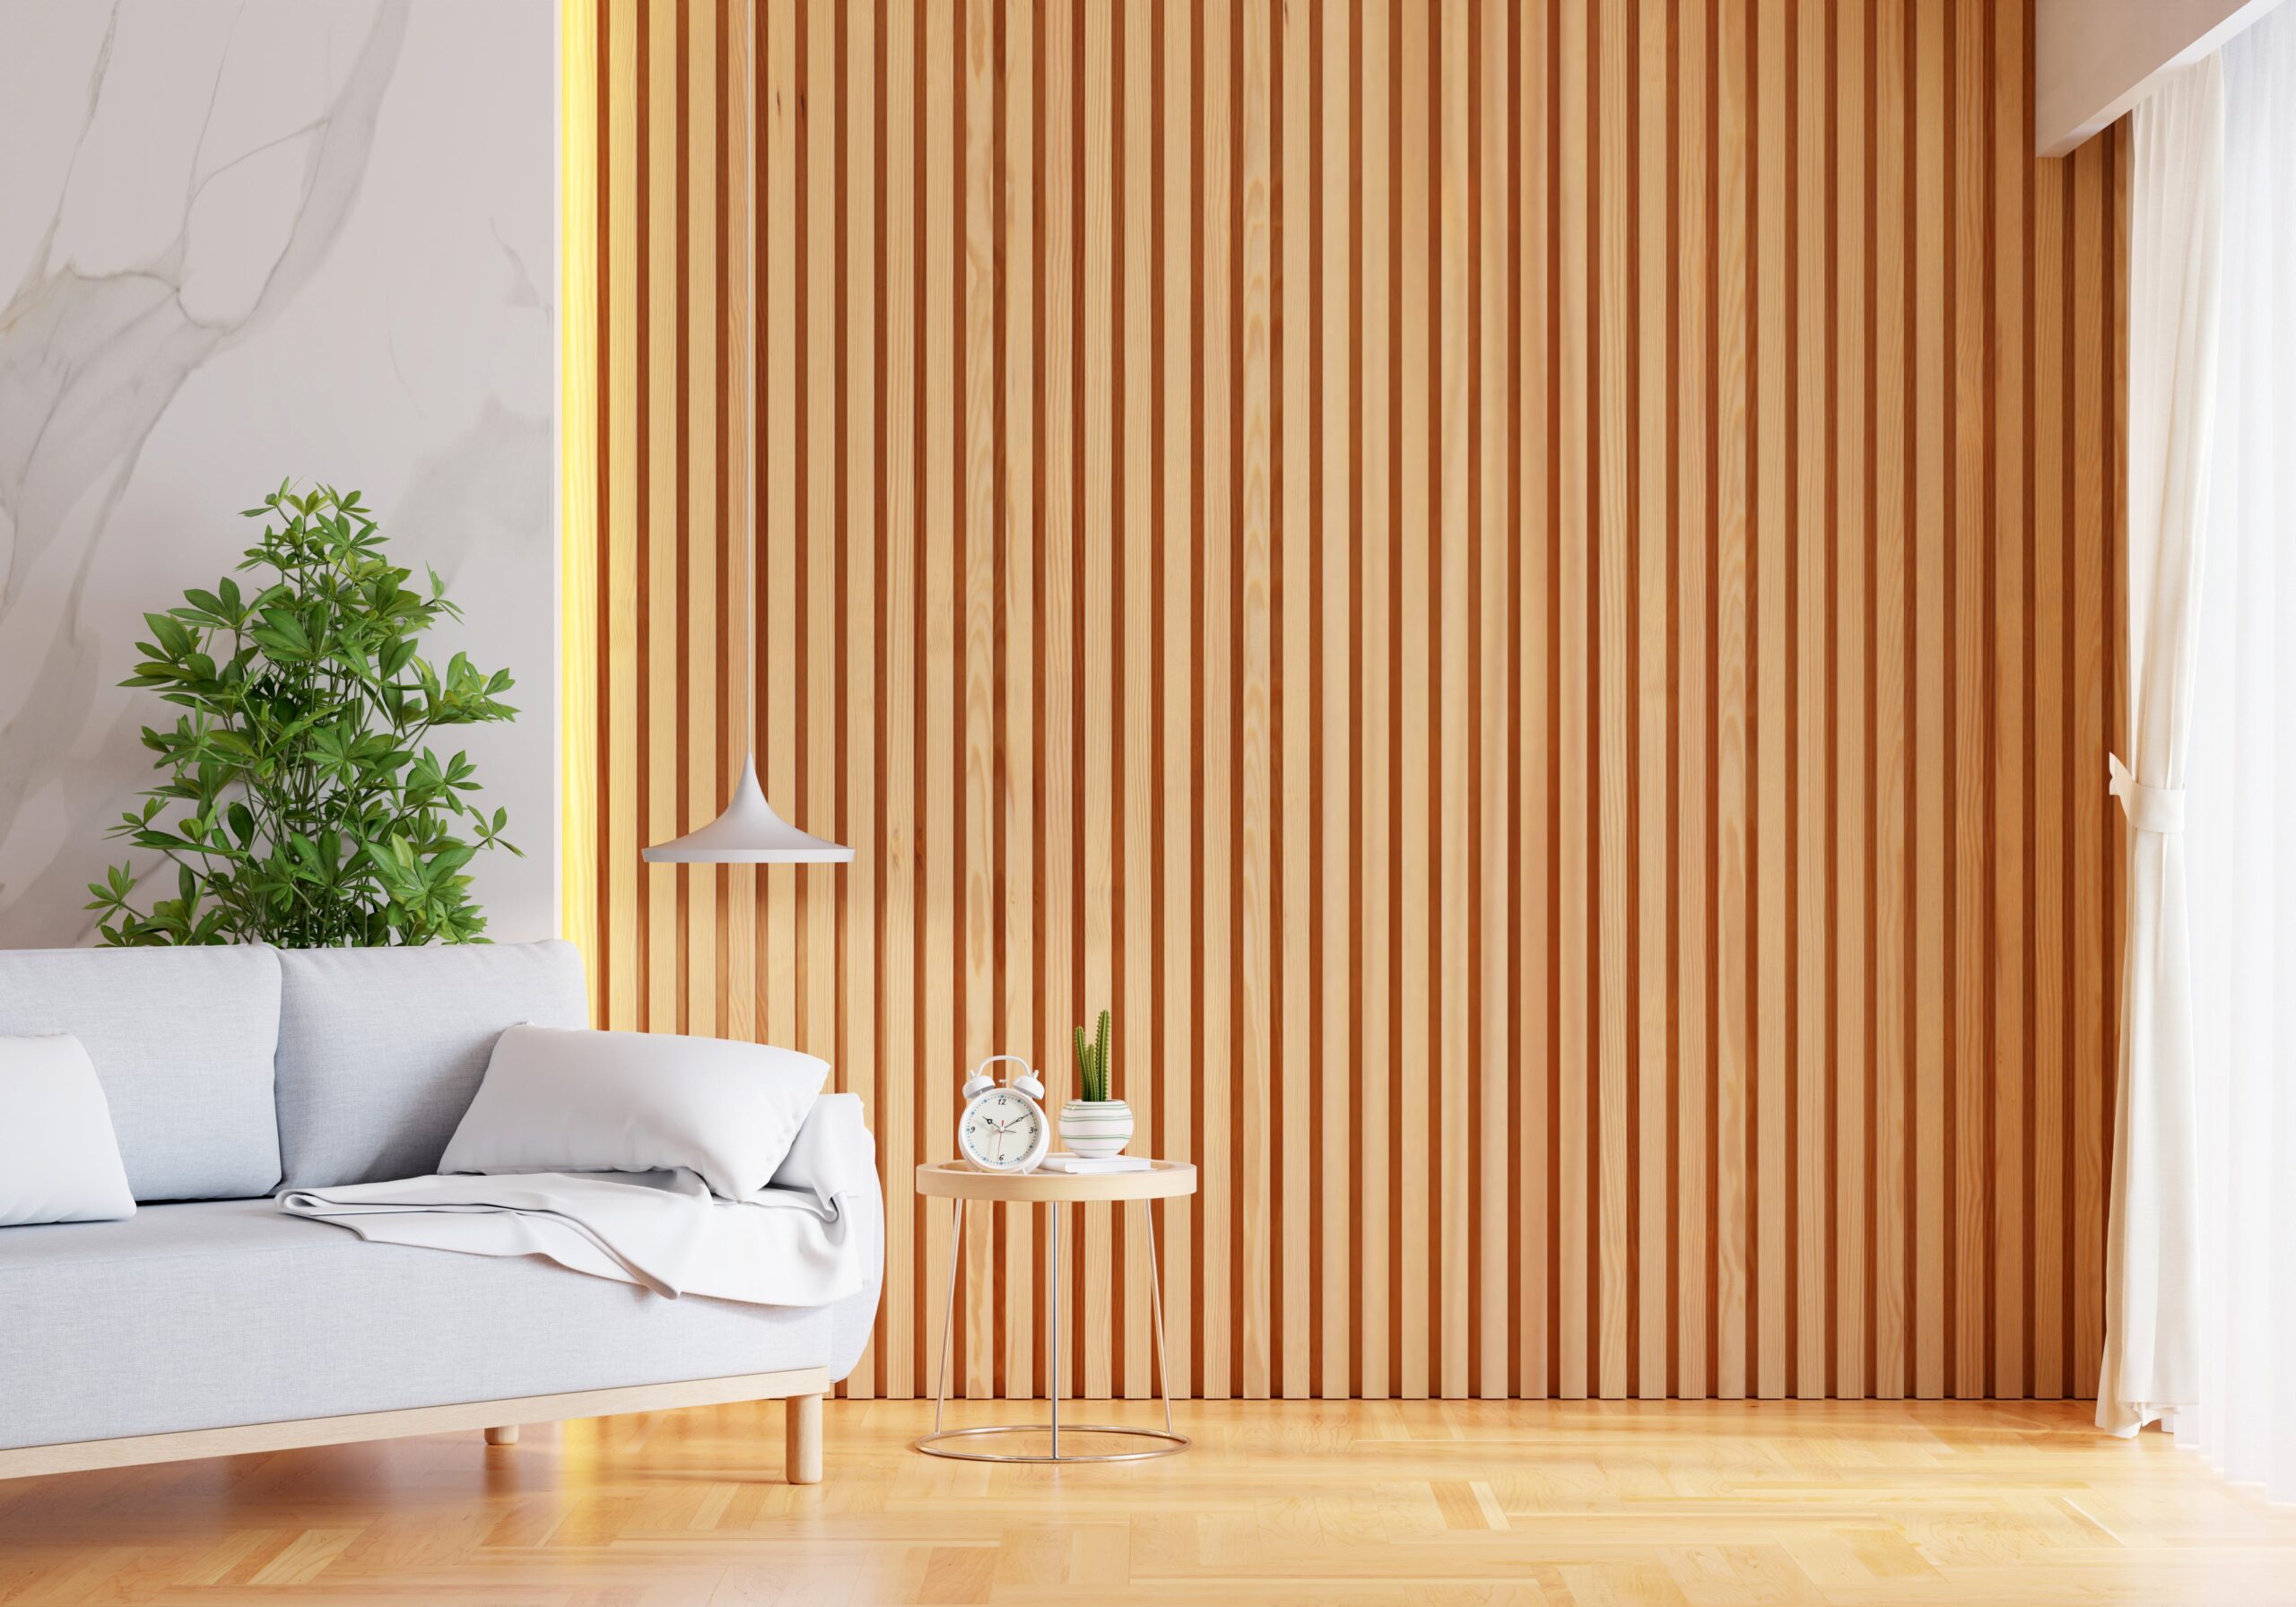
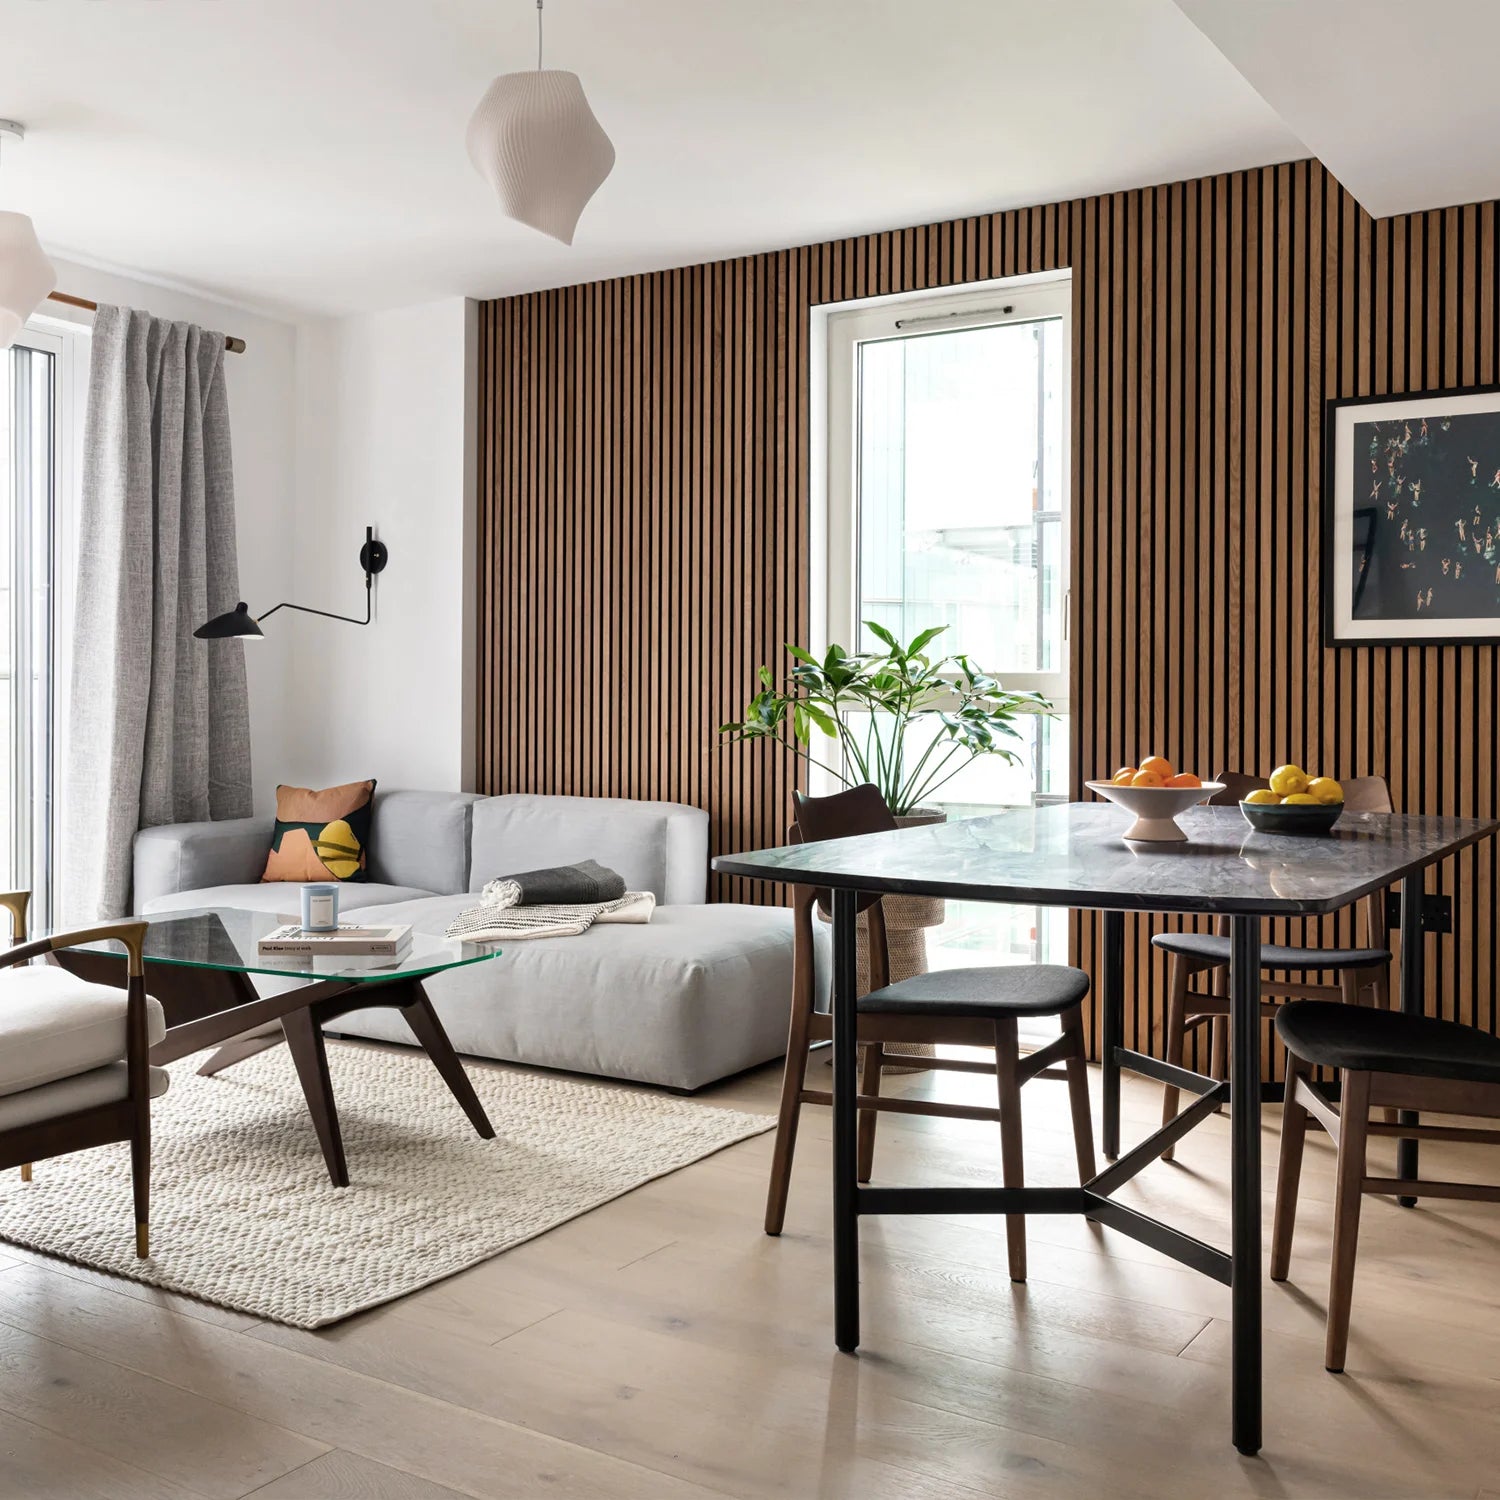
    Bright living room with a light wooden slat wall, gray sofa, indoor plant, round side table, and sheer white curtains.

    Some indoor spaces, such as city apartments or suburban homes tend to experience unwanted noise. That’s why managing sound with acoustic wall solutions can create a calm space and comfortable environment.

    To eliminate noise, you need soundproofing features in your room. However, many still think it requires a major renovation to adjust sound levels. In fact, small design changes can make a big difference.

    1. Install Sound-Absorbing Materials

    The first step to reducing noise is to utilize soft materials. Fortunately, you can easily find them, such as rugs, carpets, and upholstered furniture. On the other hand, using hard floors can create echoes that make a room feel noisier.

    Fabric wall hangings, acoustic panels, and padded headboards can also eliminate the unwanted noise, as their thick material is able to absorb sound. You can add them to any noisy area in your home.

    2. Use Heavy Drapes or Curtains

    The sound of traffic, construction, or neighborhood activity mostly enters through the window. To reduce it, you can replace your curtains with thicker ones, or use soundproof drapes for better noise control. With curtains, you can insulate your room and block out sound, which is useful when you’re sleeping or doing activities without anyone looking inside your home.

    If you’re on a budget, cushions or heavier curtains are a perfect choice to improve the acoustics of your space. They have a similar effect to other soft materials and fabrics, so you don’t need to worry.

    3. Place Furniture Strategically

    The larger furniture pieces, the more they can absorb and diffuse sound. Designed to fill and decorate a room, furniture can also act as a natural sound barrier in addition to its main function.

    Besides storing books, bookshelves can reduce echoes and prevent noise from travelling between rooms. When they’re placed against shared or thin walls, their solid surfaces absorb and block sound effectively.

    Another way to eliminate reflected noise is to move a cabinet against a wall facing the street or rearrange cushions like sofas. You just need to make minor changes to what you currently have.

    Acoustic Wall Solutions

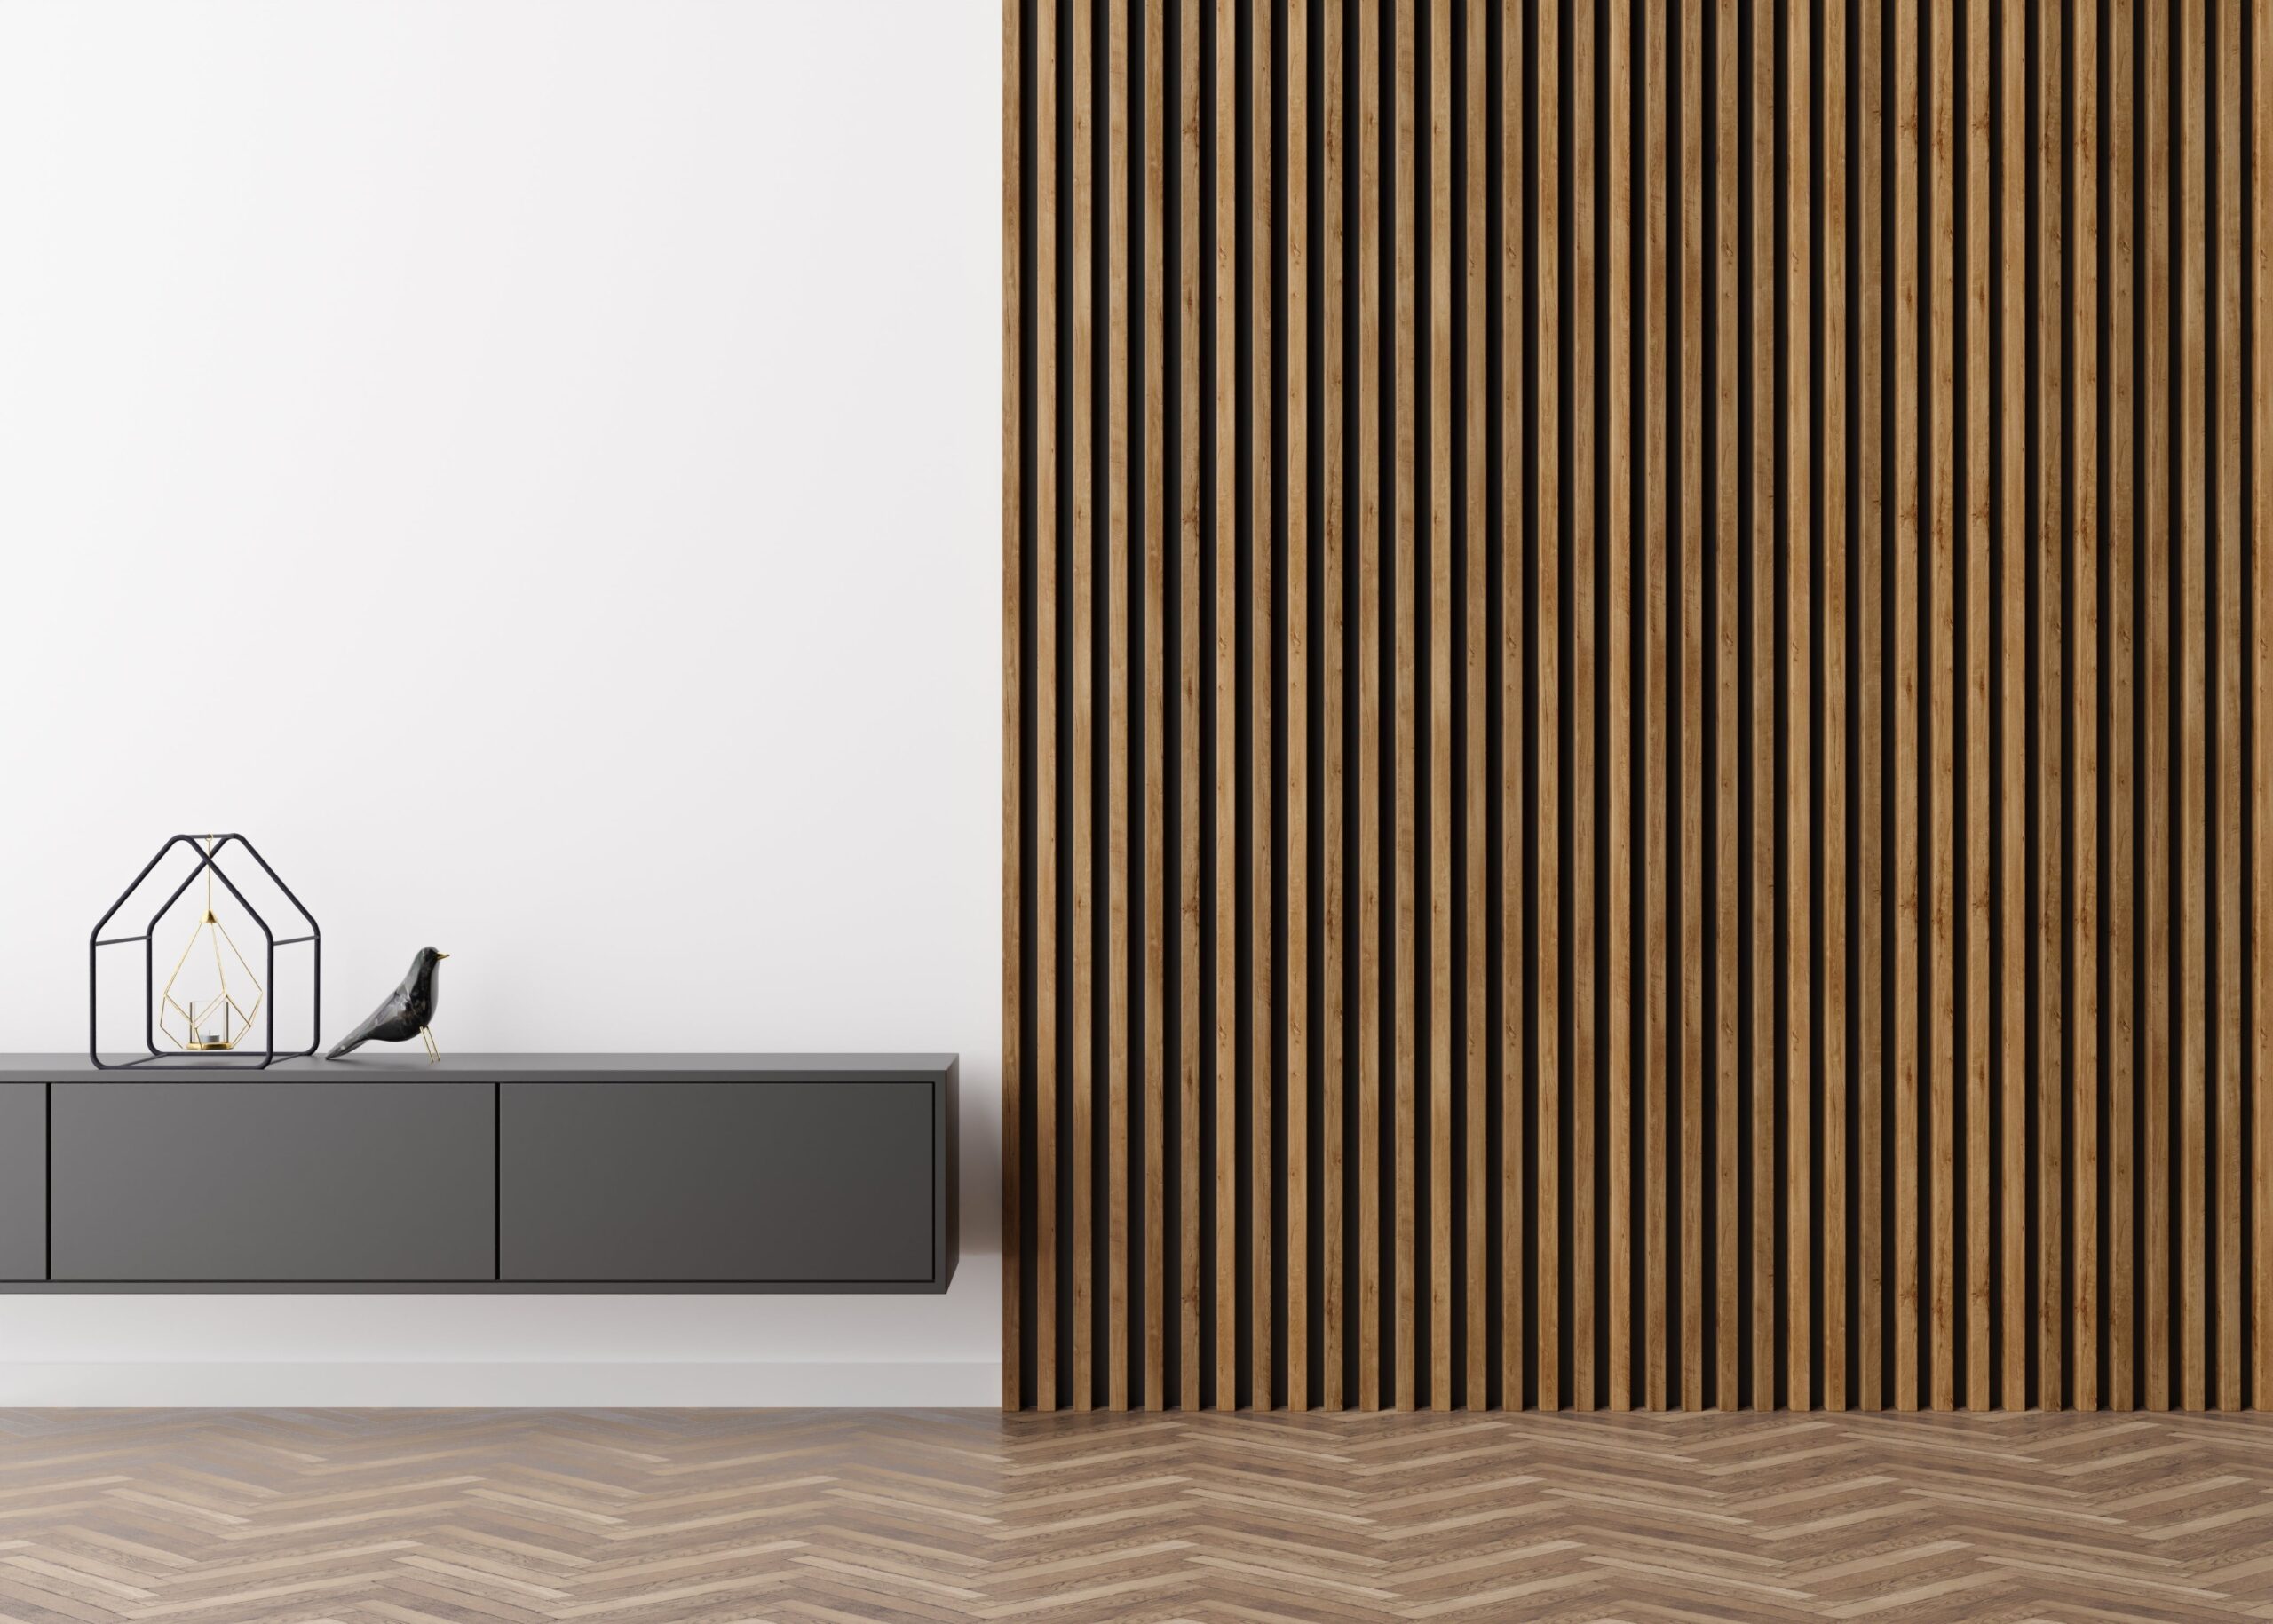
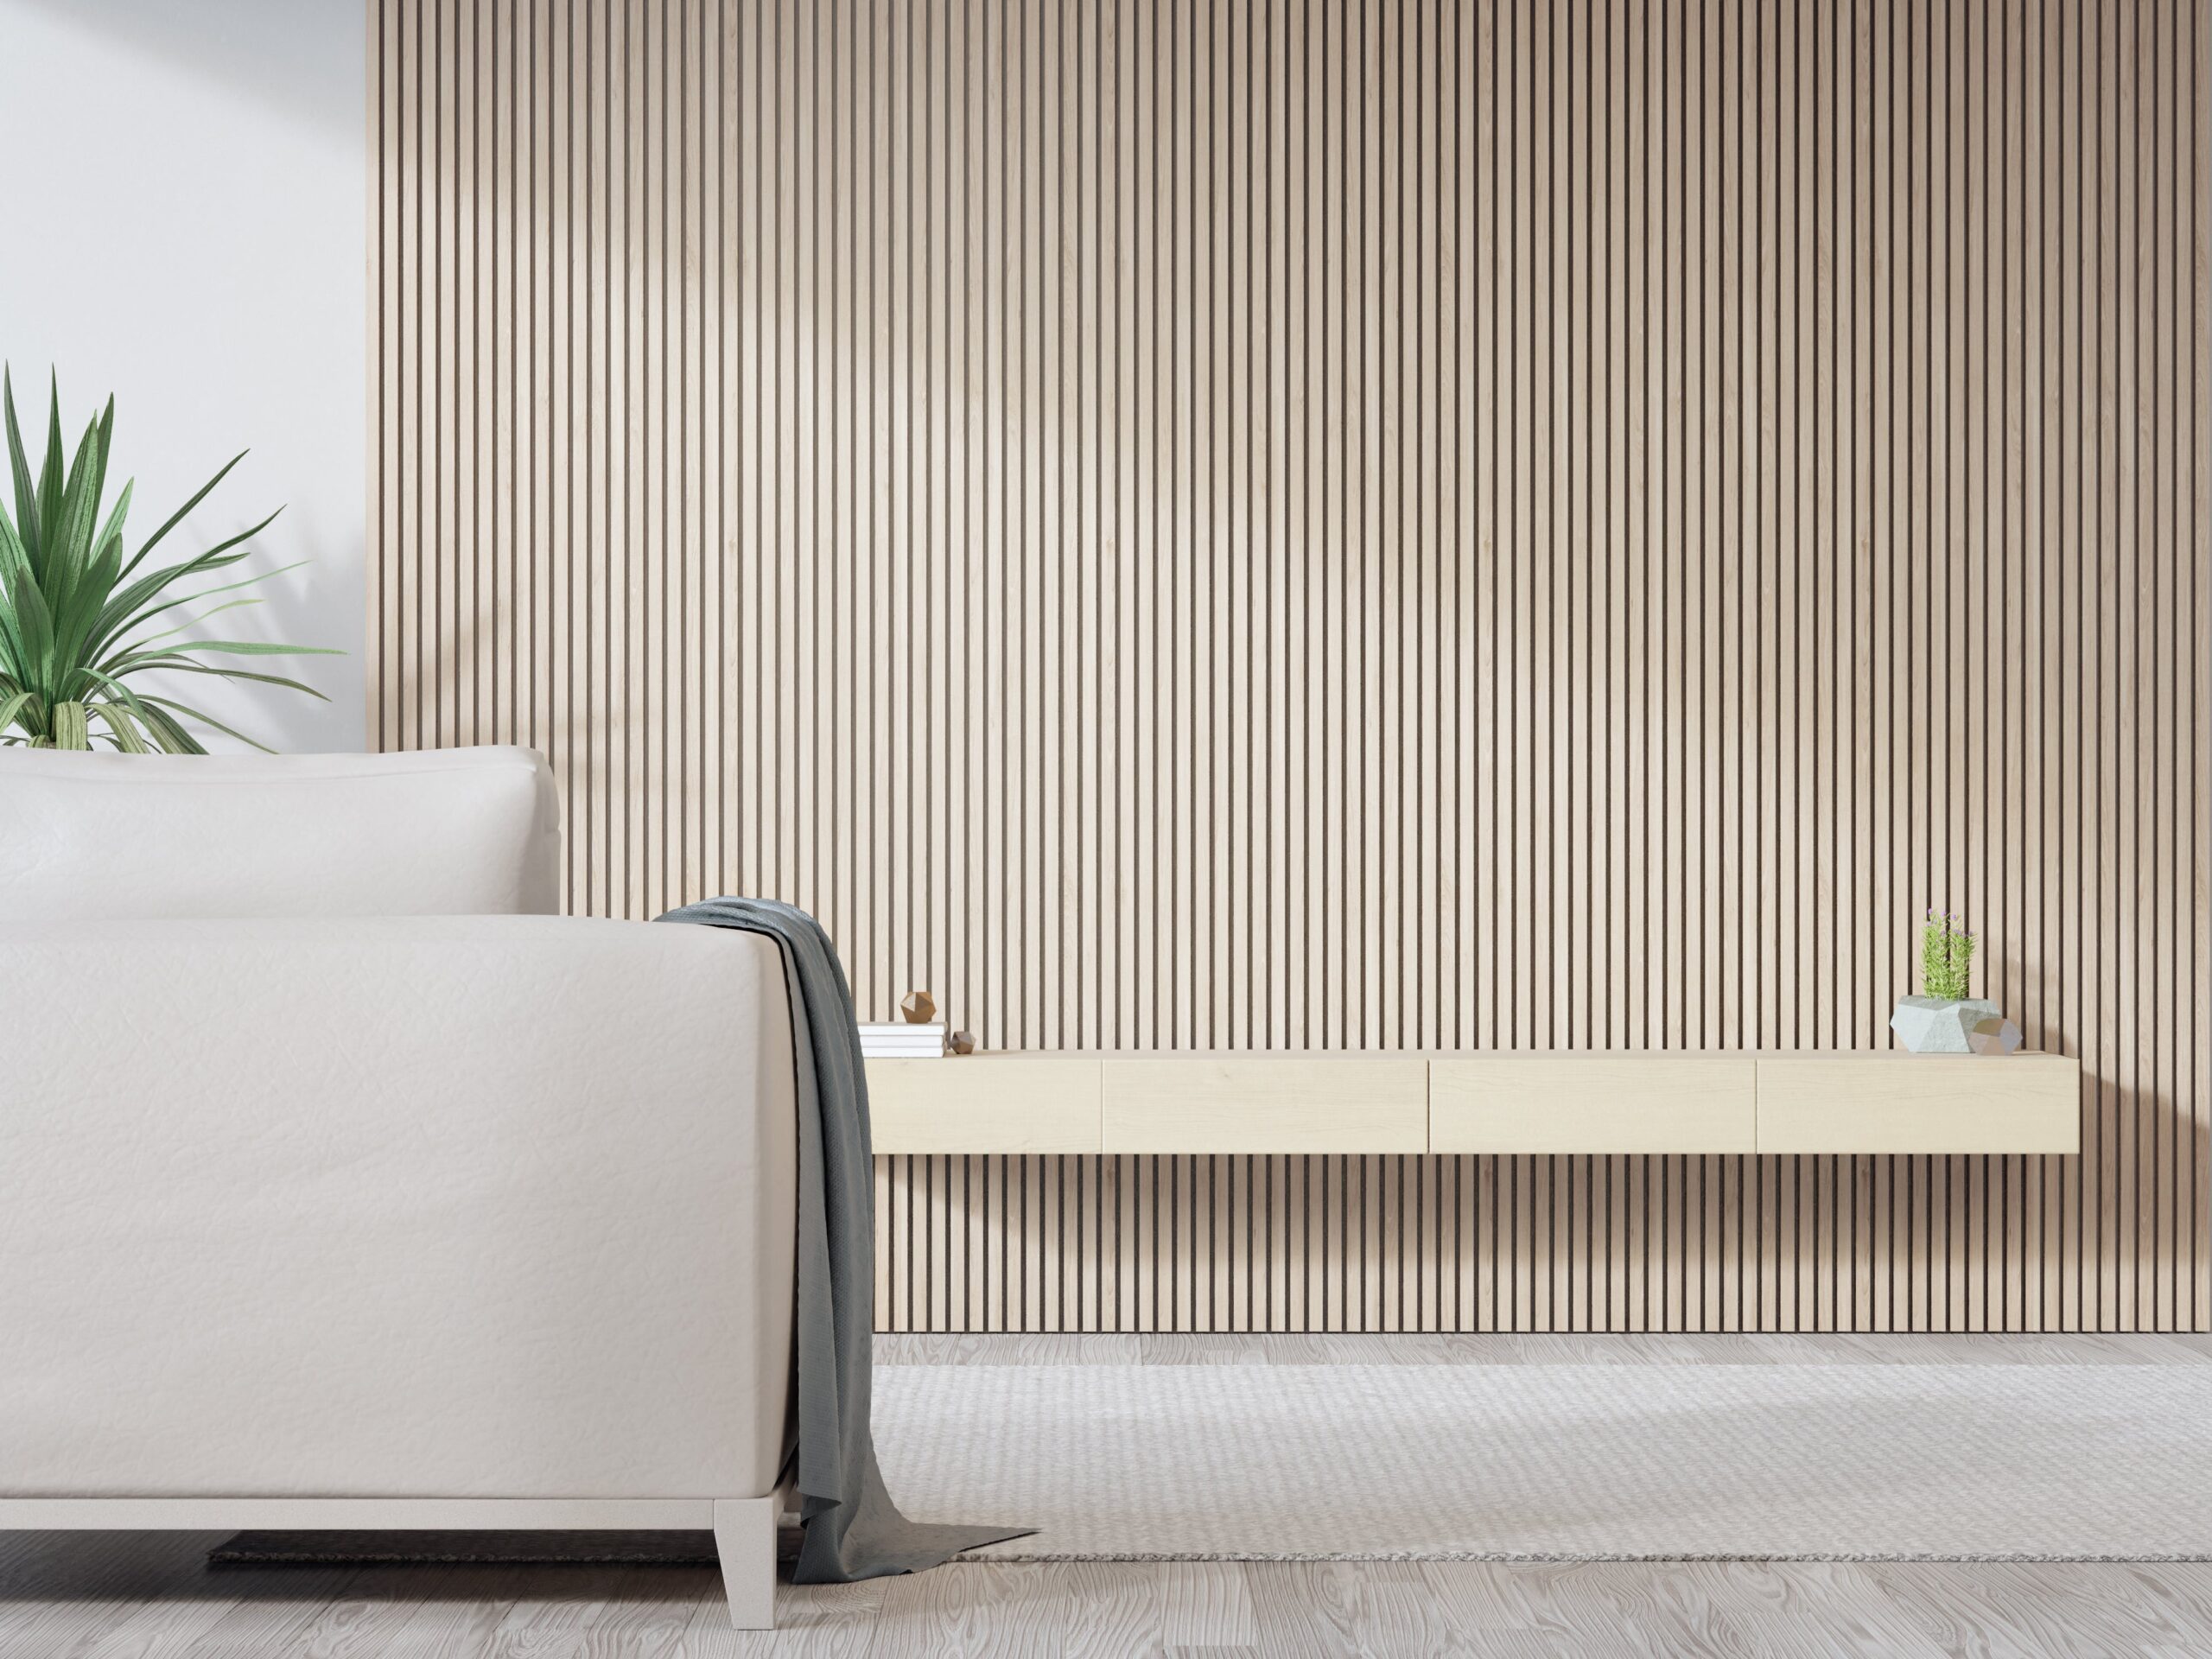
    Minimalist living room with light beige wooden slat wall, white sofa, floating cabinet, and indoor plant in soft natural lighting.

    Using acoustic wall panels and related materials can help manage noise over time. So, if you want to go beyond noise reduction, think about doing so. Furthermore, they can give any area an aesthetic touch.

    1. Install Acoustic Panels

    Acoustic panels not only improve how a room sounds but also how it looks. They’re designed to absorb mid- to high-frequency noise, helping to soften echoes and make any space feel calmer.

    At The Panel Hub, you can find acoustic wall panels that blend performance with design, which gives you both function and style. Even better, they’re customizable, so you can match them perfectly with your space and taste.

    2. Apply Soundproof Wallpaper and Acoustic Paint

    If you prefer something more subtle, try soundproof wallpaper or acoustic paint. These materials may not be as common as panels or foam, but they can still help reduce vibrations and noise traveling through your walls.

    Soundproof wallpaper works well in apartments, bedrooms, or offices. Made with several layers, it helps tone down noise without the need for a full renovation.

    Meanwhile, acoustic paint is a practical option if you want to minimize mid-range sounds such as chatter, TV noise, or general background hum. It’s an easy update that can make a noticeable difference in comfort.

    3. Use Acoustic Tiles or Ceiling Clouds

    Don’t overlook your ceiling. Hard, reflective surfaces can make a room feel louder and more echoey.

    Installing acoustic tiles helps capture sound waves before they bounce back, keeping the environment quieter. These are especially popular in open-plan homes, offices, or studios. For a more striking look, consider ceiling clouds, which not only absorb sound but also add a stylish touch to your space.

    Combination Approaches

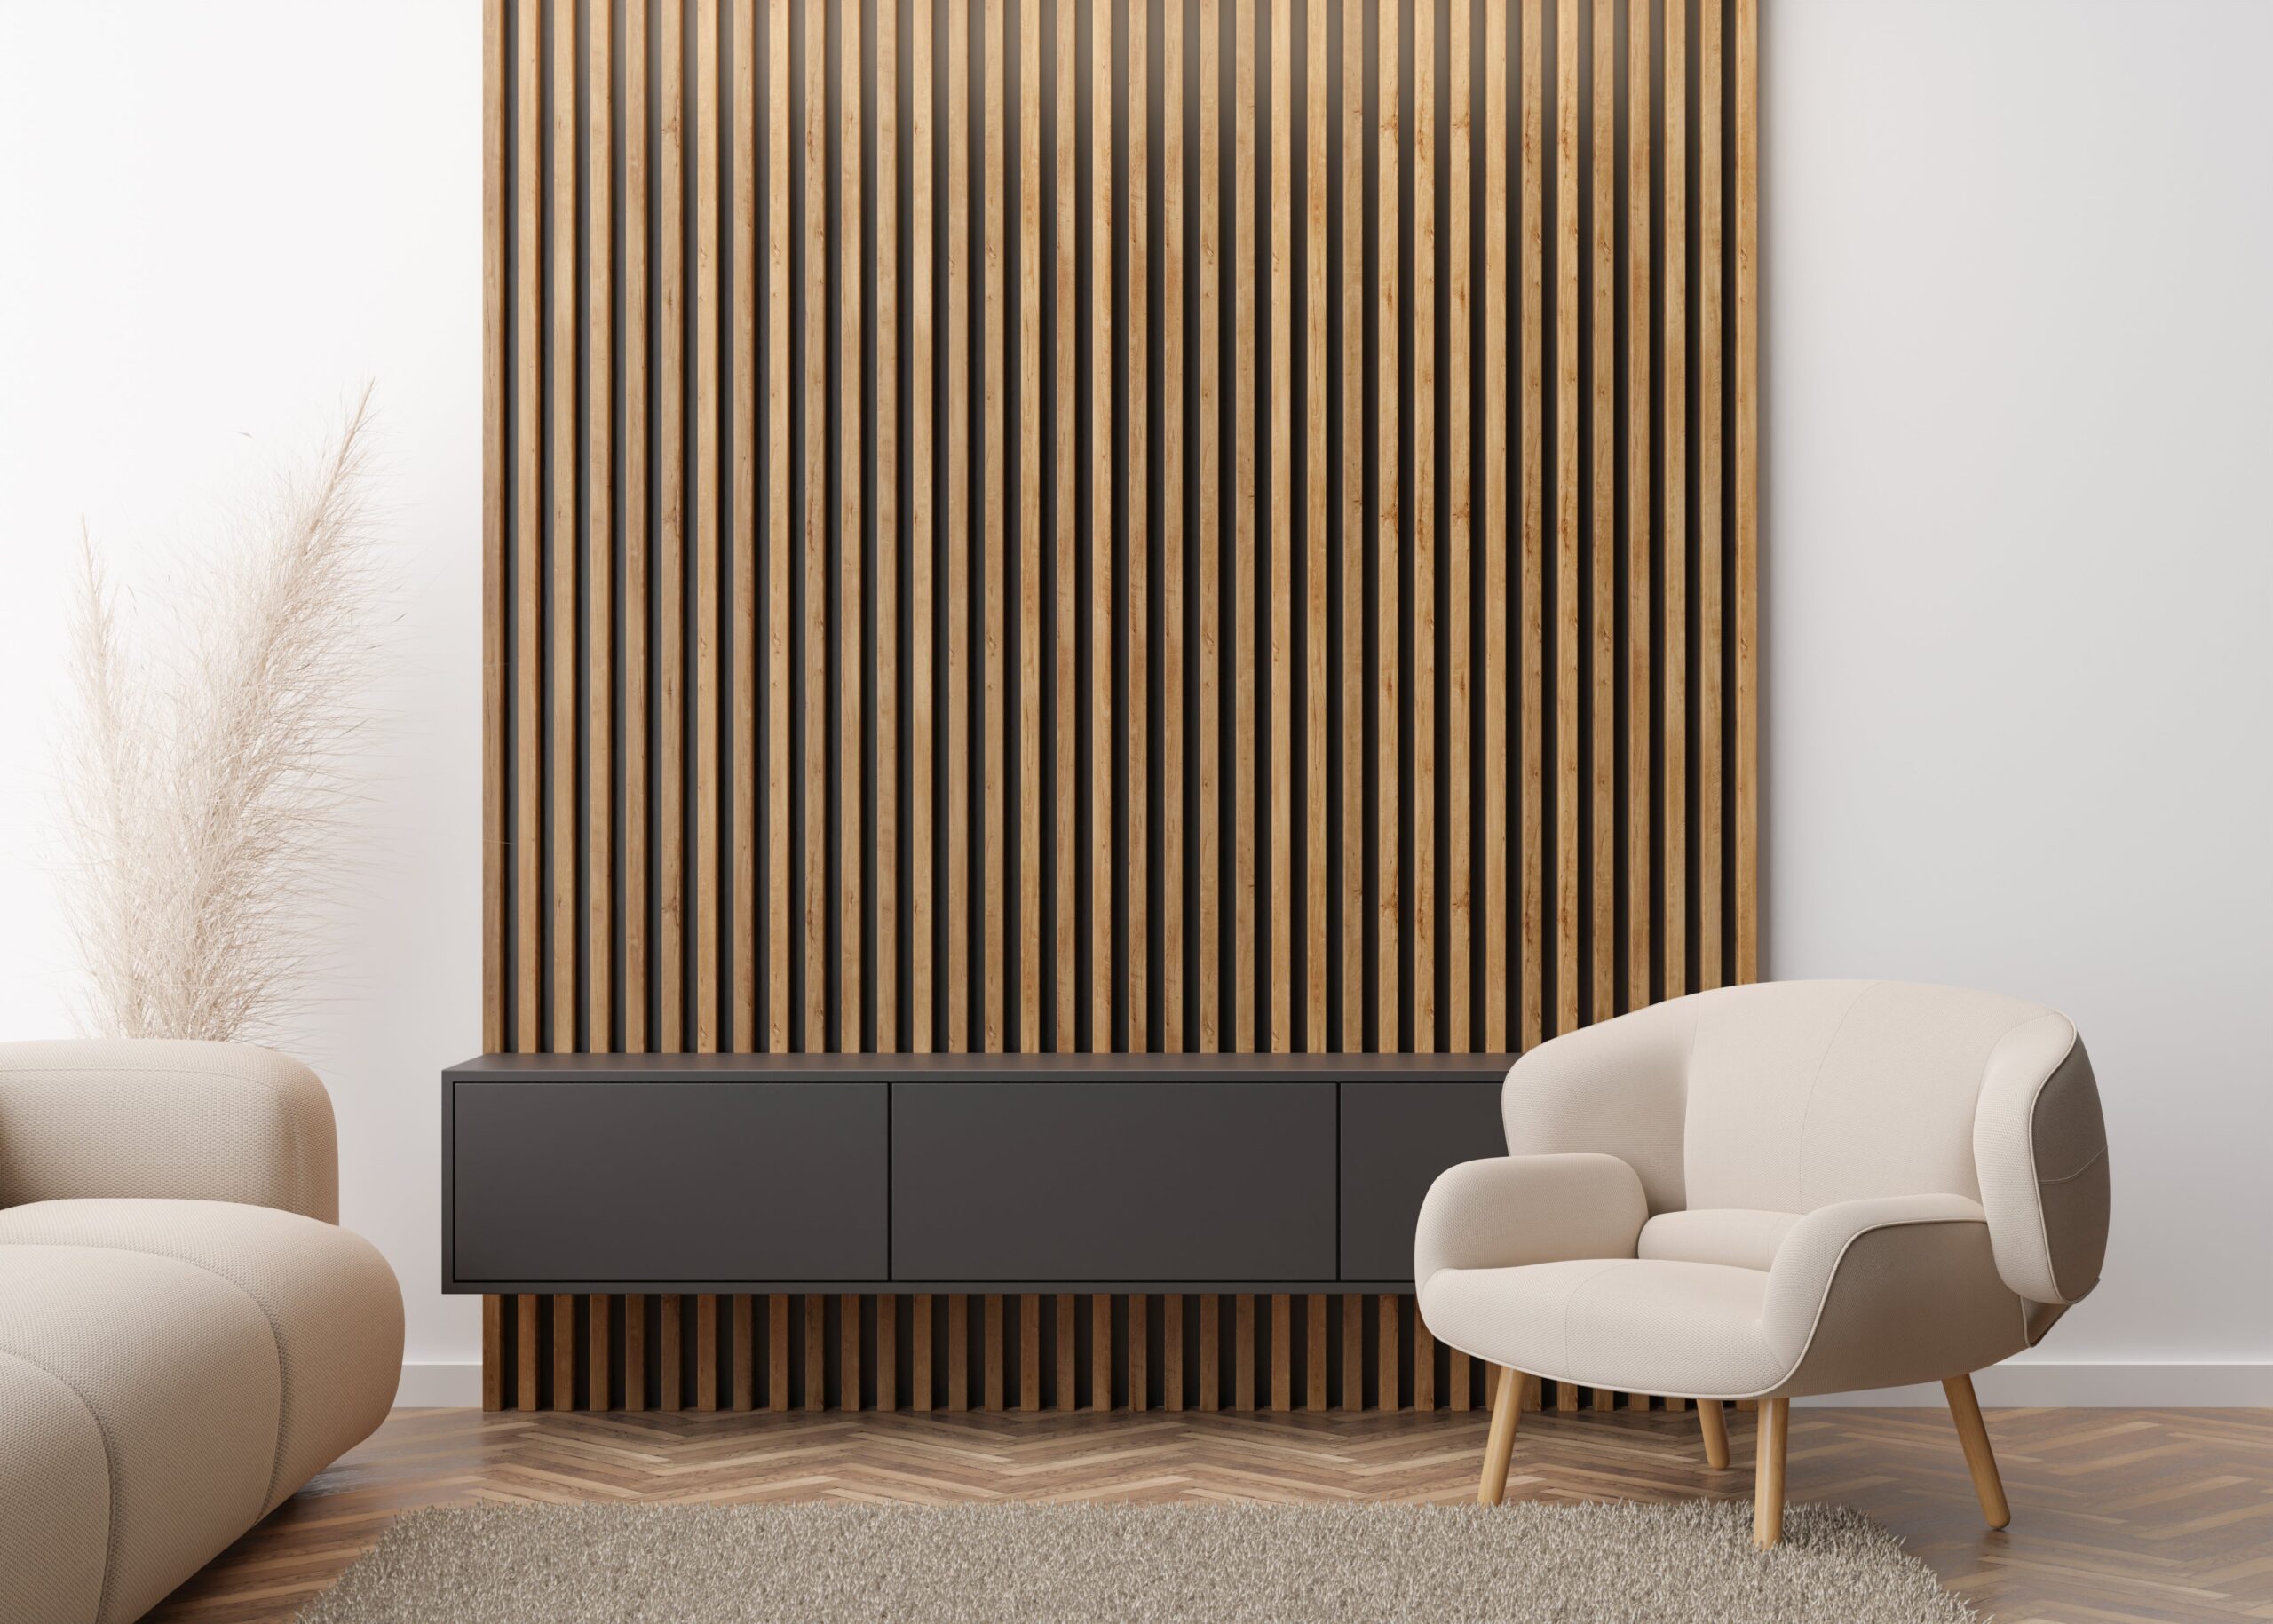
    Modern living room interior featuring a dark wooden slat wall, beige armchair, floating black cabinet, and light neutral decor.

    To answer the question “how to reduce noise in a room?”, the solution lies in the combination of multiple methods.

    For better noise control, start by incorporating soft furnishings like curtains, then add acoustic wall panels. Soft materials alone are difficult to manage more persistent noise, such as echo or TV sound.

    Then, move your sofas, wardrobes, or bookshelves to block and absorb sound waves. You can rearrange your furniture to reduce noise at no cost and without permanent changes. Keep in mind that you can always experiment with different setups to find the combination that works best for you.

    Most Common Noise Reduction Mistakes

    Most DIY noise reduction attempts either spend money in the wrong place or underestimate how much treatment a room needs. These are the patterns that appear most often.

    Buying products labelled “soundproof” without understanding what they do. No mass-market wall panel soundproofs a room. Acoustic panels reduce echo and reverberation within a room — a different and more achievable goal. Structural soundproofing (blocking sound from moving between rooms) requires mass, decoupling, and air-sealing — measures that typically involve the wall construction itself, not surface treatment. Buying acoustic panels expecting them to block external noise is the most common expensive mistake.

    Under-treating the room. Adding two or three small acoustic panels to a large, hard room and expecting a transformation. Meaningful acoustic improvement requires covering 25–40% of the total wall area with panels rated NRC 0.75 or higher. Small installations in large reverberant rooms have a barely perceptible effect. Calculate the required coverage area first, then size your budget accordingly.

    Treating only one surface type. Sound reflects off walls, floors, and ceilings. In a room with hard floors and a hard ceiling, wall panels alone address only a fraction of the reflection problem. Rugs on hard floors add meaningful absorption at the floor level. Curtains or soft furnishings contribute at the window plane. Acoustic panels complete the treatment. The combination approach delivers better results than maximising wall panel coverage alone.

    Using foam products in living spaces. Acoustic foam is effective but aesthetically incompatible with most domestic interiors. It degrades over 5–8 years and looks DIY from day one. In any room you spend meaningful time in, wood slat acoustic panels deliver the same absorption performance with a finish that’s designed for residential use.

    Not acclimatising panels before installation. Wood panels installed before they’ve adjusted to room conditions may develop gaps or warp slightly as they settle. Unboxing panels and leaving them flat in the room for 24–48 hours before installation eliminates this problem entirely.

    Frequently Asked Questions

    What is the most effective way to reduce noise in a room?
    For reducing echo and reverberation (making the room sound better from within), acoustic wall panels with NRC 0.80+ are the most effective single intervention. For reducing noise transmission from outside or from adjacent rooms, structural measures (mass, decoupling, air-sealing) are required — acoustic panels won’t solve transmission problems.
    Do rugs and soft furnishings reduce room noise?
    Yes, meaningfully — but not completely. Carpet and rugs absorb high-frequency sound at the floor level, reducing flutter echo. Heavy curtains absorb sound at window surfaces. Upholstered seating contributes additional absorption. For rooms that are only mildly reverberant, furnishings alone may be sufficient. For rooms with bare floors, large windows, and minimal soft furnishings, acoustic panels are needed to achieve a clear improvement.
    How do I reduce noise in a room without renovating?
    Surface-mounted acoustic panels (adhesive installation), rugs on hard floors, and heavy curtains are all non-structural, reversible interventions that meaningfully reduce room noise. None of these require structural work or professional installation. A combined approach — acoustic panels on the primary wall surfaces, rug on the floor, curtains on windows — typically achieves 50–70% of the acoustic improvement possible from a full renovation.
    Can I reduce room noise on a limited budget?
    Yes. Start with the highest-impact, lowest-cost intervention: a rug on a hard floor and a curtain on a bare window. Together these typically cost less than £200 and address the two most common surfaces where sound reflects in domestic rooms. Add acoustic wall panels on the most reflective wall as a second step — one feature wall of quality panels (8–12 tiles) typically costs £300–£600 and delivers a clear improvement in speech clarity and echo reduction.
    What causes noise in a room to get worse when other rooms are quiet?
    This is a psychoacoustic effect — when external ambient noise drops, the internal reverberation of the room becomes more noticeable. The room hasn’t changed; your perception of it has. This is why many people notice echo and acoustic problems most in quiet evenings or early mornings. Acoustic treatment addresses the underlying room characteristics that cause this.

    Conclusion

    While peace and quiet can feel like a luxury in today’s fast-paced world, you may struggle to figure out how to reduce noise in a room. Any kind of noise can affect productivity, sleep quality, and focus.

    Everybody wants to relax in a quieter space at their home, free from noise, and has peace of mind and comfort.

    Now that you know how to reduce noise in a room, visit the best-selling collections of wood wall panels and take the next step with The Panel Hub.

  • Solid Wood in Furniture: Types, Maintenance Tips, and Buying Guide

    Solid Wood in Furniture: Types, Maintenance Tips, and Buying Guide

    Solid wood is known for its resilience, beautiful natural grain, and timeless look in both interior or exterior design. This material is perfect for you who want to bring a sense of organic beauty to your room. 

    This article reviews what solid wood is, its types and functions, and what makes solid wood highly desired by many. As a buyer, you must know how to choose quality wooden furniture that suits your style. Walk through this article to understand how to make a smart decision when buying wood furniture.

    What is Solid Wood?

    Solid wood is wood that comes directly from trees and is used in its natural form, without mixing it with other materials. Unlike engineered wood or veneer, solid wood is made from one piece of lumber. 

    The tree is grown primarily for its wood, which usually results in stronger and durable products while also looking elegant, natural, and modern. For that reason, solid wood is often used in interior designs, including homes, apartments, and even office spaces.

    Types of Solid Wood

    Generally, solid wood is classified into two main types: hardwood and softwood. Hardwood comes from trees that grow slowly and require more years to harvest. Some of the examples are oak or walnut.

    Meanwhile, softwood comes from faster-growing trees, which are usually lighter and easier to produce. These are more specific types of solid wood you need to know:

    • Oak: Strong and great for flooring or furniture
    • Walnut: Rich, dark color and high-end feel
    • Maple: Light color, often used in kitchen furniture
    • Teak: Water-resistant, great for outdoor use
    • Mahogany: Deep red tone, very elegant
    • Cherry:Smooth grain, darkens over time
    • Pine: Soft, light-colored, budget-friendly

    What is Solid Wood Used For?

    Solid wood is commonly used in both traditional and modern construction or design. This material is known for its strength and longevity. These are other examples of its applications:

    Furniture

    Manufacturing companies often use solid wood to create high-quality furniture pieces such as tables, chairs, cabinets, dressers, and bed frames. Its natural grain patterns and durability make it a preferred choice for many people, regardless of their style and design taste.

    Flooring

    Hardwood flooring is a popular choice for many residential and commercial interiors. People who aspire to create an organic modern aesthetic in their homes particularly favor it. Unlike engineered wood or laminate, hardwood floors can be refinished multiple times, which extends their lifespan significantly.

    Doors

    Solid wood is often used for making interior and exterior doors due to its strength and insulating properties. If you are looking for exterior doors, choose hardwoods like oak or mahogany which are more weather and moisture resistant. 

    Wall Panels

    Wood paneling adds texture and warmth to interiors. It is commonly used in homes, offices, and public spaces to create a warmer and more natural ambience. Wall panels can also bring out classic elegance to your space.

    Are you looking for wood wall panels? At The Panel Hub, we offer 100% real wood wall panels, with no lamination or plastic. We’re proud to be the only brand on the market providing panels with smooth, rounded edges, making them scratch-proof and secure for your home. Our unique 3-sided wood surface design also ensures a beautiful finish from every angle, no matter how you install it. Explore our products now!

    Wooden beams

    Structural and decorative beams made from solid wood are often used in construction to support ceilings or roofs. In addition to their structural role, exposed wooden beams are a prominent architectural feature in styles like rustic, farmhouse, and industrial design.

    Solid Wood vs Other Materials

    Here’s a detailed list of comparison between solid wood vs other commonly used materials in furniture:

    Solid Wood vs. Engineered Wood

    Solid wood is made from a single, natural piece of lumber, while engineered wood is manufactured by bonding together layers of wood veneers or fibers with adhesives. Solid wood is known for its superior strength and durability compared to engineered wood.

    Solid Wood vs. MDF/Particle Board

    Particle board and MDF (Medium-Density Fiberboard) are cheap alternatives made from compressed wood fibers or particles. When it gets wet, MDF can sometimes lose its structural strength and beauty because it swells or bumps.

    The wood wall panels from The Panel Hub, on the other hand, have a higher density, moisture-resistant MDF core with the CoreShield™ system. Our panels are less likely to swell, crack, or warp in different kinds of weather. Our natural grain and color are as good as solid wood because we use real wood. The CoreShield™ system probably makes the panel more resistant to dents and impacts than some softer solid woods when it comes to durability.

    Solid Wood vs. Veneer Furniture

    Veneer furniture is made by applying a thin slice of real wood over a core material like MDF or particle board. This allows for the look of wood at a lower cost. If you buy high-quality wood veneer furniture, it can be long-lasting just like genuine hardwood.

    Buying Guide: Choosing Solid Wood Furniture

    These are simple steps to choose the right solid wood furniture as an investment in both style and durability:

    1. Examine the finish. The easiest way to look into the quality of wooden furniture is to see whether the surface is protected well. A good finish protects the wood from excessive moisture and scratches over time.
    2. Pay attention to the type of joints. Avoid using staples or nails to hold chairs, sofas, or tables together. Traditional joinery like dovetail or dowel joints instead creates better craftsmanship.
    3. Consider the wood types. Hardwoods like oak, walnut, or maple are generally better known as the strongest species. They are more resistant to wear than other types of wood.
    4. Determine where to buy. When it comes to purchasing solid wood furniture, both online and local retailers offer advantages and disadvantages. Online stores offer more competitive pricing, while offline shops allow you to assess the product in person. Always check the reviews before buying.

    Conclusion

    Solid wood has long been celebrated for its timeless beauty, strength, and natural character, making it a top choice for furniture, interiors, and architectural elements. However, with today’s advancements in material technology, modern alternatives like high-density moisture-resistant MDF can now offer comparable durability, stability, and aesthetics.

    Browse our best-selling wood wall panels to bring a natural, organic touch to your space, without compromising on quality, durability, or an authentic wood grain look. Choose SoundPanel for sound absorption and a quieter environment, or GroovePanel for a decorative, textured finish that adds depth and elegance.

    Enjoy free U.S. shipping and a 60-day satisfaction guarantee; shop now!

  • 12 Ceiling Beam Covering Ideas that Work for Any Room and Style

    12 Ceiling Beam Covering Ideas that Work for Any Room and Style

    To make the most of your space, discover more about ceiling beam covering ideas that truly match your style and design taste. Ceiling beams can sometimes look rough and out of place. Covering it will turn your ceiling into a beautiful design feature that is also functional.

    This article provides an overview of 12 different ceiling beam covering ideas you can explore. It helps you create a more polished ceiling design that complements your overall room style. Learning about these different options will allow you to choose the right products that not only stay within your budget, but are also suitable for your taste.

    Why Ceiling Beam Covering Matters in Design

    Ceiling beams can give your home or office character and charm. A lot of people choose to keep the authentic beams made from rough wood or steel as they are. Unfortunately, not all beams look good. Some may be old, damaged, or just don’t match the style of the room. That’s where the covering ideas come in.

    These ceiling beam covering ideas help you hide flaws and make the space feel more modern or cozy. It also allows homeowners to match the beams with the rest of their decor without needing a full renovation. Whether you’re going for a rustic, modern, or traditional look, the right beam covering can make a big difference in how your room feels.

    12 Ceiling Beam Covering Ideas for a Seamless Look

    From painting the beams to adding a set of lighting, let’s explore these wide range of options for your room.

    1. Painted Beams

    The easiest way to cover your beams is to paint it. A fresh coat of paint can make beams blend in or stand out, depending on your choice. For example, if you want it to stand out, choose a color that contrasts with your ceiling. You can also choose brown, light orange, or other earthy tones if you want to add warmth.

    2. Wood Wraps

    Wanting to keep your original wood beams, but make it more polished? Try covering your beams with thin wood planks. This option is also perfect if you want a natural and warm finish. Additionally, wood wraps can be great for rustic or farmhouse styles.

    3. Drywall Covering

    This is your best choice when you want to entirely cover your beams. Drywall and paint hide the beam completely for a clean line and surface. These ceiling beam covering ideas are the most commonly used, especially in minimalist, modern, and contemporary homes.

    Read More: What is Rubberwood? Key Advantages, Limitations, and Comparisons

    4. Box Beams

    Box beams create hollow beams using wood around the existing ones. This gives the look of solid wood that kind of creates frames or boxes on your ceiling. Designers would typically use blocks of woods to make it feel more earthy and rustic.

    Ceilings and walls meet closely, so coordinating their materials creates a harmonious space. If your beams and coverings use wood, pair them with matching wood panels. The Panel Hub offers best-selling wood panels with a unique 3-sided finish for a seamless look, made from 100% genuine wood and designed for easy DIY installation. Explore our wide range of colors and materials to elevate your living space.

    5. Faux Wood Beams

    Faux generally means fake or artificial. This can be your alternatives if you want to create box beams with lighter and cheaper wood. They look real but are easier to install. Typically, faux wood beams are made from fiberboard or polyurethane.

    6. Coffered Ceiling Design

    Coffered ceiling design transforms your ceiling look with smaller 3D blocks or grids. After that, the grid is covered with molding or panels for a classic, elegant look. The final result will make your room feel more dimensional, dramatical, textured, and luxurious.

    7. Plaster Finish

    If you want a traditional vibe often seen in Mediterranean-style homes, plaster finishes are great ceiling beam covering ideas. This method uses a fine layer of smooth cement to create an even, polished surface. It is quite similar to the painting methods, but gives your beam a more seamless and blended look with the ceiling.

    8. Fabric Wraps

    Fabric wraps are acoustic fabric used to cover the beam surfaces to achieve not only decorative look, but also sound-proof rooms. This is great for bedrooms or cozy spaces. It can be the most flexible option, as the fabrics can be printed with designs or patterns that you desire. 

    For ultimate soundproofing, pair your ceiling wraps with The Panel Hub Sound Panels. With a 0.85 NRC rating, our wood panels absorb up to 85% of mid/high-frequency noise. Our wood panels help you achieve an unmatched peaceful bedroom, living room, or home theater.

    9. Metal Cladding

    For a modern or industrial look, cover beams with metal sheets or panels. You can choose the metal cladding made from aluminum, steel, or copper. These ceiling beam covering ideas help you create a more futuristic look, while also making the structure stronger and long-lasting.

    10. Shiplap or Paneling

    Using shiplap or other types of wood paneling to wrap your ceiling beams is a fantastic way to create a unified look in your living rooms or offices. Shiplap consists of wooden boards that overlap, creating clean horizontal lines and a classic textured effect.

    11. Beam Lighting

    Incorporating lighting into your ceiling beam coverings not only brightens the room but also creates an inviting atmosphere. It adds both beauty and function. Furthermore, it relatively requires lower effort compared to covering beams with cement, paint, or even metal cladding.

    12. Decorative Molding

    Decorative molding works by applying crown molding, rope molding, or other decorative trims along the edges of the beams, framing them nicely and adding depth. This type of molding adds more style and depth to prevent your ceiling from looking too plain. 

    Read More: 10 Bold Large Wall Decor Ideas for a Modern Living Room

    Achieving a Cohesive Design and Style for Your Space

    Some people choose to leave their beam ceiling open, natural, and authentic as they are. There are many inspirations for exposed load-bearing beam ideas and modern exposed beam ceilings. However, the ceiling beam covering ideas are also plentiful for those who prefer a more seamless, blended, or decorative ceiling.

    Whether you decide to cover your beams or leave them exposed, the key is to find a style that fits your home’s overall design. Don’t forget to coordinate your ceiling beams with your wall treatments and designs. If you are planning to match your wood ceiling, explore The Panel Hub’s wide selection of sound-proof and decorative wood wall panels. Add elegance, warmth, and natural look to your space that only real wood can provide.

  • How to Install Slat Wall Panels in Any Room

    How to Install Slat Wall Panels in Any Room

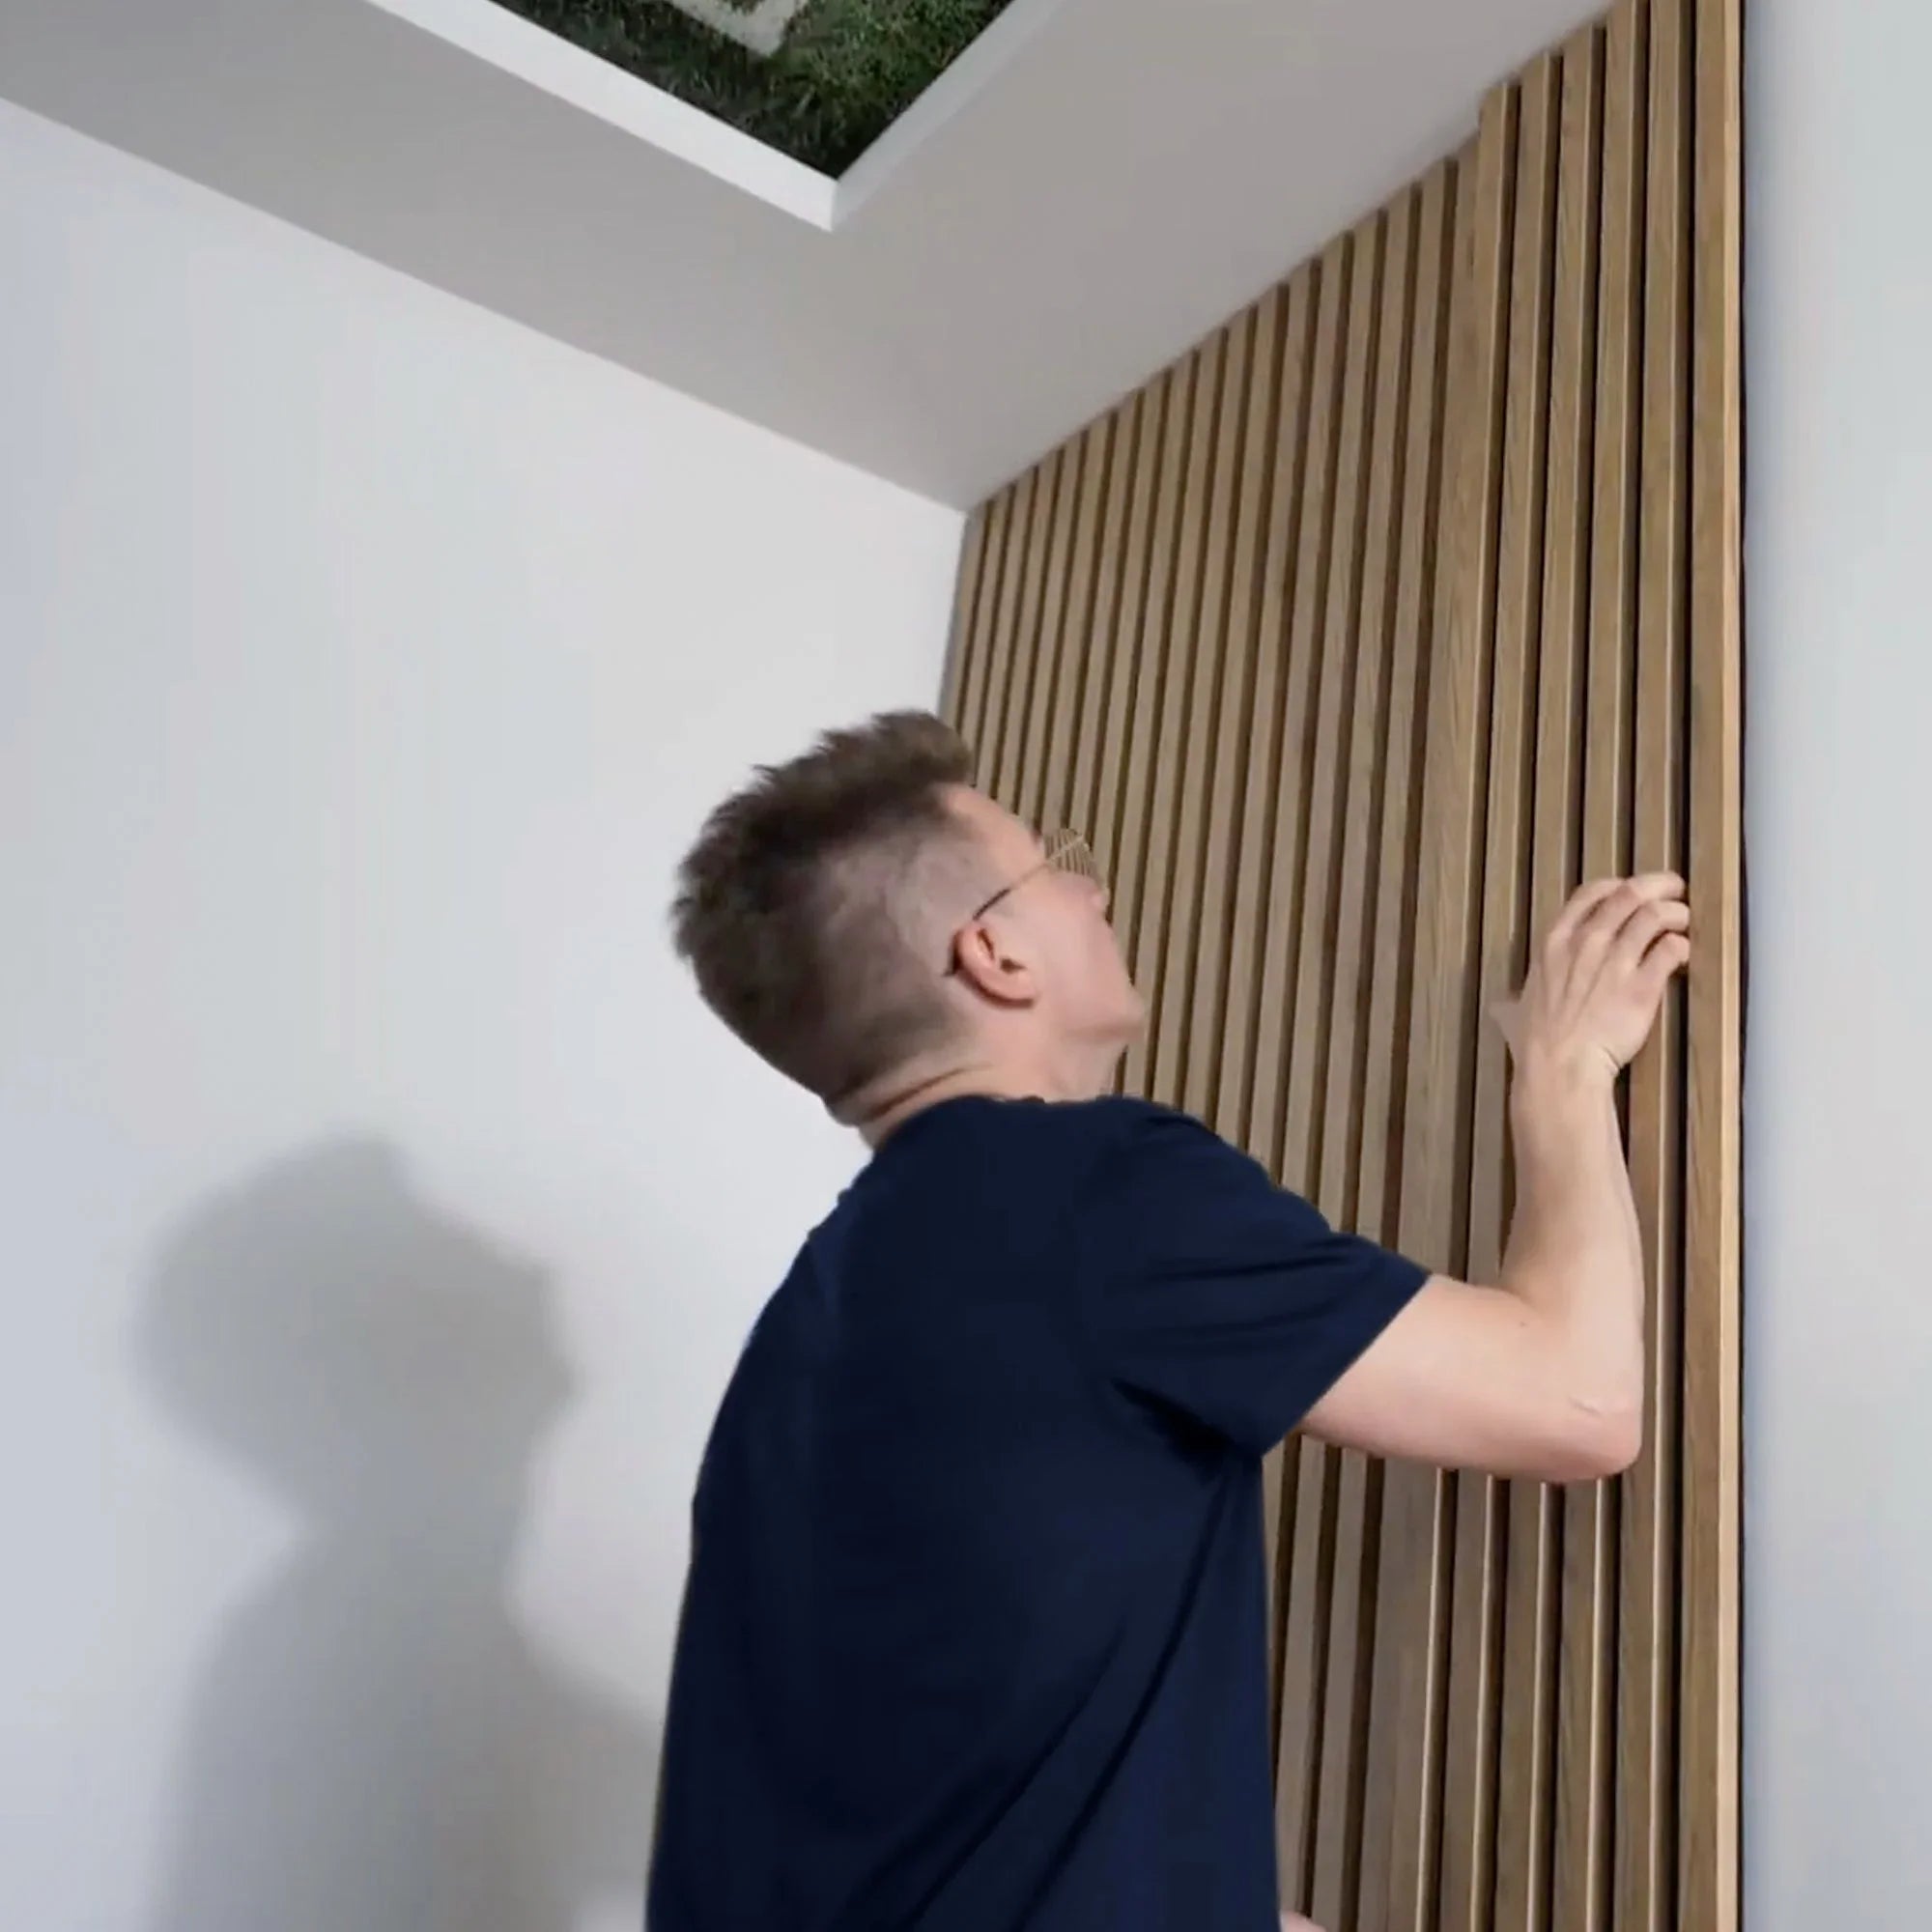
    Slat wall panels are one of the easiest ways to upgrade any room. They bring warmth, texture, and sound control without the need for a full renovation. What do you want? a modern accent wall, a quieter office, or a stylish upgrade for your living room? Installing slat wall panels is a project you can tackle with confidence.

    This guide walks you through every step. From planning and measuring to installing and finishing. You’ll learn exactly how to install slat wall panels and enjoy the results for years to come.

    Step 1: Plan and Visualize Your Design

    Before picking up a tool, start with a clear vision. Slat wall panels can transform a space in many ways. Some people add a single accent wall, while others cover an entire room. The layout you choose makes a big difference.

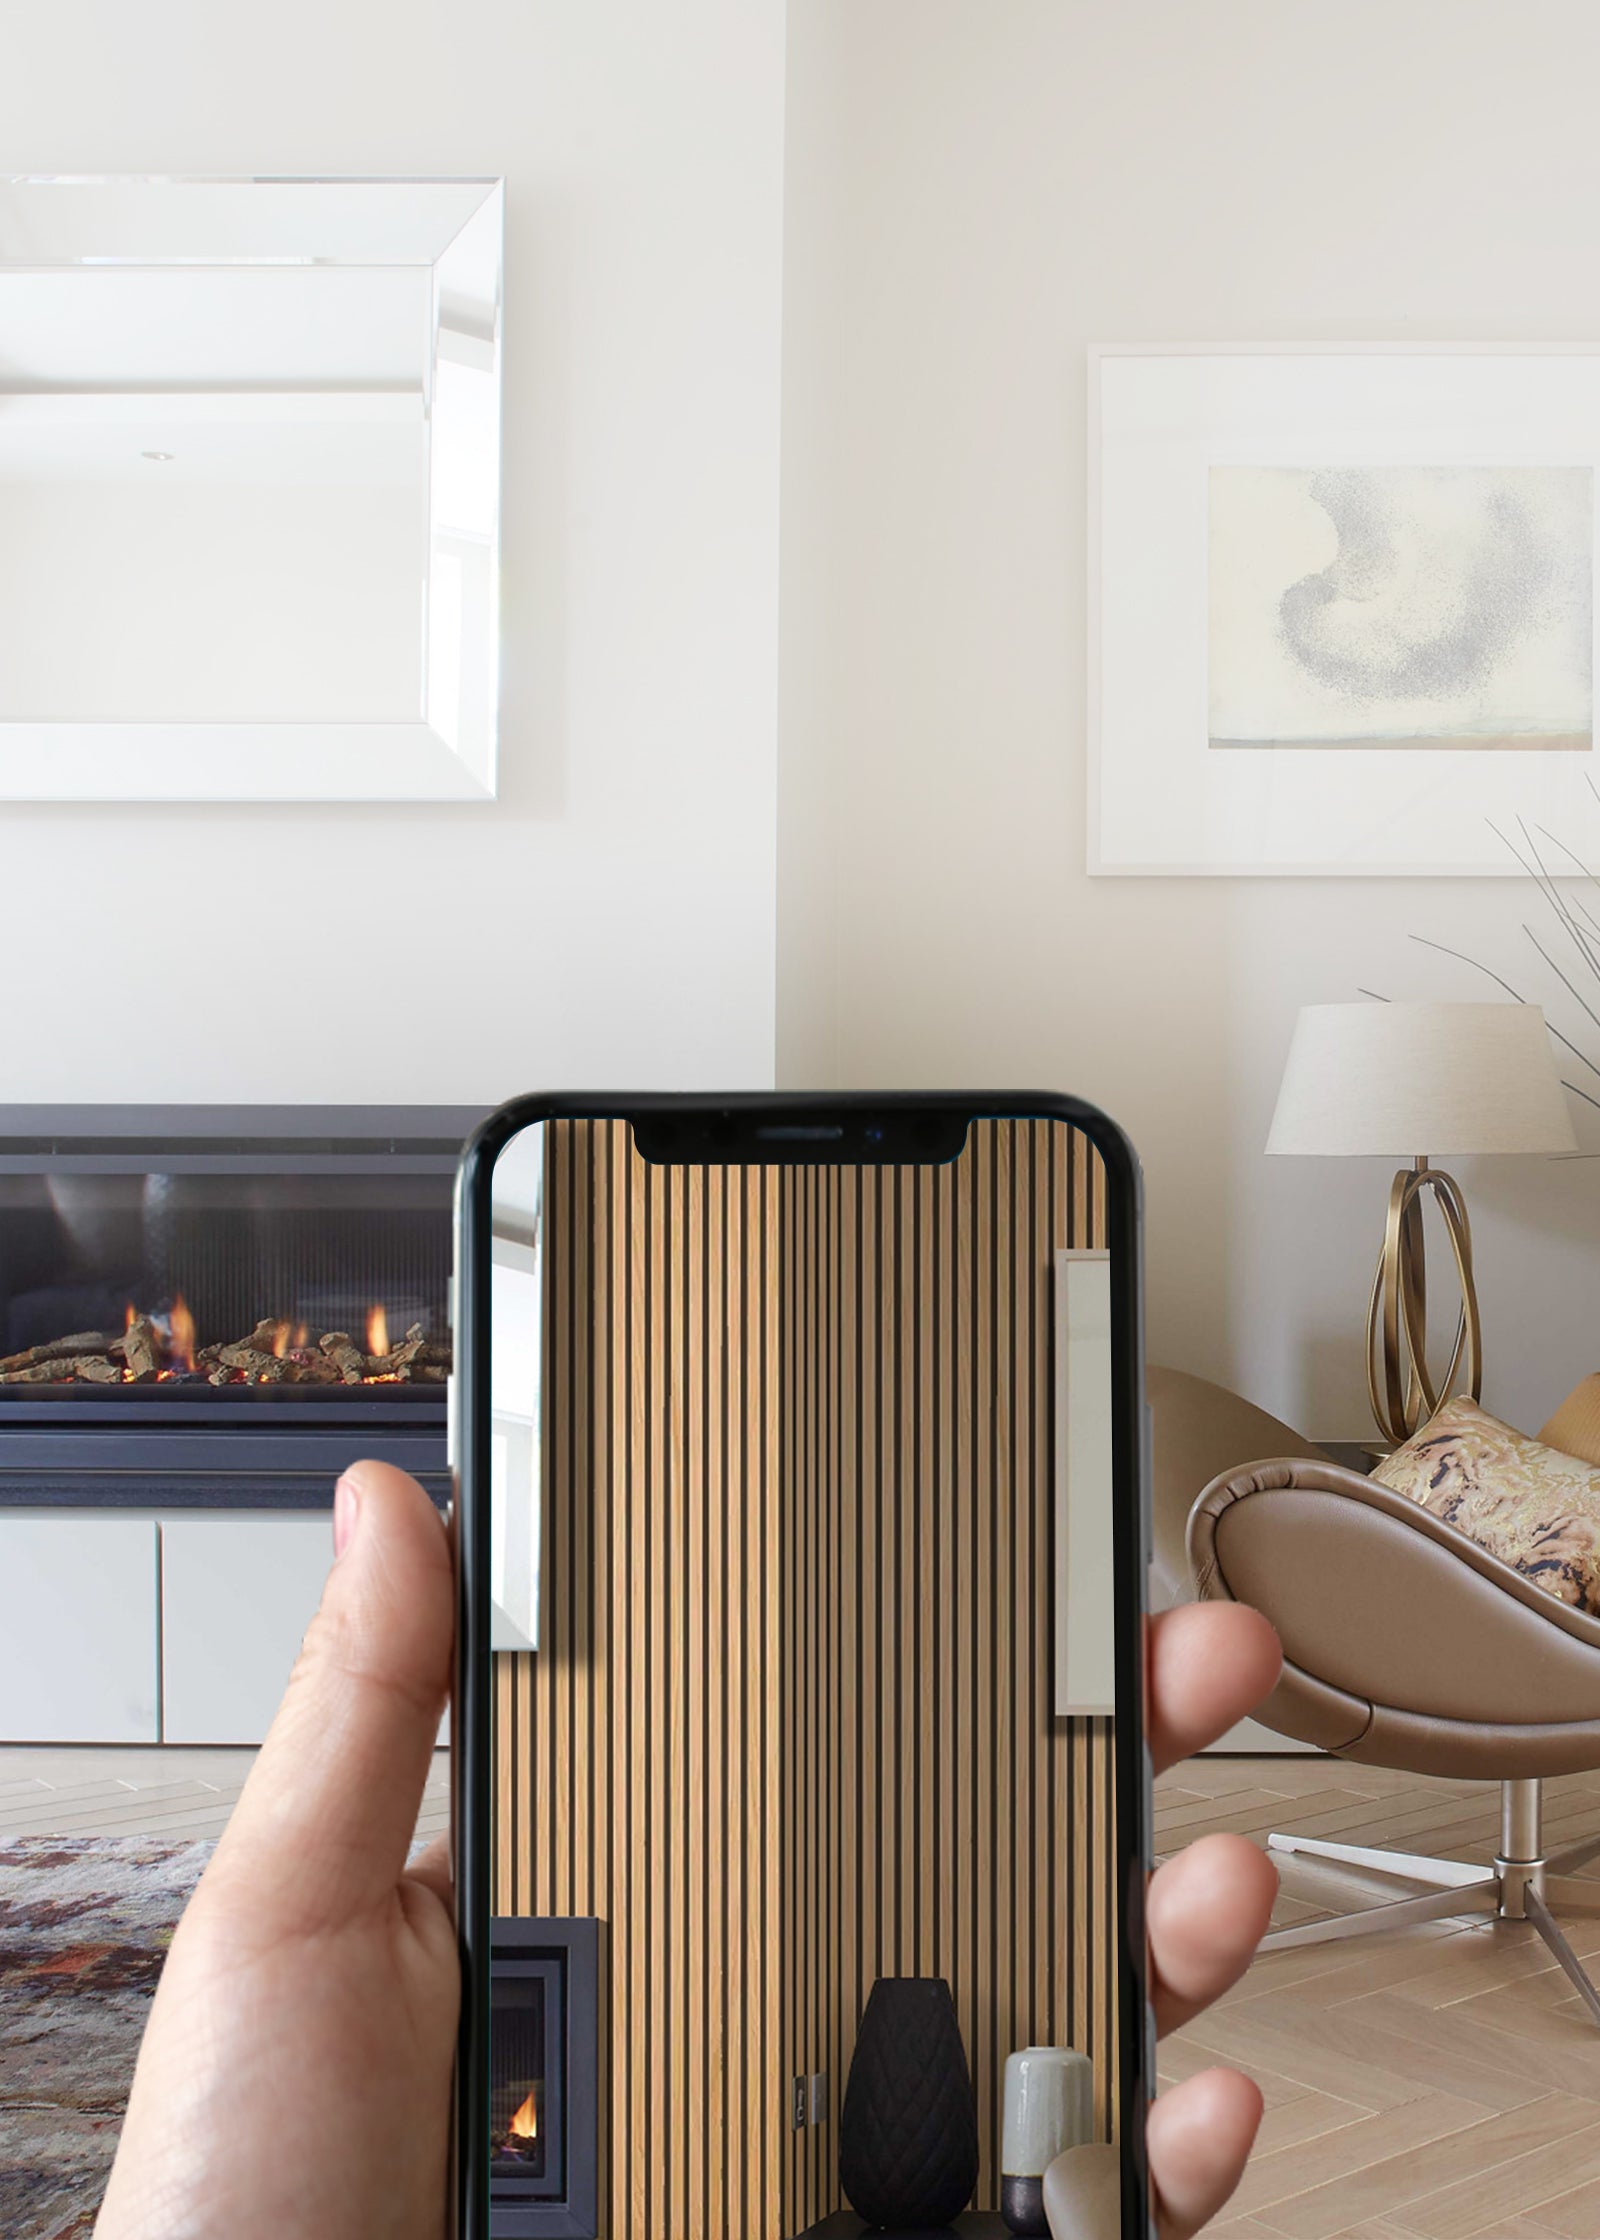
    The_Panel_Hub_-_Visualizer_Mobile_a5676d21-c7d6-43d0-9a41-ccf26e1f233a-The Panel Hub

    To make the process easier, The Panel Hub offers a Room Visualizer. This tool lets you preview real wood slat panels in your space before you order. You can test colors, finishes, and layouts until you find the perfect match. Planning with a visual reference helps you avoid second-guessing and ensures you order exactly what you need.

    Step 2: Gather Tools and Materials

    Installing wood slat wall panels is simple when you have the right tools ready. Most projects can be handled with basic items you already own. You’ll need:

    • Oscillating multi-tool (12-volt)

    • Cordless drill

    • Box cutter

    • Sandpaper sheets

    • Hand saw

    • Finish nails

    • Hot glue

    • Construction adhesive

    The panels from The Panel Hub arrive ready to install. Thanks to their 3-sided edge finish, you won’t need trims or extra carpentry to achieve a polished look.

    Step 3: Measure and Order Panels

    Accurate measurements save time, money, and frustration. Start by measuring the width and height of the wall you want to cover. Multiply those numbers to find the total square footage.

    order slat wall panel

    To make this step even easier, The Panel Hub provides a Box Calculator. Enter your wall dimensions and it tells you exactly how many boxes to order. If your project has unique angles or tricky corners, you can also speak directly with a Panel Specialist for advice.

    Step 4: Install the Slat Wall Panels

    Now comes the fun part. Whether you’re installing wood slat wall panels for looks or acoustic performance, the process is straightforward.

    install slat wall panels

    Prepare the Surface

    Start with a clean and smooth wall. Remove dust, old wallpaper, or peeling paint. The better the surface, the stronger your panels will hold.

    Mark the Layout

    Use your spirit level and pencil to mark guide lines. This keeps every panel straight. Begin from the center of the wall or from one corner, depending on your design.

    Mount the Panels

    Apply adhesive to the back of the panel. Press it firmly onto the wall. For extra security, use screws or nails along the edges. Keep checking alignment with your level as you continue across the wall.

    Installing Acoustic Slat Wall Panels

    The process is the same, but these panels include AcoustiCore™ felt backing. This adds impressive sound absorption, reducing echo and improving privacy. If you’re working in a bedroom, office, or media room, acoustic slat wall panels are a smart choice.

    Step 5: Finish and Enjoy Your New Space

    One of the biggest advantages of The Panel Hub panels is the seamless finish. Thanks to the 3-sided edge design, you don’t need trims or cover strips. The look is clean and continuous, just like a built-in feature wall.

    The transformation is instant. Your room feels warmer, quieter, and more refined. You gain style, comfort, and privacy without the mess of a renovation.

    Common Installation Mistakes and How to Avoid Them

    Most slat wall panel installation problems trace back to a small number of preventable errors. These are the ones that come up most often.

    Skipping acclimatisation: Timber is hygroscopic — it absorbs and releases moisture in response to the room’s humidity. Installing panels straight from delivery without allowing 48–72 hours of acclimatisation in the installation room leads to post-install movement, gaps, and in severe cases, buckling. This step is non-negotiable.

    Not checking the wall for plumb: A wall that’s slightly out of plumb or has a bow across its surface will cause installed panels to drift out of vertical over a run of several panels. Check with a spirit level before the first panel goes up and shim where necessary.

    Applying too little adhesive: Construction adhesive works by surface area contact. Thin beads with large gaps between them create a panel that feels secure until it doesn’t. Apply adhesive in full serpentine patterns across at least 60% of the panel back surface for a reliable bond.

    Cutting too close to the edge: When trimming panels around sockets and switches, measure twice and cut conservatively. A 1–2mm gap around an electrical fitting can be covered by the fitting’s faceplate; a 5mm gap cannot. Slow, careful cuts with a fine-tooth saw give cleaner results than rushing.

    FAQs: Installing Slat Wall Panels in Any Room

    What adhesive should I use for slat wall panels?
    A grab adhesive or construction adhesive rated for timber and plasterboard is standard. Avoid PVA or general-purpose adhesives — they lack the initial grab needed to hold panels in position while curing. Products like Gripfill, CT1, or equivalent grab adhesives work well.

    Can slat wall panels be installed without drilling?
    Yes, in most residential applications. Construction adhesive alone provides sufficient bond strength for slat wall panels on smooth plasterboard. Drilling is typically only necessary on tiled surfaces, ceilings, or when the substrate is irregular.

    How long does adhesive take to cure with slat wall panels?
    Initial grab occurs within 15–30 minutes. Full cure strength is reached in 24–48 hours depending on the adhesive product and ambient temperature. Avoid applying load or stress to panels in the first 24 hours.

    Do slat wall panels need to be sealed after installation?
    Most factory-finished panels come pre-sealed and don’t require additional sealing. In high-humidity rooms, a light additional coat of the manufacturer’s recommended finish oil may extend surface life, but this is optional rather than essential.

    Final Thoughts

    Installing slat wall panels is a project almost anyone can do. With the right tools and a little planning, you can transform a plain wall into a feature that feels custom-made. For small projects, DIY is quick and satisfying. For larger spaces, The Panel Hub has everything you need to achieve a professional result.

    If you’re ready to see how real acoustic wood panels will look in your home, try the Room Visualizer today. Once you see the difference, you’ll know exactly why so many people are choosing slat wall panels to refresh their interiors.

  • Transform Your Home with Decorative Wood Panel Walls

    Transform Your Home with Decorative Wood Panel Walls

    Wood paneling has never truly gone out of style. What has changed is the way designers and homeowners use it. Today’s decorative wood panels are lighter, smarter, and easier to install, making them an accessible upgrade for anyone who wants to bring warmth and architectural character into their home.

    At The Panel Hub, we have worked with interior designers, Airbnb hosts, and everyday homeowners who all share the same challenge: turning plain drywall into something memorable. With the right panels, you can achieve professional results in just a few hours without the need for major renovations.

    Why a Wood Panel Feature Wall Changes Everything

    Creating a wood panel feature wall is one of the simplest ways to transform a room. Unlike paint, which only changes color, wood paneling adds dimension and texture that immediately feels more refined. Whether you prefer vertical wood panels that draw the eye upward or wide panels that bring a grounded look, feature walls work in living rooms, bedrooms, and even home offices.

    Solid Wood Wall Paneling vs. Wood Effect Wall Panels

    Many homeowners ask us whether they should choose solid wood wall paneling or wood effect wall panels. Both have their strengths. Solid wood offers the authenticity of real grain and long-term durability, while wood effect panels provide the same stylish appearance with lighter construction and easier installation. Both options can be trusted to create a timeless design, and the right choice often comes down to budget, lifestyle, and project size.

    Modern Wood Paneling for Walls

    Modern design has embraced paneling in ways that feel fresh and uncluttered. Modern wood paneling for walls typically features slim slats, clean lines, and finishes that range from light oak to deep walnut. This contemporary look works well in open-plan living spaces or bedrooms where you want calm and elegance without overwhelming the room.

    Decorative Wood Panel Walls

    Decorative Wooden Wall Panels for Every Room

    The versatility of decorative wooden wall panels makes them a favorite for designers. Bedrooms benefit from panels used as headboard backdrops, living rooms gain instant sophistication with an accent wall, and dining rooms feel more intimate when wrapped with warm wood textures. For small apartments, even a single decorative wood panel wall can make the entire space feel more intentional.

    The Simple Way to Upgrade

    One of the best things about today’s paneling is how straightforward it is to install. Many homeowners complete projects in a single afternoon. For larger projects, The Panel Hub® even provides free professional installation on qualifying orders, ensuring every detail is perfectly aligned.

    If you are ready to explore the possibilities, visit our Wood Wall Panels collection. You will find carefully curated finishes that balance design, performance, and ease of installation, all delivered from our U.S. warehouse with fast shipping.