Category: Uncategorized

  • How to Install Faux Stone Wall Panels: Step-by-Step Guide

    How to Install Faux Stone Wall Panels: Step-by-Step Guide

    One of the primary reasons homeowners and contractors choose faux stone wall panels over real stone is installation. Where natural stone cladding requires structural preparation, specialist fixings, a skilled stonemason, and days of work, faux stone panels can be installed by any competent DIYer or general contractor in a single day for most room-scale applications.

    What You’ll Need

    • Faux stone wall panels (plus 10–15% for cuts and wastage)
    • Panel adhesive compatible with your substrate
    • Notched adhesive spreader or trowel
    • Spirit level and measuring tape
    • Pencil for marking
    • Angle grinder with diamond blade, or jigsaw, for cutting
    • Safety glasses and dust mask
    • Colour-matched decorator’s caulk for perimeter joints

    Step 1: Prepare the Substrate

    The most important step in any panel installation is substrate preparation. Faux stone panels require a flat, dry, and structurally sound surface. Plasterboard, concrete, masonry, and existing tiled surfaces can all work as substrates with the right adhesive.

    • Fill and sand any holes, cracks, or unevenness
    • Ensure the wall is completely dry — fresh plaster must be fully cured
    • Prime porous surfaces (bare plaster, concrete) to improve adhesive bond
    • Check for flatness with a long spirit level — any deviation greater than 3mm over 2 metres should be addressed before installation

    Step 2: Plan Your Layout

    Before fixing any panels, dry-lay them against the wall to plan the layout. Consider:

    • Where to start — typically the centre of the wall or the most visible corner, working outward
    • How to handle corners — some panel ranges include corner pieces; others require mitring or butting at 90°
    • Where cuts will fall — avoid very thin cut pieces at visible edges
    • Panel orientation — most stone panels look best with the main coursing running horizontally

    Step 3: Apply Adhesive and Fix Panels

    Apply adhesive to the back of the panel using a notched spreader. For large panels, also apply adhesive to the wall surface. Press each panel firmly into position, checking level as you work. Some panel systems use interlocking edges — ensure each panel engages correctly with its neighbour before the adhesive sets. Work from the bottom up.

    Step 4: Cut Panels for Edges and Openings

    Mark cut lines with a pencil and straight edge. Cut stone-effect panels using an angle grinder with a diamond blade or a tile saw. Always wear eye protection and a dust mask when cutting. Dry-fit each cut piece before applying adhesive to confirm it fits.

    Step 5: Finishing

    Once all panels are fixed and adhesive has cured (typically 24 hours), fill any perimeter gaps with colour-matched decorator’s caulk. Smooth with a wet finger or caulk tool. Some stone-effect panels benefit from a final coat of stone sealant — check the manufacturer’s recommendation for your specific product.

    Where to Buy Faux Stone Wall Panels

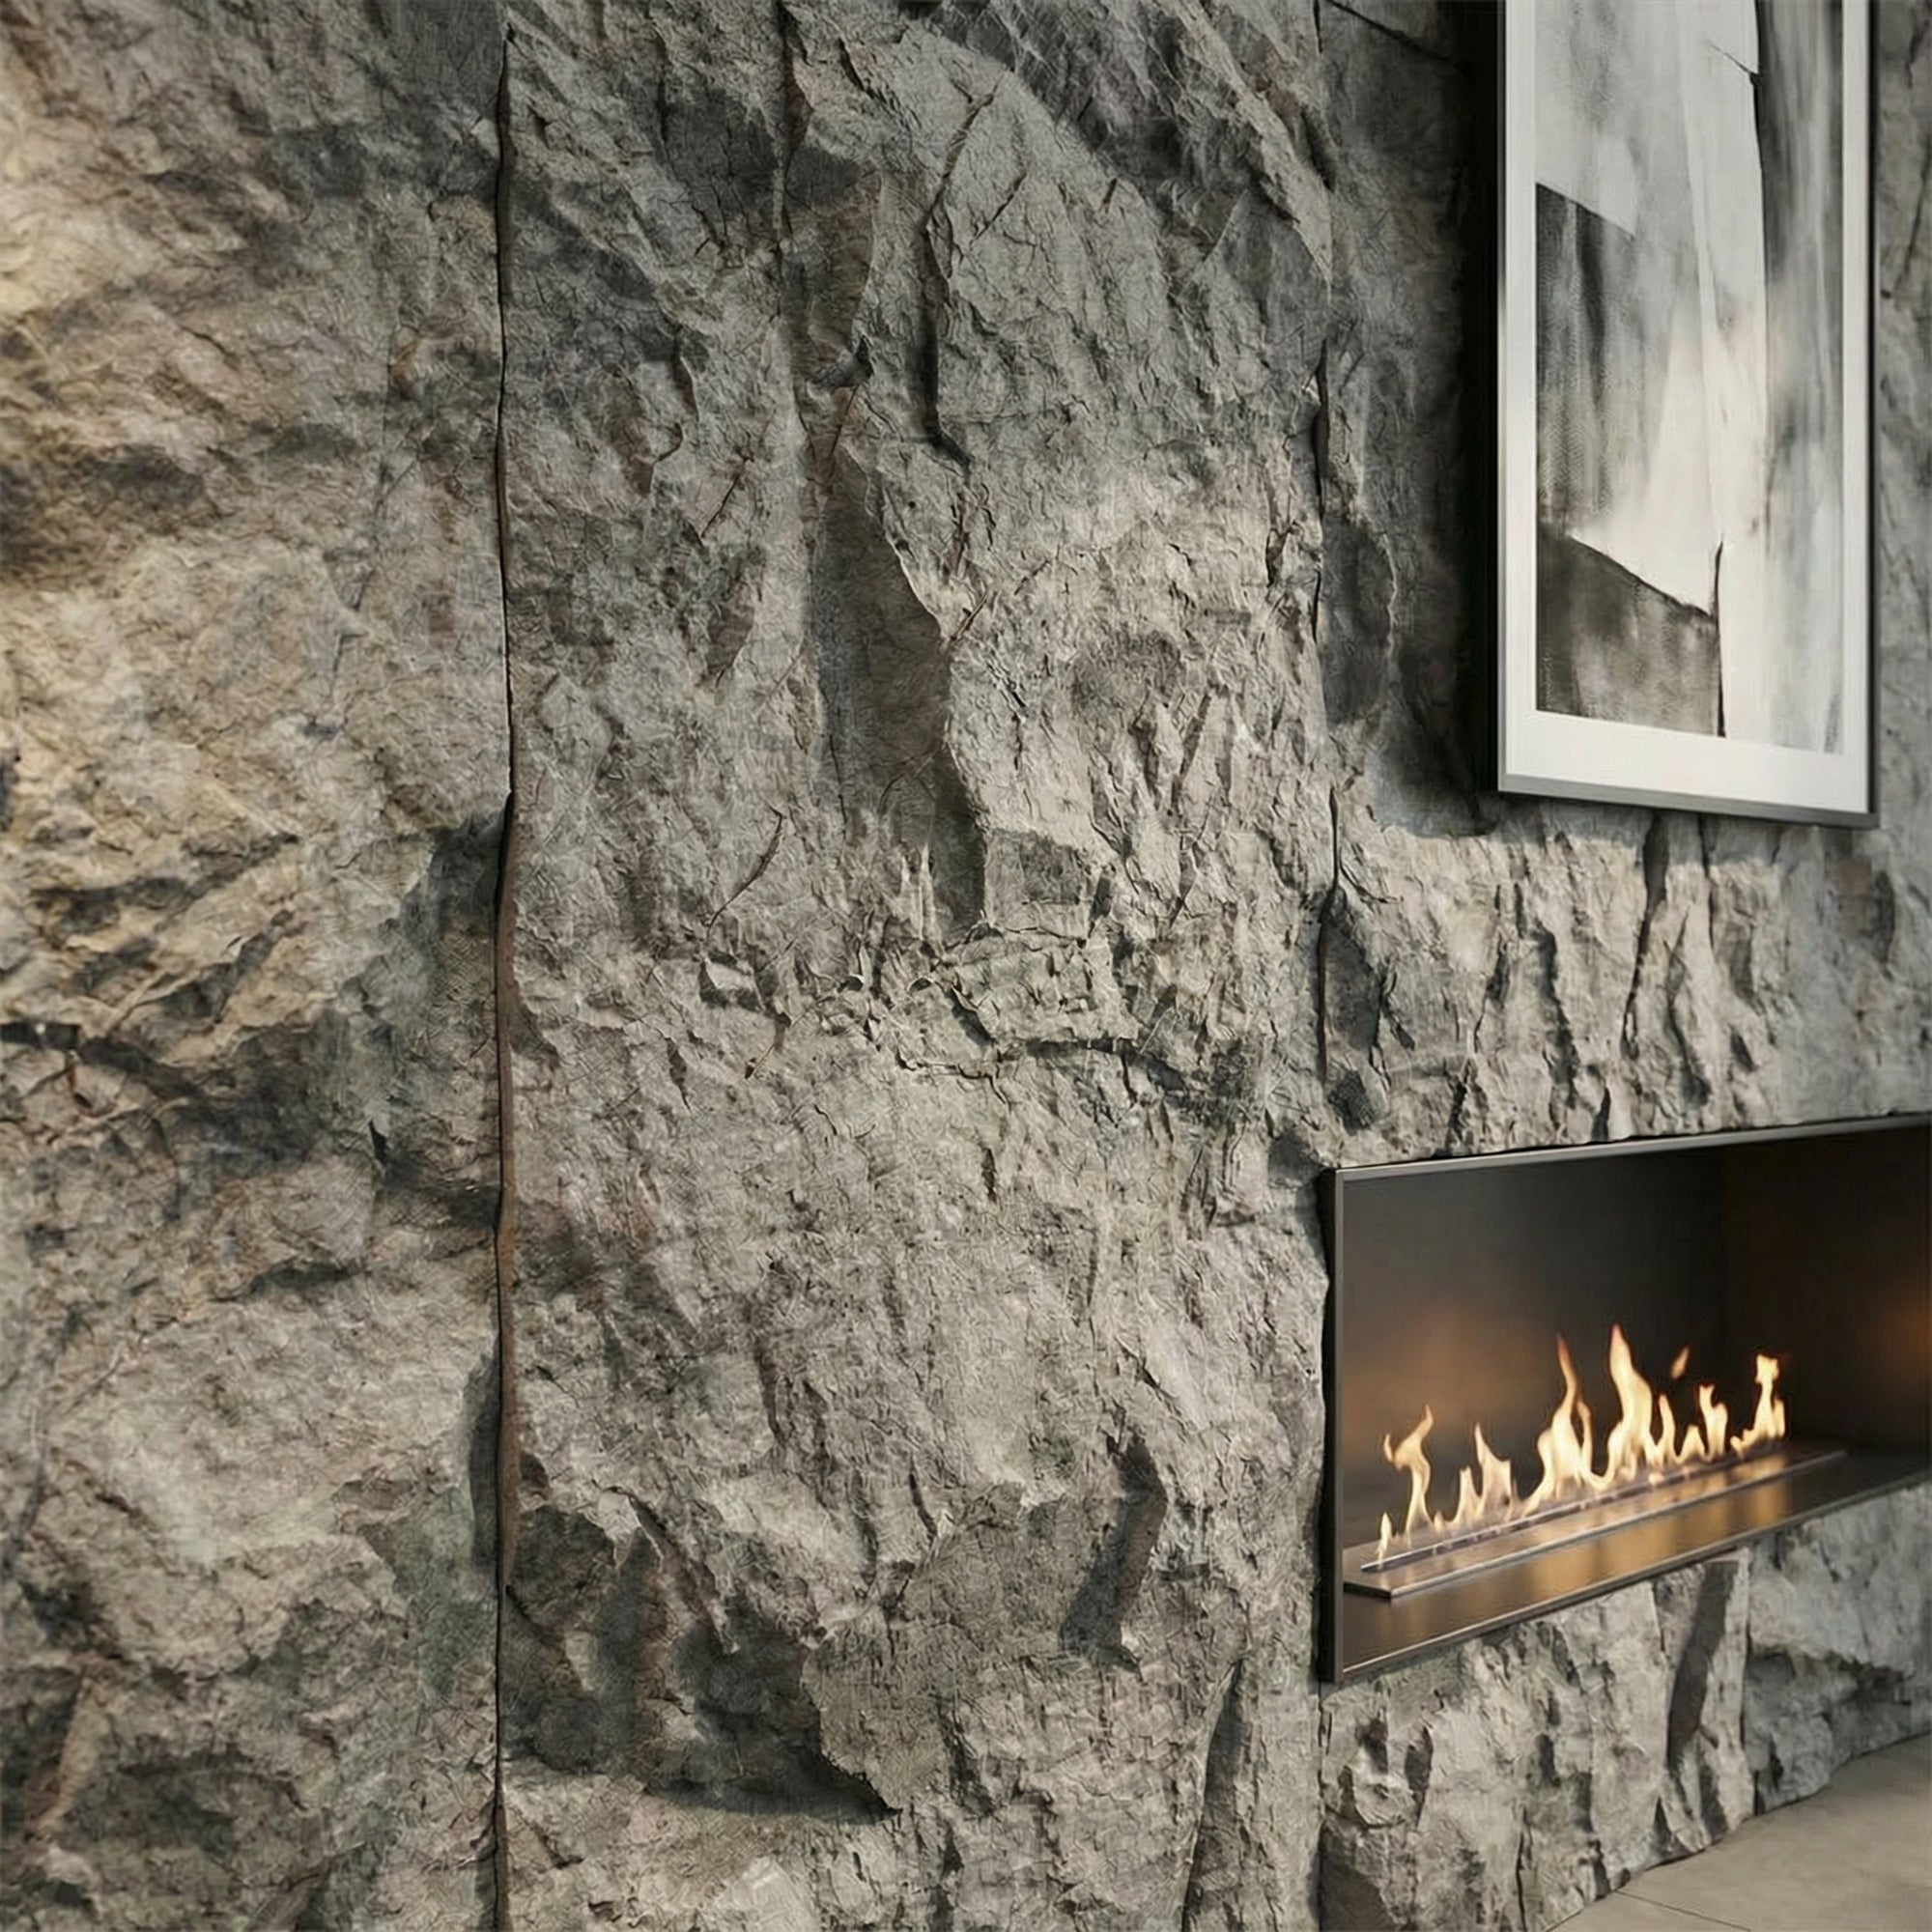
    The Panel Hub stocks the RockSurface® stone effect panel collection with full technical installation data available for each product. Request a sample first to confirm the finish in your space, then order with confidence.
  • How to Order Wall Panel Samples: A Specifier’s Checklist

    How to Order Wall Panel Samples: A Specifier’s Checklist

    Specifying wall panels without physical samples is one of the most common and costly mistakes in interior design and fit-out projects. Digital images, product photography, and online swatches cannot replicate the way a panel performs in your specific space — under your lighting conditions, against your floor and furniture, and at the scale it will actually appear on the wall.

    This checklist is for designers, architects, and specifiers who want to make confident panel decisions based on real material evidence rather than screen approximations.

    Why Samples Are Non-Negotiable

    Three things about wall panels cannot be reliably assessed from digital images:

    • Colour temperature: Wood panel finishes shift significantly under different light sources. A warm oak that looks golden under the photography studio’s warm lights can look grey and flat in a north-facing room. A stone effect panel that looks grey online may have warm beige undertones in your actual lighting conditions.
    • Surface texture and depth: The three-dimensional quality of fluted, slat, and stone-effect panels — the way light plays across the relief — cannot be conveyed in a photograph. The depth and character of the texture only becomes apparent when you hold the sample at different angles under your lighting conditions.
    • Scale and proportion: Individual slat widths, groove depths, and stone face sizes read very differently at the scale of a sample versus the scale of a full wall. A profile that looks fine in a hand-held sample can look very different when you visualise it at 2.4 metres high across a wall.

    What to Request When Ordering Samples

    When requesting samples from The Panel Hub, provide enough information for the team to send the most useful selection:

    • The room type (bedroom, living room, commercial reception, etc.)
    • The wall dimensions and the approximate area of panel coverage planned
    • The existing or planned floor finish and its colour/tone
    • The primary light source (natural light direction, artificial light colour temperature)
    • Any existing materials the panel needs to coordinate with (furniture finishes, flooring, other wall materials)
    • Whether aesthetic, acoustic, or stone-effect products are the primary interest

    How to Assess Samples Properly

    Assess in the Actual Space

    Take samples to the space where the panels will be installed, not your office or studio. Hold the sample against the wall and assess it at the time of day when the room is typically used. A bedroom panel should be assessed in morning and evening light; an office panel should be assessed under the planned artificial lighting.

    Assess Against Other Materials

    Hold the sample next to your flooring, furniture swatches, and other material samples. The panel needs to work with the surrounding palette, not just look good in isolation.

    Assess at Scale

    Order the largest sample available for any product you’re seriously considering. A full panel or a large section gives you a much more accurate sense of how the slat spacing, grain character, and colour variation will read at wall scale.

    From Sample to Specification: The Next Steps

    Once you’ve identified the right panel from samples, the specification process involves:

    • Confirming the product reference, finish, and dimensions
    • Calculating the area to be covered and applying a 10–15% wastage allowance
    • Confirming lead time, stock availability, and delivery requirements
    • Obtaining any required technical documentation — fire test certificates, acoustic performance data, installation data sheets

    The full wall panel range and stone effect panels from The Panel Hub are available for sampling. Contact the team to request the samples you need for your current projects.

  • Luxury Wall Panels: What Separates Premium Quality from Budget

    Luxury Wall Panels: What Separates Premium Quality from Budget

    Not all wall panels are equal. The difference between a budget panel installation and a premium one is visible — in the quality of the material, the precision of the finish, the depth of the surface detail, and the way the panel performs over time. Understanding what separates premium from budget is the starting point for any buyer who wants results that last.

    Material Quality: What to Look for

    Solid Wood vs Engineered Alternatives

    Premium wood panels use real timber or high-quality engineered wood with genuine hardwood veneers. The grain, colour variation, and surface texture of solid wood creates a material depth that printed foils, vinyl wraps, and low-cost laminates cannot replicate. The GroovePanel® and SoundPanel™ ranges from The Panel Hub use real wood construction — the material reads and feels different from engineered alternatives at every level of interaction with the panel.

    Stone Effect Panel Composition

    Premium stone effect panels use mould casts derived from real stone samples. The natural irregularity of real stone — no two faces identical, no machine-perfect edges — is captured in the mould and reproduced in each panel. Budget panels use simplified or repeating geometric moulds that create a pattern that reads as manufactured rather than natural at close range. The difference is immediately visible when you hold samples side by side.

    Surface Finish and Treatment

    The surface finish on a premium panel is applied with precision and durability in mind. For wood panels this means:

    • Multiple coats of oil or lacquer, each sanded between applications
    • Edge treatment that matches the face finish — a common economy measure is to leave panel edges poorly finished
    • UV stability — premium finishes resist fading in rooms with significant natural light
    • Surface hardness — the finish withstands daily contact without marking

    For stone effect panels, premium surface treatment includes colour depth (multiple tones across the surface rather than a single flat colour), textural variation within the surface, and sealed finishes that resist moisture and staining.

    Profile Precision and Manufacturing Tolerances

    Premium panels are manufactured to tight tolerances. Slat widths, groove depths, and panel dimensions are consistent from one panel to the next. This matters for installation — inconsistent dimensions create visible variation in the finished wall. Budget panels often show variation that becomes apparent across a large installation, with some slats appearing wider or narrower than others, or joints between panels that are visibly inconsistent.

    What Budget Panels Compromise On

    • Material: Thinner veneers, basic MDF substrates, or lower-density composite materials
    • Finish: Single-coat finishes, edge-matching omitted, limited UV stability
    • Tolerances: Visible variation in slat widths and panel dimensions
    • Surface detail: Simplified moulds for stone panels, less colour variation, shallower relief
    • Longevity: Budget finishes degrade faster and substrates are less stable over time

    How to Assess Quality Before Buying

    The best way to assess panel quality before purchasing is to request samples. A full-size sample allows you to examine the surface finish under your specific lighting, assess the construction quality, and compare the material against your existing finishes. The quality difference between premium and budget panels is immediately apparent when you hold them.

    The Panel Hub provides samples across the full range — GroovePanel®, SoundPanel™, and RockSurface®. Request samples before committing to your order — the quality difference is immediately apparent when you hold a panel in your hands.

  • MDF Wall Panels vs Solid Wood: Which Is Worth the Investment?

    MDF Wall Panels vs Solid Wood: Which Is Worth the Investment?

    MDF (Medium Density Fibreboard) and solid wood are the two primary substrate options for wood wall panels. Both can deliver excellent results. Both have genuine weaknesses. The choice between them matters — not just for budget, but for durability, appearance, environmental impact, and long-term performance in your specific application.

    What Is MDF and What Is Solid Wood?

    MDF Wall Panels

    MDF is an engineered wood product made from wood fibres, resin, and wax compressed under high pressure and heat. It’s dimensionally stable — it doesn’t expand, contract, or warp the way solid timber does — and has a smooth, consistent surface that takes paint, veneer, and surface finishes well. Most painted or foil-wrapped wall panels use MDF cores.

    Solid Wood Panels

    Solid wood panels use real timber — often oak, pine, walnut, or other hardwoods — as the primary material. The GroovePanel® and SoundPanel™ ranges from The Panel Hub use solid wood construction. Real wood brings visible grain, natural colour variation, and authentic warmth that engineered materials cannot replicate.

    Appearance and Finish

    Solid wood has the advantage for visible grain and natural authenticity. The grain, knots, colour shifts, and texture of real timber create a surface that looks and feels genuinely organic. In slat and fluted profiles, the grain of real wood creates visual depth that printed or foil-wrapped MDF cannot match.

    MDF has the advantage for painted finishes. Its smooth, consistent surface provides a flawless base for paint — no grain telegraphing through the finish. For painted panel applications, MDF is often the better material choice.

    Durability

    Solid wood is more durable in general use. It’s harder to dent, holds fixings well, and can be sanded and refinished if damaged. Solid wood panels, with appropriate maintenance, can last decades.

    MDF is less impact-resistant and has a critical weakness: moisture. MDF swells and disintegrates when exposed to sustained moisture. For bathroom or kitchen applications, only moisture-resistant (MR) MDF cores should be specified, and even then direct water exposure should be avoided.

    Cost

    MDF panels are generally less expensive than solid wood panels of equivalent dimensions. For painted applications where the material character isn’t visible in the final finish, MDF offers good value. For applications where the natural wood surface is part of the design — stained, oiled, or natural finishes — solid wood delivers an appearance that MDF cannot replicate.

    Environmental Considerations

    Solid wood from certified sustainable sources (FSC or PEFC) is renewable and stores carbon. MDF uses wood waste fibres but the resin binders are synthetic and typically non-recyclable. Look for certification claims when evaluating any wood panel product.

    Which Should You Choose?

    • Choose solid wood if natural grain and material character are important, if long-term durability is a priority, or if the application is in a dry environment where solid wood’s properties are best preserved.
    • Choose MDF if you’re painting the panels, if cost is the primary constraint, or if the application is in a dry interior environment where MDF’s moisture weakness is not a factor.

    For solid wood wall panels that deliver genuine material quality, explore the GroovePanel® and SoundPanel™ collections at The Panel Hub.

  • Meeting Room and Boardroom Wall Panels: Professional Finishes That Perform

    Meeting Room and Boardroom Wall Panels: Professional Finishes That Perform

    Meeting rooms and boardrooms are the highest-scrutiny spaces in any commercial office environment. Clients, partners, investors, and senior stakeholders form first impressions in these rooms. The quality of the finish — the materials used, the level of detail, the acoustic performance — communicates directly about the organisation that occupies the space.

    Wall panels are the most effective single specification for elevating a meeting room finish from functional to impressive. The right panel on the right wall transforms a generic box into a room that feels considered and premium.

    The Acoustic Requirement: Why It Matters More Than You Think

    A meeting room that sounds bad undermines its purpose. A reverberant room — one where sound bounces off hard walls, glass, and ceiling — makes speech difficult to follow, video call audio confused, and extended meetings fatiguing. The cause is almost always insufficient acoustic absorption on wall and ceiling surfaces.

    SoundPanel™ acoustic slat panels on the walls of a meeting room reduce reverberation time and improve speech intelligibility. For video conferencing rooms in particular, the acoustic quality of the room directly affects the quality of the call — both for participants in the room and for remote attendees. An acoustically treated meeting room with a panel feature wall behind the presenter provides both a professional background for video calls and a better acoustic experience in the room.

    Visual Presence: Creating a Room That Impresses

    The Feature Wall Behind the Screen

    The most impactful single panel application in a meeting room is the feature wall behind the presentation screen or at the head of the table. A GroovePanel® fluted solid wood panel on this wall creates the backdrop for every presentation, every video call, and every client meeting that takes place in the room. The texture and warmth of real wood reads as premium in person and on camera.

    Boardroom Standard

    For boardrooms in financial services, legal, and professional services environments, the specification standard is higher. A combination of solid wood panels and stone-effect panels — RockSurface® on the primary feature wall, solid wood on the side walls — creates a material richness appropriate for the most important rooms in a commercial property.

    Video Conferencing Backgrounds

    With hybrid working now standard, the visual background of a meeting room matters as much as its physical appearance. A feature wall panel creates a distinctive, professional background that is immediately recognisable and communicates quality. Plain painted walls read as improvised; a textured panel feature wall reads as designed.

    Specifying Meeting Room Panels

    For meeting room and boardroom projects, The Panel Hub can provide acoustic performance data, fire test certificates, and samples for client approval. Contact the trade team to discuss the specification requirements for your project.

  • Office Fit-Out Wall Panels: A Specification Guide for Commercial Interiors

    Office Fit-Out Wall Panels: A Specification Guide for Commercial Interiors

    The office fit-out market has changed dramatically since 2020. The shift to hybrid working, the need to make office environments attractive enough to draw employees in voluntarily, and the influence of hospitality-led design on workplace aesthetics have combined to raise the specification quality of office interiors significantly.

    Wall panels are a beneficiary of this shift. Where painted plasterboard was the default wall finish in most Cat B office fit-outs a decade ago, designers are now specifying wall panels across reception areas, meeting rooms, collaboration zones, and even open-plan floor plates as a way of creating environments that feel designed rather than functional.

    Cat A vs Cat B: Where Panels Fit in the Office Fit-Out Sequence

    In commercial leasing, Cat A fit-out refers to the base level of finish provided by the landlord — typically raised floors, suspended ceilings, mechanical and electrical services, and white-box walls. Cat B is the tenant’s fit-out — the transformation of the white box into a working office that reflects the occupier’s brand, culture, and ways of working.

    Wall panels are almost always a Cat B specification. They’re installed by the tenant’s fit-out contractor into the completed Cat A shell, which means the substrate (typically plasterboard) is known, level, and ready to receive adhesive.

    Acoustic Performance: The Critical Specification Requirement

    Acoustic comfort is consistently the most cited workplace dissatisfaction factor in post-occupancy surveys of open-plan offices. Unwanted speech from nearby colleagues, poor speech intelligibility in meeting rooms, and high ambient noise levels on open-plan floors all directly affect productivity and wellbeing.

    Acoustic slat panels from the SoundPanel™ range contribute measurably to reducing reverberation time on office floor plates. For meeting rooms and phone pods, acoustic panels on wall surfaces are an important part of creating a space where speech is clear and private conversations stay private.

    Reception and Brand Environment

    The reception area is where company culture and brand values are expressed physically. A reception with a feature wall in GroovePanel® solid wood or RockSurface® stone effect panels communicates quality and investment in the workplace environment. For clients and visitors, the quality of the reception finish is a direct signal about the organisation they’re visiting.

    Installation During a Live Fit-Out Programme

    Office fit-outs typically run to tight programmes. Panel installation is usually one of the final trades on programme, installed after partitioning, MEP second fix, and floor finishes are complete. This means panels need to be on-site and ready to install at the right moment in the programme — not held up by long lead times or supply issues.

    Confirm stock availability and delivery lead times with The Panel Hub at the point of specification, not at the point of order. For large-volume office fit-outs, it’s advisable to place a confirmed order ahead of the installation window to secure stock.

    Office Wall Panel Specification from The Panel Hub

    The Panel Hub supplies SoundPanel™ acoustic panels, GroovePanel® solid wood panels, and RockSurface® stone effect panels for office fit-out projects. Contact the trade team to discuss your project requirements, programme dates, and technical specifications.

  • Restaurant and Bar Interior Cladding: Specifying for Durability and Atmosphere

    Restaurant and Bar Interior Cladding: Specifying for Durability and Atmosphere

    Restaurants and bars place some of the most demanding requirements on wall surface materials of any commercial interior typology. The combination of high footfall, kitchen proximity, liquid spillage, regular commercial cleaning, fire safety compliance, and the need to create an atmosphere that makes guests want to stay and return — all on a tight fit-out budget and programme — makes wall panel specification in F&B environments a genuinely complex brief.

    The Atmosphere Requirement: Why Panels Work in F&B

    The defining quality of a successful restaurant or bar interior is atmosphere — a quality that’s difficult to define but immediately felt. Wall panels contribute to atmosphere in two ways that flat painted surfaces cannot: through texture that engages the eye and changes character under different lighting conditions, and through acoustic absorption that prevents the space from becoming oppressively loud as it fills.

    A RockSurface® stone effect panel on a back bar wall, lit with warm directional light, creates a surface that looks genuinely architectural at every level of occupancy. GroovePanel® fluted solid wood panels on booth dividers and perimeter walls bring warmth and material quality that reads as premium without the cost of real stone or specialist joinery.

    Durability: What F&B Environments Demand

    Impact and Abrasion

    Restaurant and bar walls are impacted by chairs, bar stools, service trolleys, and the general movement of staff and guests in a busy environment. Panel products specified for F&B use should have robust surface finishes and edge treatment, with solid core substrates that resist denting and compression.

    Moisture and Cleaning

    Front-of-house surfaces in F&B environments are cleaned daily with commercial cleaning products. Panels near food service areas, bars, and kitchen pass-throughs are exposed to steam, grease, and liquid. Confirm that any panel product specified for proximity to food service areas is compatible with the cleaning regime planned for the space.

    Kitchen Proximity and Heat

    Panels within direct proximity of cooking equipment, open flames, or heat sources require appropriate fire classification and heat resistance. For kitchen-adjacent applications, confirm the panel product’s fire rating and maximum operating temperature with the manufacturer.

    Acoustic Management in F&B

    The restaurant noise problem — a full dining room that becomes so loud that conversation requires raised voices — is one of the most common guest complaints in high-footfall restaurants. The cause is almost always acoustic: hard flooring, hard ceiling, glass surfaces, and flat painted walls create a reverberant environment where noise accumulates.

    Acoustic slat panels from the SoundPanel™ range on perimeter walls or booth linings can meaningfully reduce reverberation time and improve the acoustic comfort of the dining environment. For restaurants targeting a premium guest experience, acoustic treatment is an investment in repeat visits.

    Fire Compliance in Licensed Premises

    Restaurants and bars are subject to specific fire safety requirements under the Regulatory Reform (Fire Safety) Order 2005 and Building Regulations Approved Document B. Wall linings in public areas of licensed premises require Class B fire classification or better. Obtain fire test certification from the panel manufacturer and verify compliance with your fire safety consultant before specifying.

    Specifying for F&B Projects from The Panel Hub

    The Panel Hub has supplied wall panels into restaurant, bar, and hospitality fit-out projects across the UK. Contact the trade team to discuss your project requirements, including volume, lead time, fire compliance documentation, and samples for client presentation.

  • Retail Store Wall Cladding: How to Use Panels in Shop Fit-Outs

    Retail Store Wall Cladding: How to Use Panels in Shop Fit-Outs

    Retail interior design operates at the intersection of brand identity, customer psychology, and commercial pragmatism. Every surface in a retail environment communicates something about the brand — the quality of the materials, the considered-ness of the design, the price point of the product on the shelves. Wall panels are an increasingly common specification in retail fit-outs because they deliver a premium finish quickly, at a cost that fits within the tight budgets of most shop fit-outs.

    The Retail Specification Challenge: Premium Look, Practical Budget

    Retail fit-outs are typically on tight budgets and tight timelines. The landlord has a fit-out licence period; the brand has a launch date; the contractor has a fixed price. Wall finishes that require specialist installation, long lead times, or expensive materials are difficult to accommodate in most retail specifications.

    Wall panels address this challenge directly. They install faster than tile, look more premium than painted plasterboard, and require no specialist contractors. A retail space that would take two days to tile can have panels installed in a single day — and the result looks better.

    Where to Use Panels in Retail Environments

    Feature Walls and Brand Backdrops

    A panel feature wall at the rear of a retail space is visible from the entrance — it frames the products displayed against it and sets the visual tone of the store. GroovePanel® fluted solid wood panels behind product displays create a warm, premium backdrop that elevates the perceived quality of anything displayed against them.

    Till Points and Service Counters

    The till point is where the final purchase decision is made. A panel specification behind the counter or on the counter fascia creates a considered, quality finish at the most important interaction point in the store. RockSurface® stone effect panels on a counter fascia create a particularly strong visual statement at modest cost.

    Changing Room Areas

    In fashion retail, the changing room experience directly affects conversion rates. A panelled changing room environment — warm, textured, considered — creates a more positive try-on experience than a generic mirrored box with painted walls. Panel specification in changing room areas is a cost-effective investment in conversion.

    Durability for Retail Environments

    Retail wall surfaces are exposed to customer contact, cleaning staff, and the regular movement of merchandise and display fixtures. Panel products in retail environments need surface finishes that resist marking, can be wiped clean with commercial cleaning products, and hold up to the physical activity of a busy store.

    Retail Panel Specification from The Panel Hub

    The Panel Hub supplies wall panels for retail fit-outs across independent boutiques, multi-site retail rollouts, and flagship store installations. Contact the trade team to discuss your fit-out programme, volume requirements, and brand aesthetic before specifying.

  • Show Home Wall Paneling: How Developers Use Feature Walls to Drive Sales

    Show Home Wall Paneling: How Developers Use Feature Walls to Drive Sales

    A show home has one job: to make a prospective buyer fall in love with a property they haven’t yet seen completed. The interior specification of a show home is a sales tool, not a living environment — and every design decision should be evaluated on whether it helps buyers visualise themselves in the space and justify the asking price.

    Wall panels have become a standard specification in show homes across the market spectrum, from affordable developments where a single feature wall in the master bedroom adds perceived value, to premium developments where panels are used throughout to create the material richness that supports a high price per square foot.

    Why Feature Walls Work in Show Homes

    The feature wall is one of the most effective visual devices available to show home designers. It creates a focal point in a room, gives buyers something specific and emotive to respond to, and — when specified correctly — photographs extraordinarily well in marketing materials.

    A GroovePanel® fluted solid wood panel behind the bed in the master bedroom is the single most impactful specification in most show homes. It creates a warm, textured backdrop that makes the room feel considered and premium. It photographs beautifully. And it’s a specification that buyers aspire to replicate — which means they’re more likely to proceed with a purchase than leave to look at competitors.

    Which Rooms Benefit Most from Panel Feature Walls

    Master Bedroom

    The bed head wall is the natural home for a show home feature panel. Every marketing photograph of the master bedroom will include this wall. The texture, warmth, and quality of a solid wood panel in this position creates emotional impact that no painted wall can match.

    Living Room or Open-Plan Living Area

    A feature wall panel on the media wall or fireplace breast in the main living area anchors the room and gives buyers a clear sense of where the television goes and how the room is oriented. It also elevates the perceived quality of the entire living space.

    Entrance Hallway

    The hallway is the first space buyers experience when they walk through the front door. A panel feature wall in the hallway — even a modest one — creates an immediate impression of quality that sets the tone for the rest of the viewing.

    Cost-Effective Specification for Show Homes

    Show home budgets are allocated by sales and marketing teams who understand the return on investment calculation: every pound spent on show home specification needs to pay back in sales velocity and margin. Wall panels offer a high-impact visual result at a specification cost that’s modest relative to the increase in perceived value they create.

    For volume developers specifying the same panel across multiple show homes or across multiple units in a single development, volume pricing from The Panel Hub reduces the per-unit cost further. Contact the trade team to discuss project volumes and pricing.

    Show Home Panel Specification from The Panel Hub

    The Panel Hub works with residential developers, show home designers, and sales and marketing teams on panel specifications for show homes across the UK. The full range of wood wall panels and stone effect panels is available with samples on request.

  • Slat Panels vs Fluted Panels: What’s the Difference and Which Should You Choose?

    Slat Panels vs Fluted Panels: What’s the Difference and Which Should You Choose?

    If you are considering between slat panels vs fluted panels, this guide is for you. “Slat panels” and “fluted panels” are used interchangeably in many product listings, social media posts, and interior design articles. They’re not the same thing — and choosing between them affects the appearance, acoustic performance, and practical behaviour of the finished wall.

    What Are Slat Panels?

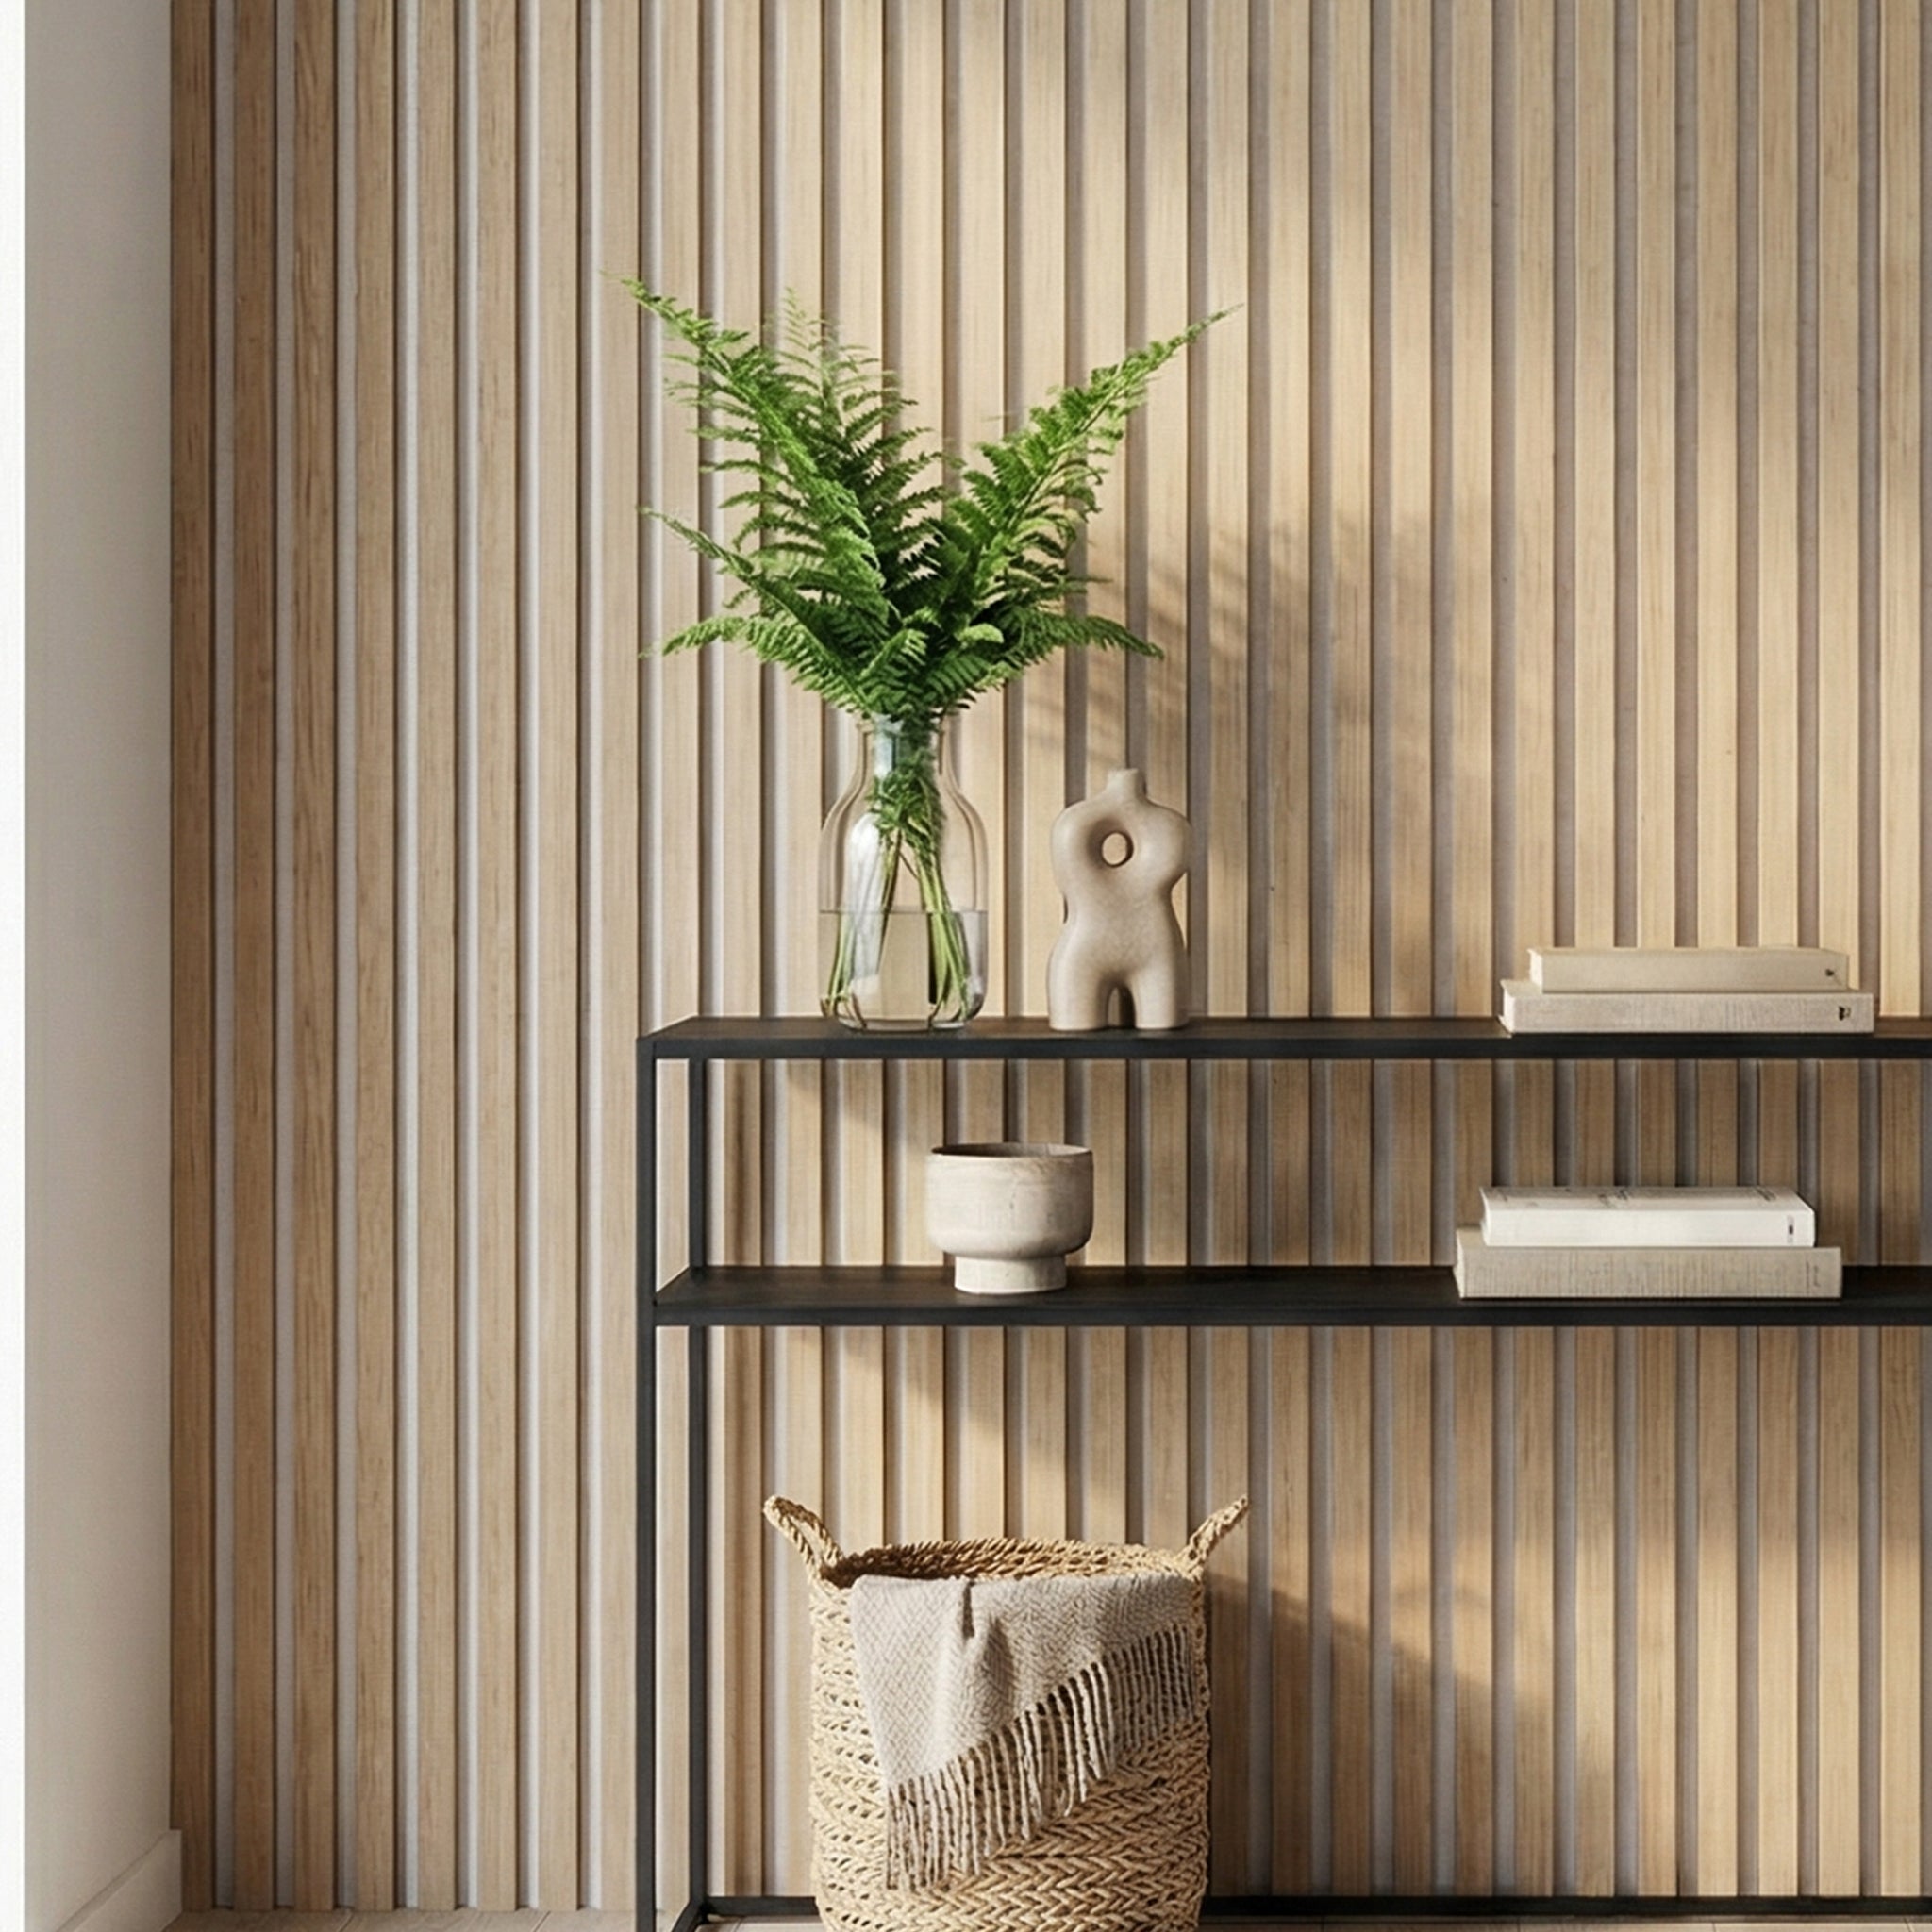
    Slat panels consist of individual timber slats — narrow strips of wood — attached to a backing panel, typically a felt or MDF substrate. The slats stand proud of the backing, creating gaps between them. These gaps are part of the design: they allow sound to pass through to the backing material, which absorbs it.

    The defining characteristic of slat panels is the negative space between the slats. The gaps are visible and intentional — part of both the aesthetic and the acoustic function. The SoundPanel™ acoustic slat collection from The Panel Hub is a good example: timber slats mounted on acoustic felt backing with precisely engineered gaps for both visual rhythm and sound absorption.

    What Are Fluted Panels?

    Fluted panels are solid panels with a routed or moulded profile — raised ridges running along the surface. Unlike slat panels, there are no gaps: the surface is continuous, with the three-dimensional profile creating the visual rhythm of light and shadow.

    The GroovePanel® solid wood collection includes fluted profiles — solid wood panels with routed channels that create a pronounced vertical texture without any gaps between elements.

    Key Differences

    Acoustic Performance

    Slat panels with acoustic backing perform measurably better for sound absorption. The gaps allow sound to reach the absorptive backing material. Fluted panels have no gaps and provide minimal sound absorption — they’re a purely aesthetic product. If acoustic performance is a requirement, specify acoustic slat panels.

    Visual Character

    Slat panels create a rhythm of solid and void — the eye alternates between the slat surface and the darker gap behind it. The effect is graphic and structured. Fluted panels create a rhythm of highlight and shadow across a continuous surface — subtler, more tactile, and more appropriate in spaces where a softer texture is the goal.

    Durability and Maintenance

    Fluted panels are more robust. The continuous surface is more resistant to impact damage, easier to wipe clean, and doesn’t accumulate dust in gaps the way slat panels can. In high-traffic areas or commercial environments, fluted panels are often the more practical choice.

    Which Should You Choose?

    • Choose slat panels if acoustic performance is required, or if you want the graphic negative-space aesthetic of visible gaps between slats.
    • Choose fluted panels if you want texture without gaps, maximum durability, or a subtler three-dimensional effect on a continuous surface.
    • Use both of these wood wall paneling in the same space to create distinct zones — acoustic slat panels where sound control matters, fluted panels where the aesthetic takes precedence.

    Explore both options at The Panel Hub: the SoundPanel™ acoustic slat range and the GroovePanel® fluted solid wood collection.